By Helen Gullett
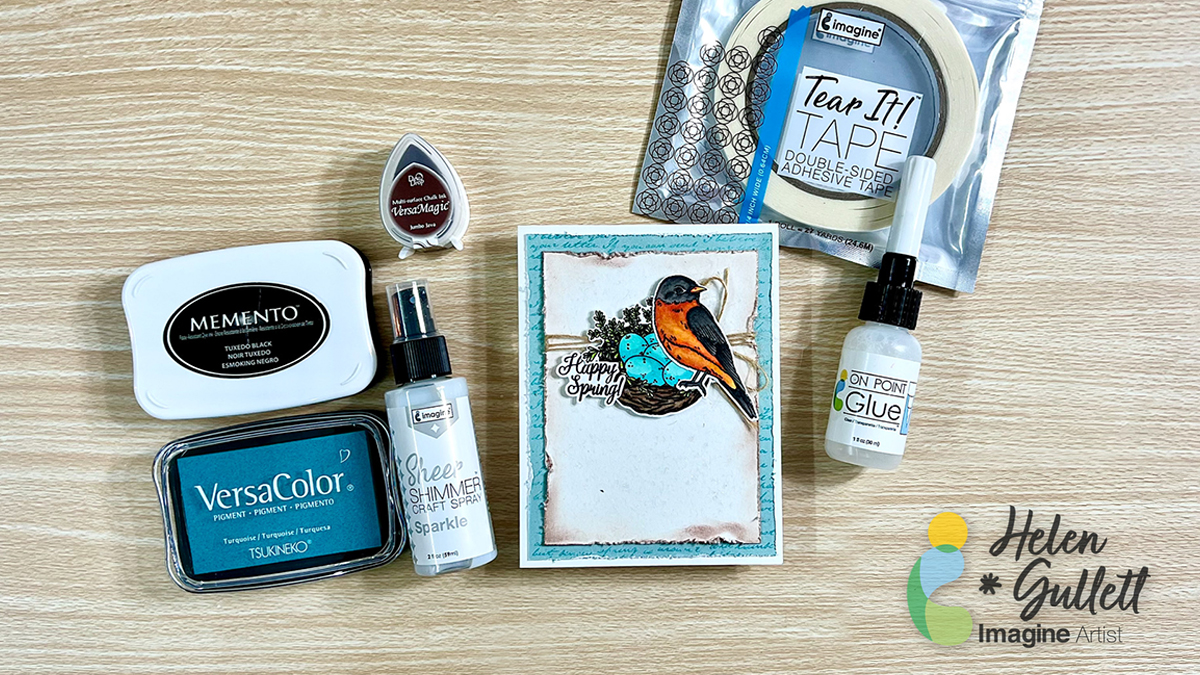
Hello hello hello! Today, I wanna share with you how to make this Happy Spring card using Imagine Crafts products, stamps, die cuts, and coloring medium. I found Spring inspiration on Pinterest to create this clean-and-simple style with some layers. You can make this card with any sentiment or vocal images based on the theme or season.
Skill: Intermediate
Time: 30 – 45 minutes
Direction:

Step 1
Cut a piece of 8.5” x 11” white cardstock with a paper trimmer. One half you use it to make an A4 card base (5.5’ x 4.25’) by scoring in the middle of the cardstock.
And for the other half, use it for stamping elements and sentiments. You can to cut out the shapes with the matching dies, if needed.

Step 2
For my card, I cut out the shapes with the matching dies first.
Arrange the shape dies on the white cardstock and secure them with washi tape or removable tape to keep in place while cutting.
I keep both negative and positive die cuts. This will make the next step stamping images easier.

Step 3
Put the positive and negative die cuts on the stamping tool. Secure them with the magnet.
Arrange the clear stamp on top of each matching cut out, make sure it is well positioned.
Put the sentiment you want to stamp at the extra space, if they fit.

Step 4
Pick up the stamps with the stamping tool lid and ink the stamps with the Memento Tuxedo Black ink pad. If it is needed, you can re-stamp them. Clean the stamps with Staz-On All Purpose Cleaner.
I like to stamp several images and sentiments at one go, then I can pick and choose what to use on this project, and save others for the next project.
Cut the sentiment with scissors, or you can cut it with any label die you have in stash. I simply just cut it out with scissors to make a sentiment label or cut around the sentiment.

Step 5
After stampin, you can pick and choose which images and sentiment to use now.
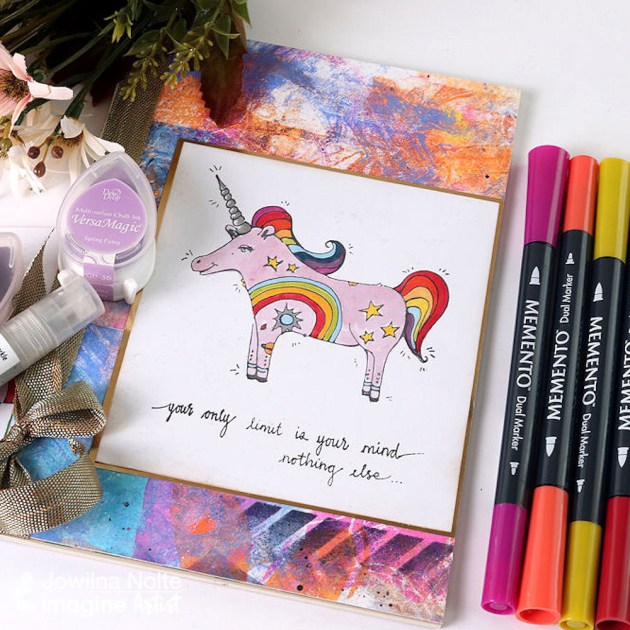
Color the images with your favorite coloring medium. Since we use Memento Ink for stamping, the best coloring medium will be alcohol markers and pencil colors. I used alcohol markers to color the nest and bird.

Step 6
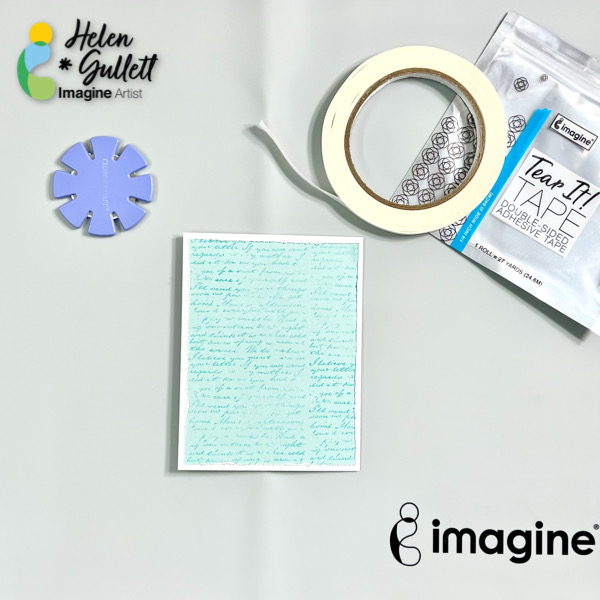
Cut out a light blue cardstock into 5.25” x 4” for the first base mat.
Stamp it with a background stamp of your choice lightly with the VersaColor Turquoise.
To get a lighter stamped image for the background, you can use second generation stamping technique: stamp it the first time on a scrap paper and then stamp it for the second time on the cardstock.
Step 7
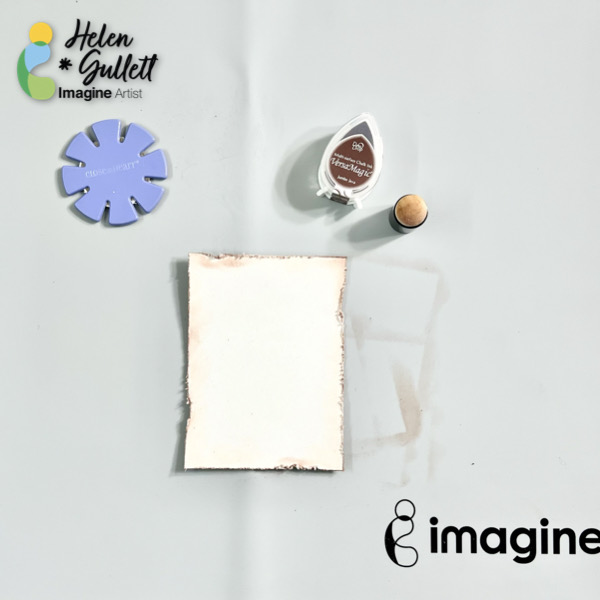
Next, cut out a piece of off-white cardstock (or white) into 4.75” x 3.5” for the second background mat.
Using a distressed tool or scissors to add the distress look on each edge of the cardstock.
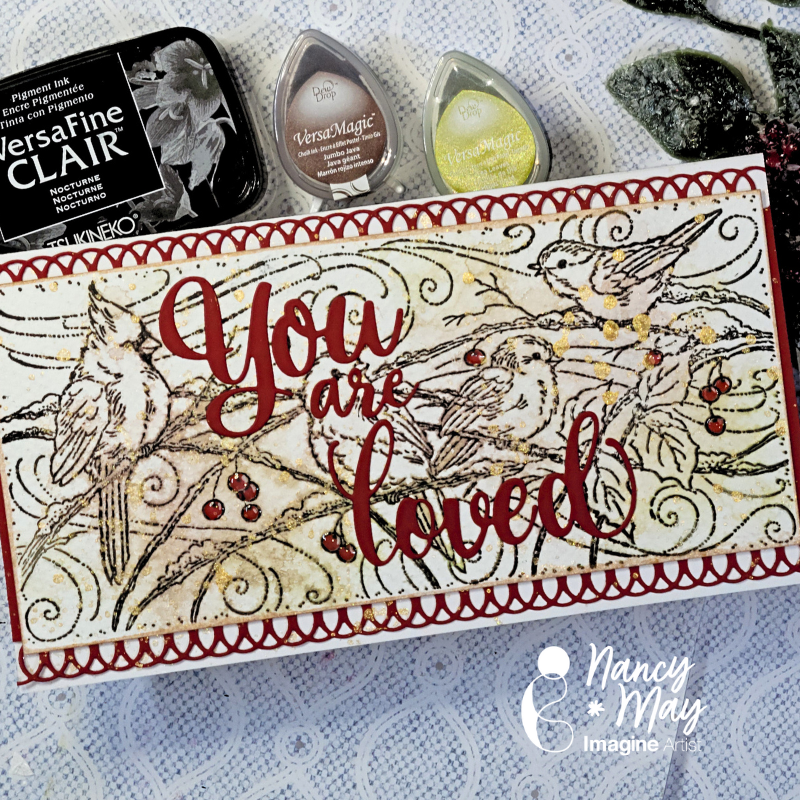
Add the VersaMagic Jumbo Java ink on the edges using the sponge dauber.
Step 8
It’s time to put the card together.
Using a distressed tool or scissors to add the distress look around the background mat.
Add some of the Tear It! Tape on the back of the background mat and add it to the card base. Firmly press it down.
Step 9
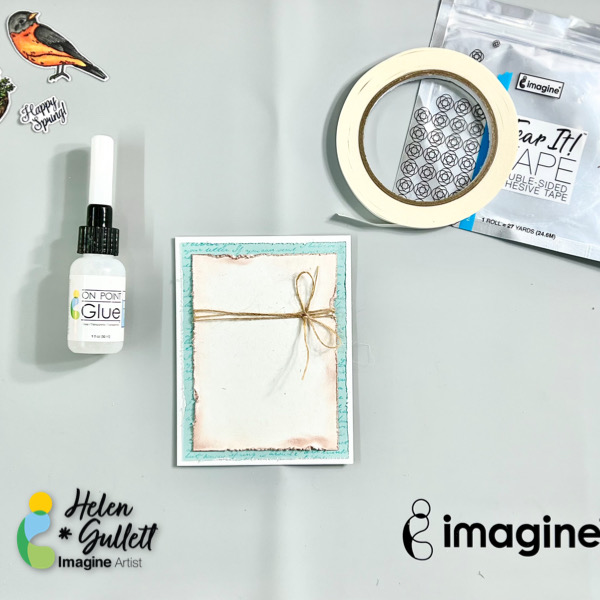
Wrap some of the burlap twine around the second background mat and tie up a bow. Add a dab of permanent glue using the On Point Glue to secure the bow in place on the card.
Add some of the Tear It! Tape on the back of the background mat, add it to the card, and press it firmly to make sure it adheres well, especially around the twine.

Step 10
Add some of the Tear It! Tape on a piece of fun foam to make your own 3D foam tape.
Add the foam tape on the back of each element and sentiment and add each of them to the card.
Add some glue using On Point Glue under the overlapping element and sentiment.

Step 11
To add some extra sparkle to the card, use a flat brush to add some of the Sheer Shimmer Spray – Sparkle. This spray gives some sparkle to this card for sure!!!
Dry the splatters with a craft heat gun.
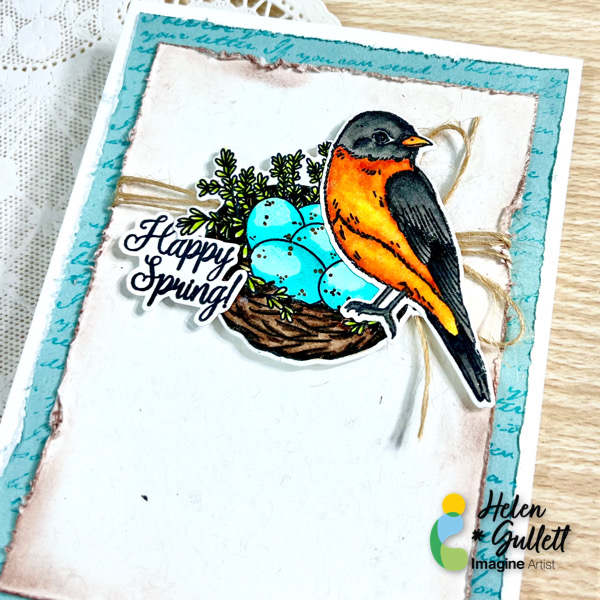
Here’s the close up look of the finish card. You can add extra gems or embellishments to the card or you can just leave it as it is.

May this card give you hope for the new season coming soon! Thank you so much for stopping by our blog today. Have a wonderful day!
Craft Supplies
Imagine Crafts:
- Memento Tuxedo Black Ink Pad
- VersaColor Turquoise Ink Pad
- VersaMagic Dew Drop 12 piece (Jumbo Java)
- Sheer Shimmer Spray – Sparkle
- Sponge Dauber
- Tear It! Tape
- On Point Glue
- Staz-On All Purpose Stamp Cleaner
Others:
- Sweet ‘n Sassy Stamp – Spring Hope Stamp Set
- Sweet ‘n Sassy Stamp – Spring Hope Die Set
- Neenah Classic Crest White Cardstock 110lb
- Close To My Heart colored cardstock (blue and off-white)
- Burlap twine ribbon
- Fiskar paper trimmer
- Gemini Junior die cutting machine
- MISTI stamping tool
- Acrylic stamping block
- Paper distresser tool
- Micro-tip scissors
- White thin fun foam
- Flat paint brush