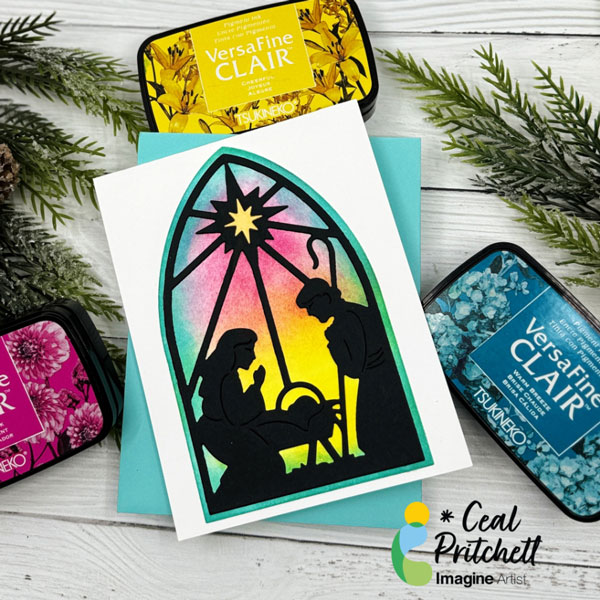
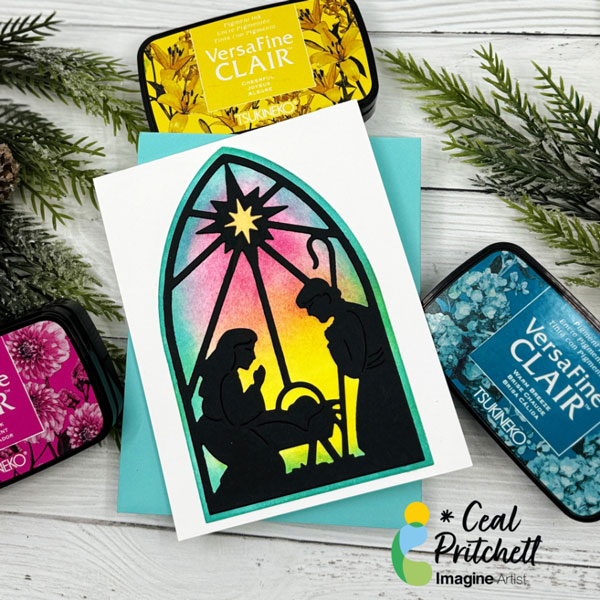
Hello Crafty Friends! It’s Ceal, here. Today I am sharing how I made this faux stained-glass Christmas Card.
Skill Level: Beginner Time: 30 Minutes
Directions:
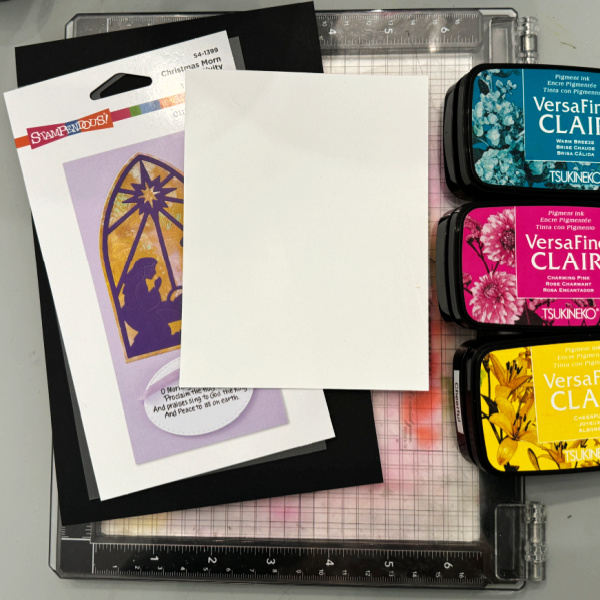
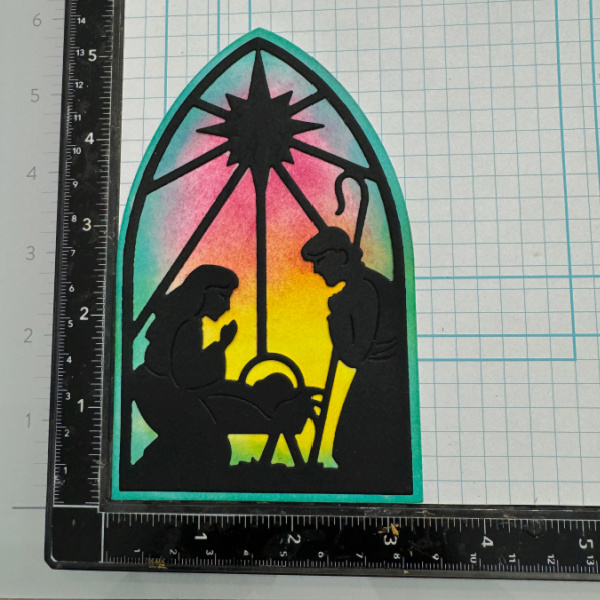
Gather your supplies. You will three inks, Pink, Yellow and Blue. A blending tool, a silhouette die along with black, white and gold cardstock.
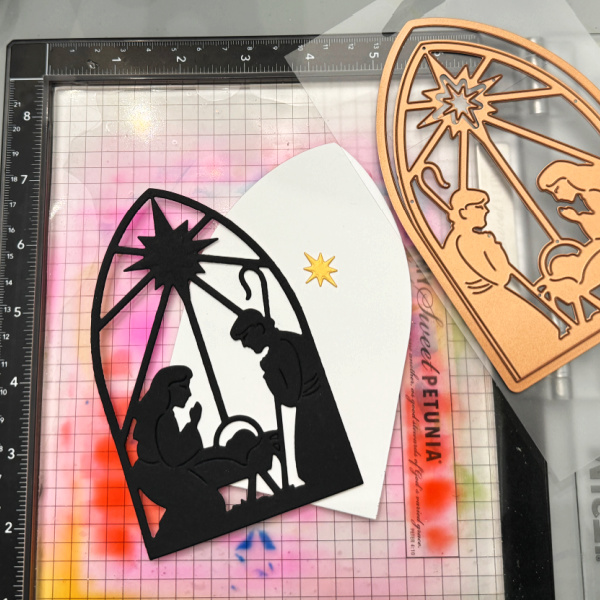
Step 1: Cut the nativity die out of black cardstock, the backer out of white and the star out of the gold cardstock.
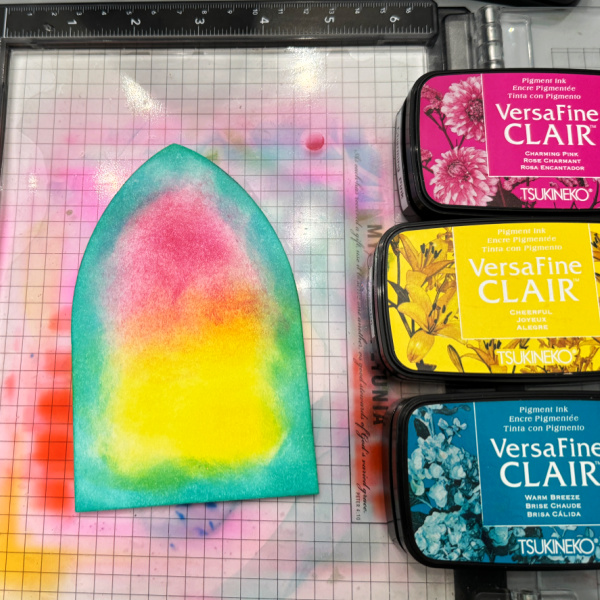
Step 2: On the backer using a sponge or other blending tool, blend the blue around the outer edge of the panel and the pink and yellow inside the blue.
Step 3: Line up the nativity over the backer and adhere it down with On Point glue. As you can see in the photo above, I use the corner of the MISTI to help me line things up.
Other Products: Misti 2.0 – My Sweet Petunia Nativity Die – Stampendous White Cardstock – CutCardStock Black Cardstock – Hero Arts Gold foil cardstock – Erin Lee Creative
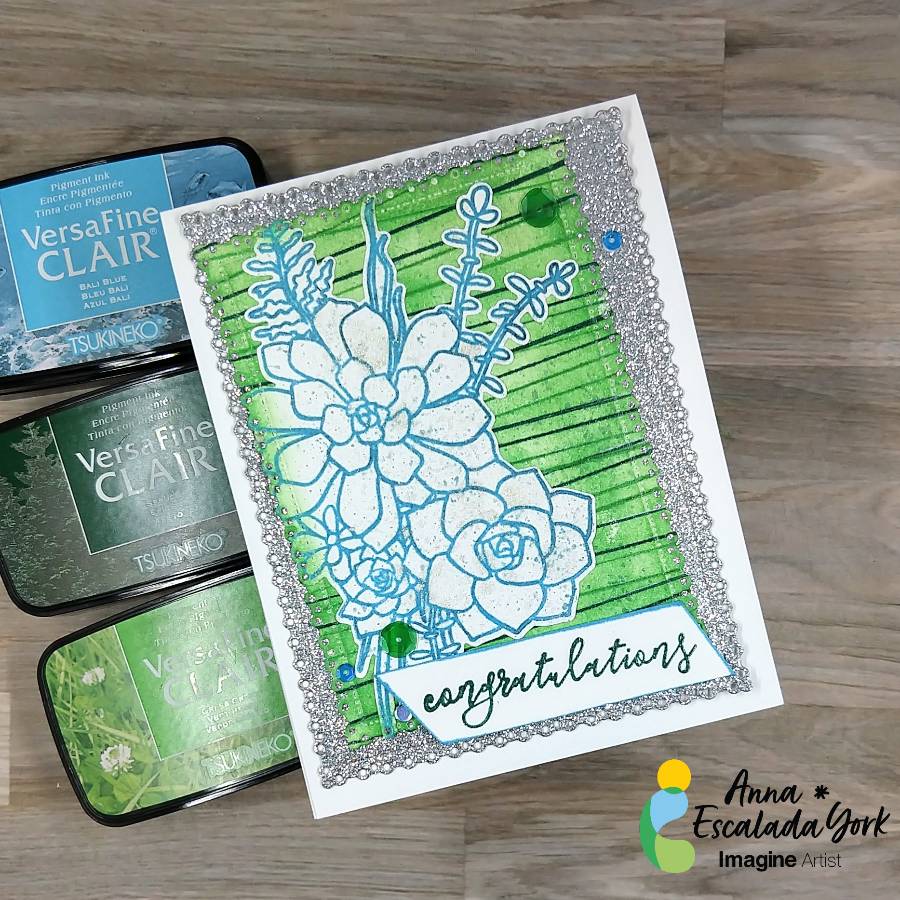
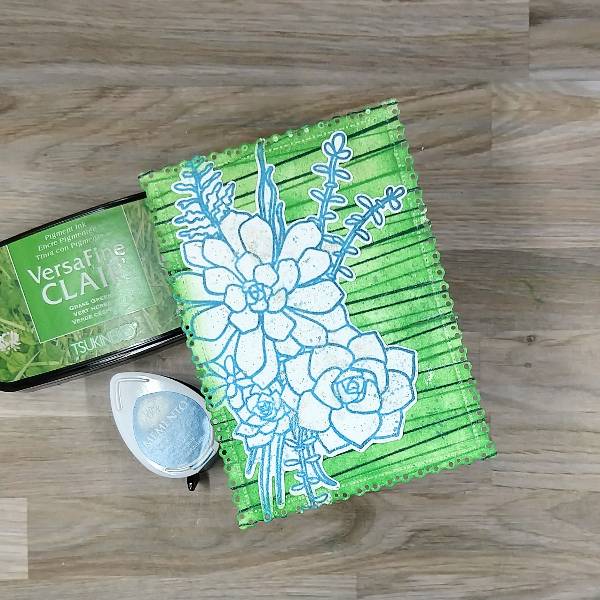
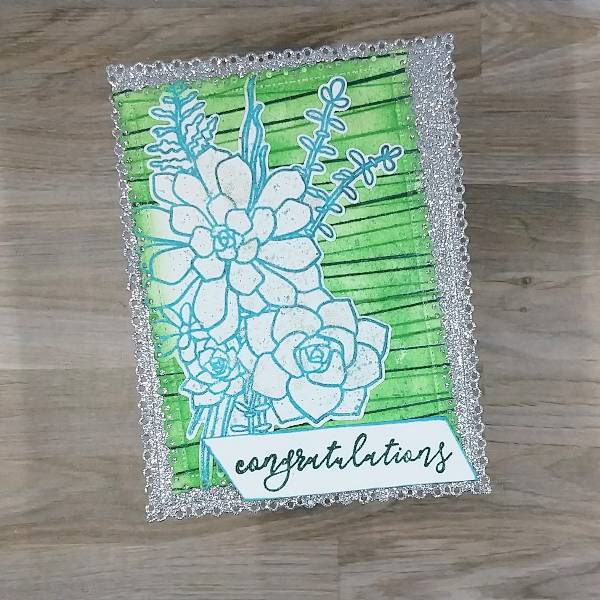
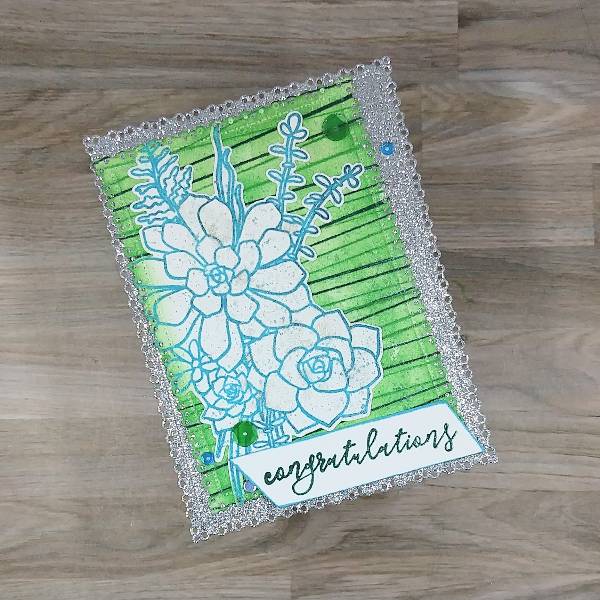
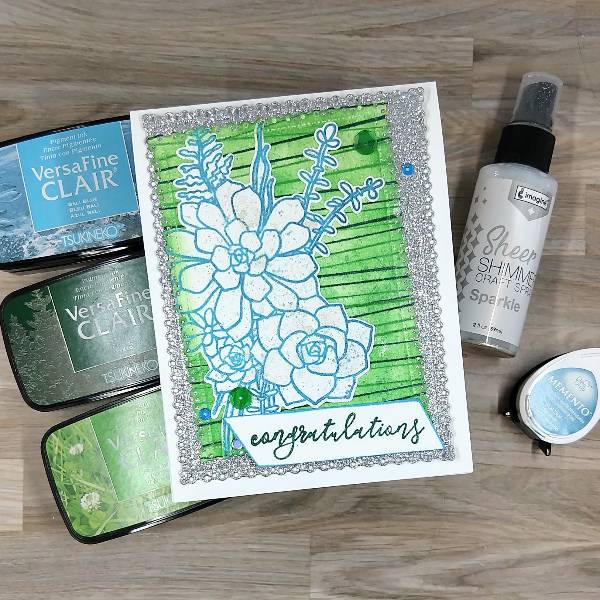
In today’s card, I made a congratulations card for a coworker who just had a baby using some of the beautiful new VersaFine Clair ink colors.
Skill: Intermediate Time: 1.5 hours
Directions:
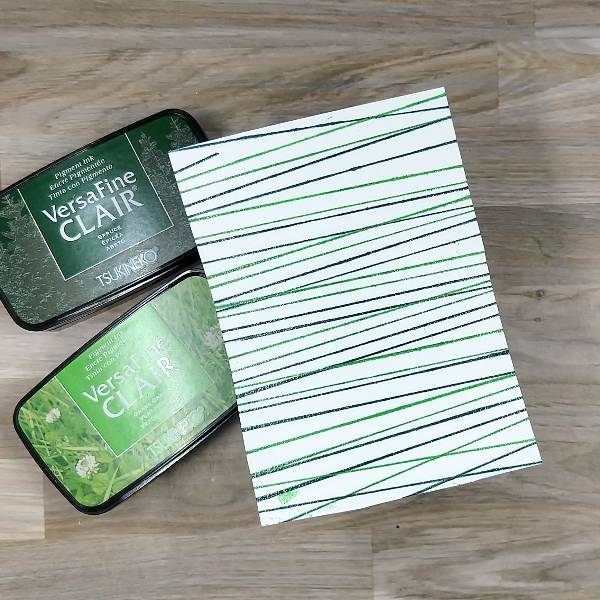
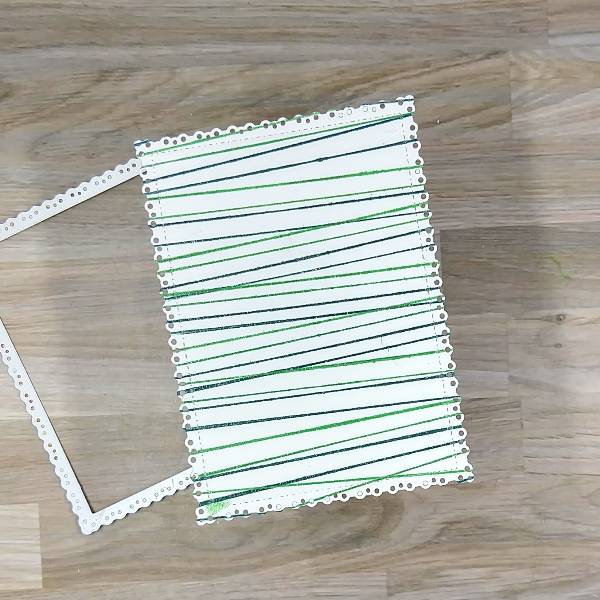
Step 1: Stamp a piece of watercolor paper with Grass Green VersaFine Clair ink using a background stamp with a variety of lines on it. Rotate the paper 180 degrees and repeat the process. Then move the stamp on the stamp positioning tool a little (so the lines don’t overlap) and repeat the process with Spruce VersaFine Clair ink. Heat emboss the whole thing with Clear Mbossing powder.
Step 2: Die cut the panel with the second-largest die from a nested die cutting set.
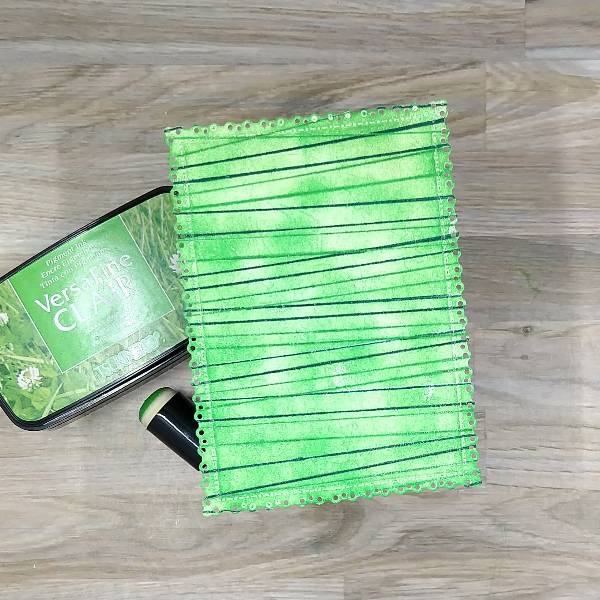
Step 3: Use a sponge dauber to ink blend the whole panel with Grass Green VersaFine Clair ink. (This doesn’t have to be done perfectly because it won’t matter on the final card.)
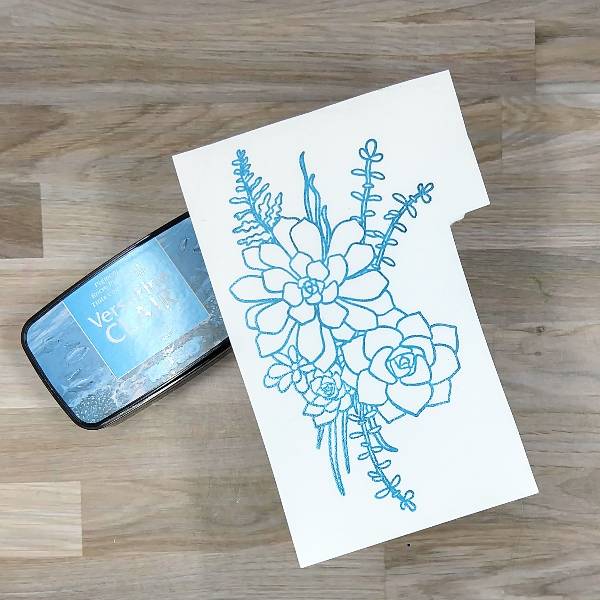
Step 4: Stamp the large floral image with Bali Blue VersaFine Clair ink on another piece of watercolor paper. Then heat emboss with more Clear Mboss powder.
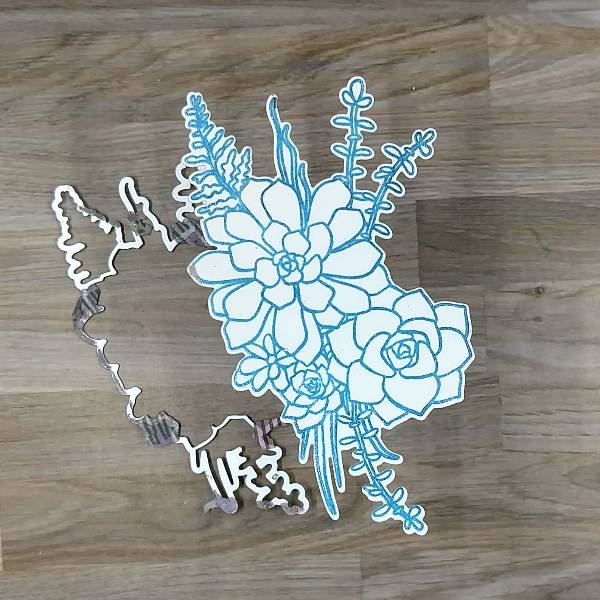
Step 5: Die cut the floral image with the corresponding die.
Step 6: Die cut the left edge of the floral image with the same die used earlier, that way the decorative edge of the stamped image can line up with the edge of the green panel.
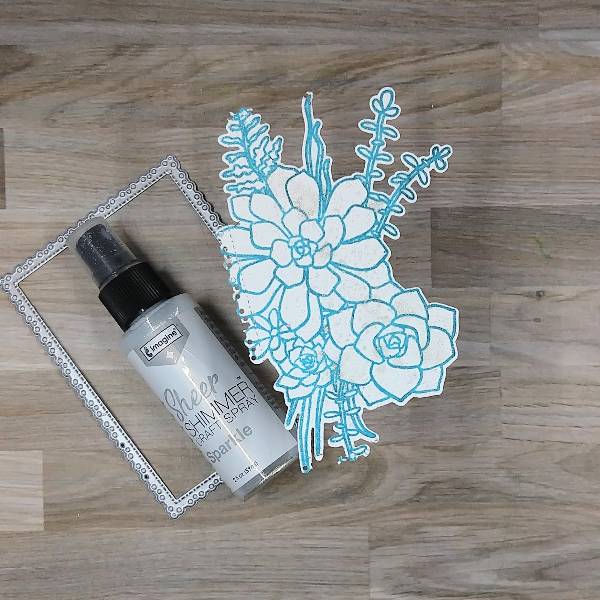
Since I smudged the floral image while die cutting, I decided to cover the smudge with some spray.
Spray the image with Sparkle Sheer Shimmer Craft Spray. Press the cap of the spray bottle down about half-way, allowing the spray to come out more in drips rather than as a mist. (I was able to cover the smudges with large splatters of spray.) Allow to dry.
Step 7: Glue the floral image onto the left side of the panel.
Press the Teal Zeal Memento Ink pad onto a piece of scrap acetate packaging and spray the packaging with water to create watercolor. Splatter it with a paint brush. After the splatter dried, ink blend the left side of the panel with more Grass Green VersaFine Clair ink.
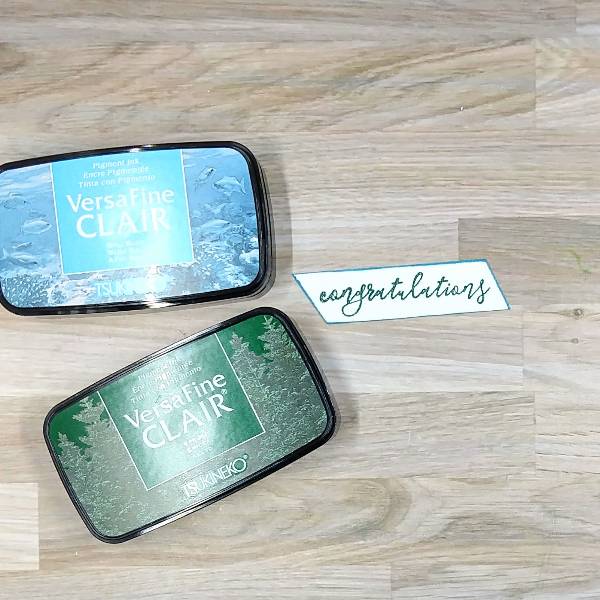
Steps 8 and 9: Stamp a sentiment from the same stamp set as the floral image with Spruce VersaFine Clair ink on watercolor paper and heat emboss with more clear Mboss powder. Trim the sentiment strip with a paper trimmer.
Then run the edges of the sentiment strip through the Bali Blue VersaFine Clair ink pad. Emboss the Bali Blue ink with more clear Mboss powder.
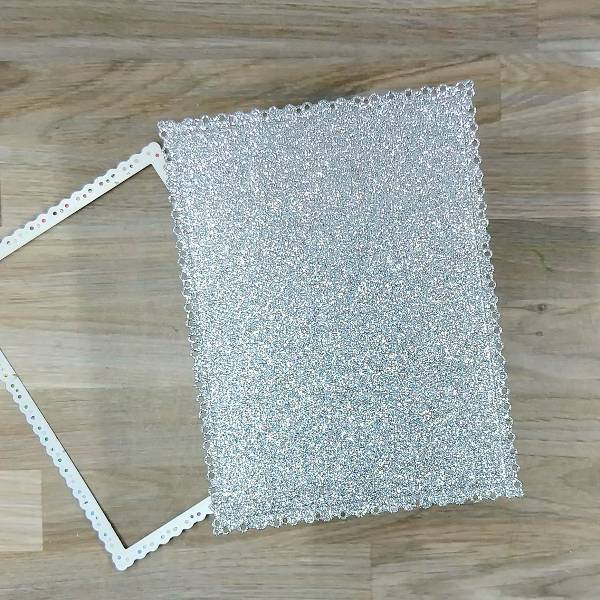
Step 10: Die cut a piece of silver glitter cardstock with the largest die from the same nesting die cut set.
Step 11: Glue the green panel onto the silver panel, orientating them at a diagonal. Glue the sentiment on the lower right corner of the green and silver panels. Set aside to dry.
Step 12: Glue blue and green sequins onto the card–three on the lower left corner and two on the upper right corner.
Step 13: Finish the card by gluing the whole panel onto an A2-sized white card base.
Other • Catherine Pooler – sequins – Yukon • Gina Marie Designs – Die set – Pleated Lace Rectangles die set • Hero Arts – Stamp set – Succulent Bouquet • Hero Arts – Die set – Succulent Bouquet • Unknown stamp company – background stamp – diagonal lines (I don’t know the brand or name of this stamp) • Watercolor paper • Silver glitter cardstock • Die cutting machine • Paint brush • Paper trimmer • Scissors • Glue
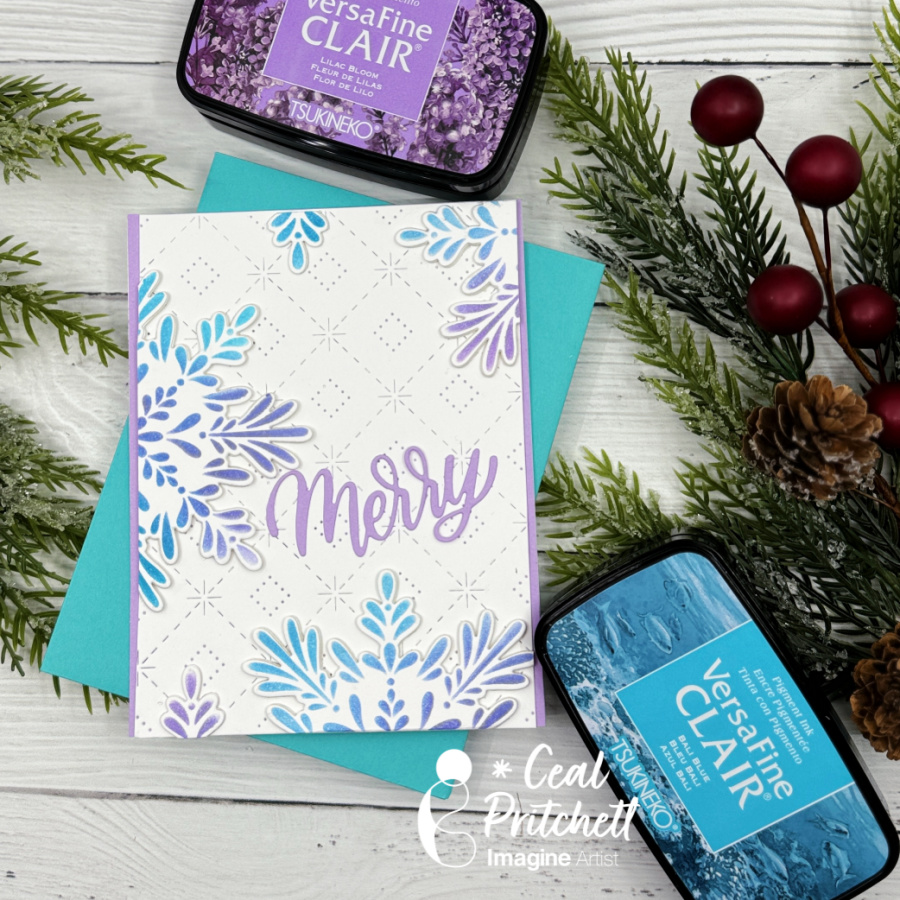
Hello Crafty Friends. Today, I am sharing how to add dimension to your card using diecuts and VersaFine Clair Inks.
Skill Level: Beginner to Intermediate Time: 30 to 45 Minutes
Directions:
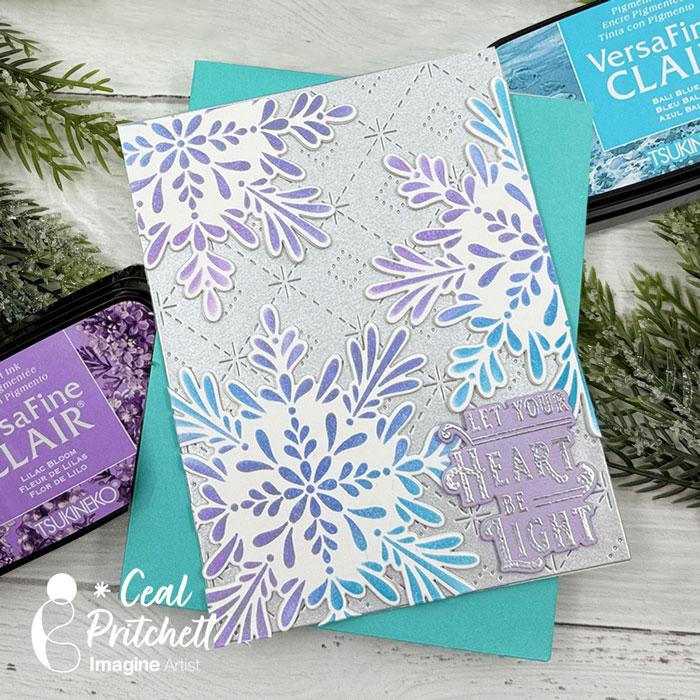
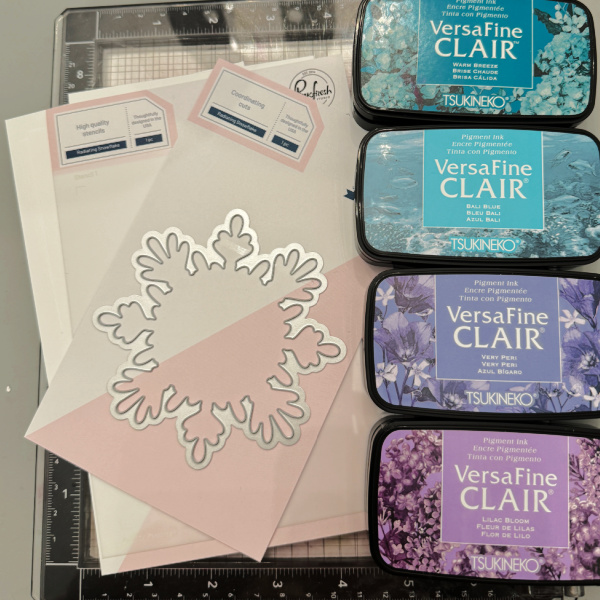
Step 1: Gather your supplies. You will need several colors of ink, a stencil, a background cover plate, and die cuts for your stenciled image. You will also need VersaMark ink and some clear embossing powder.
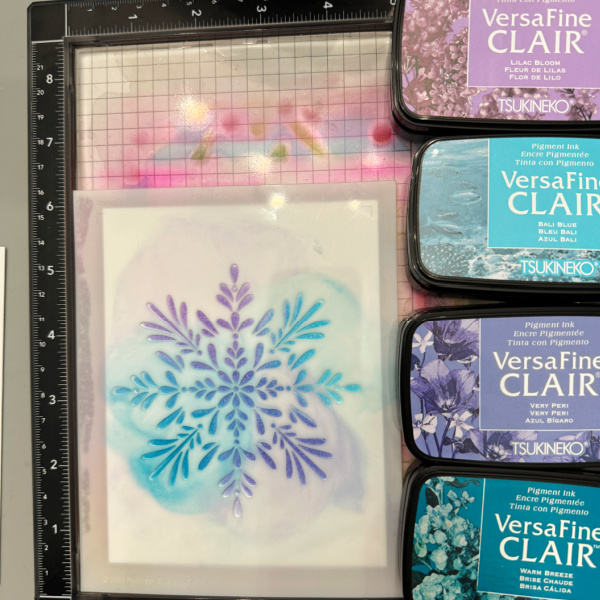
Step 2: Using a grip mat or another sticky mat, lay your panel on the mat and cover with the stencil. Use several colors of ink to color the snowflake. Repeat this process 3 times.
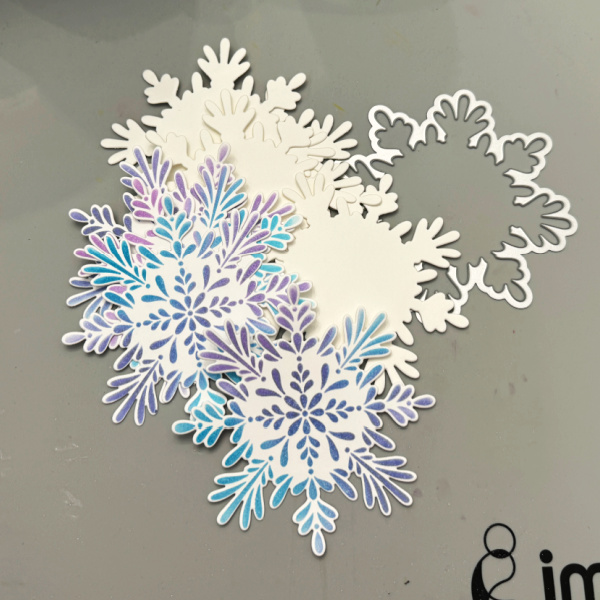
Step 3: Using the coordinating die, cut out all of the snowflakes you colored along with 6 others out of a heavyweight cardstock. Add the ones cut out of the heavyweight cardstock to the colored ones. This will give you dimension for the snowflakes and will still go through the mail without extra postage.
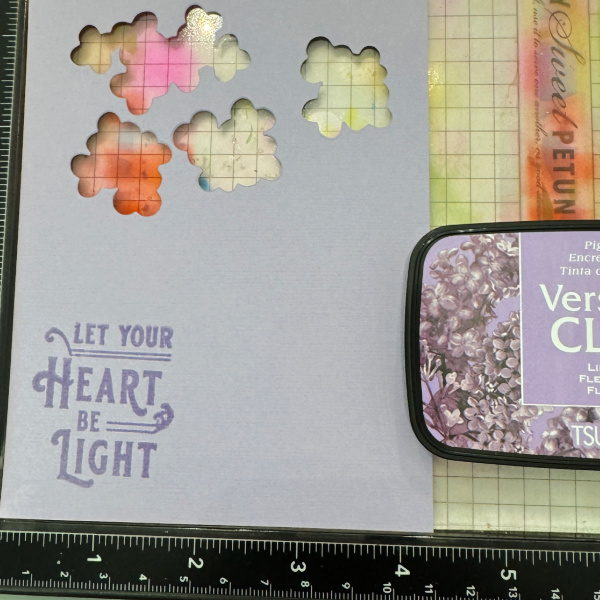
Step 4: Stamp the sentiment in purple ink and emboss it with clear powder. For my sample I decided to go with embossing it with silver powder on purple cardstock.
Create a background by using a cover plate die.
Assemble your card.
I created a second card with the left-over pieces.
Craft Supplies:
Imagine products: VersaFine Clair – Bali Blue, Warm Breeze, Lilac Bloom and Very Peri VersaMark On Point Glue
Other products: Neenah Classic Crest Solar White 120lb – CutCardStock Neenah Classic Crest Solar White 80lb – CutCardStock Stardream Silver Metallic 105lb – CutCardStock Radiating Snowflake Stencil – PinkFresh Studio Radiating Snowflake Die – PinkFresh Studio Holiday Greeting Sentiments – PinkFresh Studio Cover plate die – PinkFresh Studio Merry Die – Kristina Werner C9
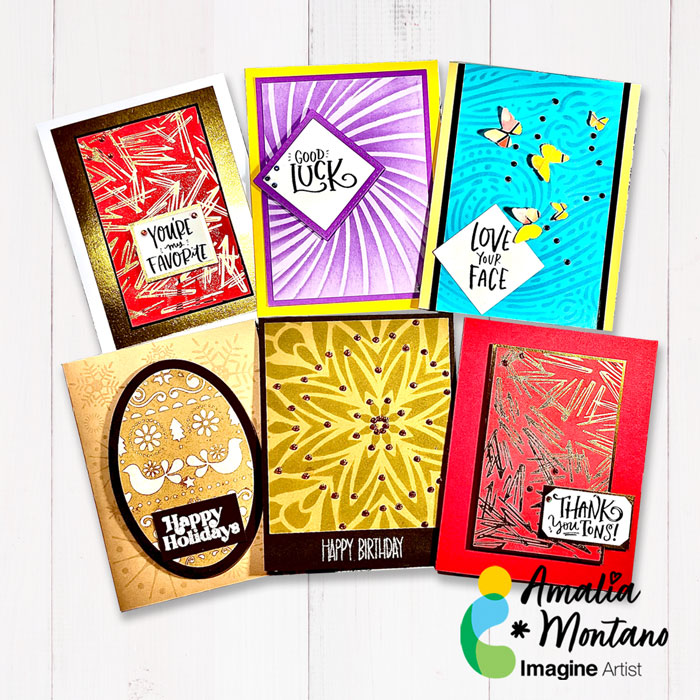
Hi! This is Amalia with Imagine crafts. In this video, I am using the new VersaFine Clair colors and stencils to create backgrounds that will turn into beautiful cards. The VersaFine Clair inks are highly pigmented and stamp perfectly the first time. They are vibrant and great for use with watercolor as they won’t bleed when wet. I love color and use the new colors with coordinating card stock from my stash for a tone-on-tone look. I hope you get inspired with the new colors and what I am able to create with them.
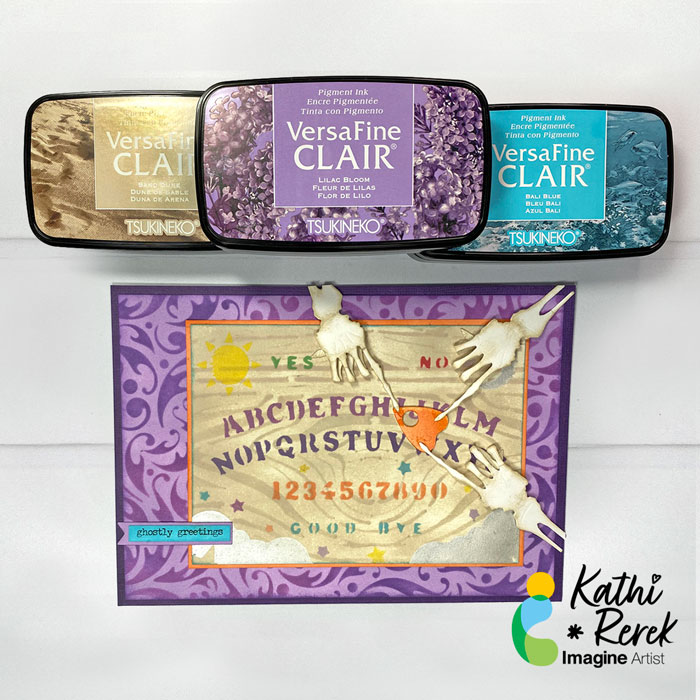
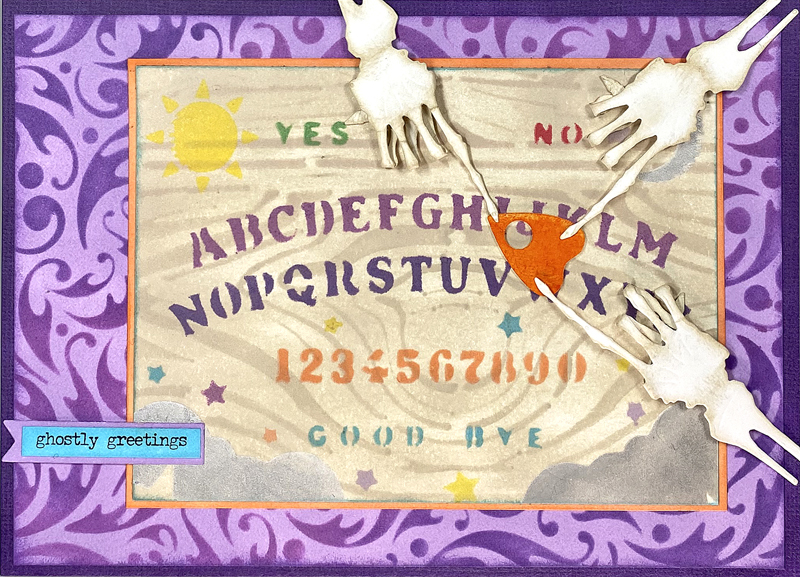
Halloween is the time of the year when the veil is the thinnest and people seek out spooky experiences. Here’s a card with NO stamping that uses both the old and new VersaFine Clair Inks with stencils and die-cuts!
Skill Level: Intermediate Time: 1.5 hours
Instructions:
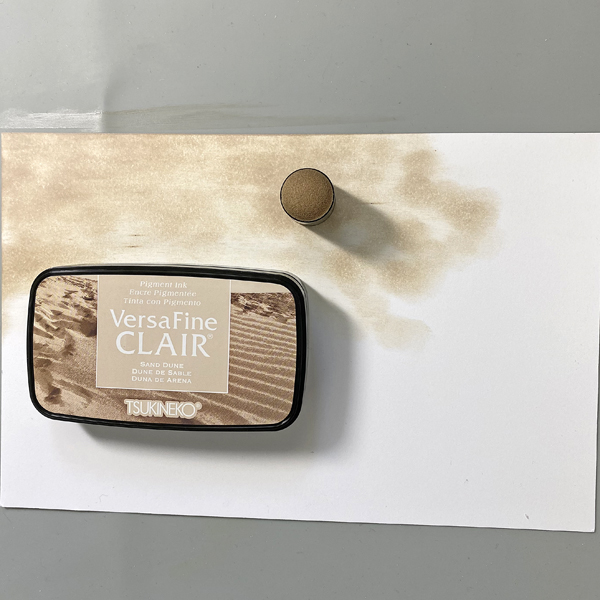
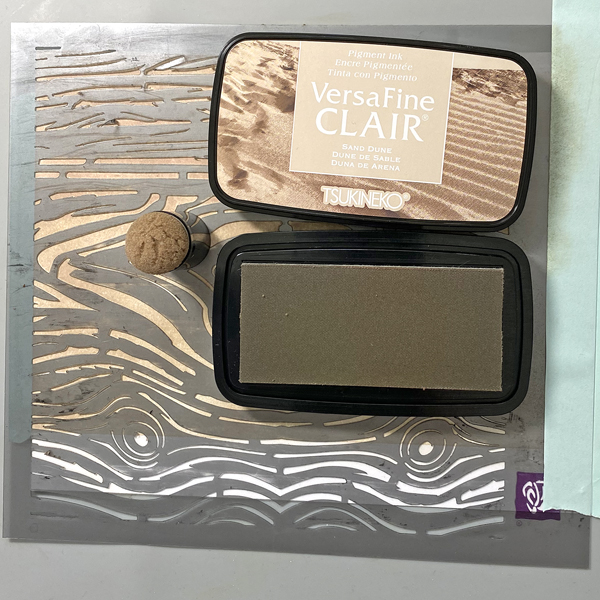
Step 1: Use a Sponge Dauber to apply Sand Dune VersaFine Clair ink to a piece of white cardstock.
Step 2: Use low-tack tape to secure the inked cardstock to the back of a wood-grain stencil. Use a sponge dauber to apply Sand Dune VersaFine Clair over the stencil onto the cardstock to create a subtle wood grained look. Remove the stencil and heat set the cardstock.
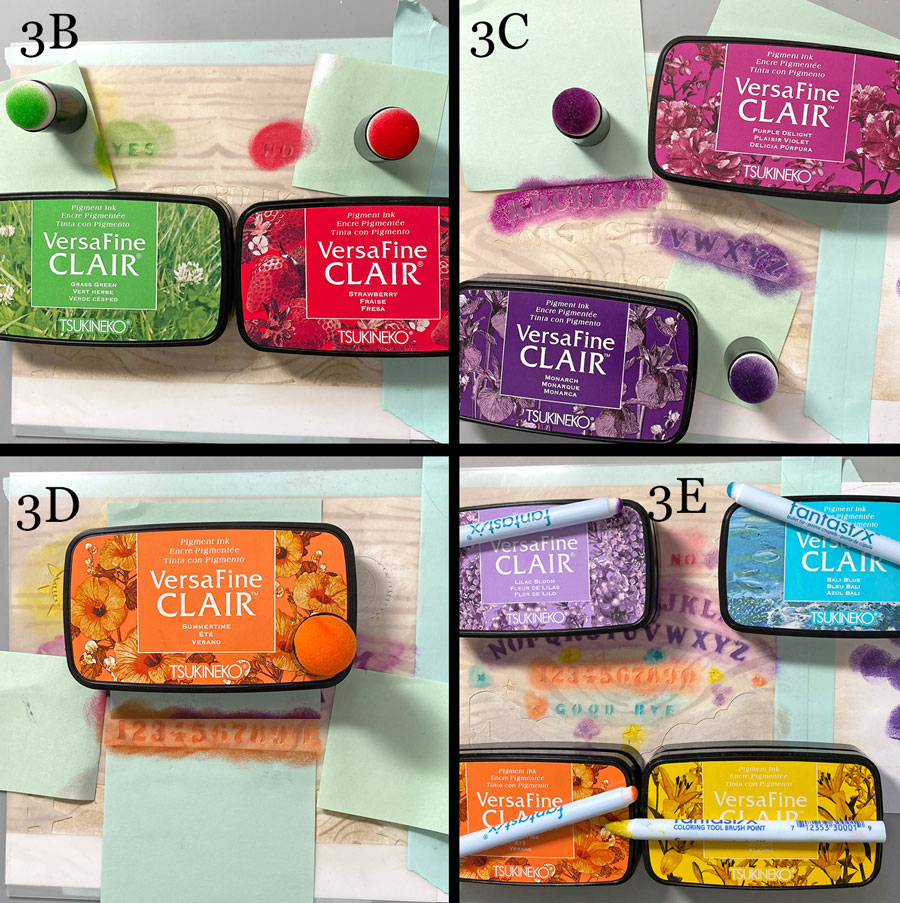
Steps 3A through 3E: Use low-tack tape to secure the image panel to the back of the Ouija Board Stencil. Different colors of VersaFine Clair Inks and Moonlight White Brilliance ink will be applied to various areas of the stencil. I ended up adding Starlite Silver over the Moonlight White to add more contrast. Sorry there’s no photo.
Place Post-It Notes to protect areas of the stencil and keep a paper towel at hand to wipe excess ink off of the stencil to avoid unwanted ink transfer.
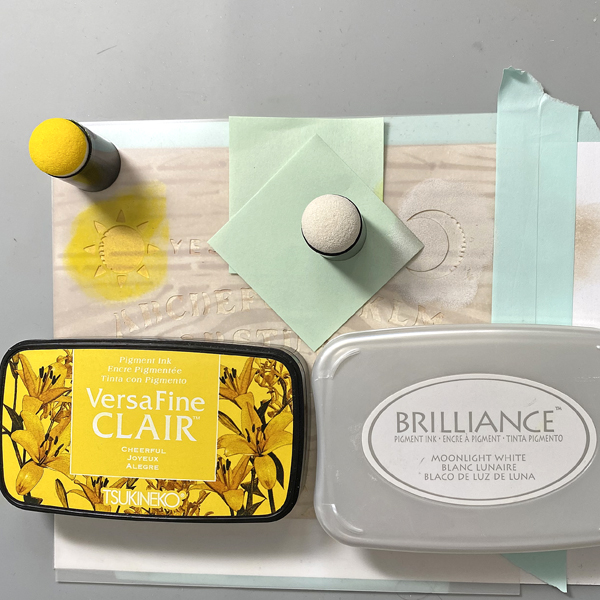
Use a Sponge Dauber to apply Cheerful VersaFine Clair to the sun area of the stencil. Use a Sponge Dauber to apply Moonlight White Brilliance Ink to the moon and the clouds area of the stencil (3A).
Use Sponge Daubers to apply Grass Green and Strawberry VersaFine Clair Inks to the “Yes” and “No” words on the stencil (3B)
Use Sponge Daubers to apply Purple Delight and Monarch VersaFine Clair Inks to the the alphabet on the stencil (3C). Remember to use a paper towel to wipe away excess ink.
Use a Sponge Dauber to apply Summertime VersaFine Clair Ink to the numbers on the stencil (3D).
Use Fantastix to apply Lilac Bloom, Bali Blue, Summertime, and Cheerful VersaFine Inks to the stars on the stencil (3E)
Remove the stencil and thoroughly heat set the image panel.
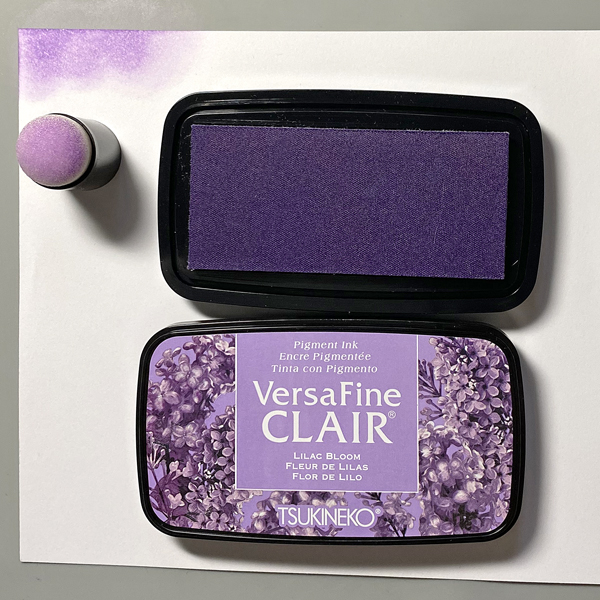
Step 4: Use a Sponge Dauber to apply Lilac Bloom VersaFine Clair Ink to a piece of Mixed Media paper to create the background panel. Heat set.
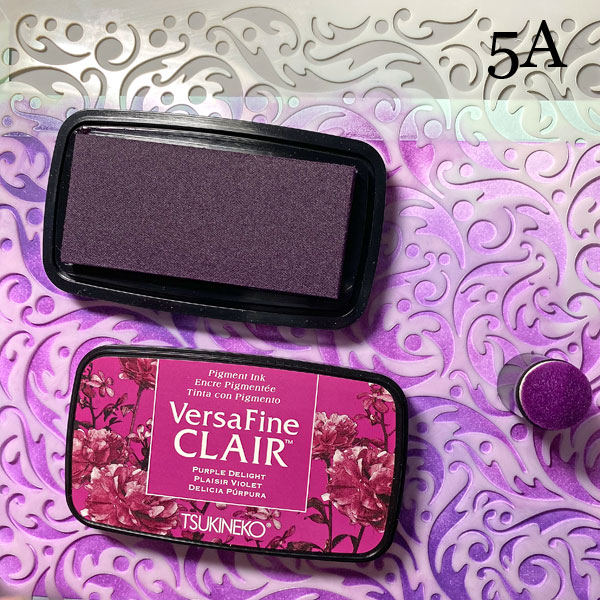
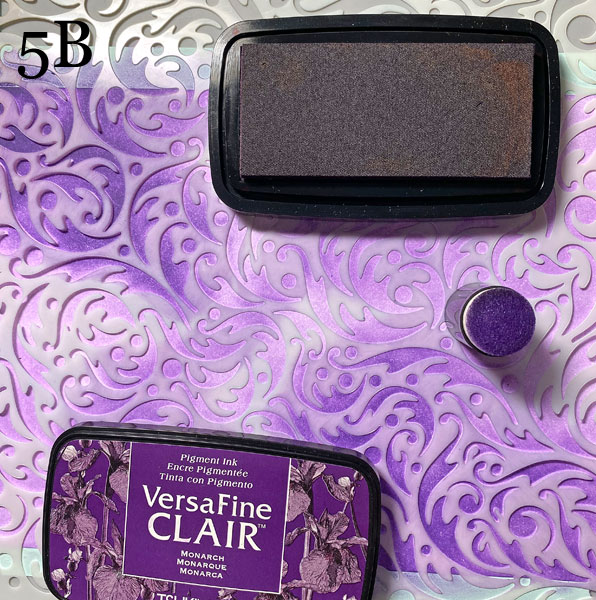
Steps 5A and 5B: Use low-tack tape to secure the Lilac Bloom inked paper to the back of the Dynamic Stencil.
Use a Sponge Dauber to apply Purple Delight VersaFine Clair Ink randomly over the stencil (5A) onto the background panel. Use a separate Sponge Dauber to apply Monarch VersaFine Clair Ink over the the rest of the stencil (5B) onto the background panel. Remove the stencil and heat set the panel.
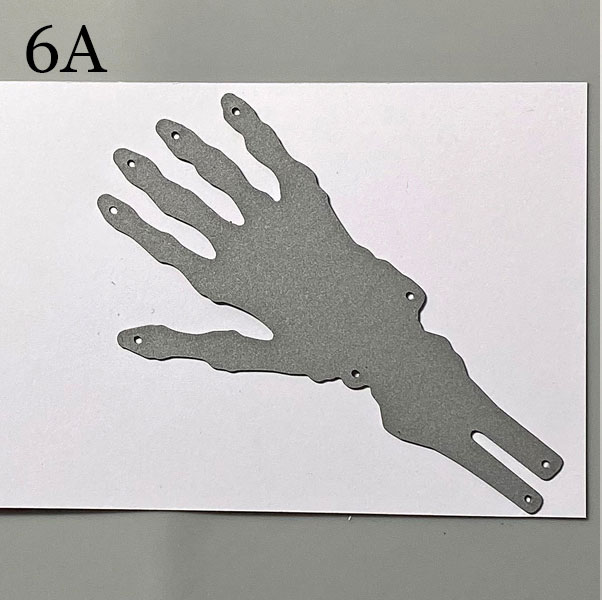
Step 6: Use the skeletal hand cutting die to cut three hands from white cardstock.
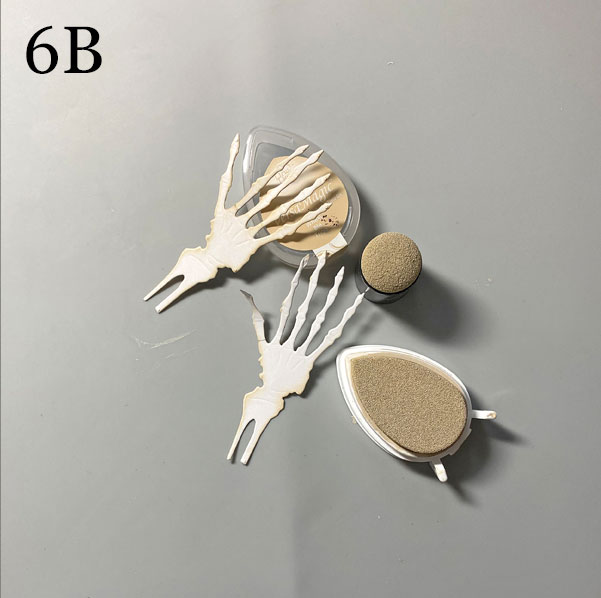
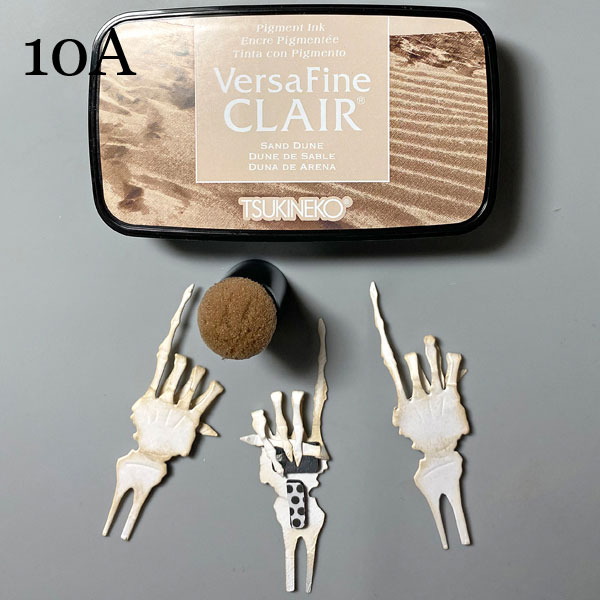
Use a Sponge Dauber to apply Wheat VersaMagic Ink to the edges of the hands, fingers, and wrist bones. You can use the pointed edge of the DewDrop Inkpad to reach between the fingers! When the bones are aged to your liking, heat set all three hands then set them aside.
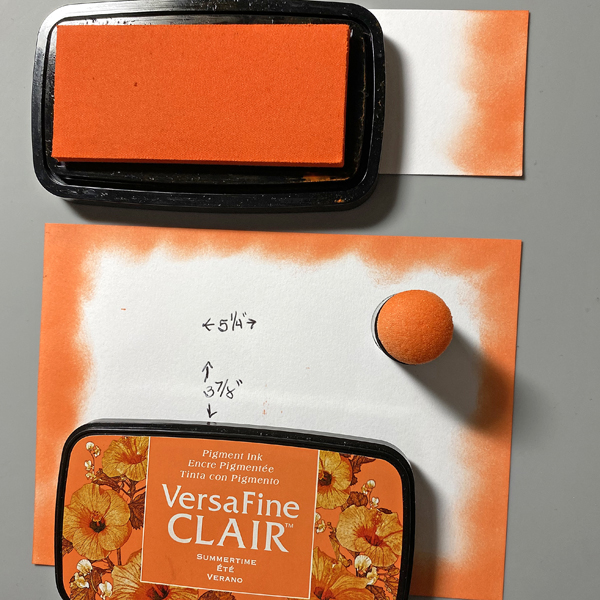
Step 7: Cut a piece of white cardstock to 5.25” x 3.875”. Use a Sponge Dauber to apply Summertime VersaFine Clair Ink to the outer .5” of the panel. Heat set. Use this panel to mat the Ouija Board Panel, then adhere the matted Ouija Board panel to the stenciled background panel. Sorry that there’s no photo.
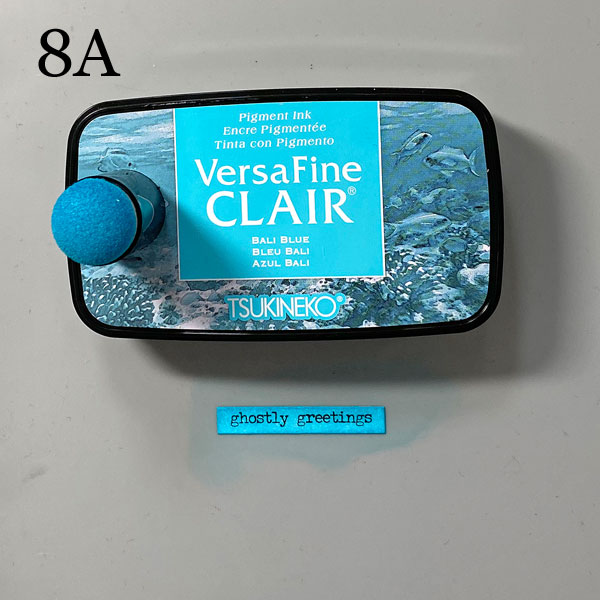
Steps 8A and B: Use a Sponge Dauber to apply Bali Blue VersaFine Clair Ink to a sentiment sticker (8A). Heat set.
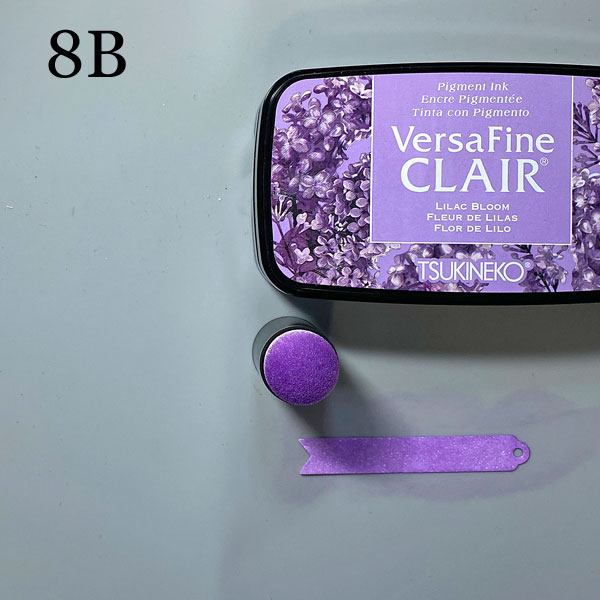
Use a Flag Die to cut white cardstock. Use a Sponge Dauber to apply Lilac Bloom VersaFine Clair Ink to the die-cut. Heat set.
Adhere the sticker onto the die-cut flag. Set aside.
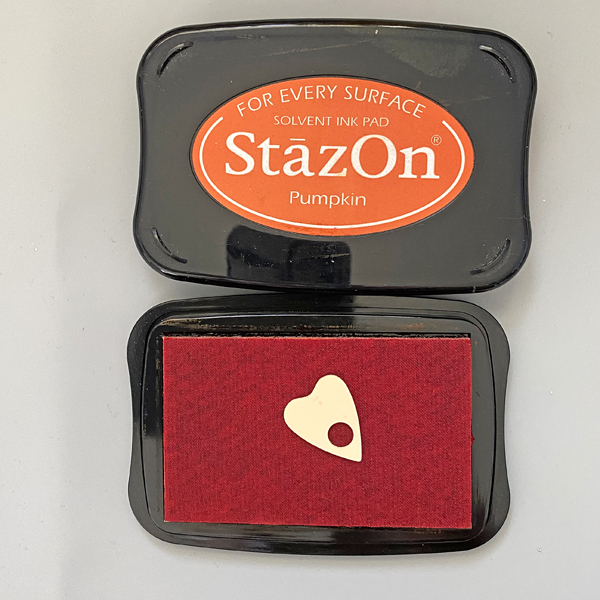
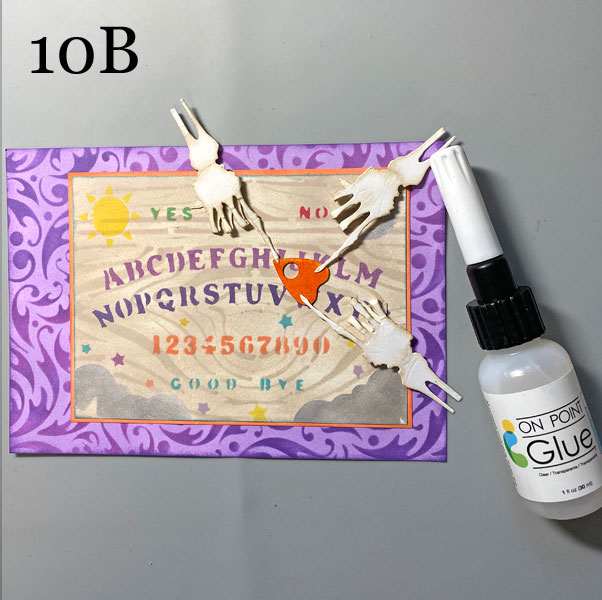
Step 9: Press the plastic planchette facedown onto the Pumpkin StazOn Inkpad. Smoosh it around.Carefully remove and allow to dry.
Steps 10A and 10B: Place dimensional foam adhesive to the back of all three skeletal hands. Fold all the fingers, except the index fingers, backwards at the second joint, and press them onto the adhesive foam. You can add a piece of Tear It! Tape over them to keep them in place. Use a Sponge Dauber to apply Sand Dune VersaFine Clair Ink to the backs of the fingers and the joints to further “age” them (10A).
Use On Point Glue to attach the Planchette so that it’s pointing at the “H” for Halloween. Apply On Point Glue to the back of index fingertips, remove the tape backing, and adhere the skeletal hands as shown (10B).
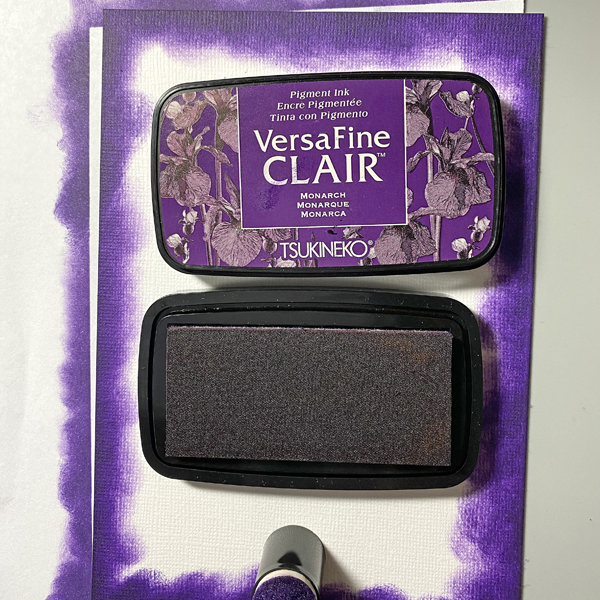
Step 11: Create a 5” x 7” card from white textured cardstock. Use a Sponge Dauber to apply Monarch VersaFine Clair Ink to the outer .5” of the card. Heat set.
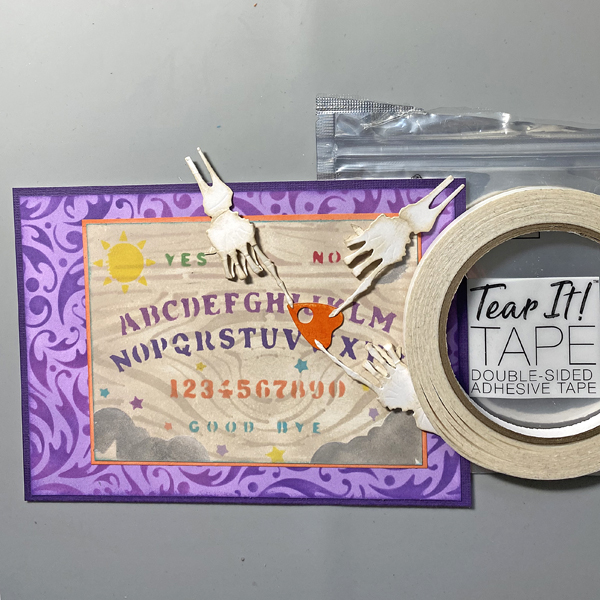
Step 12: Use Tear It! Tape to adhere the layers of the card.
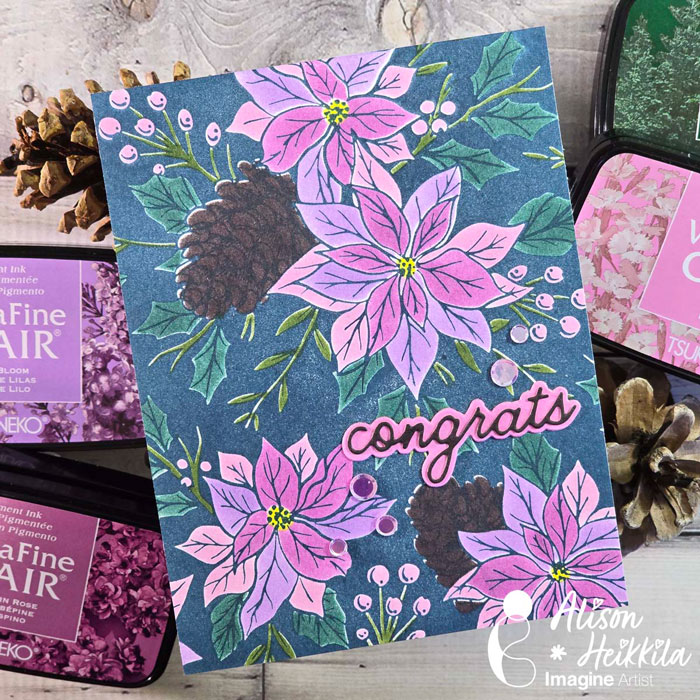
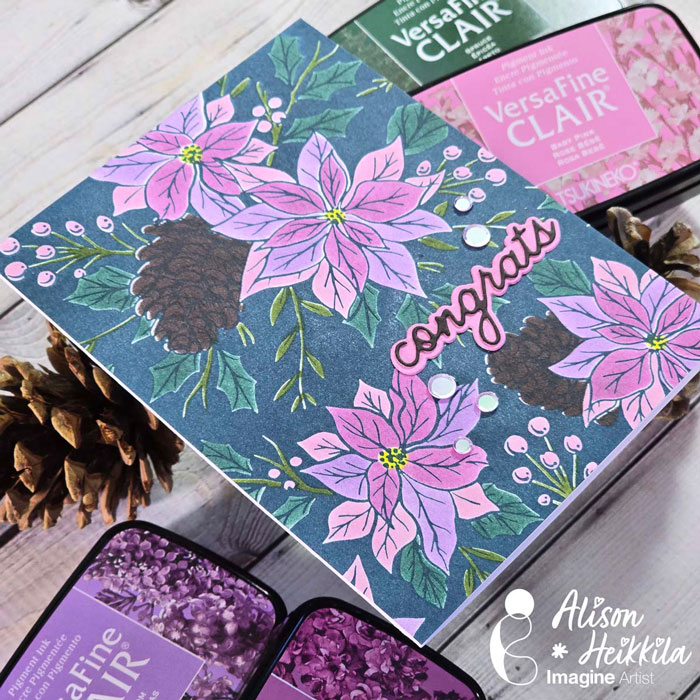
Hello! I’m Alison Heikkila. For my latest video for Imagine, we will be using some of the newest VersaFine Clair Ink colors along with a new BetterPress Plate from Yana Smakula and Spellbinders. The card was made with a Winter Wedding theme in mind, but you can change this to suit your needs.
Skill Level: Beginner-Intermediate Time to Complete: 20-30 Minutes
*Some affiliate links are used in this post. That means that if you shop through these links, I may receive a small compensation, at no cost to you.