By Helen Gullett
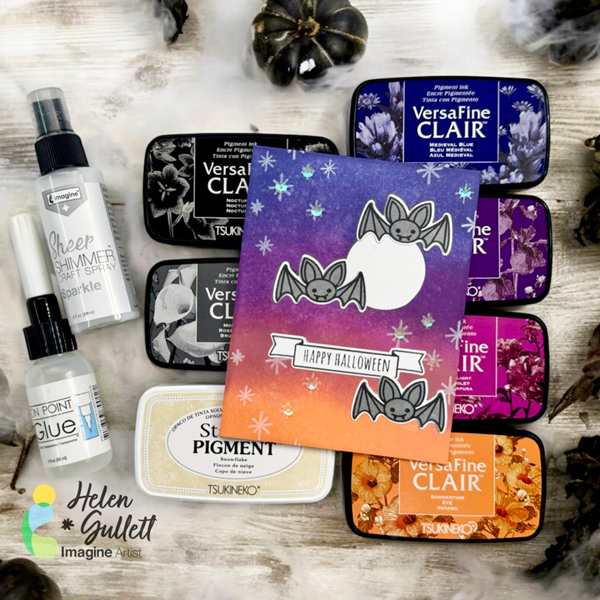
Hello crafty friends! Today, we are going to make this Halloween theme card using color blending techniques with VersaFine Clair ink pads and stamping with Staz-On Pigment ink pad.
Let’s get crafting!
Skill: Intermediate
Time: 15-20 minutes
Direction:
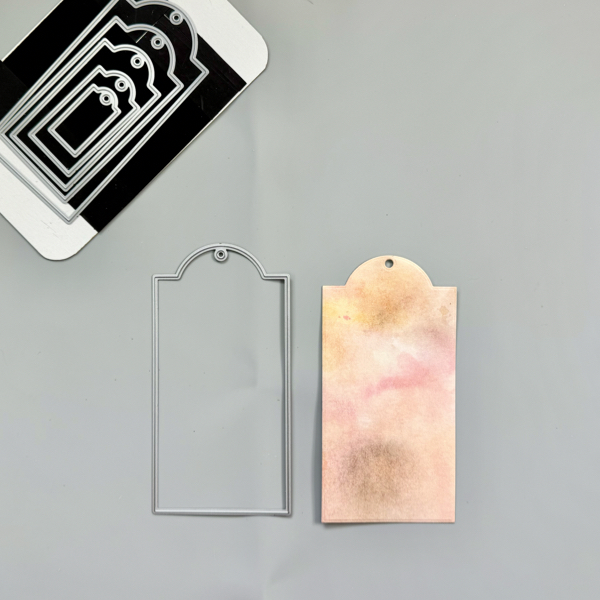
Step 1
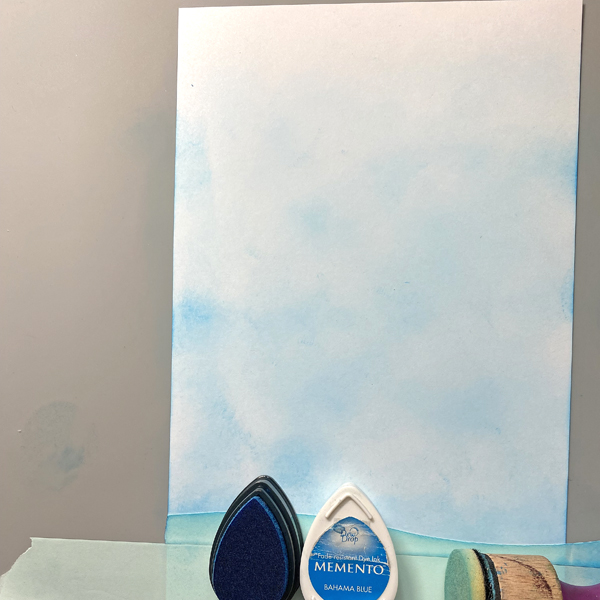
Cut out a piece of white cardstock into 4.25 inch x 5.5 inch.
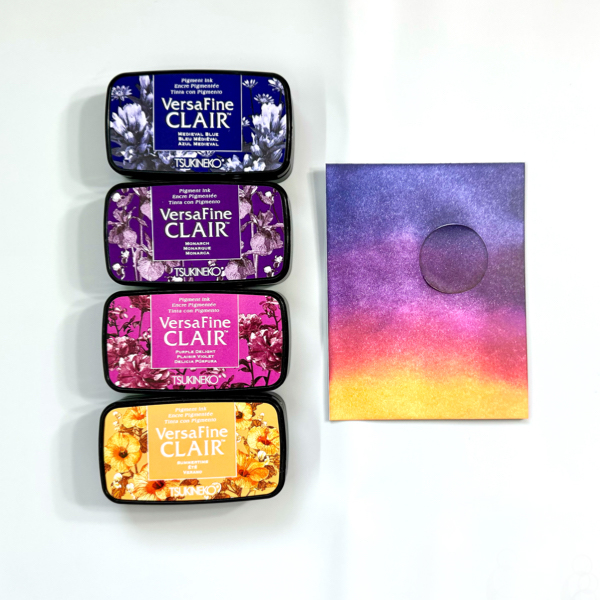
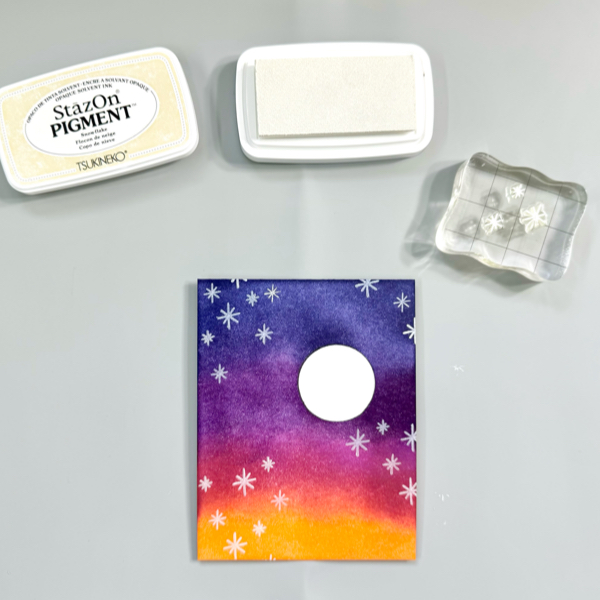
Cut a piece of masking paper using 1 inch circle punch or any circle die. Peel off the backing of the masking paper and add it to the cardstock.
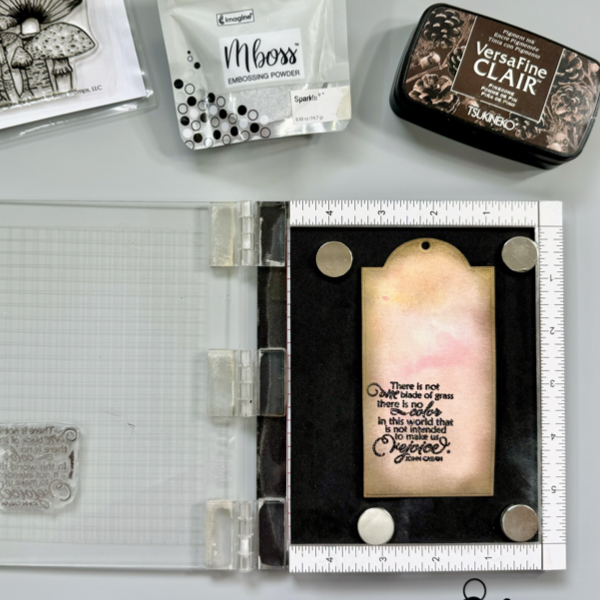
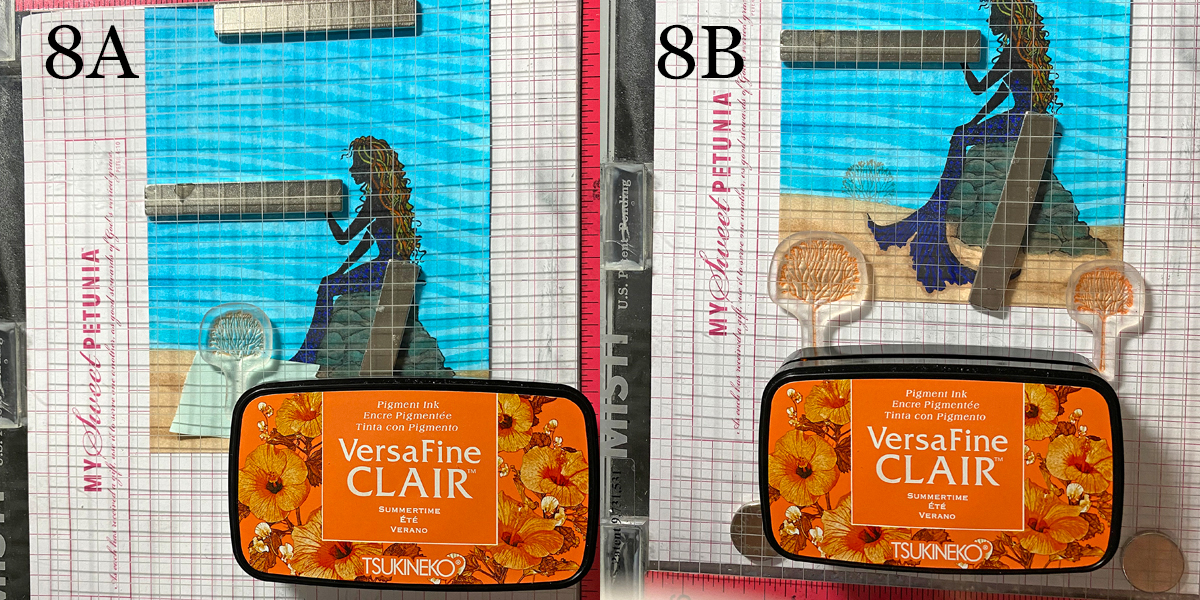
Start adding each color on the cardstock using a blending brush one by one. Colors I used for this background are VersaFine Clair: Medieval Blue, Monarch, Purple Delight, and Summertime. You can repeat adding colors until you are happy with the blended colors.
Step 2
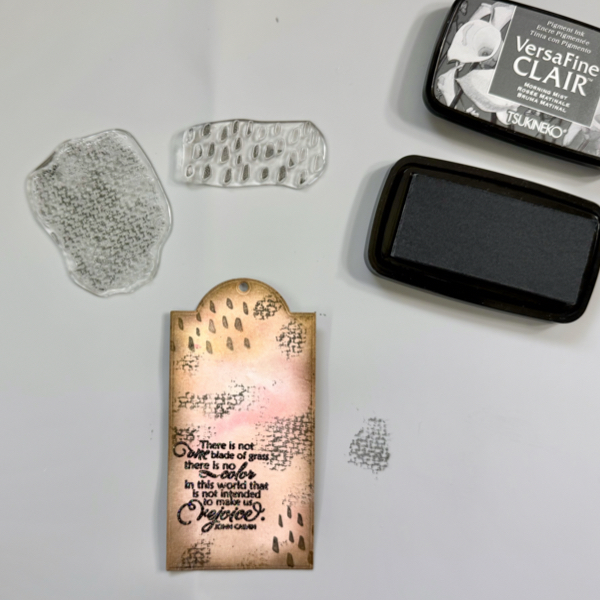
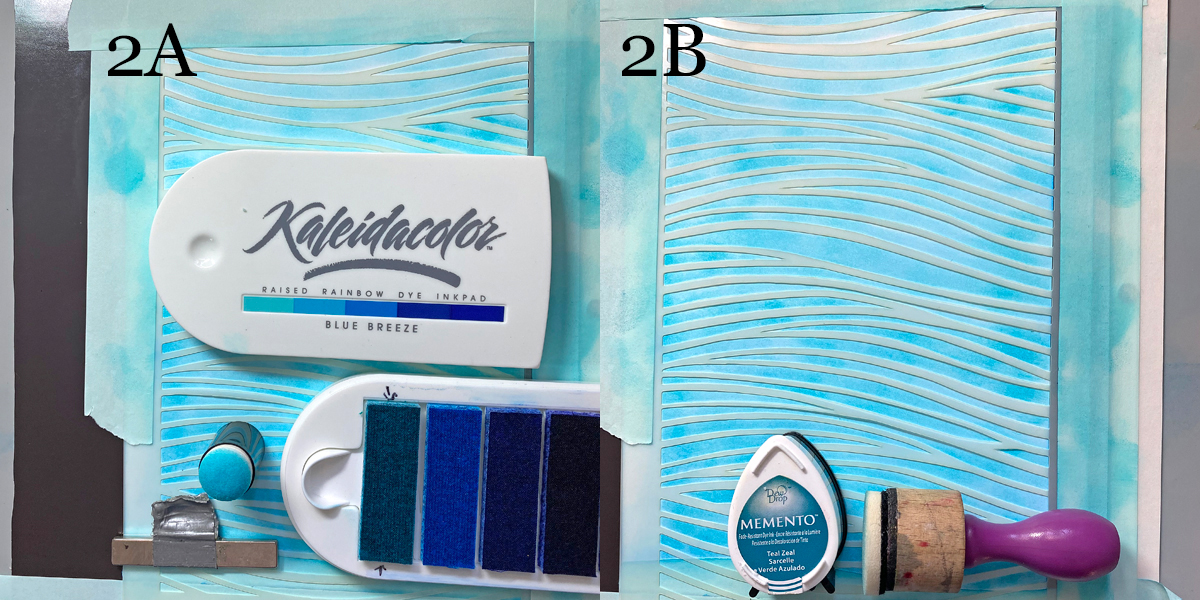
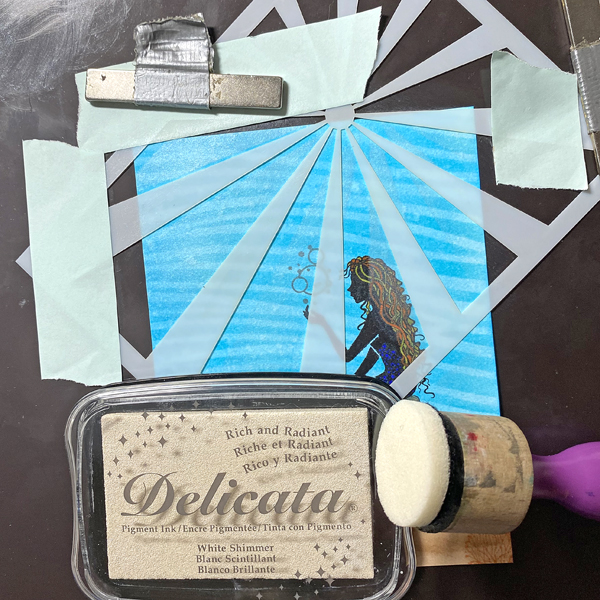
Next step is randomly stamping the small star images on the background using the Snowflake Staz-On Pigment Ink Pad. This white pigment ink is opaque and the white ink sits on top of other colors.
Remove the masking paper of the cardstock.
Step 3
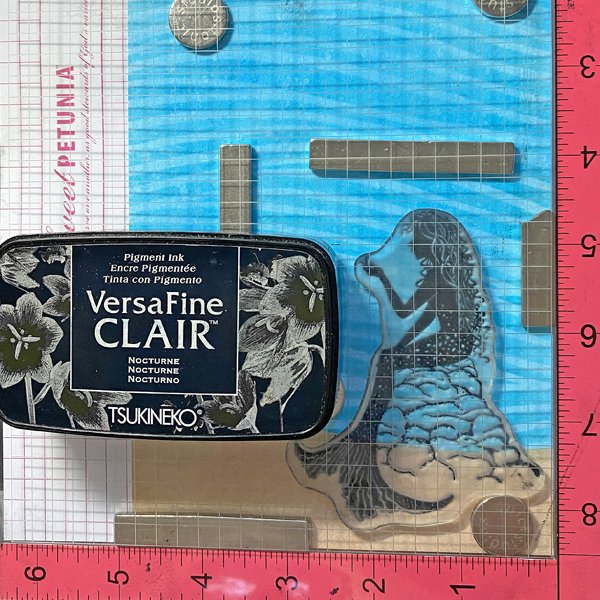
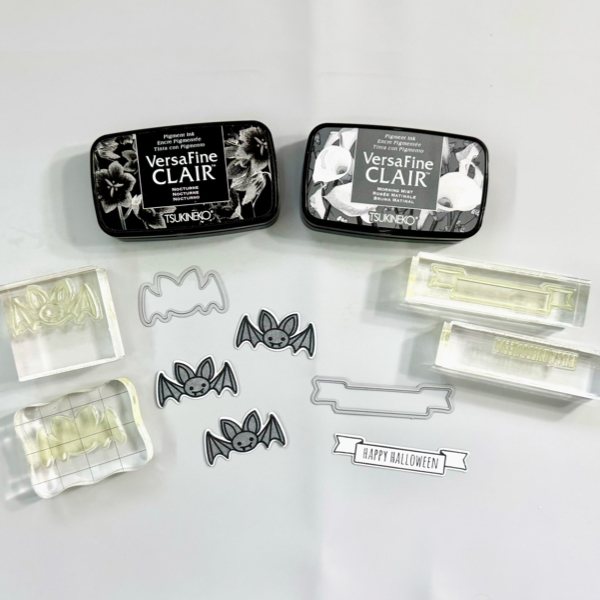
On another piece of white cardstock, stamp the bat outline stamp with VersaFine Clair Nocturne ink pad.
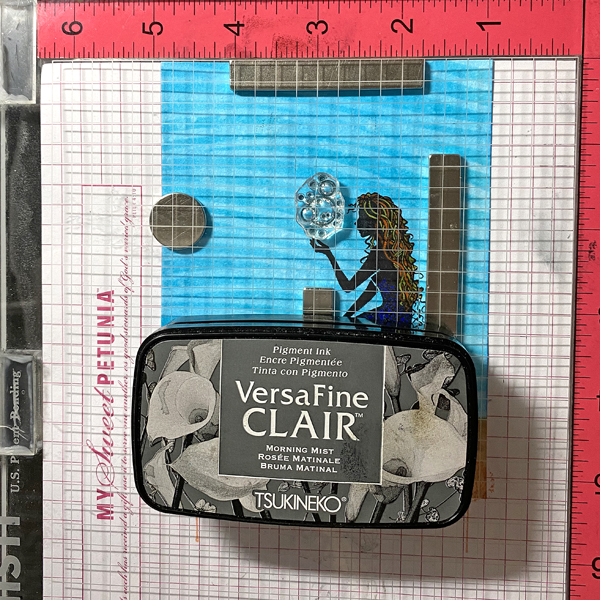
Put the bat solid stamp in the stamping block and add some VersaFine Clair Morning Mist ink pad on it, line up the bat solid stamp on top of the stamped bat image, and stamp.
Stamp the sentiment and banner image with VersaFine Clair Nocturne ink pad on a white cardstock.
Cut them with the matching die set, or fussy cut them with scissors.
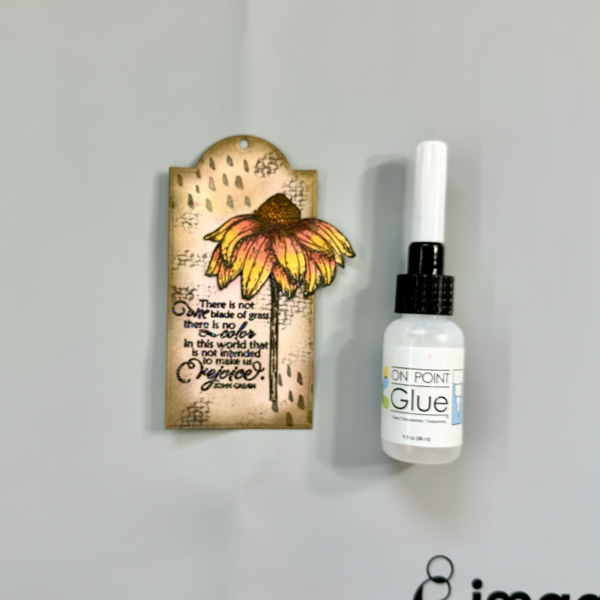
Step 4
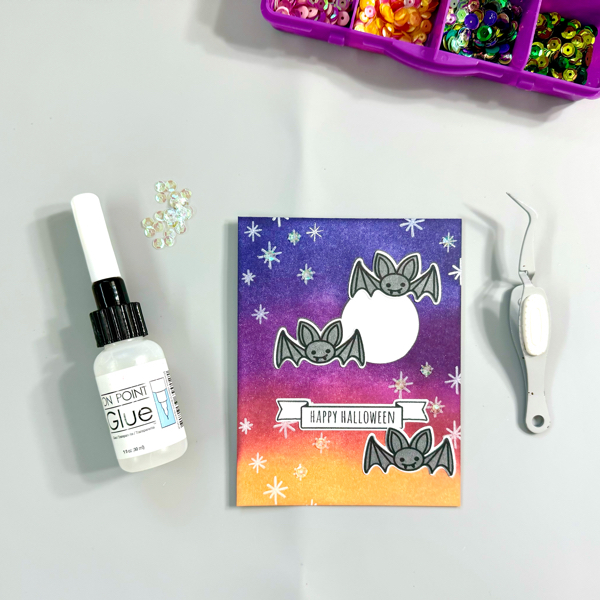
Add the background mat to the card base with some of the On Point Glue. Press firmly for a few seconds until the glue dries.
Add the bats and sentiment banner to the card with On Point Glue.
Optional, you can add some extra sequins to the card, or just leave as it is.
Step 5
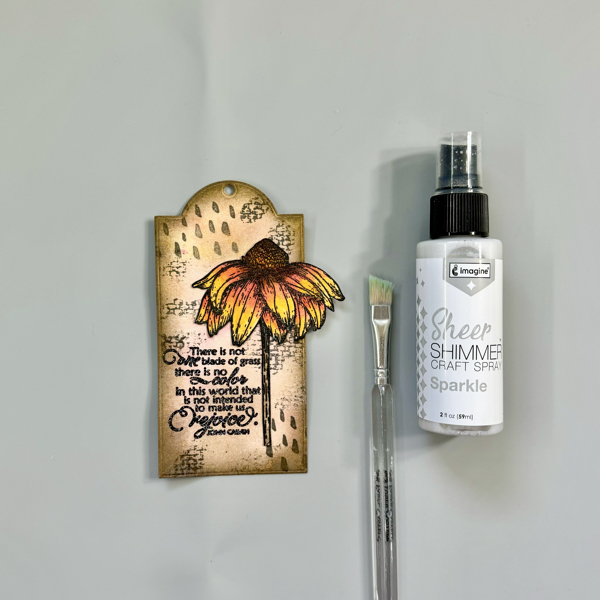
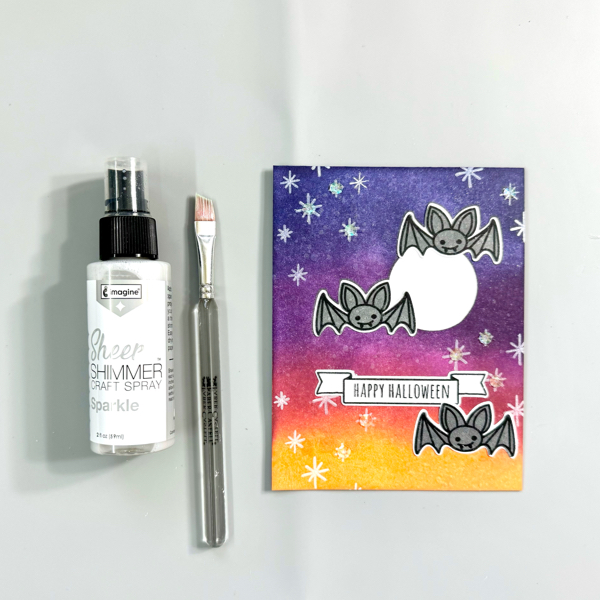
For extra shimmer, I added some Sheer Shimmer Sparkle spray on the card with small flat brush.
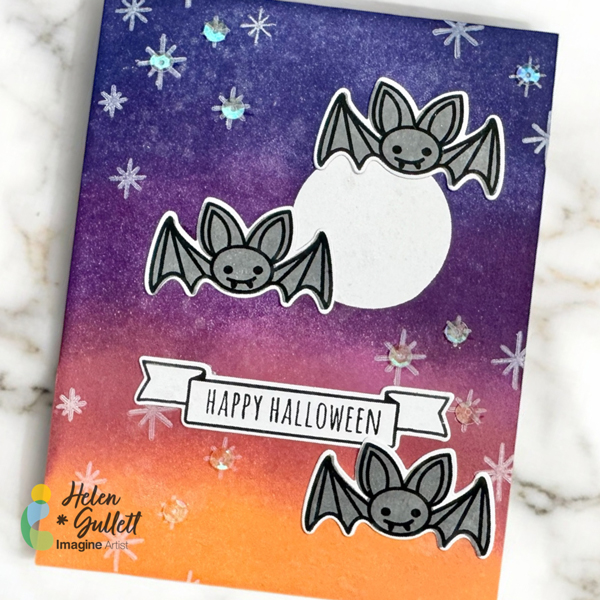
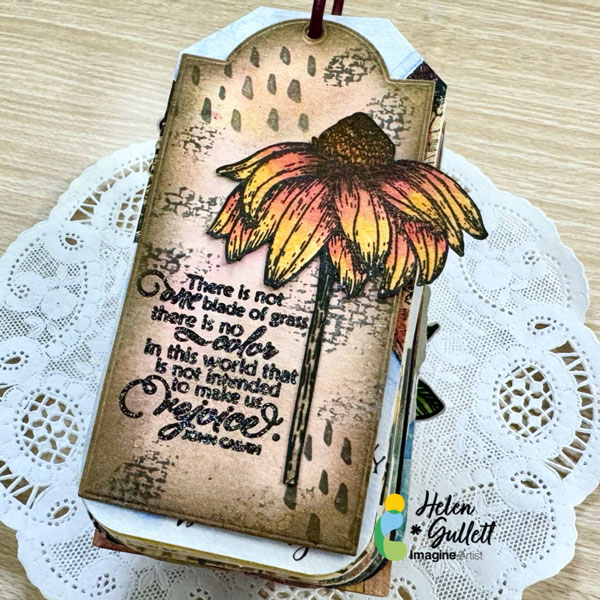
Aren’t those bats too cute to spook? I hope this Halloween card can put a smile on your face, too. Thank you for stopping by our blog today. Have a fabulous day!
Craft Supplies
Imagine Crafts:
- VersaFine Clair (Medieval Blue, Monarch, Purple Delight, Summertime, Nocturne, Morning Mist)
- Staz-On Pigment Ink – Snowflake
- Sheer Shimmer Sparkle Craft Spray
- On Point Glue
- Imagine Craft Mat
- Staz-On All Purpose Stamp Cleaner
Others:
- Happy Halloween Stamp Set and Die Set (retired)
- Neenah Solar White Cardstock 80 lb
- Sequins
- Small flat brush
- MISTI stamping tool
- Stamping Blocks
- Micro-tip scissors
- 1 inch circle punch (or circle dies)
- Paper trimmer
- Die cutting Machine