Pawsome Card with VersaColor and Memento Inks

By Kathi Rerek

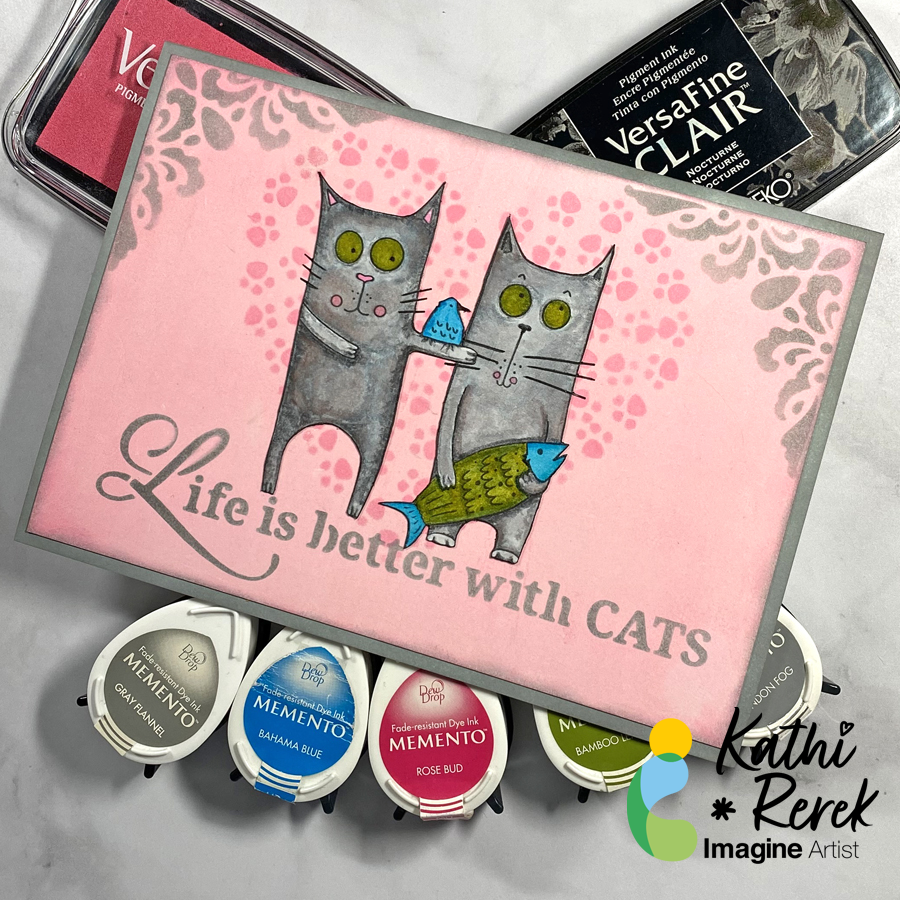
Cats rule the internet and my heart. Here’s a quick card created with inks, stencils, and white paper.

Skill Level: Beginner to Intermediate

Time: 1.5 hours

Directions:
Step 1.

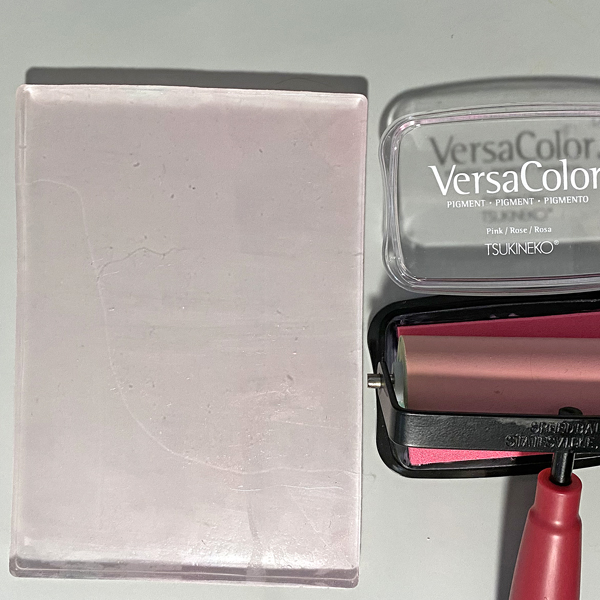
Roll a 4” Brayer onto a Pink VersaColor inkpad, then apply the ink onto a 5” x 7” Gel Press. Place a 5” x 7” panel of Bristol Paper onto the Gel Press, press the back of the paper to pull the print. Heat set the ink.
Step 2:

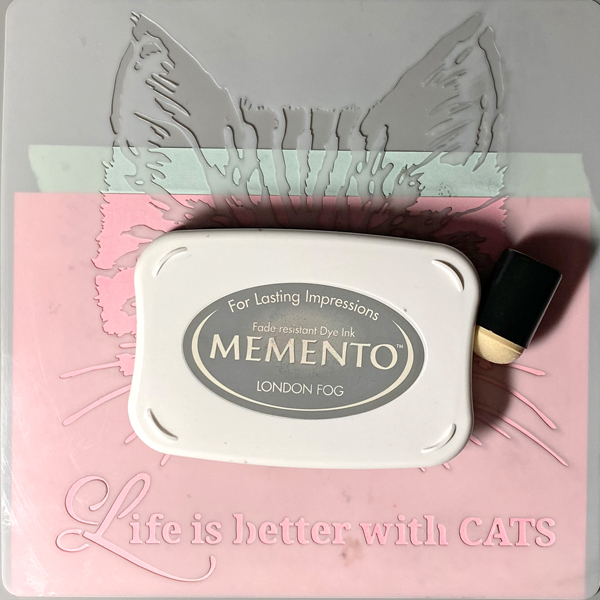
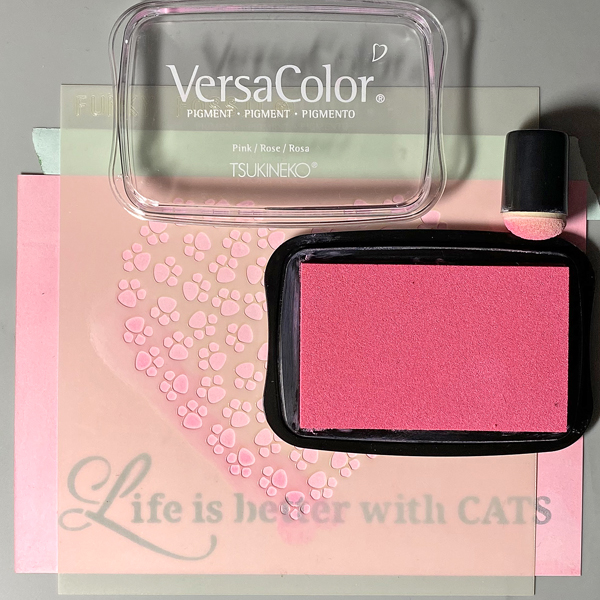
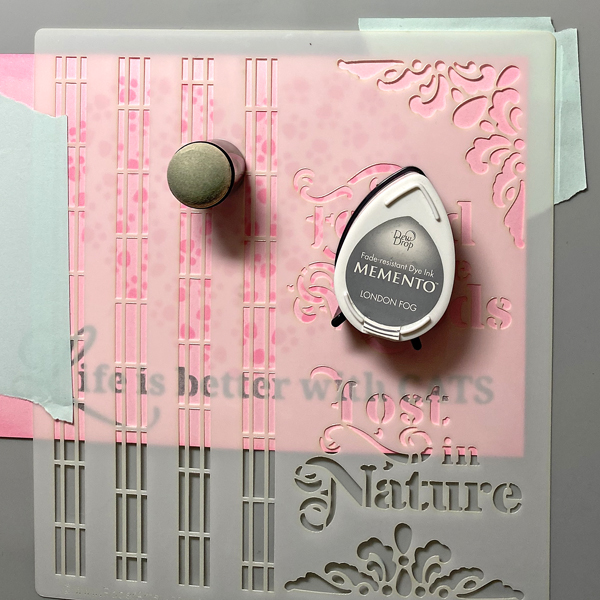
Position the quote on the Life with Cats stencil along the bottom of the inked paper panel. Use tape to secure the stencil to the back of the panel.

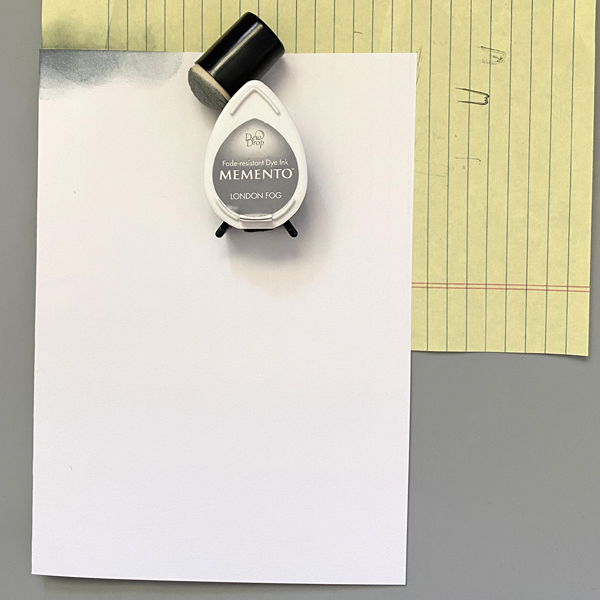
Use a Sponge Dauber to apply London Fog Memento Ink over the stencil onto the inked panel. Remove the stencil.
Step 3:

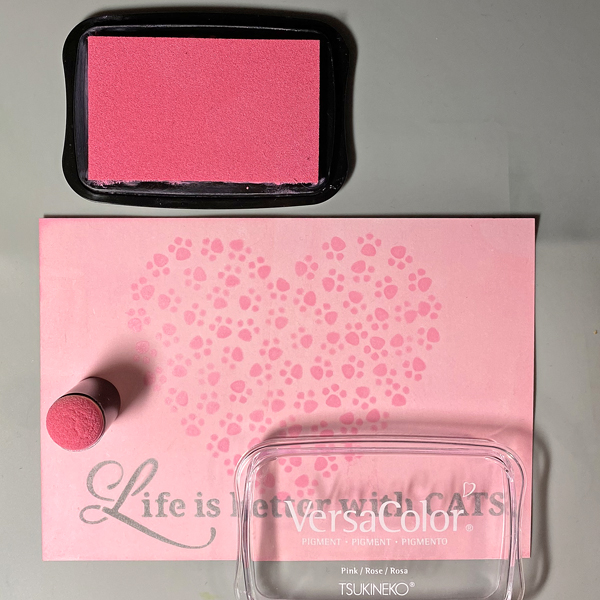
Position the Pawsome Hearts stencil to the center of the inked panel. Use tape to secure the stencil to the back of the panel.

Use a Sponge Dauber to apply Pink VersaColor Ink over the stencil onto the inked panel.

Remove the stencil and heat set the inked panel.
Step 4:

Use the Sponge Dauber to edge the stenciled panel with Pink VersaColor Ink. Heat set.
Step 5:

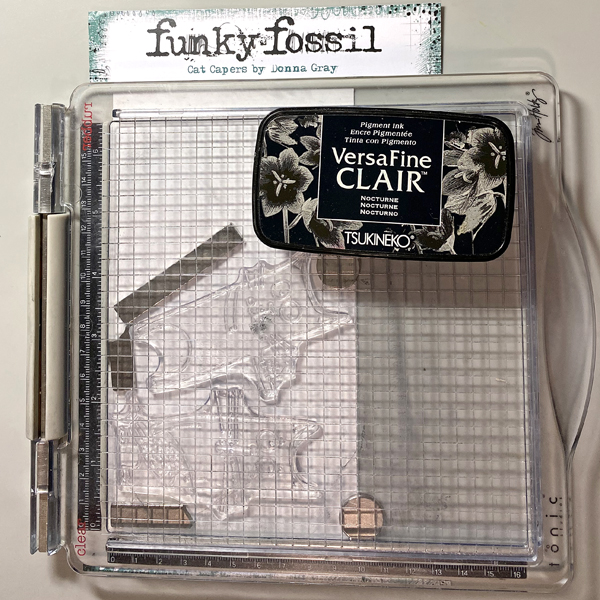
Use a stamping platform and Nocturne VersaFine Clair Ink to stamp two cats from the Cat Capers Clear Stamp Set onto a panel of Bristol Paper. Heat set.
Step 6:

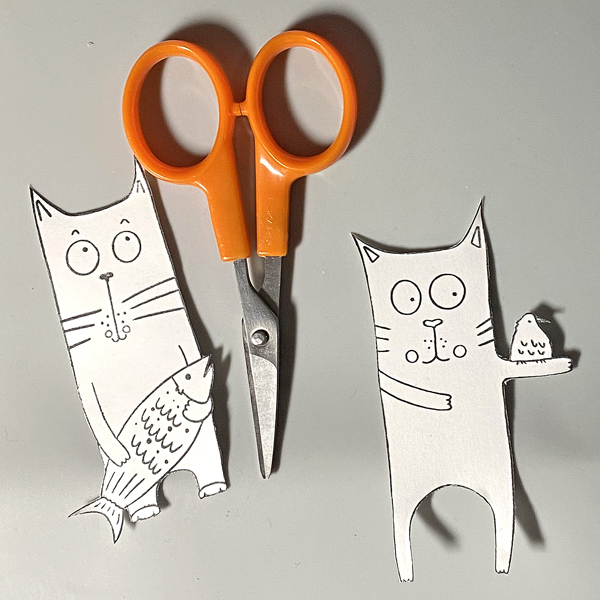
Fussy-cut both cats.
Step 7:

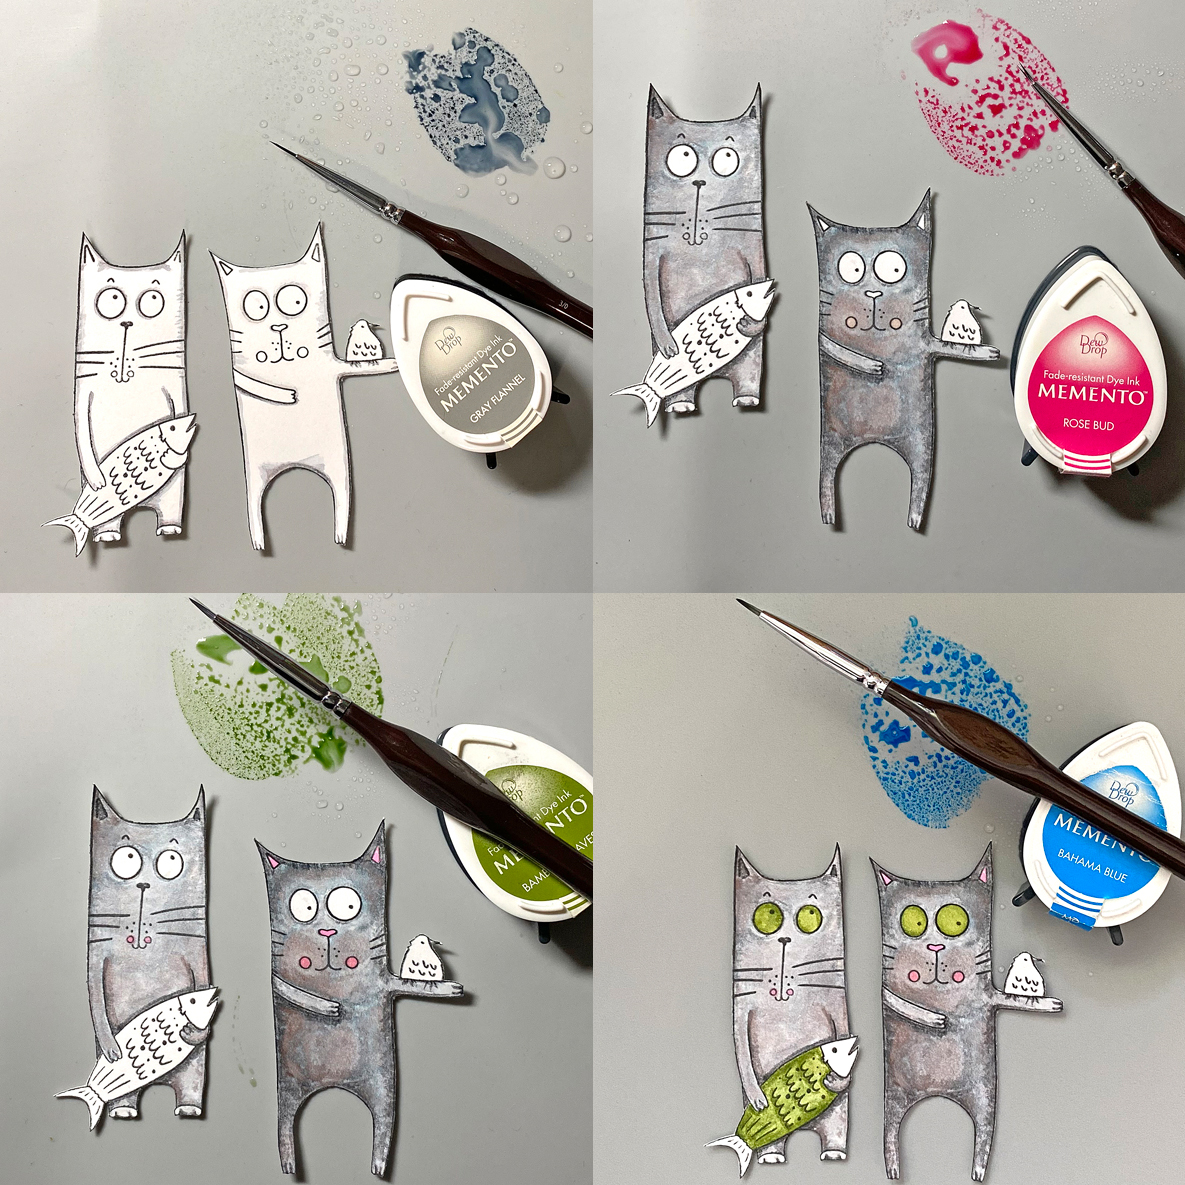
Smoosh London Fog Memento Ink onto a craft mat. Mist with water. Use a fine paintbrush to color the cats’ fur. Clean the ink off of the craft mat and the paint brush.

Repeat the above steps with Rose Bud Memento Ink to color the cheeks, nose, and ears. Bamboo Leaves Memento Ink for their eyes and the fish body, and Bahama Blue Memento Ink for the bird and the fish head and tail.
Step 8:

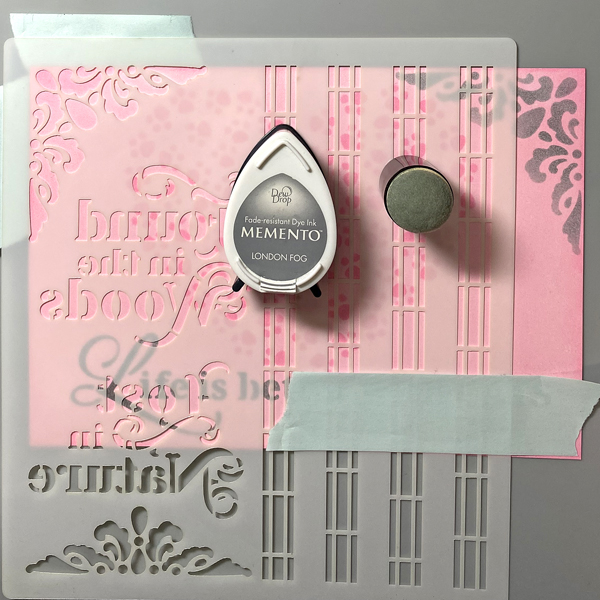
Position the corner flourish of the stencil on the upper right corner of the background panel. Secure with tape on the reverse.

Use a Sponge Dauber to apply London Fog Memento Ink over the stencil onto the panel.

Remove the stencil. Clean and dry it thoroughly.

Flip the stencil, position the corner flourish of the stencil on the upper left of the background panel. Secure with tape on the reverse.

Use a Sponge Dauber to apply London Fog Memento Ink over the stencil onto the panel.

Remove the stencil. Use a Sponge Dauber to edge the panel with London Fog Memento ink.
Step 9:

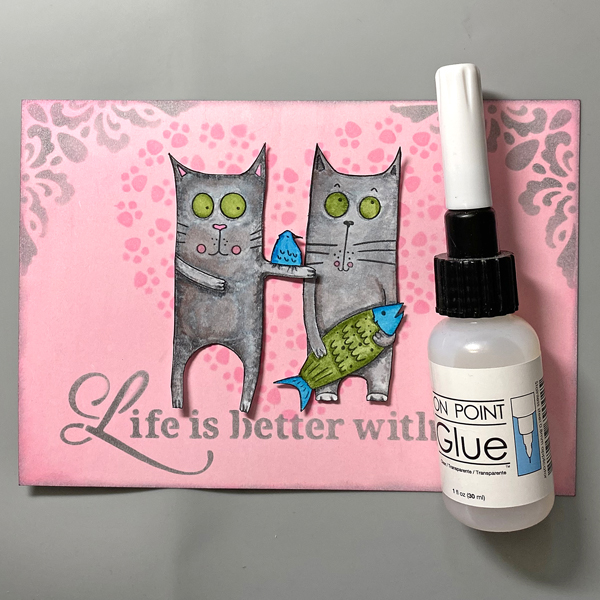
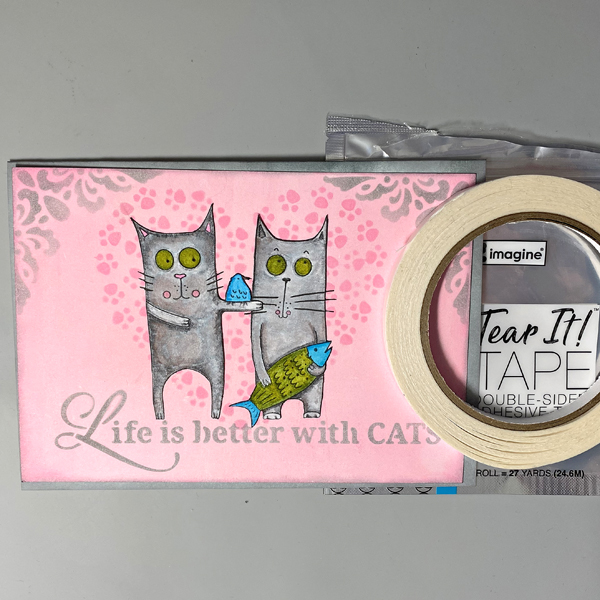
Use On Point Glue to secure the cats to the background panel as shown.
Step 10:

Create a 7” x 5” card from white cardstock. Apply London Fog Memento Ink around the edges of the white cardstock.
Step 11:

Use Tear It! Tape to adhere the panel to the inked card.

Craft Supplies:

Imagine Crafts :

Other Supplies:

  • Bristol Paper by Strathmore
  • Solar White Classic Crest Cardstock by Neenah Papers
  • Cat Capers Clear Stamp Set by Funky Fossil Designs
  • Pawsome Hearts Stencil by Funky Fossil Designs
  • Life Is Better With Cats Stencil by Stamperia
  • PS190 Stencil by ScrapCozy for PaperArtsy
  • Stamping Platform
  • Heat Gun by EK Success

Create A “Thinking of You” Shimmery Sunset Card Using Fireworks! Sprays

By Katy Ingram

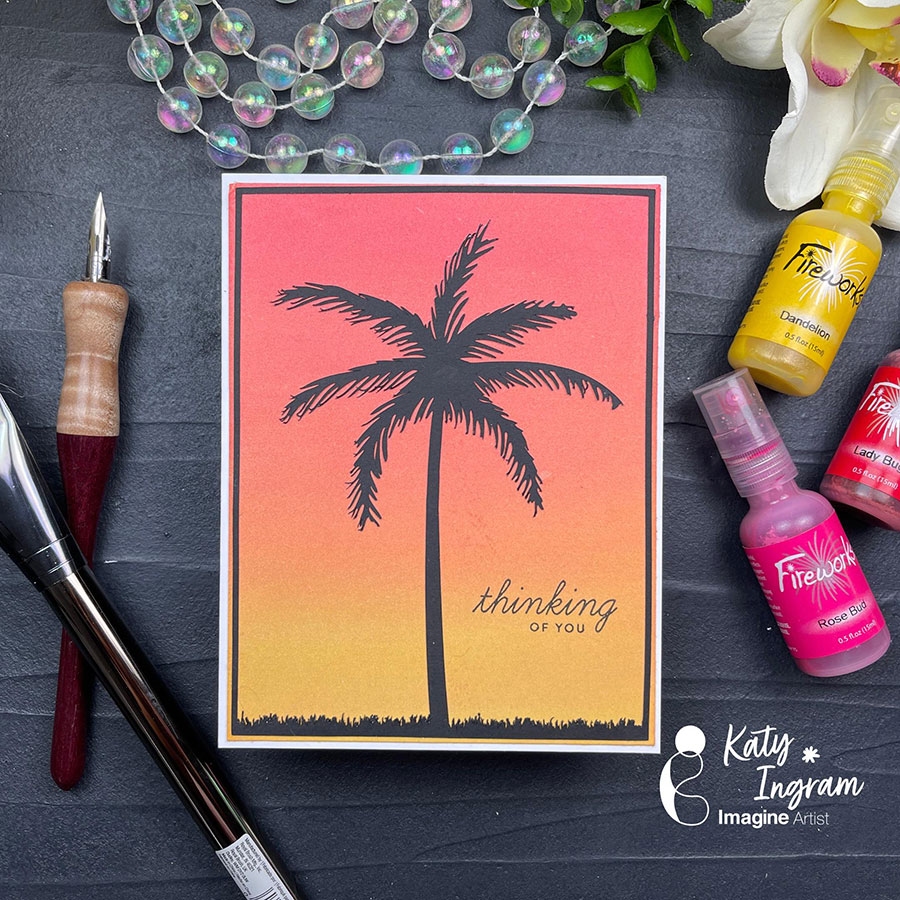
Hello Friends! Katy here and today I am using my Fireworks! Sprays to create a blended sunset or sunrise background for my palm tree die cut.

In todays video tutorial I am use Fireworks! Sprays in Dandelion, Lady Bug and Rose Bud with my 1 inch wide watercolor brush to create a blended sunset. The golden shimmer from the Fireworks! Sprays is just beautiful and compliments this color blend perfectly. I kept the sentiment simple with thinking of you, but ANY sentiment will go with this design. The video below has all the details, check it out below.

Katy

Skill: Advanced

Time: 15 minutes

Art Supplies

Imagine Products

Fireworks! Shimmery Craft Sprays

  • Dandelion
  • Lady Bug
  • Rose Bud

VersaFine Onyx Black

Tear It! Tape

Other Products Used

Arches Hot Pressed Watercolor Paper (Fern Background)

Accent Opaque 100lb White (card base)

Black 65# card stock (palm tree frame)

Spray Adhesive

Watercolor brush 1 inch flat

“Thank You for Your Service” Shaker Card

By LeeAnn McKinney

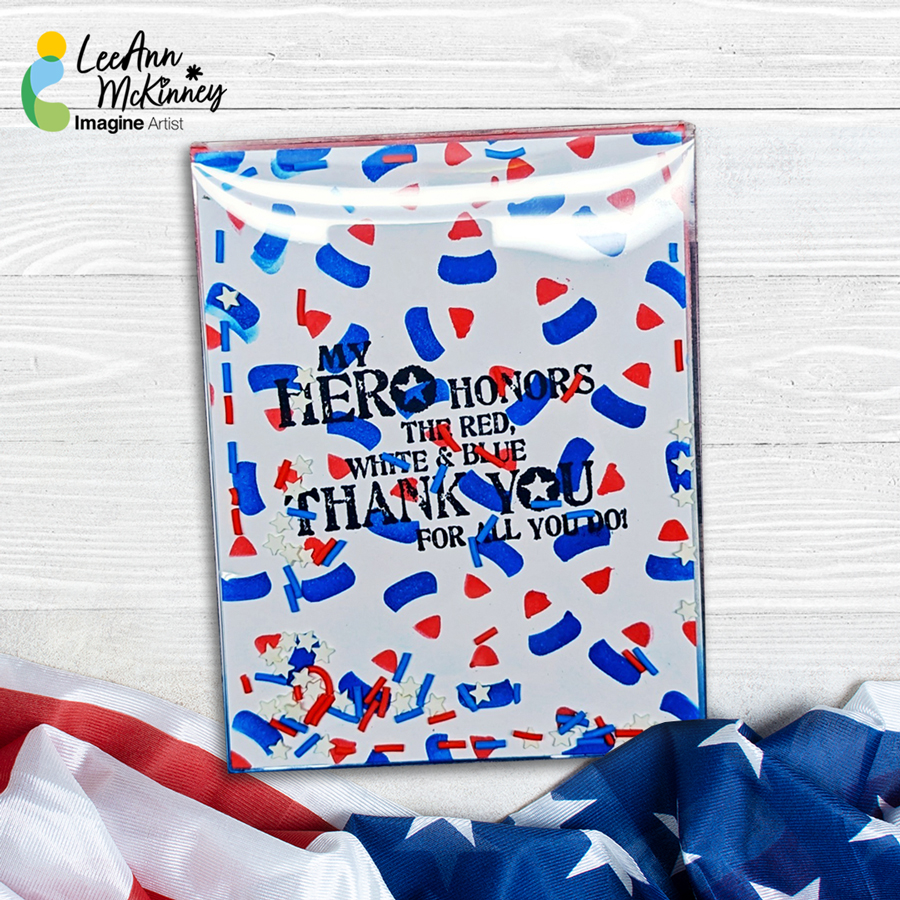
– Howdy friends and fellow crafters, LeeAnn here and today I have to share with you a fun and easy shaker card that I made using paper, a layering stencil, a shaker pocket and some shaker bits. 

Skill: Beginner

Time: 20 minutes

Art Supplies

Imagine

• Imagine Tear It! Tape

• VersaFine Clair – Nocturne

• VersaFine Clair – Paradise

• VersaFine Clair – Tulip Red

Other Products:

• A2 Shaker Acetate Sheets – https://shrsl.com/42wgx

• GinaK Designs White HeavyWeight Cardstock – https://ginakdesigns.com/product/heavy-base-weight-card-stock-white/?v=7516fd43adaa

• Accent Opaque 120lb Cardstock – https://www.amazon.com/Accent-188179R-Opaque-Thick-Cardstock/dp/B0114MUOOO

My Hero stamp from Verses has been retired

How to Stencil a Kindness Card

By LeeAnn McKinney

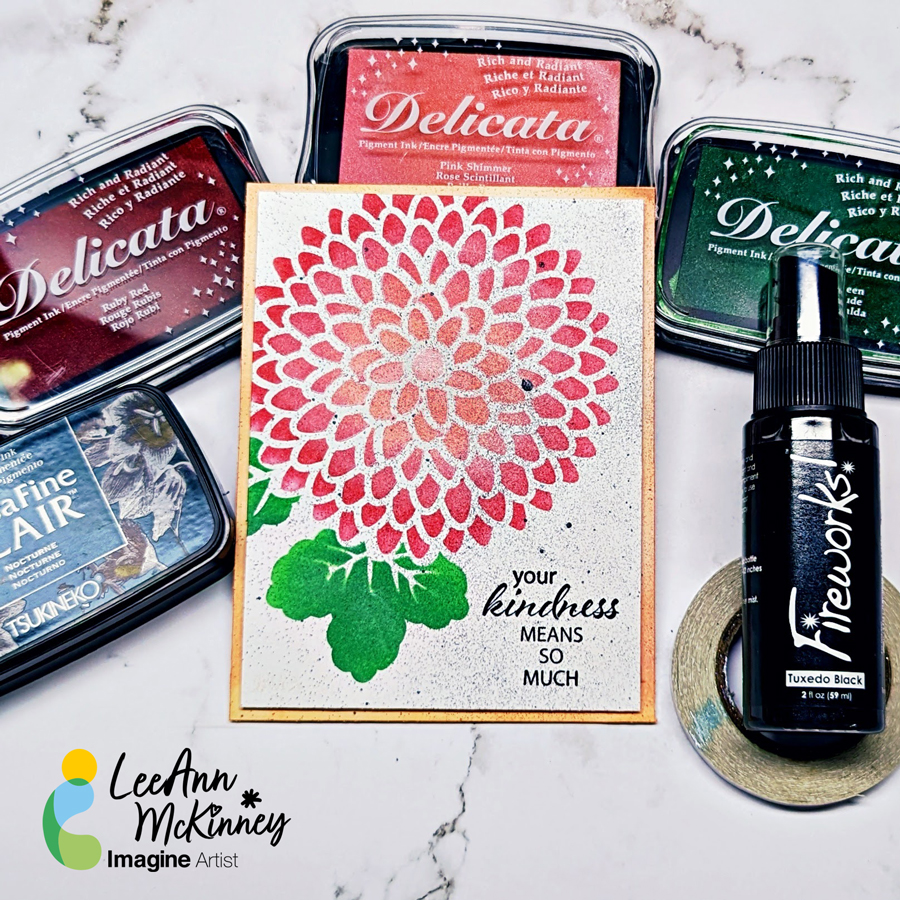
Hi there friends and fellow crafters, LeeAnn here with a fairly easy, beginner level card that anyone can do with a stencil, some inks and a few blender brushes. 

Skill Level: Easy, Beginner

Time: 15 minutes

Art Supplies:

Imagine

• Delicata Ruby Red

• Tear It! Tape

• VersaFine Clair Nocturne

• Delicata Emerald Green Ink Pad

• Delicata Pink Shimmer  Green Ink Pad

• Fireworks! Craft Spray Tuxedo Black

Other Supplies used:

• GinaK Designs White Heavy Weight Cardstock – 

• Gina K Designs Zinnia Stencil 

Let’s Ink Blend With Some Unlikely VersaFine Clair Ink Colors To Create A Clean and Simple Mother’s Day Card

By Katy Ingram

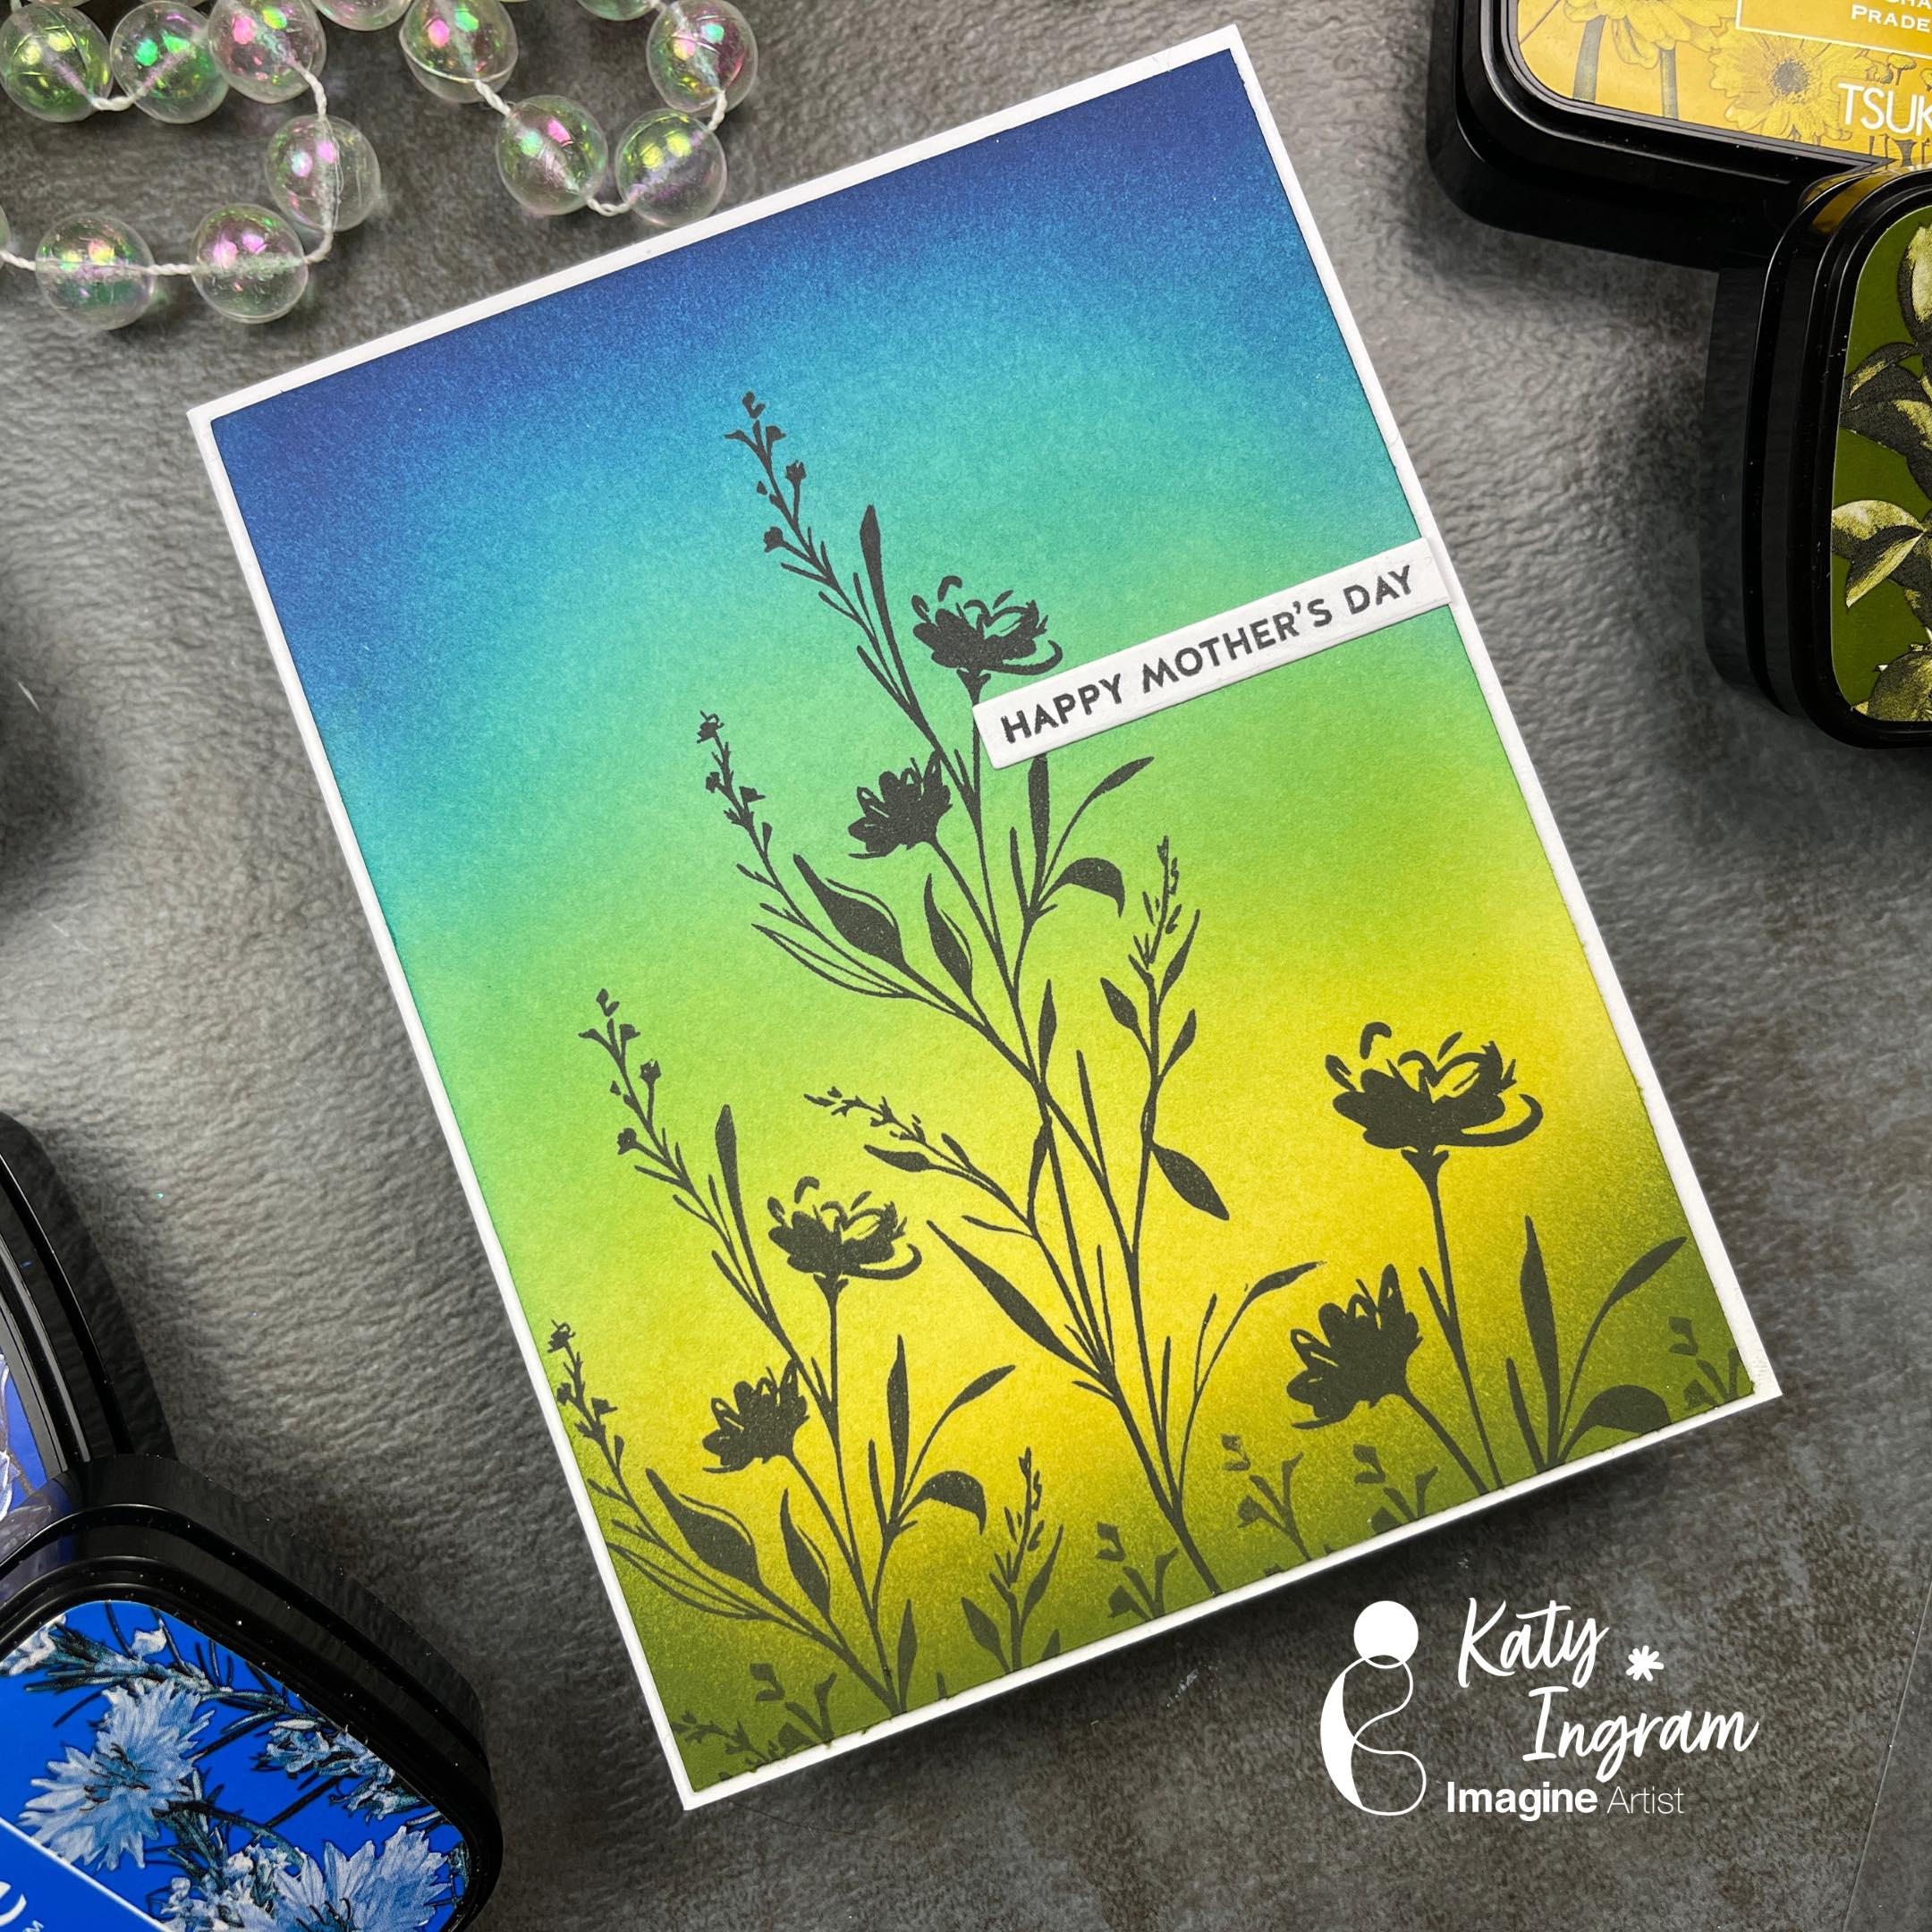
Hello Friends! Katy here and today I am excited to share a really cool color combination using VersaFine Clair inks.

In today’s video tutorial, I am sharing how I use 5 unlikely VersaFine Clair ink colors to create a beautiful background for silhouette stamps and turn it into a clean and simple Mother’s Day Card. Video has all the details.

Katy

Skill: Beginner

Time: 15-20 minutes

Art Supplies

Imagine Products

VersaFine Clair – Paradise, Blue Belle, Warm Breeze, Golden Meadow and Shady Lane https://www.imaginecrafts.com/versafine-clair

Sentiment and silhouette stamping done with VersaFine Clair Nocturne

On Point Glue

Tear It! Tape

Other Products Used

White Card Stock (card base and sentiment strip)

Strathmore 500 Series Hot Pressed Watercolor Paper

The Greetery Lovely Silhouettes Stamp Set

Simon Says Stamp Incredible Woman Stamp Set (happy mother’s day)

Monoprinting with VersaFine Clair

By Alison Heikkila

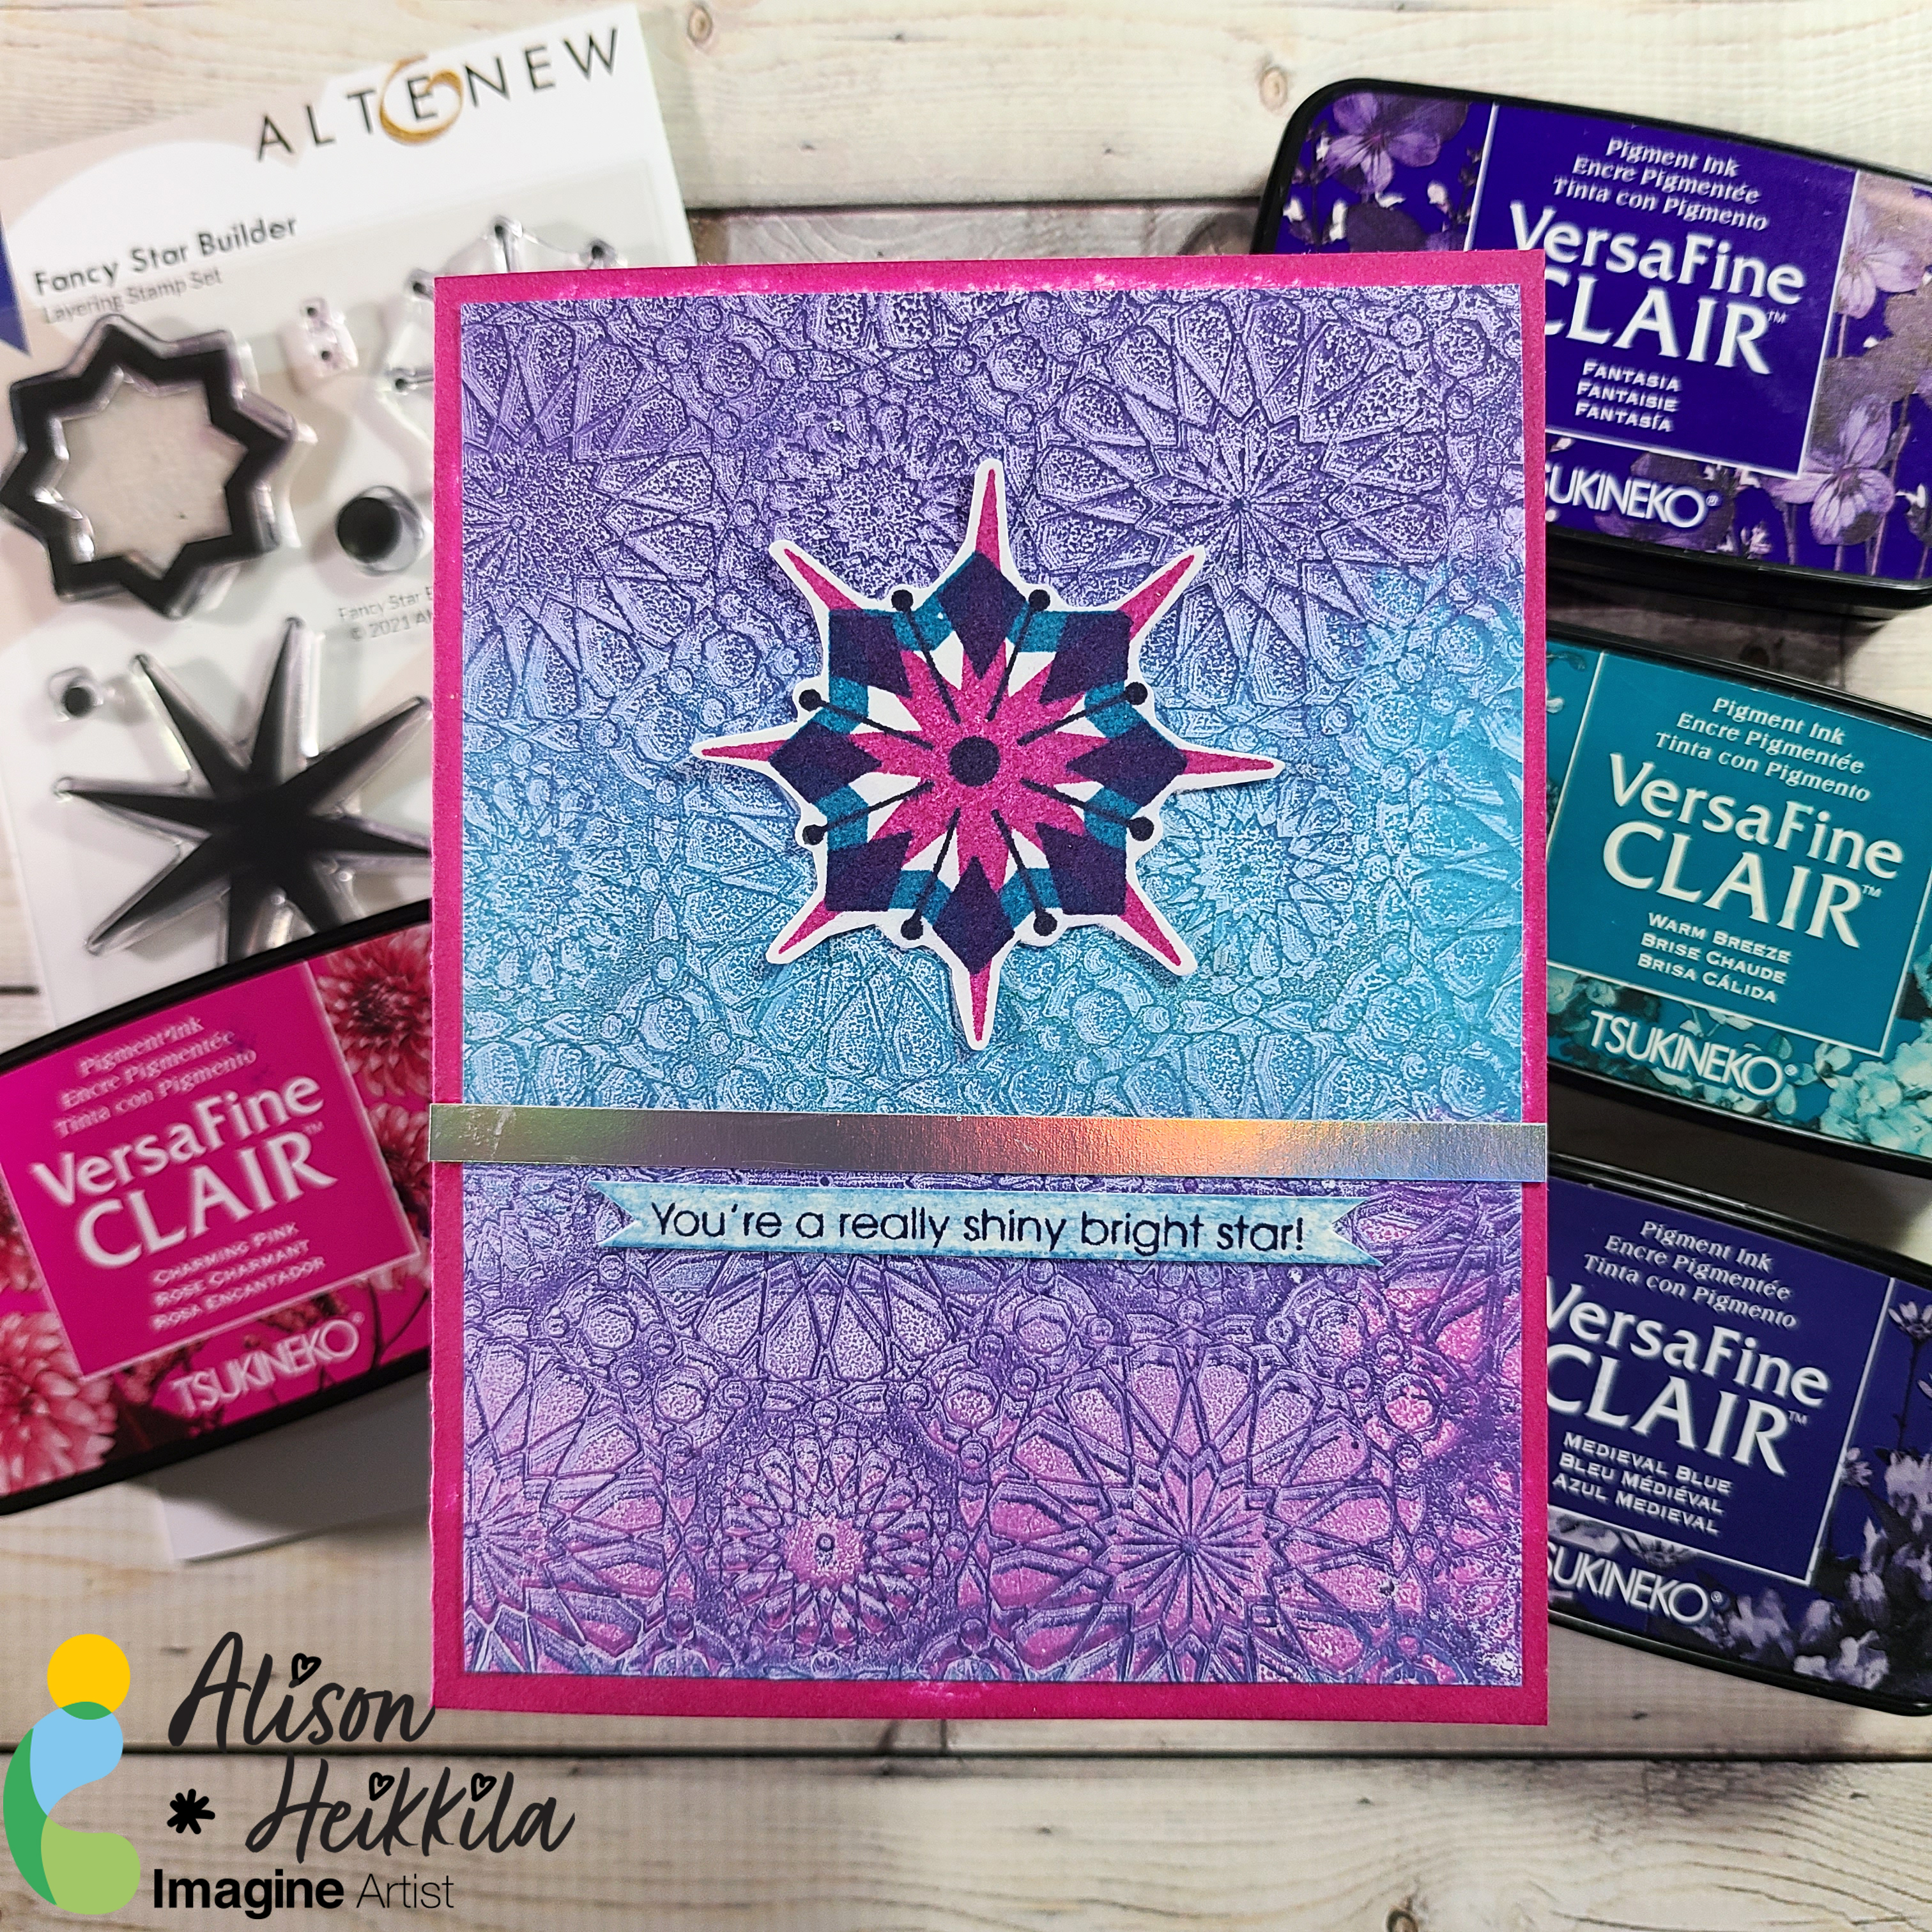
Hello!  @AlisonHeikkila  here and today and we’ll be focusing on a couple of fun ways to use VersaFine Clair Inks. I love experimenting with different ways to use inks, so I decided to play on my Gel Press Plate and use a detailed 3D Embossing Folder. VersaFine Clair Inks are also great with layering stamps because you can get such crisp images. 

Skill: Beginner-Intermediate

Time to Complete: 30 minutes

Supplies Used:

Imagine:

• VersaFine Clair Ink: Charming Pink

• VersaFine Clair Ink: Warm Breeze 

• VersaFine Clair Ink: Fantasia 

• VersaFine Clair Ink: Medieval Blue

• Memento Ink: Summer Sky

• On Point Glue

Other: 

• Gel Press: 6×6 Plate

• Speedball: 6″ Brayer

• Sizzix/Tim Holtz: Kaleidoscope 3D Embossing Folder

• Altenew: Fancy Star Builder Stamps

• MISTI Stamping Tool

• Recollections: Holographic and White Cardstock

Follow Alison here:

AlisonHeikkila.com

https://alisonheikkila.carrd.co/