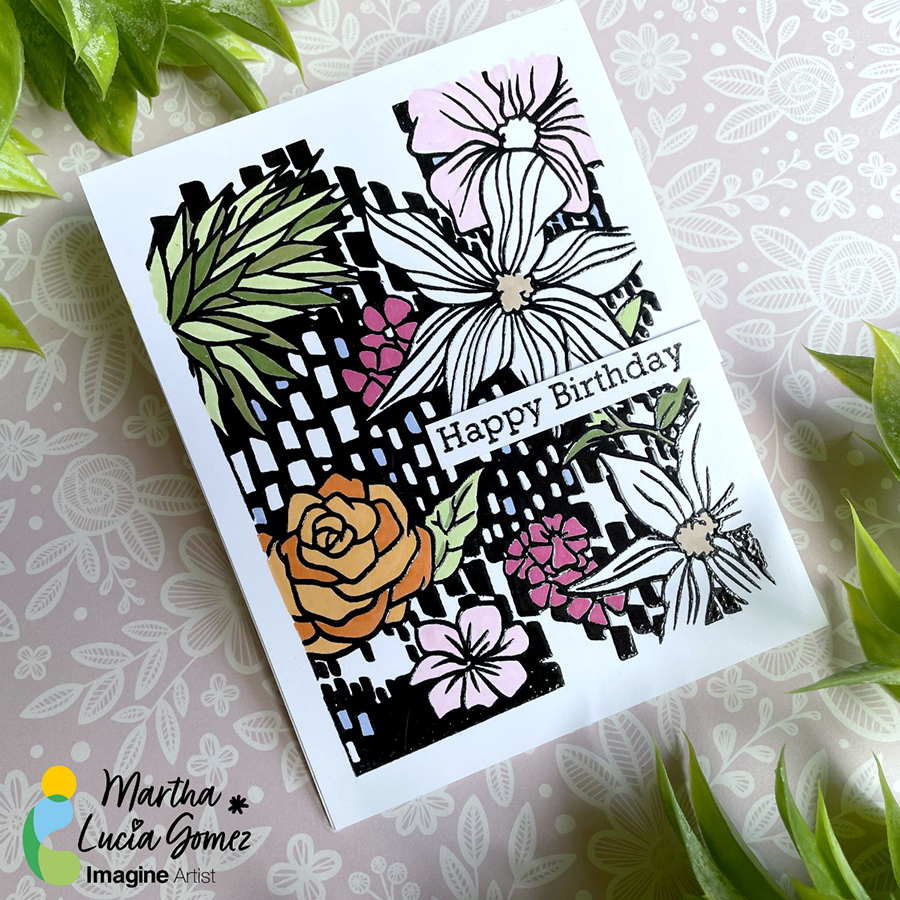
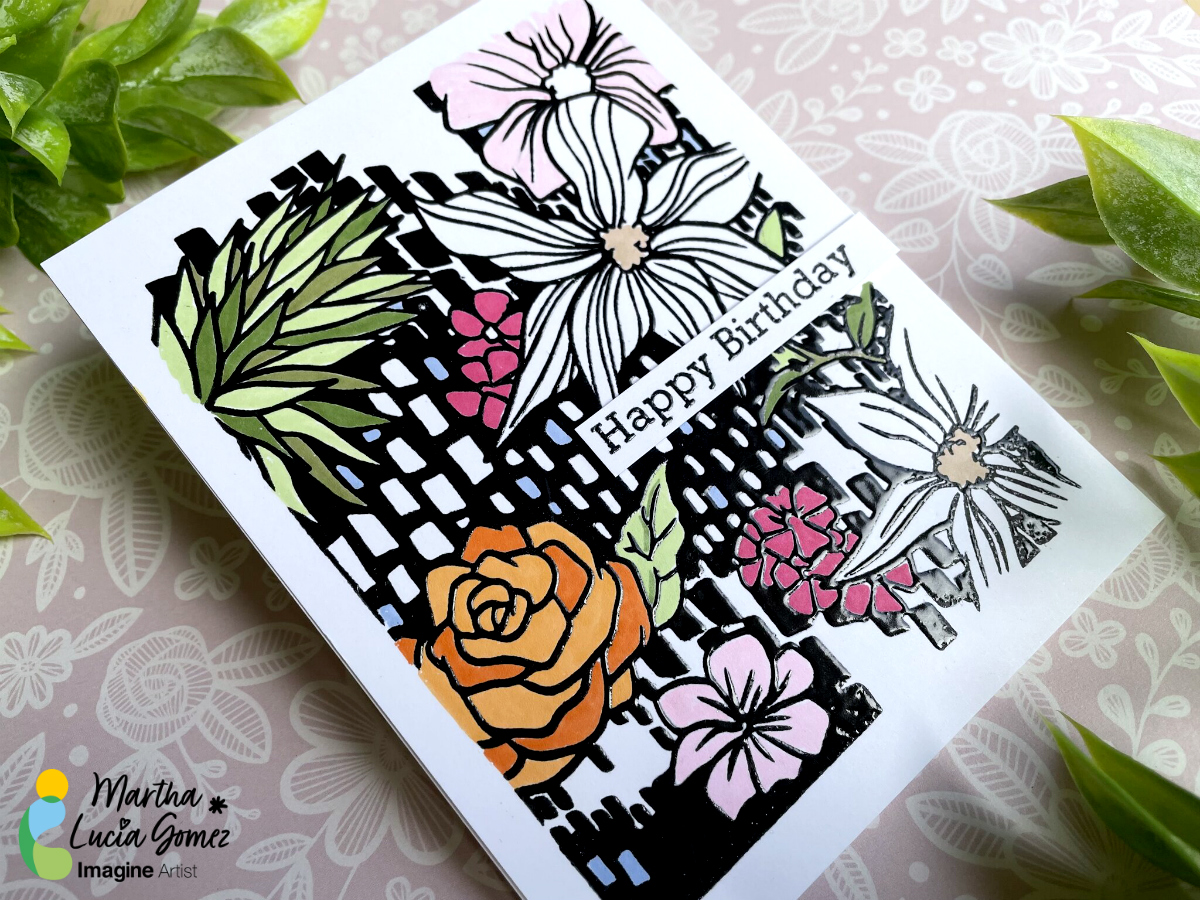
Hello there! Today’s tutorial is about a Birthday Card using a background stamp but adding texture and color. To make this, I used VersaFine Clair Nocturne, Clear Embossing Powder and Memento Markers.
Skill: Beginning
Time: 45 minutes
Directions:
Step 1:
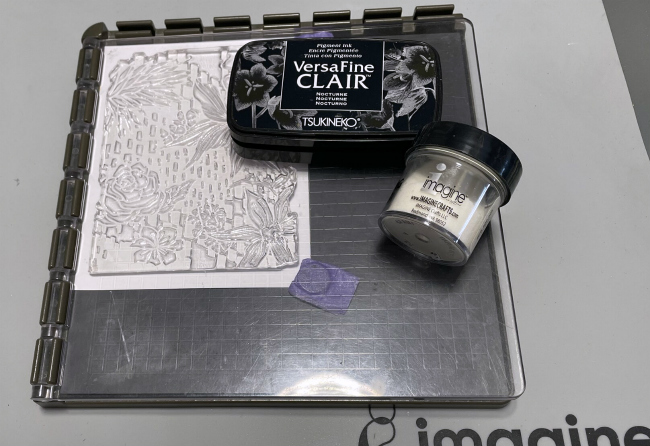
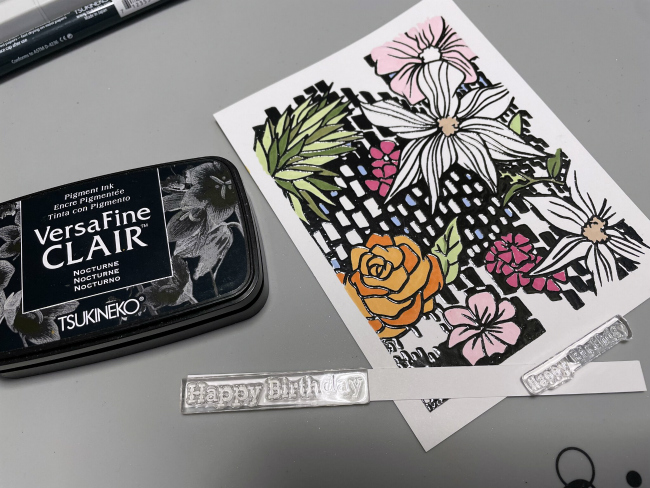
Take a piece of white smooth cardstock, ink well your background stamp with VersaFine Clair Nocturne Ink and stamp your image pressing hard to obtain a crispy image. You can use any stamping tool.
Step 2:
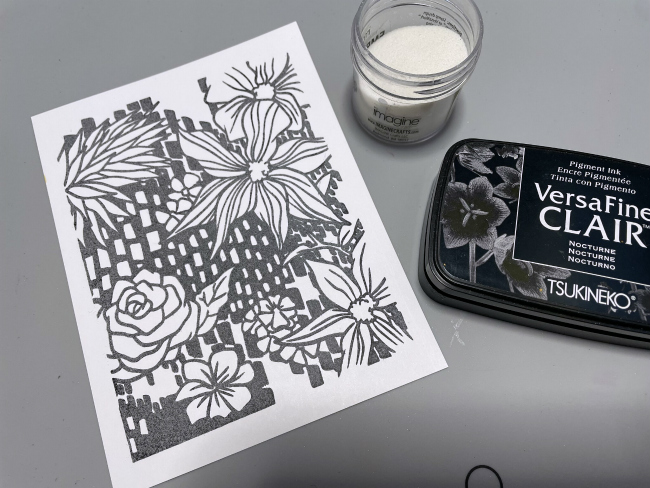
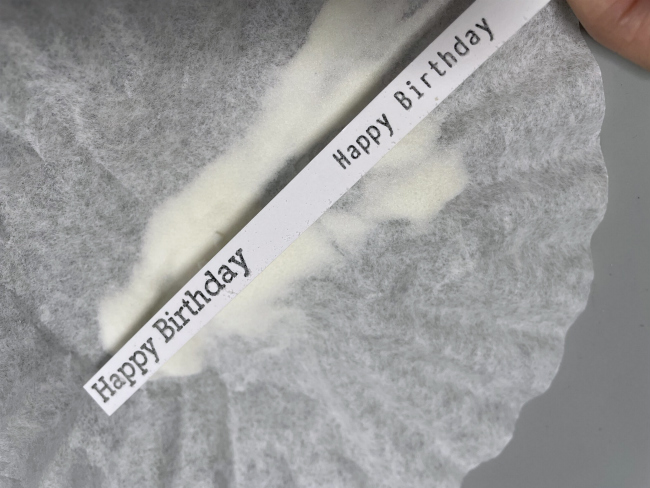
Cover the stamped image with Clear Embossing Power or MBoss. Melt the powder with the heat tool.
Step 3:
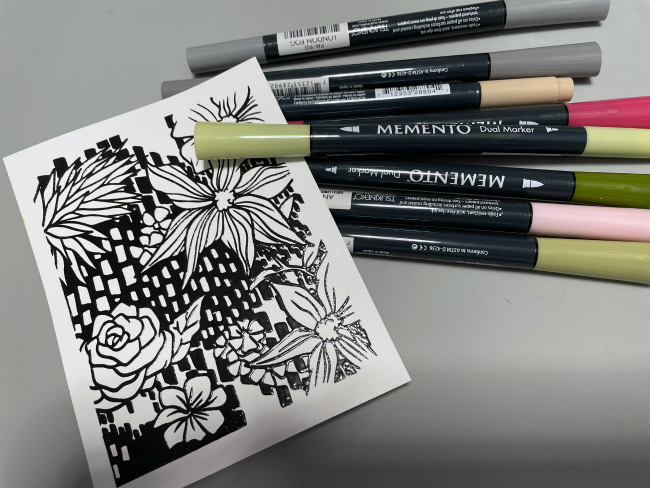
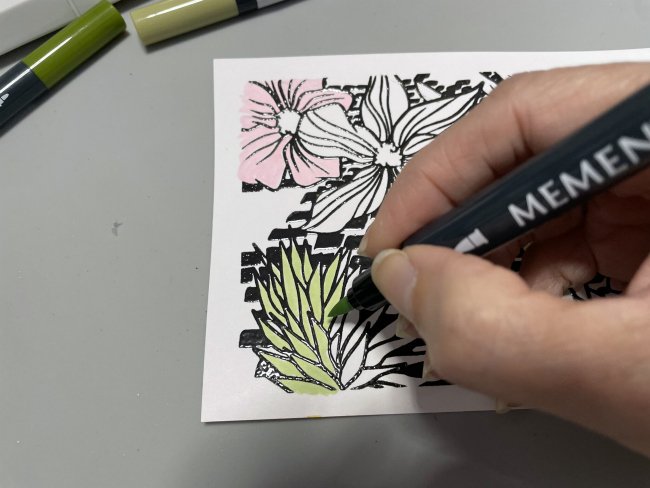
To enhance the details of the stamp, color it partially with Memento Markers. The VersaFine Clair in is a safe ink to work with these Markers or with any type of Alcohol Markers.
Step 4:
Combine the tones of your markers to have different shadows. In my sample I used Memento Markers in colors Angel Pink, New Sprout, Pistachio, Bamboo Leaves, Rose Bud, Desert Sand, Cantaloupe, Tangelo and Summer Sky.
Step 5:
If you want you can resize the stamped layer and paste it over a card base. You can use Tear It! Tape to paste it.
Step 6:
In a separate piece of white cardstock stamp the birthday sentiment using the same products used to create the background. I used VersaFine Clair Nocturne and Clear Embossing Powder.
Finalize your card pasting the sentiment with crafty foam tape.
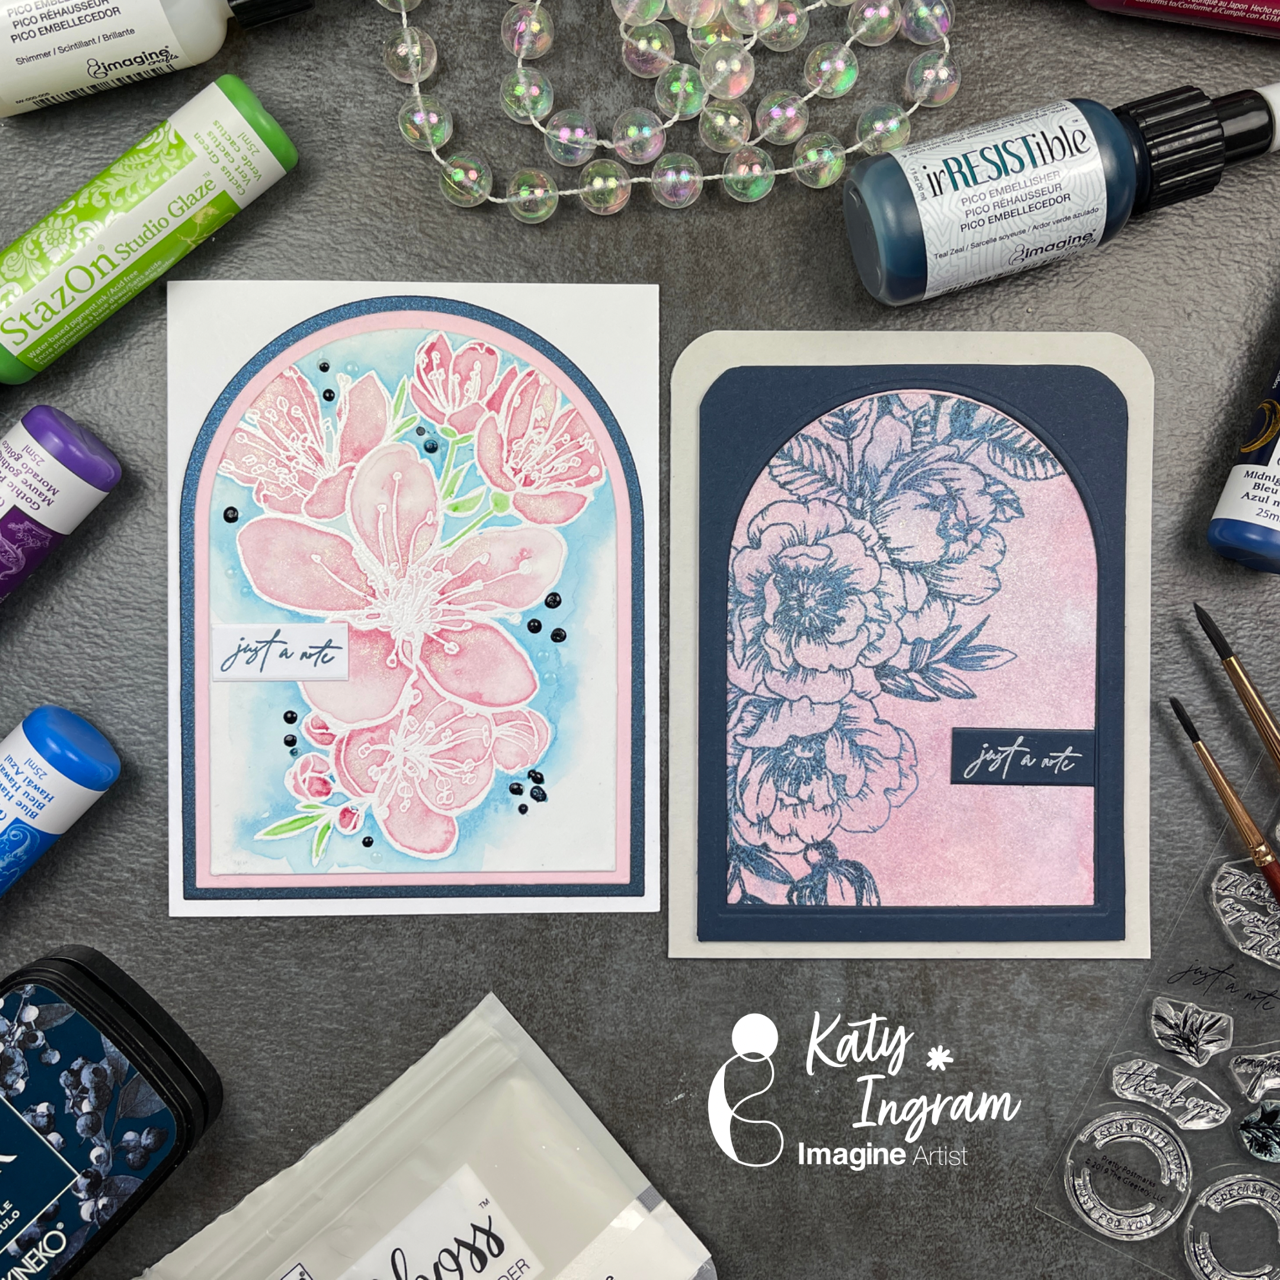
Hello Friends! Katy here and today I am sharing two ways to watercolor with StazOn Studio Glaze.
In today’s video tutorial I am sharing two watercolor techniques. The first is traditional watercoloring with a watercolor brush and the second technique is the popular ink smooshing technique. Both are great ways to use StazOn Studio Glaze and I hope you hive it a try. Check out the video to see the process in action. I hope you enjoy and thanks for stopping by.
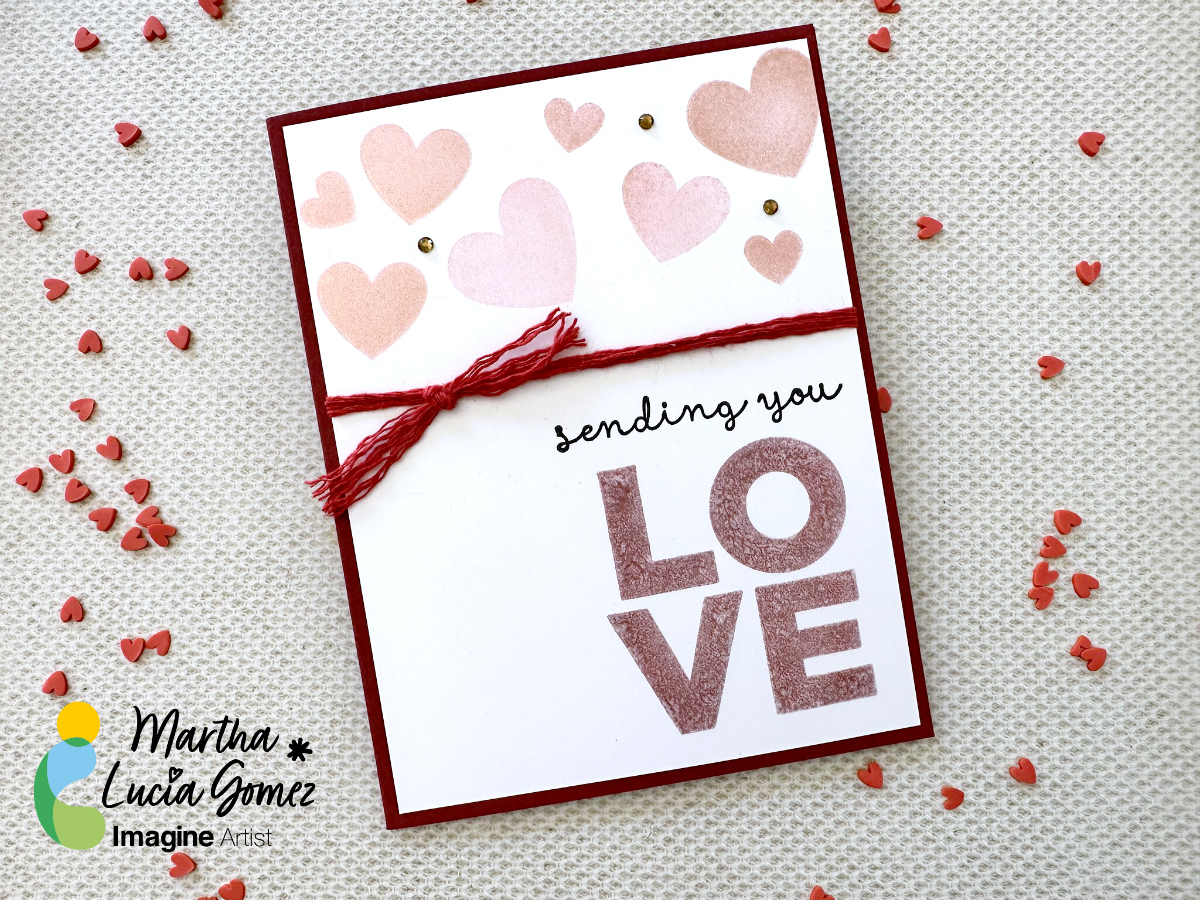
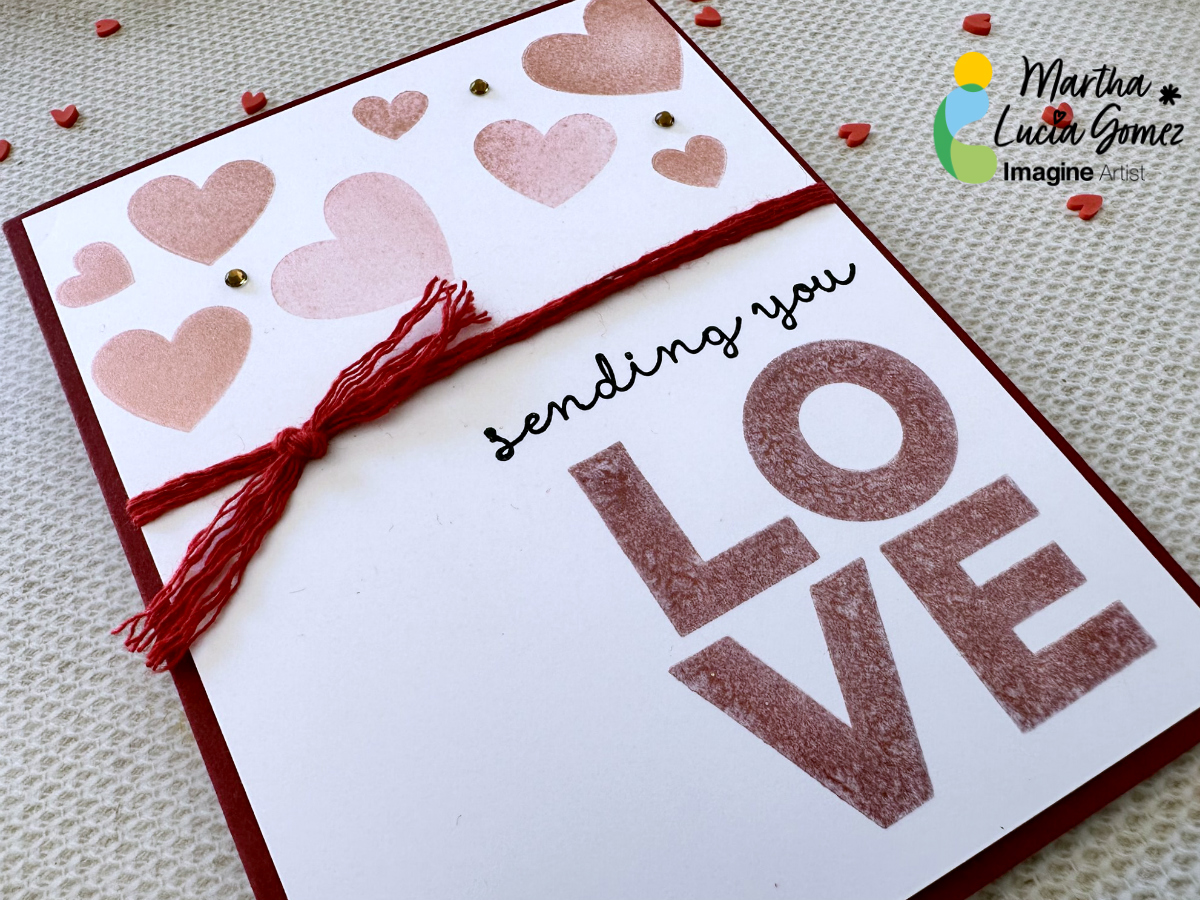
Hello there! Today’s tutorial is about texture without dimensions. Do you know that you can create a flat card with these two ingredients and just one type of ink? Well, the Delicata is the ink that can bring you these possibilities and more. I decided to make this card using two colors of Delicata, Ruby Red and Rose Gold.
Skill: Beginning
Time: 45 minutes
Directions:
Step 1:
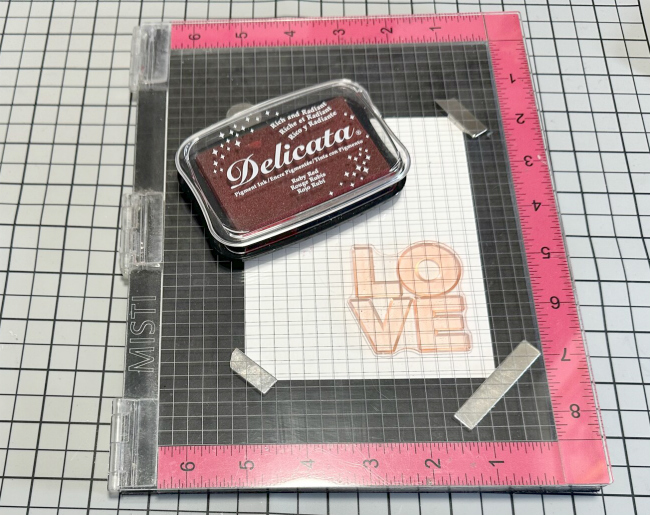
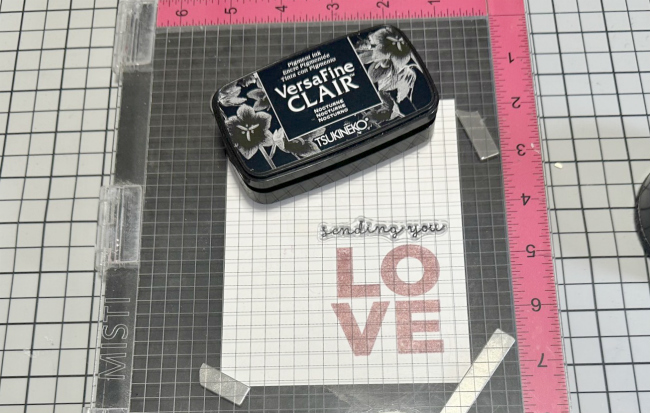
Take a piece of white smooth cardstock and solid stamps to create your design. In my sample, I am using hearts in different sizes and the Love Sentiment. First, ink the sentiment using the Ruby Red Delicata Ink. The Delicata is a pigment ink that dries within minutes on porous papers and never loses the luster. You can also obtain a Metallic touch with it if you don’t emboss the stamped images.
Step 2:
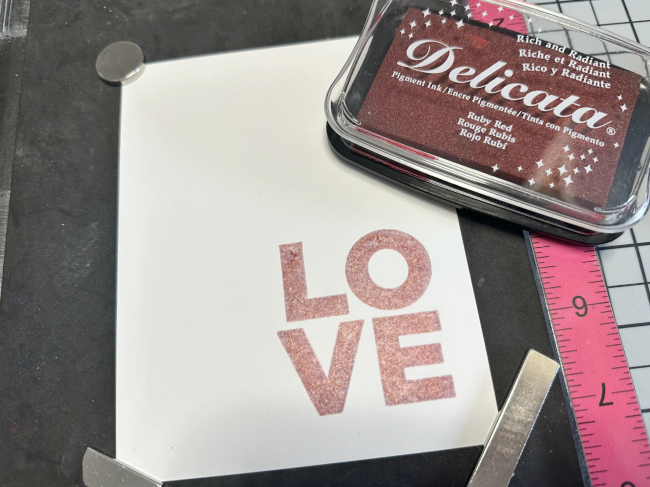
If you want to obtain more texture and coverage, you can stamp the same image several times. In my sample, I stamped it three times.
Step 3:
To complete the sentiment, you can stamp a complement using the same ink or other ink. On this sample, I used VersaFine Clair Nocturne. On it, you can notice the different textures of both inks and the soft color of the Delicata.
Step 4:
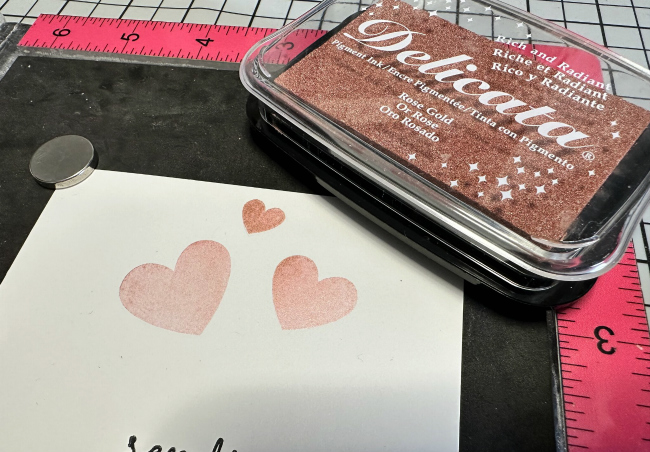
Now is the time to create more texture. This time, I used Rose Gold Delicata Ink to create it and hearts in different sizes. I stamped them randomly on the upper part of the card. Using a stamping tool, you can create different tones with the same ink and color, depending of the times that you stamp your image.
Step 5:
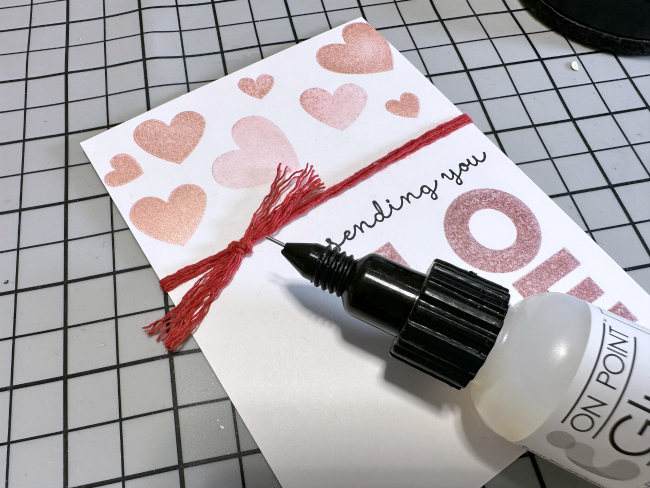
After finalizing the stamping process, I decided to embellish the card with a few loops of red twine. I used a dot of On Point Glue to secure just the knot.
Step 6:
Due to the dimension created with the twine, I pasted the decorated layer over a red card base using crafty foam tape. And voila, my soft and textured Valentine’s Card is ready!
Thanks for stopping by and don’t forget that you can explore more textures with other colors of Delicata Ink.
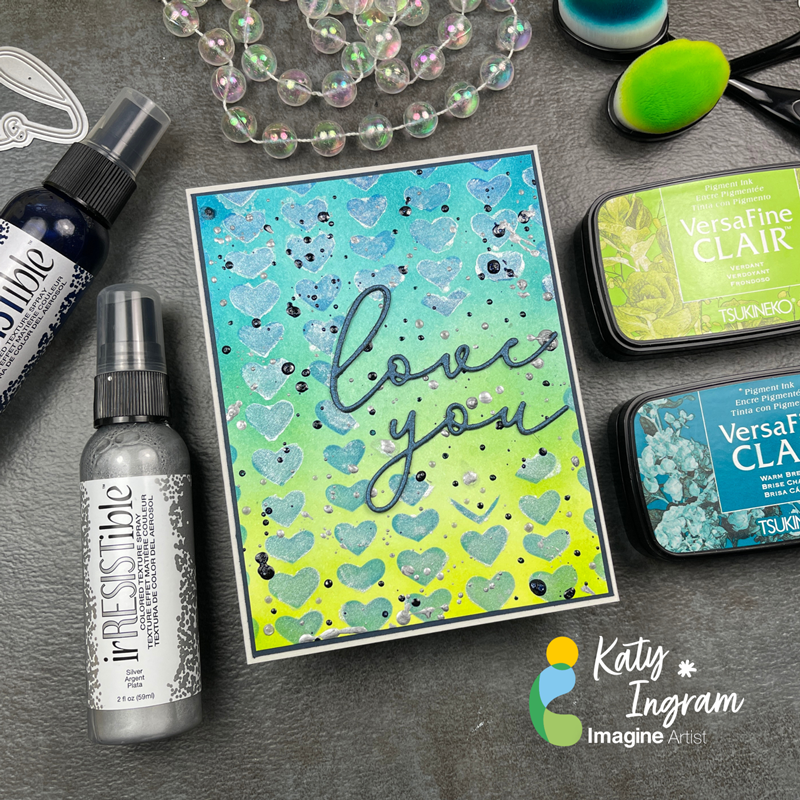
Hello Friends! Katy here and today I am using a variety of products to create this Love You card.
In today’s video tutorial I do some ink blending with VersaFine Clair Verdant and Warm Breeze. I haven’t used these two colors for ink blending before and they blended really well and the colors coordinate perfectly together. I used a heart stencil with VersaFine Clair Paradise to blend over the ink blended panel and then added some Sheer Shimmer Stix in Frost for a bit of shimmer. I also pulled out some irRESISTible Spray in Paris Dusk and Silver to create some splatter. I finished the panel off by die cutting the words love and you with some metallic blue cardstock. Check out the video to see the process in action. I hope you enjoy and thanks for stopping by.
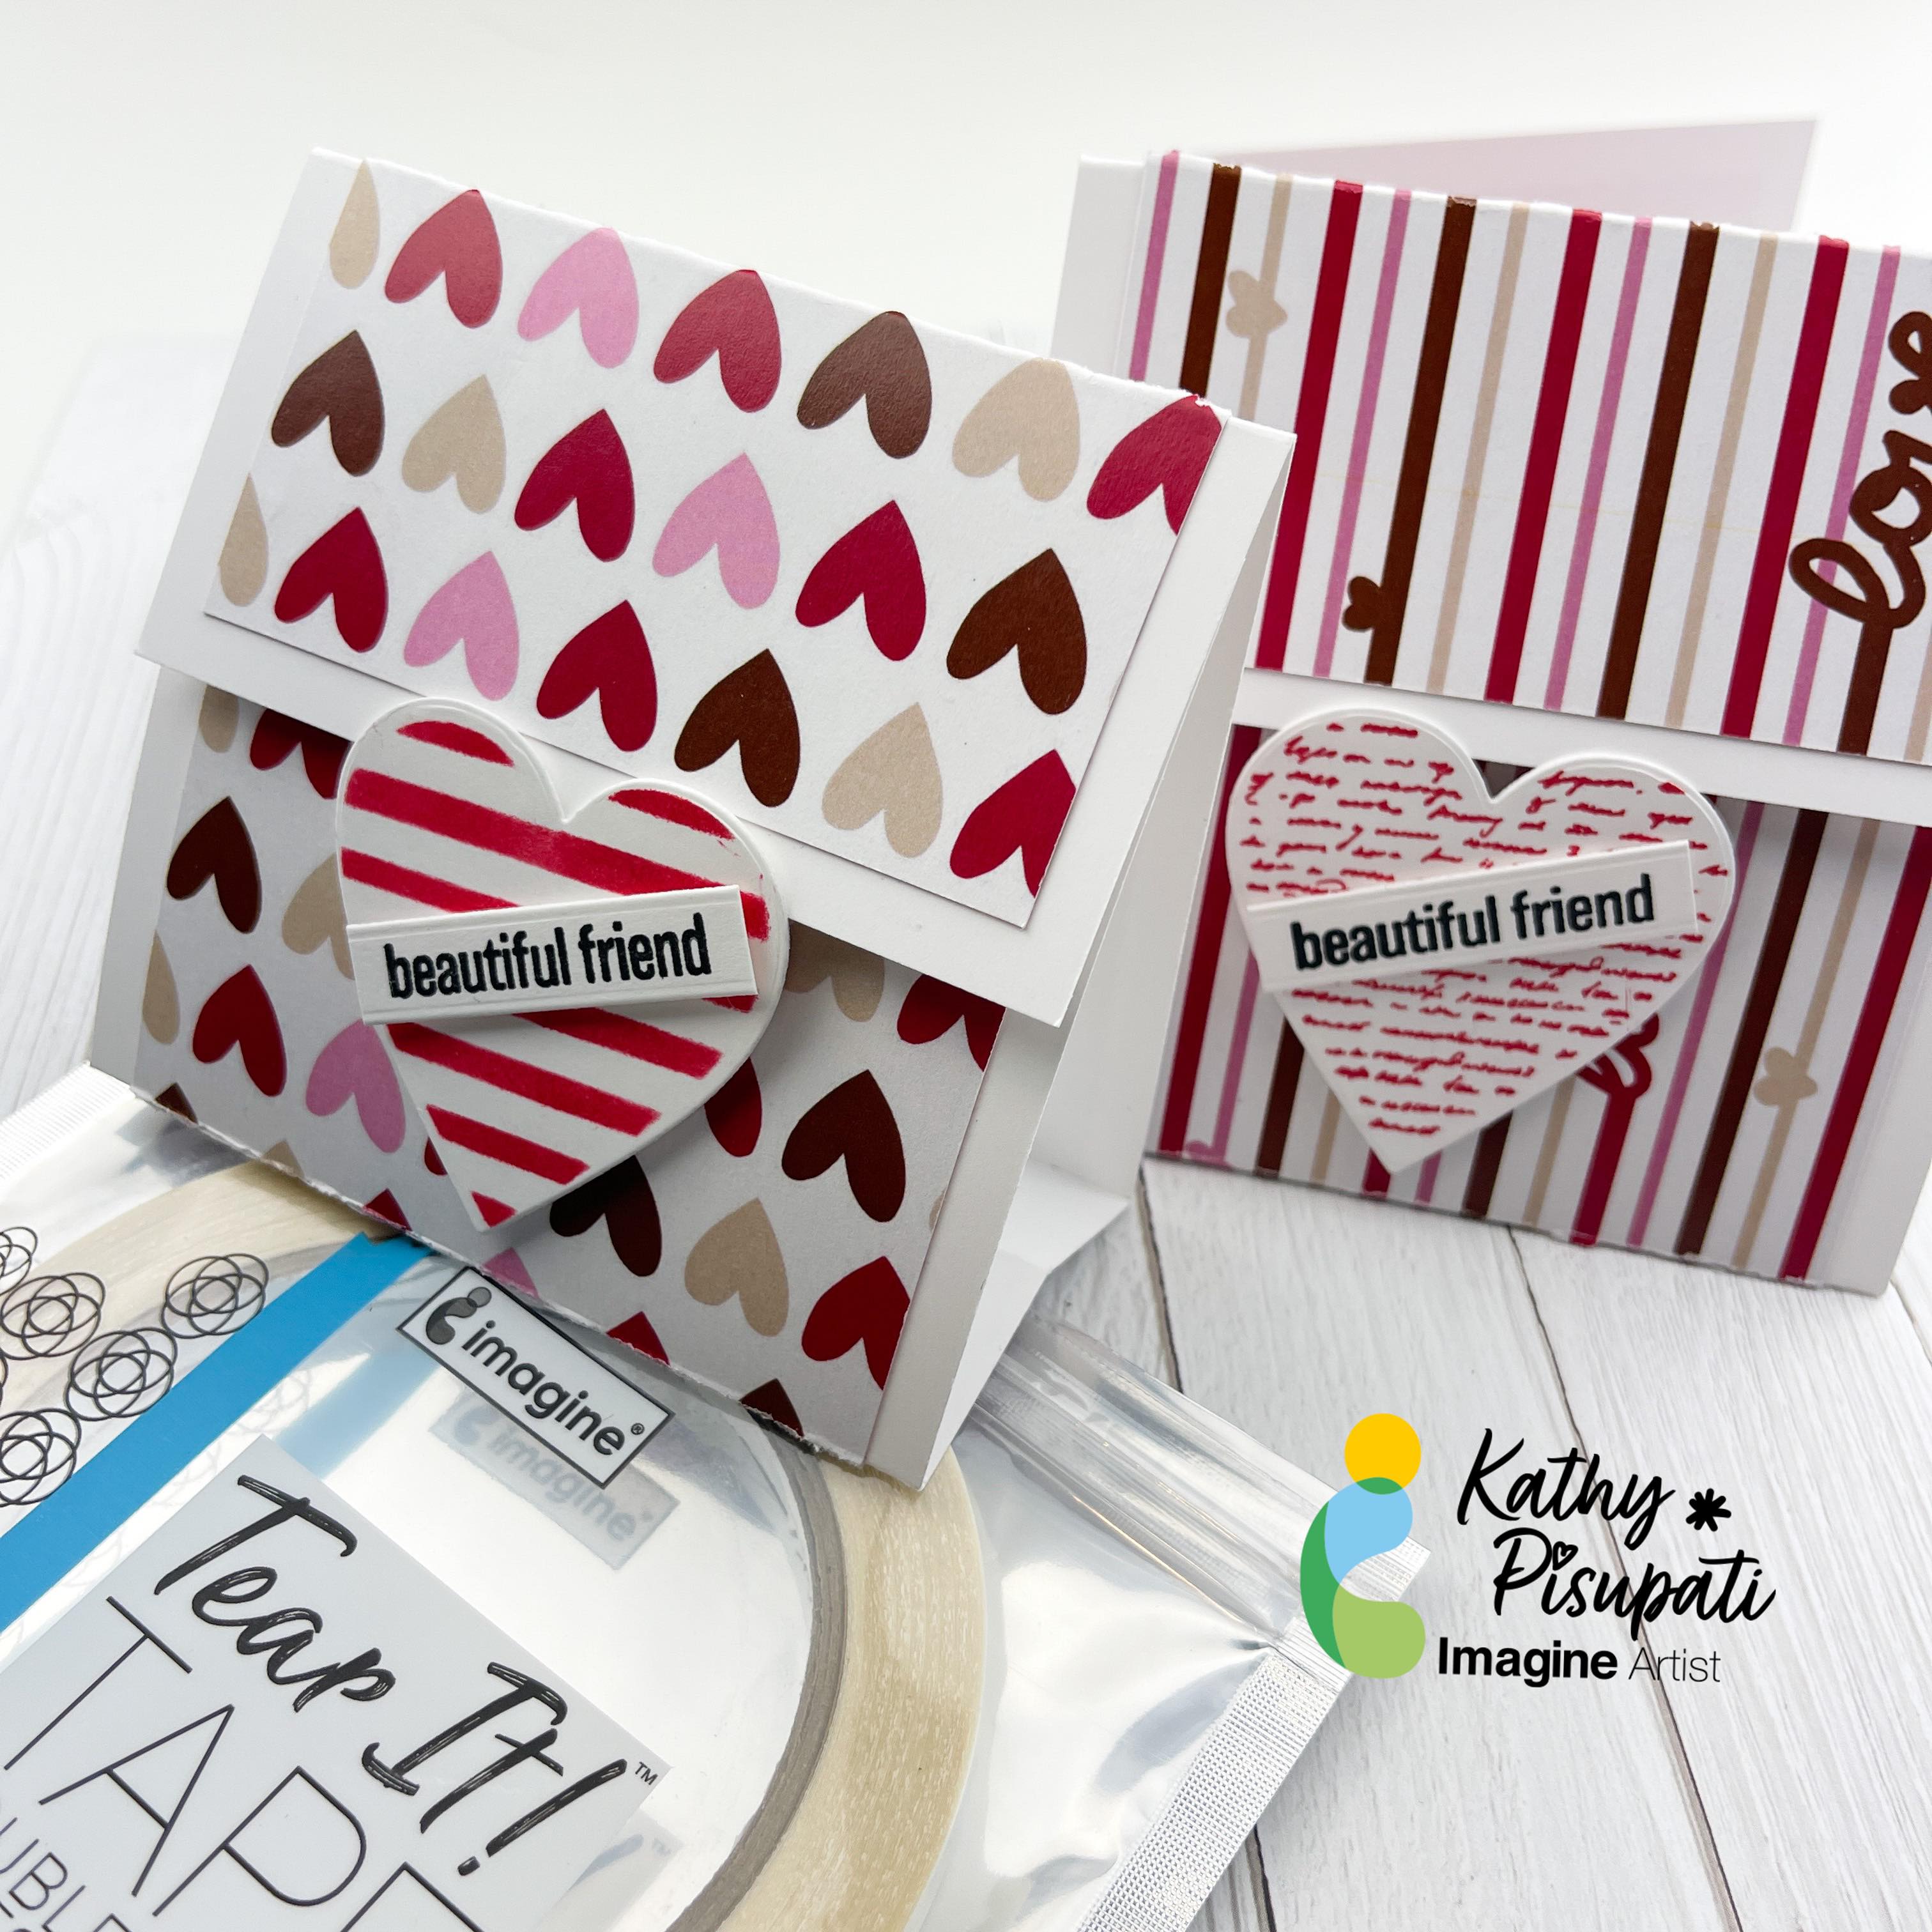
Hello! Kathy here, creating art for Imagine Crafts! Today’s project is a treat/gift card holder for Valentine’s Day but it is also about ADHESIVES! Adhesives aren’t the focus on most tutorials so let’s change that today.
.Skill Level: Easy
Time to complete: 1 Hour
Directions:
Step 1
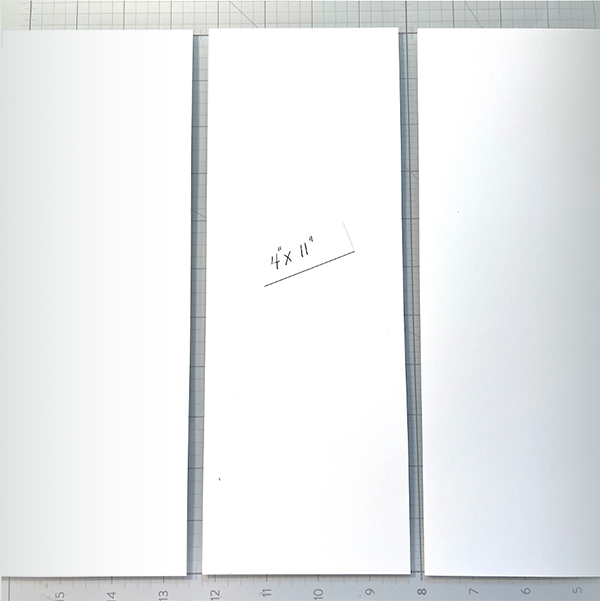
Cut 3 pieces of a layering weight, white card stock to 4” x 11”. This will be enough for three holders. You don’t need a heavy weight card stock as we will be scoring, folding and adding a layer of patterned paper.
Step 2
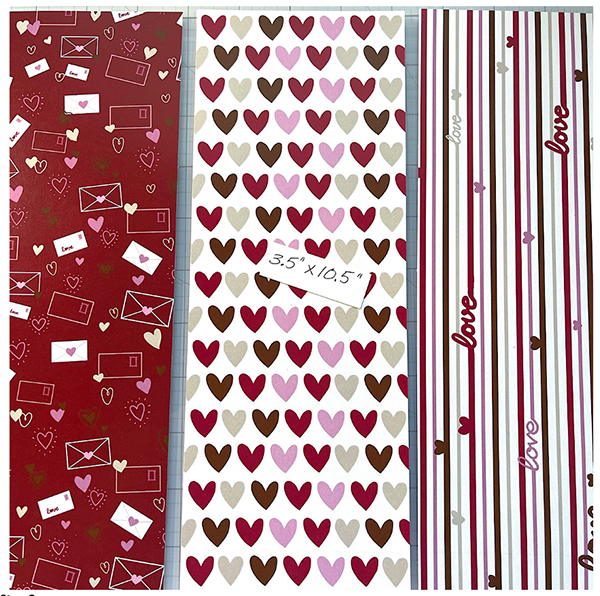
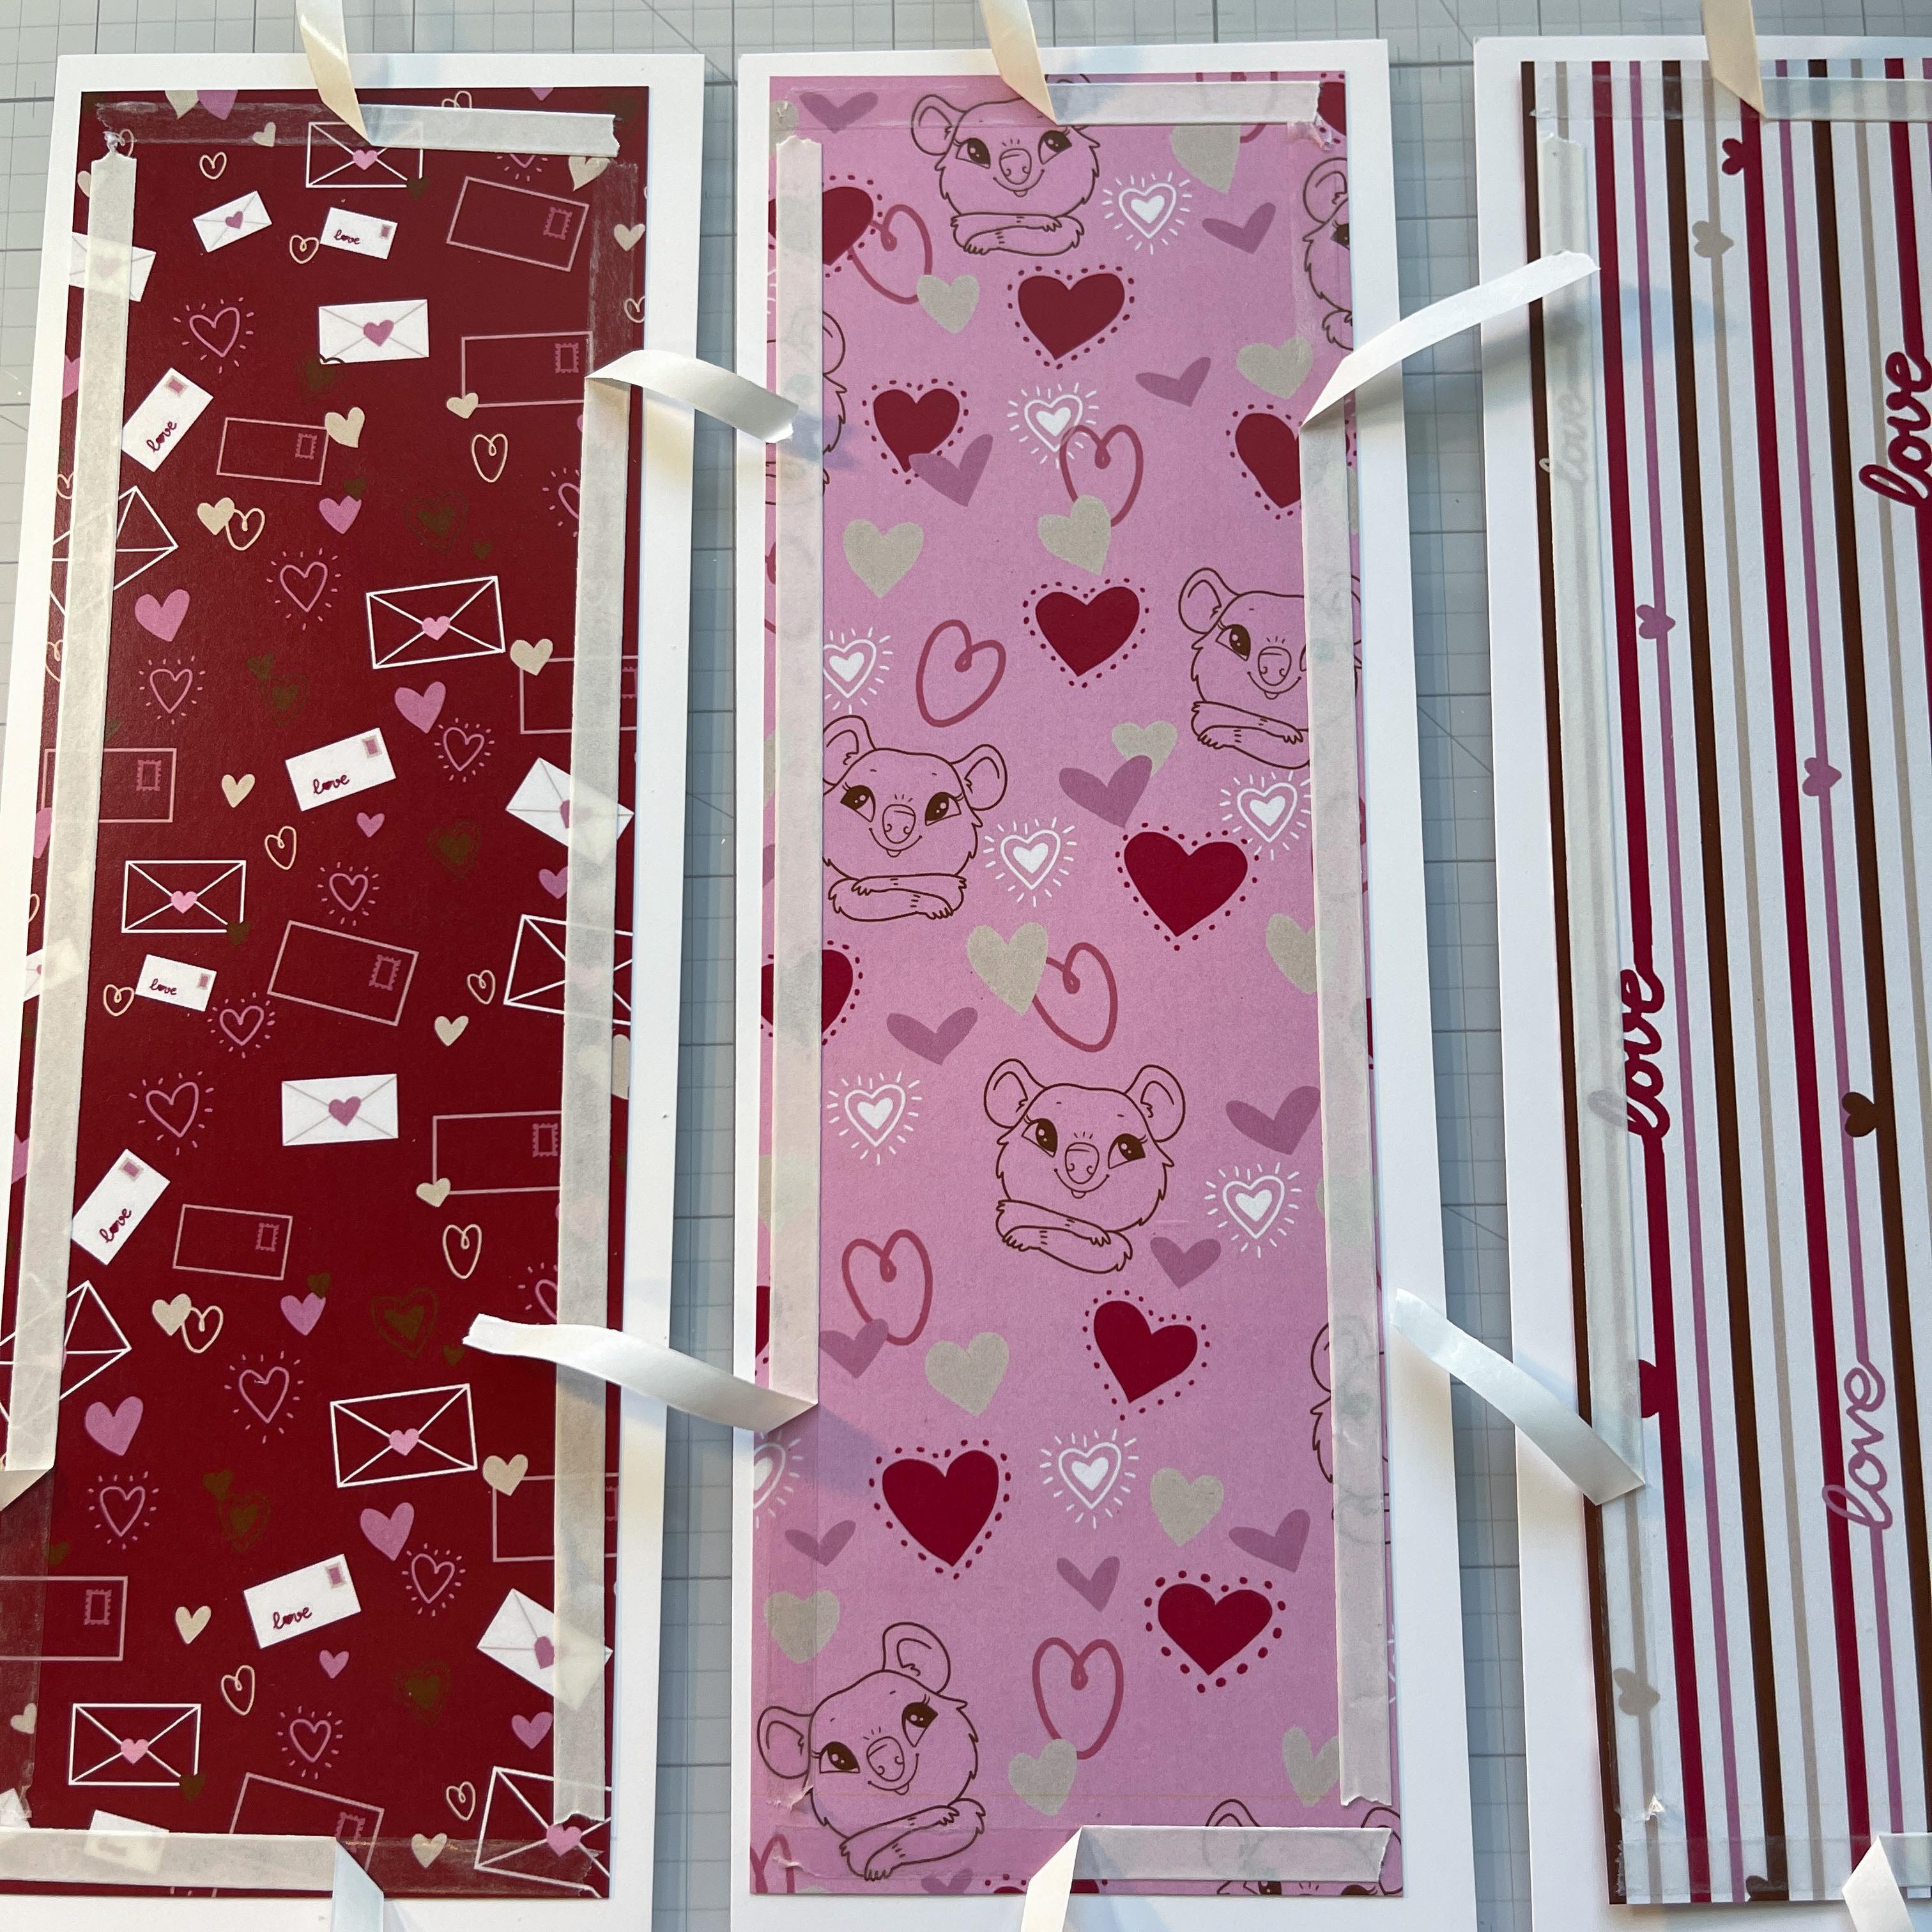
Cut 3 panels of patterned paper to 3.5” x 10.5”. I had this fabulous patterned paper from Kat Scrappiness in my stash which is perfect for Valentine’s Day!
Step 3
Here is where the adhesive comes in! You will attach the patterned paper panels to the white card stock. The Tear It! Tape from Imagine Crafts is SO easy to use. It is a strong double-sided adhesive AND you don’t need to reach for your scissors every time you want a piece. Just tear it! It tears so easy! We will also be using the On Point Glue and I will give you a tip in a second. The On Point Glue comes in a small bottle with a micro tip. The cap of the bottle has a built in pin that fits in the micro tip when you close the cap so it never gets clogged! No more losing those pins!
Step 4
Add your Tear It! Tape to the back of all four panels on all sides. Here’s a tip, pull up only a bit of each back and a bit of On Point Glue to the exposed area. Then flip the panel over and align to your white card panel. This allows some wiggle room for you to align the panels perfectly! Once the patterned panel is aligned press down the areas of exposed adhesive and then gently pull the backing paper off from each side.
Step 5
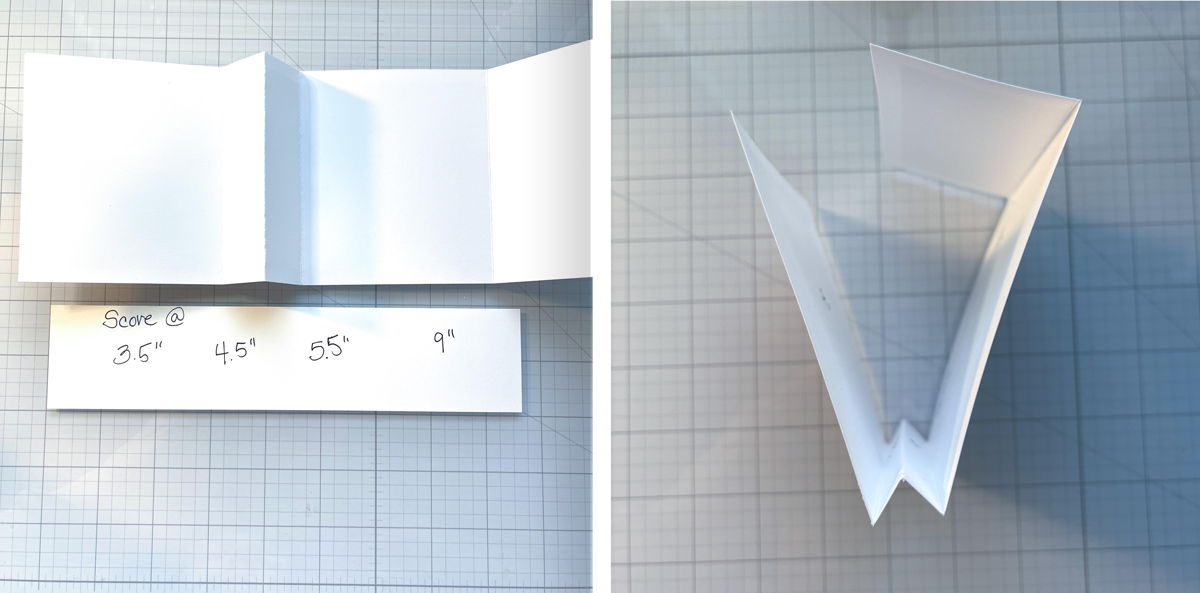
Now it’s time to score and fold. You will score as indicated above and fold in the manner shown.
Step 6
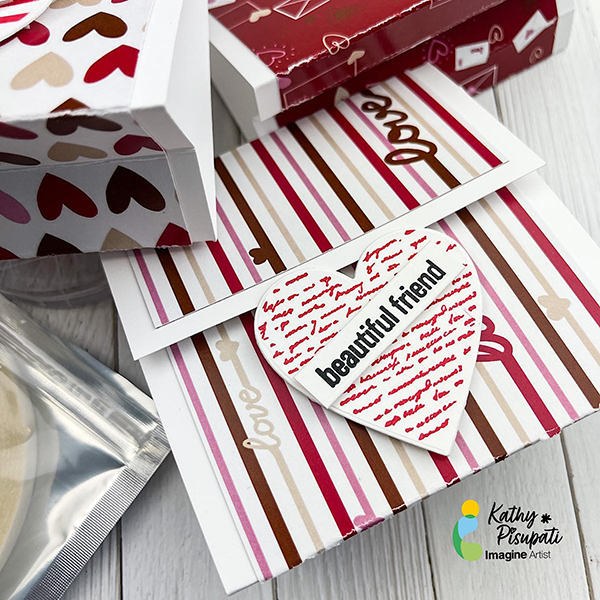
Now it’s time to add a little decoration! I used a heart die and coordinating stamps. I stamped using VersaColor Cardinal ink. For the sentiment I used VersaFine Clair Nocturne Ink. Foam tape was added to the lower half of the heart. The reason for this is so the flap of the holder can tuck under the heart. I also added foam tape to the sentiment, adding a bit more dimension to the design. These were SO easy to create and you could change up the design for ANY occasion. I haven’t put anything inside yet. A gift card fit perfectly inside, just add some temporary adhesive to the back of the gift card. You can also adhere a small cellophane bag filled with small treats and adhere it or add a bit of temporary adhesive to the back of a fun-size candy bar! Perfect for Valentine’s Day and Halloween!
I hope you enjoy this card and the tutorial. Thanks for stopping by I appreciate all of you! Please head over to the Imagine Crafts website to see all the beautiful products. Here is the link IMAGINE CRAFTS.