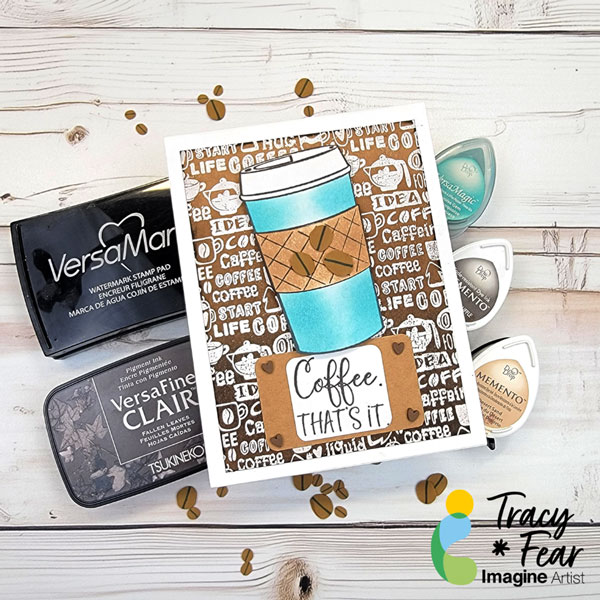
Other Products Used • Coffee Background Stamp and Coffee Cup stamp from Technique Junkies • 120lb paper in white and Kraft • Foam Tape • Misti tool • PVA Adhesive • White Super Fine Embossing Powder
ALTERNATIVE PRODUCTS THAT CAN BE USED TO RECREATE SOMETHING SIMILAR Any Inks any combination of background stamps and feature stamps To learn how to create your own dressed up box click here!
– Hi everyone! It’s Jessica here. Today I am sharing a simple way to create 3D Christmas trees for your holiday cards. It is beginner friendly with minimal supplies, and I think it’s perfect to mass produce as well.
Skill: Beginner Time: 30 min
Directions:
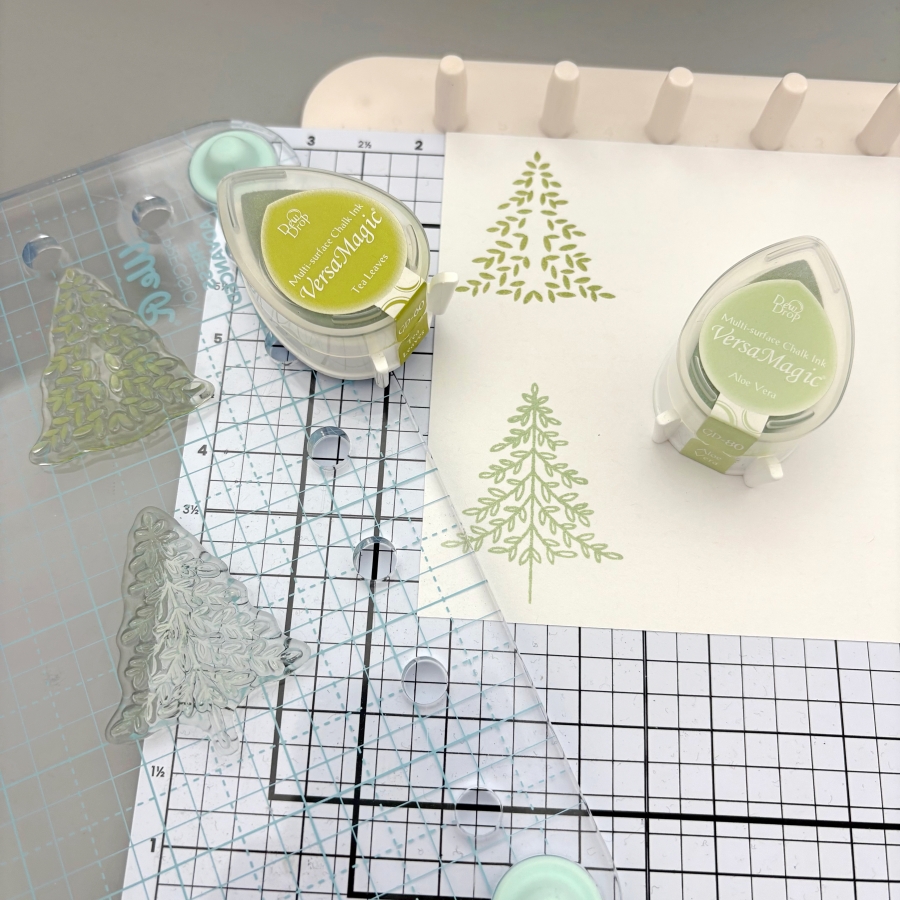
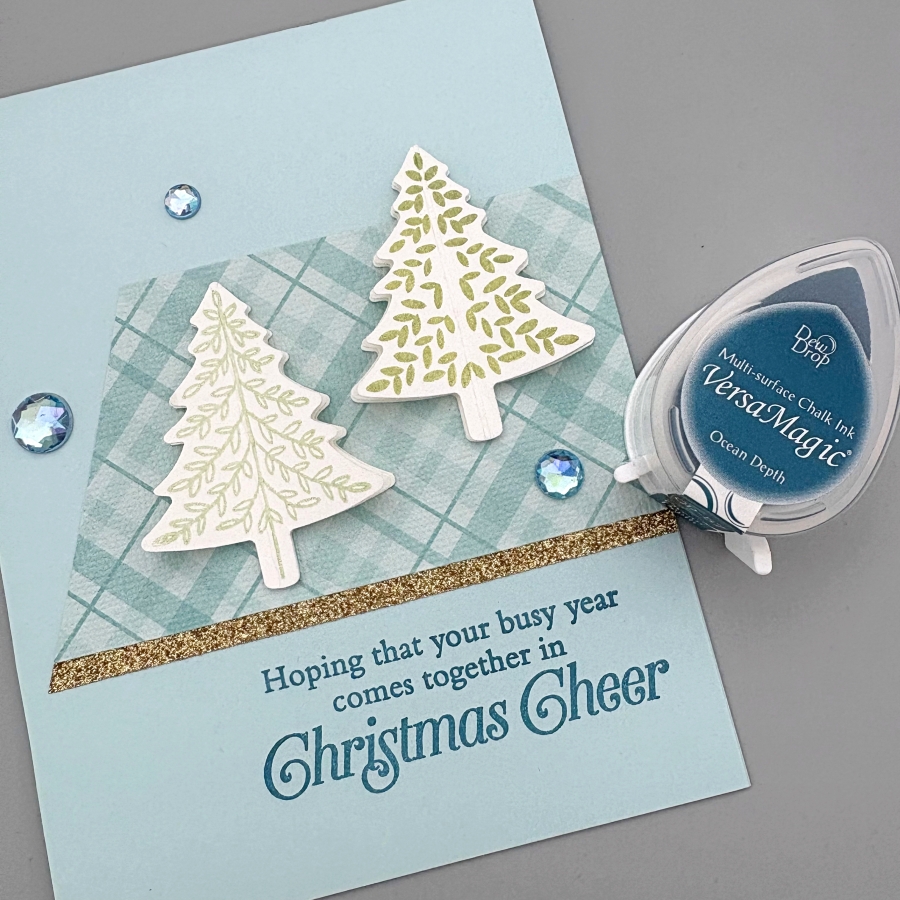
Step 1: Start by stamping Christmas tree images with VersaMagic Aloe Vera and Tea Leaves ink pads. I used stamps from Stampin’ Up’s Perfectly Plaid set, but any small Christmas tree image would work for today’s technique. For each 3D Christmas tree, you would need three layers. You could stamp each design three times for each layer, or only stamp the top layer for quick mass production of cards.
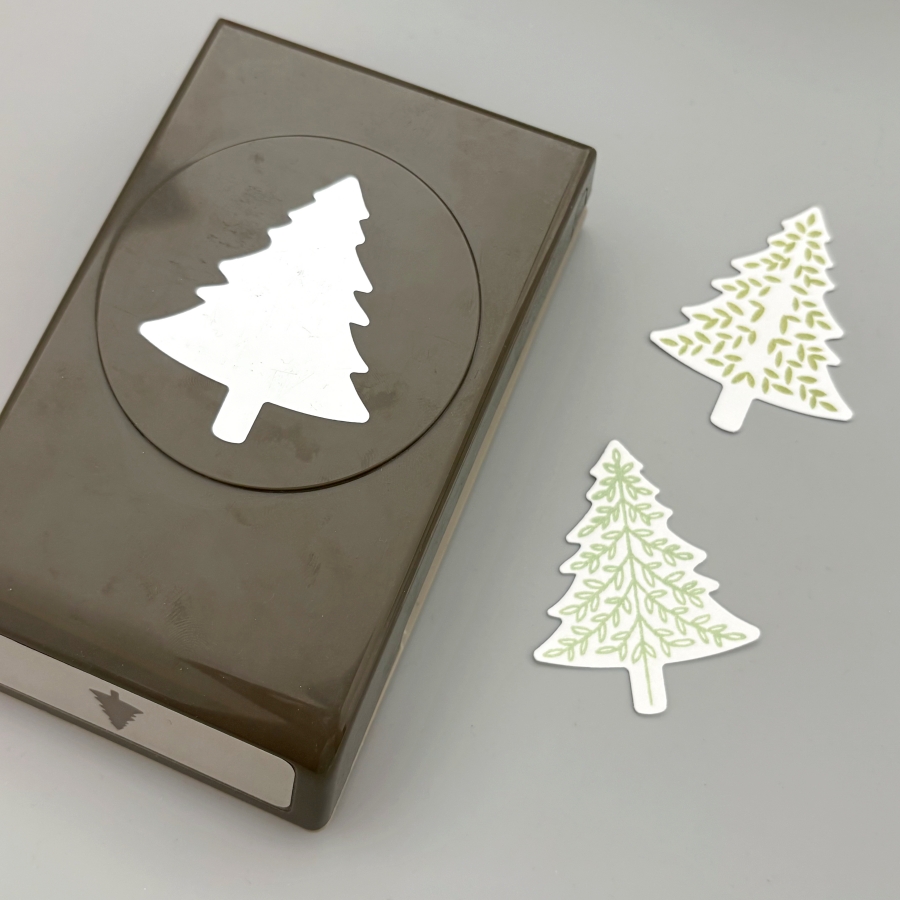
Step 2: Next, use the matching paper punch to cut out the Christmas trees. If you only stamped the top layer, be sure to punch out 2 additional cutouts with white cardstock for each 3D tree you are building. Since I am making two 3D trees today, I would need 4 more white cutouts.
Step 3: Score each Christmas tree cutout in the middle. I lined up the top and bottom of the cutout to the score guide to score.
Step 4: After scoring, fold the stamped Christmas tree cutout in half, and apply On Point Glue to the top of the folded crease. Then adhere it to a blank (or stamped) cutout. Be sure to hold the folded layer in place for about 20 seconds before the glue dries. Repeat this process to adhere the second layer to the third tree cutout.
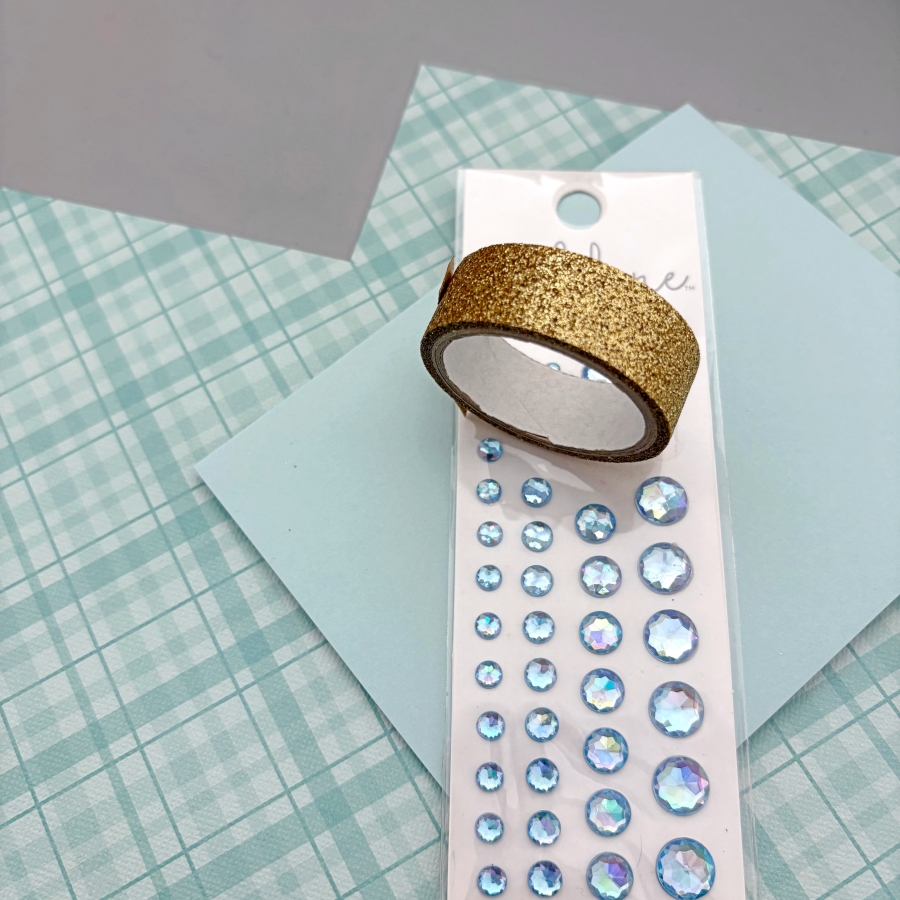
Step 5: Now that the 3D Christmas trees are made, it is time to prepare the card base. Trim a piece of patterned paper to 4 x 2 ¼ inches and a cut a 4 ¼ inch piece of gold glitter washi tape. Trim one side at an angle to create a banner shape and adhere both pieces to the card base.
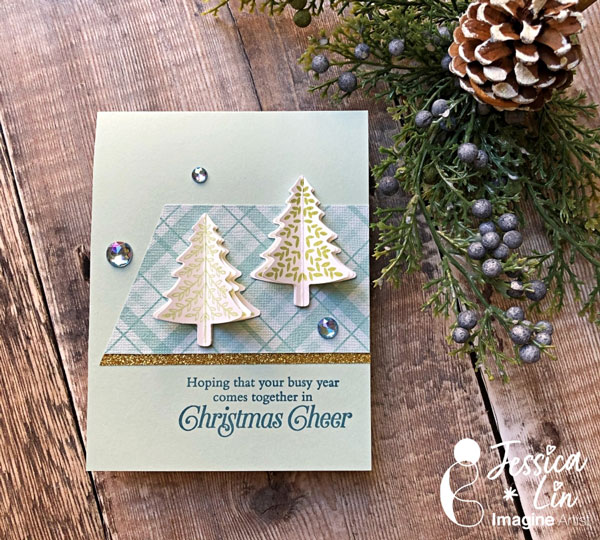
Step 6: Finally, stamp the sentiment using VersaMagic Ocean Depth ink pad. Adhere the 3D Christmas trees using Tear-It! Tape and embellish the card with a few rhinestones.
Here is a finished card where I stamped all 3 layers of the 3D Christmas trees. I love how easy it is to create the 3D element, and it is mail-friendly, too! I hope this tutorial inspires you to get a headstart on making Christmas cards for this year. Thank you so much for stopping by, and I’ll see you in my next tutorial!
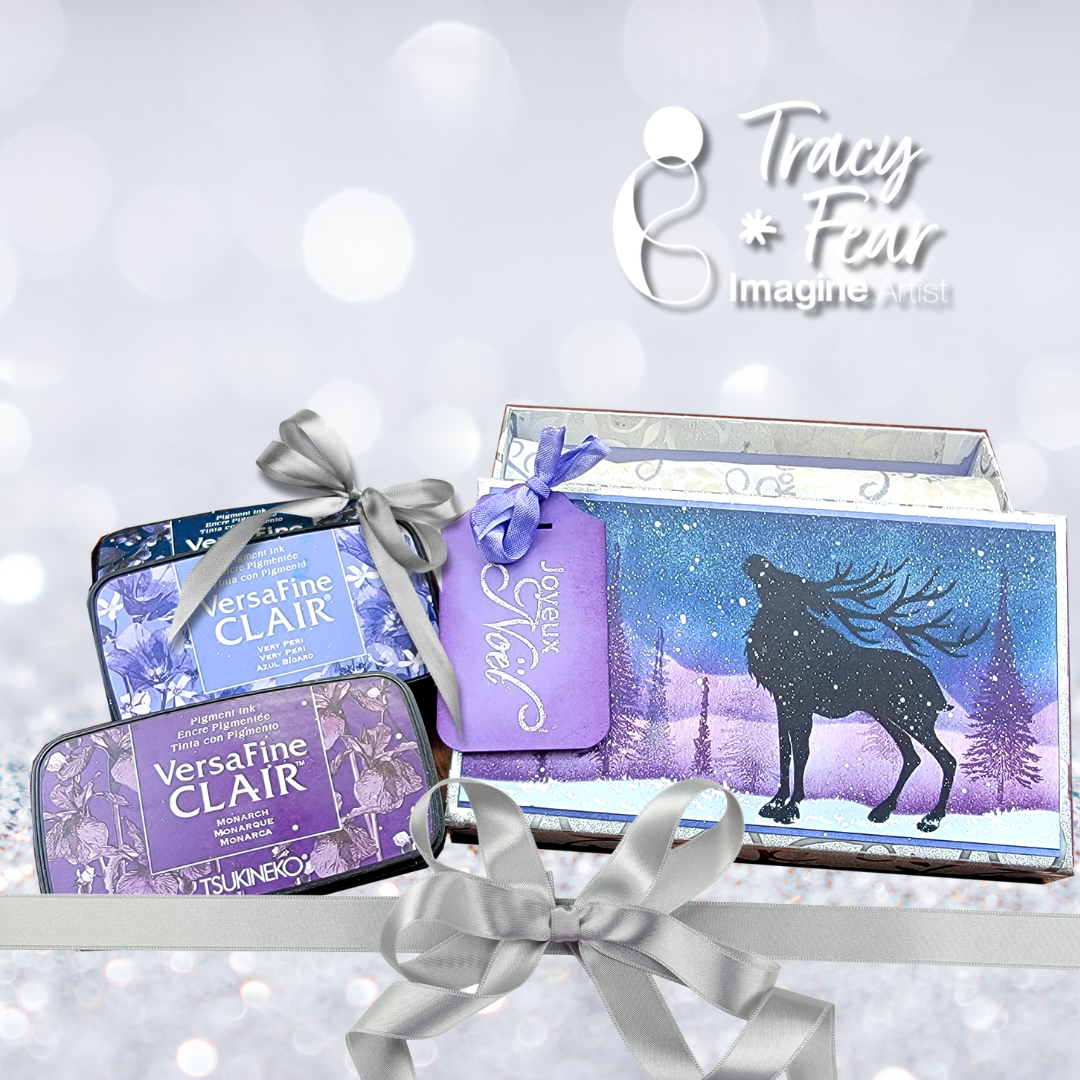
Hello Friends! Tracy here and today I am delighted to share this tutorial that helps you make gift giving even more spectacular by creating a custom gift box using your stamps and inks!
In today’s video tutorial I am sharing how I used some plain tissue paper and a Dollar Store box along with stamps and inks and a little paint to dress up a gift box!
Tracy
Skill: Intermediate Time: 30 Minutes to 90 Minutes
Art Supplies
Stamping Platform Glue Fan brush Your choice of stamps Ephemera of your choice Tissue paper Empty gift box Stencil Stencil Brush
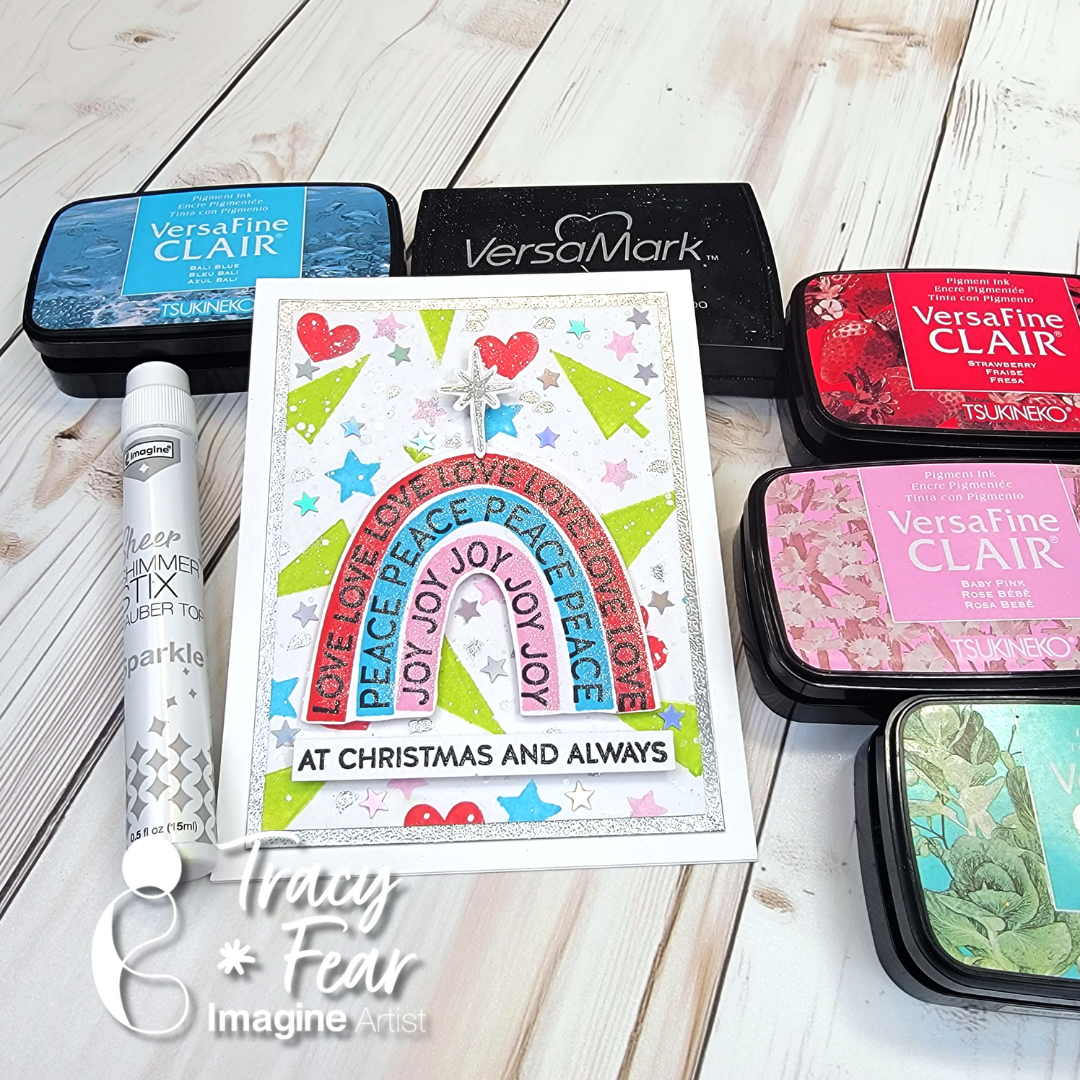
– Hello Friends! Tracy here and today I am delighted to share this tutorial for a fun and whimsical Christmas Card starring some non-traditional colors!
In today’s video tutorial I am sharing how I created my own pattern paper background using traditional and non traditional colors for Christmas!
Skill: Intermediate Time: 30 Minutes to 90 Minutes
Other Products Used • Rainbow Christmas Stamps from Simon Says Stamp • WOW Silver Embossing Powder • 120lb paper in white • Misti Stamping Platform tool • PVA Adhesive • Holographic Stars from Trinity Stamps
ALTERNATIVE PRODUCTS THAT CAN BE USED TO RECREATE SOMETHING SIMILAR
Any inks or stamps in your stash! To learn how to create your own modern, funky Christmas Card click here!
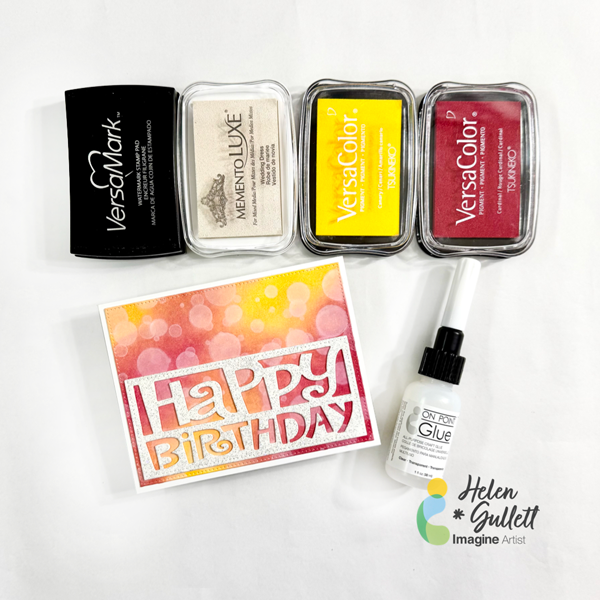
Hello crafty friends! Creating backgrounds is always fun, especially when you like something different for your cards. One of my favorite backgrounds is bokeh. There are a couple ways to create bokeh backgrounds but today we are going to do some stamping with any sizes of circle stamps you have in stash.
Let’s get crafting!
Skill: Intermediate Time: 15-20 minutes
Direction:
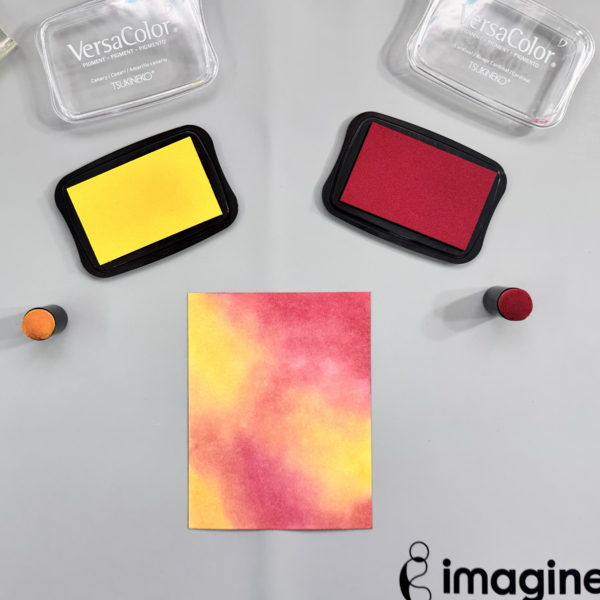
Step 1 Cut out a piece of 8.5 inch x 11 inch white cardstock into 4 panels of 4.25 inch x 5.5 inch.
Add each color of VersaColor inks (Cardinal and Canary) to the cardstock with sponge daubers.
Blend in the colors as you add it to the cardstock to create the third shade.
Dry the inks with a craft heat gun.
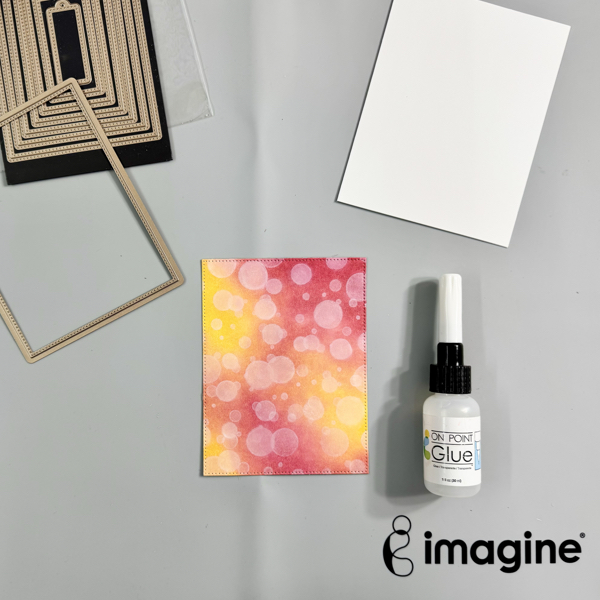
Step 2 Stamp the circles starting with the largest size and then smaller size with a Memento Luxe Wedding Dress ink pad. Repeat the stamping until you like the look of your bokeh background. Make sure some circles overlap each other to create the shadow effect.
When stamping, you might notice the lines on the edges of circles, use a small blending brush or sponge dauber to blend in the white ink around to smoothen the lines.
Dry again the whole background panel with a craft heat gun.
Step 3 Cut the background panel with one of the rectangle dies.
Add the background panel to the card base (A2 size card) with On Point Glue. Add a couple of acrylic blocks on top of it to hold it down while the glue is drying.
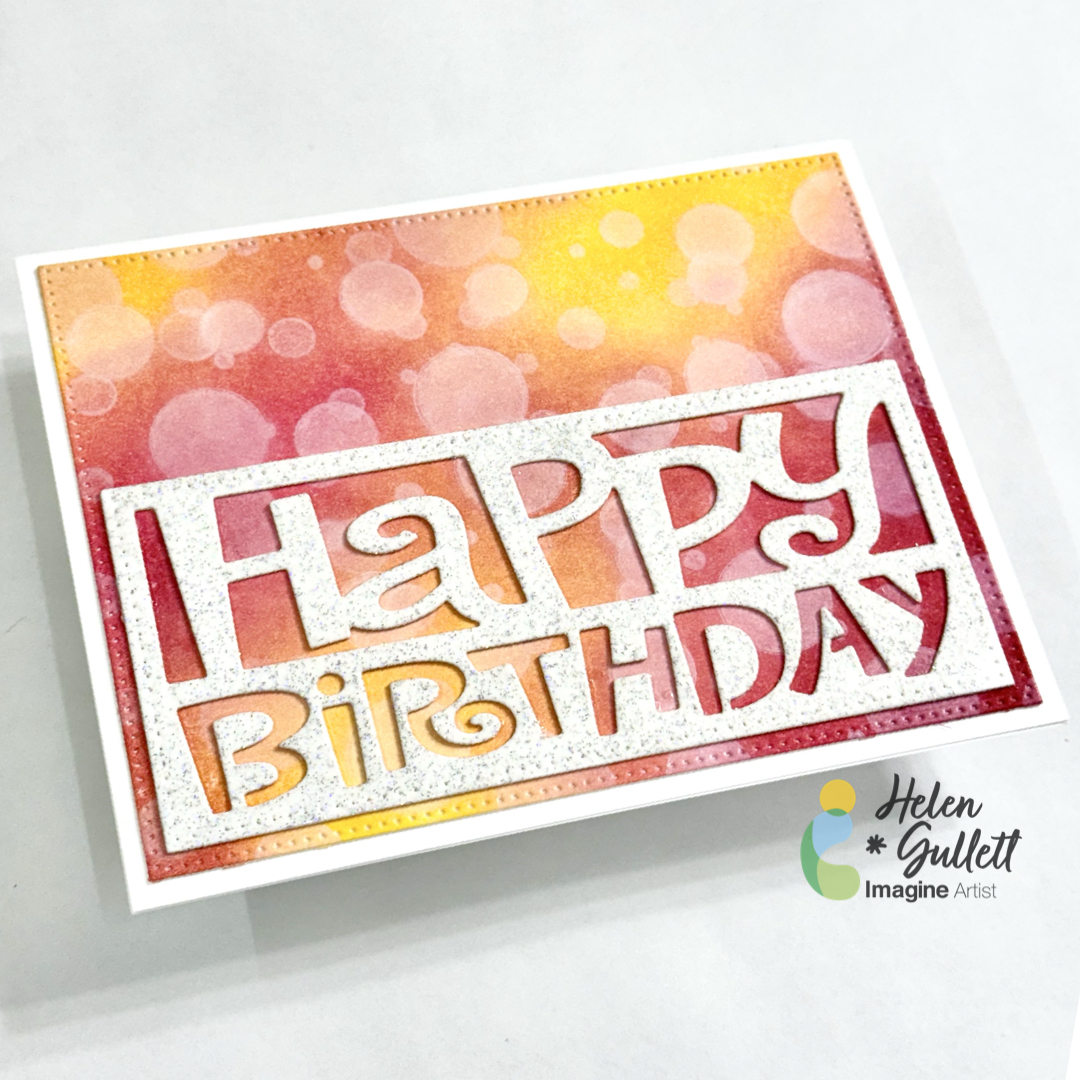
Step 4 Cut out 2-3 white cardstocks with the sentiment panel.
Stack the cutouts together with On Point Glue to create a chipboard sentiment panel (thicker die cut).
Step 5 Dab the VersaMark ink all over the sentiment panel, make sure it covers the whole panel.
Add some of the MBoss Sparkle embossing powder (retired) on it and heat it up with a craft heat gun. You will have a sparkly sentiment chipboard!
Add the sentiment on the card with the On Point Glue. Add some acrylic blocks (or anything heavy) on the sentiment to hold it down while the glue is drying.
Isn’t it a fun card making technique to do? You can create with any color inks, or you can even do colorful bokeh and not only white. Give it a try and have fun!
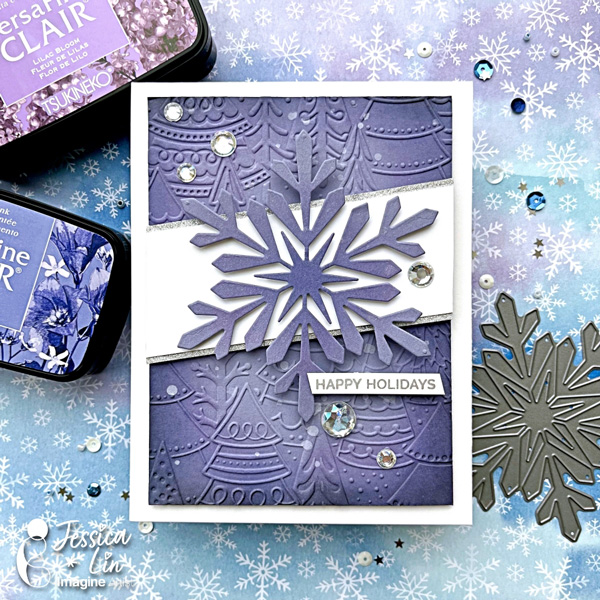
Hi everyone, it’s Jessica here. Have you seen the latest addition of colors for the VersaFine Clair ink line? I am a big fan of the VCF inks and am swooning over the new pastel colors. There are some really gorgeous shades of purples and blues, which are perfect for today’s wintery themed card. Let’s get started!
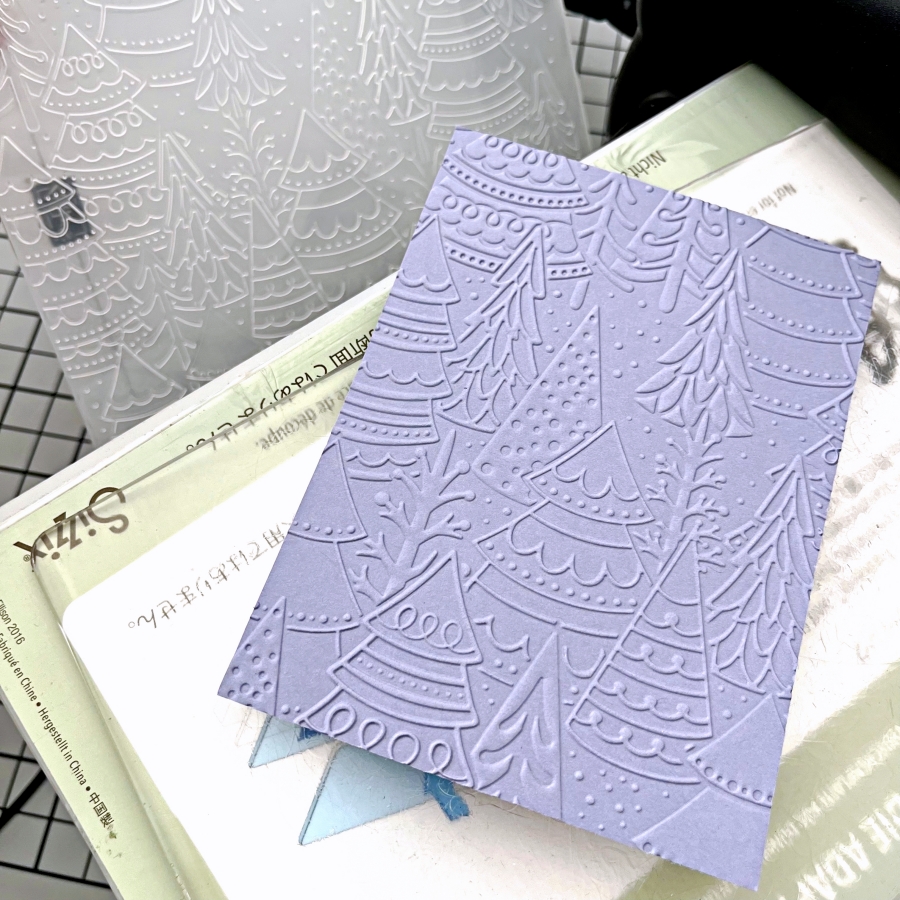
Step 1: Emboss a piece of purple cardstock with Stampin’ Up!’s Whimsical Woodland embossing folder. This is one of my favorite embossing folders to use to create any christmas or winter themed cards. It looks great on both white and colored cardstock.
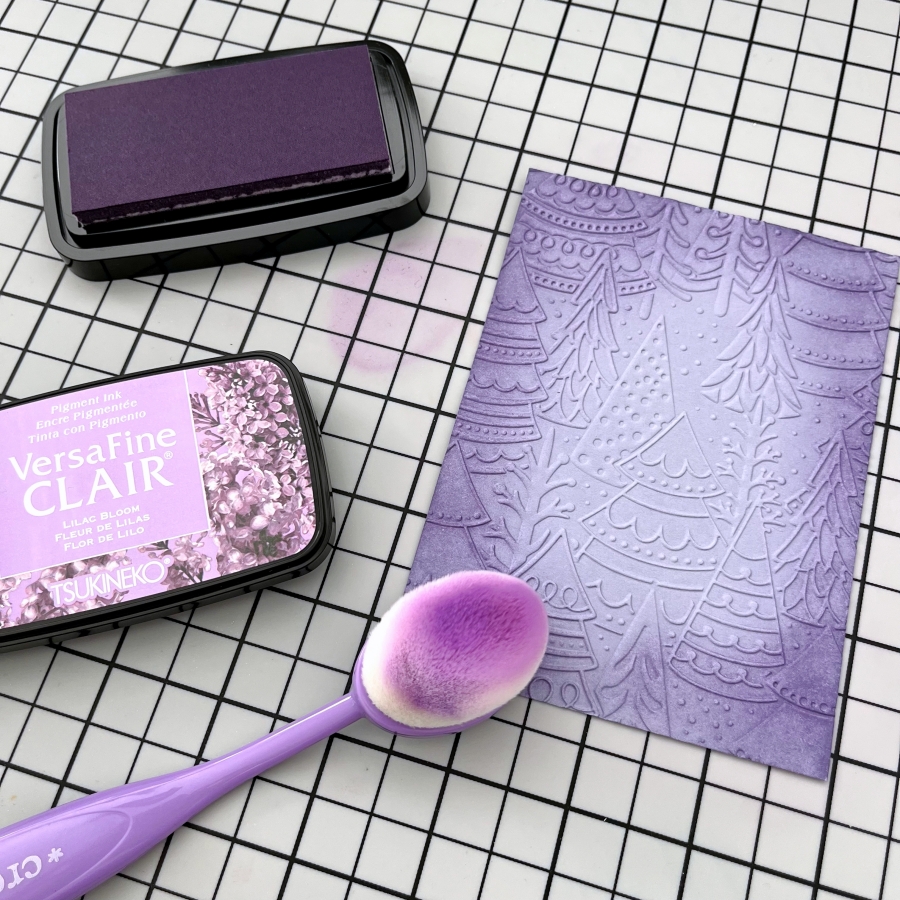
Step 2: Ink blend the edges of the embossed panel with Lilac Bloom VersaFine Clair ink. I like to dab off excess ink on my craft mat before blending onto the cardstock so that there would be no harsh lines. I also tried to ink blend in a circular motion to create a spotlight effect.
Step 3: Then ink blend Very Peri VersaFine Clair ink to create a color gradient. This beautiful dusty blue complements Lilac Bloom nicely. I just love the blended look of these two colors.
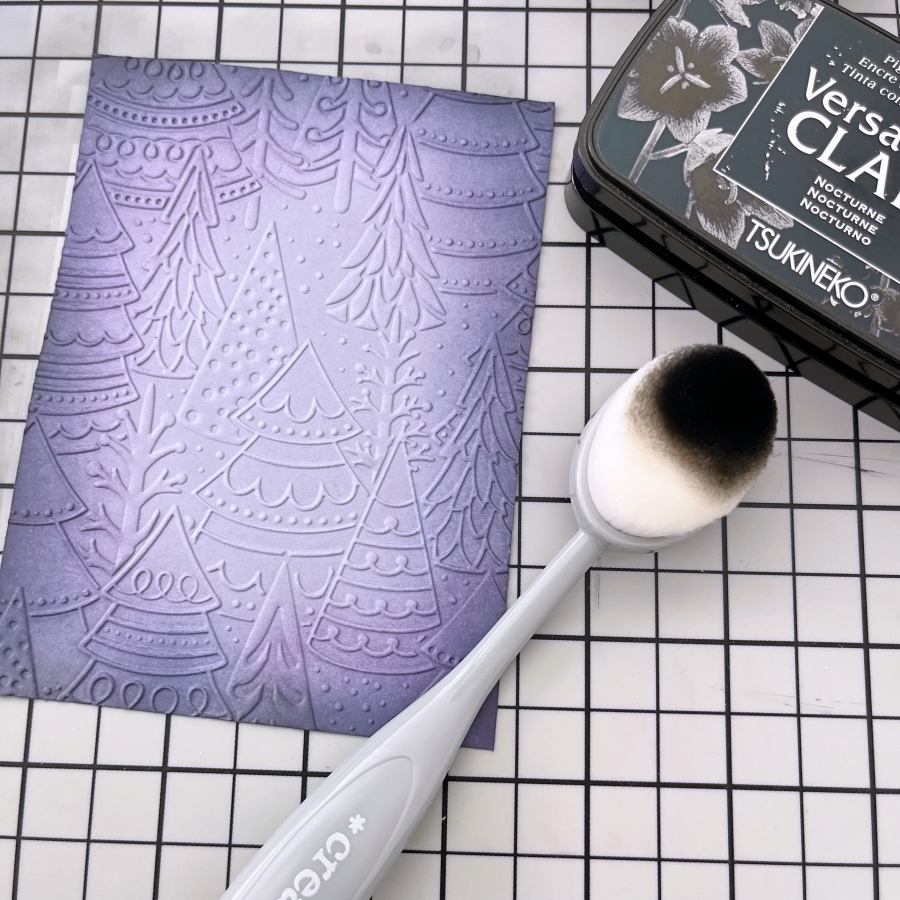
Step 4: I ink blended a small amount of Nocturne VersaFine Clair ink to add a dramatic feel to this forest scene.
Step 5: Using the same VersaFine Clair inks (Lilac Bloom and Very Peri), ink blend the center of a square piece of cardstock. Then die cut a large snowflake with Hero Art’s Snowflake die. If your snowflake die does not have thin, intricate lines, you could die cut the shape before ink blending.
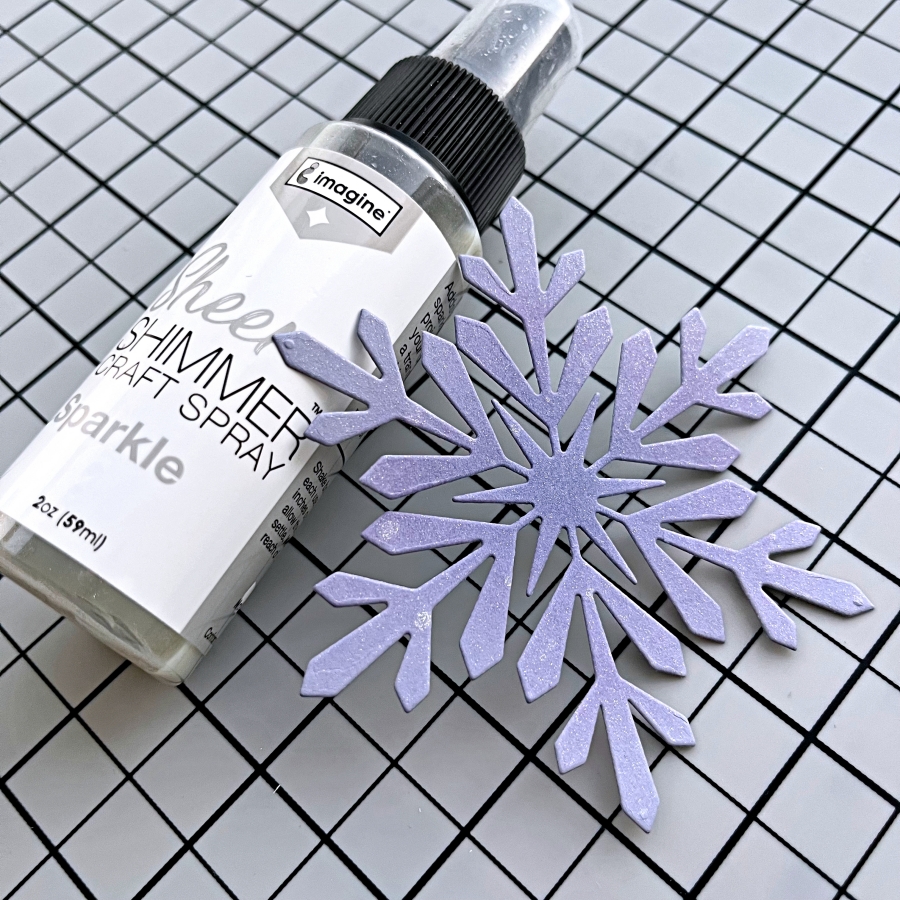
Step 6: Spritz a generous layer of Sheer Shimmer Spray in Sparkle to add a shimmery look to the snowflake die cut. Make sure you shake well before spritzing! I spritzed several layers, letting one layer dry briefly before applying the next, to get a thick coat of shimmer. The photos don’t do it justice! I wish you could see the amount of sparkle in person.
Step 7: I also splattered on some white acrylic paint droplets to the embossed background by flicking the paint brush. After that is dry, I adhered the snowflake onto a strip of white cardstock and mounted the center piece onto the background with foam tape. For some finishing touches, I adhered a couple of rhinestones as well using On Point Glue.
Step 8: To complete the card, I stamped the sentiment using the Silvery Shimmer Delicata ink pad. This sentiment stamp is from My Favorite Things’ Hand Lettered Holiday set.