by Kyriakos Pachadiroglou

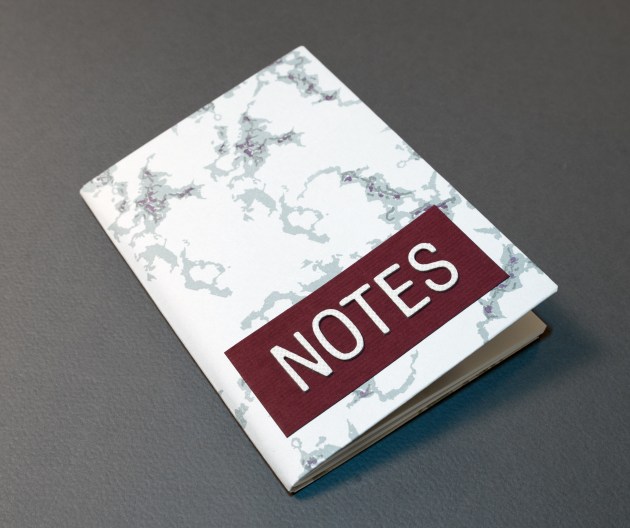
Make a mixed media card with embellished with naturally based materials. Use denim fabric as a background of a card decorated with a stamped design and MBoss embossing powder. Make embellishments for the card in the same way on small pieces of cotton fabric and color a wood piece with Fireworks!
Skill: Intermediate
Time: 1 hour
Directions

Step 1
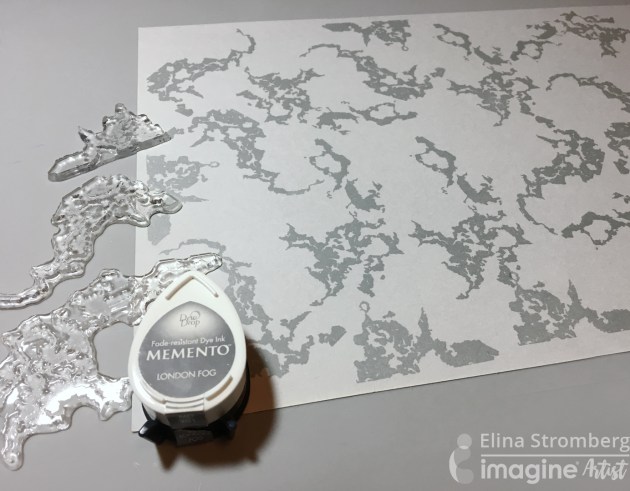
Sew or glue a 4 x 6-inch piece of denim fabric on the front of the base card. Stamp with VersaMark inkpad, cover with the Mboss White Embossing Powder and heat seat.

Step 2
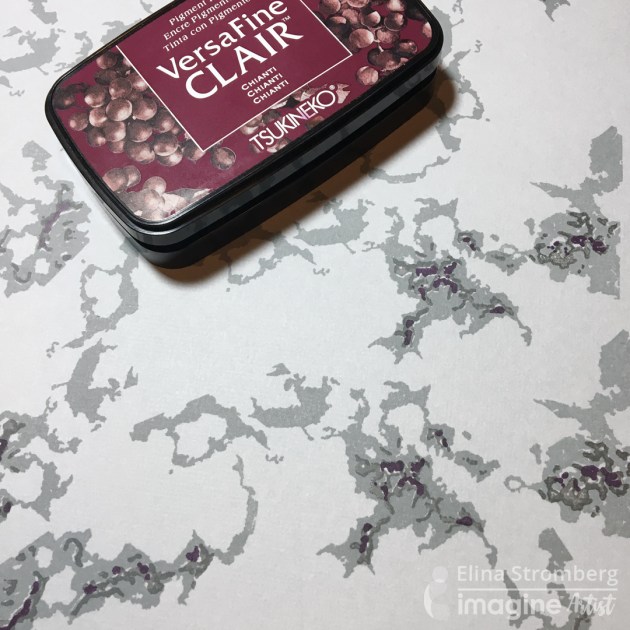
Cut a heart from a piece of cotton fabric, stamp again with the VersaMark inkpad and this time cover with Mboss Valentine Embossing Powder and heat set.

Step 3
Stamp with Waffle flower sentiment, “The best is yet to come” with VersaFine CLAIR Twilight color on a stripe of cotton ribbon.

Step 4
Spray with Fireworks! Paris Dusk a round piece of wood.

Step 5
Add ribbon around the wood piece and set it on the front of the card.

Step 6
Place Tear It! Tape on the back of the cotton ribbon with the stamped sentiment and set it on the card.

Step 7
Add the fabric heart and embellish with the beads.
Supplies
Imagine
- MBoss Embossing Powder – White, Valentine
- VersaMark Inkpad
- VersaFine CLAIR – Twilight
- Fireworks! Shimmery Craft Spray – Paris Dusk
- Tear It! Tape
Other
- 5 x 7 Base card
- Kaisercraft – Flourish stamp
- Waffle Flower – Doily circle
- Cotton denim fabric
- Cotton ribbon
- A small piece of round bark
- Ribbon and metallic beads
- Heat tool