Upcycle Chocolate Bar Packaging into a Money Holder

By Jessica Lin

Skill: Beginner
Time: 30 minutes

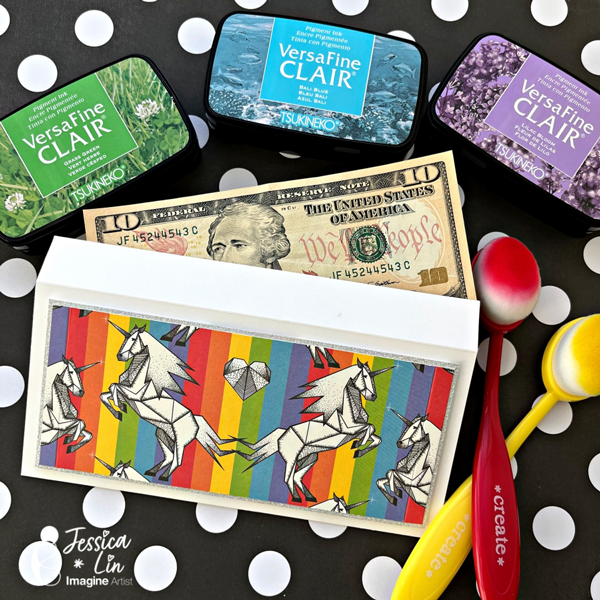
Hi everyone, it’s Jessica here. Christmas is right around the corner. Did you start preparing presents and gifts for the holidays? I recently received several Iceland chocolates and their packaging is so adorable! I decided to upcycle them into money holders which is perfect for the upcoming gift-giving season. If you like this idea, just keep reading!

Step 1:
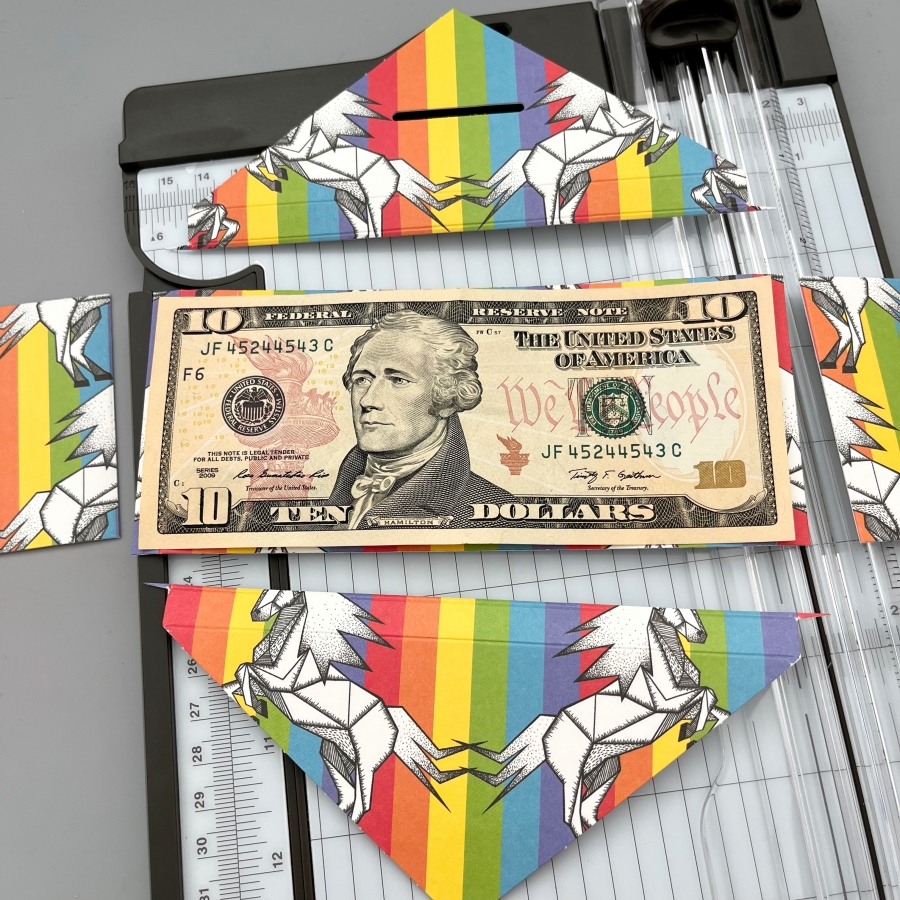
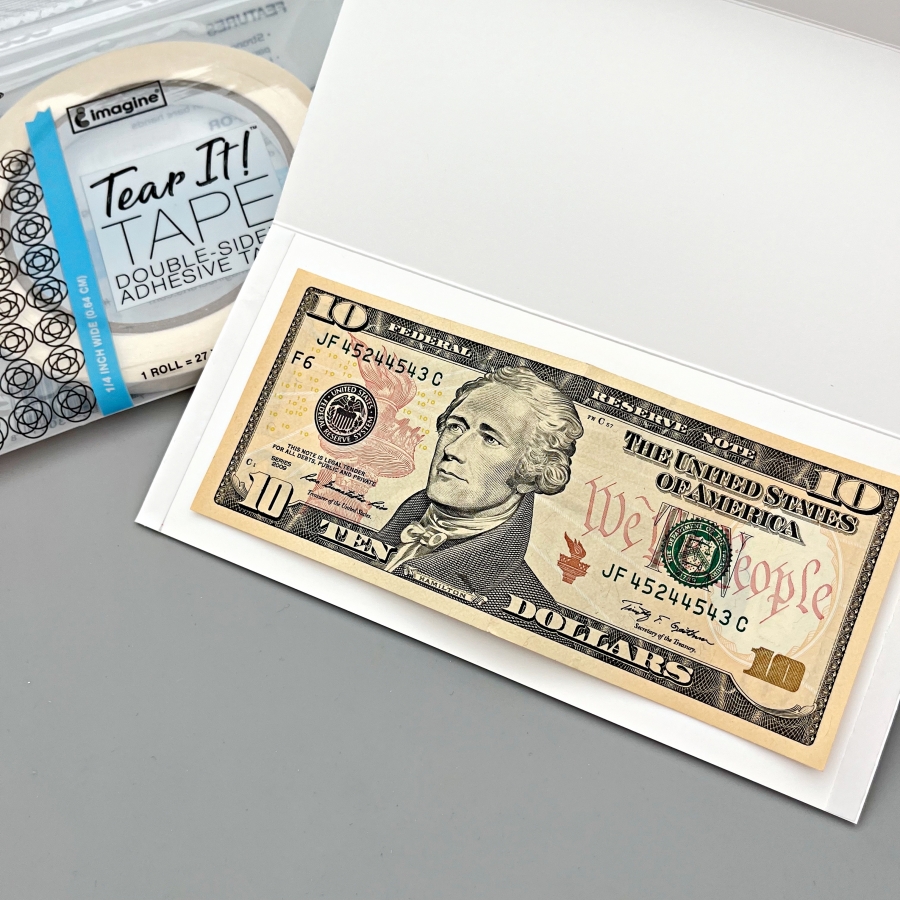
Trim the chocolate bar packaging to size. For U.S. dollar bills, I trimmed down to 6 3/8‘’ x 2 3/4‘’. This was the largest size I could get from this packaging. If your packaging is larger, 6 1/2‘’ x 2 7/8‘’ would be a great size too.

Step 2:
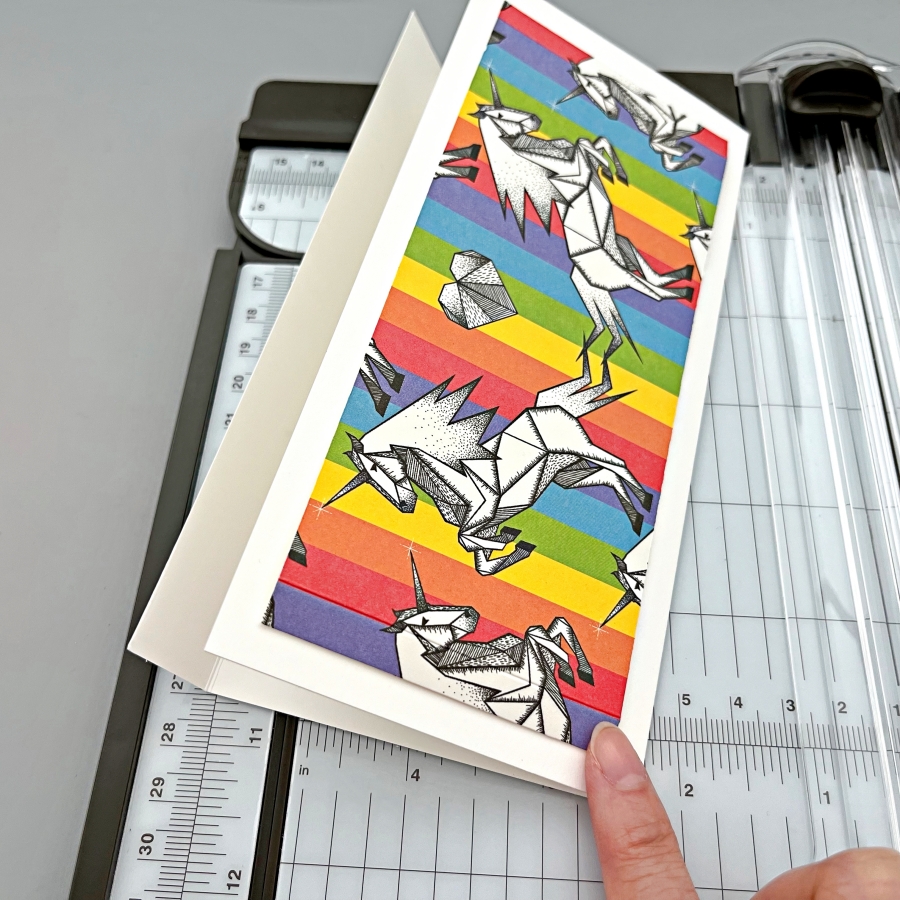
Cut and score a piece of white cardstock to create the envelope base. I started with a 7’’ x 7 1/2’’ piece of cardstock and scored at 3 5/16‘’ to create a 7’’ x 3 5/16‘’ envelope. This envelope also has a small flap closure but it sticks out a little bit. If you would like a larger flap that lays flatter, you could use a 7’’ x 8’’ piece of cardstock instead.

Step 3:
Apply Tear It Tape to both ends of the envelope and adhere together to form the envelope pocket.

Step 4:
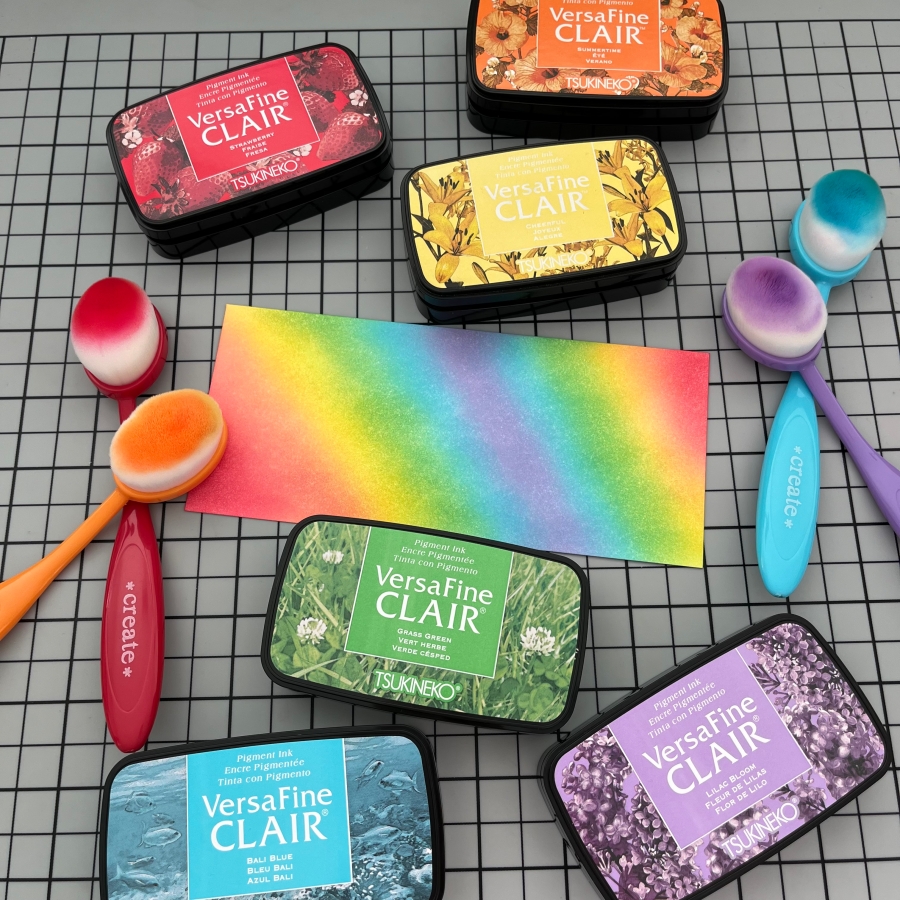
I decided to decorate the backside of the envelope as well. I ink blended a 6 3/4‘’ x 3’’ piece of cardstock with Strawberry, Summertime, Cheerful, Grass Green, Bali Blue, and Lilac Bloom VersaFine Clair inks. I love the newly released ink colors. They create such a vibrant rainbow gradient!

Step 5:
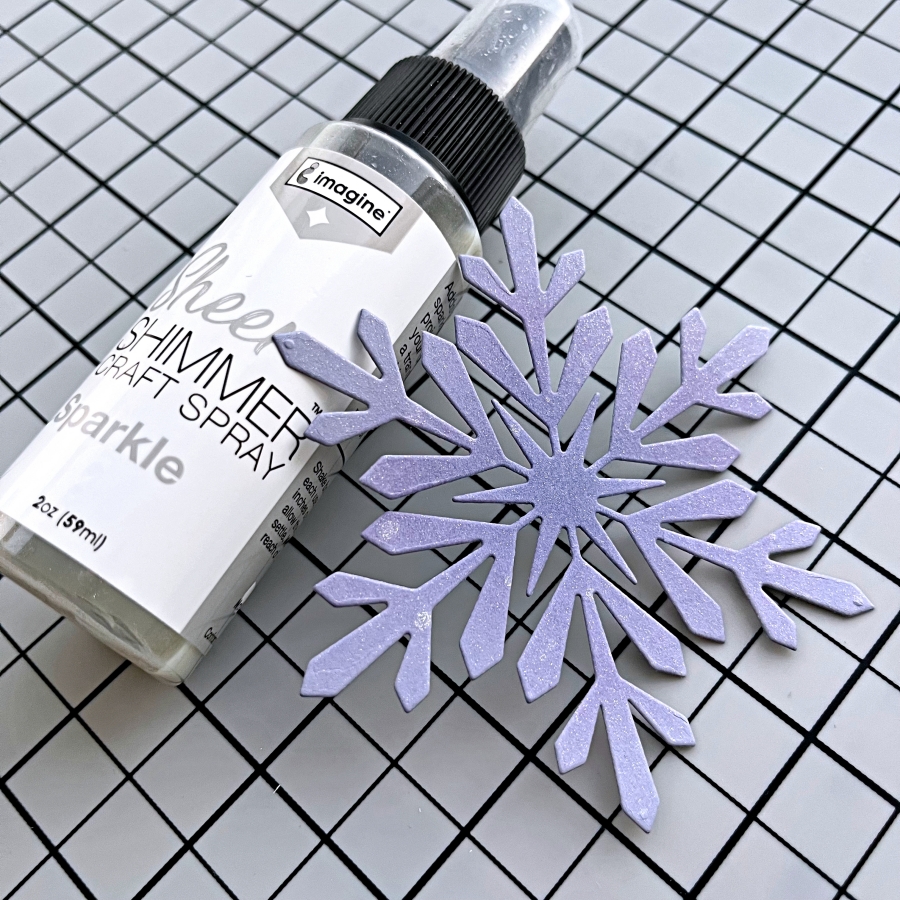
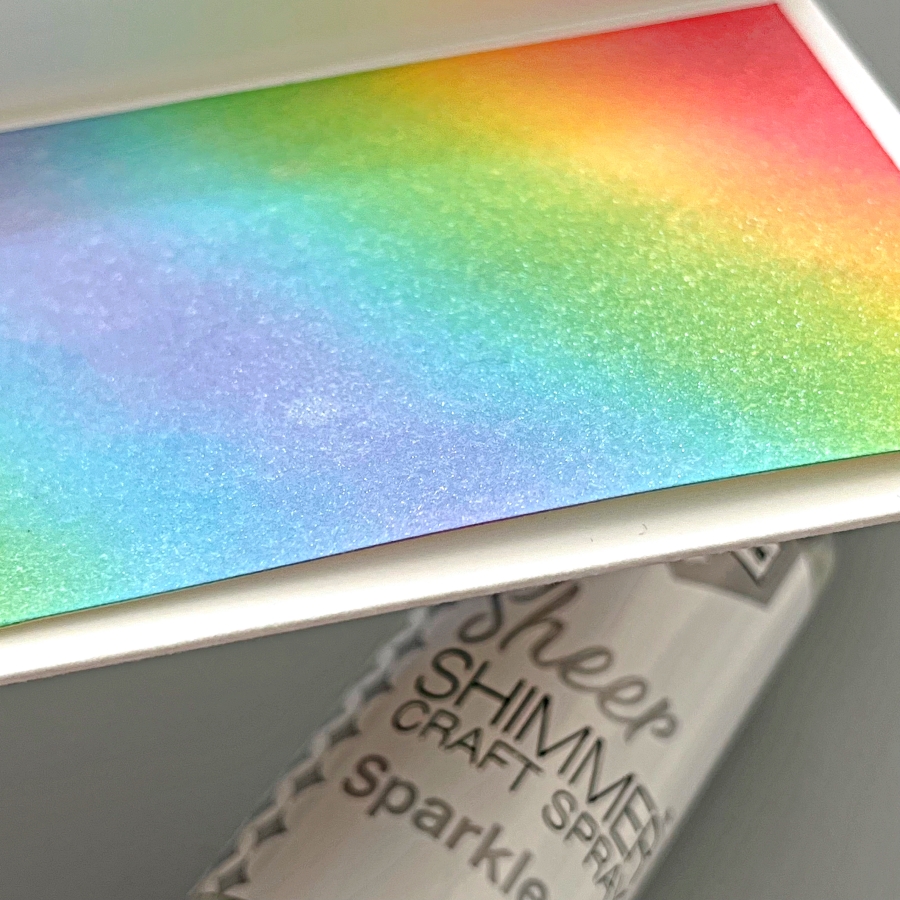
For additional shimmer and shine, generously spritz a layer of Sheer Shimmer Craft Spray (Sparkle) and let dry.

I hope you enjoyed this tutorial and would try upcycling pretty packaging in the future. Thank you so much for stopping by, and I’ll see you next time!

Imagine Supplies:

Other Supplies:

  • Paper Trimmer
  • Color packaging or patterned paper
  • White cardstock

Quick & Easy Christmas Cards using Ornament Punches

By Jessica Lin

Skill Level: Beginner
Time: 30 minutes

Hi everyone, it’s Jessica here. Quick & easy cards are so fun to make, and they are perfect for holiday mass production too! I made several versions today using some punches, and I hope you’ll enjoy this quick tutorial.

Step 1:
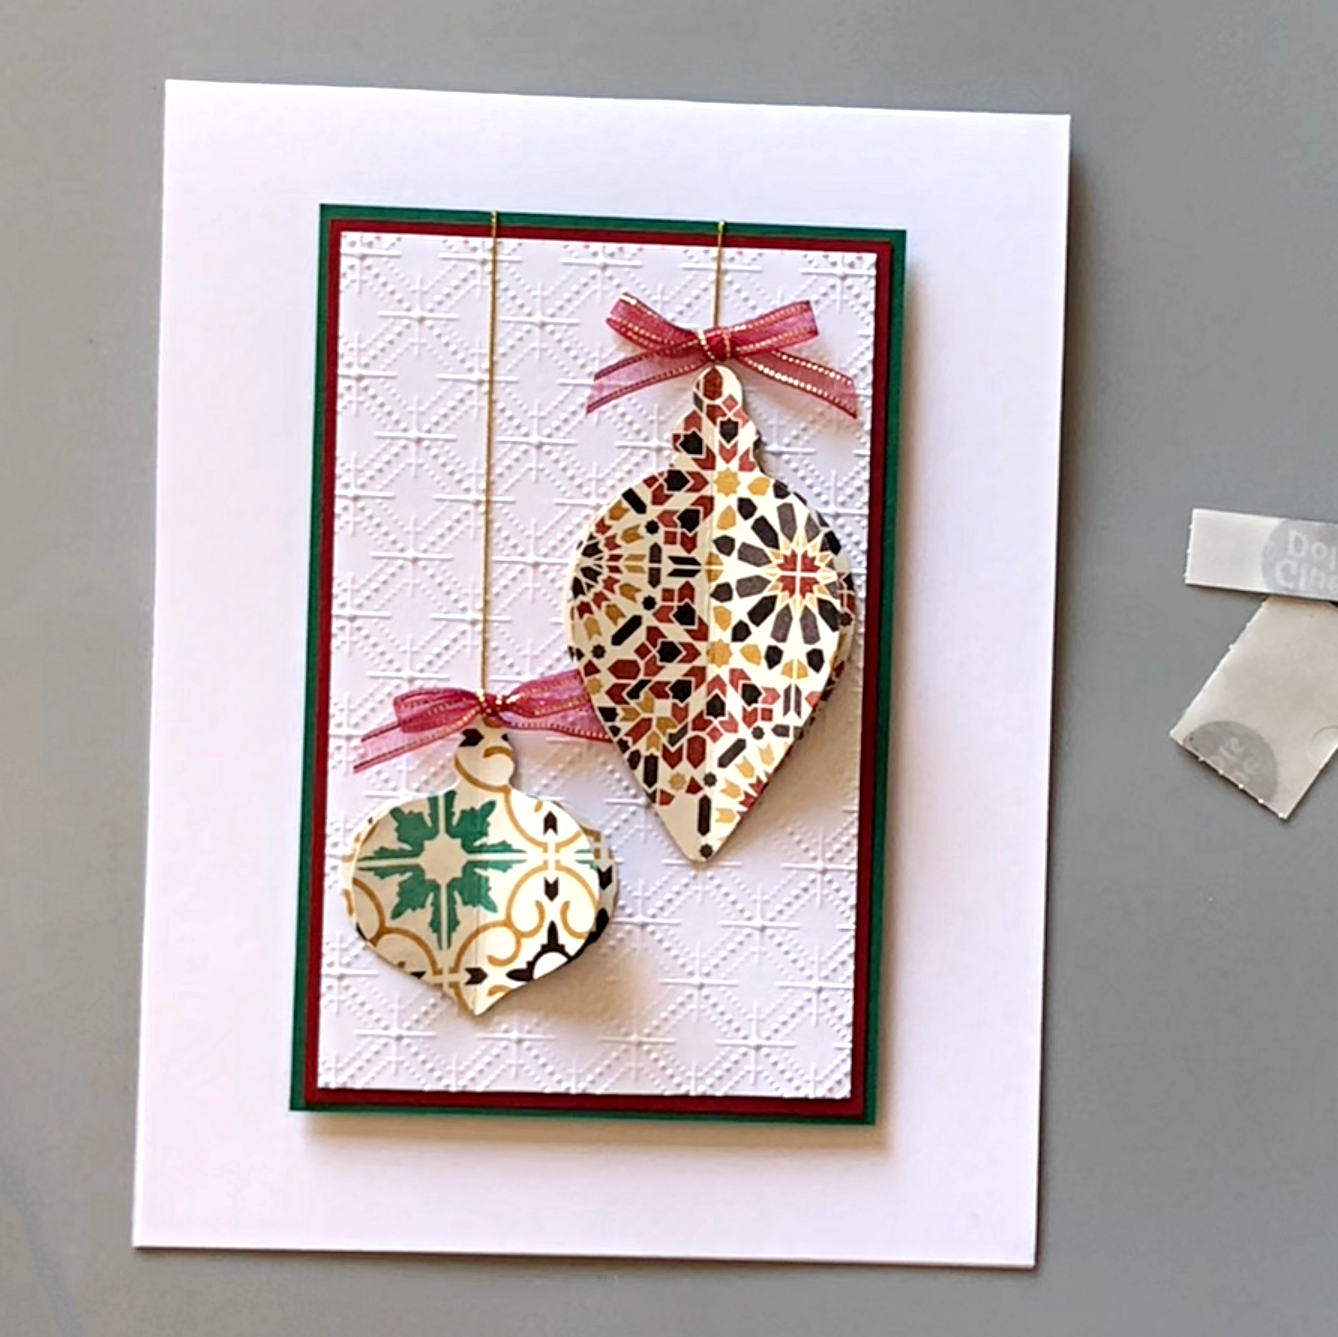
Use Stampin’ Up!’s Gleaming Ornaments punches with patterned paper to create the christmas ornaments. Each ornament needs two pieces; one unscored and one scored in the middle.

Step 2:
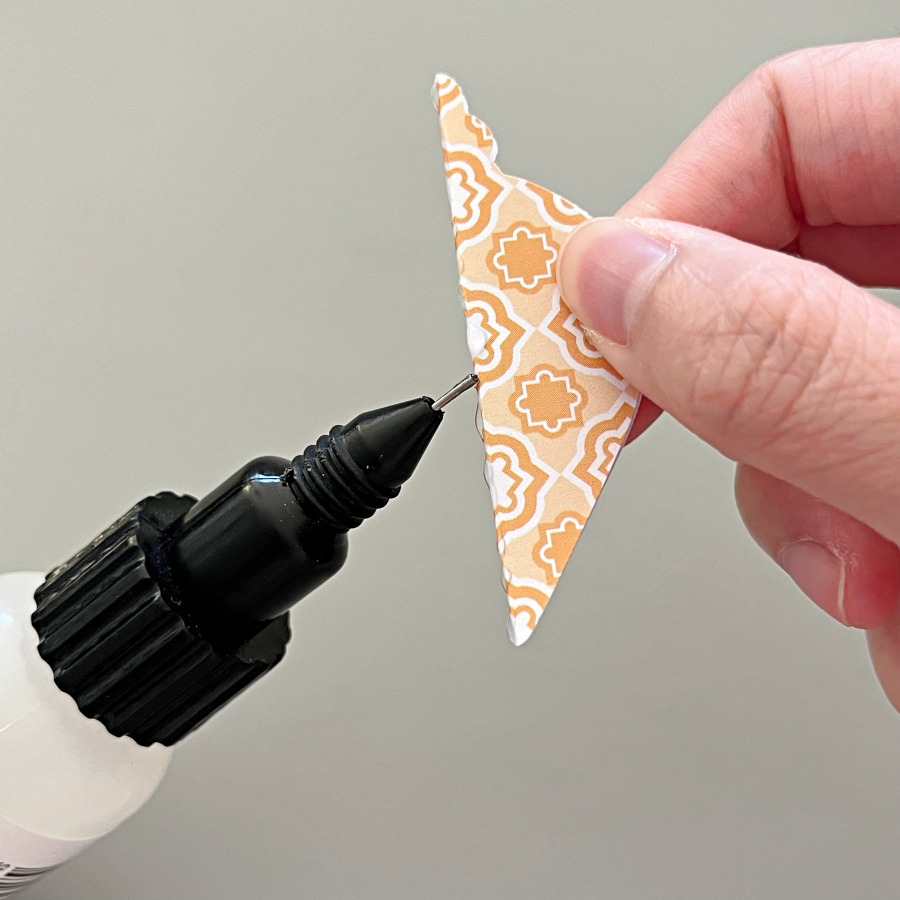
Apply On Point Glue onto the folded crease (backside of the patterned paper) and adhere to the unscored punch piece. Hold in place for 20-30 seconds while the glue dries.

Step 3:
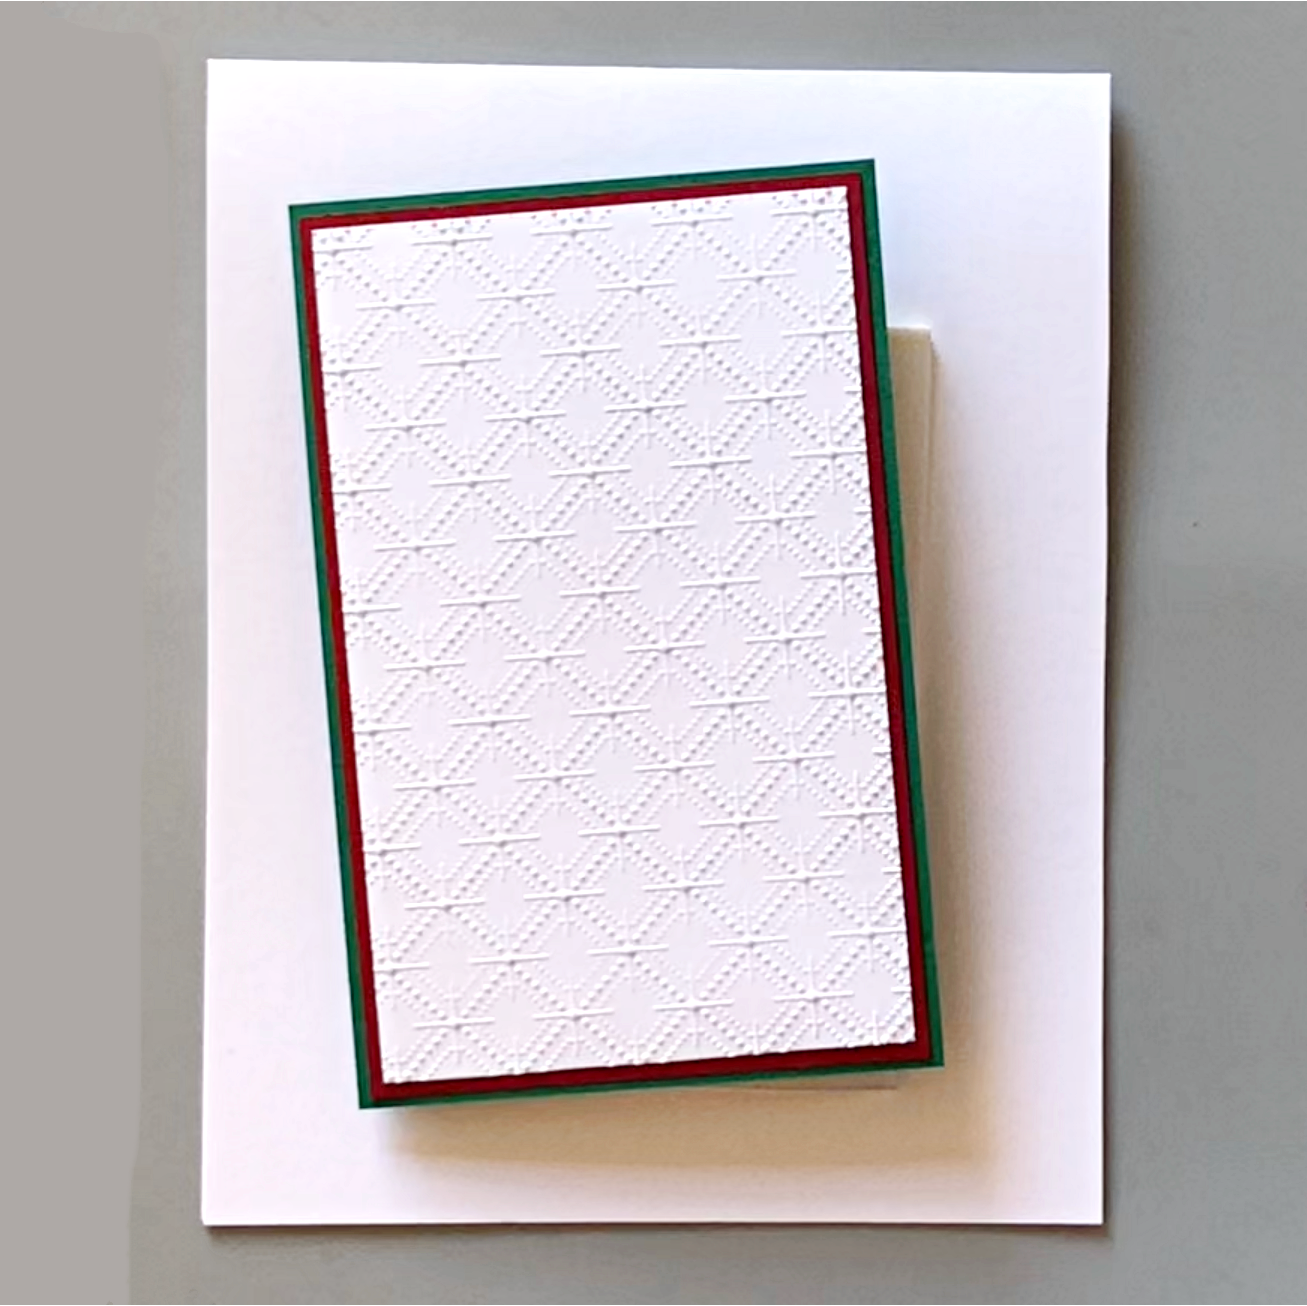
Prepare 3 pieces of cardstock and adhere them together with Tear It Tape. The largest size measures 2 3/4‘’ x 4 1/4‘’, the medium size measures 2 5/8‘’ x 4 1/8‘’, and the small size 2 1/2‘’ x 4’’.

Step 4:
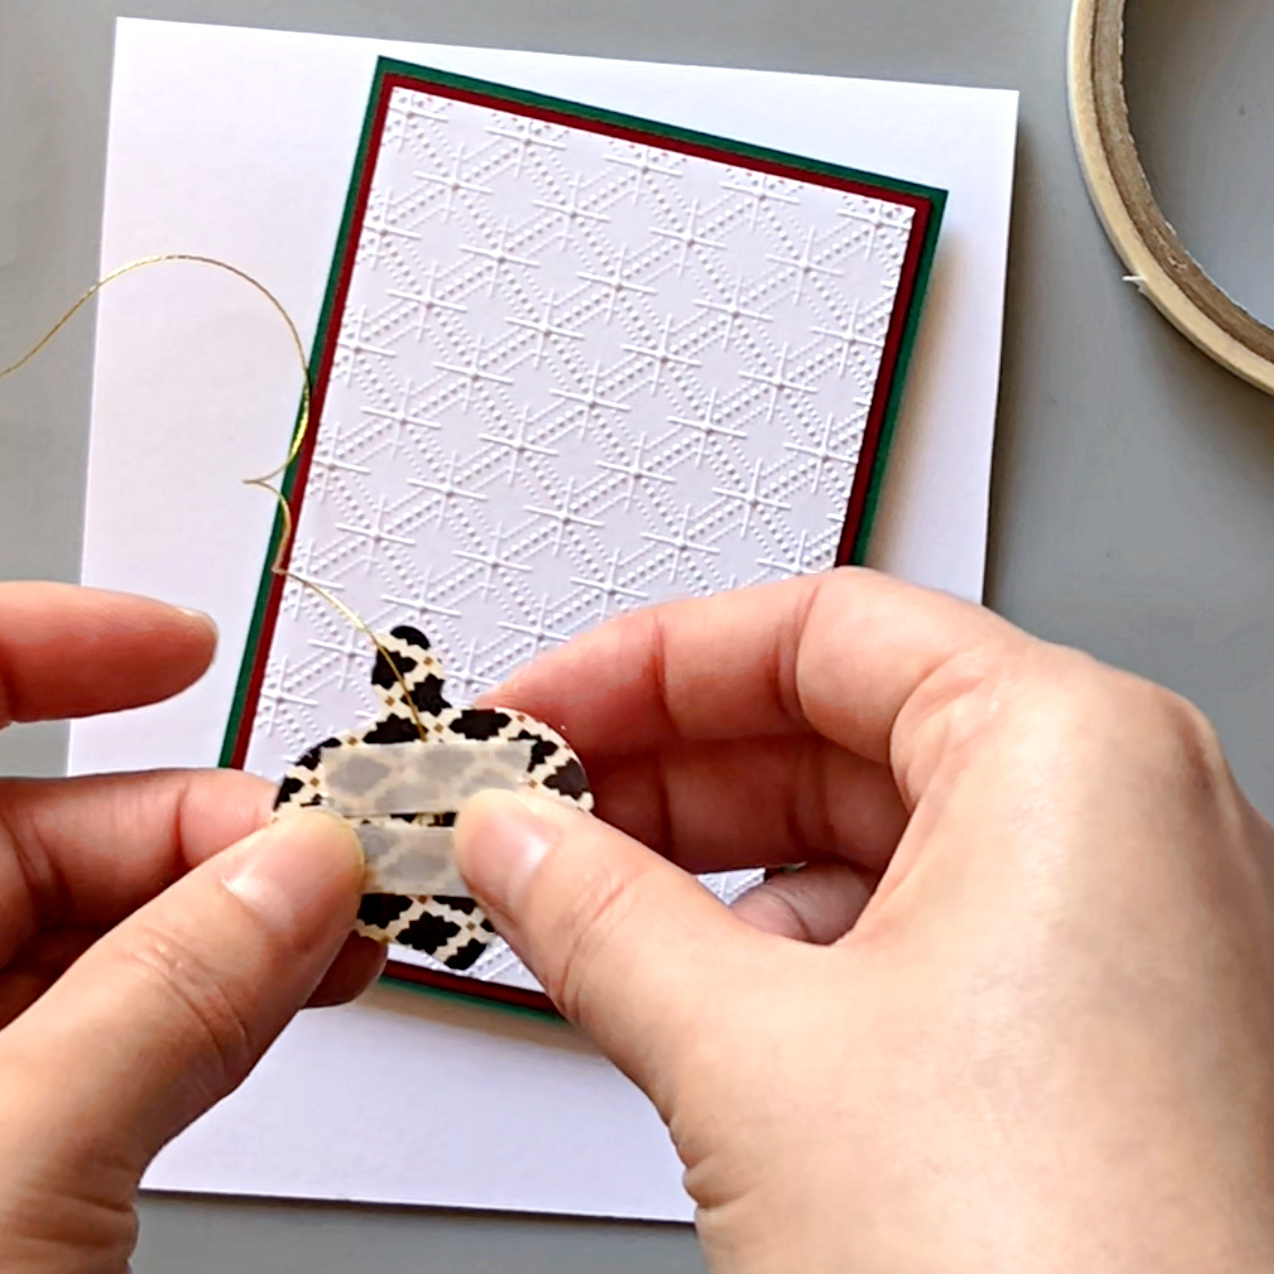
Attach a piece of gold thread to the back of the ornament with Tear It Tape, and adhere to the layered background. Attach the other end of the gold thread to the back of the green cardstock layer.

Step 5:
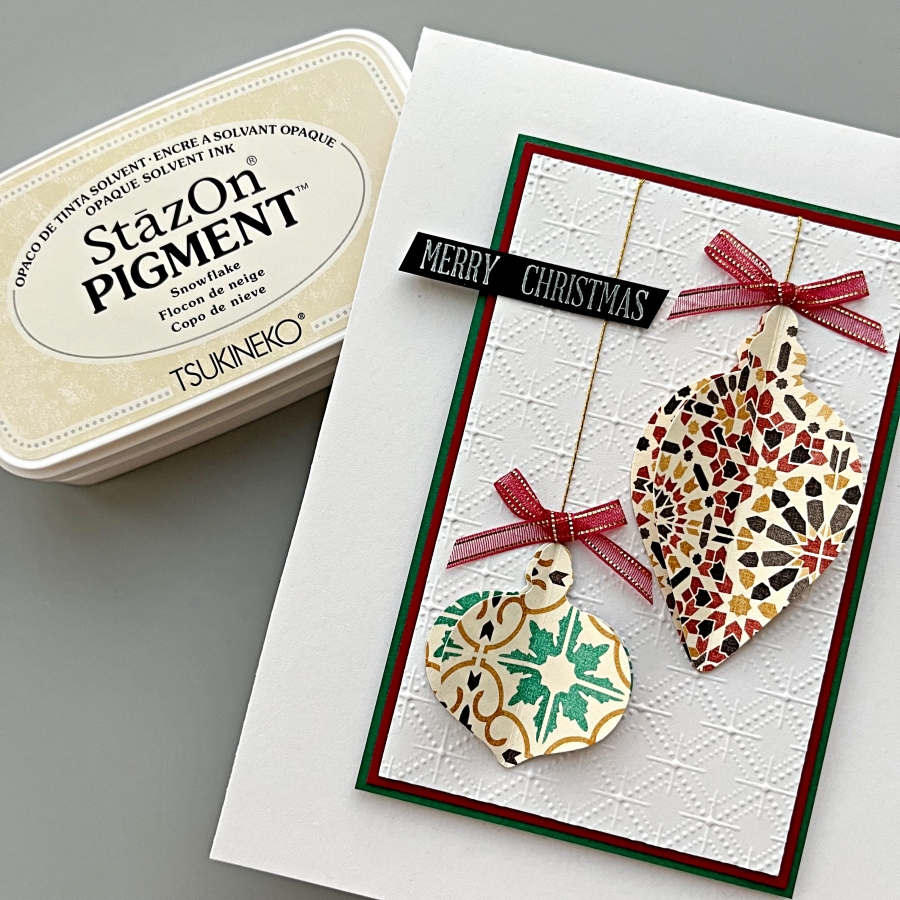
Adhere tiny bows to the top of the ornaments with glue dots.

Step 6:
Stamp the sentiment on black cardstock using StazOn Pigment ink. Adhere both the sentiment strip and the layered panel to the card base with Tear It Tape.

Step 7:
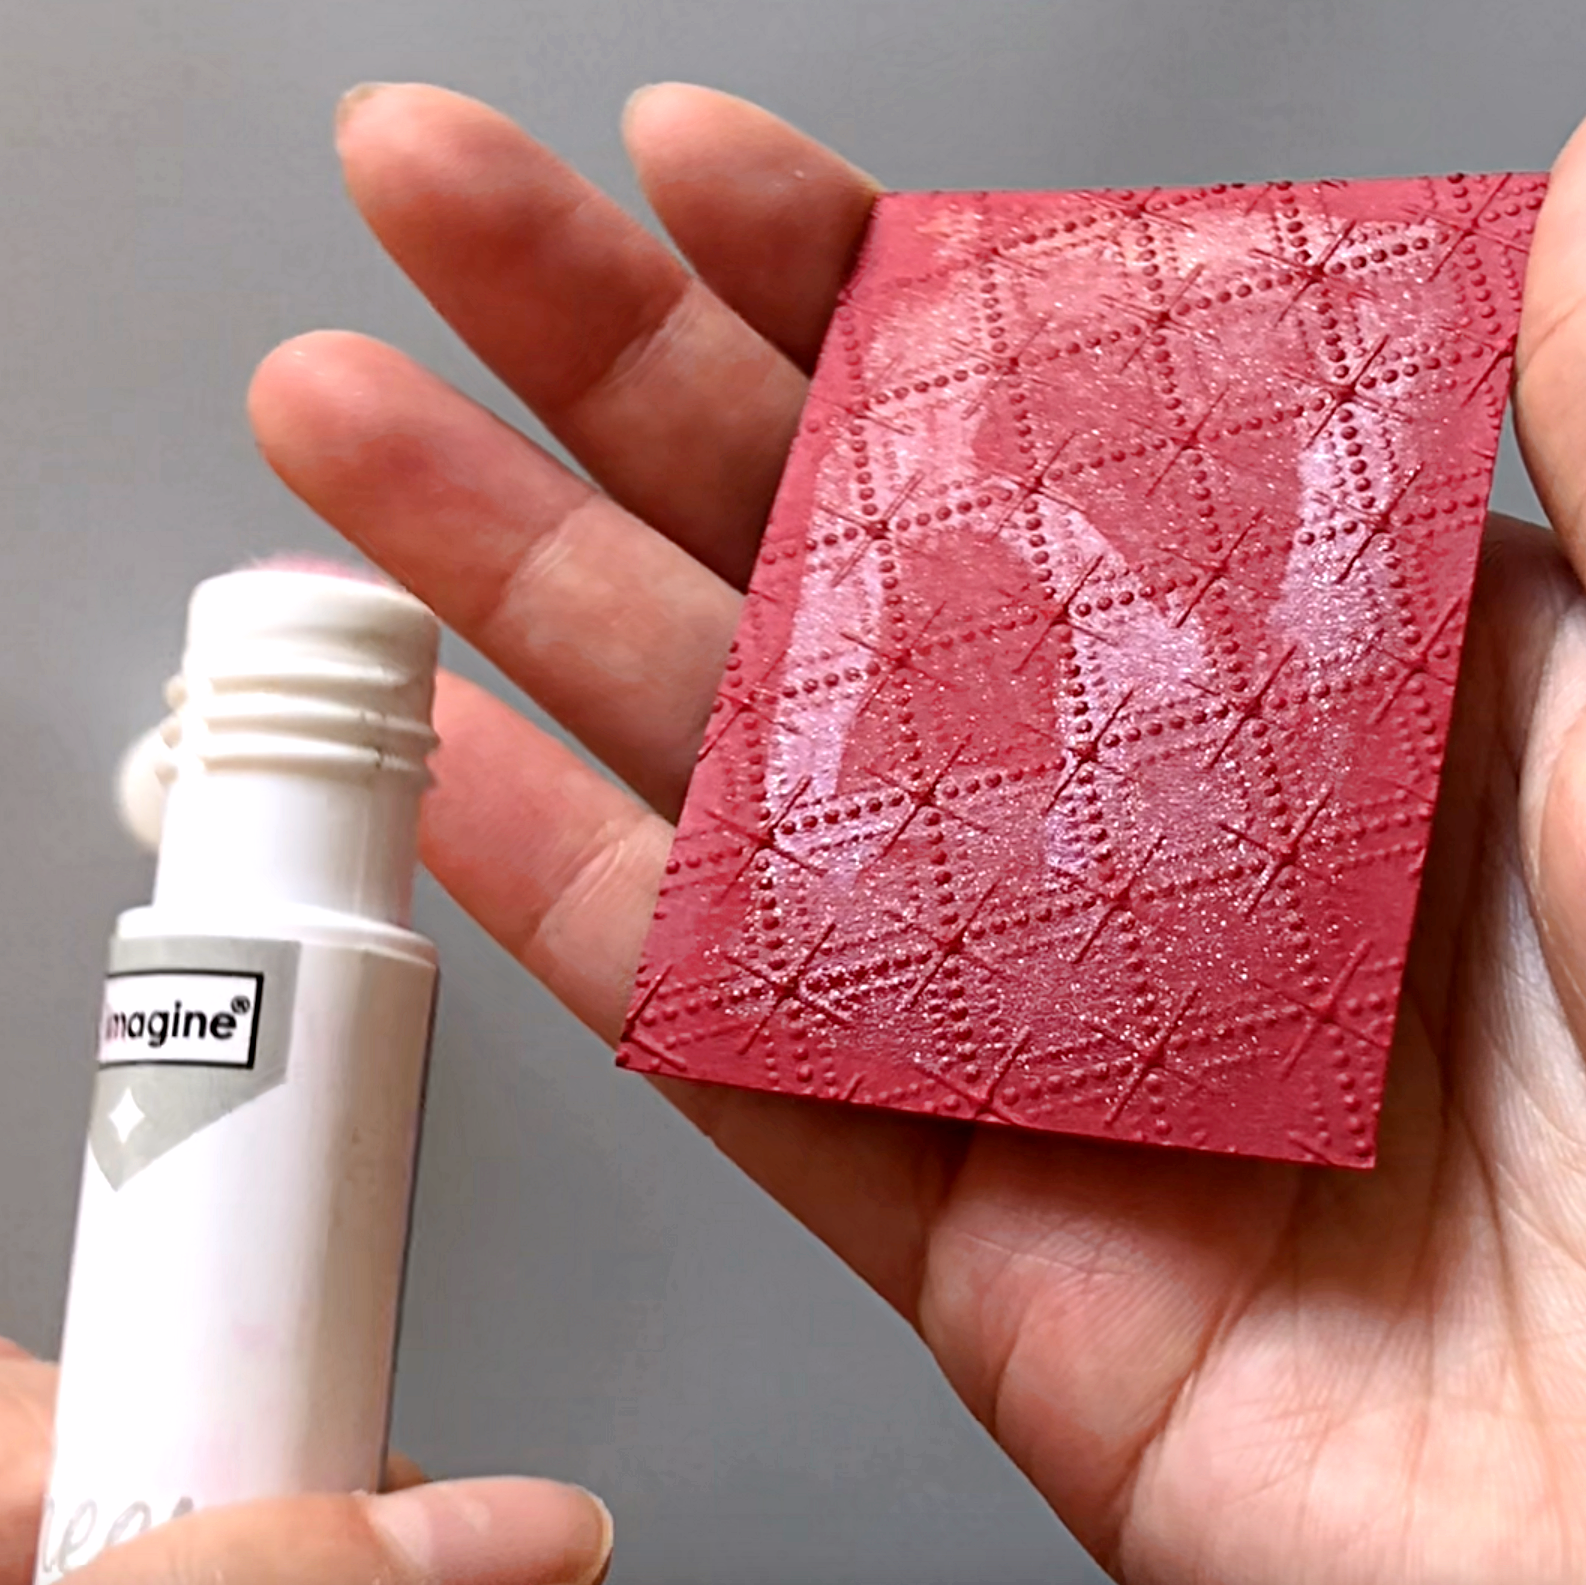
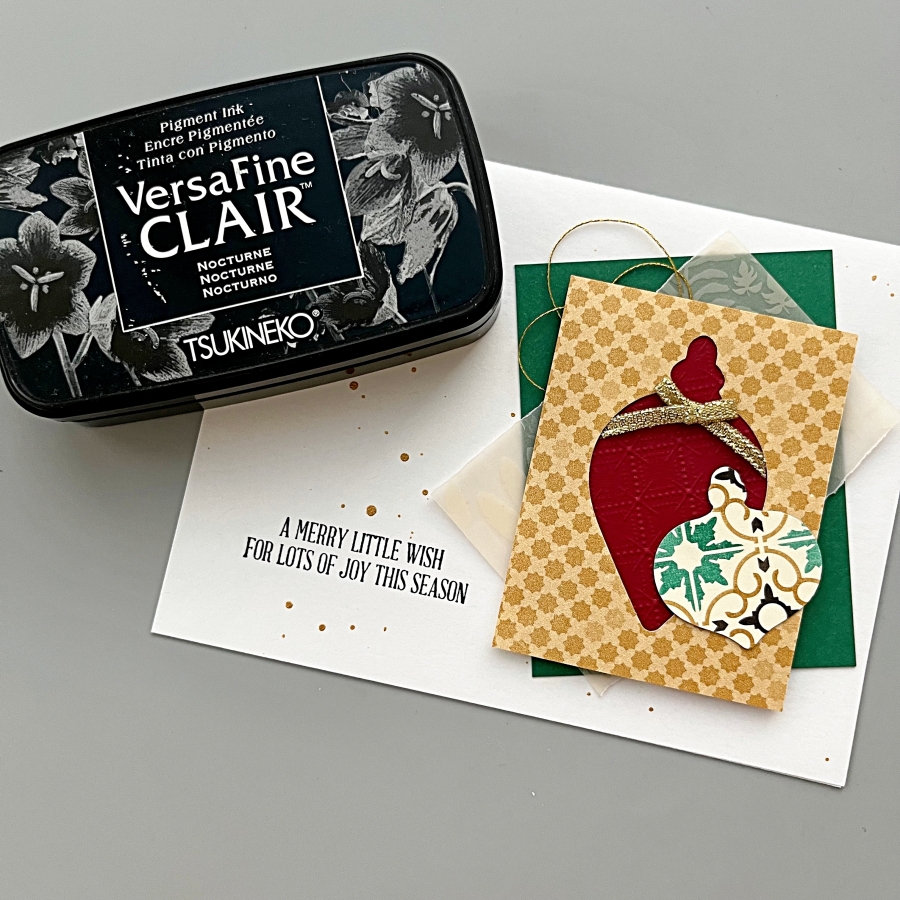
For the second version of the christmas card, I used the negative pieces from the punches and layered red, embossed cardstock underneath. Generously apply the Sheer Shimmer Stix in sparkle to add additional shimmer.

Step 8:
Adhered the patterned paper pieces onto the card base and stamp the sentiment using VersaFine Clair Nocturne ink. For a finishing touch, splatter on gold acrylic paint with a paint brush.

Imagine Supplies:

Other Supplies:

  • Stampin’ Up! – Punch – Gleaming Ornaments Punch Pack
  • Stampin’ Up! – Stamps – A Wish for Everything
  • We R – Tool – Precision Press
  • Gold thread
  • Thin red ribbon
  • Glue Dot
  • White, green, red, black cardstock

Watercolor with VersaMagic, Brilliance and Delicata Ink Pads

By Jessica Lin

Skill: Beginner
Time: 45 minutes

Hi everyone! It’s Jessica here and welcome back to another card tutorial. Thanksgiving is coming up and I love to make cards to express my gratitude! Today I’m also watercoloring with various ink pads from the VersaMagic, Brilliance and Delicata ink lines. Let’s begin!

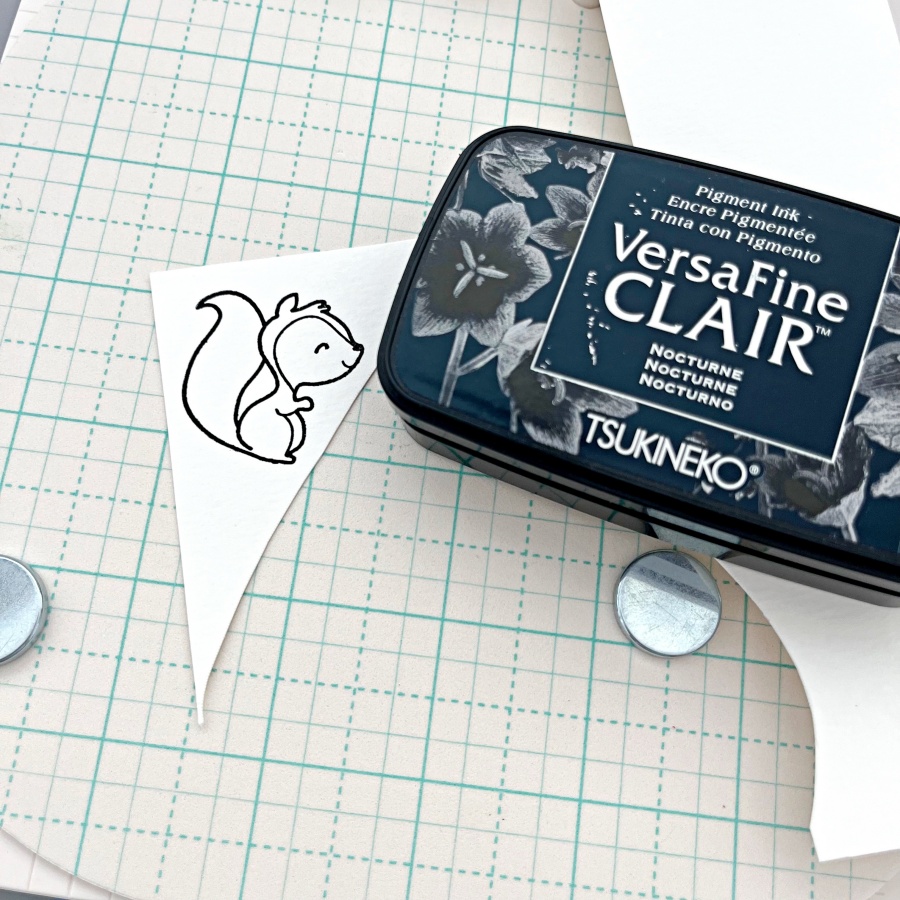
Step 1: Stamp the critter images from The Greeting Farm Wood Friends stamp set with VersaFine Clair Nocturne ink. This is my favorite black ink for stamping and it’s perfect for watercoloring.

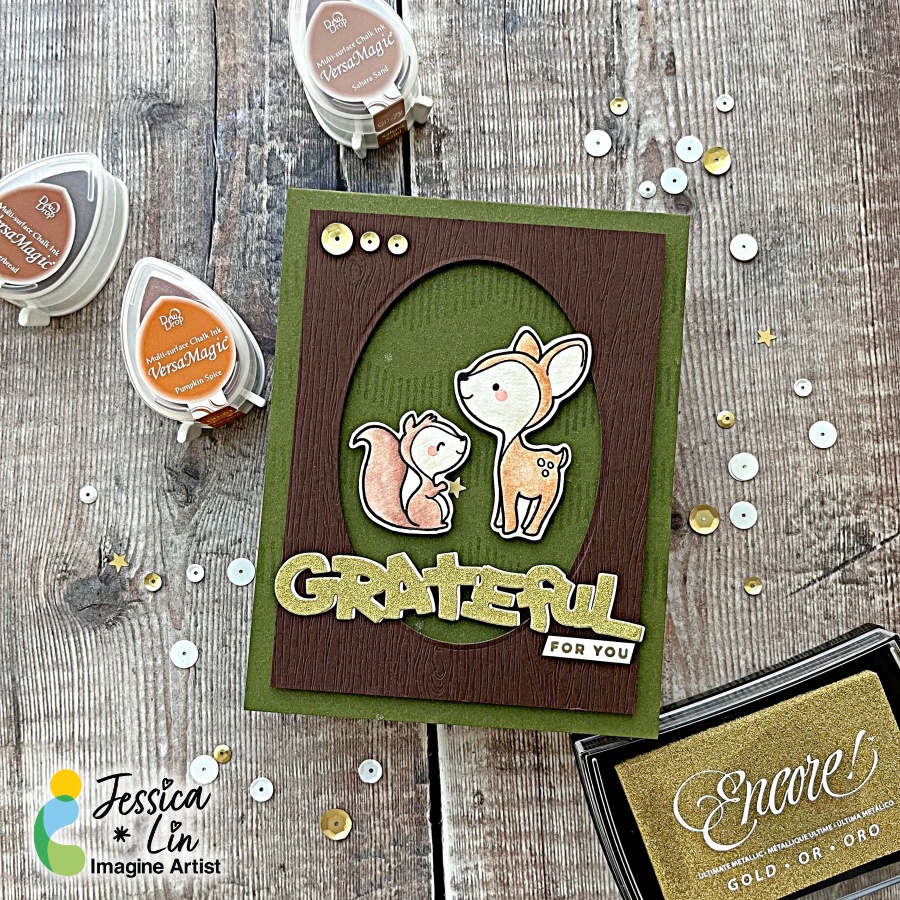
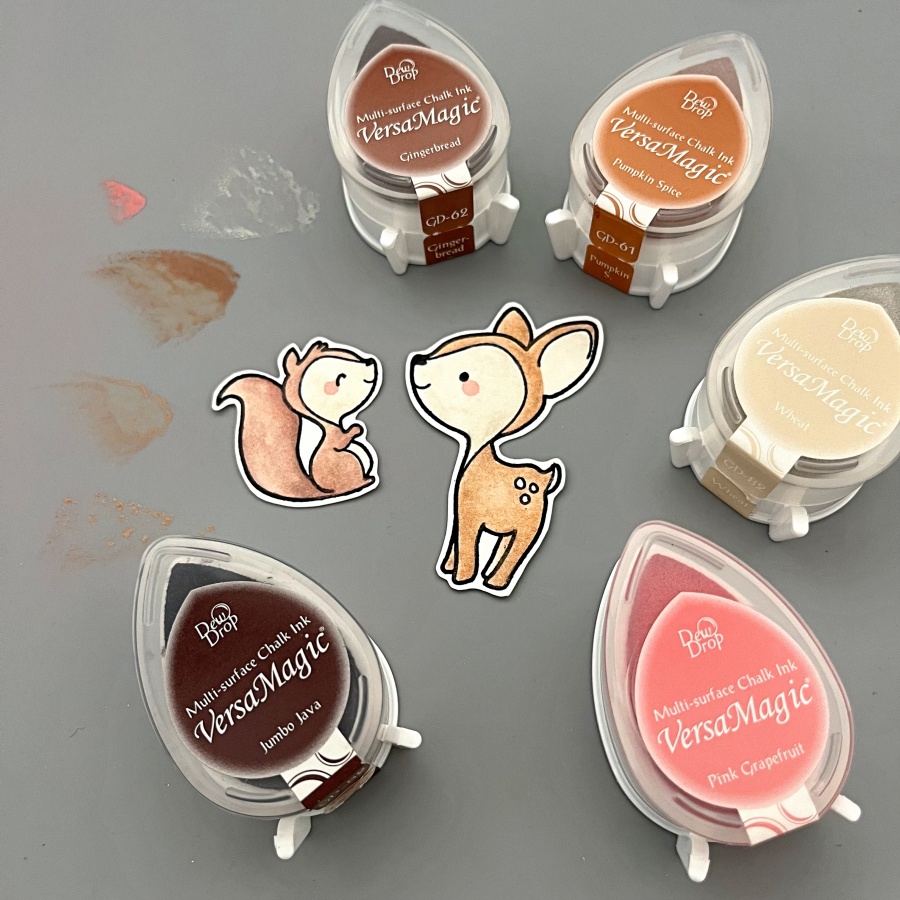
Step 2: Color the images with VersaMagic inks. I used Gingerbread, Pumpkin Spice and Wheat for the deer, and to add some shimmer and shine, I watercolored a layer of Celestial Copper from the Delicata ink line. For the squirrel, I used Sahara Sand and Jumbo Java as the base color and added Cosmic Copper Brilliance ink as an accent. VersaMagic, Delicata, and Brilliance ink pads are all pigment inks and I love that you can mix and match the colors for maximum creativity. For the final touch, I added small amounts of Pink Grapefruit to create their rosy cheeks.

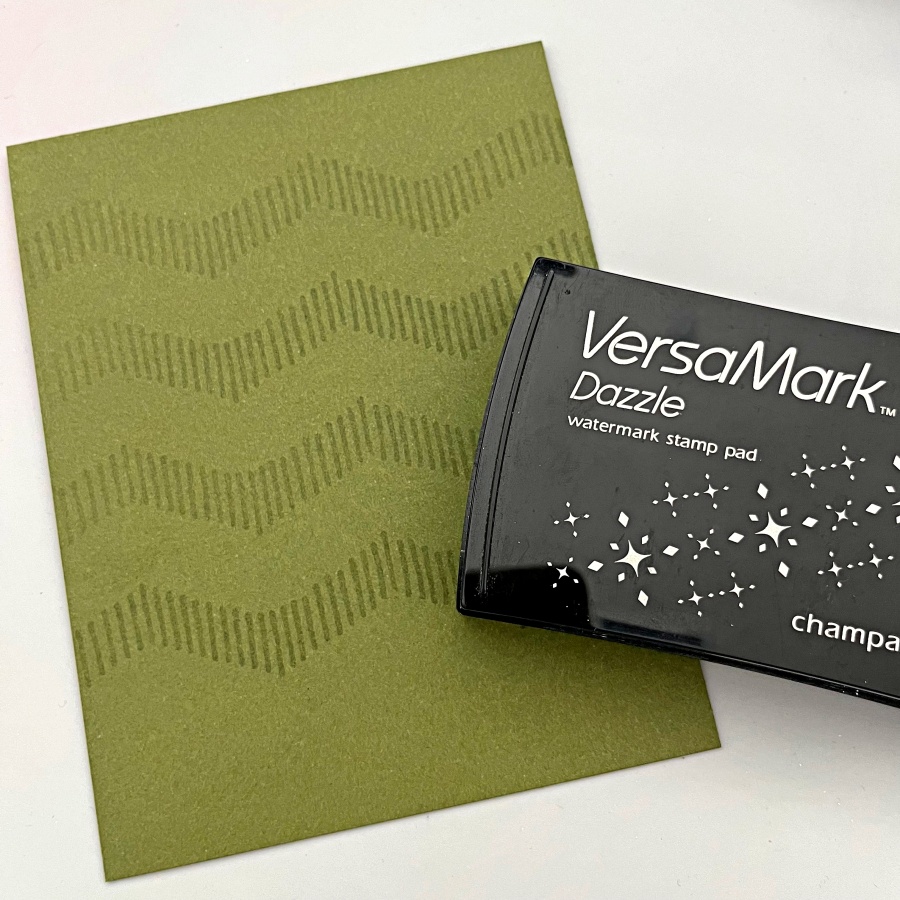
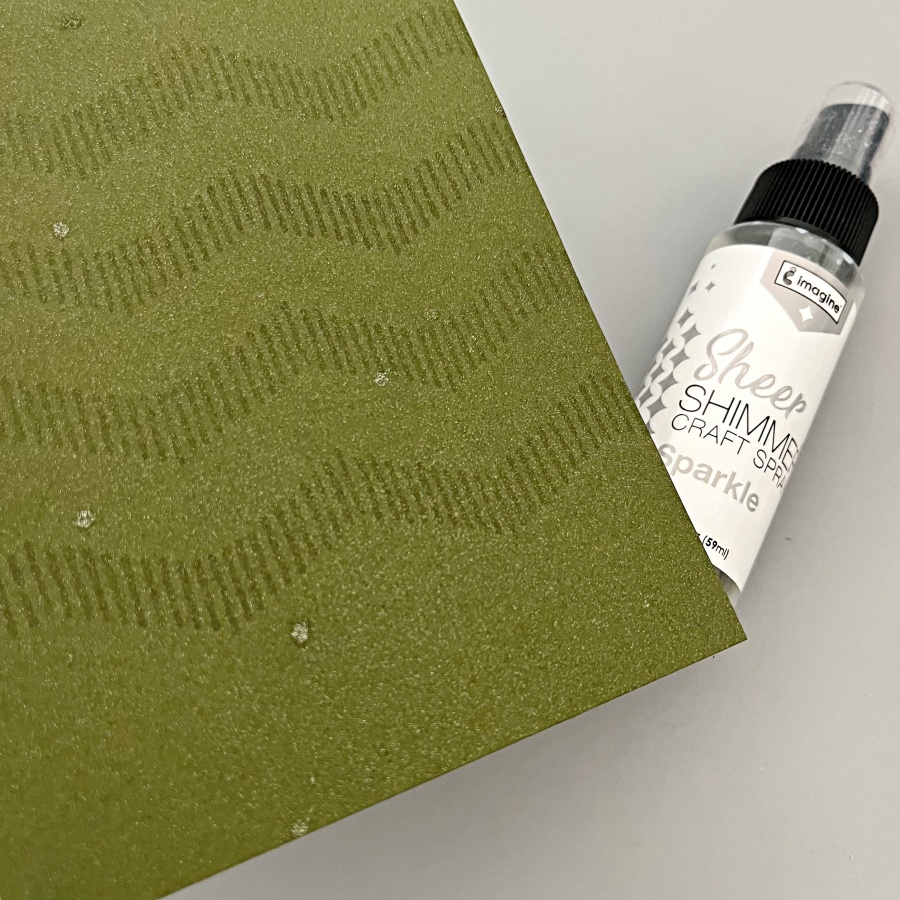
Step 3: I decided to use Stampin’ Up!’s Mossy Meadow cardstock as the cardbase since it’s a nice foresty color. I also stamped some geometric striped pattern with my VersaMark ink pad. Did you know that you could stamp with VersaMark as well? It’s known for being the best ink for heat embossing, but I also stamp with it quite often to create additional interest to the background.

Step 4: Then I spritzed on a layer of Sheer Shimmer Spray in Sparkle. I wish you could see the shimmer in real life! The photo does not do its justice. The shimmer is just so beautiful and it truly transformed this simple card base.

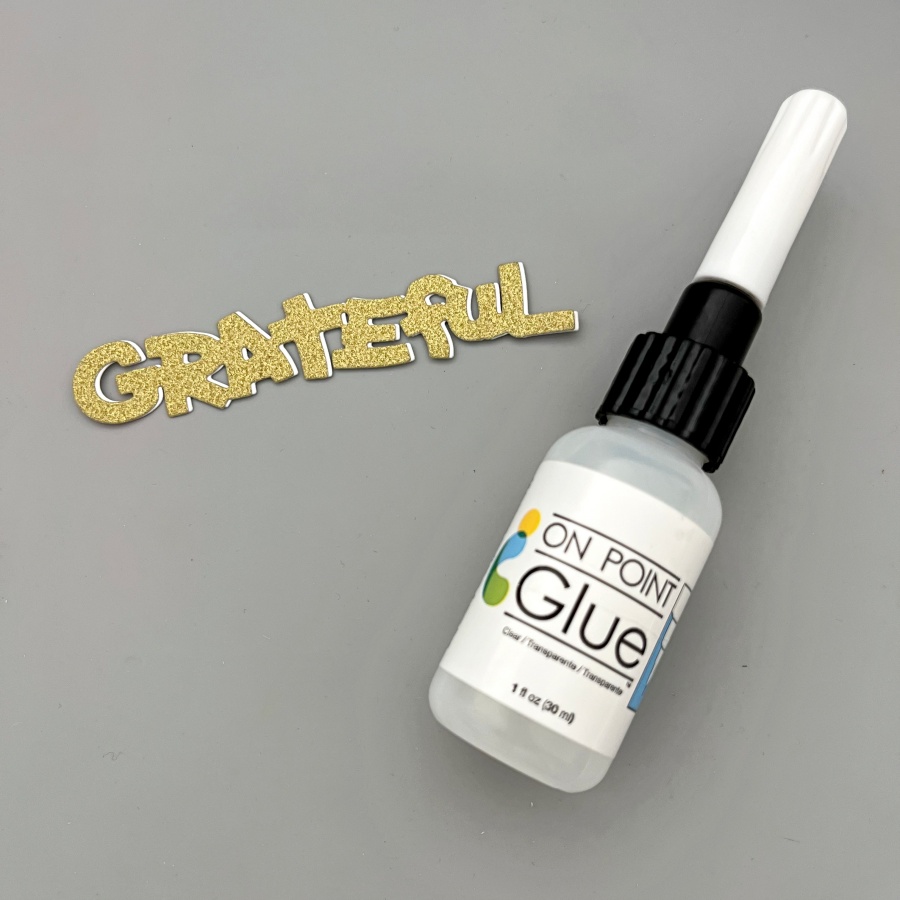
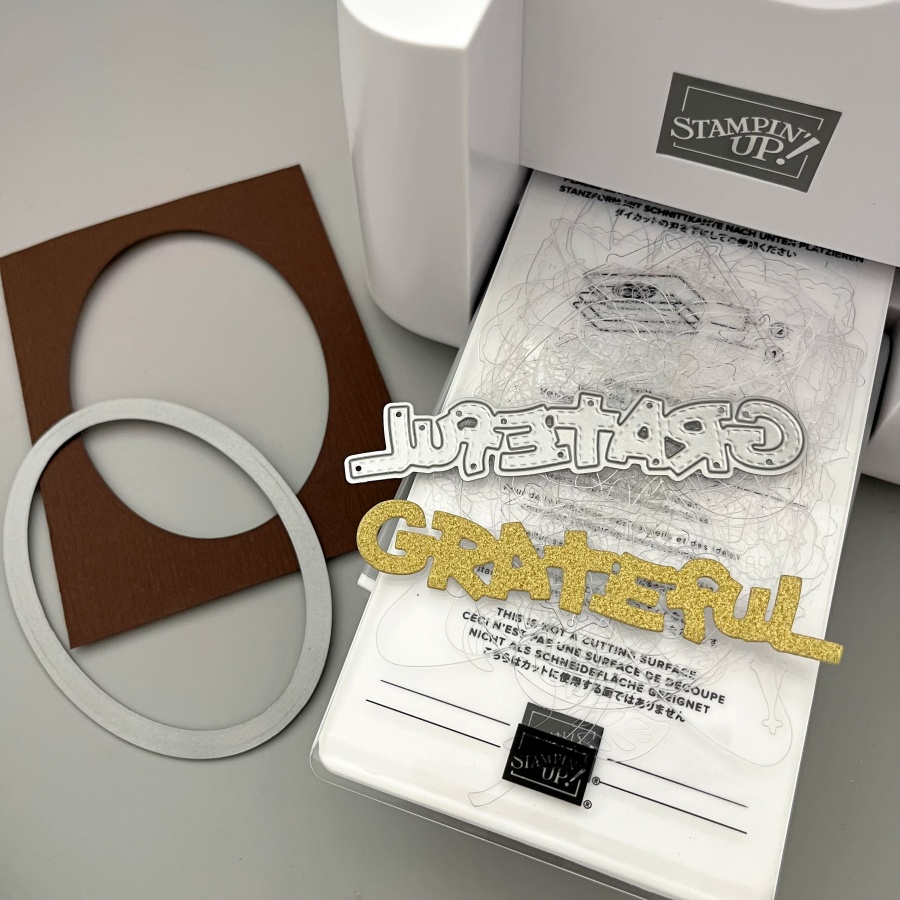
Step 5: Next, I die cut an oval panel as a frame for the little critters, and I die cut the Grateful sentiment from gold glitter cardstock as well.

Step 6: To make the sentiment stand out a little bit more, I die cut again using white cardstock and layered it underneath the gold one. This creates a subtle shadow effect. The On Point Glue has a fine tip nozzle that makes applying small amounts of glue so easy. If you work with intricate dies all the time, I recommend having this glue in your stash!

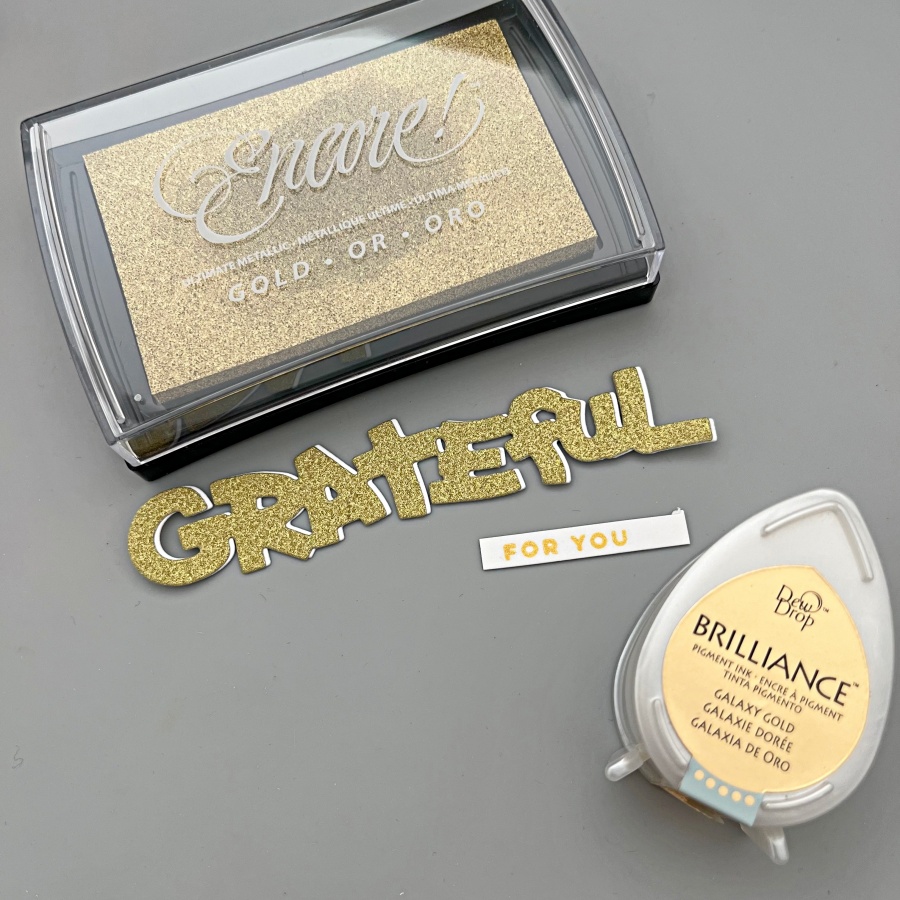
Step 7: Finally, I stamped the “For You” stamp in gold as well to complete the sentiment. Initially I picked the Brilliance Galaxy Gold ink pad as it is my go-to gold ink, but I realized that the tone is slightly too warm compared to the gold glitter cardstock I used. So I

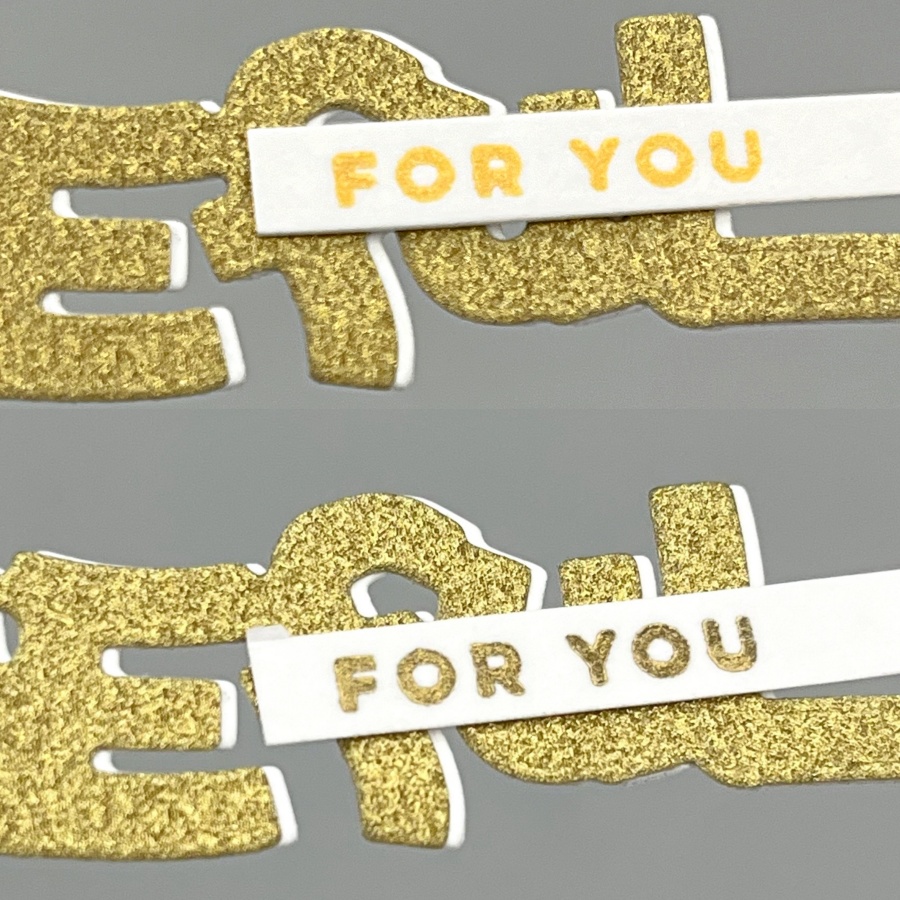
re-stamped with Gold Encore ink instead. I have a close-up comparison below as well.

The picture on the top used Brilliance Galaxy Gold and the one below used Encore Gold. Brilliance Galaxy Gold is a really yellow, sunny kind of gold while Encore Gold shows a cooler tone. The finish is different between the two as well! Brilliance ink pads are shimmery and the Encore line is metallic.

Craft Supplies

Imagine Supplies:

Other Supplies:

  • The Greeting Farm – Stamps – Wood Friends
  • Lawn Fawn – Dies – Stitched Oval
  • Stamplorations – Dies – Grateful
  • Stampin’ Up! – Cardstock – Mossy Meadow
  • We R – Tool – Precision Press
  • DCVW – Cardstock – Gold Glitter
  • White and Watercolor cardstock
Create a Monochrome White & Gold Winter Wedding Card

By Jessica Lin

Skill: Intermediate
Time: 30 minutes

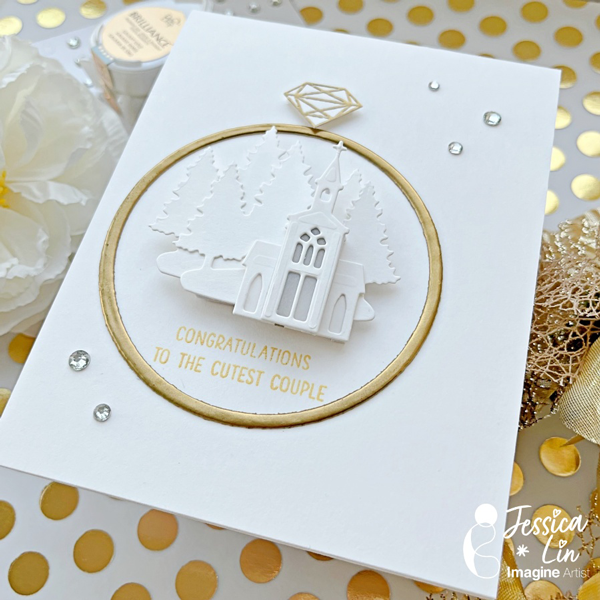
Hi everyone! It’s Jessica here and I’m excited to share this elegant winter wedding card with you today. If you enjoy simple, monochromatic cards, this is the perfect card for you!

Step 1:
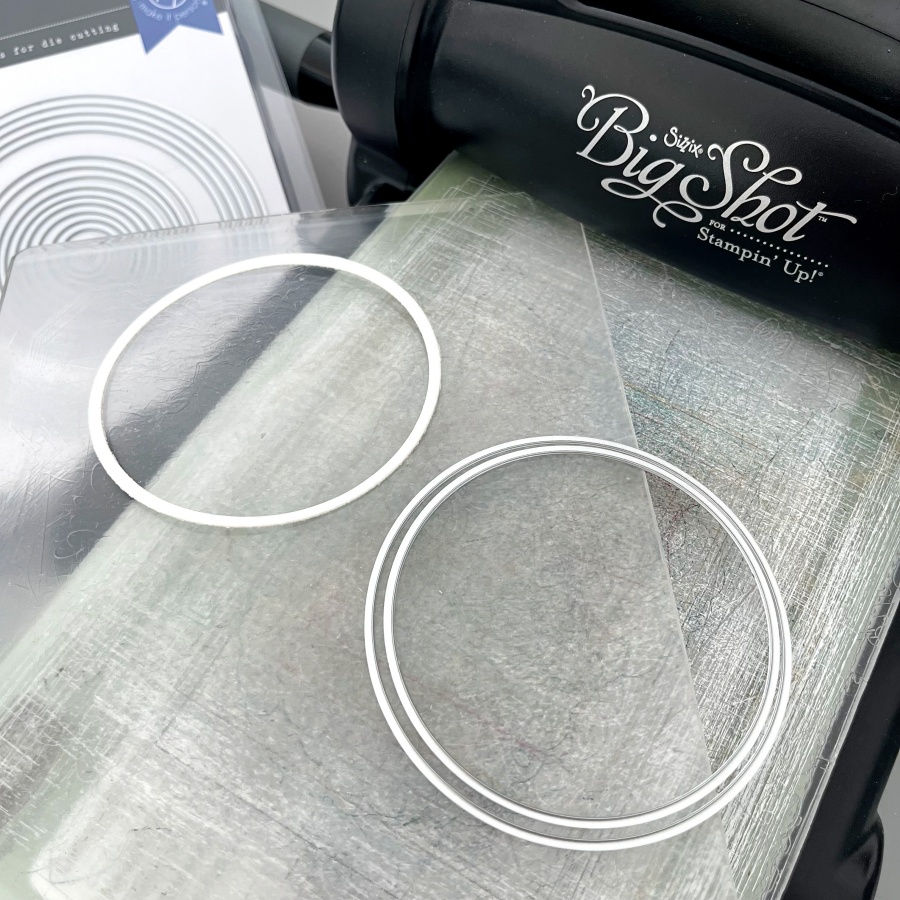
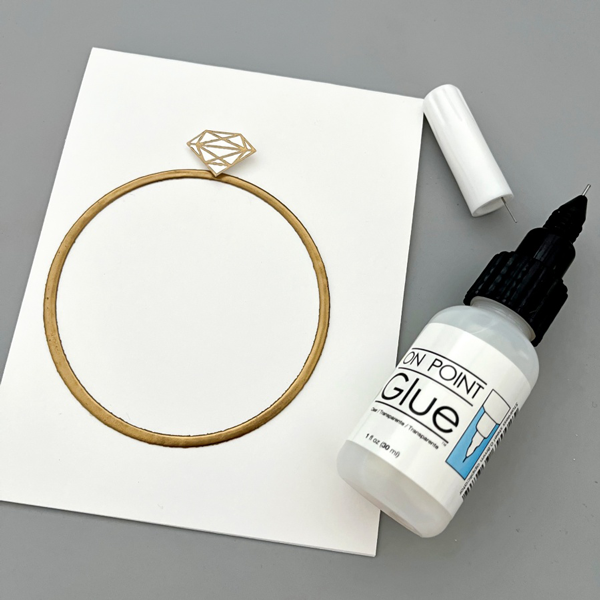
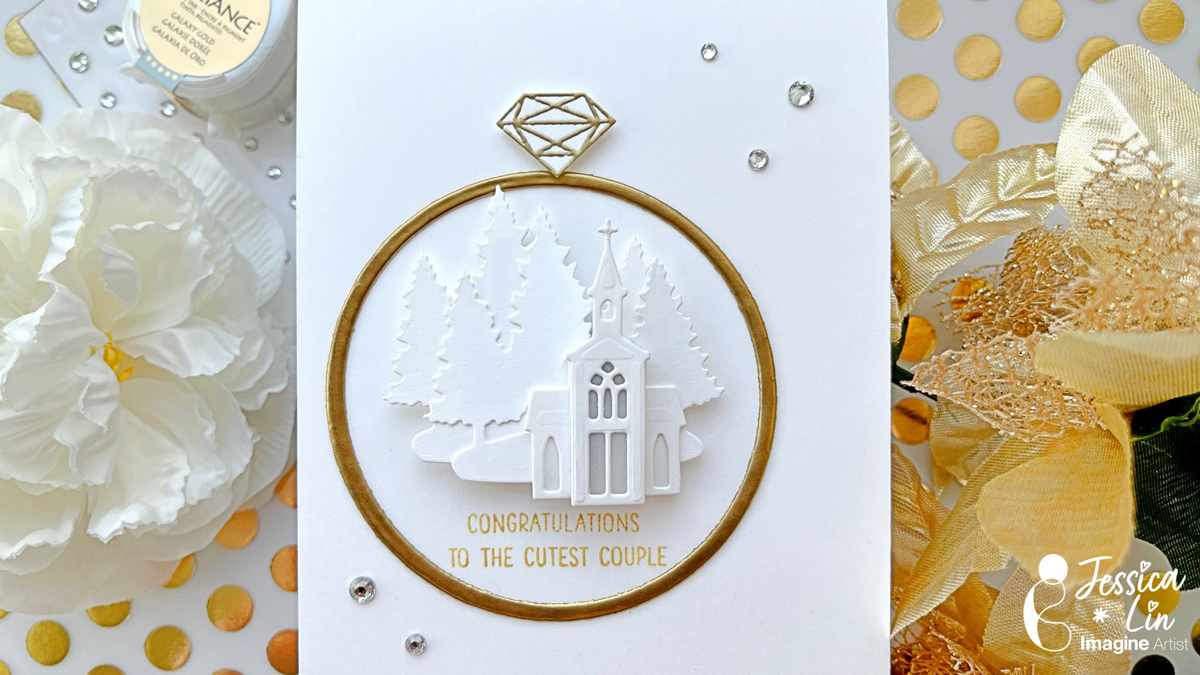
The idea for this card is to create a winter wedding church scene inside a wedding ring. I started off by die cutting a narrow circle that will be the base of the wedding band. A trick here is to use layering dies to customize any die cut size you may need.

Step 2:
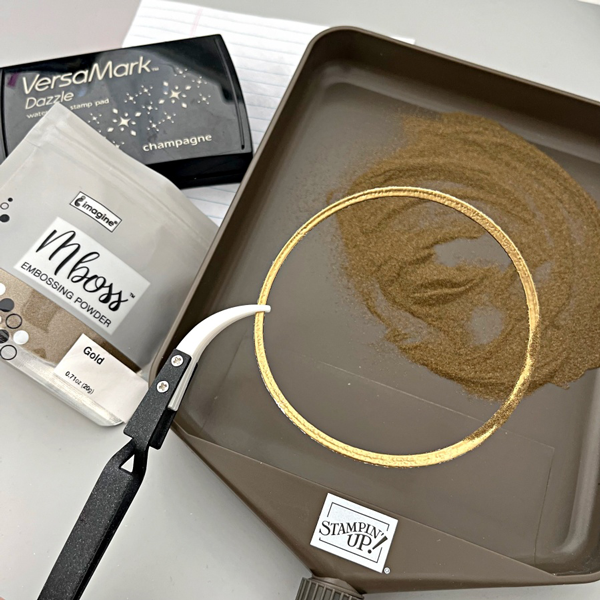
Then I took my VersaMark ink pad and “stamped” it directly onto the circle die cut piece. After that, I applied a generous coat of gold embossing powder and heat set it with a heat tool. For a smoother finish, I repeated these steps again. After two coats of embossing, the gold embossed surface is shiny and smooth, which really mimics a gold wedding ring.

Step 3:
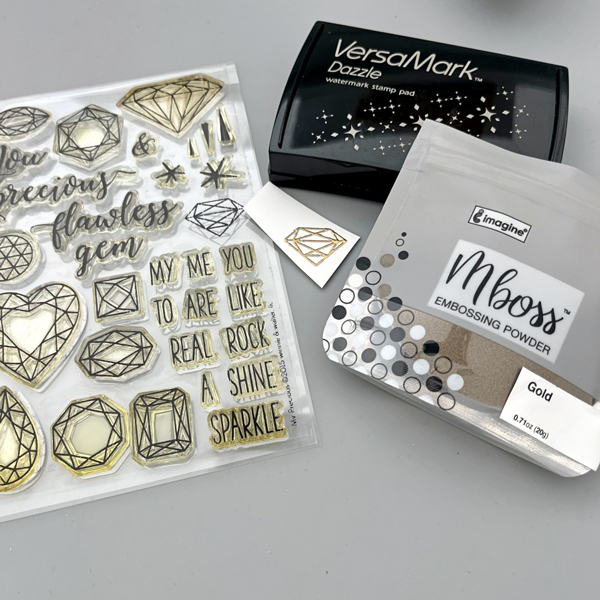
The Winnie & Walter My Precious stamp set is my favorite for any diamond and gems images. I heat embossed the smaller diamond with gold Mboss powder.

Step 4:
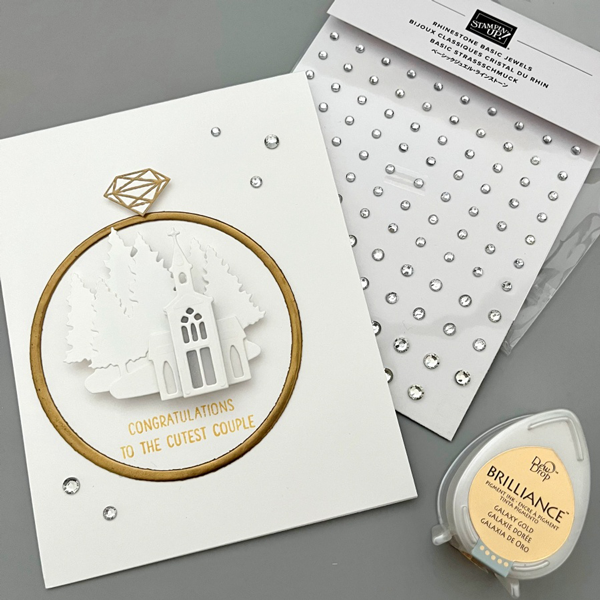
After fussy cutting the embossed diamond image, I adhered both of the wedding ring elements with On Point Glue.

Step 5:
For the wedding church scene, I used the dies from Stampin’ Up!’s Snowglobe Scenes set. I die cut two pieces of the forest backgrounds and layered the church buildings with foam tape. I even added a tiny piece of vellum behind the first church die cut to create the illusion of glass windows. For the sentiment, I stamped this really adorable greeting using Brilliance Galaxy Gold ink pad.

Craft Supplies:

Imagine Supplies:

Other Supplies:

  • Winnie & Walter – Stamps – My Precious
  • Hero Arts – Dies – Infinity Circle
  • Stampin’ Up! – Dies – Snowglobe Scenes
  • Mama Elephant – Stamps – Oh Happy Day (for the greeting)
  • We R – Tool – Precision Press
  • Heat Tool
  • Rhinestones
  • White cardstock

Create a Halloween Themed Love Card

By Jessica Lin

Skill: Beginner
Time: 45 minutes

Hi everyone! It’s Jessica here and welcome back to another card tutorial. Have you sent Halloween cards to others before? Even though I have created some in the past, I found that I don’t usually send or hand deliver them. So this year, I decided to add a different twist and create a Halloween themed Valentine’s card!

Step 1:
Stamp the cute Vampire image from Mama Elephant’s Meowlloween stamp set. I want to watercolor the image today so I used VersaFine Clair ink with watercolor cardstock.

Step 2:
Color the image with Memento markers and a water brush. I scribbled the ink on an acrylic block and picked up colors with my water brush, but you could totally use the craft mat as the paint palette. The colors I used today are Angel Pink, Rose Bud, London Fog and Tuxedo Black. These four colors are actually sold in a set as well called Girls’ Night Out. For full color saturation, you can draw directly onto the paper. I used the fine tip end of the Rose Bud Memento marker to color in the cape. (You can see the fine lines beside the image when I was testing out the color). After coloring, I fussy cut the image with my scissors.

Step 3:
For a beginner’s project, I opted out using a die-cutting machine and used a heart punch instead. This punch from Stampin’ Up! is a decently large size and super versatile.

Step 4:
Since the background is plain and simple, I decided to ink blend the top right and bottom left corners of the card front. Versafine Clair Glamorous is the perfect shade and you can see the difference between the ink-blended and non ink-blended corners.

Step 5:
Ink splatters is the secret to elevate a card quickly. I splattered white acrylic paint across the card front to add more interest to the background.

Step 6:
Finally, I stamped the sentiment with StazOn Pigment Snowflake ink. I used words from several stamp sets and built my own using Lawn Fawn’s Milo’s ABCs as well.

Products Used:
Imagine:

Other Products:

  • Mama Elephant – Stamps – Meowlloween
  • Lawn Fawn – Stamps – Milo’s ABCs
  • Stampin’ Up! – Punch – Heart Punch Pack
  • We R – Tool – Precision Press
  • White Acrylic Paint
  • White and Watercolor cardstock
Decorate a Gift Box Featuring a Beautiful Heat-Embossed Butterfly

By Jessica Lin

Skill: Beginner
Time: 30 minutes

Hi everyone! It’s Jessica here and today I am showing you a way to step up a simple technique:
heat embossing. Combine it with layering stamp sets to create images with extra dimension and
shine!

Step 1:
Die cut a butterfly and stamp the butterfly image with VersaMark ink pad. Cover the
stamped image with Jade Pearl Mboss powder. Heat set with a heat gun. TIP: To achieve
maximum coverage, re-stamp the butterfly image using a stamp positioning tool and heat set a
second layer of Mboss powder.

Step 2:
This Watercolor Wings stamp set contains many layering images. I stamped the second
layer with VersaMark ink also, but used the Gold Mboss powder this time instead.

Step 3:
Repeat the same steps for the third layer of the butterfly image. I used the Indigo Pearl
Mboss powder for this final layer. It’s a rich blue color that complements the lighter Jade color
very nicely.
This is the final look of the embossed butterfly. I really like the pearl shine from the Jade and
Indigo Mboss powders. If you have different colors and types of embossing powder, I highly
recommend using them with layering stamps!

Step 4:
For today’s project, I decided to decorate a gift box instead of making a card. I created a
belly band around the box using black cardstock and silver glitter tape. For the thin silver strips,
I cut two narrow pieces from the silver glitter tape and colored it with a grey Copic marker. You
can use any alcohol marker that you have.

I hope you enjoy this simple project and feel inspired to layer embossing powders to create new
looks. I really like this technique and I love experimenting with different color combinations.
Thank you so much for stopping by, I’ll see you in my next tutorial!

Imagine Supplies:
• VersaMark Dazzle – Champagne
• Mboss – Jade Pearl, Gold, Indigo Pearl
• StazOn Cleaner
• Craft Mat

Other Supplies:
• Stampin’ Up! – Stamps – Watercolor Wings
• Stampin’ Up! – Dies – Bold Butterfly
• EK Success – Tool – Antistatic Powder Tool
• Stampin’ Up! – Tool – Heat Gun
• We R – Tool – Precision Press
• Gift Box
• White and Black cardstock
• Silver Glitter Tape