See How to Make a Unicorn Holographic Card with Watercoloring + Embossing Powder

by Arjita Sepaha Singh
See How to Make a Unicorn Holographic Card with Watercoloring + Embossing Powder

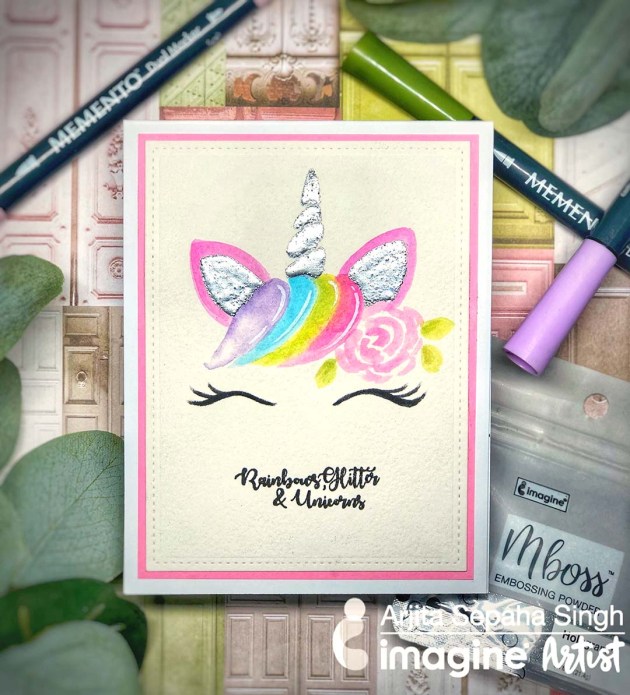
For Today’s card, I used a few Memento Dual-tip Markers and the gorgeous Mboss Embossing powder by Imagine. I did a very light freehand sketch of a unicorn on some watercolor paper and colored the hair, ears, and flower using the Memento Markers. I used a brush and some Ink Portion No 9 to blend the dyes and to get a watercolored look.

Once the paper was completely dry I painted the horn and ears with a fine brush and VersaMark ink. I poured the Hologram Mboss and melted it with the heat gun. I finished the card by adding a sentiment “Rainbow, Glitter & Unicorns” in black. The card is super simple to create and the sparkle you get is amazing. This is a cute card for baby shower invites or a birthday card, even for a kid.

Skill: Advanced
Time: 1 hour

Directions

Supplies

Imagine
Other
  • Watercolor paper – Arches Cold Press
  • Heat tool
  • MISTI stamping platform
  • Cardstock – white, pink
  • White gel pen

3 Techniques using the VersaMark Ink Pad with Mboss Embossing Powder

by Jessica Lin

3 Techniques using the VersaMark Ink Pad with Mboss Embossing Powder

Hi everyone! Today’s video highlights the VersaMark ink pad, which I’m sure most of you have heard of. (If not, come join the party!) It’s the sticky, clear ink that makes heat embossing super fun and easy. But did you know that you could also stamp with the VersaMark ink pad, and even use the “direct-to-paper” technique? Click on the video and learn how you can stretch the use of your VersaMark ink pads by using it 3 different ways. Two of the techniques are paired with Imagine’s new Mboss Embossing Powder. These two products are a match made in heaven!

Skill: Intermediate
Time: 1 hour

Directions

Supplies

Imagine
Other

• Cardstock
• Card base
• Die cut machine
• Stamping tool or platform
• Scissors
• Heat Tool
• Adhesive sheet
• Bone folder

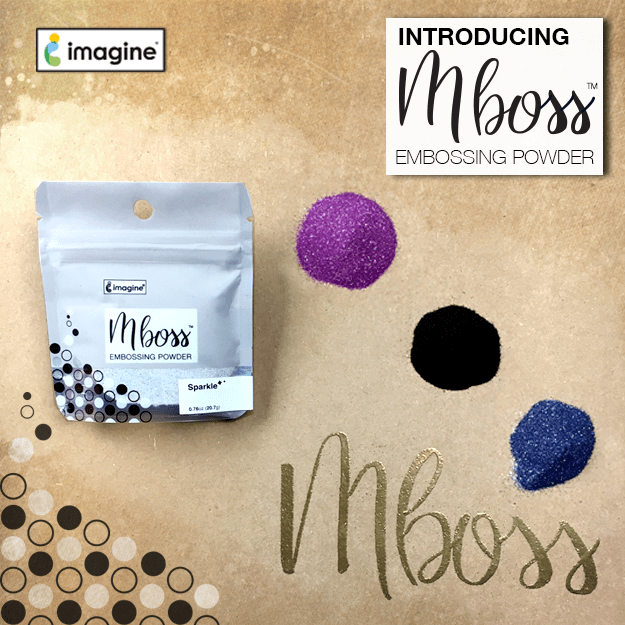
Introducing Mboss Embossing Powder

Introducing Mboss Embossing Powder

Mboss is high-quality embossing powder available in new and revolutionary packaging that will make using it a breeze. Mboss embossing powder is great for sentiments and large area coverage. The large color range includes classic primary, metallic, pearlescent, and super fun glittery combinations. We had the crafter in mind with a unique selection of holiday and seasonally focused colors. The new packaging is very functional with a wide mouth for easy powder return.

Clear 013, Clear Matte 014, White 015, Black 016, Gold 017, Copper 018, Silver 019, Champagne 020, Red 021, Orange 022, Yellow 023, Green 024, Blue 025, Violet 026, Rose Gold 027, Metallic Berry 028, Metallic Orchid 029, Emerald 030, Icy Blue 031, Sapphire 032, Amethyst 033, Jade Pearl 034, Amber Pearl 035, Indigo Pearl 036, Gold Glitter 037, New Years Eve 038, Sparkling Champagne 040, Valentine 041, Lucky Stars 042, Sparkle 043, Black Hologram 044, Hologram 045, Birthday Party 046, Princess Party 050, Blue Icicle 047, Iridescent 048, Iridescent Opaque 049, Shimmering Night Sky 051

High quality all-purpose embossing powder

• Available in a wide range of colors with a holiday & seasonal focus for card makers
• Wide-mouthed resealable bag makes it easy to use and store at home
• Large color range includes classic primary, metallic, pearlescent, and glittery combinations

Check out our website to buy or learn more about Mboss.

Quick & Easy Wedding Invitation Tutorial using Shimmer and Vellum Cardstock

by Kassy Tousignant

Quick & Easy Wedding Invitation Tutorial using Shimmer and Vellum Cardstock

With minimal supplies, I made an elegant and simple wedding card. If you are looking to make your own wedding invitations, you could make loads of these in a single afternoon. The On Point Glue works beautifully to adhere the vellum without leaving any adhesive marks.

Skill: Intermediate
Time: 20 minutes

Directions

Supplies

Imagine

• StazOn Pigment Inkpad – Snowflake
• Sheer Shimmer Stix – Sparkle
• On Point Glue
• IrRESISTible Pico Embellisher – Sparkle

Other

• Silver sequins
• Sizzix – Big shot
• Vellum Cardstock
• Crafter’s Companion – silver mirror cardstock, embossing folder, love die, pearl white cardstock

Learn How to Make a Cute Cat Themed Wedding Book Cover

by Kyriakos Pachadiroglou

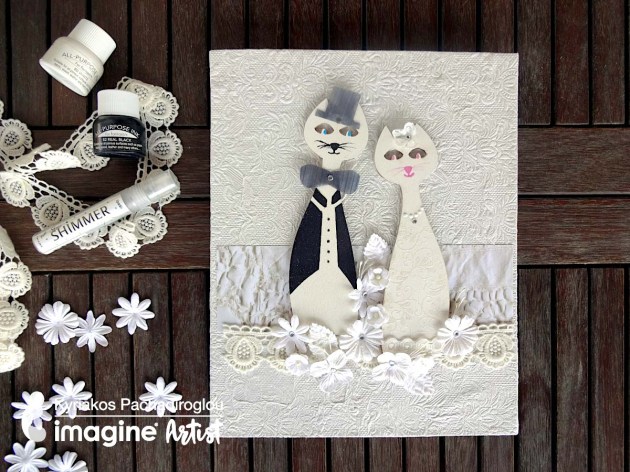
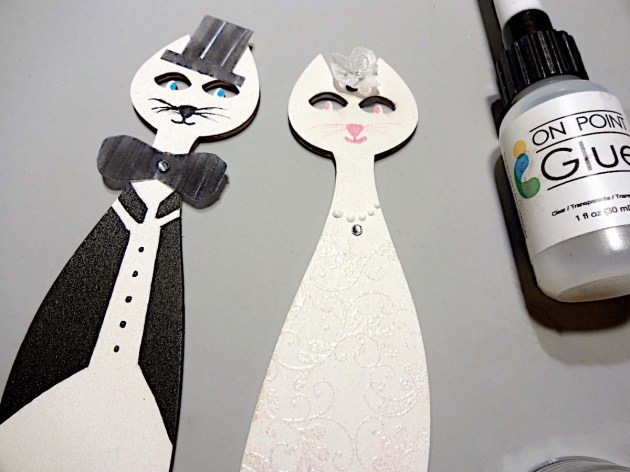
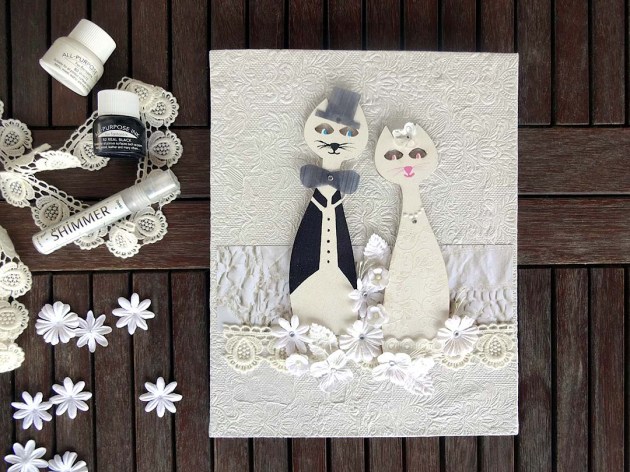
Make a book cover that can be used in projects such a wedding wishes book, a handmade photo album cover or any other wedding related project. Add extra sparkle and shine with the Sheer Shimmer on the paper cover and on the flowers that decorate the front.

Skill: Intermediate
Time: 2 hours

Directions


Step 1

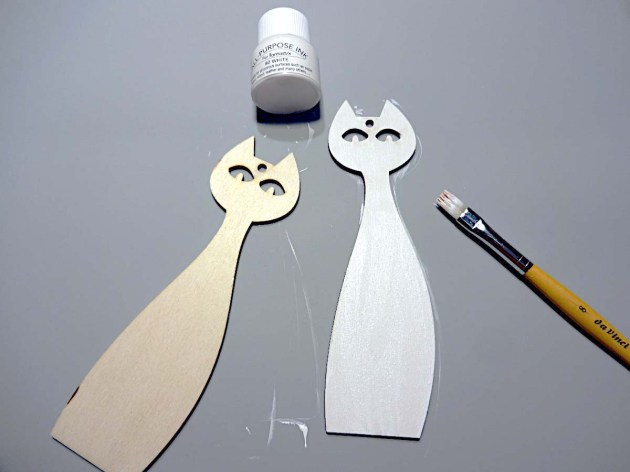
Color the wooden shapes with the All-Purpose Ink in White.


Step 2

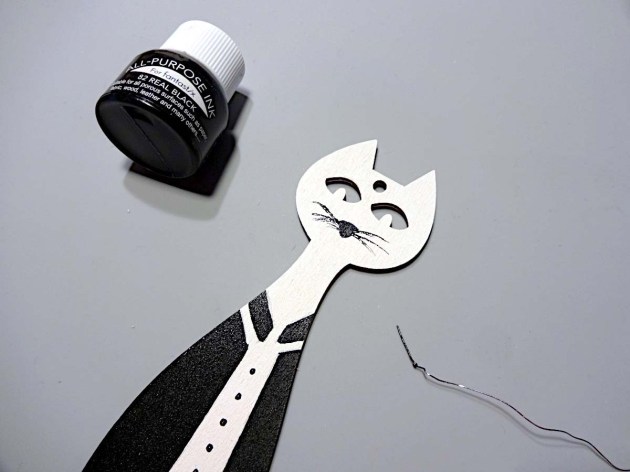
Use a paintbrush to add tuxedo detail to one of the cats (the groom) with the All-Purpose Ink in Real Black. Use a thin wire to add whiskers.


Step 3

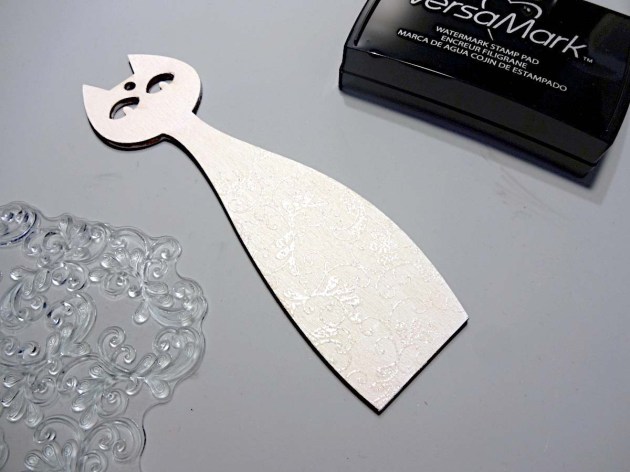
Stamp the background stamp on the other cat body (the bride) with the VersaMark watermark pad, cover with Imagine’s Embossing Powder in Iridescent and heat set.


Step 4

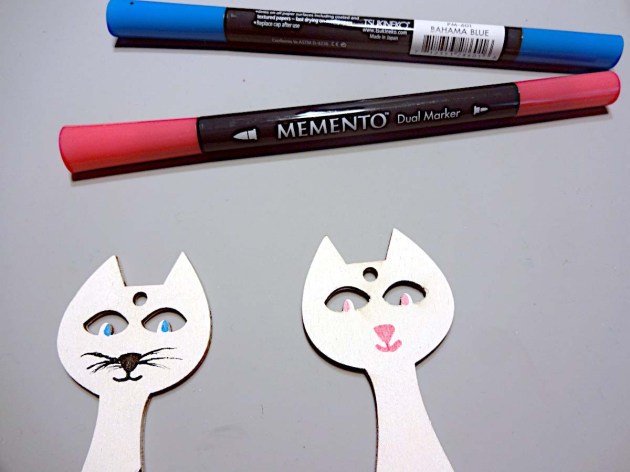
Add details on the faces of the cats using the Memento markers.


Step 5

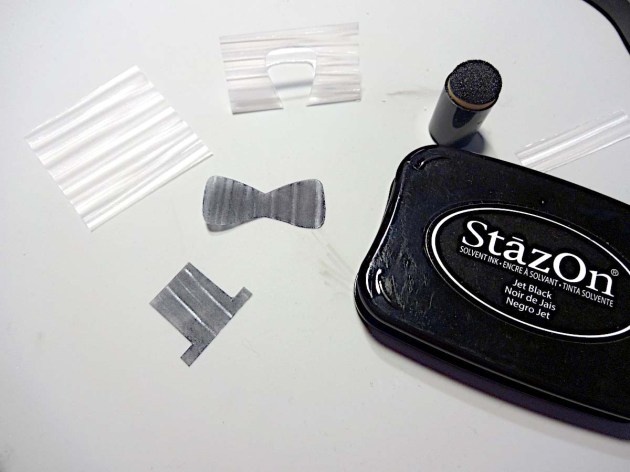
Cut the hat and bow tie shapes from the Vertigo sheet and color with the StazOn Jet Black.


Step 6

Add drops forming a pearl-like necklace on the bride cat with the irRESISTible Pico Embellisher Wedding dress and adhere the Vertigo shapes with the On Point Glue.


Step 7

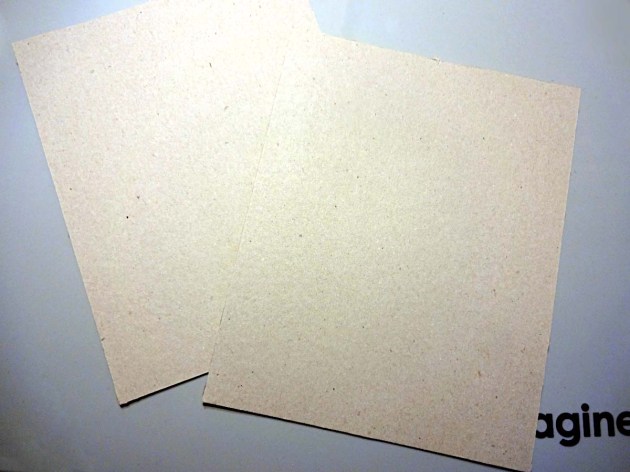
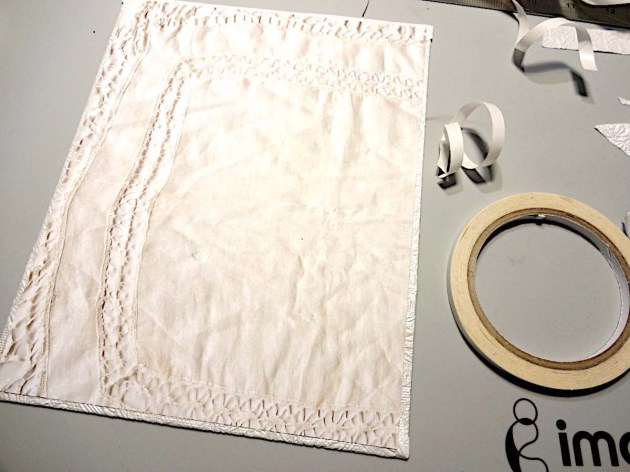
Cut two 8 x 10 inches pieces of book board.


Step 8

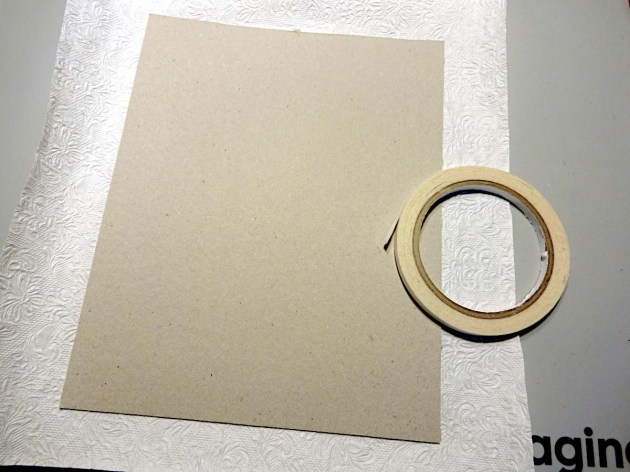
Cover with the embossed table runner using the Tear It! Tape.


Step 9

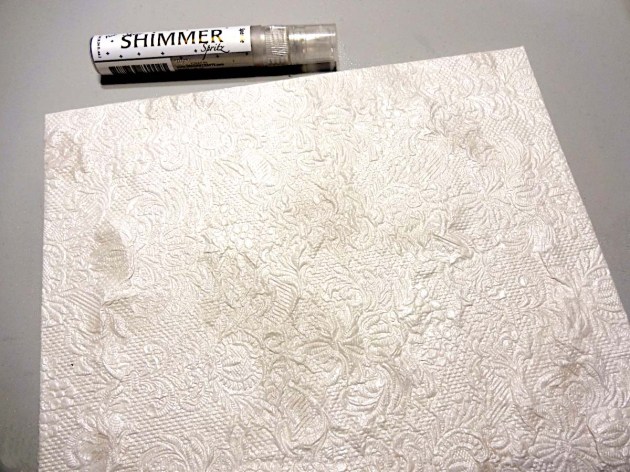
Spray with the Sheer Shimmer Spritz in Sparkle.


Step 10

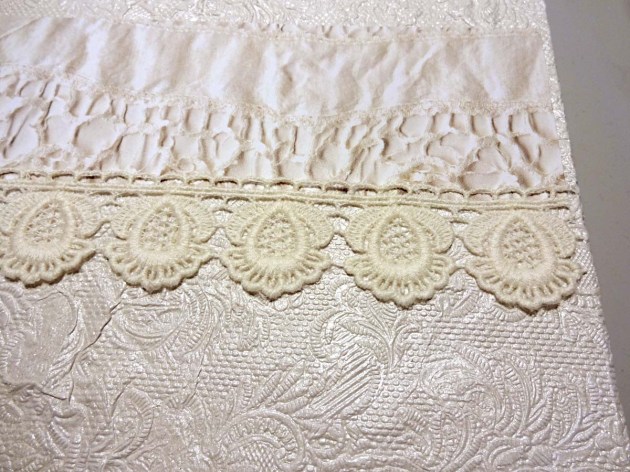
Cover the inside of the book covers with the scrapbooking paper, again using the Tear It! Tape.


Step 11

Embellish the front of the cover with cutting of the lace paper used in the inner sides, and/or real cotton lace.


Step 12

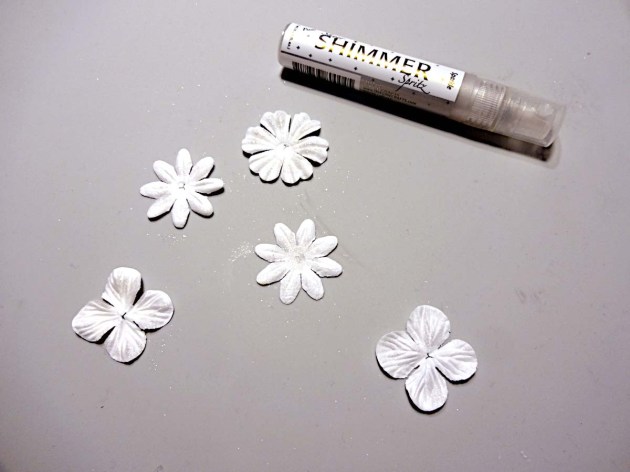
Spray paper flower and leaves with the Sheer Shimmer Spritz in Sparkle.


Step 13

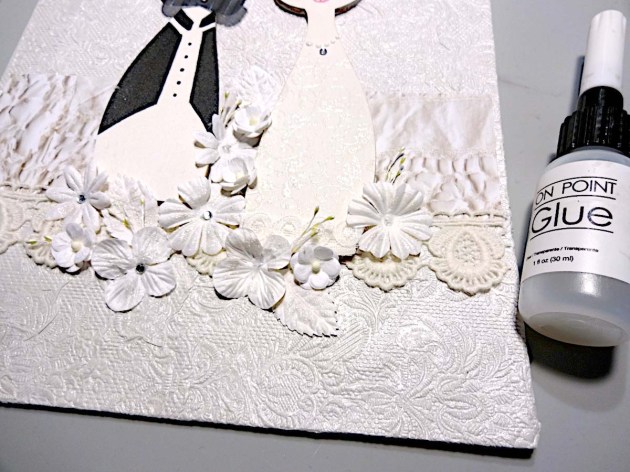
Glue the cats, the flowers and the rest of embellishments on the front.

The covers can be glued to a book cover, or using a hole punch and book rings, you can make one. Meow!

Supplies

Imagine
Other
  • Wooden cat shapes
  • Paper flowers and leaves
  • Rhinestones
  • Cotton lace
  • Embossed table runner
  • Book board
  • 12 x 12 lace scrapbook paper
  • Viva Decor – Peacock feathers stamp
  • Heat tool

Learn to Make DIY Wedding Thank You Notes with Embossing

by Melissa Andrew

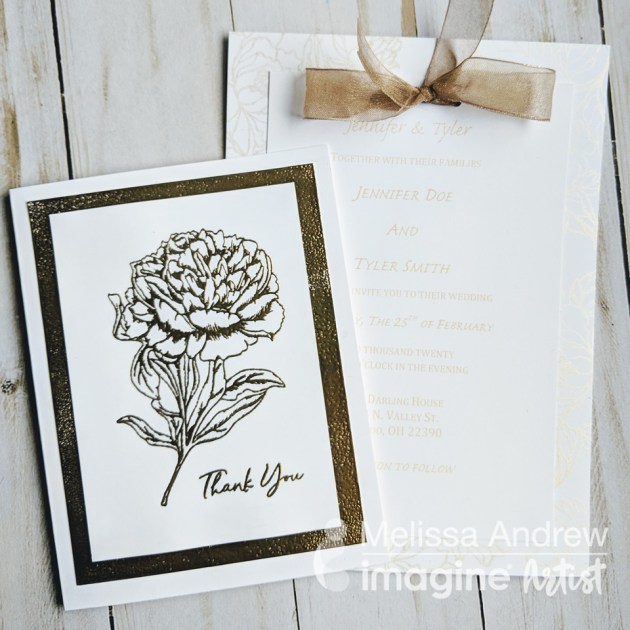
Learn to Make DIY Wedding Thank You Notes with Flower stamp and Gold Embossing

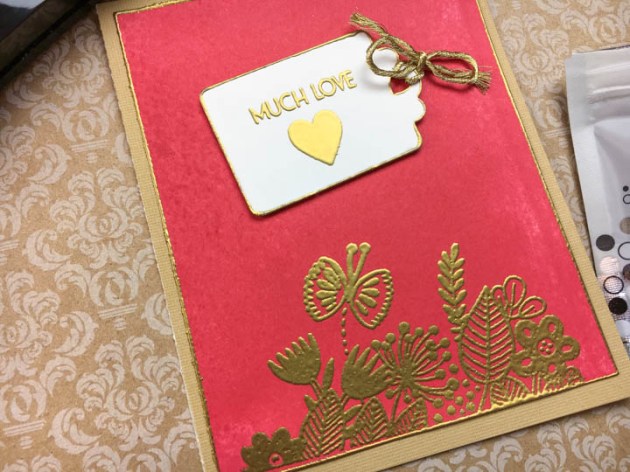
In today’s simple DIY, I show you how to create simple, elegant wedding Thank You notes. It’s always important to thank your guests and making your own beautiful thank you notes adds an extra special touch. You don’t need a lot of expensive products, and this tutorial takes no time! You can also customize these notes based on your own taste and style.

Skill: Beginner
Time: 20 minutes

Directions

Supplies

Imagine

• Embossing Powder – Gold
• VersaMark Inkpad
• VersaMarker 
• Tear It! Tape
• Imagine Craft Mat
• Large Dauber
• InkBlusher 

Other

• SugarPea Designs Stamp Set
• White Card Stock
• Paper Trimmer
• Heat Tool
• Acrylic block or stamping platform