See How To Create A Dynamic Looking Wedding Invitation

by Martha Lucia Gomez

See How To Create A Dynamic Looking Wedding Invitation

Hi there! Today, I have a unique wedding card technique to share with you. By using this technique each wedding invitation will have its own unique subtleties. I used Desert Sand Memento Ink but you can use the colors used in your wedding decor. Embossing folders can be used in several ways and it is fun and simple. Now that you can get wedding invitations in craft stores you can add your personal touch to the make it more special just by pasting the decorated layer on top.

Skill: Intermediate
Time: 20 minutes

Directions


Step 1

Select an embossing folder, ink the flat layer of the folder with the color of ink of your preference. Since this is a wedding card, I used Desert Sand Memento Ink because it matches well with gold and enhances the white. You can apply the ink directly with the ink pad or using a brayer. Insert the card stock on your embossing folder and pass the sandwich through your cutting machine.


Step 2

On a separate piece of card stock with the same color of the card base, stamp the couple image using VersaMark. Sprinkle Gold Embossing Powder and use a heat tool to set.

Step 3

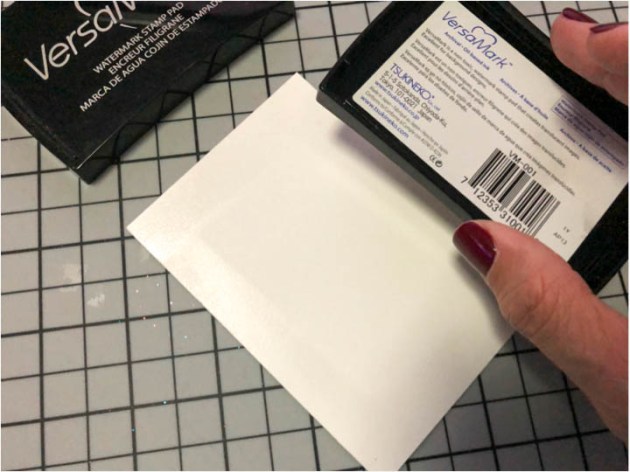
To create a matching frame for the couple image, I inked the edges of a rectangle with the VersaMark inkpad.


Step 4

Then I sprinkled a heavy amount of Gold Embossing Powder and melted the powder with the heat tool.


Step 5

If you want to add more details this is the moment. In my sample, I tie a bow in the ribbon around of the embossed background and pasted it directly over the card base. Then I pasted the main stamped image over the decorated card base using double-sided foam tape.

Supplies

Imagine
Other
  • Cardstock – Whisper White
  • Die Cutting Machine
  • The Rabbit Hole Designs – Happily Ever After Stamp Set
  • Embossing Folder
  • Satin Ribbon
  • Heat Tool
  • Double-sided foam tape
Learn How To Handcraft A Wedding Guest Book

by Kassy Tousignant

Learn How To Handcraft A Wedding Guest Book

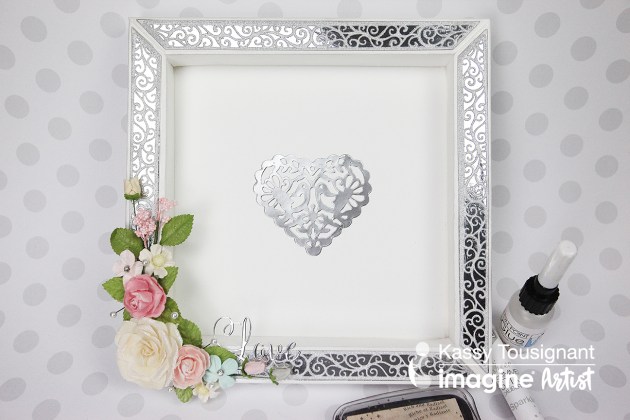
On Point Glue and Tear It! Tape worked wonders on my die-cut wedding frame construction. Imagine’s adhesives are very strong, durable, and easy to work with! Also, I really love using the new Sheer Shimmer Stix in Sparkle to enhance this project and I thought it would be perfect for this wedding frame keepsake that could be used to have your guests sign instead of a guest book.

Skill: Beginner
Time: 1 hour

Directions

Supplies

Imagine

• On Point Glue
• Sheer Shimmer Stix – Sparkle
• Large dauber
• Tear It! Tape
• Delicata Inkpad – White Shimmer
• Imagine Craft Mat

Other

• Prima – Flowers
• Glue gun and sticks
• Crafter’s Companion – silver mirror CS, Silver glitter CS, Love sentiment
• Build a frame die heart & birds die
• Neenah – white cardstock

Learn How To Make 3 Matching Wedding Invitations

by Kyriakos Pachadiroglou

Learn How To Make 3 Matching Wedding Invitations

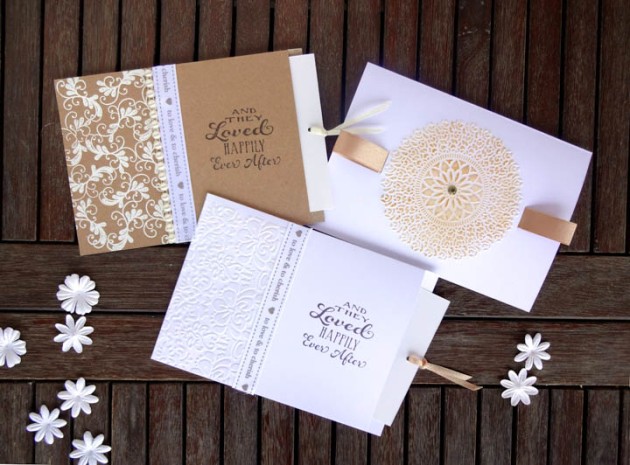
I wanted to share some easy to make wedding invitations using standard size cards in different designs. The designs are based on two techniques, one requiring a die cutting/embossing machine and one that does not, which makes it easier for everyone to make having basic supplies. The Delicata ink pads give shine and elegance to your wedding invitations. Another fun idea I include is how embossing powder can be used on darker papers to add beautiful contrast and pop to the front of a wedding invitation. Two of the designs form pockets. The text can be printed on a separate card and placed inside. You could also order pre-printed 5 x 7 inch cards, and not follow the pocket making instructions included in this tutorial.

Skill: Beginner
Time: 5 minutes per invitation (depends on details)

Directions


Step 1

Use the embossing folders to emboss the fronts of the first two card designs. If you have an embossing folder that is for a full card background, you can place it over just a portion of the card front to get the 1/3 partial coverage.


Step 2

Add some color and shimmer to the embossed areas by lightly and smoothly pressing/rubbing the ink pad directly on the embossed surface. In the examples above, I used White Shimmer on the embossed lower 1/3 and Golden Glitz on the medallion shape. By going lightly you will only get ink on the raised portions which will highlight the embossing.


Step 3

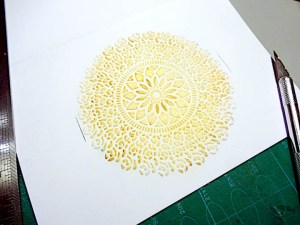
For the large medallion embossed design, cut about 1 inch on the sides of it to fit the satin ribbon width.


Step 4

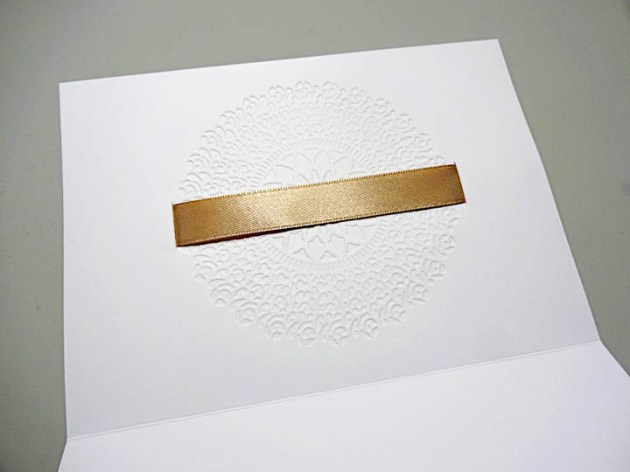
Pass the ribbon from the back side to front, add some Tear It Tape on the cutting, and fold the ribbon to set it to make a loop. Add a large rhinestone on the center of the medallion adhering it with the On Point Glue. This finishes the first card design.


Finishing the Second Embossed Design


Step 1

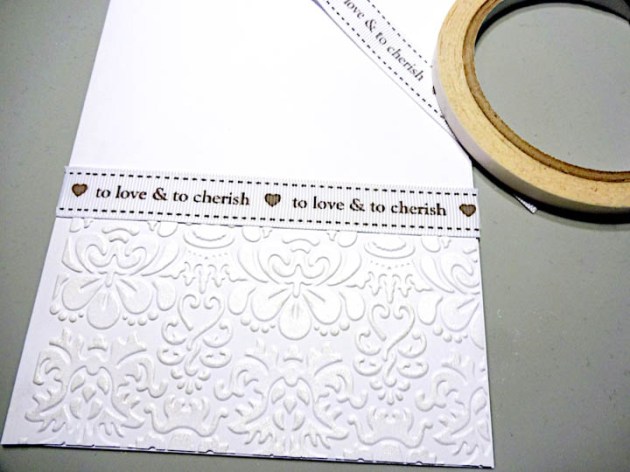
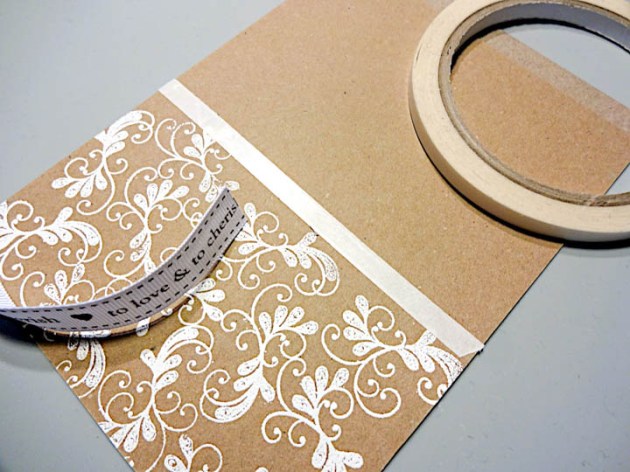
For the second invitation add printed ribbon using Tear It Tape just above the embossed area. Trim so it is flush with edges.


Step 2

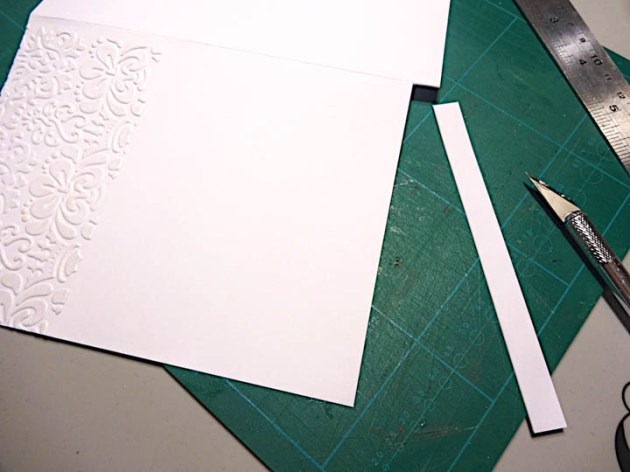
To make a pocket card, cut about ⅜ x 5 inches strip of the front side of the card opposite to the embossed edge.


Step 3

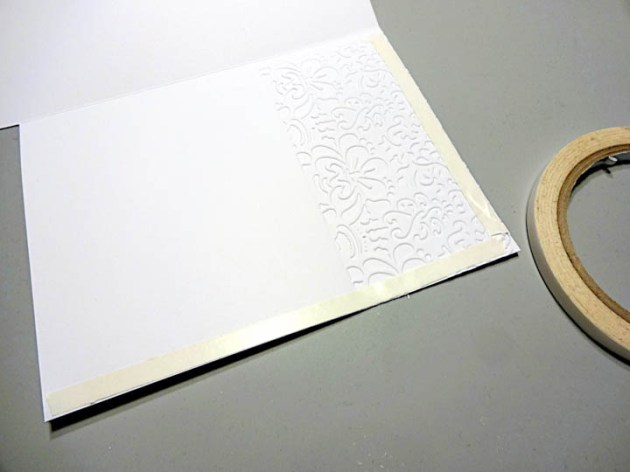
Add Tear It Tape to the inside of the card along the bottom of the embossed area and the outside edge. Remove the backing and fold shut to make a pocket.


Step 4

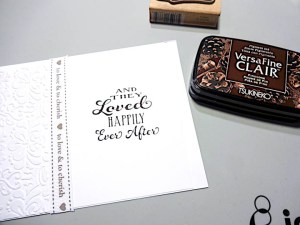
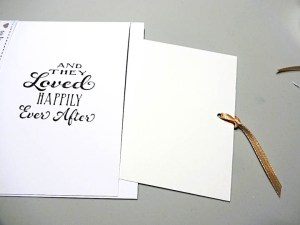
Stamp with VersaFine Clair ink in Pinecone and the “And They Loved Happily Ever After” sentiment (or sentiment stamp of choice). Print or order cards with the text printed on a 4 ½ x 6 inch size card, punch a hole at the top of the insert card and add a matching ribbon. This ads a bit of extra elegance while confirming to the recipient they should pull out the insert card.


If you Do Not Have an Embossing Machine…


Step 1

Stamp a large flourish stamp with the VersaMark watermark ink on kraft paper, only covering 1/3 of the card front. Apply embossing powder over the stamped area, shake off excess and heat set with a heat tool.


Step 2

Add ribbon and further embellishments and follow the steps from second card design above.

Supplies

Imagine
Other
  • 5 x 7 inch card base
  • 4 1/2 x 6 inch insert cards
  • Craft knife
  • Satin ribbons
  • Hole Punch
  • Printed cotton ribbon
  • Rhinestones or Pearls
  • Embossing folders
  • Die cutting machine
  • Flourish Background Stamp
  • Acrylic Block
  • Heat tool
  • Wedding-themed stamp

Introducing OMG Ink!

Omg ink!

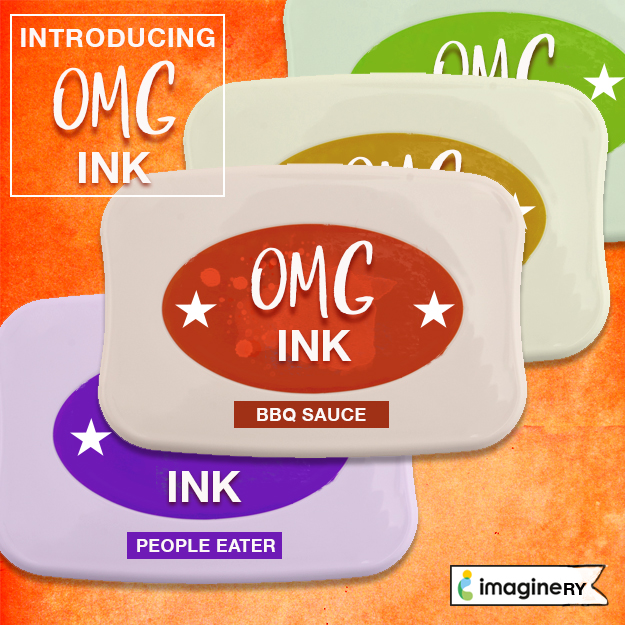
We have a new ink line—It’s the OMG Inkpad!

We are introducing a new ink line that is in-trend for 2019 with its very unusual color names! This incredible edible inkpad is resistant to heat, cats, food stains, cheesy sentiment stamps and to actual cheese. This ink stamps well on cards, metal, acetate, walls, shoe soles, souls, cars, and the couch—but not on cheese!

See the range of colors offered in this very #hashtagable ink!

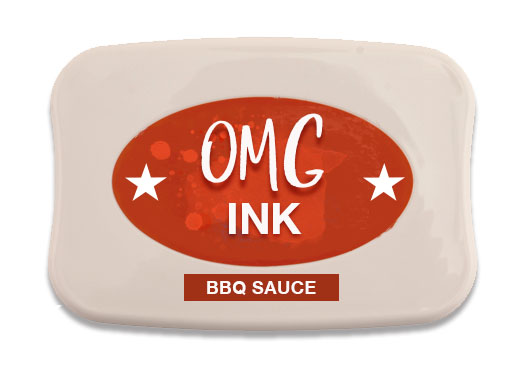
BBQ Sauce is a fantastic ink choice for blending with inks like Pepper or Chicken Flavoring.


This Purple People Eater is long haired and long-eared, and is great for stamping on creatures with only one horn.

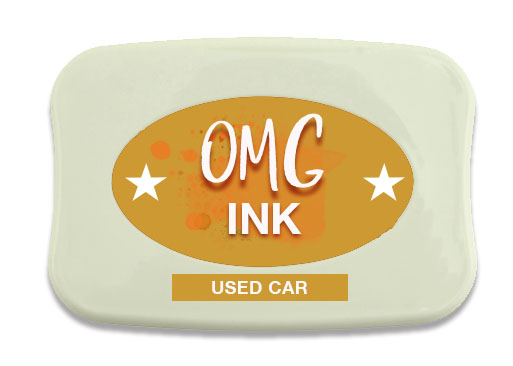
This Used Car ink also has a slightly mildewy fragrance for an added effect (which occurred naturally when we mixed the color)!

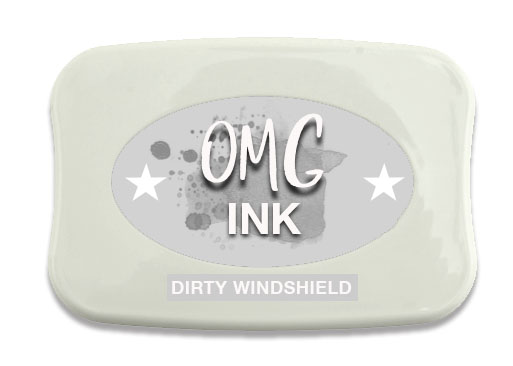
With the Dirty Windshield ink, you are sure to fog up any of your shaker windows with a very nice inconsistency.


Create A Beautiful Peacock Feather Handmade Card

by Kyriakos Pachadiroglou

Create A Beautiful Peacock Feather Handmade Card

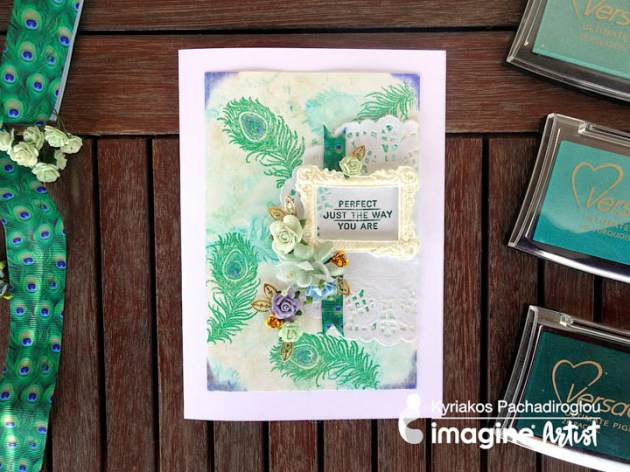
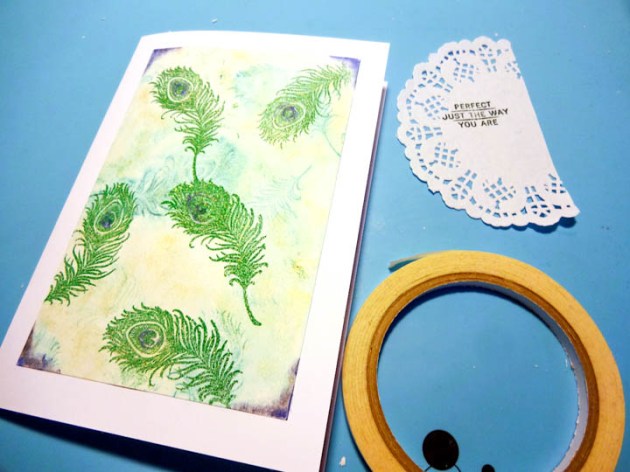
I am happy to share this Peacock Feather theme card. I was aiming to create watercolor-like stamping on the paper and I used Ink Potion No. 9, as it causes no damage to the paper when dries instead of spraying with water. The result was to create a background that had depth and full blur coverage while it helped the embossed designs to show up, making it the centerpiece of the card. The Sheer Shimmer Stix added the shine of gold color like the one you find on peacock feathers and it turned out perfect! See how I made this handmade card.

Skill: Beginner/Intermediate
Time: 1 hour

Directions


Step 1

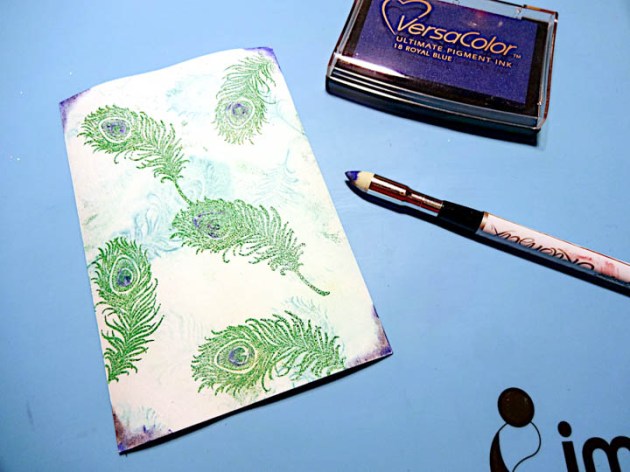
Heavily spray a 4 x 6 inch watercolor paper with Ink Potion No 9. Use the VersaColor Celadon, Turquoise and Pacific ink pads to stamp peacock feathers while the paper is still wet.


Step 2

When the watercolor paper dries, stamp with the VersaMark Watermark inkpad and cover with Imagine’s embossing powder Lucky Stars. Heat set with a heat tool.


Step 3

Use a BrushStix to add color detail at the corners of the paper and the in the center of the peacock feathers with the VersaColor Royal Blue inkpad.


Step 4

Add sparkle with the Sheer Shimmer Stix in Gold.


Step 5

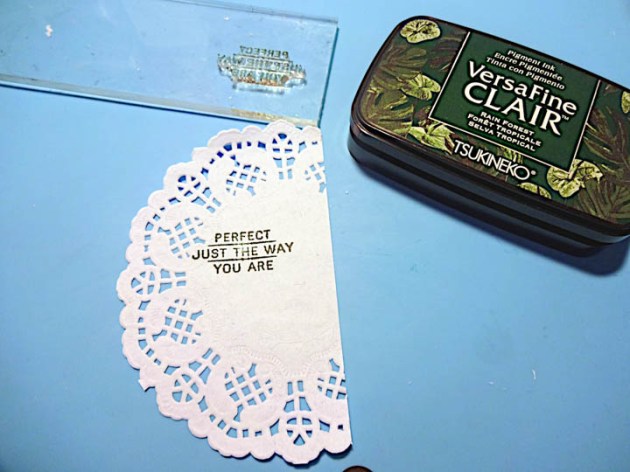
Cut a paper doily and stamp with the quote “Perfect Just the Way You Are” with the VersaFine Clair in Rain Forest.


Step 6

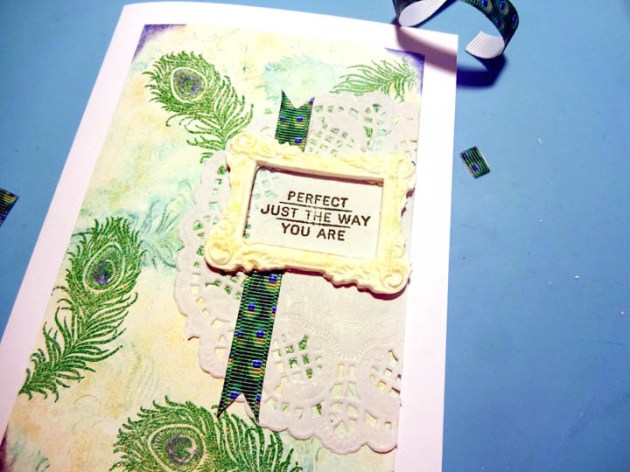
Use the Tear It! Tape to set the watercolor paper and the doily on the card base.


Step 7

Buy a pre-made frame or cast a frame with lightweight clay and when dries add sparkle with the Sheer Shimmer Stix Gold.


Step 8

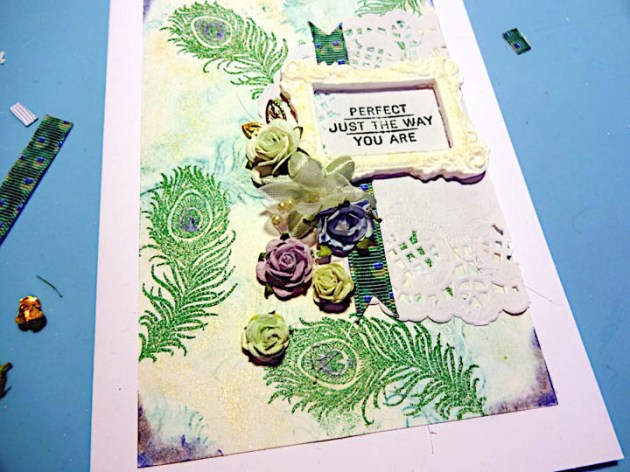
Place the peacock ribbon first. Cut it in half to give the illusion it is under the frame. Attach the frame to the card face then place the sentiment inside the frame.


Step 9

Continue decorating with the paper flowers and metallic details. And you are done!

Supplies

Imagine
Other
  • Watercolor paper
  • Viva Decor – Peacock feathers stamps
  • My Mind Eye – Honey happiness stamp
  • Paper doilies
  • Lightweight clay and frame mold
  • Paper and metallic flowers
  • Peacock themed ribbon
  • Hot glue gun
  • Heat tool
  • Option – Prima Marketing – pre-made frame

See How to Create a Soft Plaid Print on Kraft Paper

by Melissa Andrew

See How to Create a Soft Plaid Print on Kraft Paper

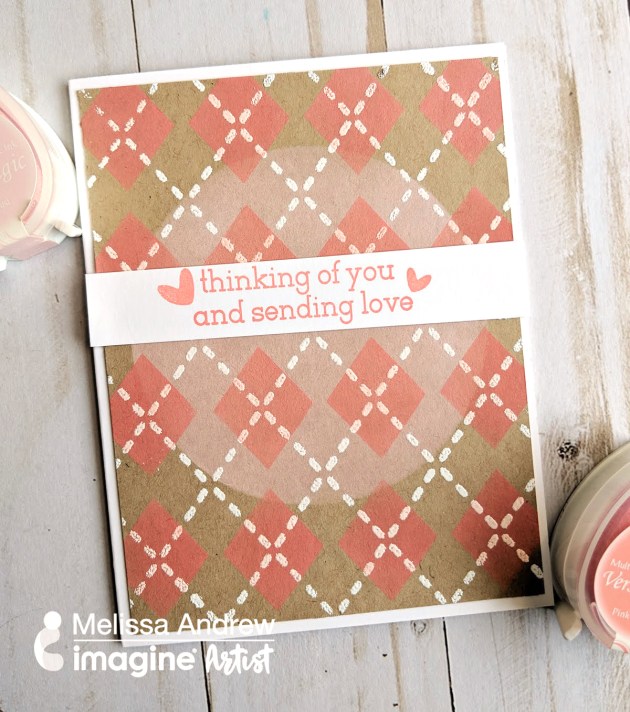
Today I’m showing you the versatile properties of the creamy and blendable chalk ink called VersaMagic. This ink is beautifully thick and shows on your darker cardstocks.

Supplies

Imagine
Other
  • Newton’s Nook – Plaid Stencil
  • Waffle Flower – “Here for You” sentiment
  • Gina K Designs – Kraft
  • White cardstock
  • Paper trimmer
  • Stamping platform
  • Heat tool