A Gift for Someone Special – Create a Chipboard Pendant with StazOn

by Lori Warren

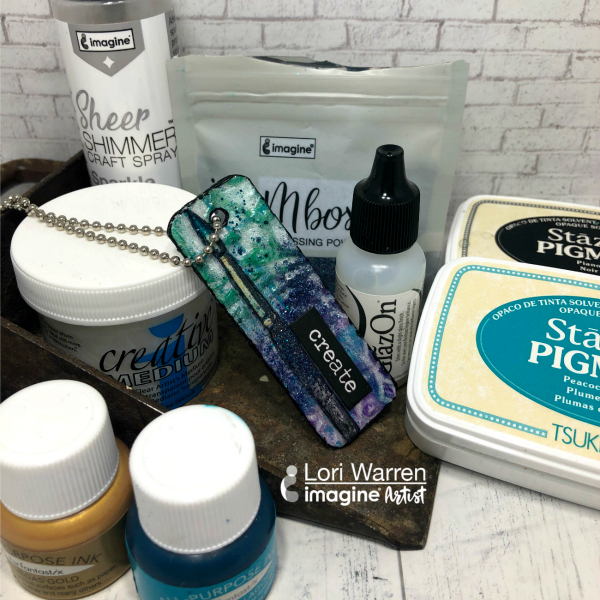
A Gift for Someone Special –  Create a Chipboard Pendant with StazOn. A beautiful teal and blue jewelry piece that features a paintbrush image and reads "create".

This mixed media project is a great example of how you can use different inks and mediums to create a piece full of texture and color. It’s a step by step layering technique to add depth and interest to mixed media artwork.

Skill: Intermediate
Time: 30 minutes

Directions

Written Instructions:

  1. Cut chipboard into a pendant shape and punch a hole at the top. Place a piece of paper under the book cover to protect the pages below.
  2. Cover the front and back of the chipboard piece with white gesso.
  3. Cover the front and back of chipboard piece with white gesso.
  4. Stamp chipboard pendant with VersaFine CLAIR.
  5. Cover pendant with a stencil and apply Creative Artist Medium – Clear.
  6. Stamp brush onto watercolor paper with StazOn Pigment Ink – Piano Black.
  7. Add color to the tip of a brush with StazOn Pigment –Peacock Feathers.
  8. Sponge StazOn Pigment onto Pendant to highlight stencil pattern.  Adhere stamp brush image.
  9. Highlight elements of the pendant with ALL PURPOSE INK – Frost White (using a Doodlestix)
  10. Apply splatters in ALL PURPOSE INK – Tropical Lagoon.
  11. Cover element with GlazOn – Slight Gloss Finish.
  12. Add MBOSS Powder to pendant while GlazOn is still wet.  Heat set.  Round corners of the pendant.
  13. Edge pendant with StazOn Pigment Ink – Piano Black.
  14. Adhere sticker saying.
  15. Use the Waffle Flower – Clear Dies and Combo Swatch Tag Die to record color scheme for this project.

Supplies

Imagine

• All-Purpose Ink – Vegas Gold, Tropical Lagoon, Frost White

• Creative Medium

• Mboss Embossing Powder

• Sheer Shimmer Spray – Sparkle
Beginner Guide: Intro to Memento Inks

by Lisa Mensing

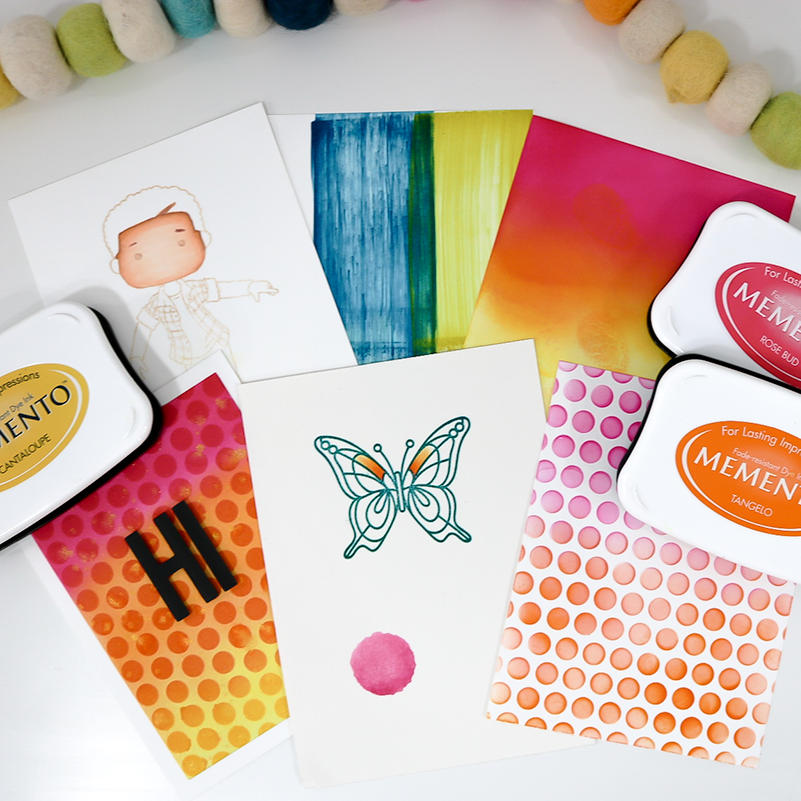
In this video, Lisa is focusing on the Memento Ink Line by demonstrating a few techniques and sharing tips and tricks throughout the video.

Skill: Beginner
Time: varies

Directions

Other 

• Strathmore 300 Series Bristol Board Pads 

• Amazon.com: Arches Watercolor Paper Pad, 140 lbs, Cold Press, 9″x12″

• Amazon.com: Neenah Classic Crest, 80lb/216 GSM, Solar White, 97 Bright

• Neenah Classic Crest Cover Solar White 110# 8-1/2×11 250/pkg

• Circles, Circles, Circles Clear Stamps | Whimsy Stamps

• *Simon Says Stamp Beautiful Day stamp set

• Polka Dot Background | Set of 4 Stencils – Honey Bee Stamps

• Bee Bold Alphabet | Honey Cuts – Honey Bee Stamps


Clean and Simple Handmade Card with Memento Dye Inks

by Lisa Mensing

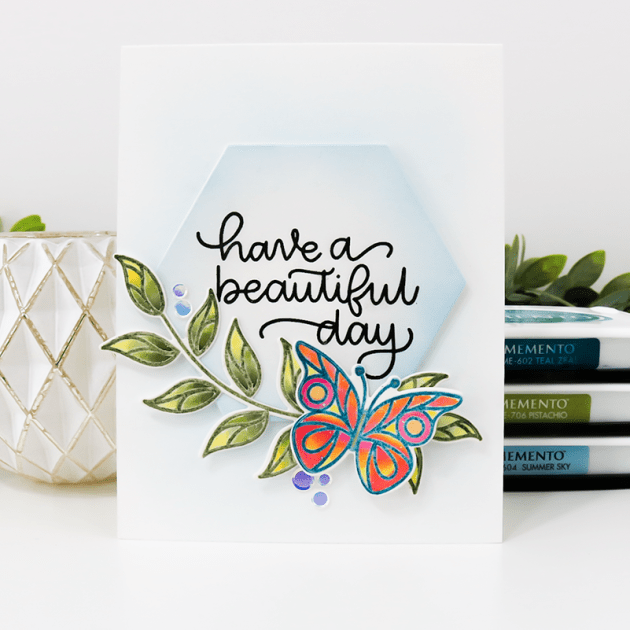
Clean and Simple Handmade Card with Memento Dye Inks

In this video, I share how to watercolor, heat emboss, and ink blend with dye inks. Follow along as I show you how to get the most out of your Memento Dye Inks and create this clean and simple card.

Skill: Intermediate
Time: 25 minutes

Directions

Supplies

Imagine

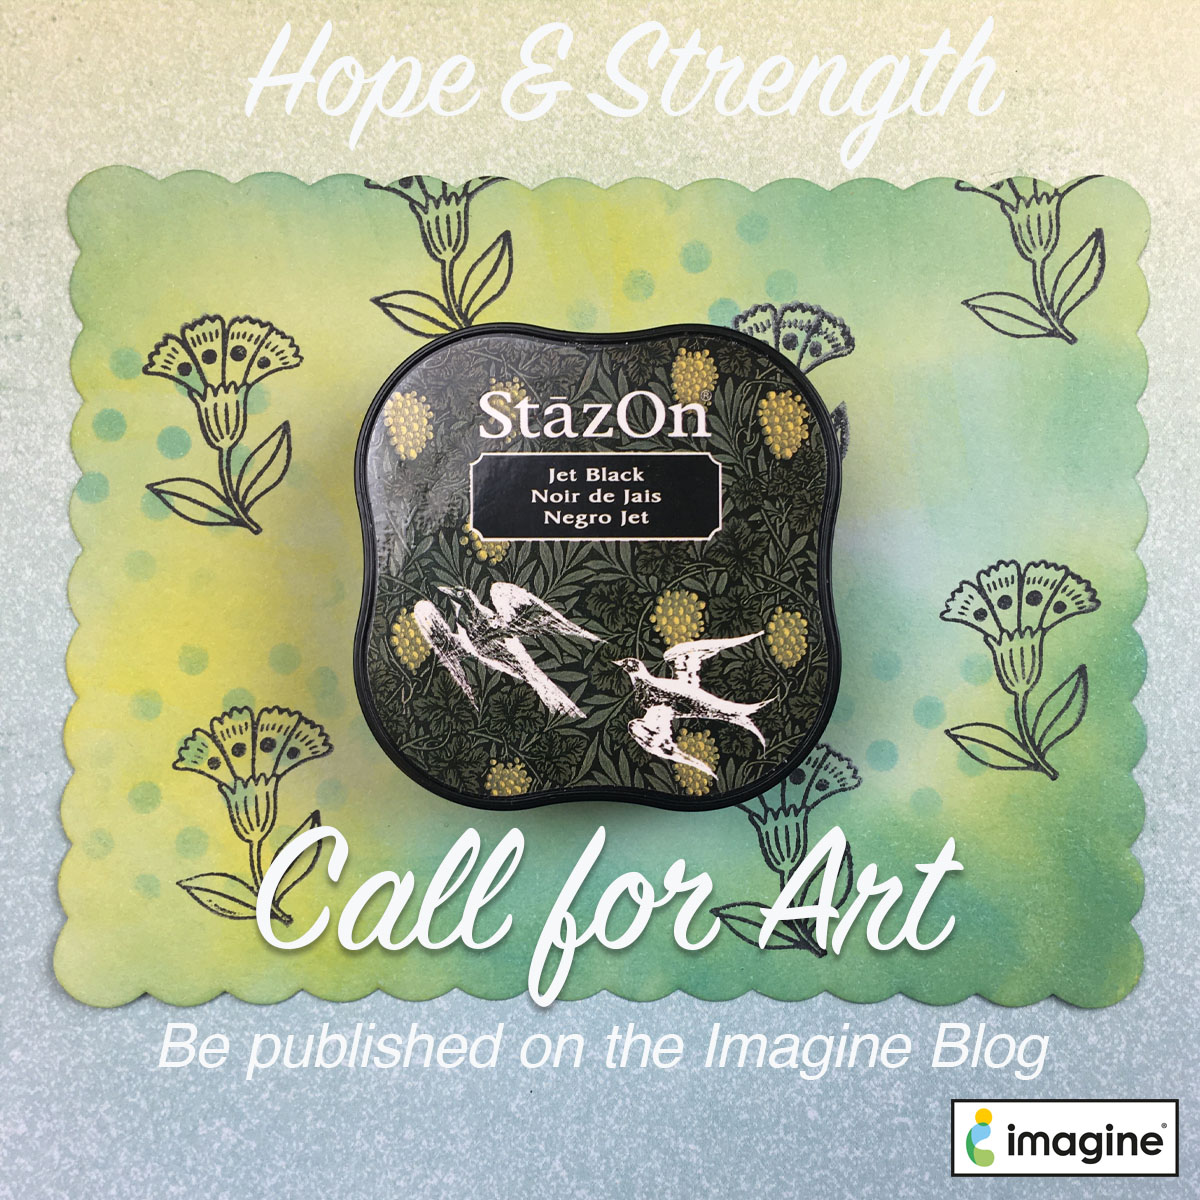
Hope & Strength Call for Art

Call for Hope & Strength Art

In tough times we all need to focus on being strong and supporting each other. Submit a photo of an Inspiration-themed project. Some of the themes can include: Hope, Love, Faith, Prayers, Be Strong, Hang in There, Stay Strong, Brighter Days are Ahead, Journal pages, At-home crafts, etc.

Submit an attractive 600 x 600 pixel square or 900 x 900 pixel square photo of your project, a short description and a link to your Instagram profile or blog to marketing@imaginecrafts.com. Submissions are due by Monday, March 30th, 2020

We will review all submissions and post a collection in one blog post and will share it on our social media platforms. Potential reach = 10,000 followers.

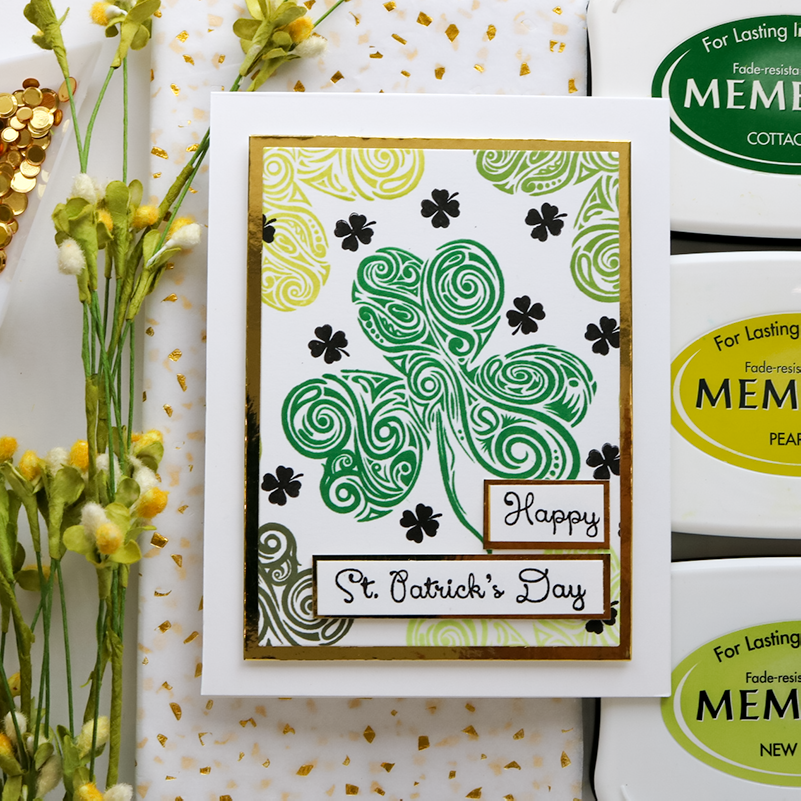
See How to Make a Set of Gorgeous Green St. Patrick’s Day Cards

by Lisa Mensing

In this video, I showcase the various greens available in the Memento dye inkpads for Shamrock stamps. In addition, I’m sharing a few tips on heat embossing images using Mboss in New Years Eve (beautiful sparkle black powder) plus a quick and simple heat embossed border on St. Patrick’s Day cards. Enjoy!

Skill: Intermediate to Advanced
Time: varies

Supplies

Imagine 
Other
  • Whimsy Stamps – Shamrock Swirl Clear Stamps  
  • Duck Brand Permanent Foam Mounting Tape, Double-Sided
  • Classic Crest Super Smooth Solar White 80# Cover 8.5″x11″
  • “Blending Buddy” White Bristle Blending Brush – Trinity Stamps

See How Heat Embossing a Metal Tin Makes a Lovely Gift

by Nicole Watt

See How Heat Embossing on a Metal Tin Make a Lovely Gift

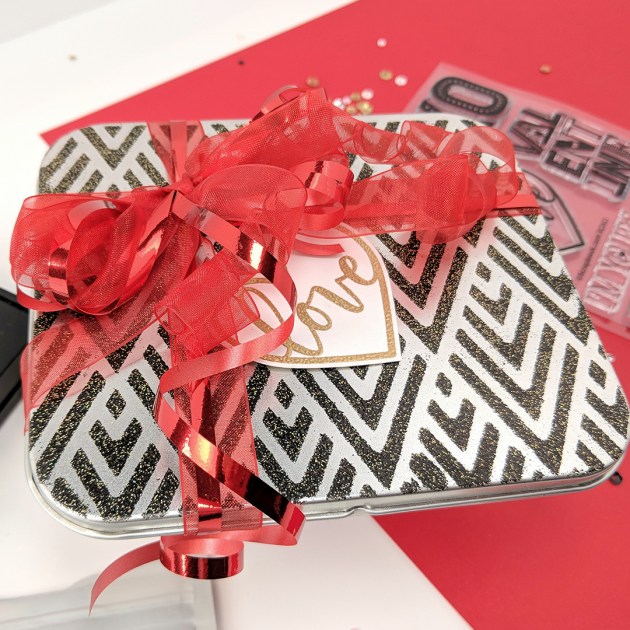
Metal tins are great for all sorts of projects – as a gift box, for a mini album or keepsake box. Why not take that tin up a notch with some heat embossing! Nicole will show you how easy it is to add beautiful texture and color to your next metal tin project.

Skill: Beginner
Time: 15 minutes

Directions

Supplies

Imagine
Other 
  • Altenew Feeling Dotty stencil
  • Altenew Deco Wallpaper stencil
  • Metal tin
  • Heat Tool