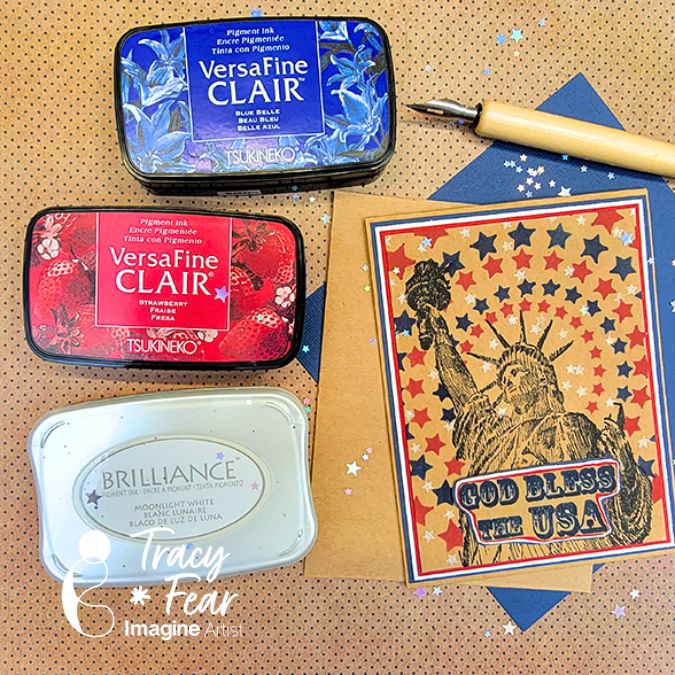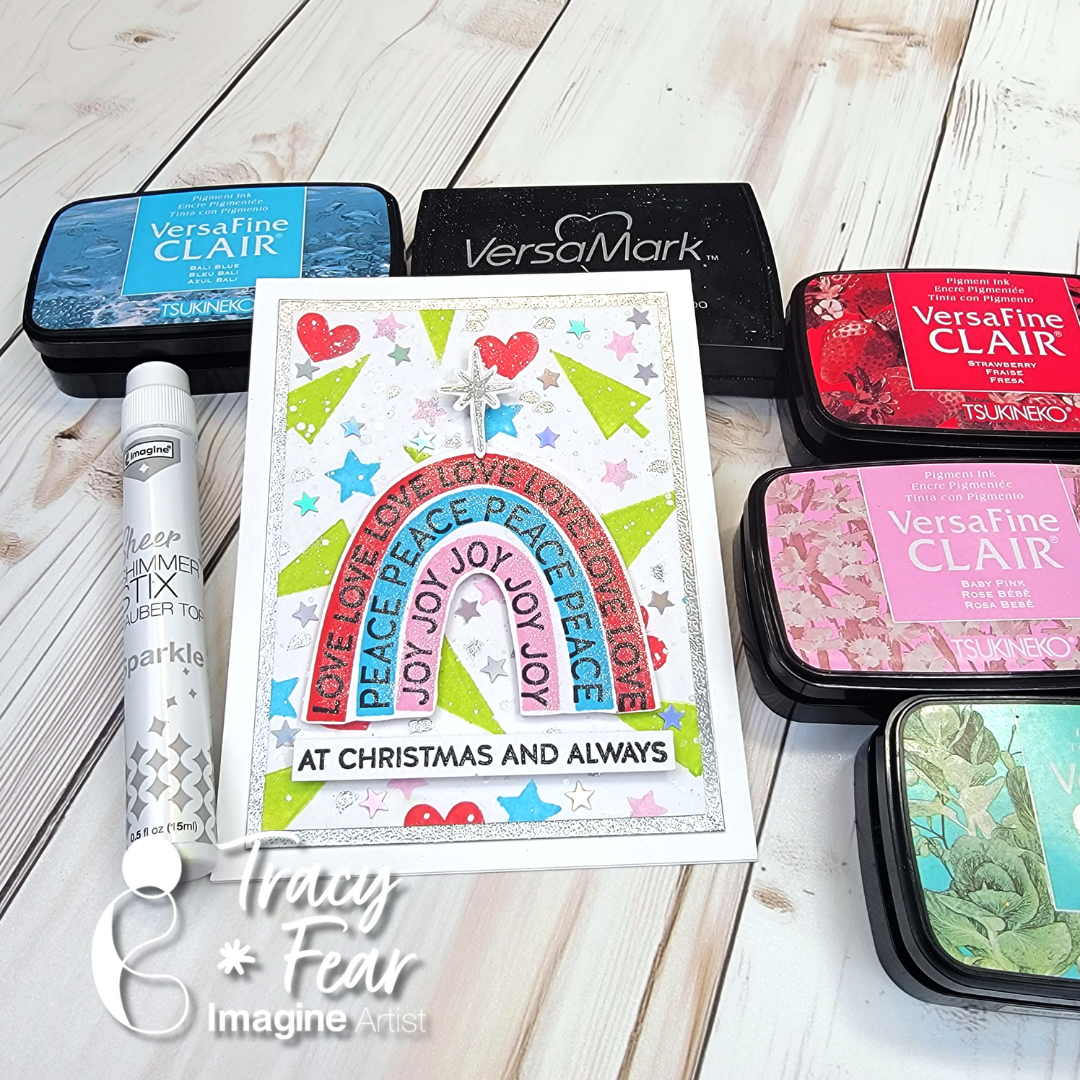
By Tracy Fear
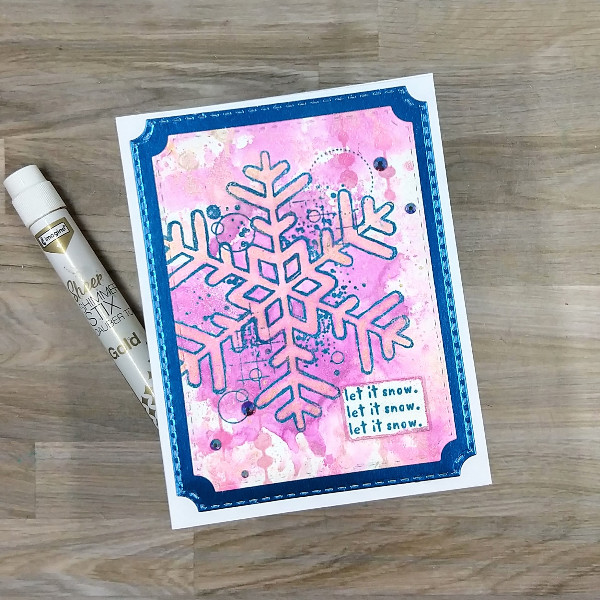
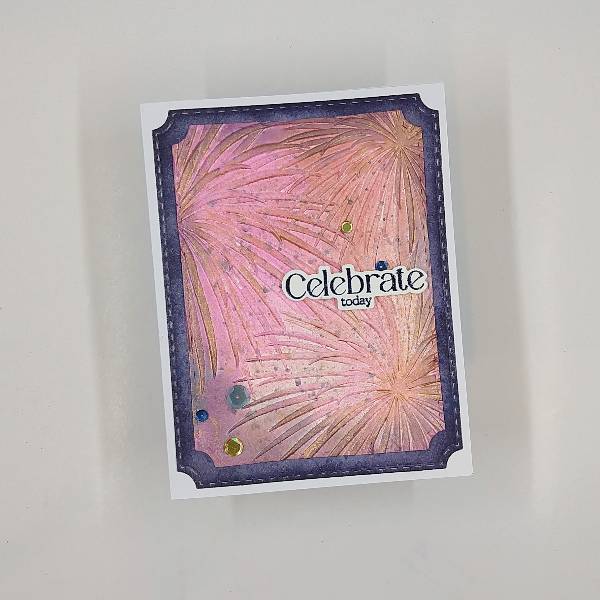
– Hello Friends! Tracy here and today I am delighted to share this tutorial for a fun and whimsical Christmas Card starring some non-traditional colors!
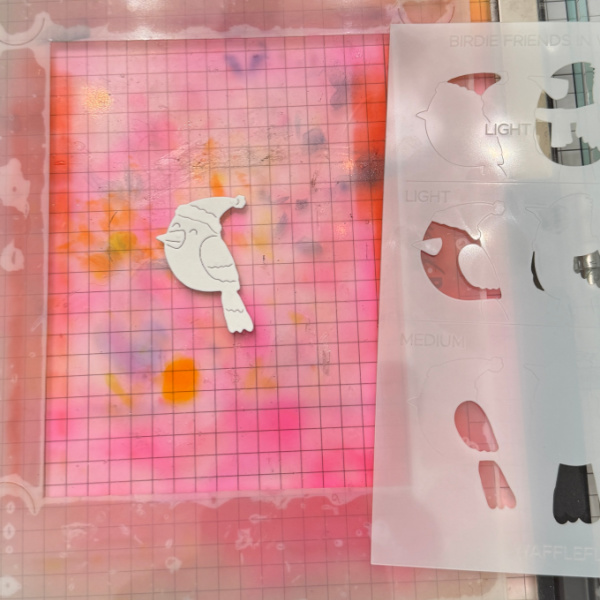
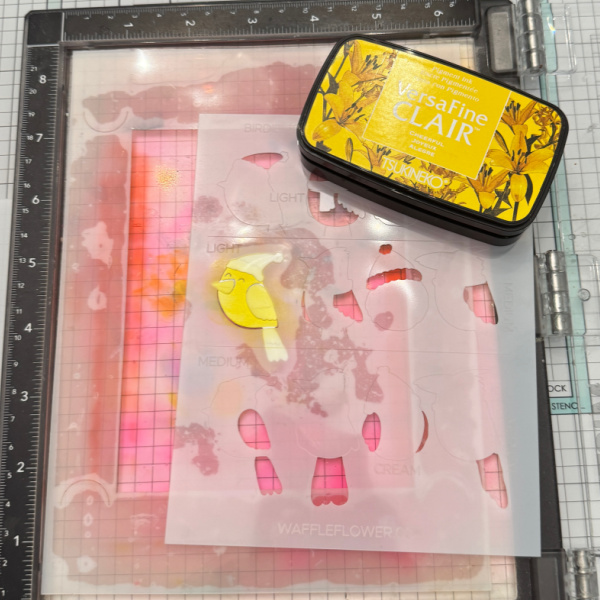
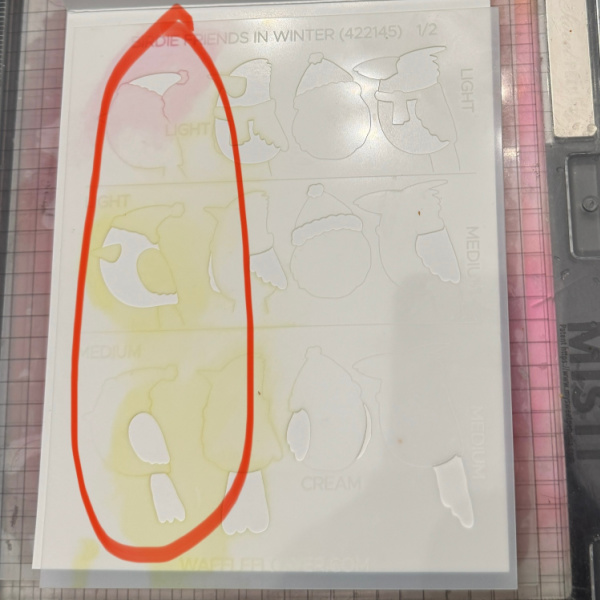
In today’s video tutorial I am sharing how I created my own pattern paper background using traditional and non traditional colors for Christmas!
Skill: Intermediate
Time: 30 Minutes to 90 Minutes
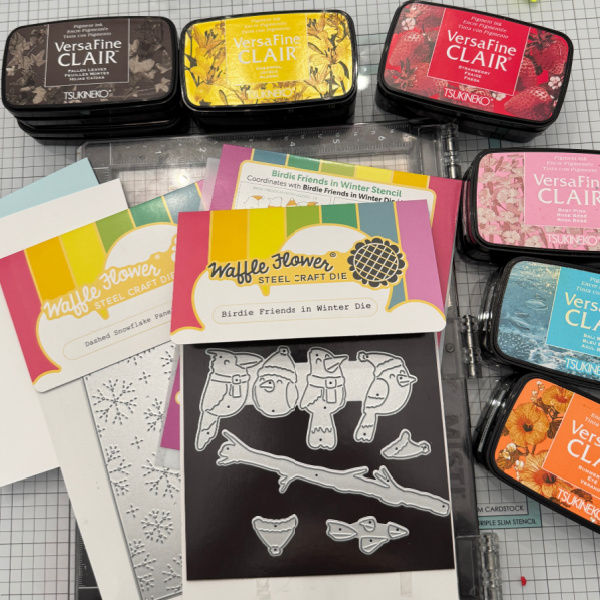
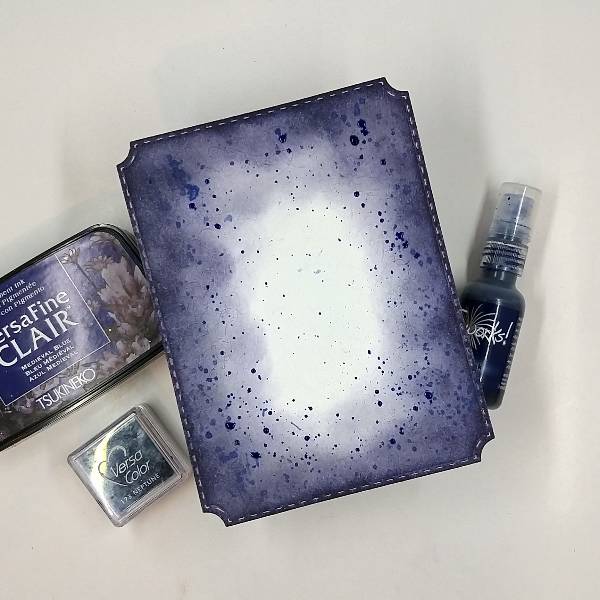
Art Supplies
• Stamping Platform
• Glue
• Embellishments
• Your choice of stamps
• Acrylic Block
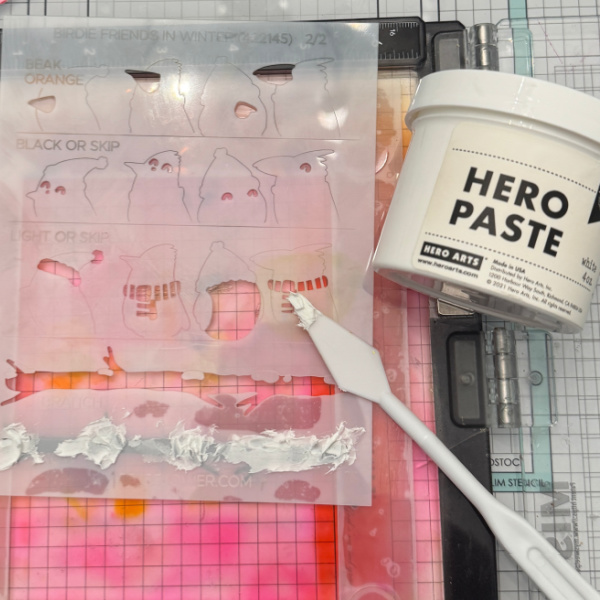
• Embossing Powder
• Heat Tool
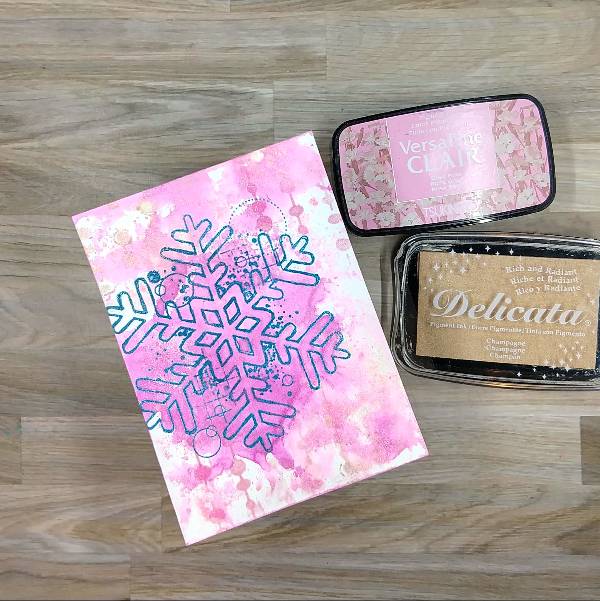
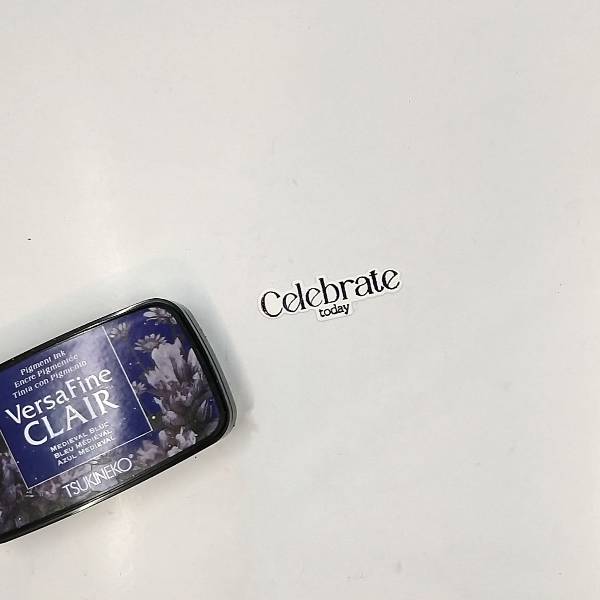
Imagine Products
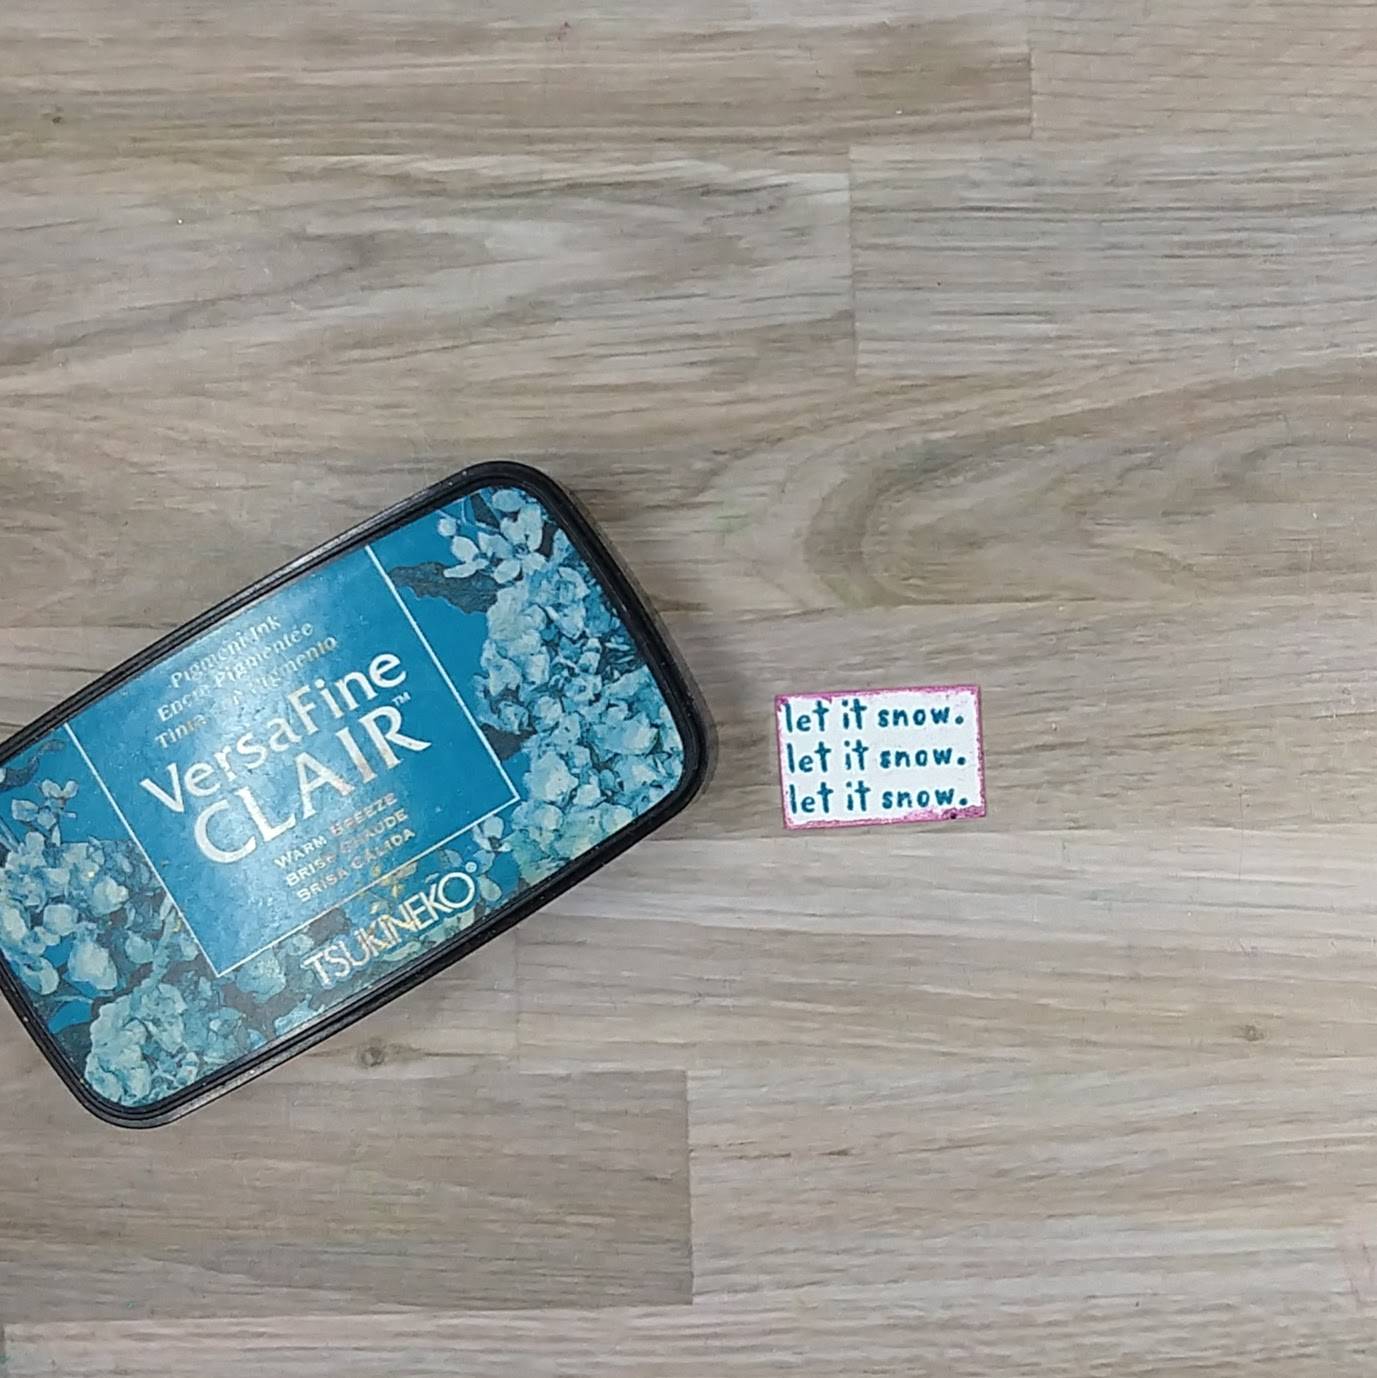
• VersaFine Clair in Baby Pink
• VersaFine Clair in Bali
• VersaFine Clair in Strawberry
• VersaFine Clair in Verdant
• VersaFine Clair in Nocturn
• Versamark Ink
• Sheer Shimmer Stix Dauber Top in Sparkle
Other Products Used
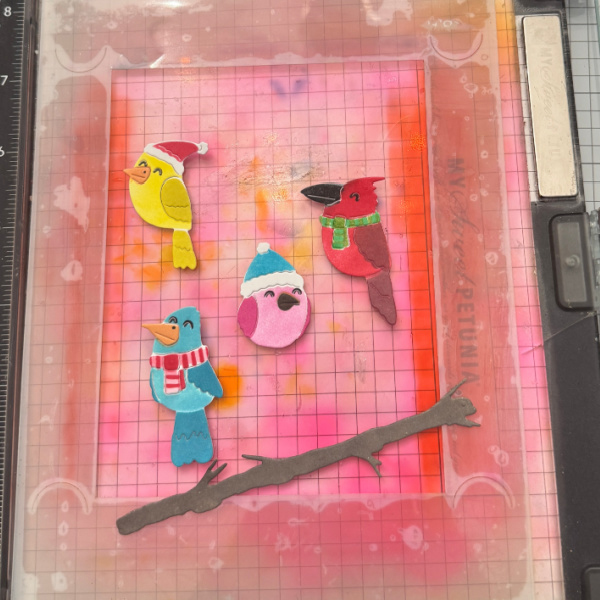
• Rainbow Christmas Stamps from Simon Says Stamp
• WOW Silver Embossing Powder
• 120lb paper in white
• Misti Stamping Platform tool
• PVA Adhesive
• Holographic Stars from Trinity Stamps
ALTERNATIVE PRODUCTS THAT CAN BE USED TO RECREATE SOMETHING SIMILAR
Any inks or stamps in your stash!
To learn how to create your own modern, funky Christmas Card click here!