by Iris Rodriguez

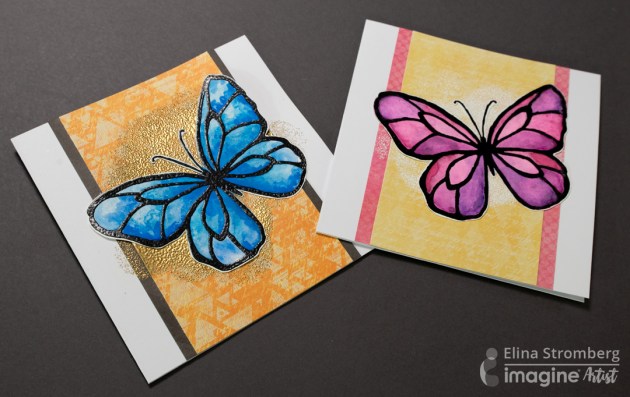
In today’s tutorial, I create an art piece with upcycled remodel leftovers. I had discarded unfinished pieces of wooden blocks, my neighbor gave me when he did some home renovations. I covered a wooden block with plaster cloth and created a wall hanging piece using Joy Clair stamps with VersaFine CLAIR ink and used All-Purpose inks for the background. Plaster is porous and these inks are highly pigmented, thereby, allowing the inks to adhere to the plastered surface easily. You get a little bit of uneven surface with a distressed look, which I really like.
Skill: Intermediate
Time: 30 Mins to plaster and color the wooden substrate + 2 days for plaster to dry
Directions

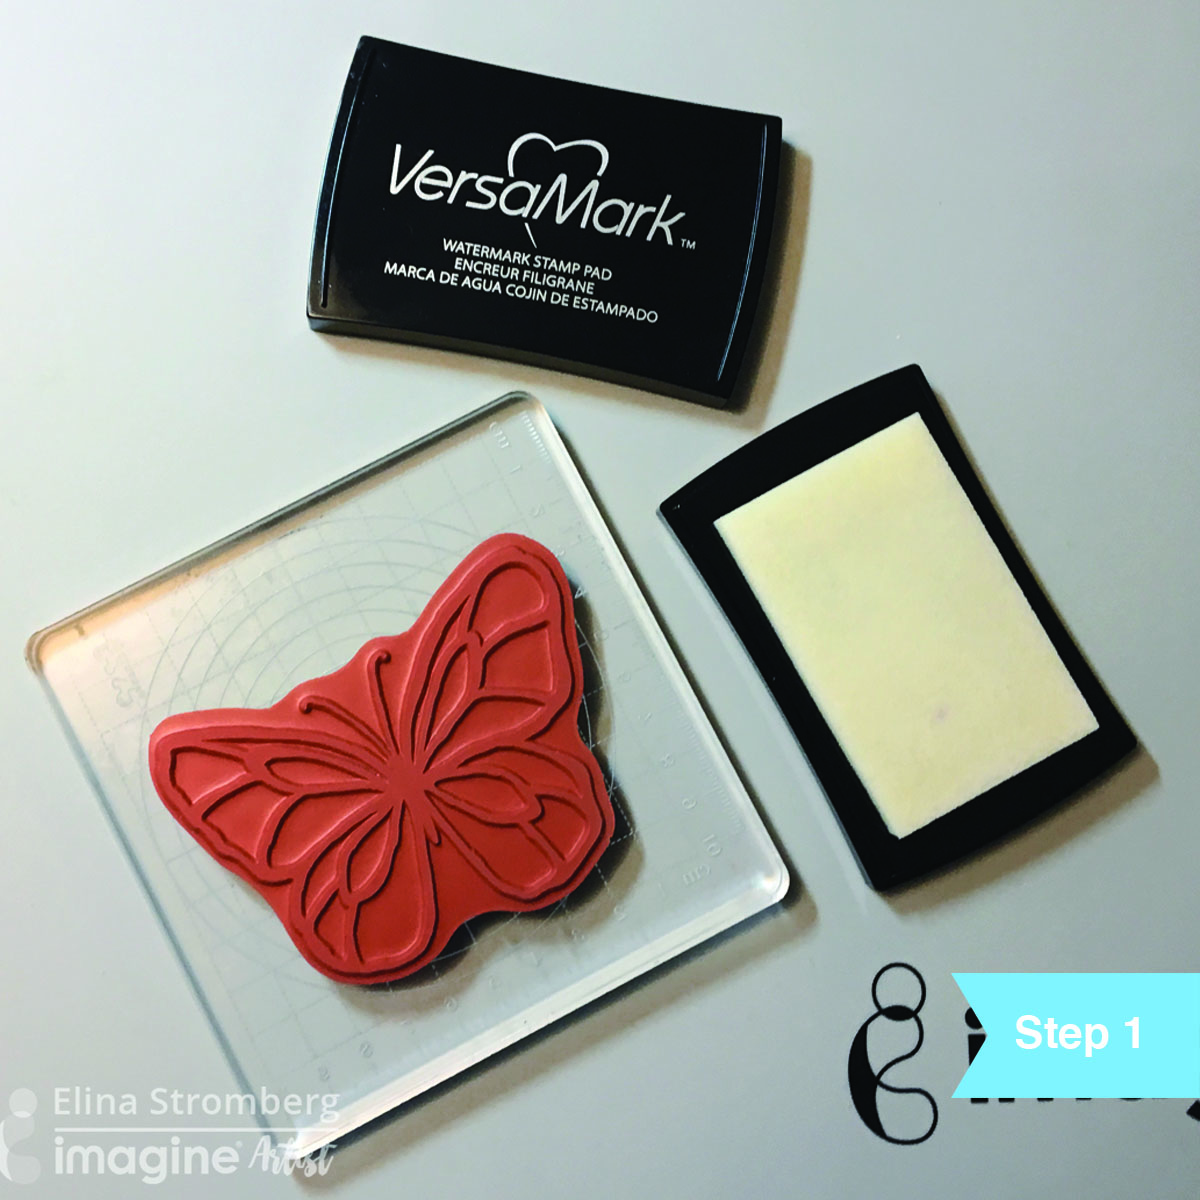
Step 1
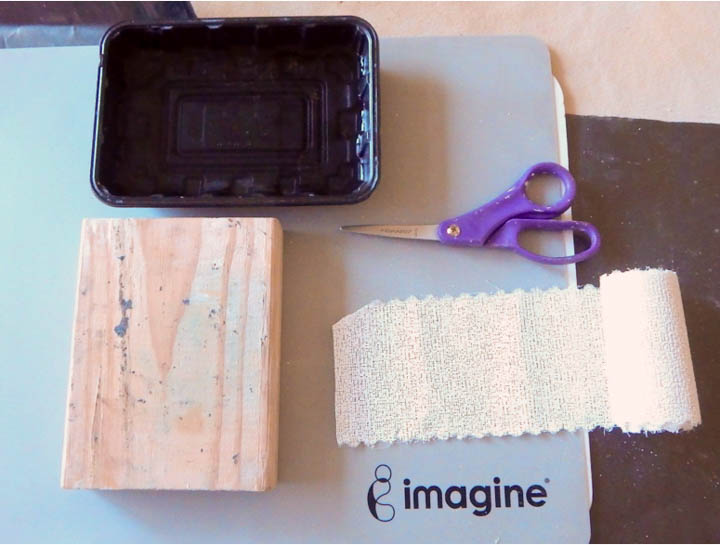
For this project, you will need plaster cloth, wooden substrates, such as a cradled board (shadowbox) or block, water and scissors. The plaster can be messy and a little dusty. Line your table with a plastic bag, which makes it easier to clean up. Do not use hot or warm water. It will speed up the setting up of the plaster. Plaster is water-soluble, so cleaning is easy and fast.
DO NOT throw the plaster water in your sink, it will set in your plumbing and clog it. You’ll have small or fine pieces of plaster leftover in the water. You can throw the water out in your yard. Plaster is Gypsum stone, it exists in nature. Another option is to drain the water out and you are left with plaster pieces that can be thrown away in the trash.

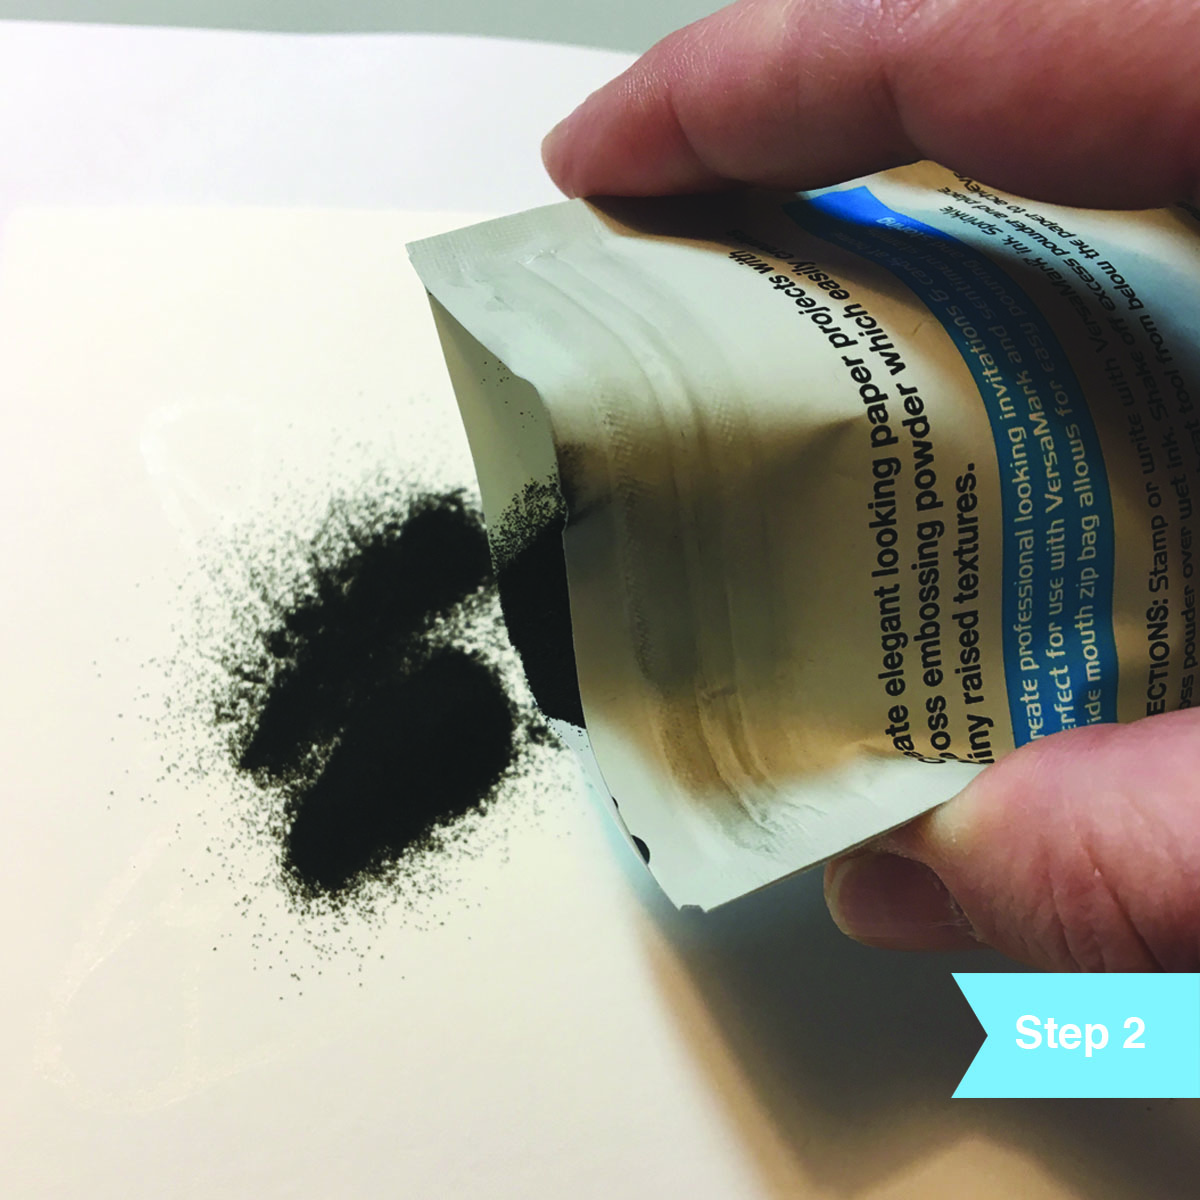
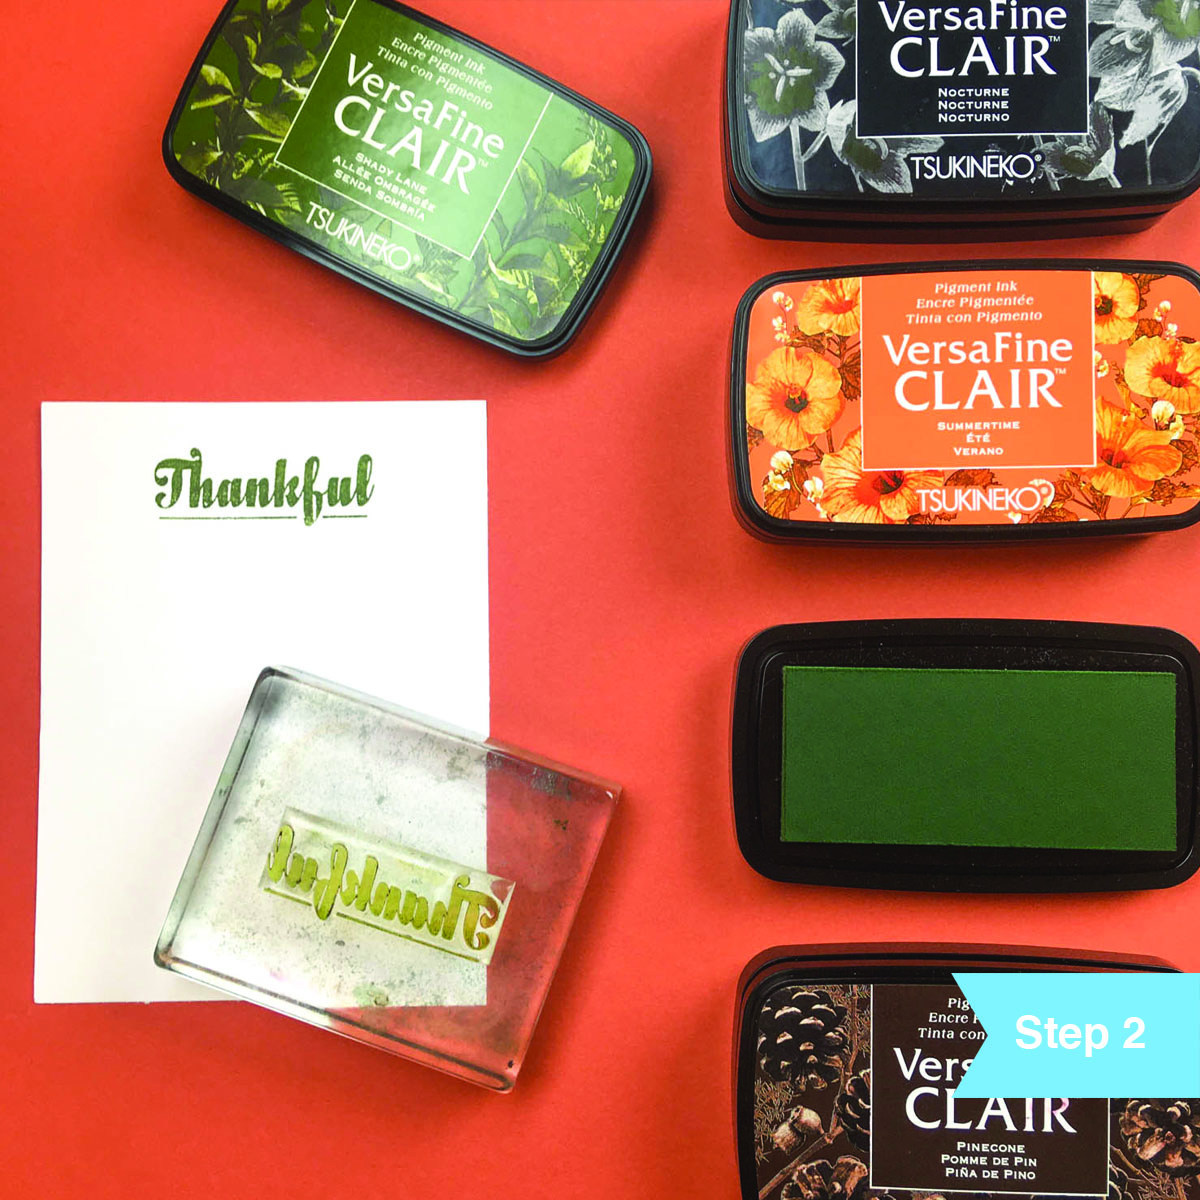
Step 2
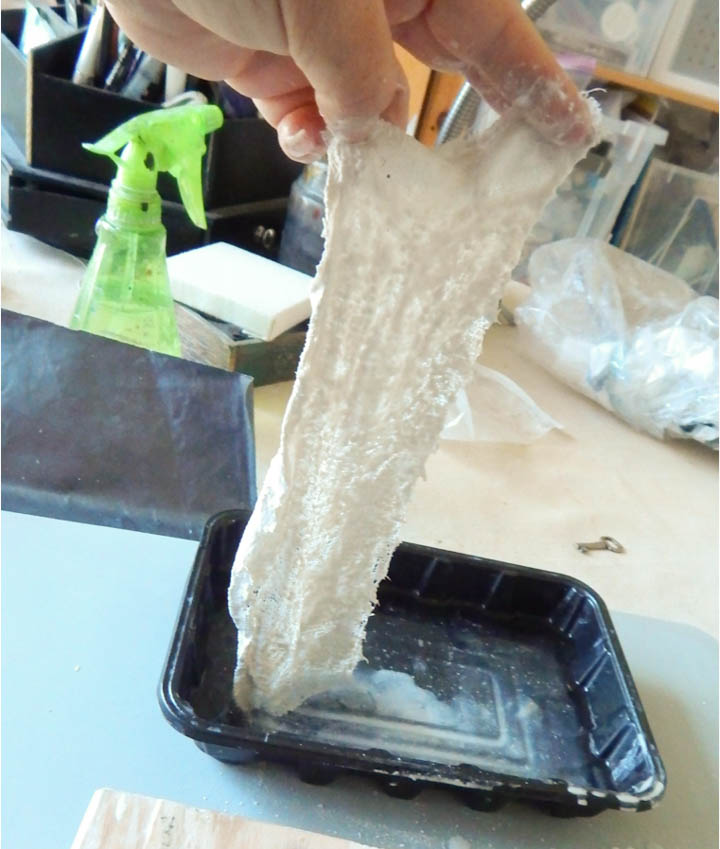
Dip the plaster cloth in water. Hold the cloth tightly in the palm of your hands and wring out the excess water. This will prevent the plaster from completely sloughing off the cloth.

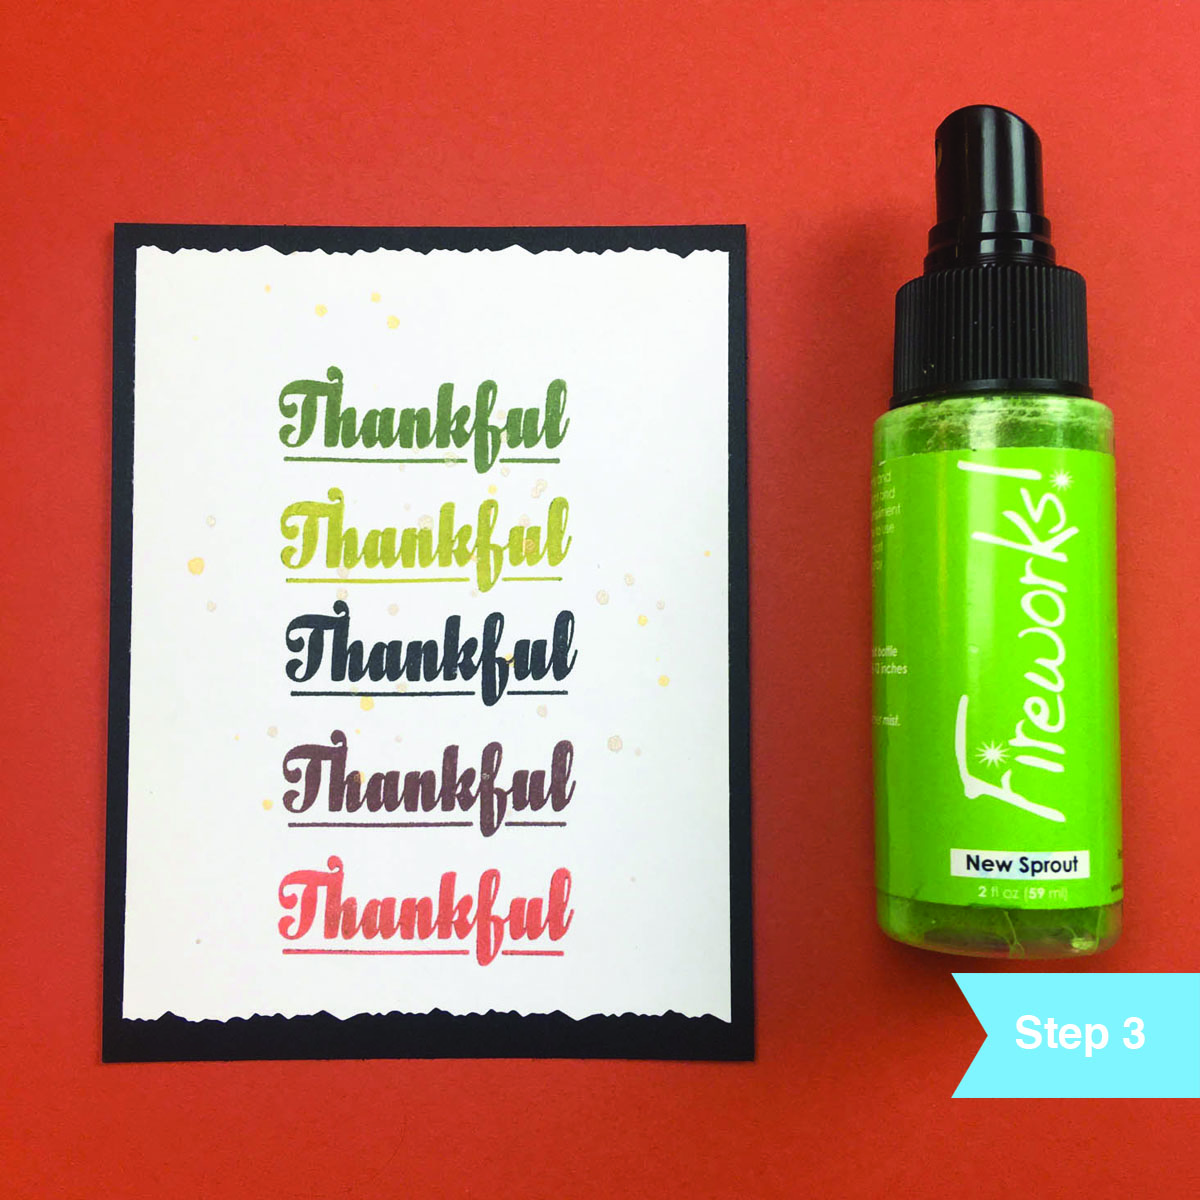
Step 3
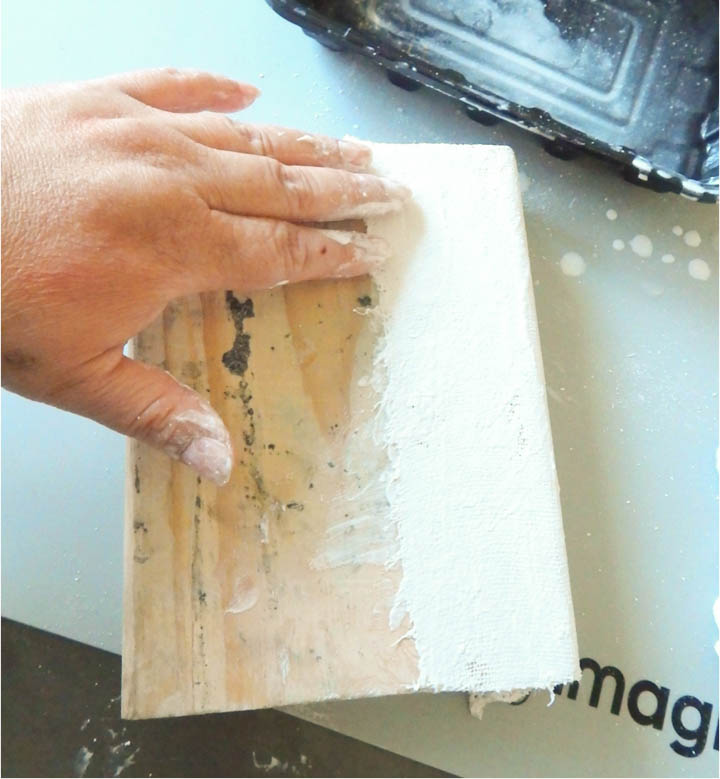
Lay it out on your substrate and smooth it out with your fingers. Move quickly, plaster tends to set fast. Once it begins to set, there is no way to smooth it out. If you try you just get a bumpy surface.

Step 4
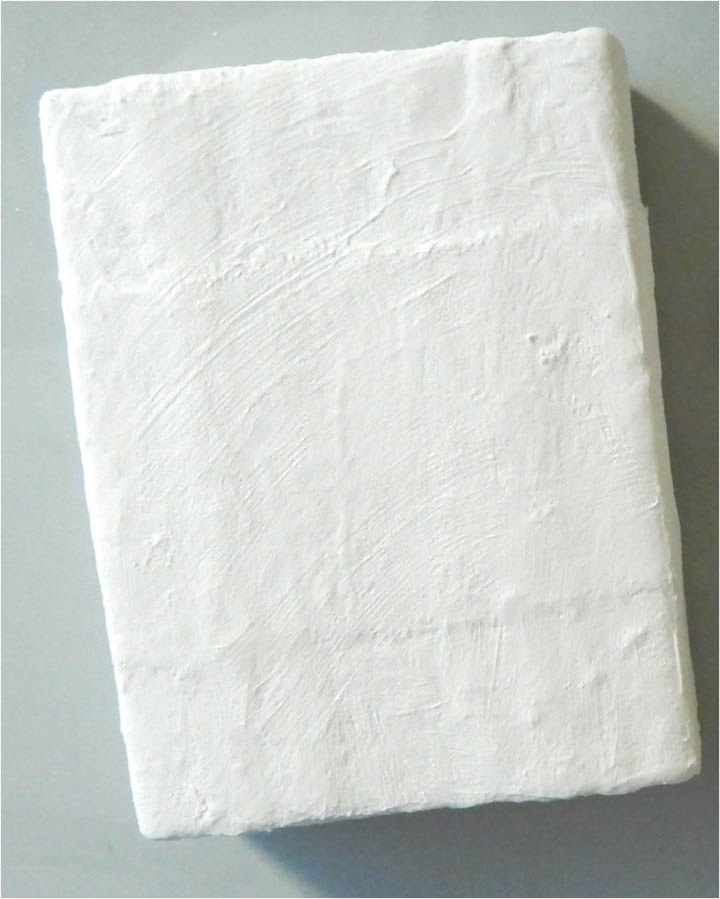
Allow the piece to dry for a whole day. The rate it dries will depend on the temperature of the room. The drier, warmer the room, the faster it dries.

Step 5
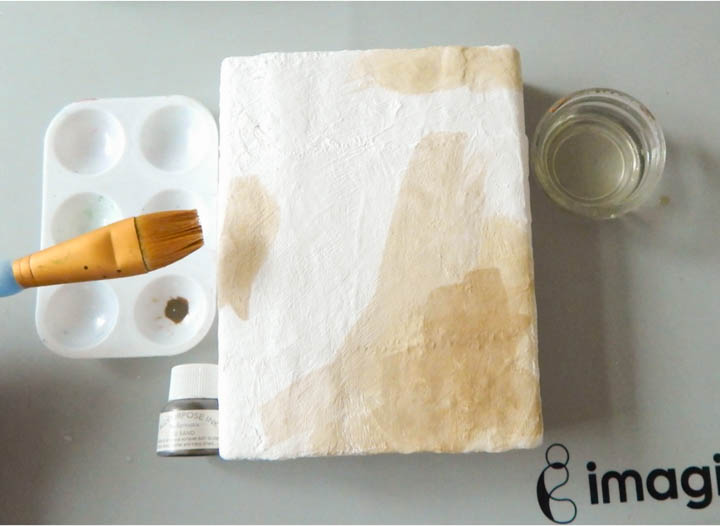
Brush on the Sand All-Purpose ink. Lay a little drop on the inkwell, dip the brush in water and brush onto the piece. Plater is highly porous, so a little goes a long way. The plaster will get activated, just a little. Dry the piece between each layer. The color will be lighter once dry.

Step 6
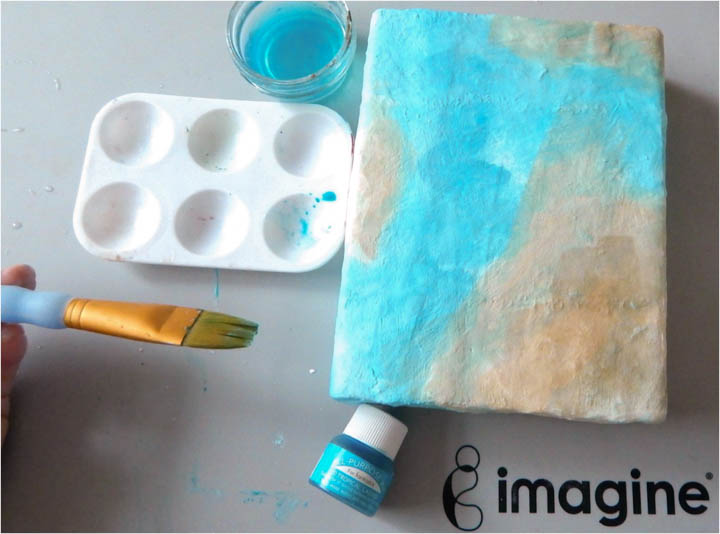
Brush on the Tropical Lagoon All-Purpose ink. Dry the piece with a heating tool or allow it dry naturally before stamping.

Step 7
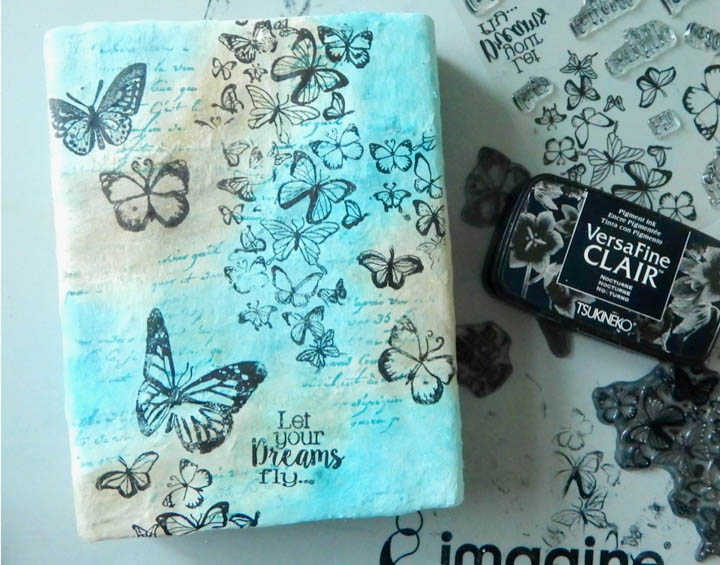
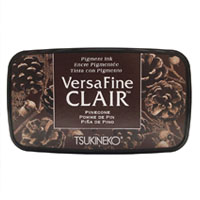
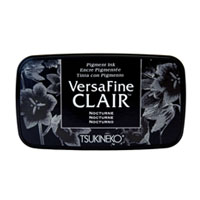
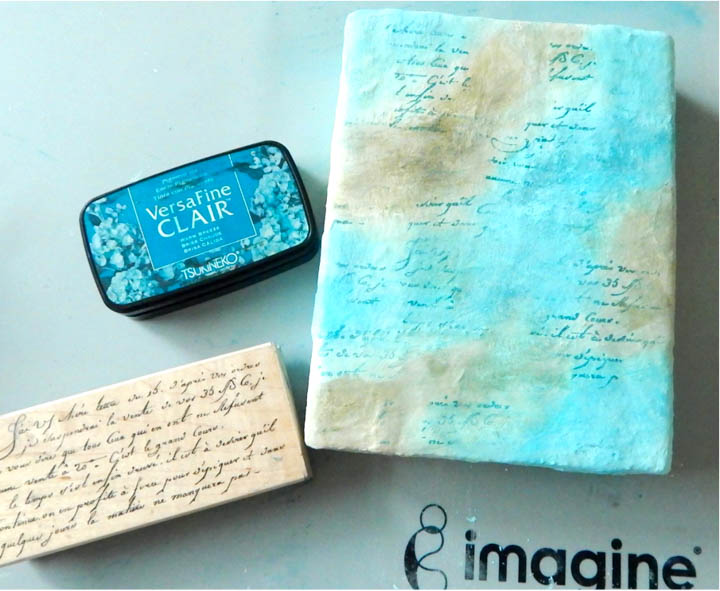
Stamp images with the Nocture VersaFine Clair. Despite smoothing out the plaster, you still have a little bit of an uneven surface; that is the nature of plaster cloth. I find that VersaFine Clair ink to be perfect for plaster. It’s highly pigmented, moist and it captures details very well, ideal for allowing the ink to get into the uneven surface easily. It is best to use unmounted stamps because it makes it easier for the stamps to go through the uneven surface by pushing the stamp into the surface with your fingers.
Supplies
Imagine
- Craft Mat
- All-Purpose Ink – Sand, Tropical Lagoon
- VersaFine Clair – Nocturne, Warm Breeze
Other
- Plaster Cloth
- Finished or Unfinished Wood
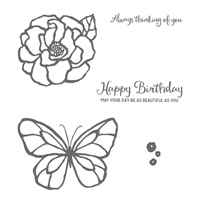
- Joy Clair – Butterfly Kisses stamp set
- Acrylic Block
- Mixing bowl
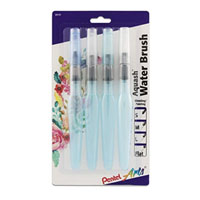
- Paintbrush
- Paint Palette