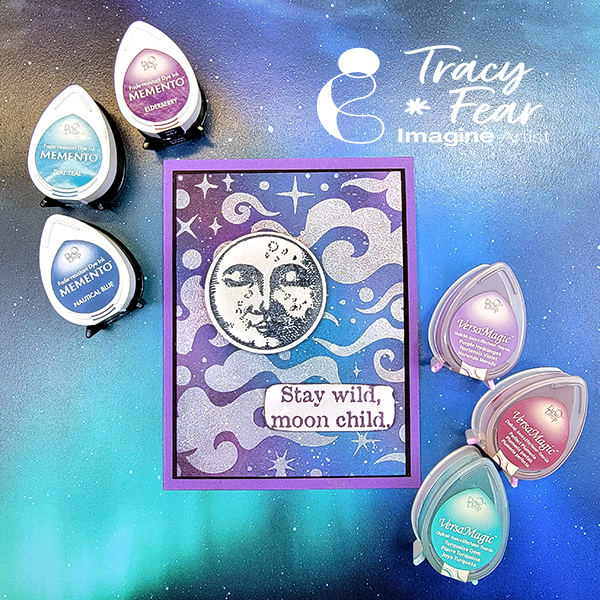
By Jessica Lin
Skill: Beginner
Time: 30 minutes
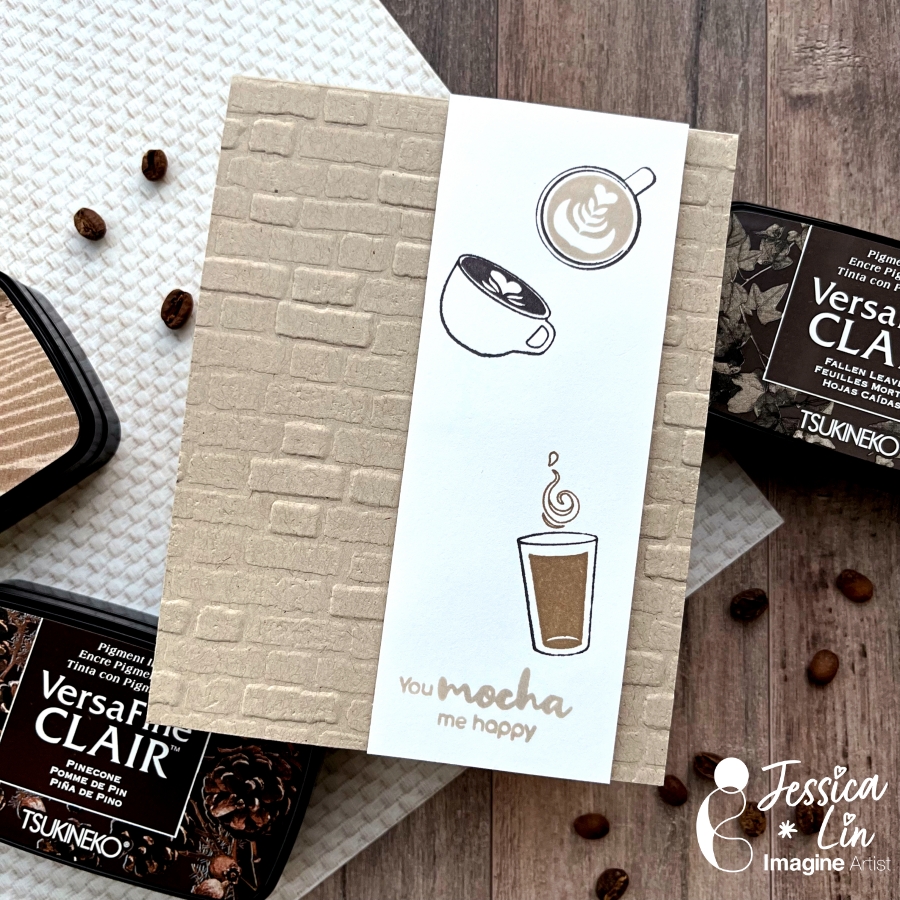
Hi everyone! It’s Jessica here. Today’s project is inspired by the Pantone color of this year – Mocha Mousse. It is such a warm, rich shade that is perfect for a coffee card! I decided to compare the different brown and earthy tones in the VersaFine Clair ink line as well. There are many options to choose from, and each is special on its own.
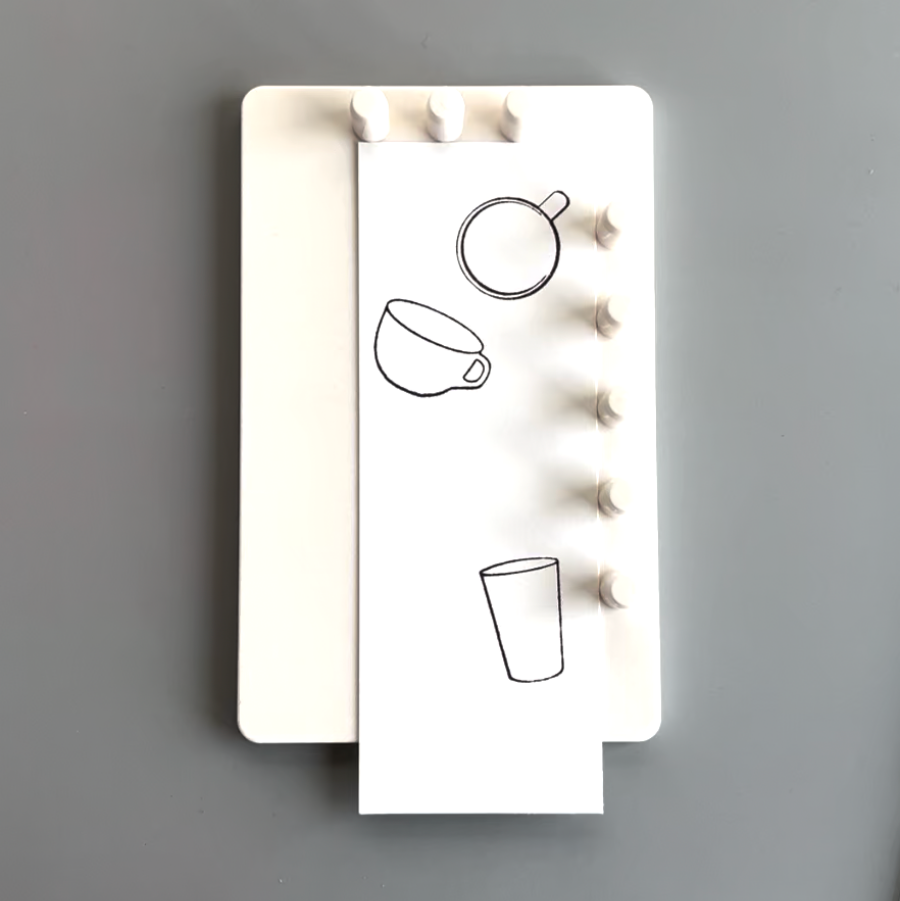
Step 1:
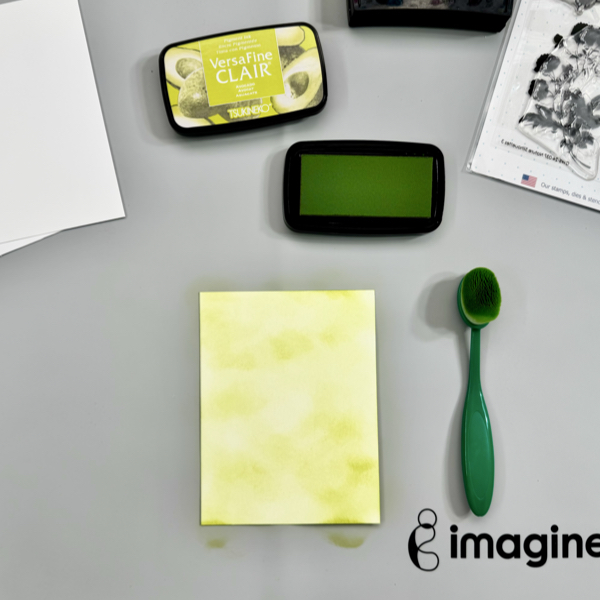
Today I will be using an acrylic stamp set from iCrafter. It is called Latte Coffee and has several sets of coffee cup images. Since the image outlines are superfine, I chose VersaFine Clair inks to stamp with to ensure crisp, clean images. I typically stamp the outline images with Nocturne (the black color of this ink line). However, when I was experimenting with the colors, I found that Fallen Leaves is a great alternative. The dark brown color adds more warmth than black and complements the other earthy tones well. I love VersaFine Clair inks and use them very regularly, but Fallen Leaves was probably the one I reach for the least. I think I will start using it to stamp outline images from now on!
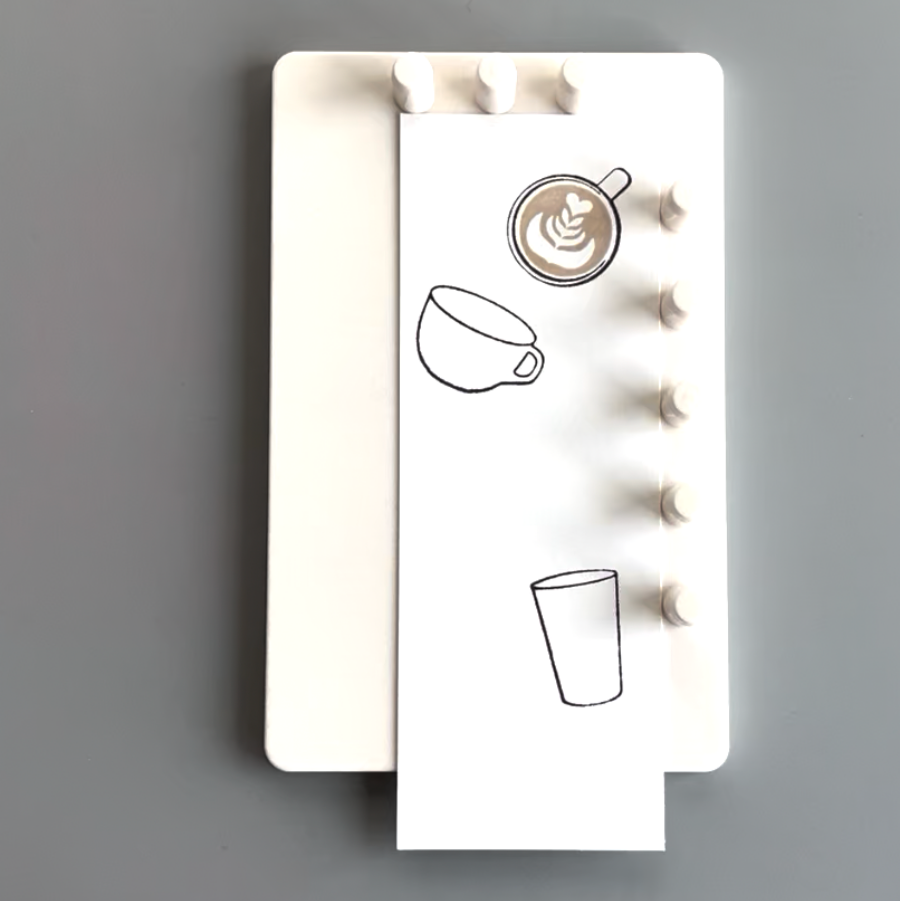
Step 2:
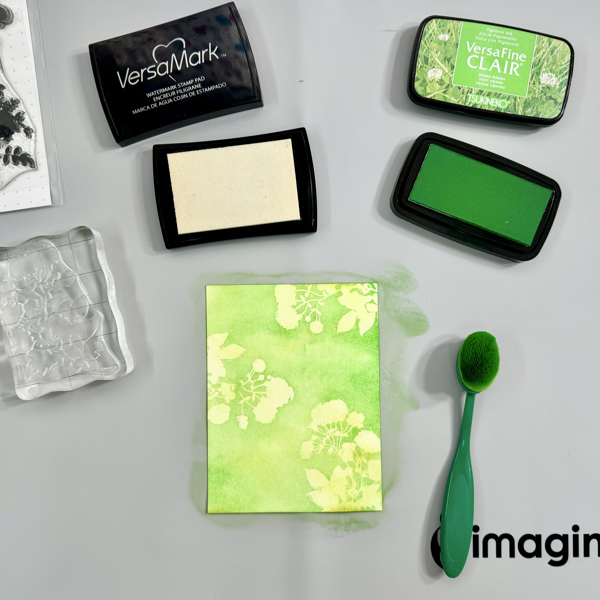
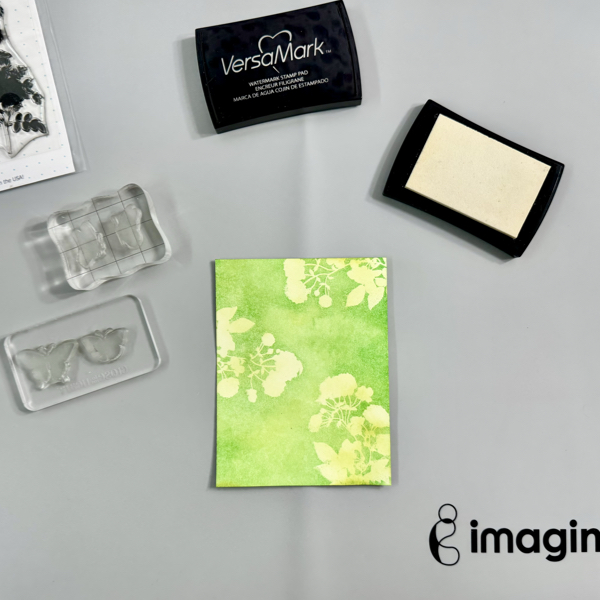
I used Sand Dune to stamp the first latte art image. This is one of the newer VersaFine Clair colors. I am really happy that they added a lighter earth shade to this collection.
Step 3:
For the second latte art stamp, I used Pinecone. This is also a rich, dark brown color. It is just a bit lighter than Fallen Leaves.

Step 4:
I used Acorn for the bottom coffee image with the swirl. It is a great middle-tone that completes the brown color gradient.
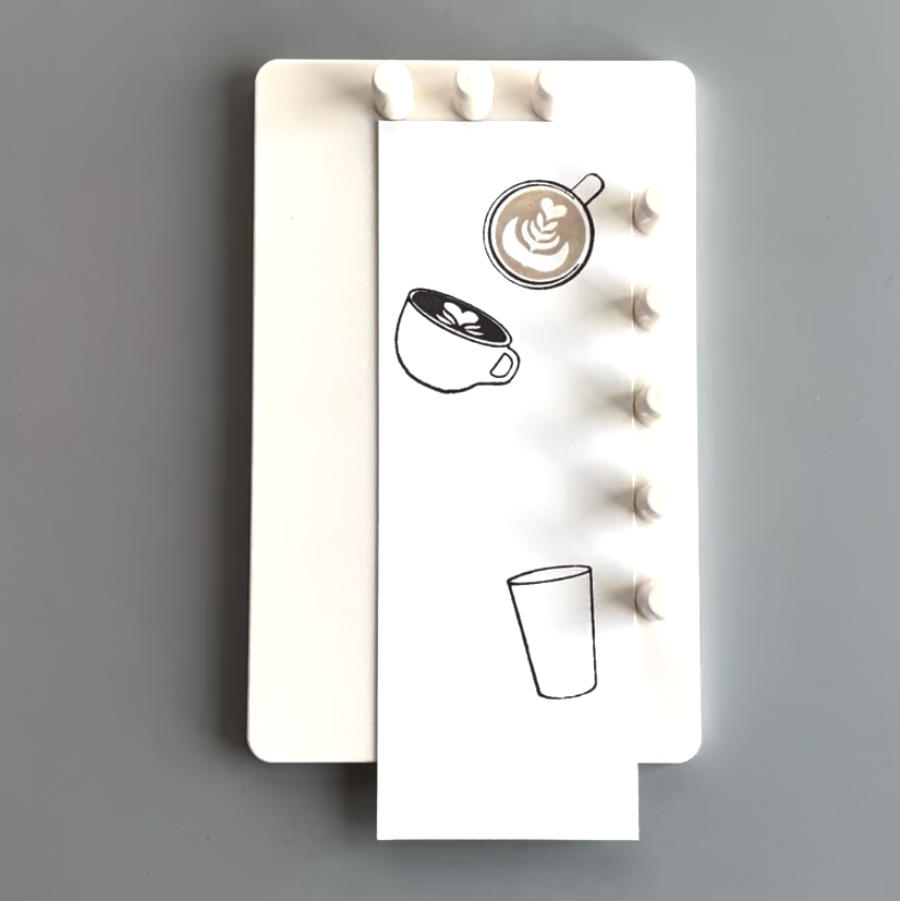
Step 5:
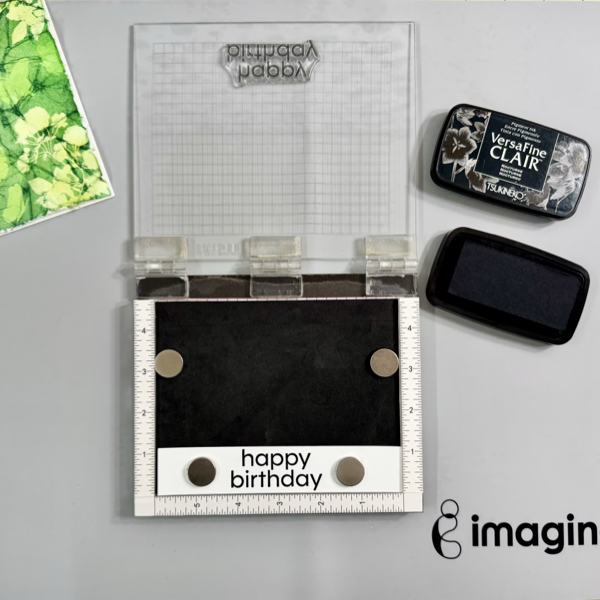
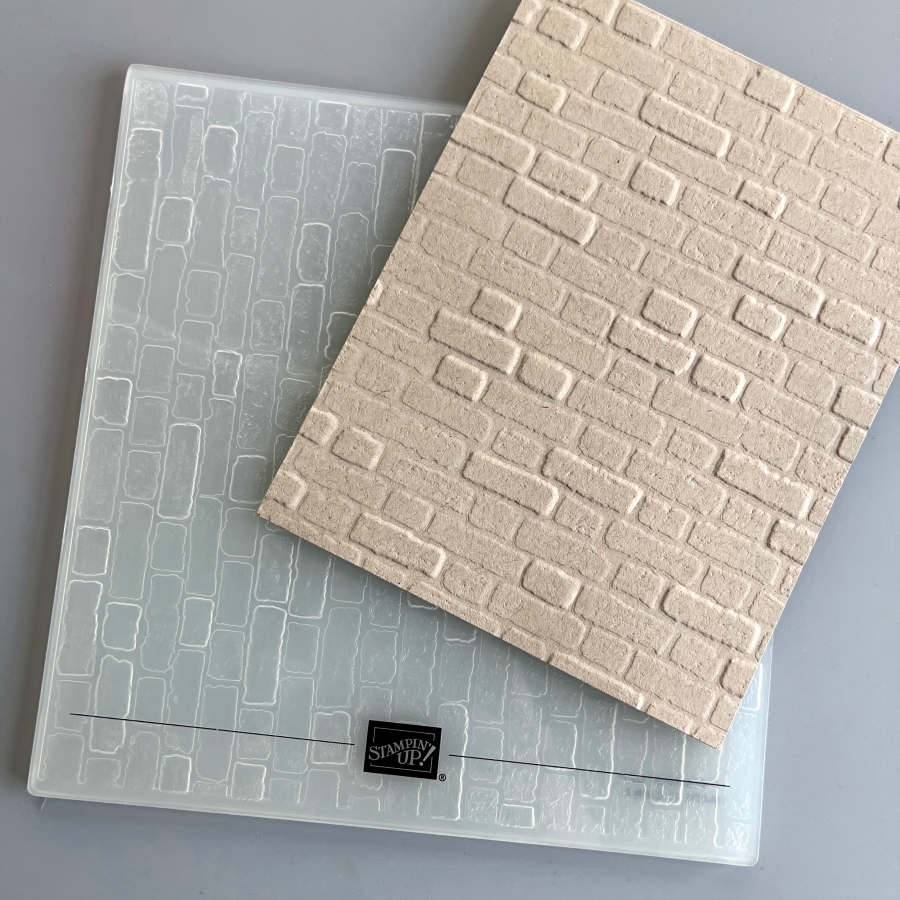
Today’s card is simple and beginner-friendly with easy layered stamping. However, you could also add a little flair by embossing the front panel of the card base. Embossing folders are easy to use and add such a great wow factor to your project. The one I am using today is called Brick & Mortar. I think it reminds me of the walls of a cute coffee shop!

Step 6:
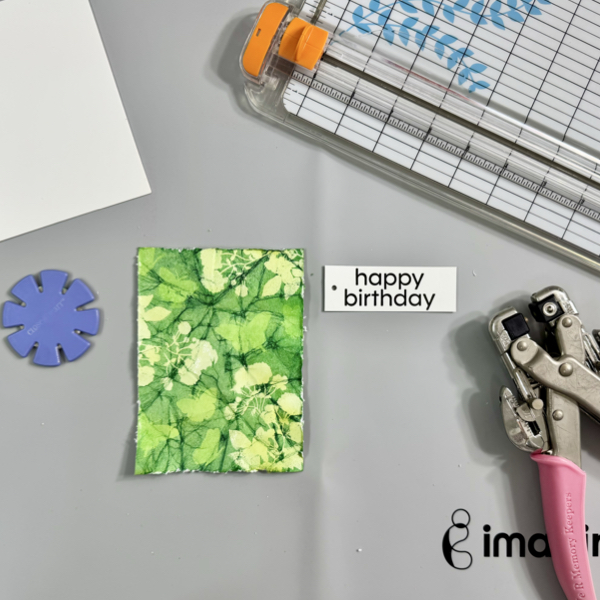
Finally, I stamped this super cute sentiment with Sand Dune, and that completes today’s coffee card!
Imagine Supplies:
Other Supplies:
- iCrafter – Stamps – Latte Coffee
- Stampin’ Up! – Embossing Folder – Brick & Mortar
- Foam Tape