Learn how to use StāzOn Pigment Ink with different substrates and mediums

by Lori Warren

Hello all, I am sharing with you some of the great benefits of using the new StāzOn Pigment ink. I really love this ink and love how it works with different surfaces. Before I get into demonstrating several options available, let me cover the basic information that Imagine has provided about this new product.

StāzOn Pigment:

  • Dries quickly on most surfaces
  • Works on all surfaces that original StāzOn does: paper, acetate, metal, glass and more
  • New felt pad produces crisp stamped images
  • Vibrant and opaque inks – these colors really pop!
  • Ergonomic, easy-to-open, air-tight case

StāzOn Pigment ink is available in 12 colors

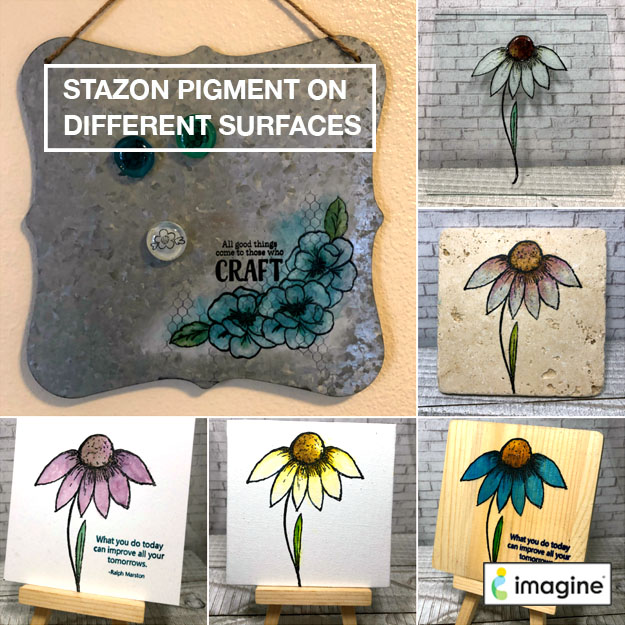
With the basics out of the way, let’s move on to see how well StāzOn Pigment ink works with other Imagine products as well as with different substrates and mediums. To best explore the crafty possibilities of this ink, let’s embark on a variety of explorations using StāzOn Pigment ink with different substrates and mediums. The 6 explorations below outline the manner in which StāzOn Pigment was applied, the different substrate(s) and medium(s) used, as well as provide a photo capturing the result.

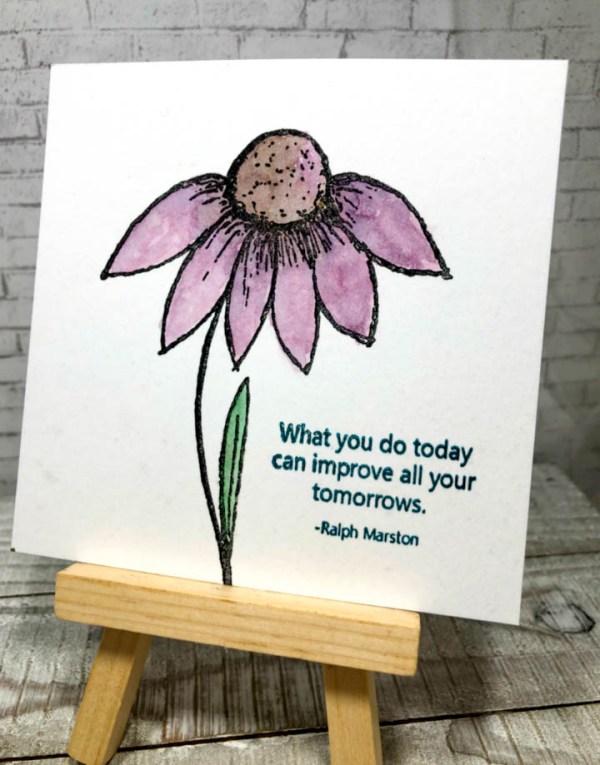
Exploration 1 – Paper

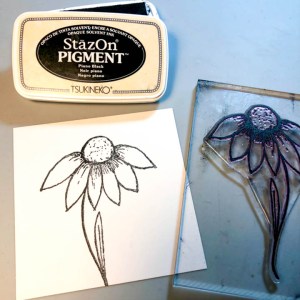
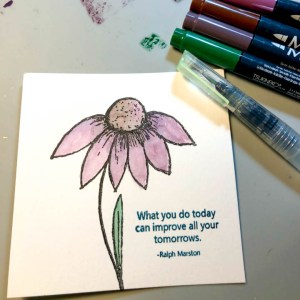
StāzOn Pigment: Stamped flower with Piano Black and saying stamped with Peacock Feathers.
Substrate: Strathmore Mixed Media Paper, vellum surface, 185 lb.
Medium(s): Watercolor with Memento Dual Tip Markers.
Additional Medium added, Sheer SHIMMER Craft Spray – Sparkle

Artist Observations: The StāzOn Pigment ink did not smear with the application of the wet watercolors, nice! Plus, the crisp stamped image really helped the image stand out.
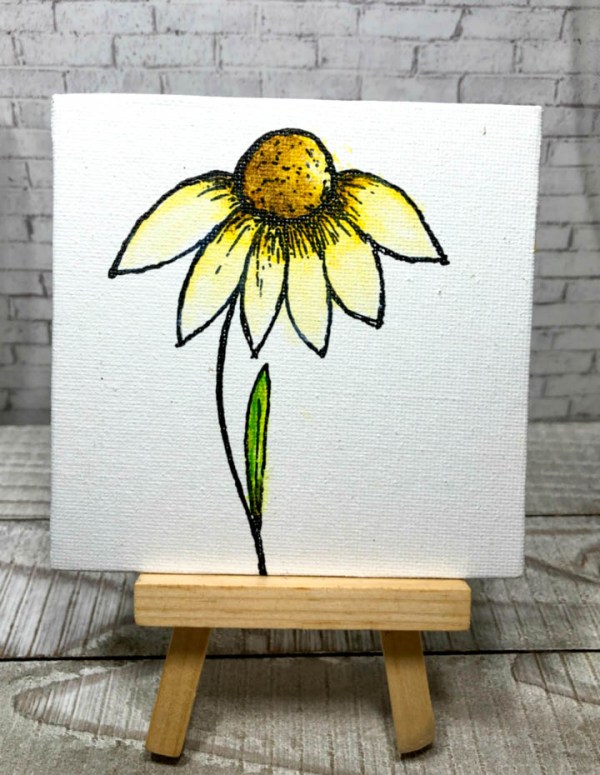
Exploration 2 – Canvas

StāzOn Pigment: Stamped flower image with Piano Black.
Substrate: Flat panel canvas, pre-treated with gesso
Medium(s): DecoArt Media Fluid Acrylics

Artist Observations: The StāzOn Pigment ink produced a vibrant stamped image that held up well against the acrylic paint. With the rough surface of the canvas, I found that a well-inked stamp and a little extra pressure was required to get a clean stamped image.
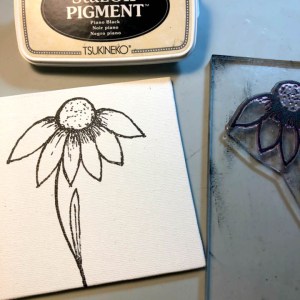
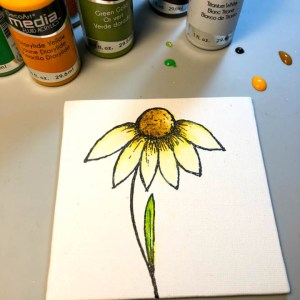
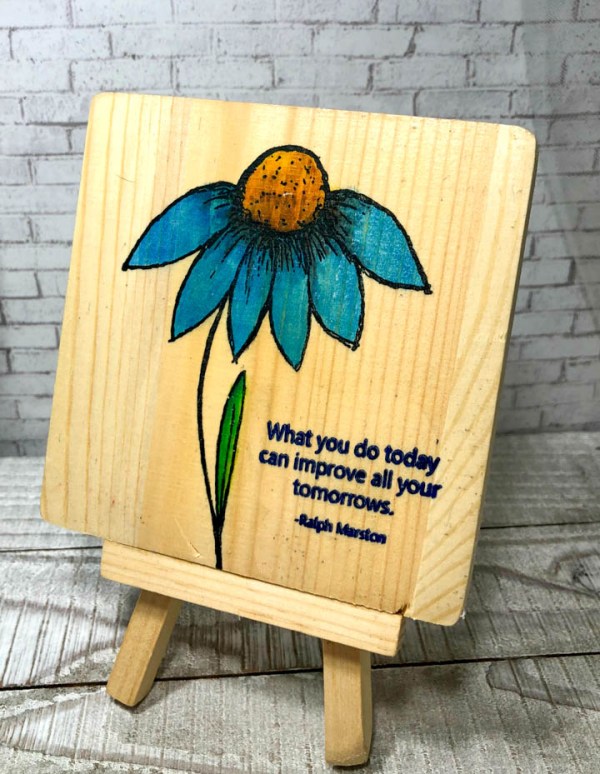
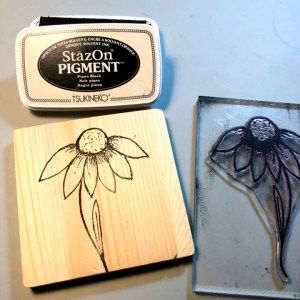
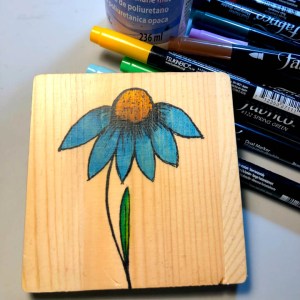
Exploration 3 – Wood

StāzOn Pigment: Stamped flower image with Piano Black.
Substrate: Untreated wood plaque
Medium(s): Fabrico Dual Makers with a DecoArt DuraClear Matte Varnish finish

Artist Observations: The StāzOn Pigment worked great on wood and didn’t smear with the application of the Fabrico markers.
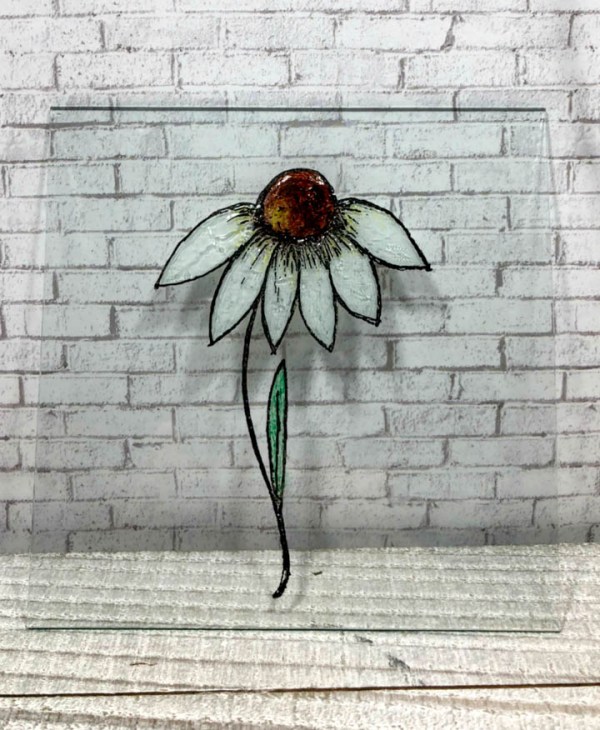
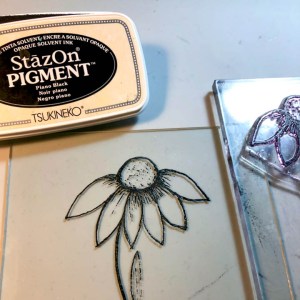
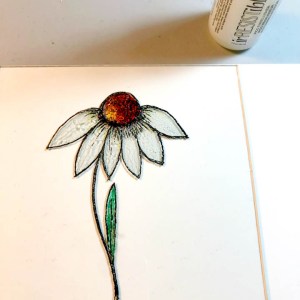
Exploration 4 – Glass

StāzOn Pigment: Stamped flower image with Piano Black. Floral image colored with Snowflake, Chocolate Brown, Lemon Drop & Shamrock Green using Doodlestix Mixed Media Tools.
Substrate: Glass
Medium(s): irRESISTible Pico Embellisher

Artist Observations: I love the permanency of StāzOn Pigment on the glass and the application of the ink with a DoodleStix Mixed Media Tool was super easy and effective. The challenge came with working on a slick surface; I had to keep a steady hand when stamping to obtain a clean image.
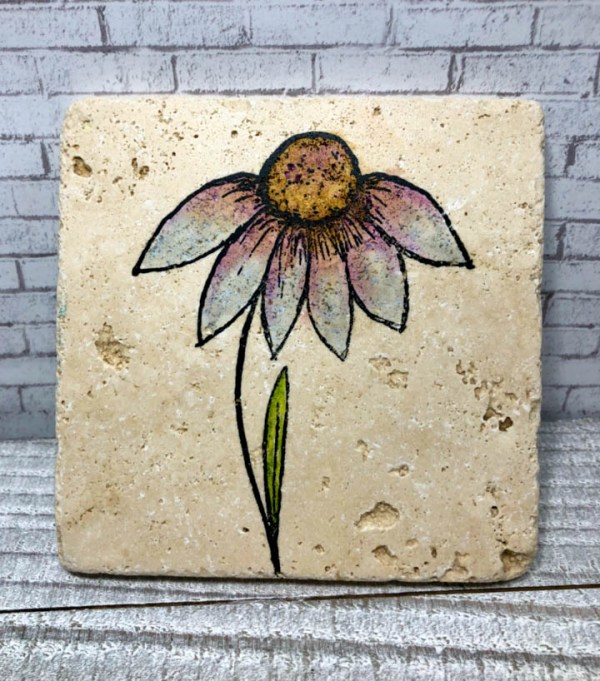
Exploration 5 – Tumble Stone Tile

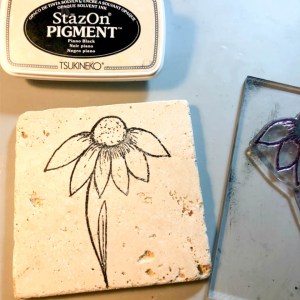
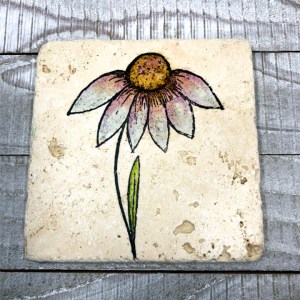
StāzOn Pigment: Stamped flower image with Piano Black.
Substrate: Tumble Stone Tile
Medium(s): Faber-Castell PITT Artist Pens w/DecoArt DuraClear Matte Varnish finish

Artist Observations: The StāzOn Pigment ink worked beautifully on the tumble stone tile. There was no smearing with the application of color with the Artist PITT pens or with the use of the varnish sealer.
Exploration 6 – Metal & Glass

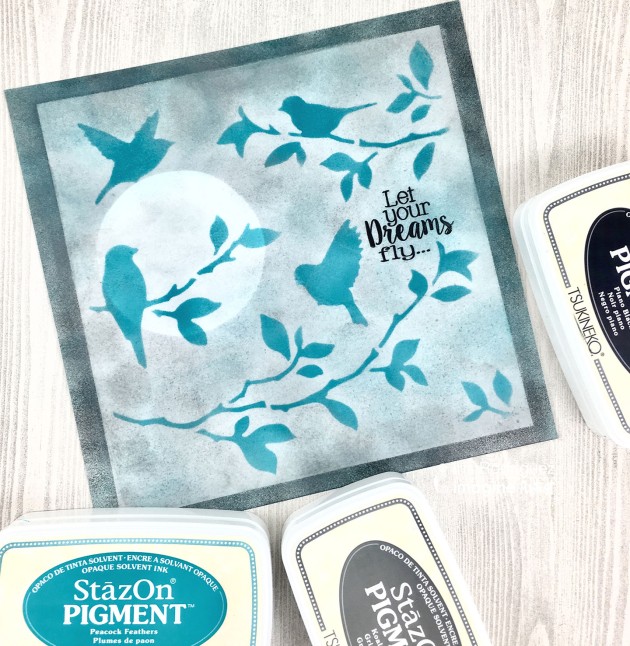
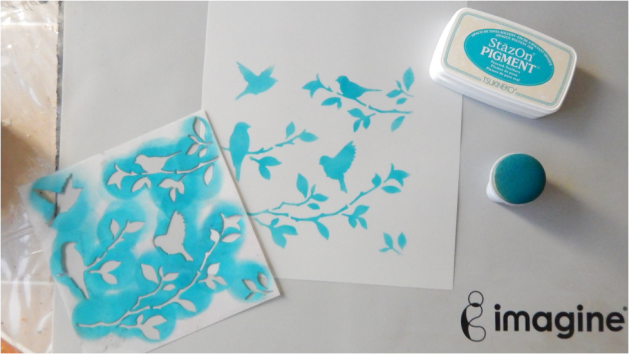
StāzOn Pigment: Stamped images with Piano Black. Peacock Feathers, Shamrock Green & Snowflake ink sponged onto surfaces with InkBlushers.

Substrate: Metal & Glass

Artist Observations:  Sponging and stamping onto Metal with StāzOn Pigment ink worked like a dream. Vibrant color and crisp images resulted in a beautiful project!
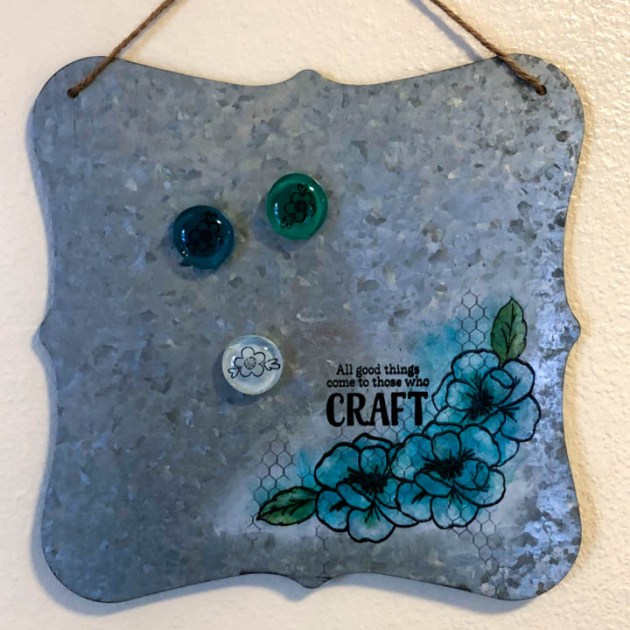
As these explorations demonstrate, StāzOn Pigment ink works very well on a variety of substrates resulting in crisp stamped images that dry quickly. It also holds up to different mediums without running or smearing. Not only can it be used as a staple ink to stamp images on a variety of surfaces (to be treated with different mediums), it works well as a strong stand-alone ink that you can use to create entire projects with (see Exploration 6 – Metal & Glass).

For a paper project using StāzOn Pigement as a stand-alone ink, visit “Create a Stamped Collage Using StāzOn PIGMENT Inkpad”.

Supplies

Imagine
Other
  • DecoArt DuraClear Matte Varnish
  • DecoArt MEDIA Fluid Acrylics
  • Faber-Castell PITT artist pens
  • Lori’s Cards & Creations Stamps, Cone Flower & Sketchy Rose
  • Echo Park Paper Co. Eat, Sleep, Craft Stamp
  • Water brush
  • Hobby Lobby Galvanized metal sign
  • Glass
  • Tumbled stone tile
  • Flat Panel Canvas
  • Wood plaque
  • Strathmore Mixed Media paper
See How to Make Clear Card Elements with StazOn Pigment Ink

by Lindsay Adreon

See How to Make Clear Card Elements with StazOn Pigment Ink

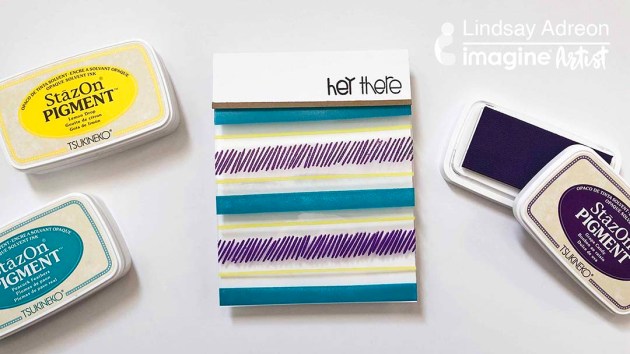
I love to send cards to people, but adding in unexpected touches is one of my favorite things to do! Today’s card has one of those surprises – a completely clear front! Using the new StazOn Pigment ink and acetate, I was able to create my own patterned acetate using Waffle Flower stamps to make the front of the card really unique!

Skill: Advanced
Time: 1 hour

Directions

Supplies

Imagine
craft matImagine Craft Mat stazon pigment inkpadStazOn Pigment in Piano Black
StazOn Pigment in Lemon Drop StazOn Pigment in Grape Candy
Other
  • Acetate
  • Waffle Flower – Plaid Play Stamp Set
  • Paper Smooches – Sentiment Sampler Stamp Set
  • Acrylic Block
  • Copy paper
  • Cardbase
  • Scissors or Cutting Tool
  • Foam Tape

How To Use StazOn Pigment Ink As A Resist

by Nadine Carlier

hello-butterfly-card-by-nadine-carlier-ic web

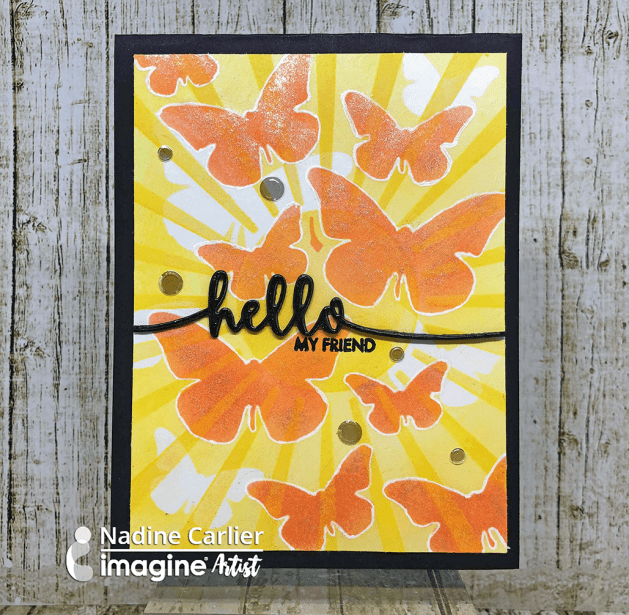
Did you know that you can use StazOn Pigment Ink as a resist with other inks like VersaFine Clair? Find out how by watching my video below.

Skill: Intermediate
Time: 30 minutes

Supplies

Imagine
Other

Visit our YouTube Channel for more inspirational videos and subscribe. Make sure to click the bell to get updates when we post new videos.

Learn How To Blend VersaFine Clair Inks

by Roni Johnson

Learn How To Blend VersaFine Clair Inks

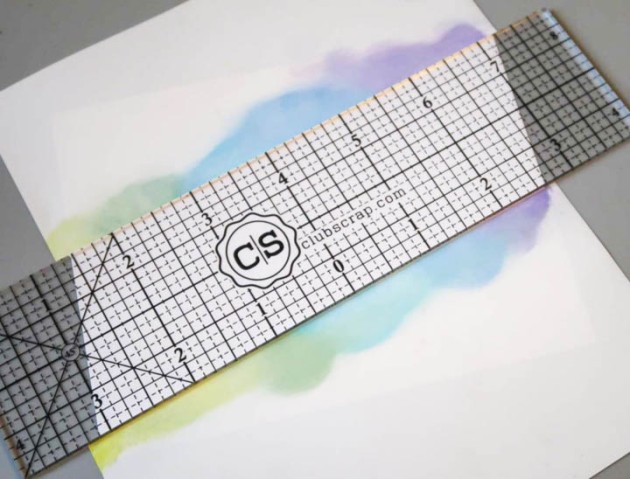
Sometimes colors speak volumes and Imagine’s Color of the Month for March does so for me…Peacock Feathers. I love the rich jewel tones found in peacock feathers from the brilliant greens, lush blues to the royal purple not to mention the amazing metallic glimmer thrown in for good measure. Mother Nature is amazing, isn’t she? I tried to keep all of this in mind when creating a project to share with you. I decided to use one of my favorite techniques, color blending paired with the lovely VersaFine Clair inks, I think I came pretty darn close. I hope you enjoy!

Skill: Intermediate
Time: 45 minutes

Directions


Step 1

Mask off the area that you would like to color. I have used JudiKins Eclipse Masking Tape but you could just as easily use scrap paper secured with washi tape or something similar. I wanted the colors to be bold like a peacock so I chose to work with a 2” wide area to ink.


Step 2

Begin applying the ink to the paper using a Sponge Dauber. I like to work from lightest to darkest but that’s up to your personal preference. In this instance, I began with VersaFine Clair in Verdant (bright spring green).


Step 3

VersaFine Clair in Shady Lane (darker green) is the next color in the lineup. Apply the ink beside the previous color, save the overlapping and blending till the end.


Step 4

VersaFine Clair in Paradise (cyan blue) is applied next.


Step 5

VersaFine Clair in Blue Belle (darker blue) is the 4th color added.


Step 6

VersaFine Clair in Fantasia (darker purple) is the 5th and final color added to the peacock feather stripe.


Step 7

It is time to go back and blend the colors together. To do so, look at your colors in pairs; use the lighter of the two colors to blend them both together. In this case, I am using the Blue Belle Sponge Dauber to blend Fantasia and Blue Belle together.


Step 8

Once you are satisfied with the blending, remove the masking tape (scrap paper).


Step 9

Spray the card panel with Sheer Shimmer Spray in Sparkle and let it dry completely.


Step 10

Sprinkle a few drops of All-Purpose Ink in Vegas Gold on the Craft Mat; add a couple drops of Ink Potion No. 9 (or water) to the ink and mix. Use a paintbrush, toothbrush or another tool to flick the ink over the card panel.


Step 11

Stamp a sentiment such as “hello” and a peacock feather image using VersaFine Clair Nocturne inkpad. Mat the Peacock Feather panel with Violet and Sapphire Starstruck Rinea Foiled Paper; affix to a white card base.

Supplies

Imagine
Other
  • JudiKins Eclipse Masking Tape
  • Just For Fun Rubber Stamps – Peacock Feather
  • Paper Smooches – “Hello” sentiment
  • Rinea Foiled Paper – Violet Starstruck, Sapphire Starstruck
  • Silicone Baster
  • White Card Base

Learn How To Upcycle Old Computer Parts Into A Beautiful Collage

by Jowilna Nolte

Learn How To Upcycle Old Computer Parts Into A Beautiful Collage

StazOn ink has always been one of my favorite for mixed media projects, but the addition of StazOn Pigment has been a true game changer. I used the ink on several surfaces for this Teal and Magenta upcycled project, and I simply love the outcome of the StazOn Pigment ink on these surfaces.

Skill: Intermediate/Advanced
Time: 30 minutes

Directions


Step 1

Ink the resin wings using a sponge dauber with StazOn Pigment Peacock Feathers.


Step 2

Ink a metal disk by lightly tapping the ink pad onto the metal repeatedly. I did not cover the entire surface but left some open spaces.


Step 3

Once the ink on the disk is dry, stamp flower images onto the disk using Snowflake StazOn Pigment ink. Note: The ink pulled some of the pink ink off the metal leaving a silver flower impression which looked quite amazing.


Step 4

Die-cut white cardstock leaves and color them using your ink pads with the direct to paper method.


Step 5

Color flowers using All-Purpose inks on choice.


Step 6

Adhere the die-cut leaves, wings, and flowers to your metal disk using gel medium. Add thread, gold glitter, and other elements to finish off your project.

Supplies

Imagine
Other
  • Metal disk – recycled hard drive part
  • Joy Clair stamps
  • Flowers – Little Birdie, Prima
  • Scrap and Decor – Resin Wings
  • Prima – Leaf die-cut
  • Die-cut machine
  • Kaisercraft – DIY Cuts
  • PrimaGel – Gold glitter
  • Little Birdie Crafts

Create a Fun Birthday Card with StazOn Pigment Ink

by Melissa Andrew

Today, I share with you a fun bubble gum theme birthday card using StazOn Pigment ink and the new Sheer Shimmer Stix. This theme features a simple gumball machine stamp and a fun candy pattern cardstock. I love the new StazOn Pigment ink as you can stamp on so many glossy surfaces. However, today I show you how fabulous it is on dark cardstock such as this lovely chocolate brown. Most of the time I reach for embossing powder for dark card, but not anymore, StazOn Pigment Snowflake works FABULOUSLY!

Skill: Intermediate
Time: 15 minutes

Directions

Supplies

Imagine
Other