Call for Imagine Design Team for 2020

Imagine is proud to announce its call for Imagine’s Design Team for 2020! We are looking to change things up this year and are looking for artists and designers who can inspire the next generation of beginning crafters with amazing projects using Imagine and Tsukineko products.

We are looking for 5 energetic video artists to fill two different roles for 2020:

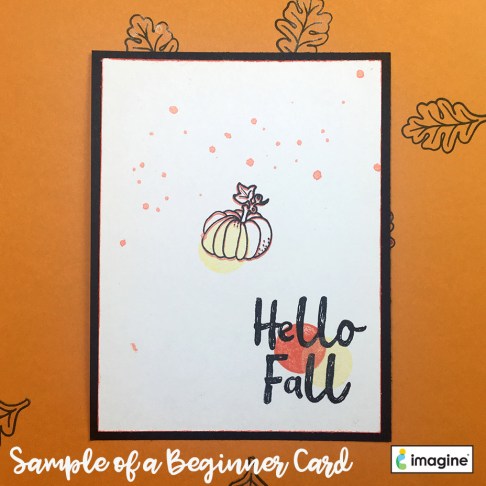
3 Beginner Crafters Project/Tutorial Artists who will submit 2 edited videos per month featuring a quick and easy project and/or technique intended for the beginning level crafter. We intend these projects to look simple, clean and easy to complete in 3-4 steps. See our Blog for an example.
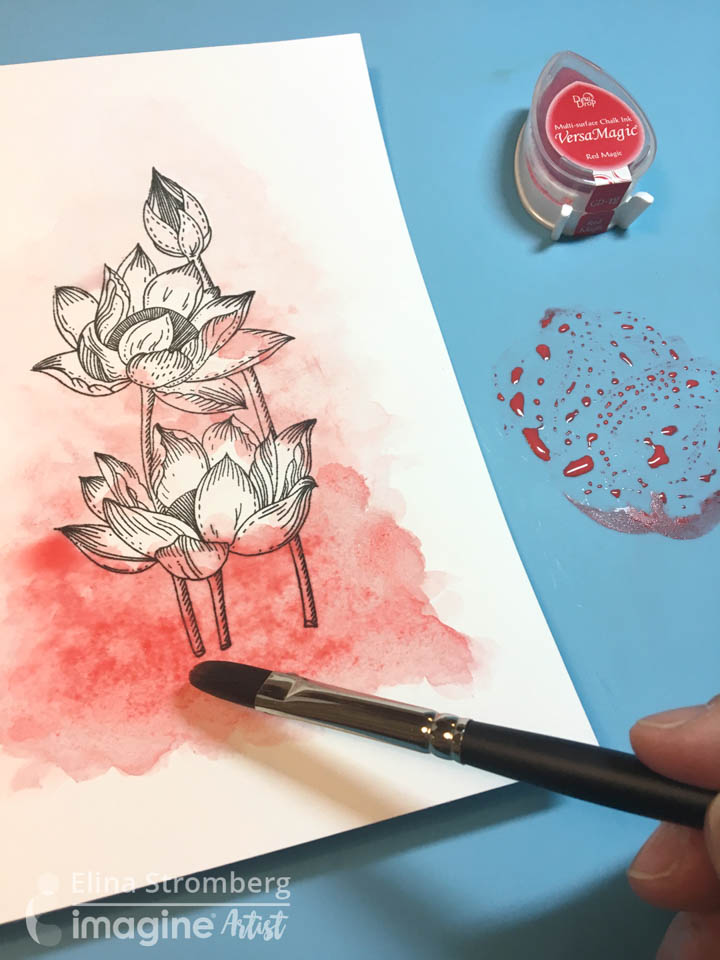
2 Intermediate to Advanced Technique Artists who will submit 2 edited videos per month featuring a crafting technique or how-to project intended for all crafters. We intend these projects to look simple, clean and able to complete in 5-8 steps.
Basic requirements:

  • Commitment of one year — January 1st, 2020 – December 31st, 2020.
  • Ability to professionally photograph, film, edit and submit high-res JPG images and video.
  • Submit clearly written and detailed descriptions in English for each project, including a list of supplies.
  • Socially active online with an established blog and Facebook or Instagram presence.
  • Not currently employed and/or affiliated with competing manufacturers including as a design team member, guest designer, etc.

Perks:

  • Exposure of your work 
  • Generous supply of Imagine and Tsukineko products
  • Opportunities to grow your stash with the product from Imagine’s preferred partners.
  • Links back to your blog or website

Show Us Your Artwork!

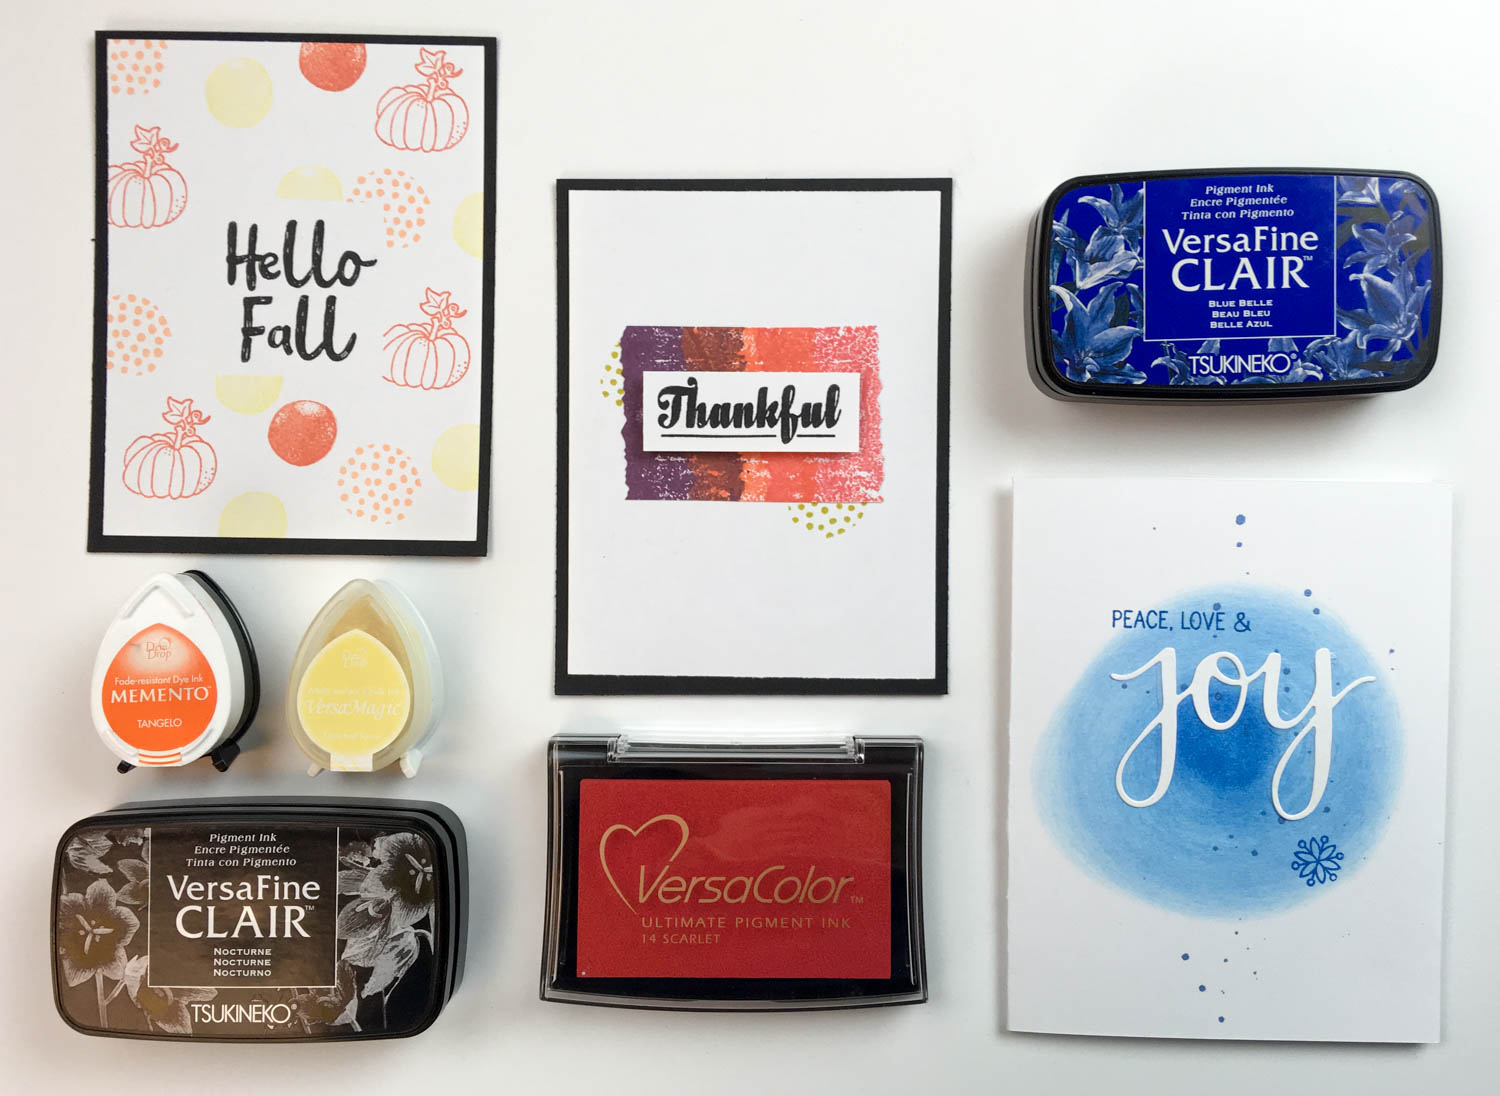
Show us just how creative you are! Make a project using Imagine or Tsukineko products. We are looking for clean and simple papercrafting or art projects that reflect a modern aesthetic.
Submission Process for Round 1

Send your submission to marketing@imaginecrafts.com with the subject line of “DesignTeam Round 1 <your name>”. Your email must include: which role you are applying, name, mailing address, phone number, email address, your personal blog and/or website address, and two links to video content of your work, a 700px wide jpg of your original artwork. Please name your photograph “DesignTeam_<your name>_2020.JPG” 

Round 1 submissions are due by 11:59pm Pacific Standard Time on Thursday, November 7th. Those artists who will be continuing on to the next round will be contacted by Wednesday, November 13th with further instructions.

Quick & Easy: Create a Simple and Beautiful Collage on a Wooden Leaf


by Lori Warren

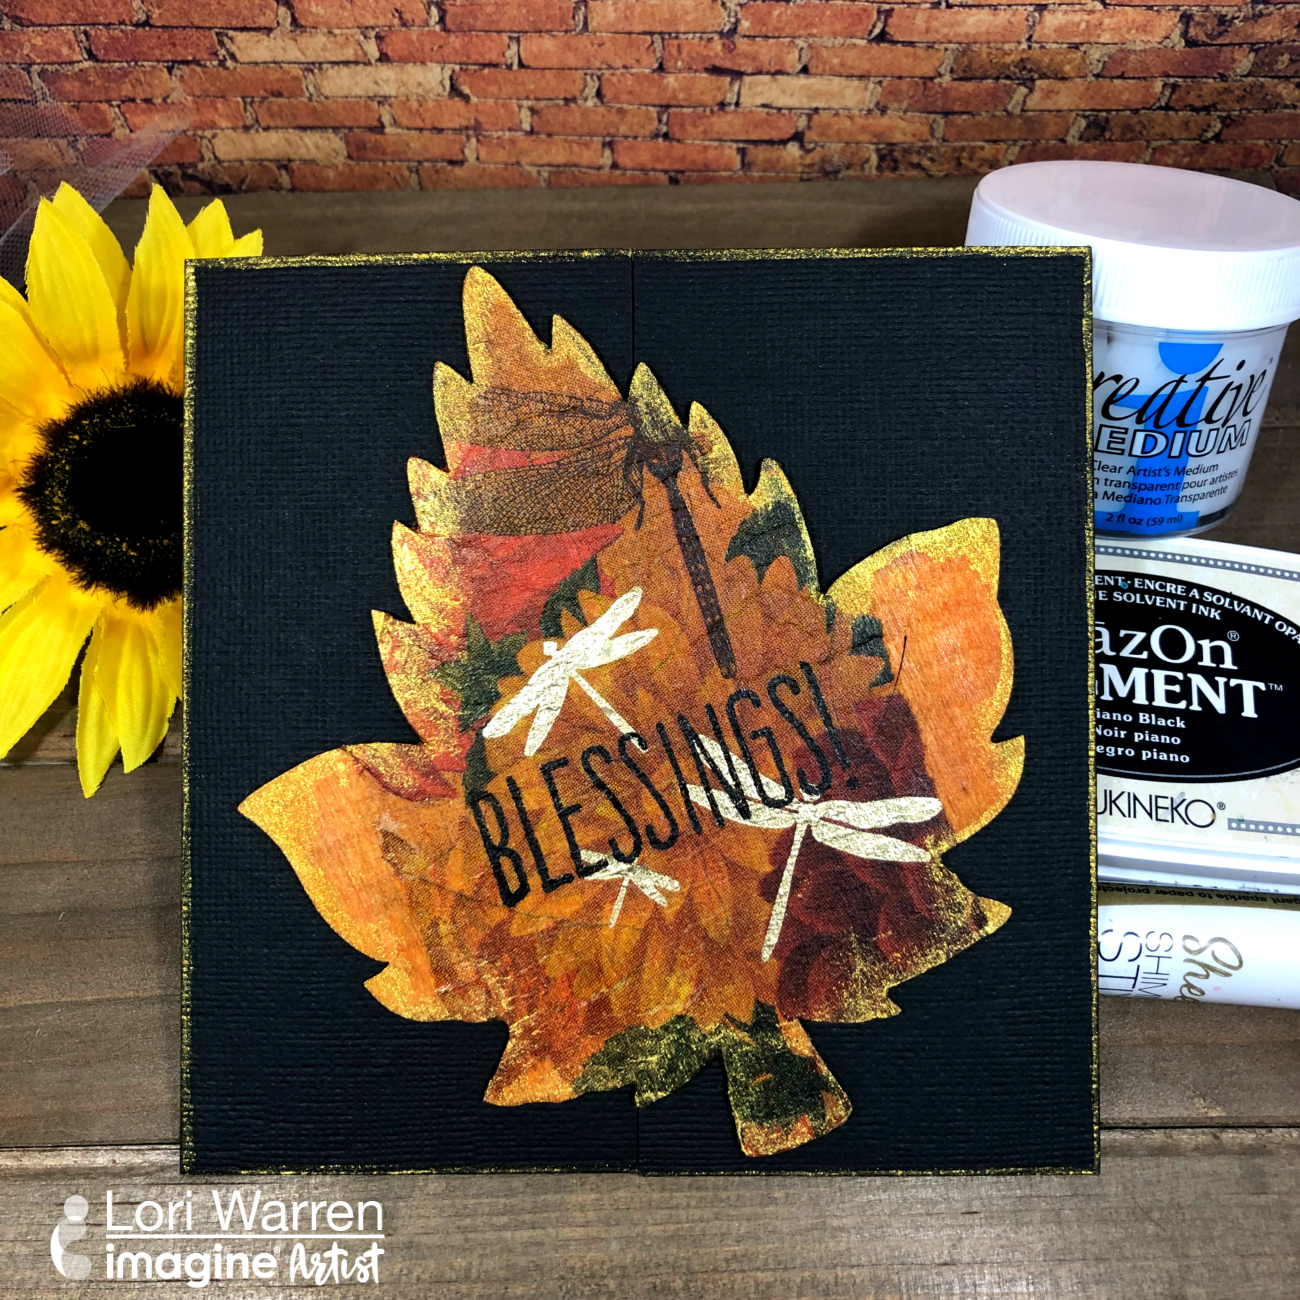
New to collage and mixed media?  Then this project is for you! Create a simple and beautiful collage on a wood leaf that can be used in card making and home décor projects.


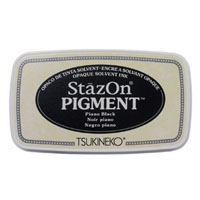
StazOn Pigment
in Piano Black

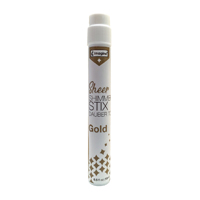
Sheer Shimmer Stix in Gold

Tissue Paper

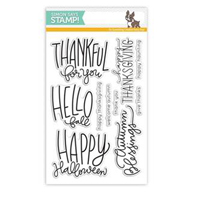
Stamp Set

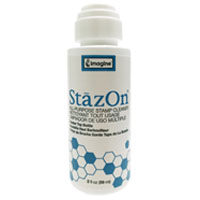
StazOn Cleaner

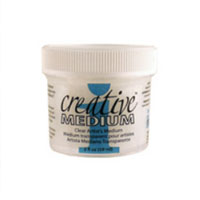
Creative Medium

Wooden Leaves

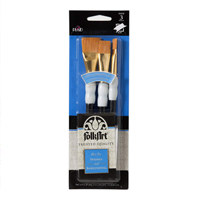
Flat Paint Brush

Directions

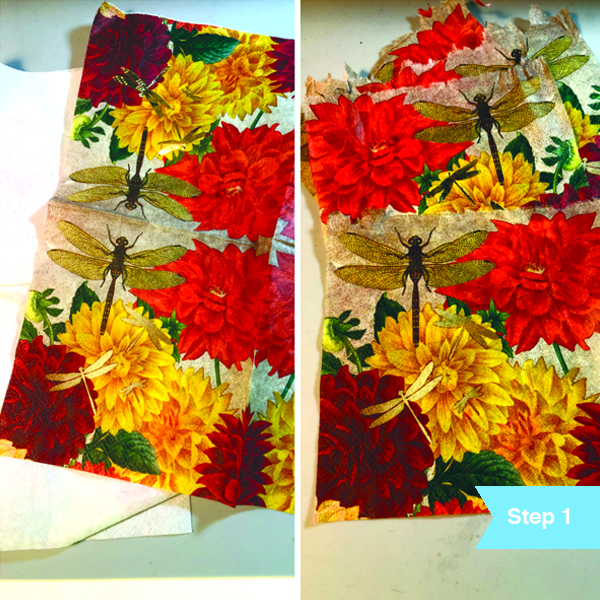
Separate the top layer of a patterned paper napkin and tear it into large sections. The thin tissue paper is perfect for this project.

Using a flat paint brush, adhere the torn napkin pieces to wood leaf with Creative Artist Medium in Clear. Creative Medium is a light acrylic paste and can perform a lot like Modge Podge paste for this collage. What makes Creative Medium different than Mod Podge is that it is thick enough to form a stiff structure as well. So if you are using Creative Medium with a stencil then the shapes of the stencil will maintain their shape. Paint the Creative Medium layer on the wood shape first. Then lay the tissue paper down and apply another layer on top of the paper. Allow drying.

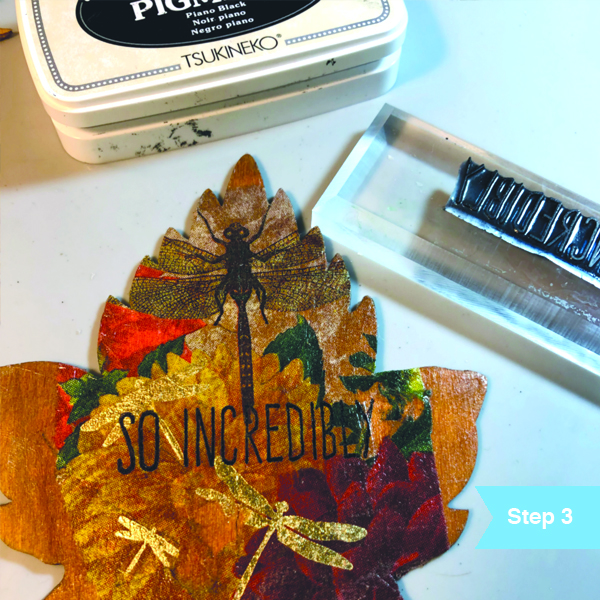
Stamp a fall theme saying or sentiment onto the leaves with StazOn Pigment in Piano Black. Use the StazOn stamp cleaner to clean your stamps once you are finished. Since the surface has the Creative Medium layer StazOn is the best choice here. Other ink brands might rub off or smear.

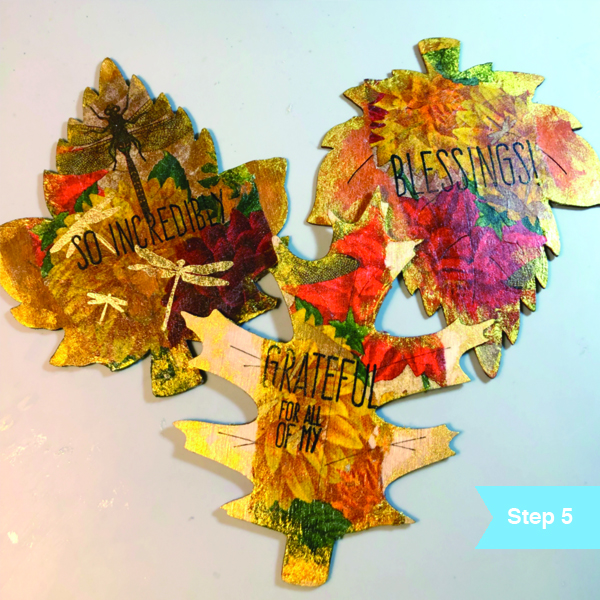
Apply Gold Sheer Shimmer Stix to edges of the leaf. The Shimmer Stix is a dauber top applicator and needs to be shaken well before use. The liquid shimmer should apply much like a marker. Test on a separate piece of paper before applying.

Repeat the process with different leaf-shaped.

Color of the Month for October is Chili Pepper

Color of the Month for October is Chili Pepper

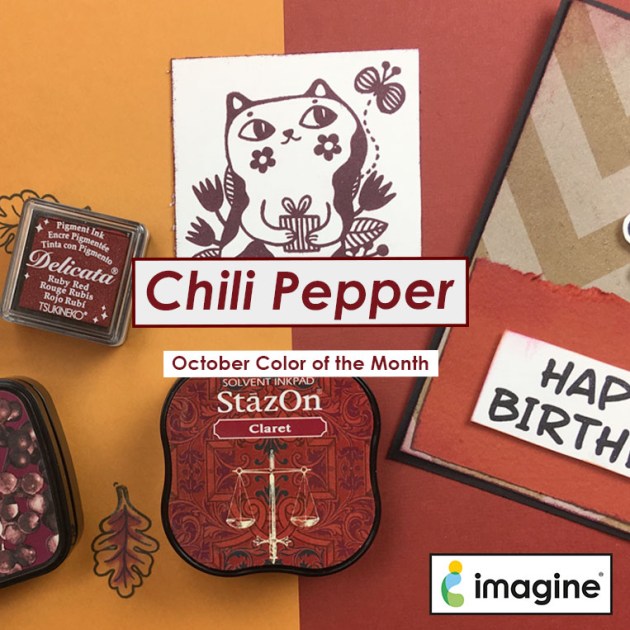
Color of the Month for October is Chili Pepper! We see this color as a rich dark red. This richness can be a true red with a hint of brown. We feel that the Fall is a great time to indulge in warm rich colors and this is the perfect match. Some of our ink brands that represent this color are StazOn in Claret, Delicata in Ruby Red, Memento Ink in Rhubarb Stalk and VersaFine Clair in Chianti.

We challenged our artist with this beautiful color as well as the use of Fabric in their projects. So stay tuned for crafty goodness this month.

Here is a Sneak Peek!

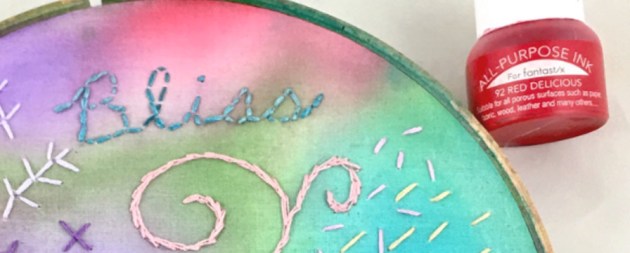
Embroidery Hoop Colored with All-Purpose Ink by Iris Rodriguez

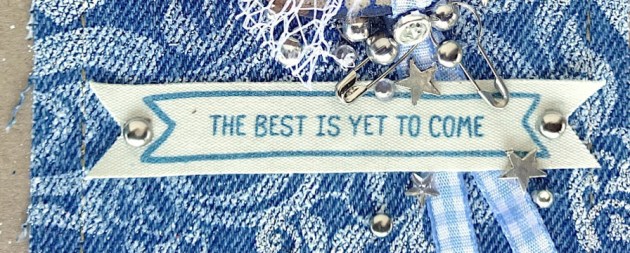
Denium & Stamping on Fabric by Kyriakos Pachadiroglou

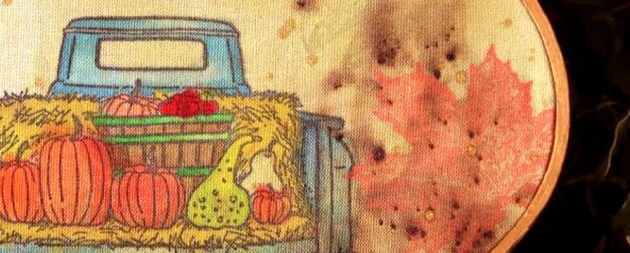
Farm Harvest Stamp on Fabric by Roni Johnson


Learn How to use Creative Medium to make a Mixed Media Tag

by Arjita Sepaha Singh

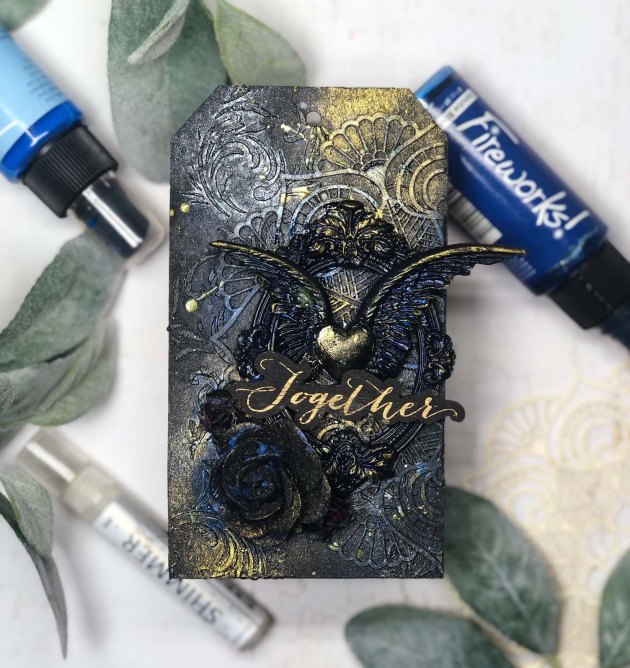
For today’s mixed media tag, I used Imagine mixed media products. I took the chipboard tag and added Black gesso to get a nice dark base. Then I took a stencil and Creative Medium to add a beautiful flourish. I also added decorative chipboard cutouts, resin pieces (heart with wings) and paper flowers to my layout. Creative medium is a great adhesive for adhering all my unique pieces onto the tag. Once everything was dry, I added the beautiful Fireworks Shimmery Craft Spray and Golden Delicata ink to give this creative gift tag extra sparkle and shine. The shimmer products are especially bright on dark backgrounds and take on a new life!

Skill: Intermediate/Advanced
Time: 30 minutes + dry time

Directions

Supplies

Imagine
Other
  • Chipboard
  • Stencil
  • Chipboard design
  • Resin Pieces
  • Paper Flowers
  • Black gesso
  • Paint Brush

Learn How to Transform Paper Flowers with Mboss, Ink, and Shimmer Sprays

by Jessica Lin

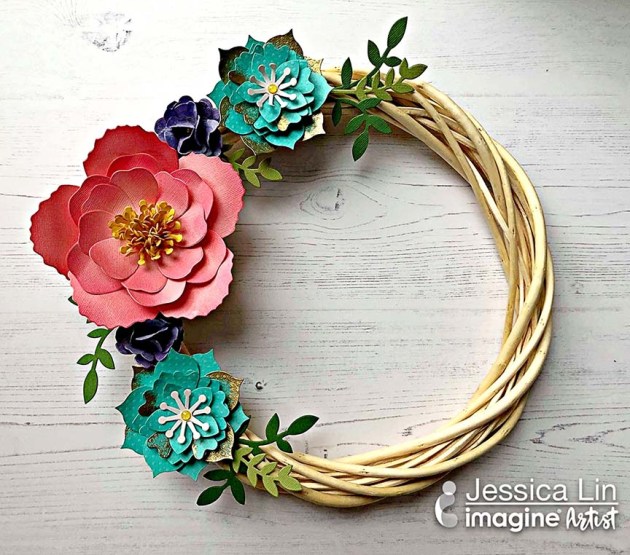
Hi everyone! Have you been enjoying the 3D projects for this month so far? I hope you are! Today I have a floral wreath project to share with you. Besides showing how you can assemble your own paper flowers, I’m also teaching you 3 ways to transform your die cuts! The before and after is as different as night and day and the extra steps definitely bring the flowers to life. Be sure to check out the video and see it for yourself!

Skill: Intermediate
Time: 1 hour (depending on the number of flowers)

Directions

Supplies

Imagine
Other
  • Wreath
  • Glue Gun
  • EK Success Anti-static Powder Tool
  • Stampin’ Up – Flower Frenzy Bigz L Die, Bouquet Bigz L Die
  • Cardstock – pink, teal, purple, green, yellow, white

Learn How to Create a Quick and Easy Sour Cream Container Craft

by Martha Lucia Gomez

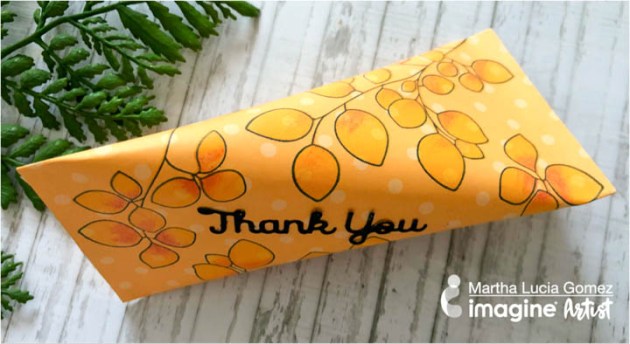
Hello friends! Today I have a quick package, normally called ‘Sour Cream Container’ shape. I created it with designer paper and added an extra special touch with Versa Magic Inks. I selected a two-step stamp from Altenew, the Leaf Canopy stamp set. It includes the lineal and solid images but this idea can be made with any type of stamps.

Skill: Intermediate
Time: 15 minutes

Directions


Step 1

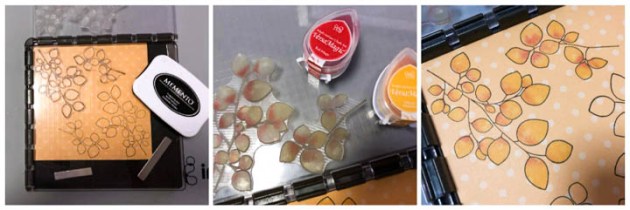
Stamp, with Memento Tuxedo Black Ink, the lineal stamp using a stamping tool over a yellow piece of designer paper of 6″x 6″ size.


Step 2

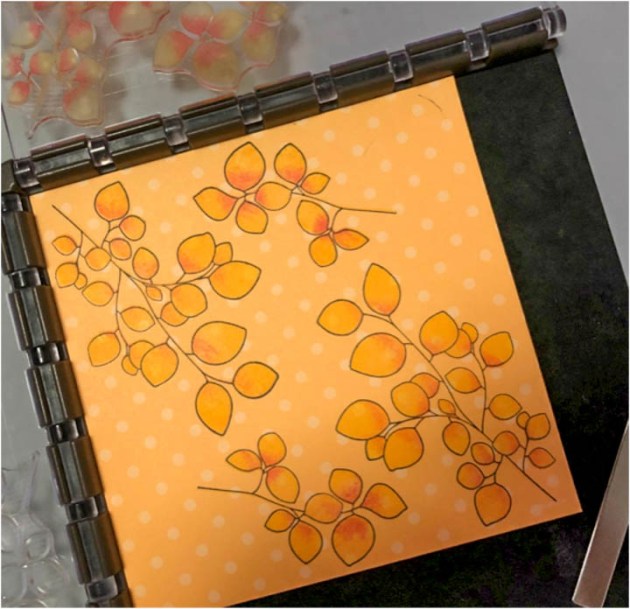
Remove the lineal stamp and place the solid stamp over the lineal stamp and pick up with the acrylic door. Ink the solid images entirely with Mango Madness VersaMagic Ink and stamp. Ink up a few touches on the insides of the leaves with Red Magic VersaMagic Ink and stamp. I used the DewDrop inkpads in VersaMagic because with the teardrop shape it is very easy to add the selective color to the images without getting the second color accidentally over the whole image.


Step 4

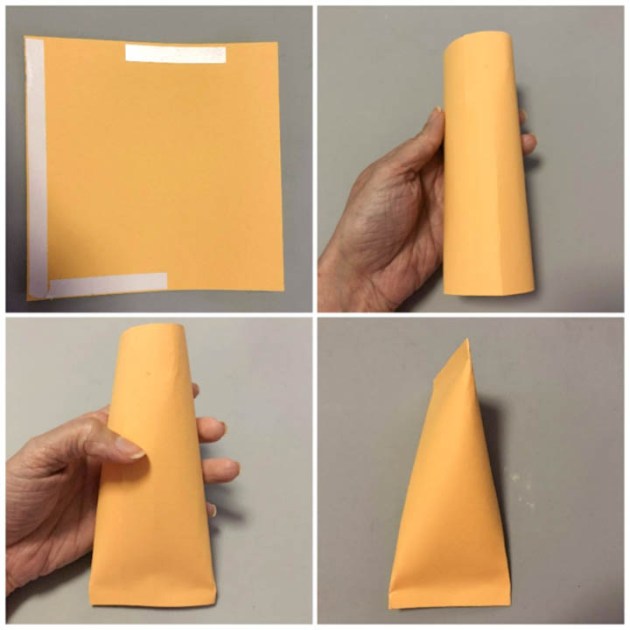
Add double-sided Tear It Tape to one entire inside border and paste it over the opposite side to create a tube. Add double-sided tape to one end to close by pinching it together. Place the candy or gifts into the tube. Add the tape to the other end and close, pinching in opposite (90 degrees) direction.


Step 5

As a final touch, I added a tiny sentiment that I created with a die-cut and adhered with On Point Glue.

Supplies

Imagine
Other
  • Designer Paper
  • Stamping Tool
  • Altenew – Leaf Canopy Stamp Set
  • “Thank You” die cut