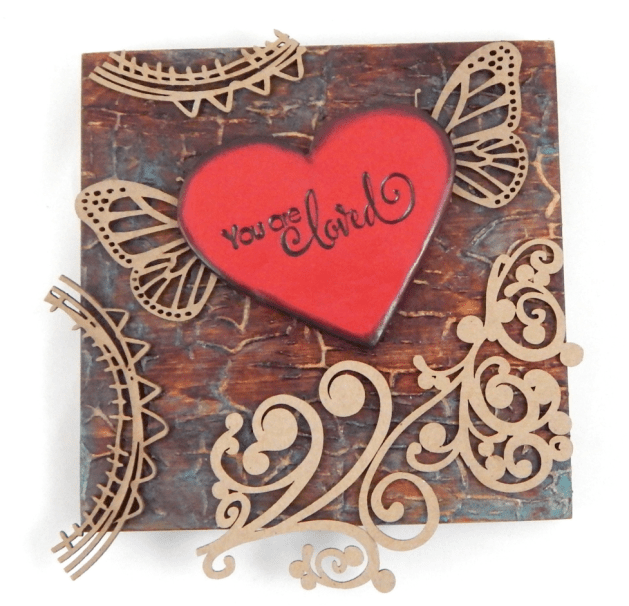
This “You are Loved” stamp inspired this whole piece. Made me think of those around us that you love and think about every day. Then you think if they are happy, sad or going through a tough time. You so badly want them to know that no matter what is going on, they are loved. Send them a reminder this with wall hanging made using a wooden substrate with embellishments. Wanted to make a custom-made heart to fit the stamp; made it from polymer clay. The wooden substrate is treated with Walnut inks. Check out how this project is made.
Skill: Advanced
Time: 1.5 Hours
Directions
Step 1
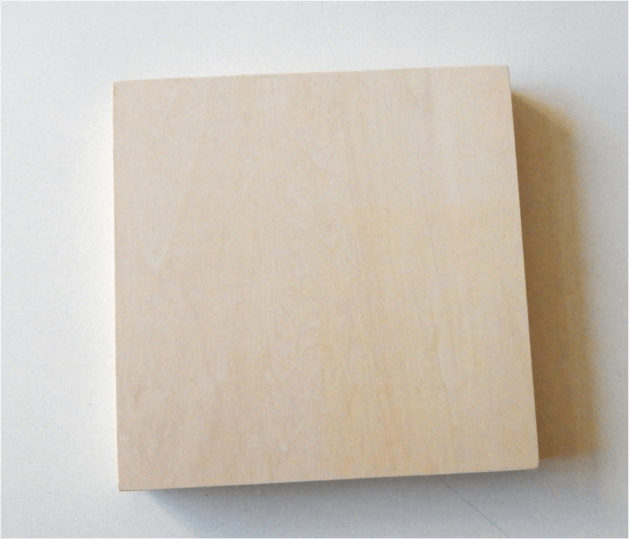
Begin by selecting wooden untreated cradled board (shadowbox like frame) or other substrate that is made of untreated but finished wood.
Step 2
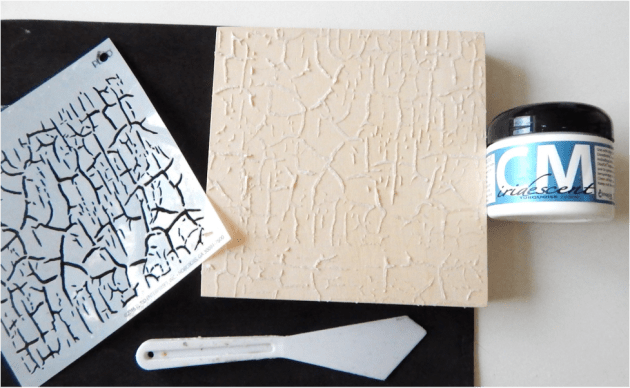
Using the palette knife and Iridescent Turquoise Creative medium stencil a background onto the board. On a light surface, the Creative Medium appears as an almost translucent off white. Allow the medium to completely dry.
Step 3
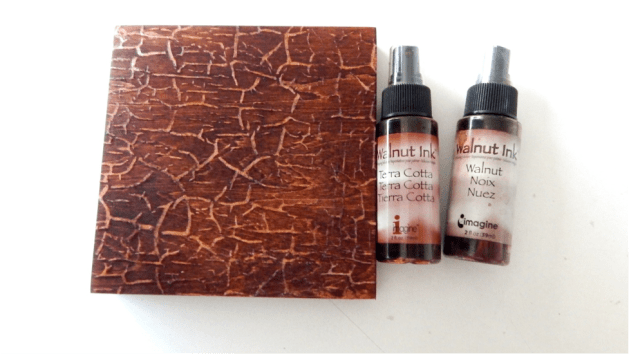
Spray on a layer of the Terra Cotta Walnut Ink, completely covering the substrate. Allow this layer to completely dry. Spray the Walnut Ink on random sections. Allow this layer to completely dry.
Step 4
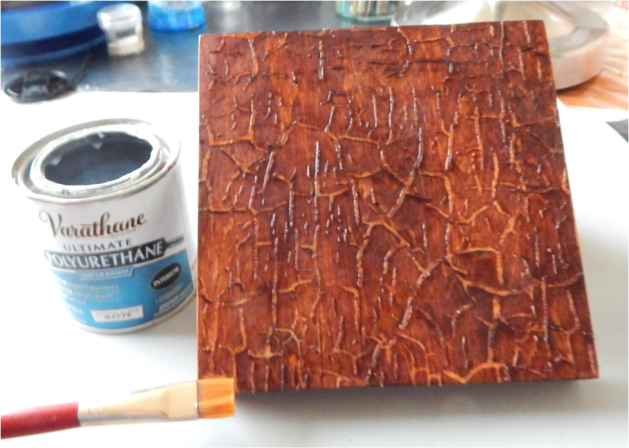
To protect the ink from humidity in the wood, seal substrate with Varathane Polyurethane by brushing on a thin layer. One layer will suffice. It has a nice soft finish and will not alter the surface and comes in matte, satin and gloss.

Step 5
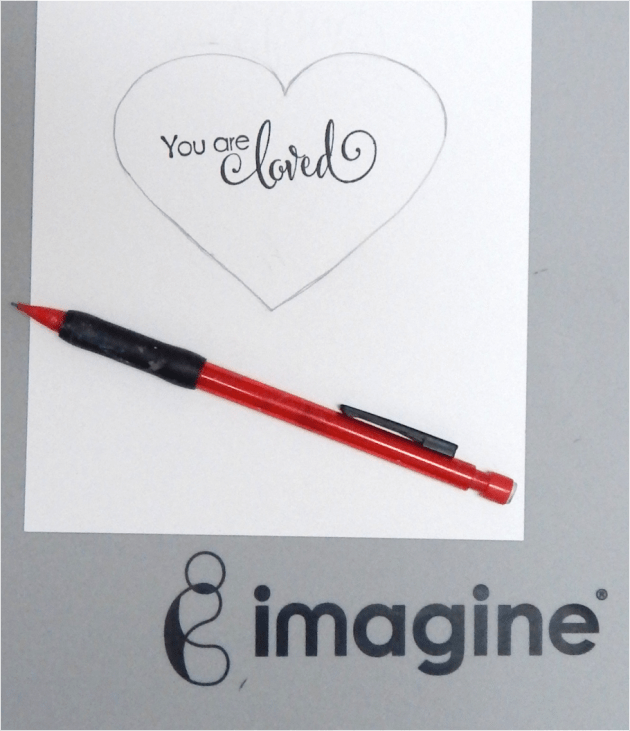
While the substrate dries, work on the embellishments. Begin by working on the heart. Stamp the sentiment on a plain piece of cardstock paper.
Step 6
Draw a heart shape. Do not worry if it’s not perfect; we’ll work on that later. This so you get an idea how big the heart will be.
Step 7
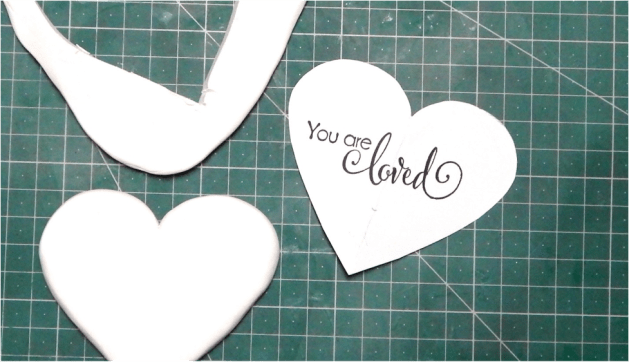
Fold the paper down the center of the heart. Cut along the heart line. You will end up with an even heart shape and a template to cut out the clay.
Step 8
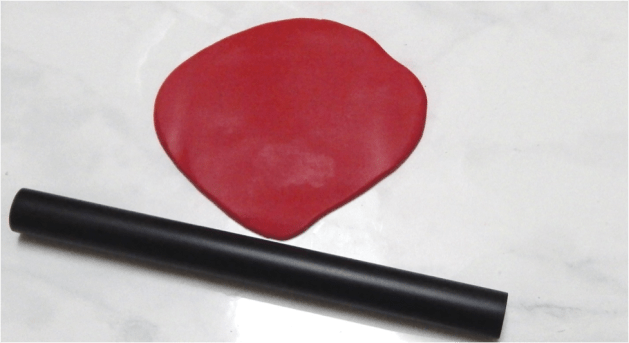
Take the clay out of the package. Condition the clay in a pasta machine or use a roller. Roll out a sheet of clay to about 4 mm.
Step 9
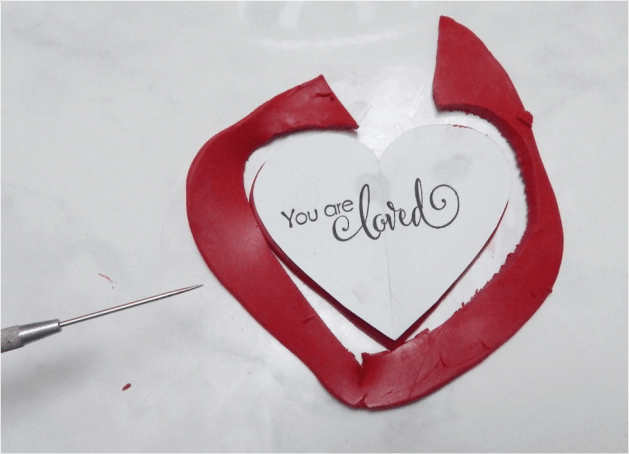
Place the template over the clay and cut out the clay using a clay needle tool or knife. An alternative to using a template is to sculpt the heart or use a heart shaped cutter.
Step 10
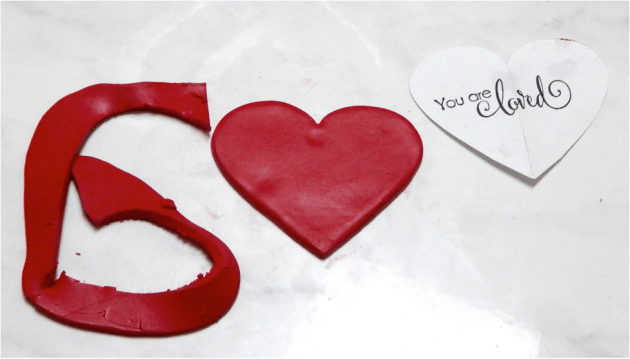
Smooth out the edges and any other areas.
Step 11
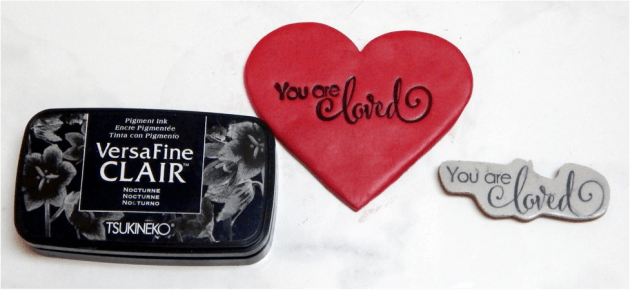
Ink the stamp using Nocturne VersaFine CLAIR and stamp into the clay. Do use an acrylic block. Before stamping, clean up any ink that may have gotten onto outside the image, this will stain the clay. Press down evenly and firmly into the clay with your fingers. Ensure that your stamp is deep. Pigment and StazOn inks work best on polymer clay. If you get ink outside the stamped image, clean up with fingers right away or dab with a clean cloth into a tiny bit of rubbing alcohol and clean the clay. Use it sparingly, if you use too much, it makes the clay soft and sticky.Bake the clay according to the manufacturer’s instructions on the package.
Step 12
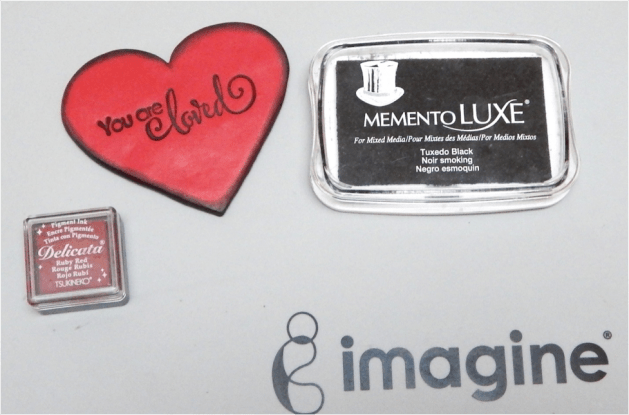
Ink the heart with the Ruby Red Delicata and ink the edges with the Tuxedo Black Memento Luxe ink. It really makes the heart vibrant and gives a sense of dimension. Heat set the ink with a heating tool or throw back in the oven for another 10 minutes. Seal the heart using a polymer clay sealer or polyurethane, the same one used to seal the substrate.
Step 13
Add the chipboard or other embellishments. Figure out placement; cut the chipboard to ensure fit.
Step 14
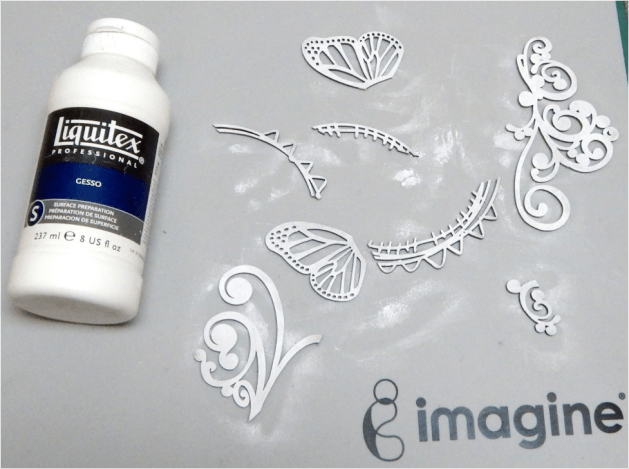
Color the chipboard pieces using white gesso using a sponge. The gesso will allow the ink to better adhere, plus you’ll get the inks true colors.
Step 15
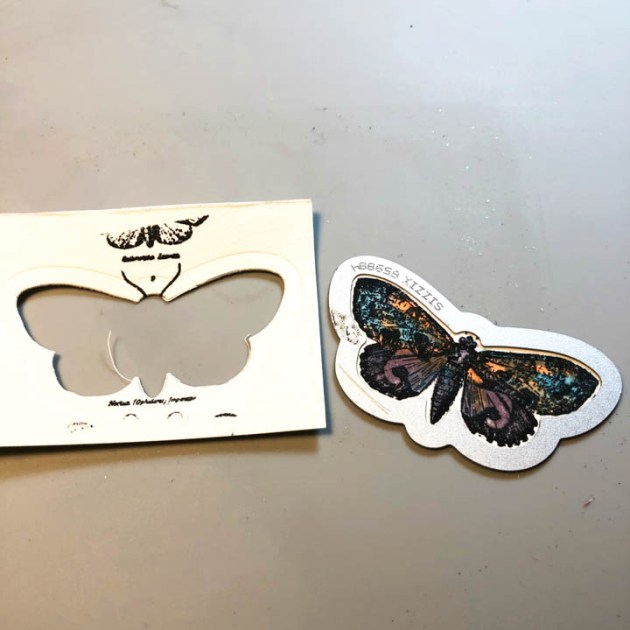
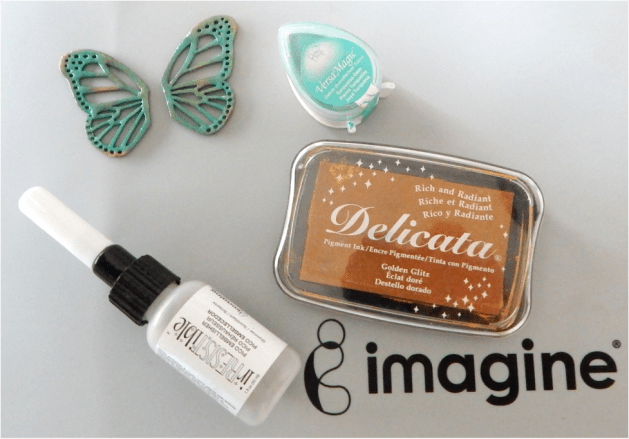
Ink the butterfly wings using the Turquoise Gem VersaMagic ink. Heat set with a heating tool. Then ink with the Golden Glitz Delicata ink. Heat set with a heating tool. Add two layers of the Shimmer irRESISTible Pico Embellisher. This gives the wings dimension.

Step 16
Ink the rest of the chipboard embellishments using the Rocket Red Gold Brilliance ink. Heat set with a heating tool. Then ink with the Golden Glitz Delicata ink. Heat set the ink with a heating tool. By adding a darker, reddish color as a foundation really make the gold stand out. In the end, you will see more gold. Add two layers of the Gold irRESISTible Pico Embellisher. This gives the embellishment dimension.
All the pieces are done. Simply glue the pieces onto the substrate.
Supplies
Imagine
Other
- Ampersand cradled wood board – 6×6 inches
- Crackerbox and Suzy Stamps – You are Loved
- Creative Embellishments chipboards – Circle Doodles frames; Flourish #12; Monarch Butterfly set
- Sculpey Souffle – Cherry Pie (red)
- Clay tools – roller, needle tool, knife
- Varathane (indoor water based Polyurethane)