Make a Fall Floral Coffee Cup Card

By Helen Gullett

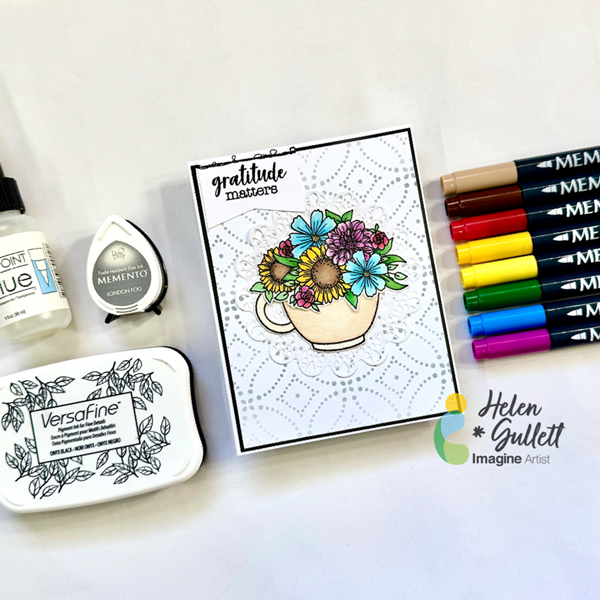
Hello crafty friends! Today, we are going to do some watercoloring with Memento markers, stenciling with Memento ink, and stamping with VersaFine ink to make this Fall floral coffee mug card. Let’s gather your supplies, grab a cup of coffee, and get crafting together!

Skill: Intermediate
Time: 15-20 minutes

Direction:
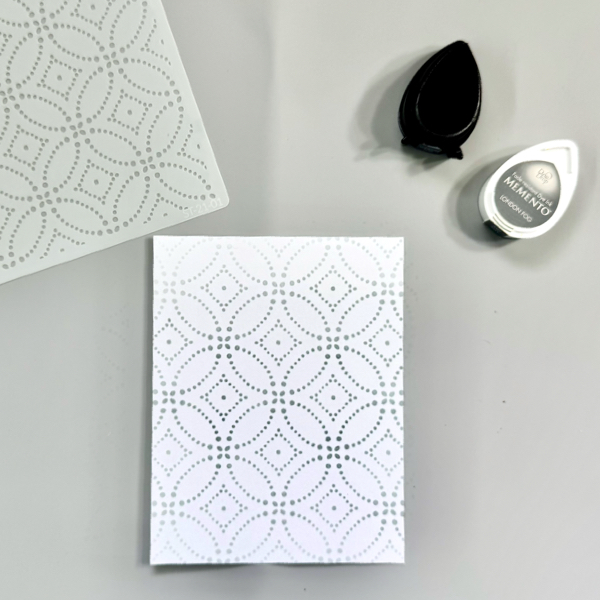
Step 1

Cut out a piece white cardstock into 4″ x 5 1/4″

Put the stencil on top of the cardstock and secure it with some washi tape or removable tape.

Use a blending brush to add the Memento London Fog ink to the cardstock.

Remove the stencil and set aside for the ink to dry.
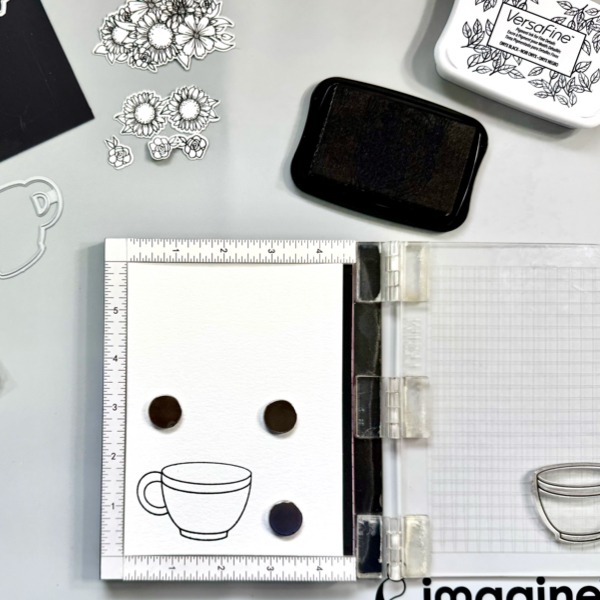
Step 2

On a piece of watercolor cardstock, stamp all the floral and cup images with the VersaFine Onyx Black ink.

Cut them with their matching die set or you can simply fussy cut them with scissors.
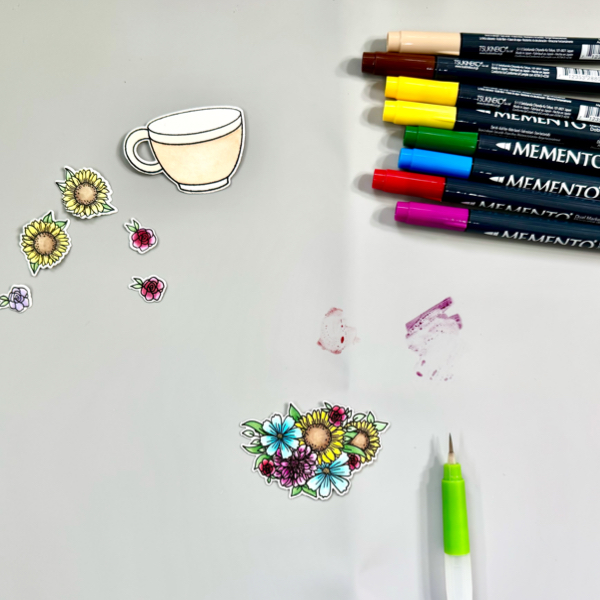
Step 3

There are two ways of watercoloring. The first option is you can do wet on wet technique by lightly wet the area where you want to add the watercolor paint, and then pick up the ink with a water brush and color on the wet watercolor paper. And the second option is called wet on dry technique where you add the watercolor paint directly on the dry watercolor paper. Both ways work well with these Memento Markers.

On this project, I used the wet on wet technique. First, scribble each color of the Memento Marker on the craft mat. Wet the stamped image, pick up the ink with a wet water brush, and then add the color to the image. Dry the watercolored image with a craft heat gun.
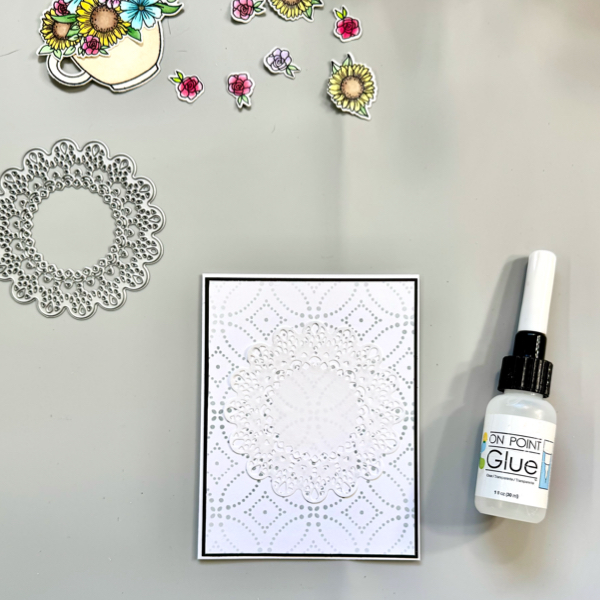
Step 4

Cut out a piece of copy paper with the doily die to make paper doily. Add it to the stenciled panel with On Point Glue.

Cut a piece of black cardstock into 4 1/8″ x 5 3/8″ mat, add the stenciled panel to it with On Point Glue.

Add the whole background panel to the card base with On Point Glue.

Put together the watercolored coffee mug and flower bouquet cluster with On Point Glue.
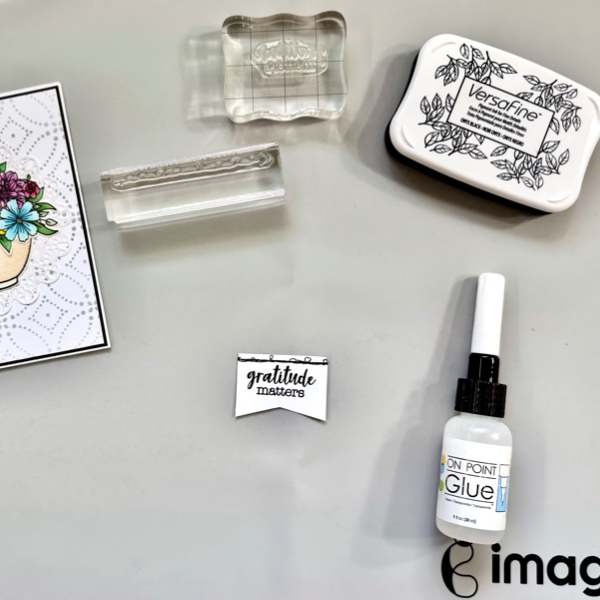
Step 5

Stamp the sentiment and faux stitch pattern on a piece of white cardstock with VersaFine Onyx Black, and then trim it into a sentiment banner.

Add the floral coffee mug in the middle of the card, on top of the doily with On Point Glue.

Add the sentiment banner on the left top of the card with On Point Glue.
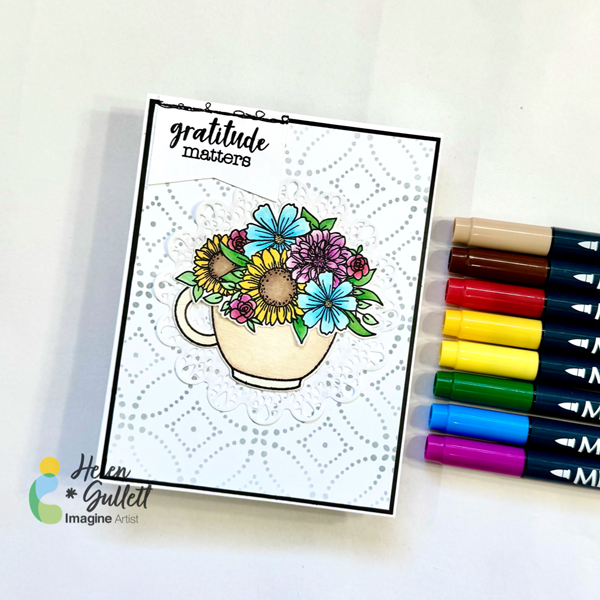
Memento Markers are not only for coloring, but also watercoloring. I had fun making this card with a watercoloring technique using these markers. And I hope this Fall Floral Coffee mug card can perk you up!

Thank you for stopping by our blog today. Have a wonderful day!

Craft Supplies

Imagine Crafts:

Others:

Fall Birthday Wishes with VersaFine Clair

By Ceal Pritchett

Hello everyone,
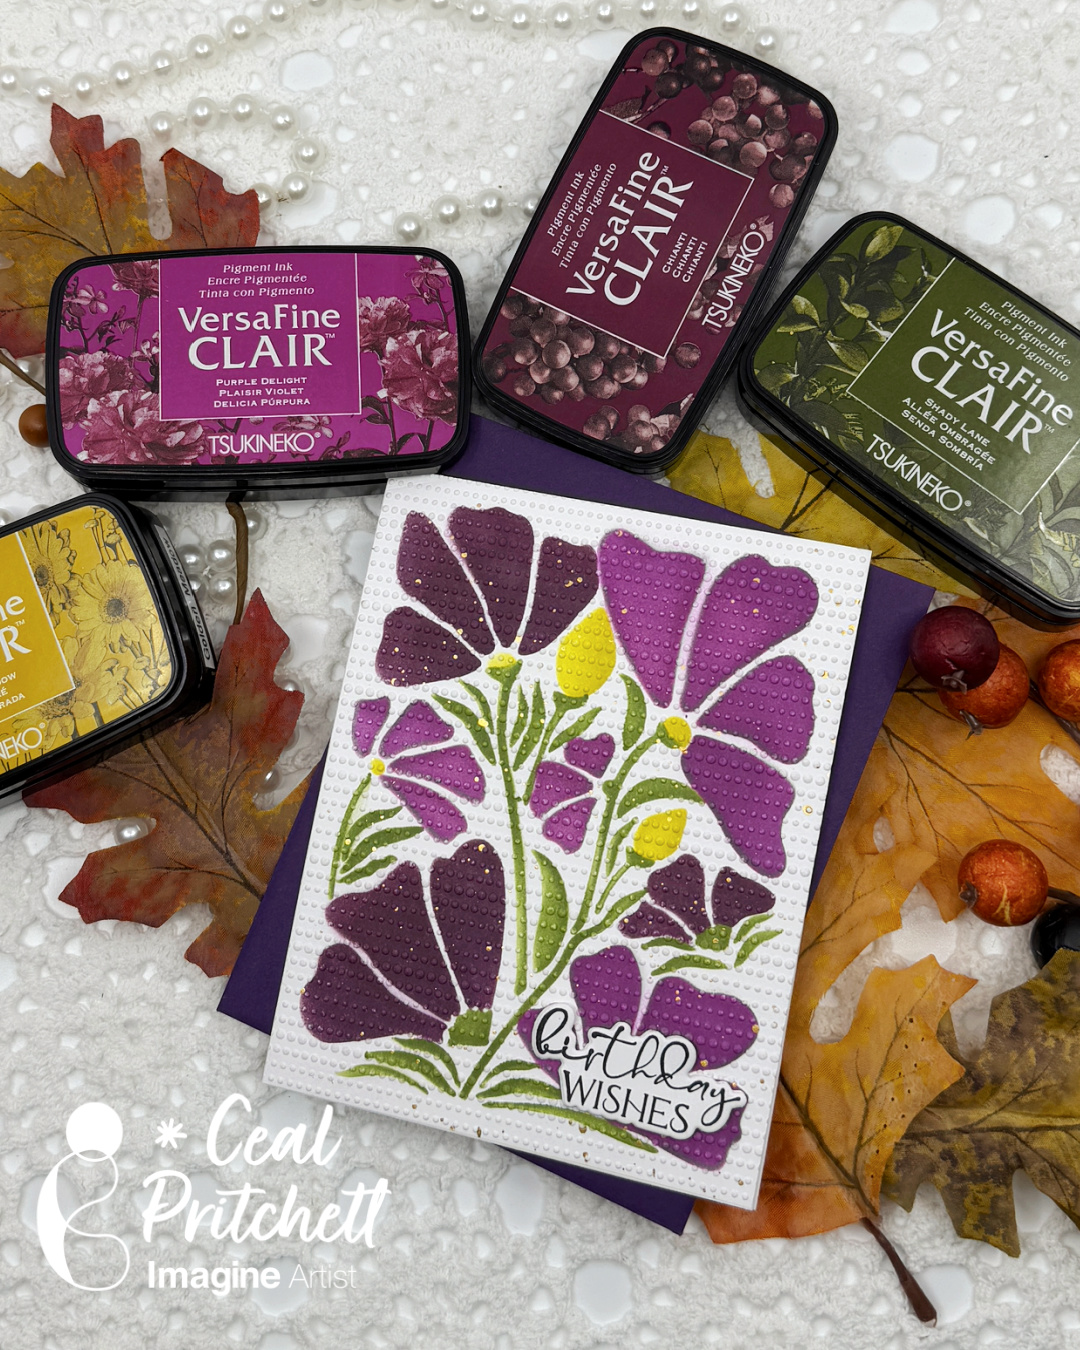
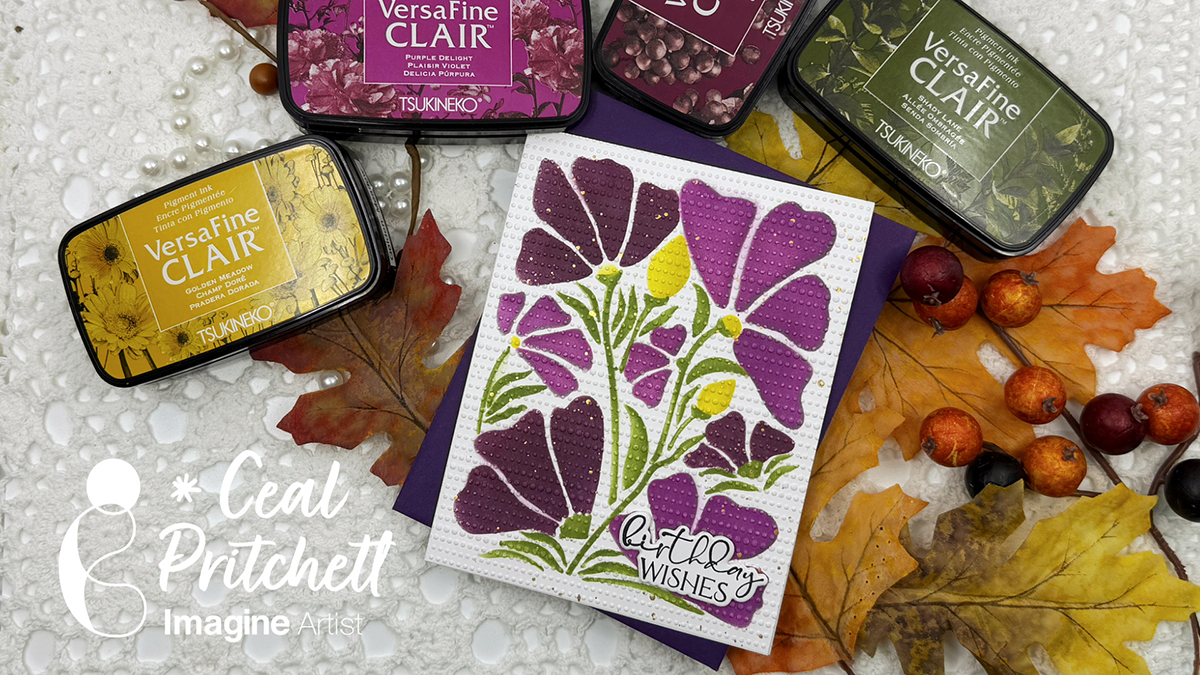
It’s Ceal, here. I am so ready for fall to be here and today I am sharing a fall birthday card with you.

Skill: Beginner to Intermediate
Time: 30 to 45 minutes

Directions:

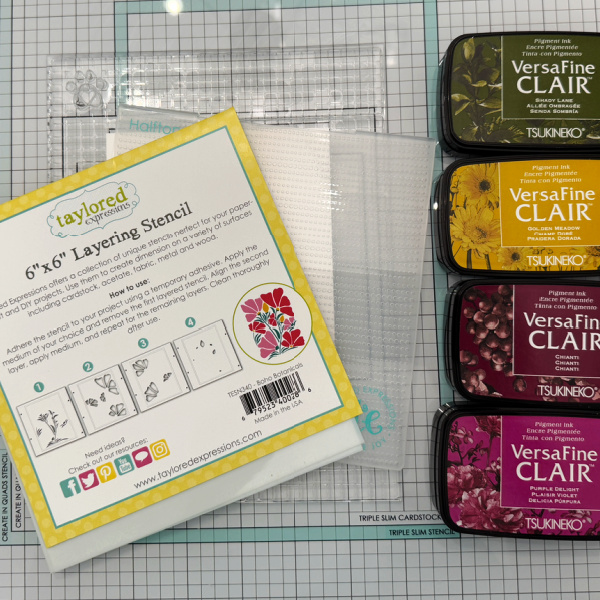
Gather your supplies. For this card you will need a stencil of choice, several colors of ink, and embossing folder and sentiment stamp.

Step 1:
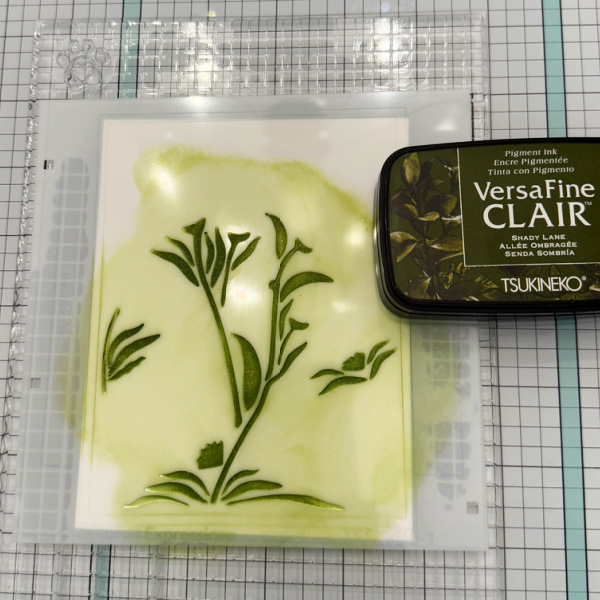
The stencil set I used has four different layers. The first stencil in step one is to use Shady Lane to color the stems.

Step 2:
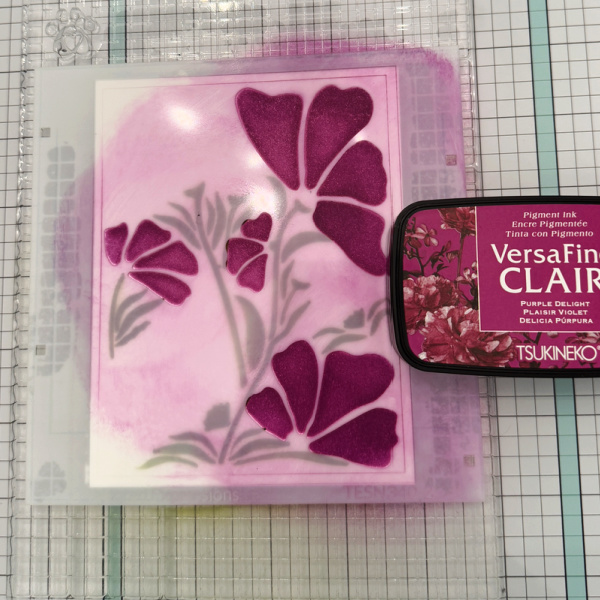
Using layer 2 of the stencil set and Purple Delight, color the flowers.

Step 3:
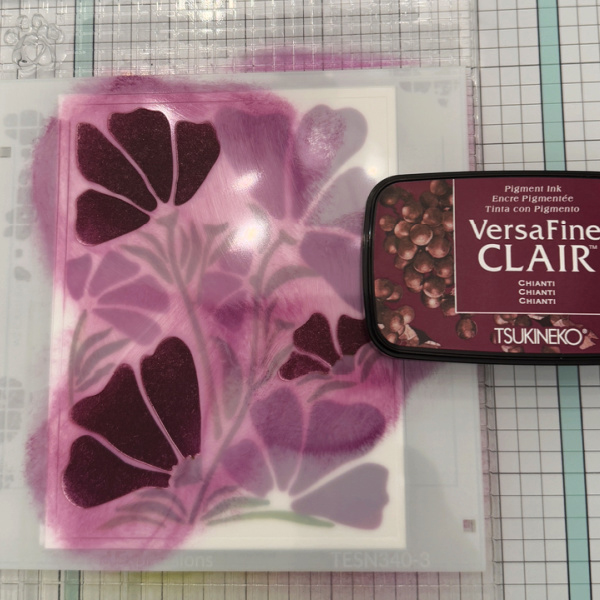
Using the third layer of the stencil and Chianti, color the flowers.

Step 4:
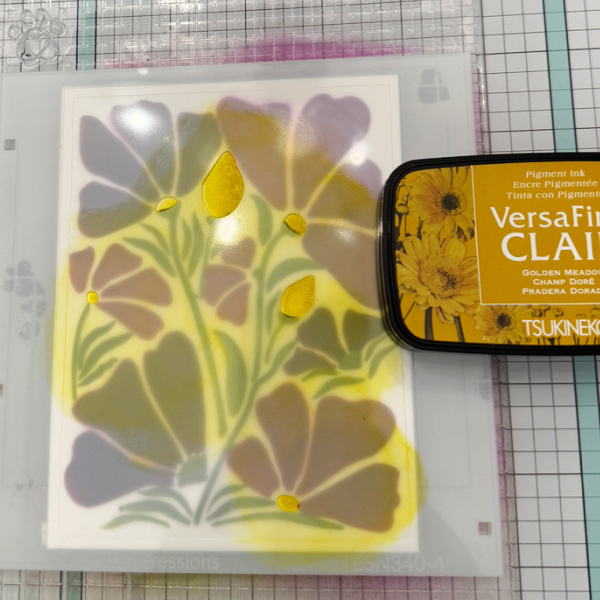
Using the fourth layer of the stencil and Golden Meadow, color in the flower centers and buds.

Step 5:
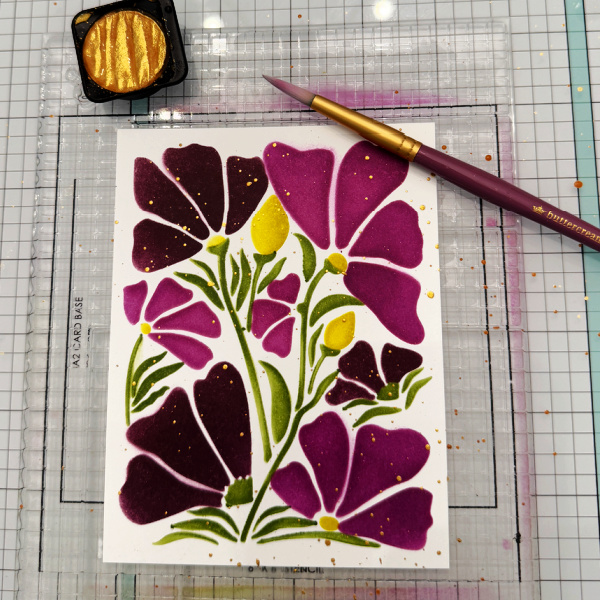
Add gold splatter using a watercolor paint, I used Fine Tec metallic.

Step 6:
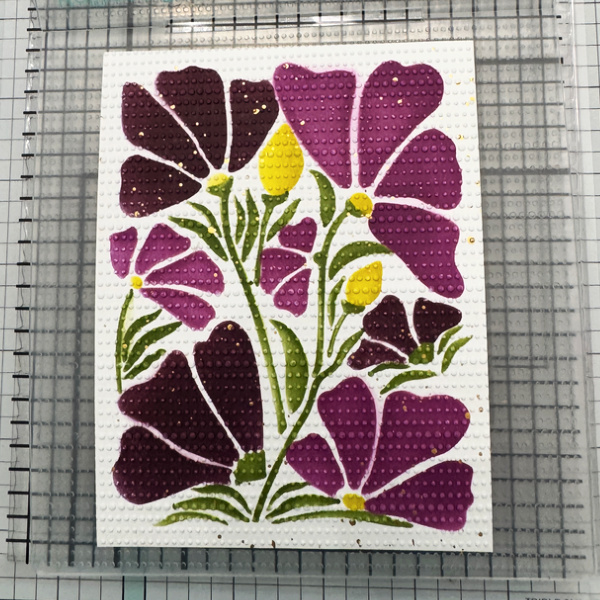
Run the finished panel through the machine using an embossing folder. Add finished panel to the card base.

Step 7:
Finish card by adding a sentiment

Supplies:

Imagine Supplies
VersaFine Clair
– Nocturne
– Shady Lane
– Golden Meadow
-Purple Delight
– Chianti
On Point Glue

Other Supplies
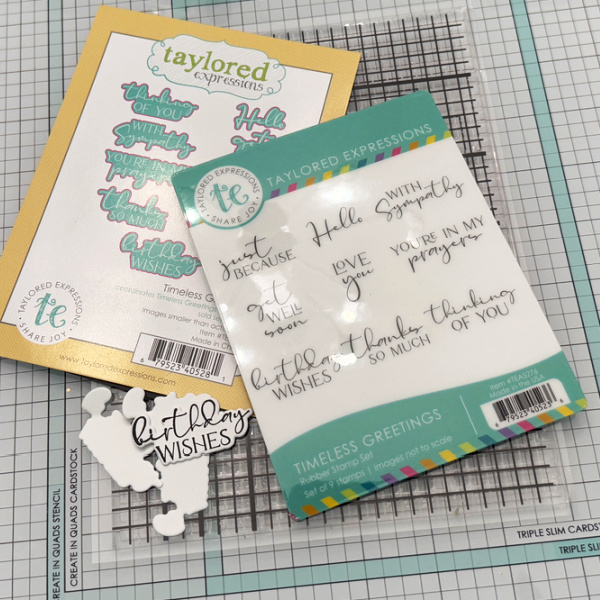
Boho Botanicals Layering Stencil – Taylored Expressions
Halftone Dots Stencil – Taylored Expressions
Timeless Greetings Stamp/dies – Taylored Expressions
Grip Mat – Simon Says Stamp
Blending Brushes – Simon Says Stamp

“All I Need Today” Coffee Card

By Ceal Pritchett

Hello friends!
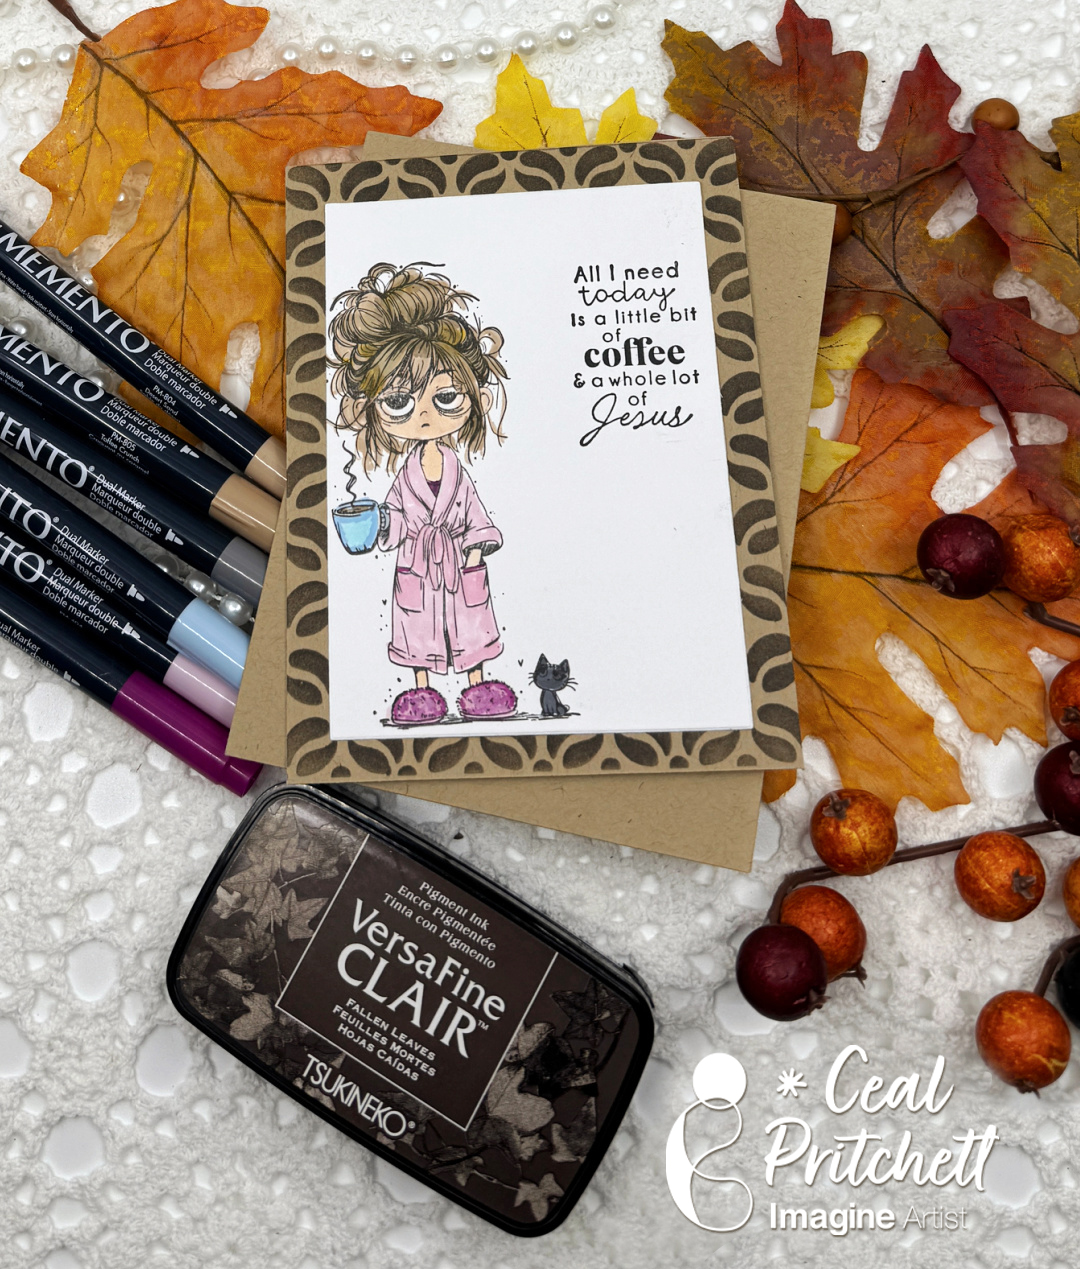
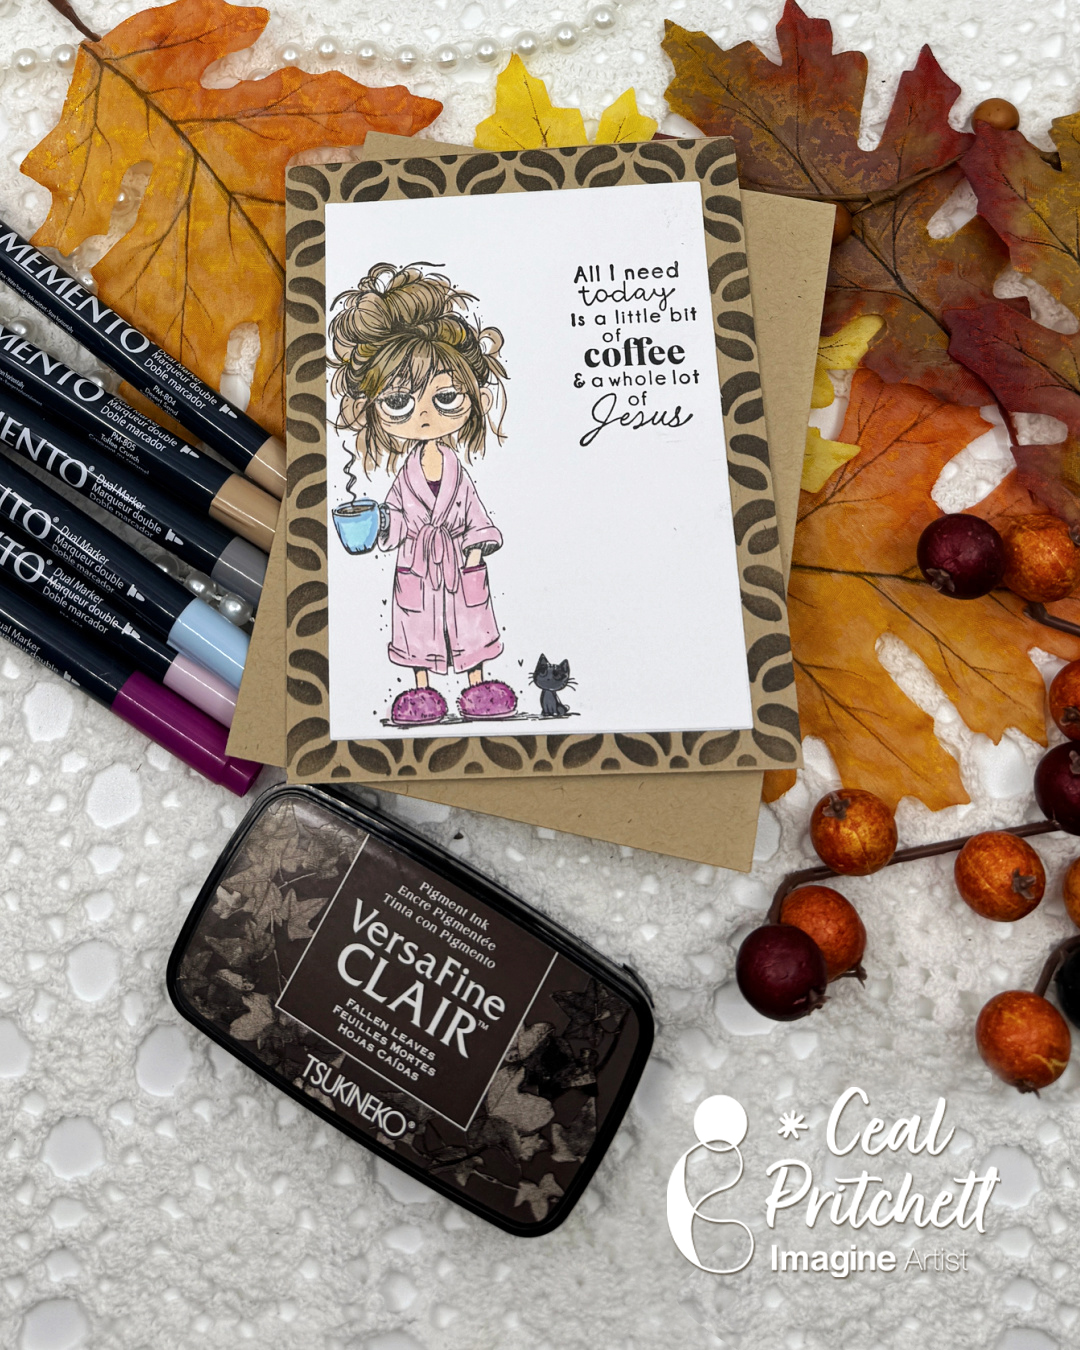
It’s Ceal, here. Today I am sharing a coffee card. This totally looks like me on a Monday morning.

Skill: Beginner
Time: 30 minutes

Directions:

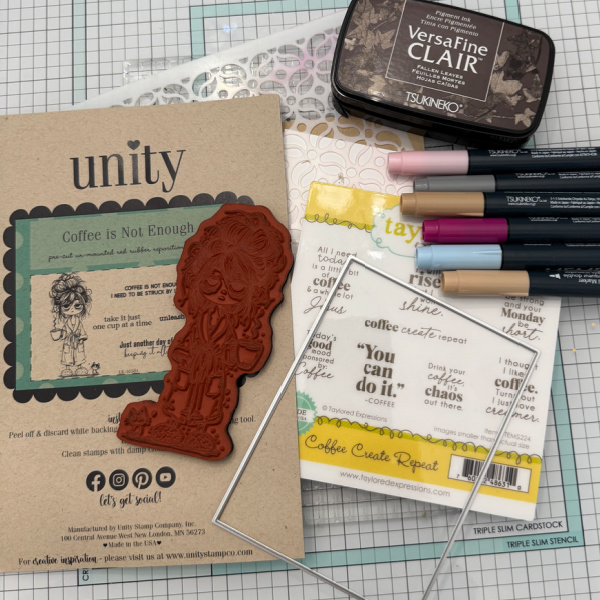
Gather your supplies. You will need a coffee stamp, a sentiment set,  markers, dark brown ink and a stencil for the background.

Step 1:
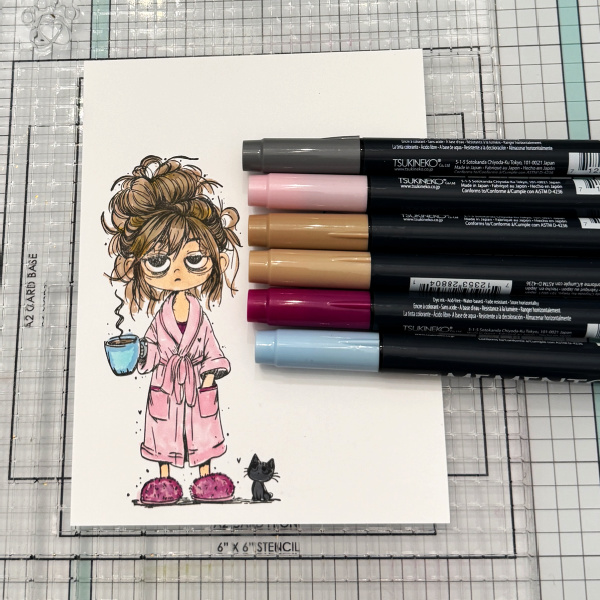
Stamp the image and color it in with markers. I used Toffee Crunch and Desert Sand for her hair, Angel Pink and Lilac Posies for her outfit, Summery Sky for the coffee cup and Gray Flannel for the kitty.

Step 2:
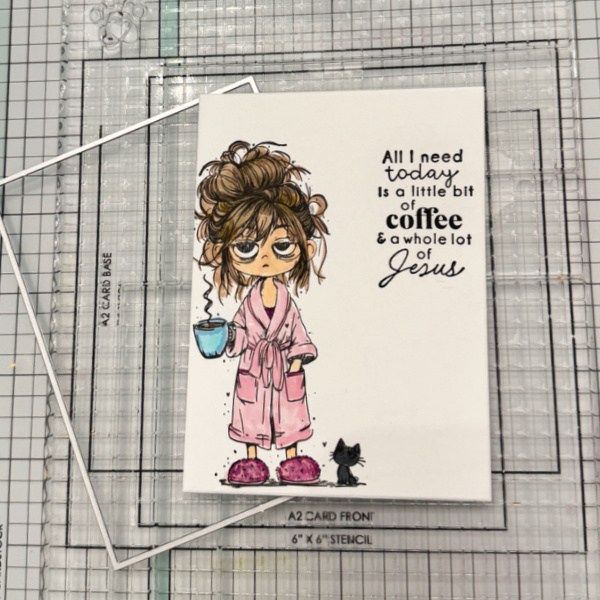
Cut the panel down and add sentiment.

Step 3:
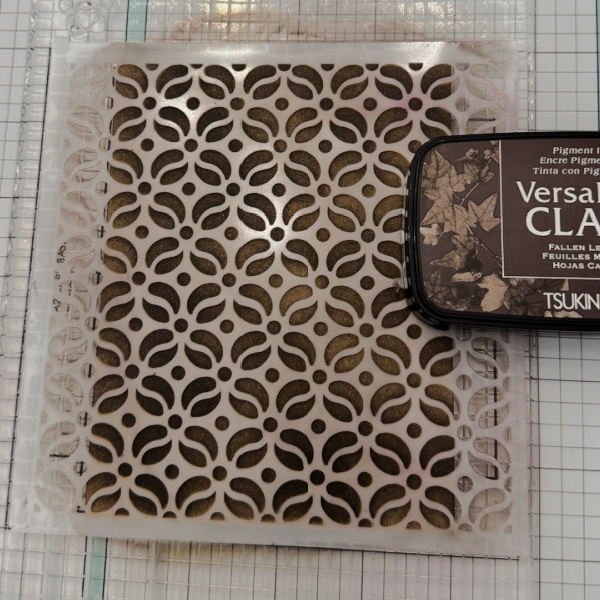
Cut a panel of Kraft cardstock to A2 size and use a dark brown (I used Fallen Leaves) to color in the stencil for the background. Add the background panel and the image panel to the card base. 

Supplies:

Imagine Supplies:
• Memento Markers
– Gray Flannel, Toffee Crunch, Desert Sand, Summer Sky, Angel Pink and Lilac Posies
• VersaFine Clair – Nocturne
• VersaFine Clair – Fallen Leaves
• On Point Glue

Other supplies:
• Coffee is not Enough Stamp Set – Unity Stamp Co
• Coffee Create Repeat Stamp set – Taylored Expressions
• Coffee Bean Flower Stencil – Ink On 3
• Rectangle dies – Hero Arts
• Grip mat – Simon Says Stamp

Quick and Easy Coffee Card

By Tracy Fear

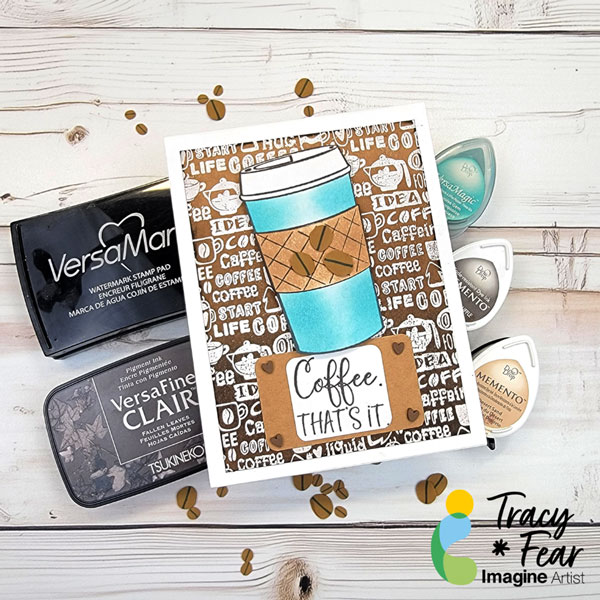
Hello Friends! Tracy here and today I am happy to share this super quick and simple coffee card great for a man or a woman!
Tracy

Skill: Intermediate
Time: 30 Minutes

Art Supplies
• Stamping Platform
• White and Kraft colored paper paper
• Blending Brush
• Scissors

Imagine Products
• VersaFine Clair in Fallen Leaves
• Memento: Espresso Truffle, Desert Sand, Turquoise Gem
• VersaMark Ink

Other Products Used
• Coffee Background Stamp and Coffee Cup stamp from Technique Junkies
• 120lb paper in white and Kraft
• Foam Tape
• Misti tool
• PVA Adhesive
• White Super Fine Embossing Powder

ALTERNATIVE PRODUCTS THAT CAN BE USED TO RECREATE SOMETHING SIMILAR
Any Inks any combination of background stamps and feature stamps
To learn how to create your own dressed up box click here!

Summertime Vibes-Greetings from my Happy Place Card

By Katy Ingram

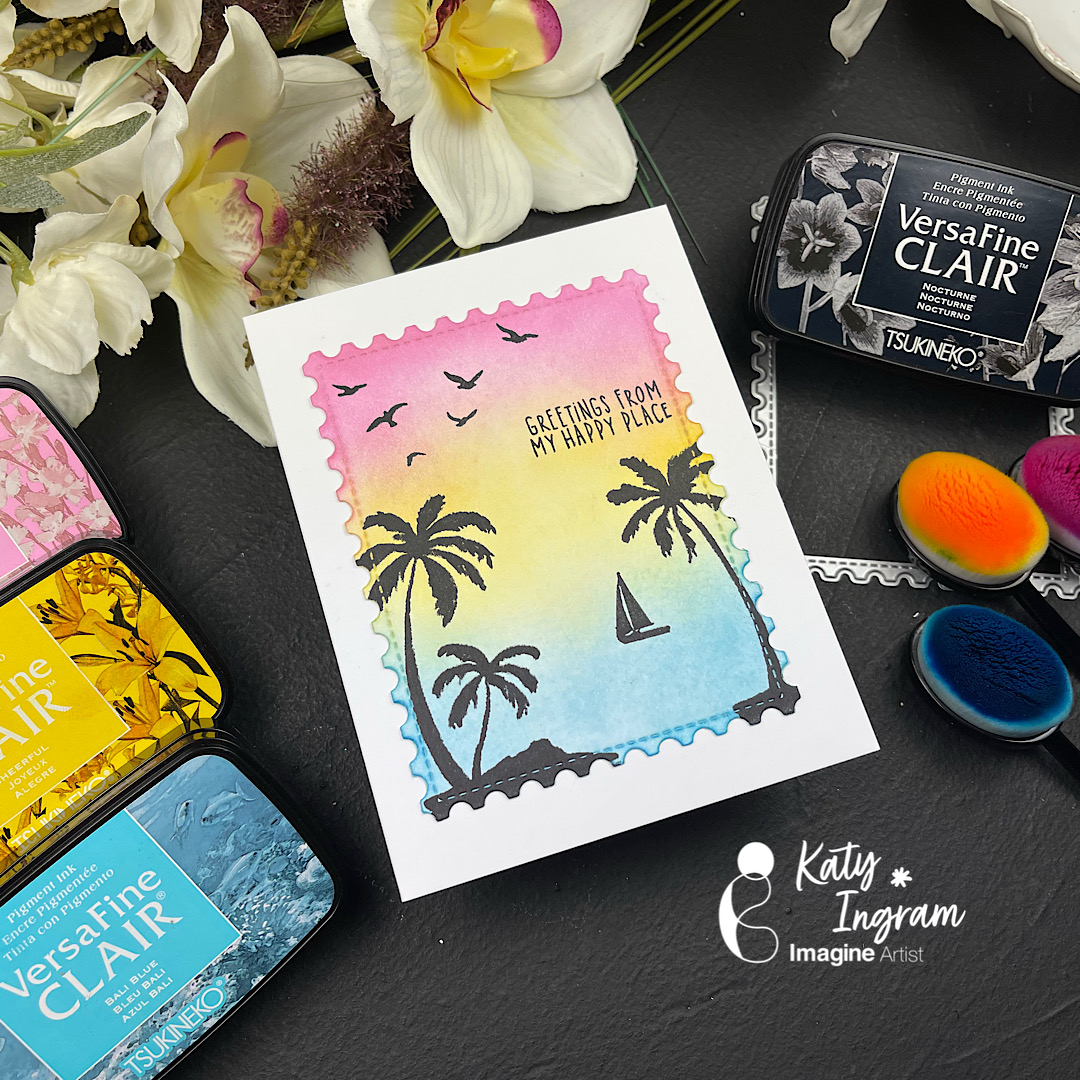
Hello Friends! Katy here with another quick project for you. Today’s card is a fun summertime vibes card, but as always you can use this design for what ever you need!

I did a little ink blending to create my background and used some silhouette stamps to create my scene. Check out the video below for all the details.

Skill: Beginner
Time: 15 minutes

Art Supplies

Imagine Products
• VersaFine Clair – Bali Blue
• VersaFine Clair – Cheerful
• VersaFine Clair – Baby Pink
• VersaFine Clair – Nocturne
• Tear It! Tape

Other Products Used

• Affiiate links used at no additional cost to you. Thank you for your support
• White Card Stock https://ldli.co/e/5y69gpx
• Kat Scrappiness Postage Die https://ldli.co/e/5y69gpx
• Blending Brush https://ldli.co/e/5y69gpx
• Palm Tree Stamps https://ldli.co/e/5y69gpx
• Hero Arts Beach Stamps https://ldli.co/e/5y69gpx

Patriotic-Themed Birthday Card Tutorial: “Happy Birthday, Beautiful”

By Katy Ingram

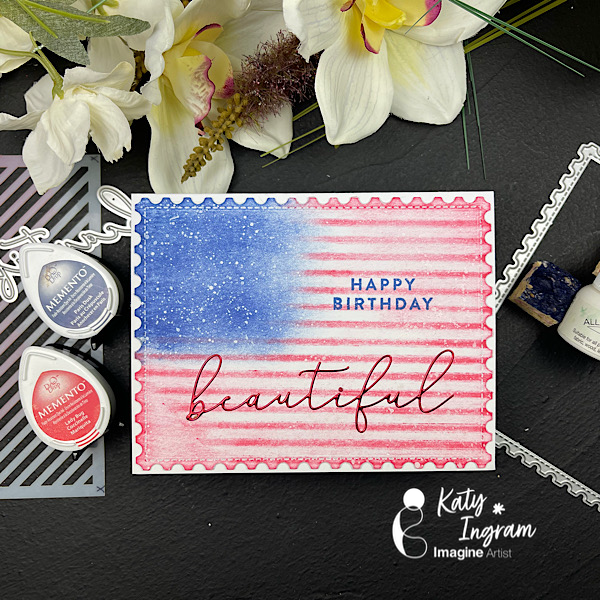
Hello Friends! Katy here with another quick project for you. Today’s card is for Independence Day here in America, coming up on July 4th and I thought I would use my supplies to create an American Flag. I used a diagonal stencil to create my stripes and some sponge swiping to create my blue section and some splatter for my stars. Some simple techniques with minimal supplies to add to your card making arsenal.

Video below has all the details. I hope you enjoy.

Skill: Beginner
Time: 15 minutes

Video Link:  

Art Supplies

Imagine Products 

Memento Ink Lady Bug
Memento Ink Paris Dusk
All Purpose Ink White

Other Products Used

Affiiate links used at no additional cost to you. Thank you for your support
Simon Says Stamp Diagonal Stencil https://ldli.co/e/e263m92
Kitchen Sponge https://ldli.co/e/e263m92
Red Foil Cardstock https://ldli.co/e/e263m92
White Cardstockhttps://ldli.co/e/e263m92
Kat Scrappiness Postage Rectangle Die https://ldli.co/e/e263m92
Pixie Spray https://ldli.co/e/e263m92