by Arjita Sepaha Singh

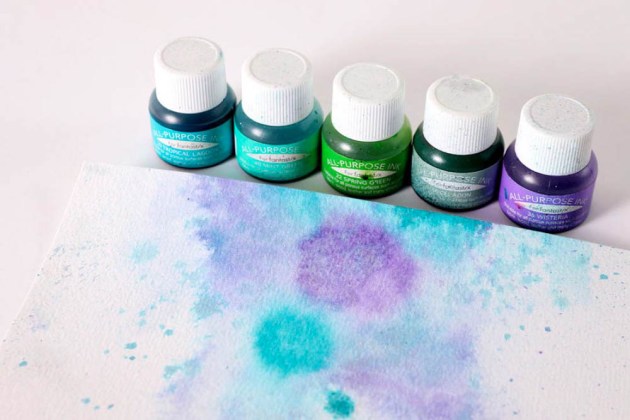
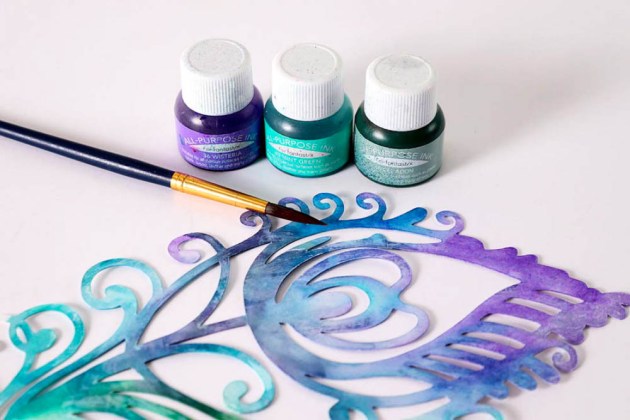
I have used one of my all-time favorite Rose stamp for today’s card project. I love this stamp because of its realistic layering effect. To achieve this beautiful layering I used a couple of ink types today. I used the Memento Inkpads, our brand new Stazon Pigment inks, Radiant Neon inkpad, and VersaMagic inkpads & I was very happy to see the final outcome and the way they all work together.
Skill: Intermediate
Time: 30 minutes
Directions
Supplies
Imagine
- Memento Inkpad – Dandelion
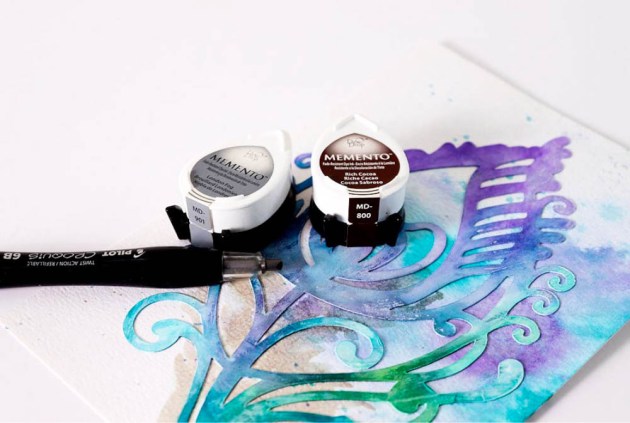
- Stazon Pigment Inkpad – Passion Red, Orange Peel, Snowflake, Chocolate Brown
- VersaMagic Inkpad – Mango, Tea Leaves, Spanish Olive
- Radiant Neon Inkpad – Electric Coral
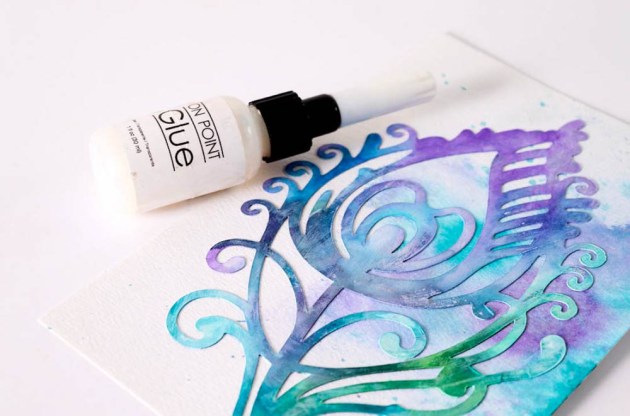
- On Point Glue
- Sheer Shimmer Stix – Sparkle
Other
- Altenew Stamp & Die set – Vintage Roses
- Card Stock – White, Kraft
- Scissors
- Misti Stamping Tool
- Double-sided Tape