By Anna Escalada York
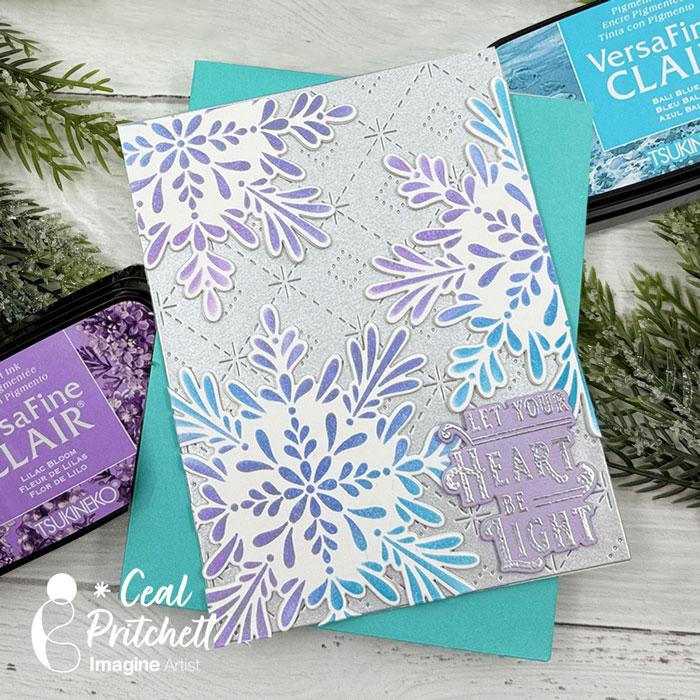
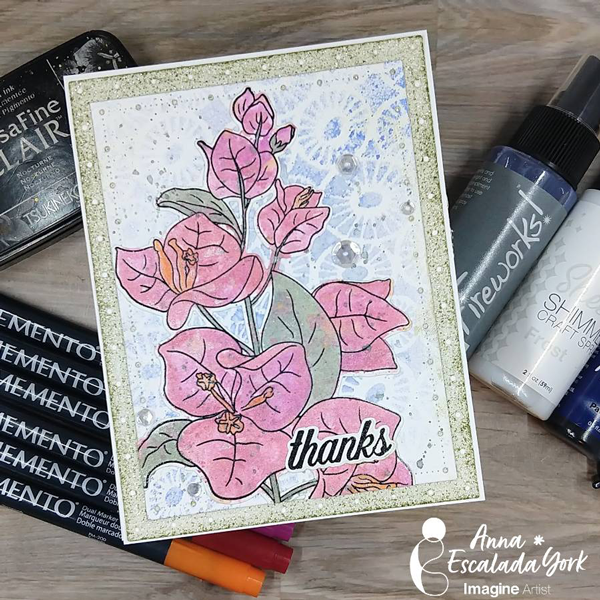
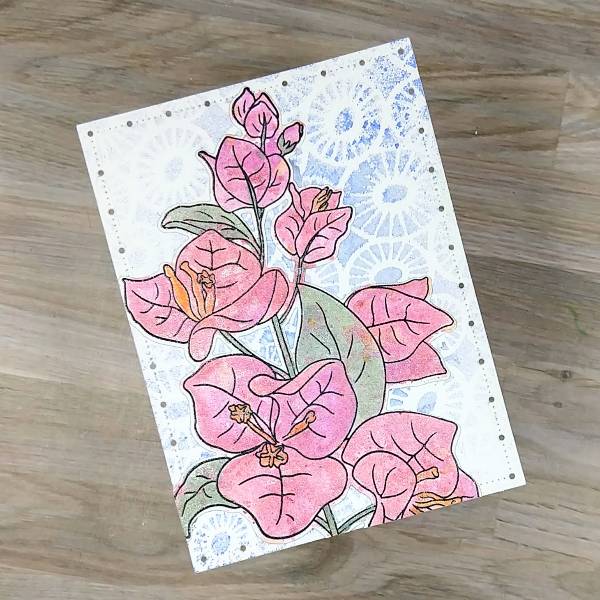
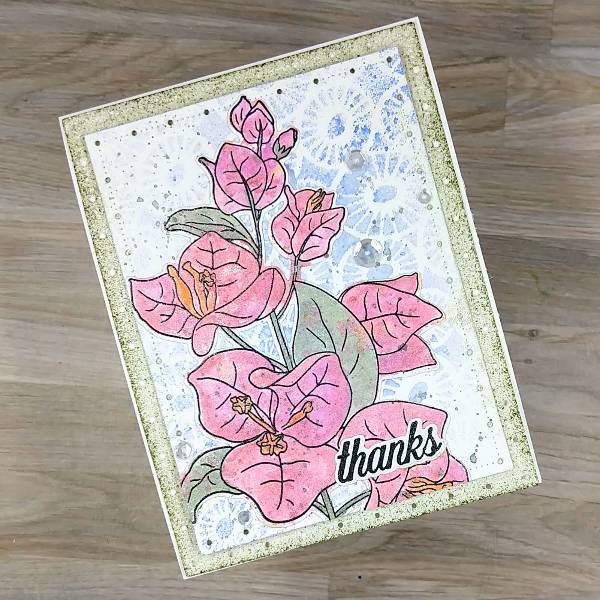
In today’s card, I made a thank you card with some new-to-me Memento markers and sprays.
Skill: Intermediate
Time: 1.5 hours
Directions:
Step 1:
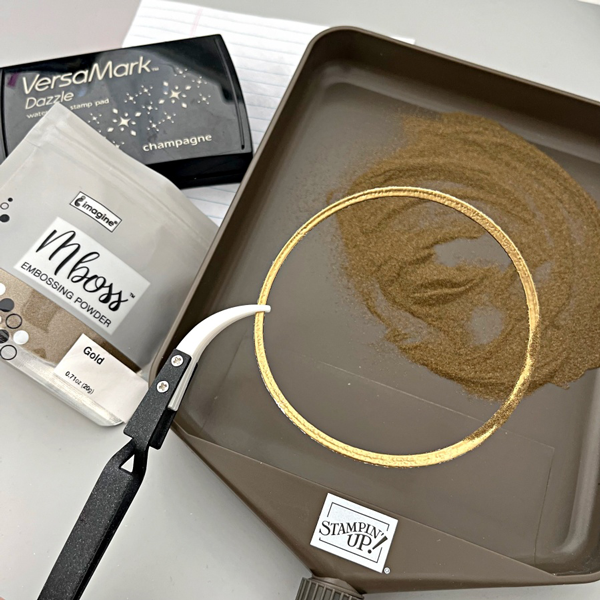
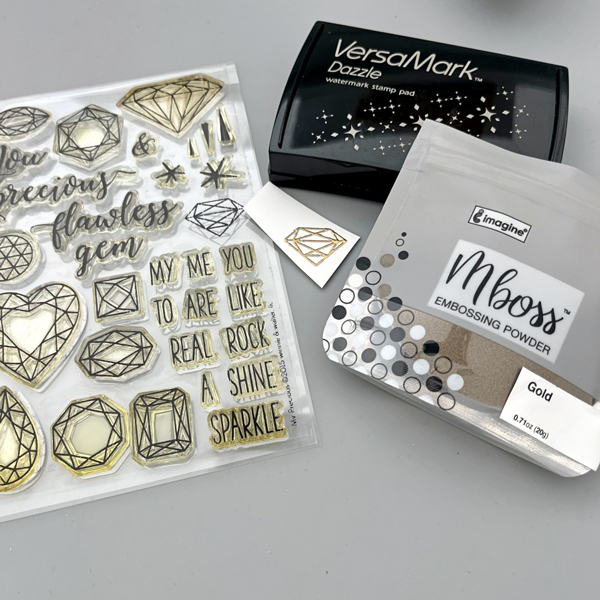
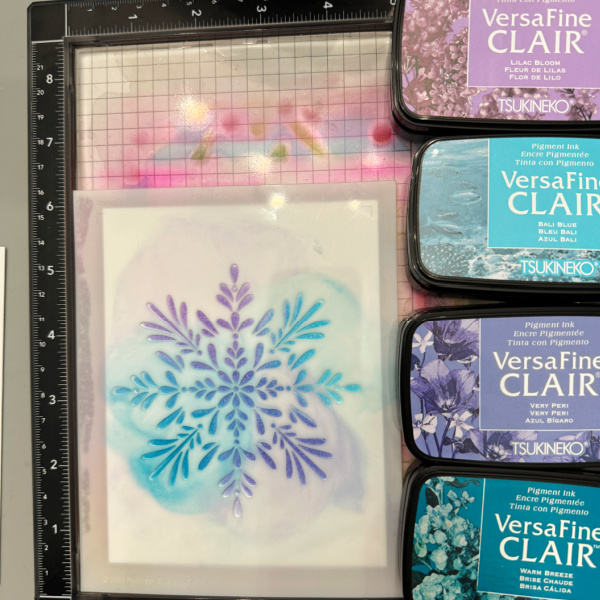
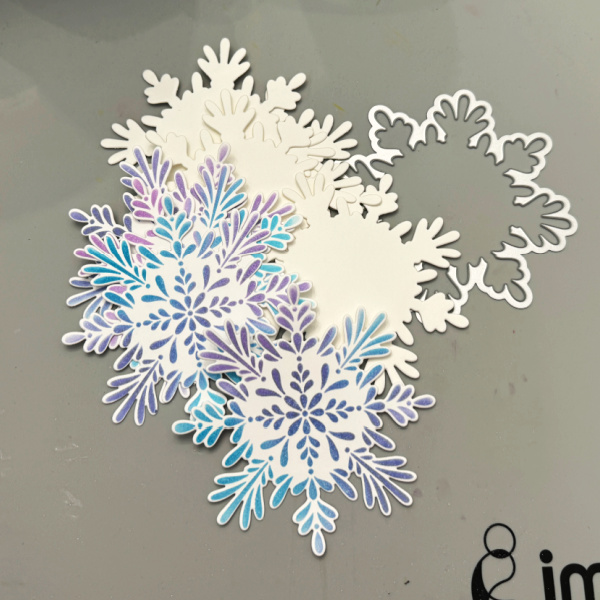
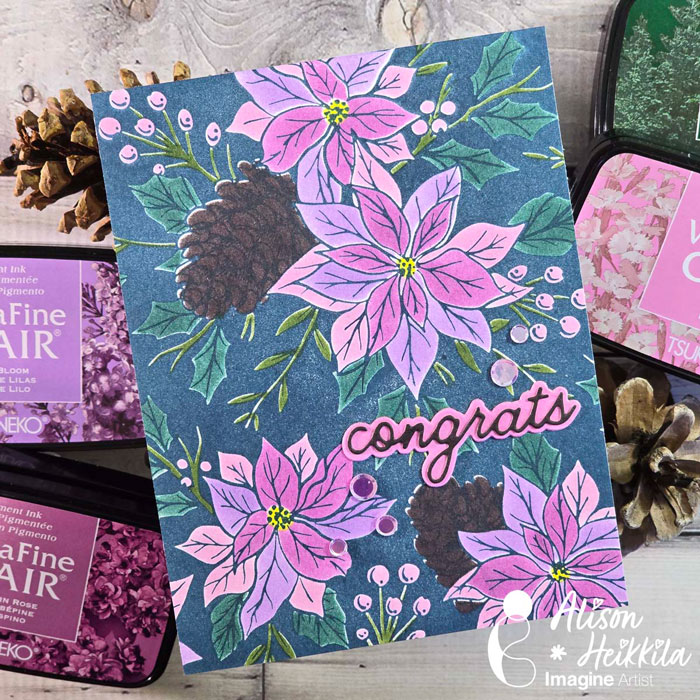
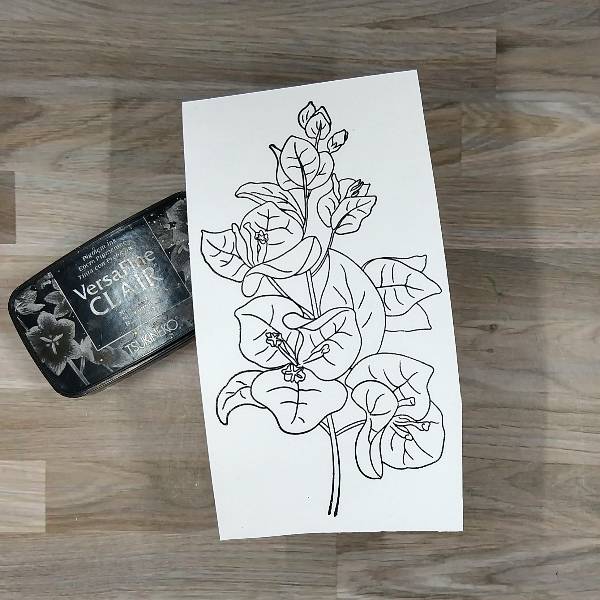
Stamp the large floral image with Nocturne VersaFine Clair Ink on watercolor paper and then heat emboss with clear Mboss embossing powder.

Step 2:
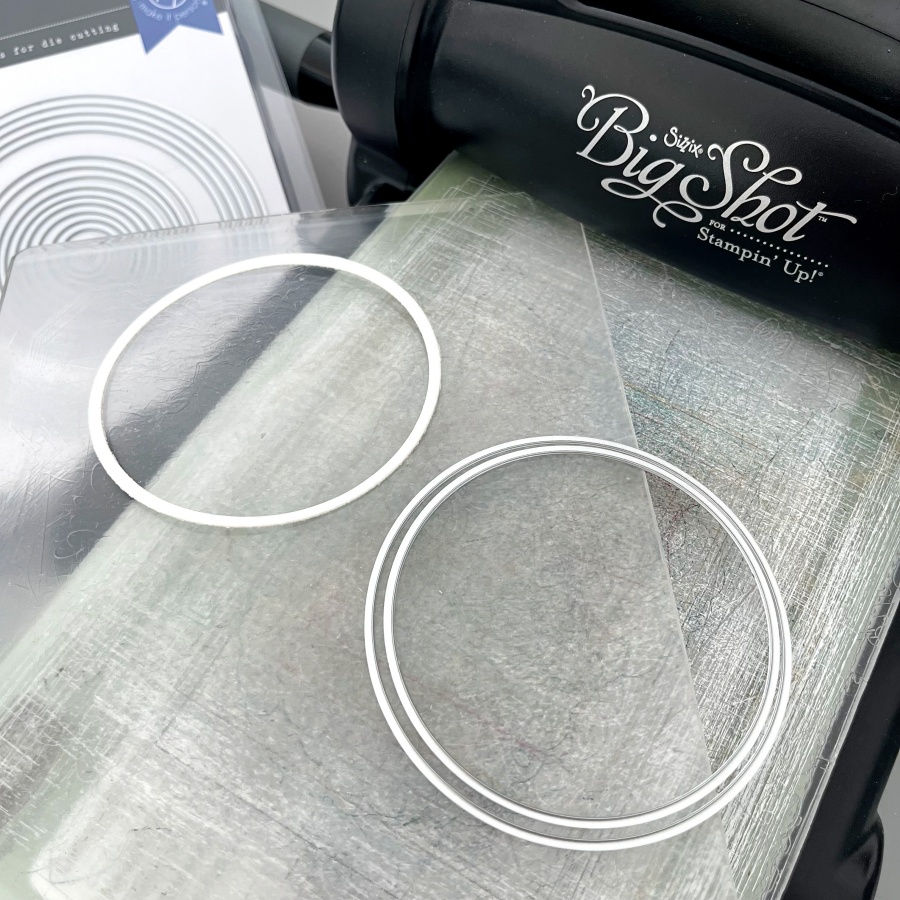
Die cut the large floral image with the corresponding die cut.

Step 3:
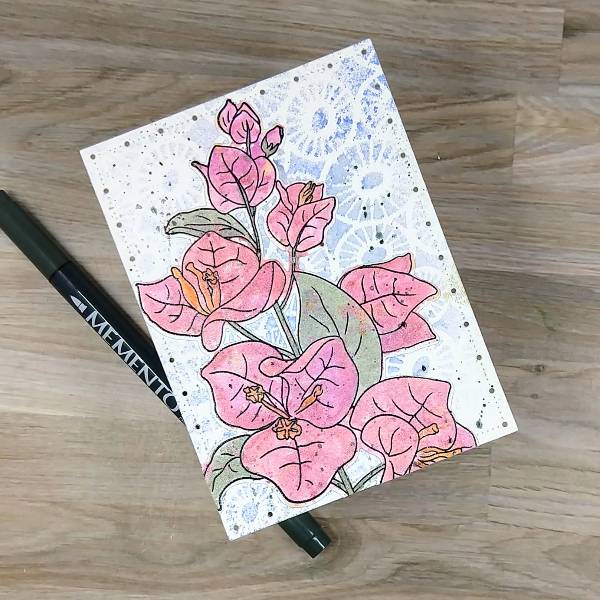
The large floral image was colored by watercolor smooshing a variety of Frost Sheer Shimmer Craft Spray mixed with a variety of colors of Memento Dual Markers–Love Letter and Lilac Posies. After the watercolor smooshing dried, the large floral image was watercolor painted with a Northern Pine and Pistachio Memento Dual Markers mixed with more of the Frost Sheer Shimmer Craft Spray on the greenery. The flowers were colored with a mix of Rhubarb Stalk, Love Letter and Lilac Posies mixed with more of the Frost Sheer Shimmer Craft Spray. Finally, Tangelo Memento Dual Marker was mixed with more of the Frost Sheer Shimmer Craft Spray and watercolor smooshed onto the image.
Step 4:
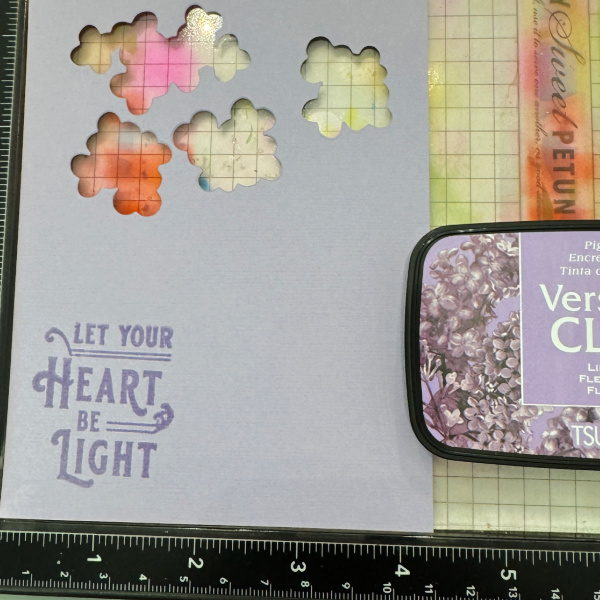
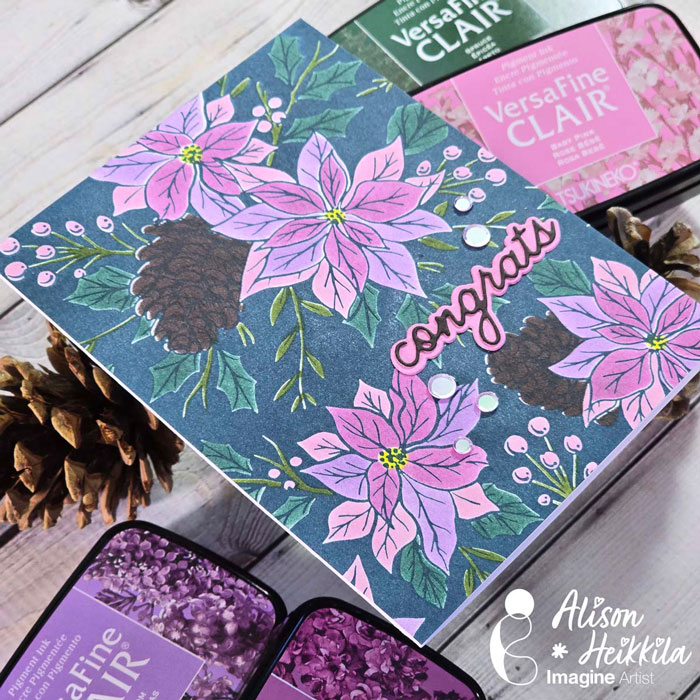
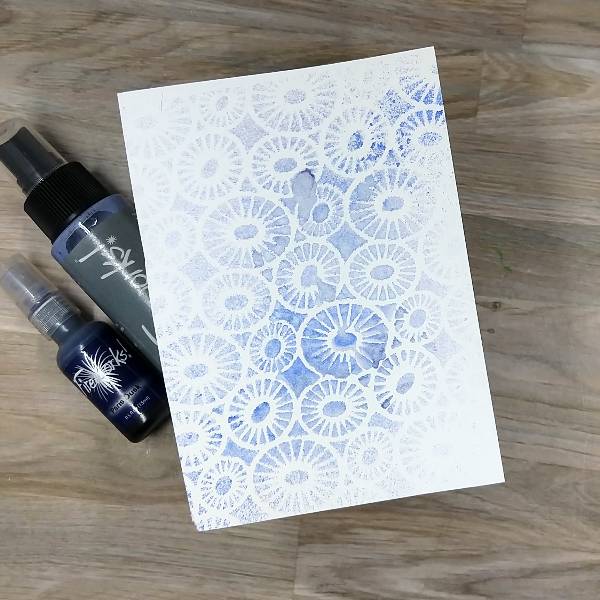
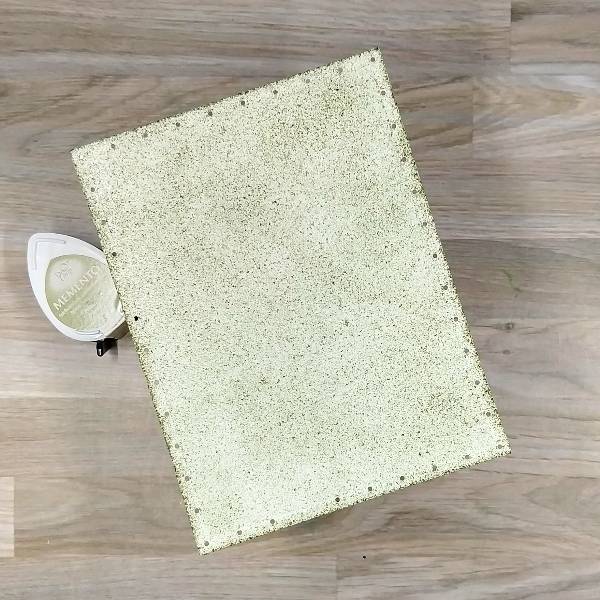
Spray London Fog Fireworks! Shimmery Craft Spray onto another piece of watercolor panel through a stencil. Then spray Paris Dusk Fireworks! Shimmery Craft Spray on a diagonal through the same stencil through the same stencil while the ink was still wet.

Step 5:
Stamp the thanks sentiment with more Nocturne VersaFine Clair Ink on watercolor paper and then heat emboss it with more of clear Mboss embossing powder. Then die cut the sentiment with the corresponding die.
Step 6:
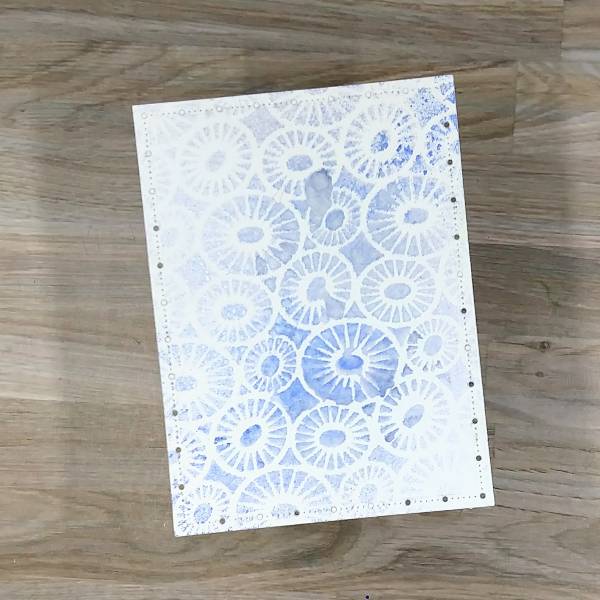
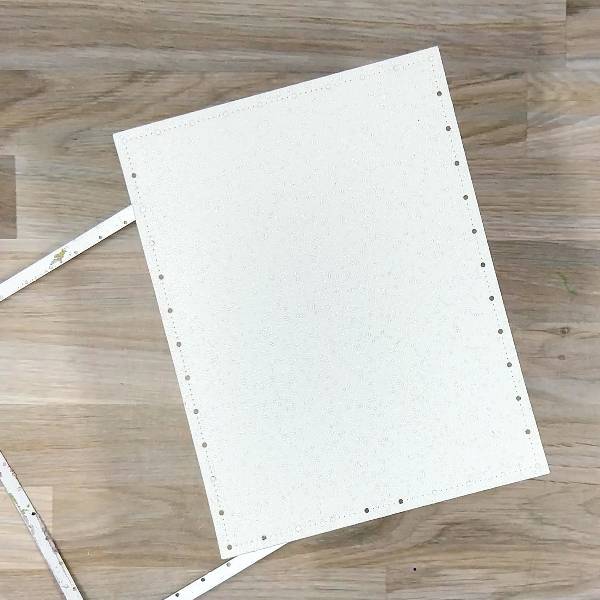
Die cut the sprayed background panel with the second-largest die from a nested A2-sized panel die set.
Step 7:
Glue the large floral die cut image onto the sprayed panel and then trim the edges of the floral die.
Step 8:
Mix Northern Pine Memento Dual Marker mixed with water and splatter onto the panel and floral die cut.
Step 9:
Die cut a piece of white glitter cardstock with the largest die from the same nesting die cut set.
Step 10:
Swipe Pistachio Memento Ink across the glitter cardstock to color it green.
Step 11:
Glue clear sequins and the sentiment die cut onto the upper panel. Then glued the green glitter cardstock behind the focal panel. To finish the card, glue the whole thing onto an A2-sized white card base.
Craft Supplies:
Imagine:
Fireworks! Shimmery Craft Spray – London Fog and Paris Dusk
Mboss – Clear
Memento Dual Marker – Lilac Posies, Love Letter, Northern Pine, Pistachio, Rhubarb Stalk, and Tangelo
Memento – Pistachio
Sheer Shimmer Craft Spray – Frost
VersaFine Clair ink – Nocturne
Other Products
Altenew – die set – Bougainvillea
Altenew – stamp set – Bougainvillea
Catherine Pooler – sequins – Crater Lake
Gina Marie Designs – Die set – Big and Little Chain Rectangle die set
Ink On 3 – Stencil – Pondie 6×6 stencil
Watercolor paper
White glitter cardstock
Die cutting machine
Paper Trimmer
Scissors
Glue