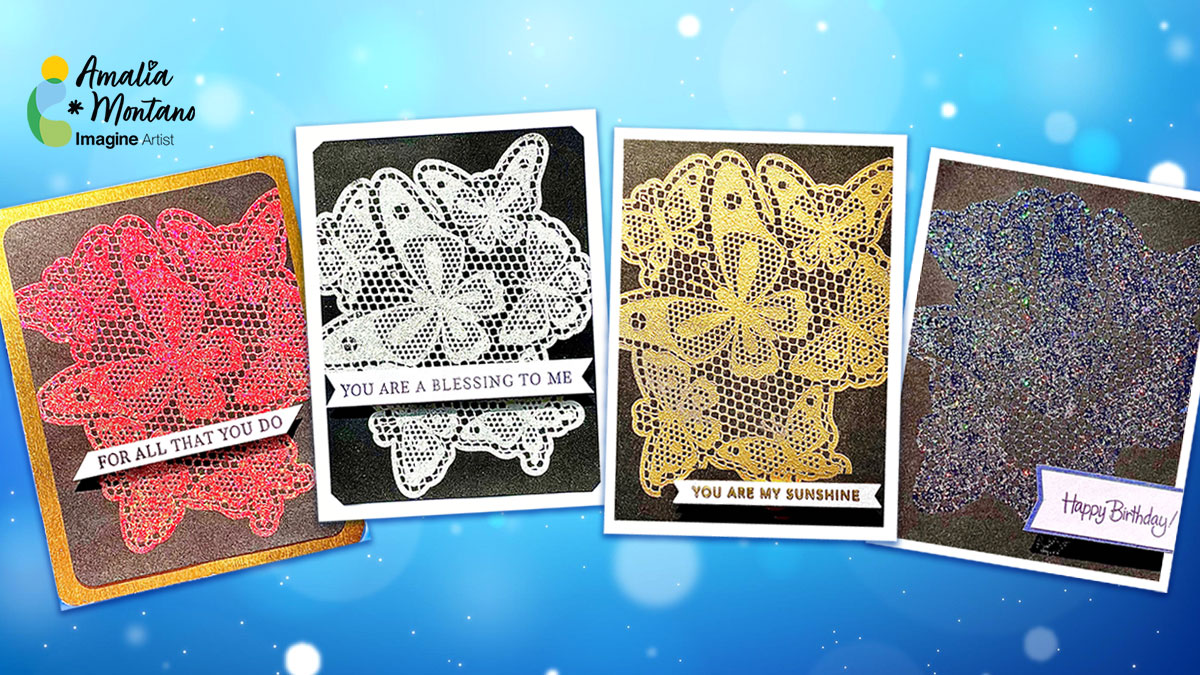
By Jessica Lin
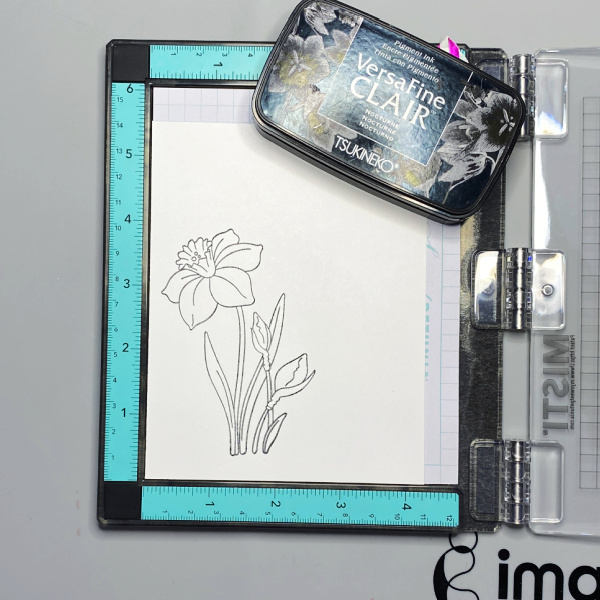
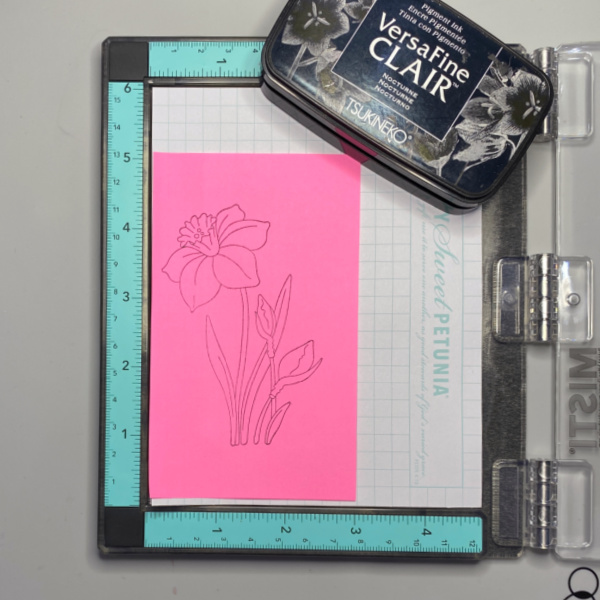
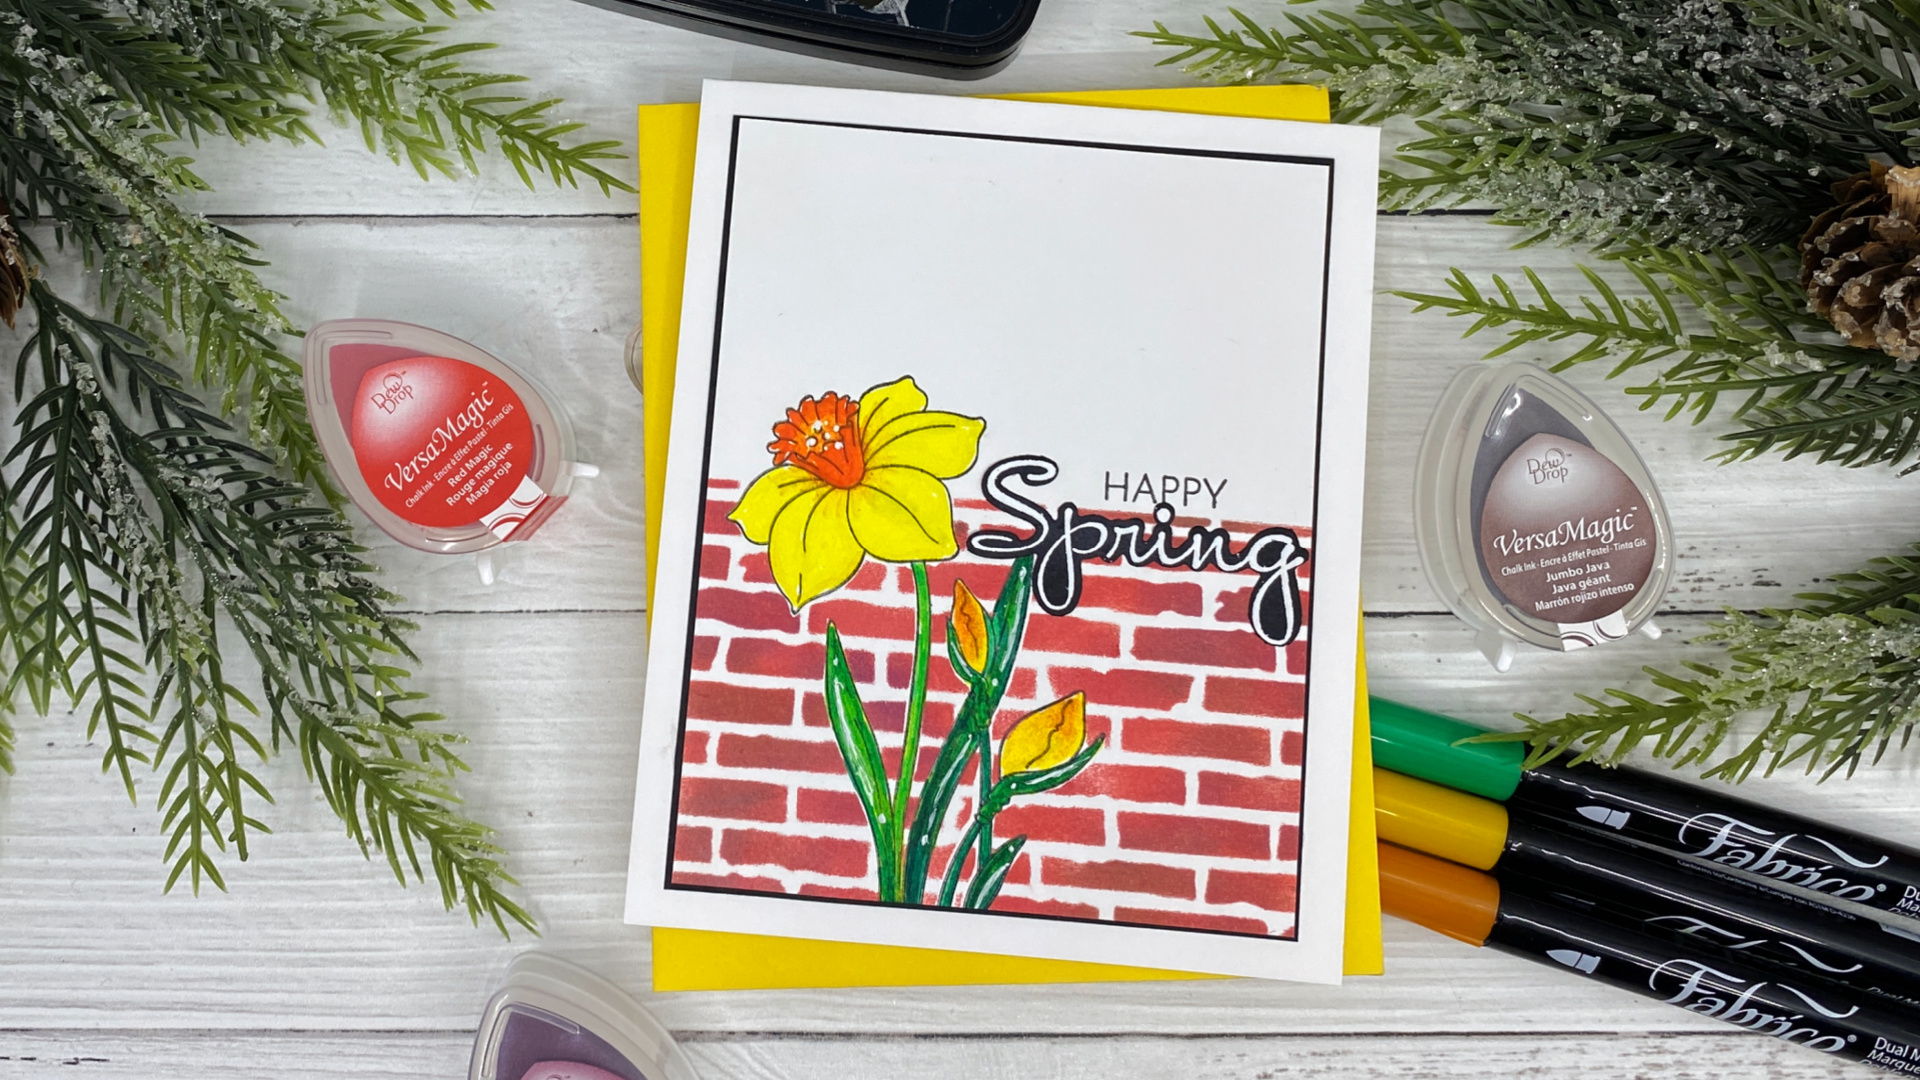
When it comes to coloring with alcohol markers, the ink you use to stamp your images becomes very important. Choosing the right ink will ensure that the image lines stay sharp without bleeding into each other. My personal choice is the Memento Tuxedo Black ink pad. A light beige color like Desert Sand could be a great choice as well for no-line coloring.
Skill: Intermediate
Time: 1 hour

Step 1:
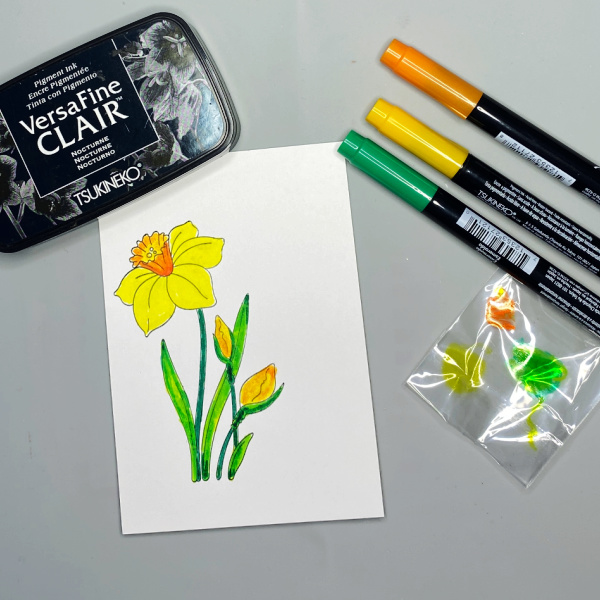
Stamp some floral and leaves images with Memento Tuxedo Black ink. I love the Happiness Abounds set from Stampin’ Up; the roses are so elegant and the perfect sizes to create a floral wreath. Then color the images with your choice of alcohol markers. I used Stampin Blends in Pale Papaya, Soft Seafoam, and Old Olive.

Step 2:
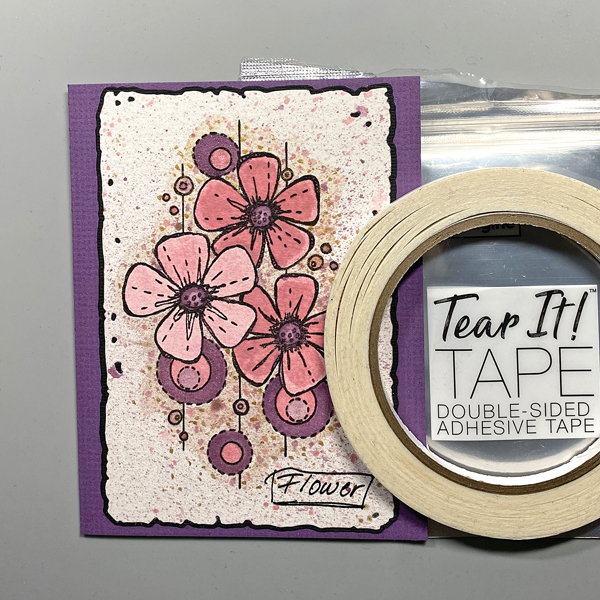
Die cut the colored images with Blossoming Happiness dies and arrange them in a circle. Then adhere them to the card base. I used Tear-It Tape to adhere the leaves in the background, and used Stampin’ Dimensionals to create layers and depth for the flowers.

Step 3:
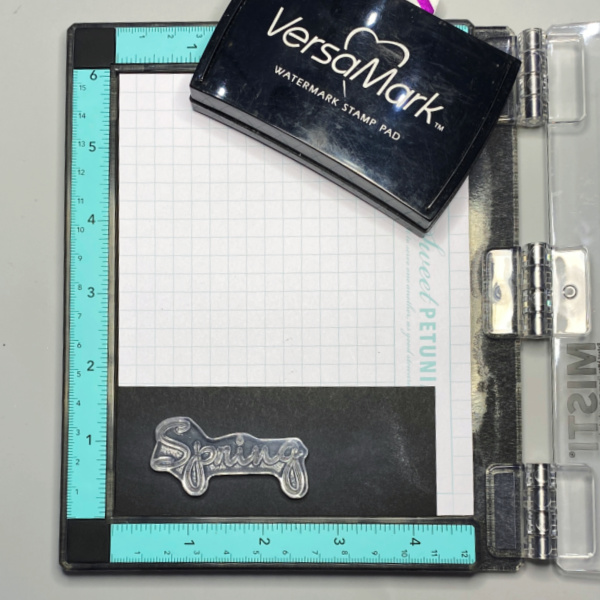
For the sentiment, I chose a simple circle to tie in this elegant design. The fonts for these stamps are just so pretty! I always grab VersaFine Clair Nocturne to stamp my sentiments; the lines are so crisp and dark, and they’ll never look splotchy! Don’t use them with alcohol markers though, the pigment ink will react with alcohol inks.

Coloring takes time, but it’s such a relaxing experience… I hope you enjoyed this project as much as I do.
Imagine Supplies:
Other Supplies:
- Stampin’ Up! – Stamps and Dies – Happiness Abounds
https://jessiehandmade657.blogspot.com/2024/02/my-crafty-shop.html - Stampin’ Up! – Tool – Mini Cut and Emboss Machine
https://www.stampinup.com/products/mini-stampin-cut-emboss-machine?demoid=2164794
- We R – Tool – Precision Press
- Stampin’ Up! – Alcohol Markers – Soft Sea Foam / Pale Papaya / Old Olive
https://www.stampinup.com/products/soft-sea-foam-stampin-blends-combo-pack?demoid=2164794
- Stampin’ Up! – Cardstock – Mint Macaron
- Hero Arts – Dies – Infinity Circles
- Vellum
- Stampin’ Up! – Embellishment – Adhesive Pearls
https://www.stampinup.com/products/iridescent-pearl-basic-jewels?demoid=2164794
- Foam Tape