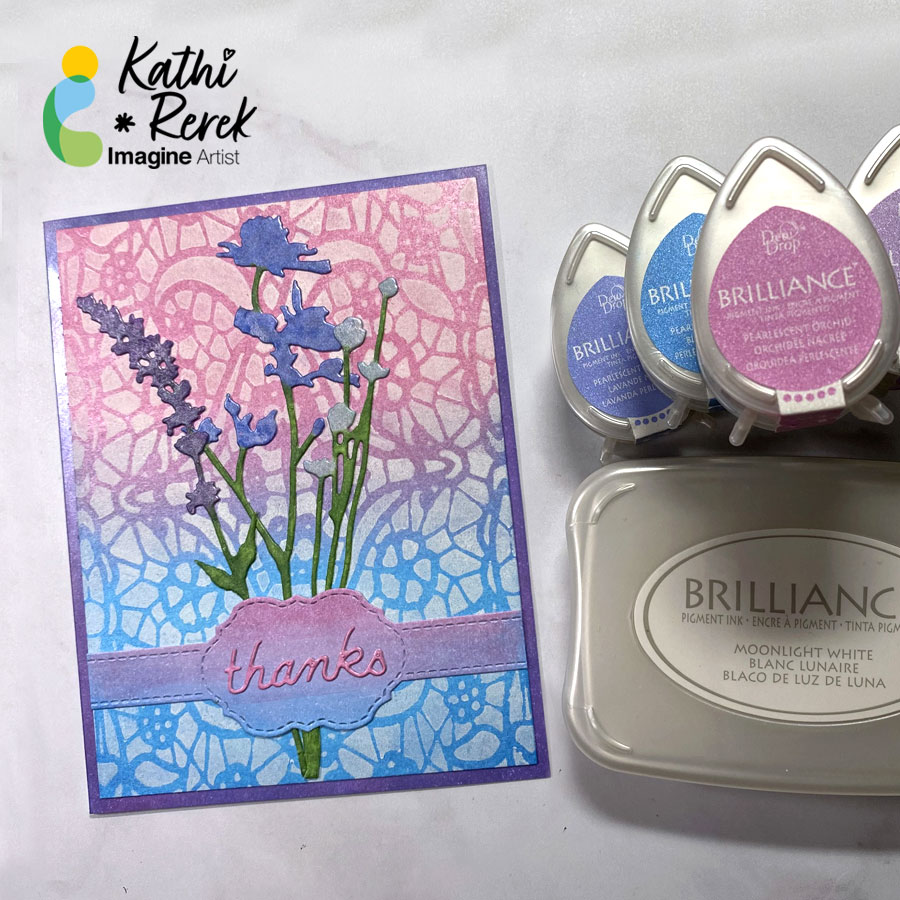
By Kathi Rerek
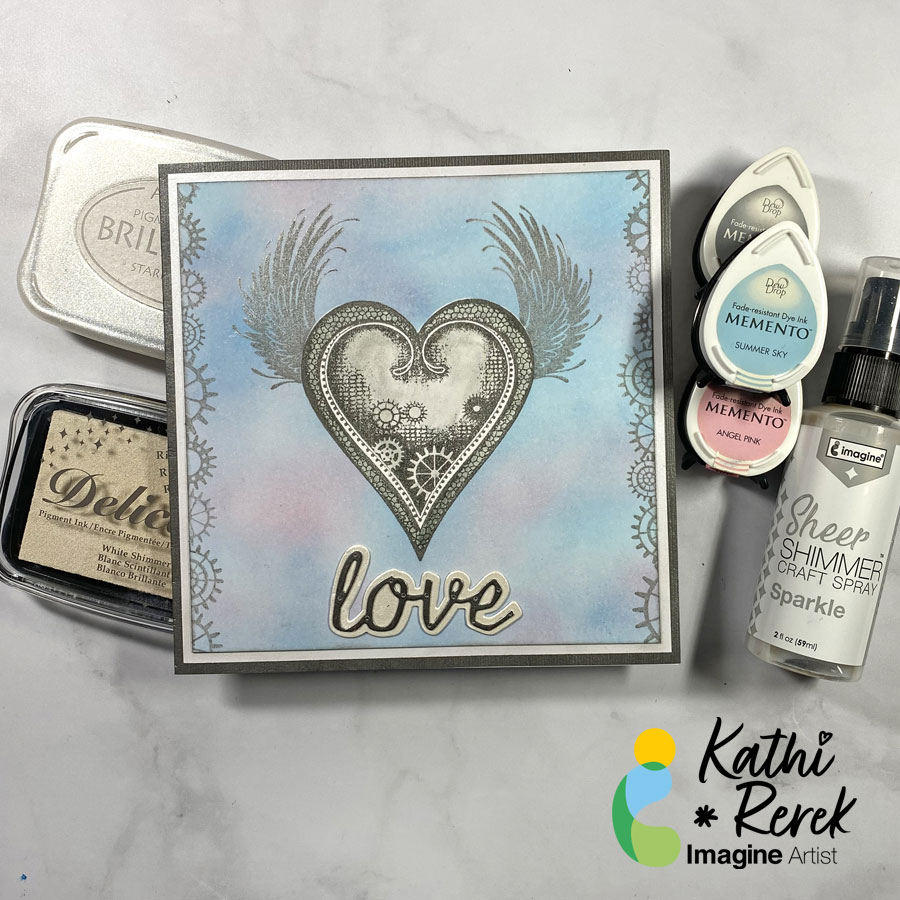
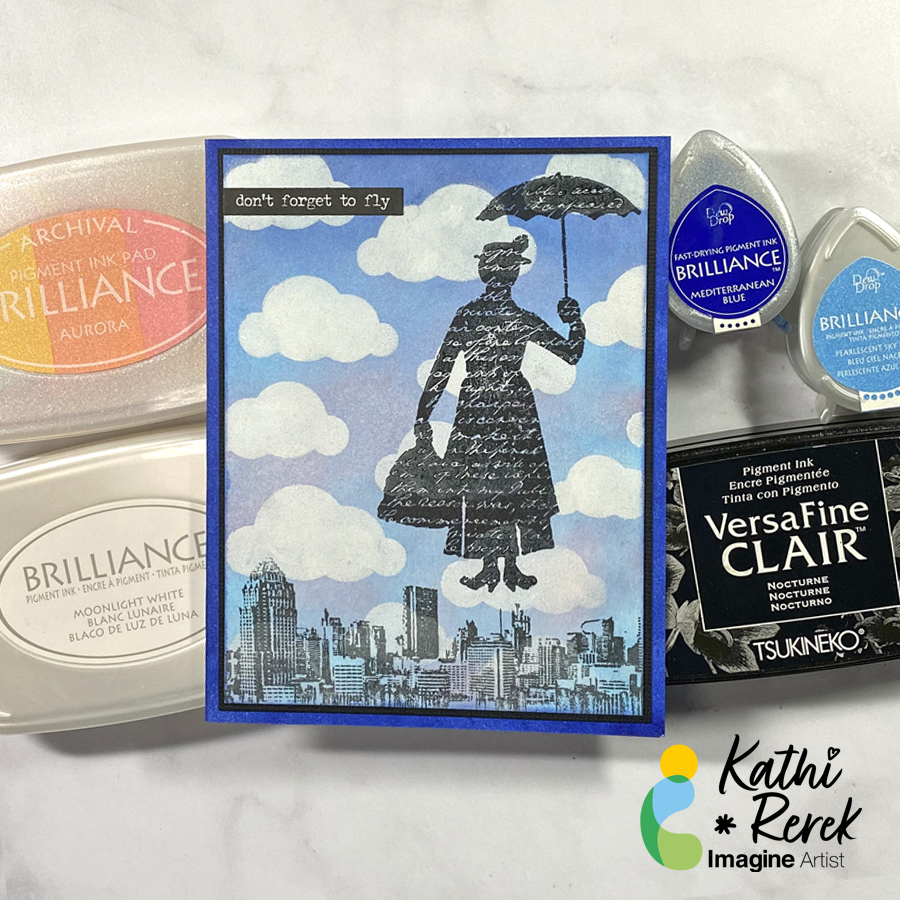
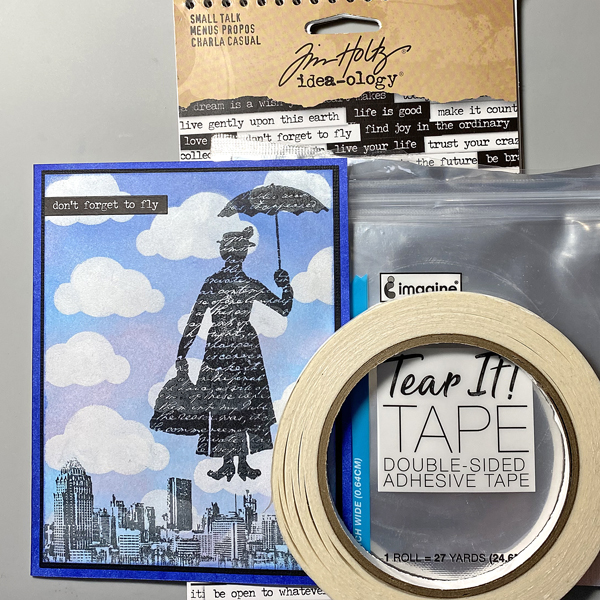
Intro: Brilliance inks blend beautifully and the pearlescent ones create a beautiful shimmer that enhances magical scenes like this one.
Skill Level: Beginner to Intermediate
Time: 1 hour
Directions:

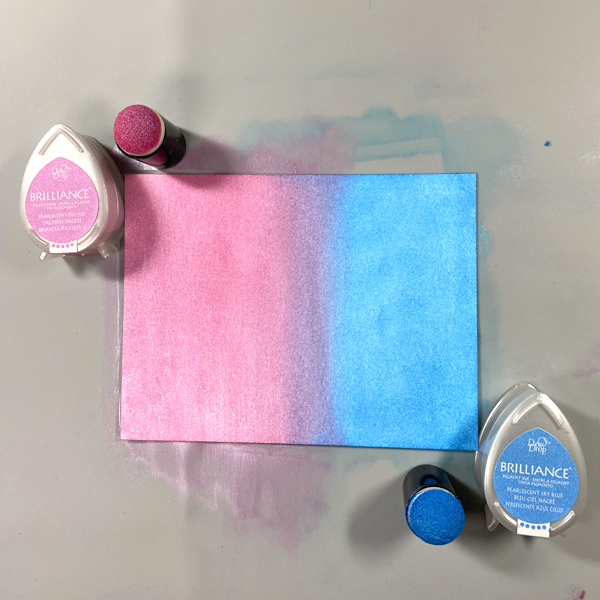
Step 1.
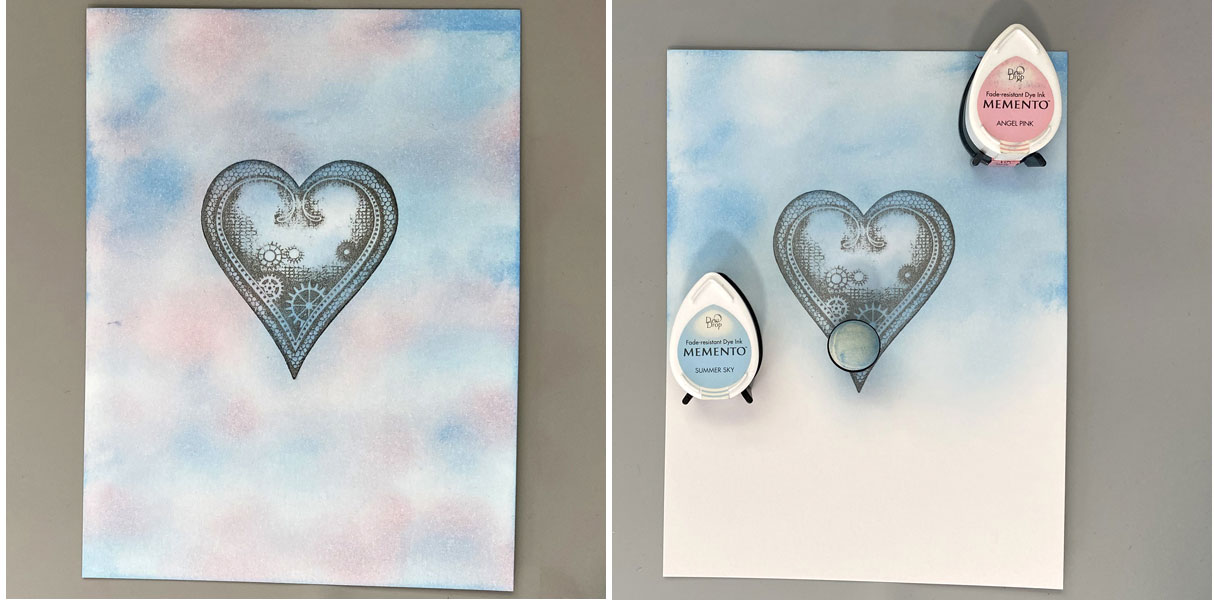
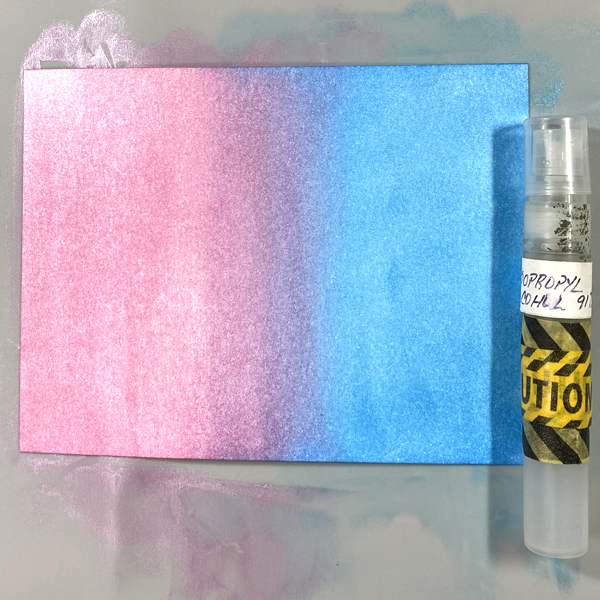
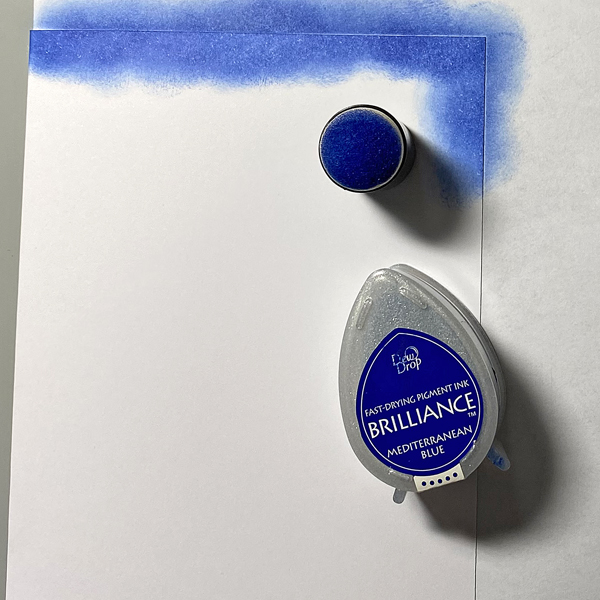
Use a Sponge Dauber to apply Mediterranean Blue Brilliance ink horizontally across the top of a 4” x 5.25” panel of white cardstock. Use a Sponge Dauber to apply Pearlescent Sky Blue Brilliance ink below the darker blue. Use both daubers to create a blended shimmery sky.
Use a Sponge Dauber to apply the Pearlescent Coral Brilliance ink from the Aurora 3-Color Brilliance Ink Pad. Sorry that there’s no photo!
Step 2:
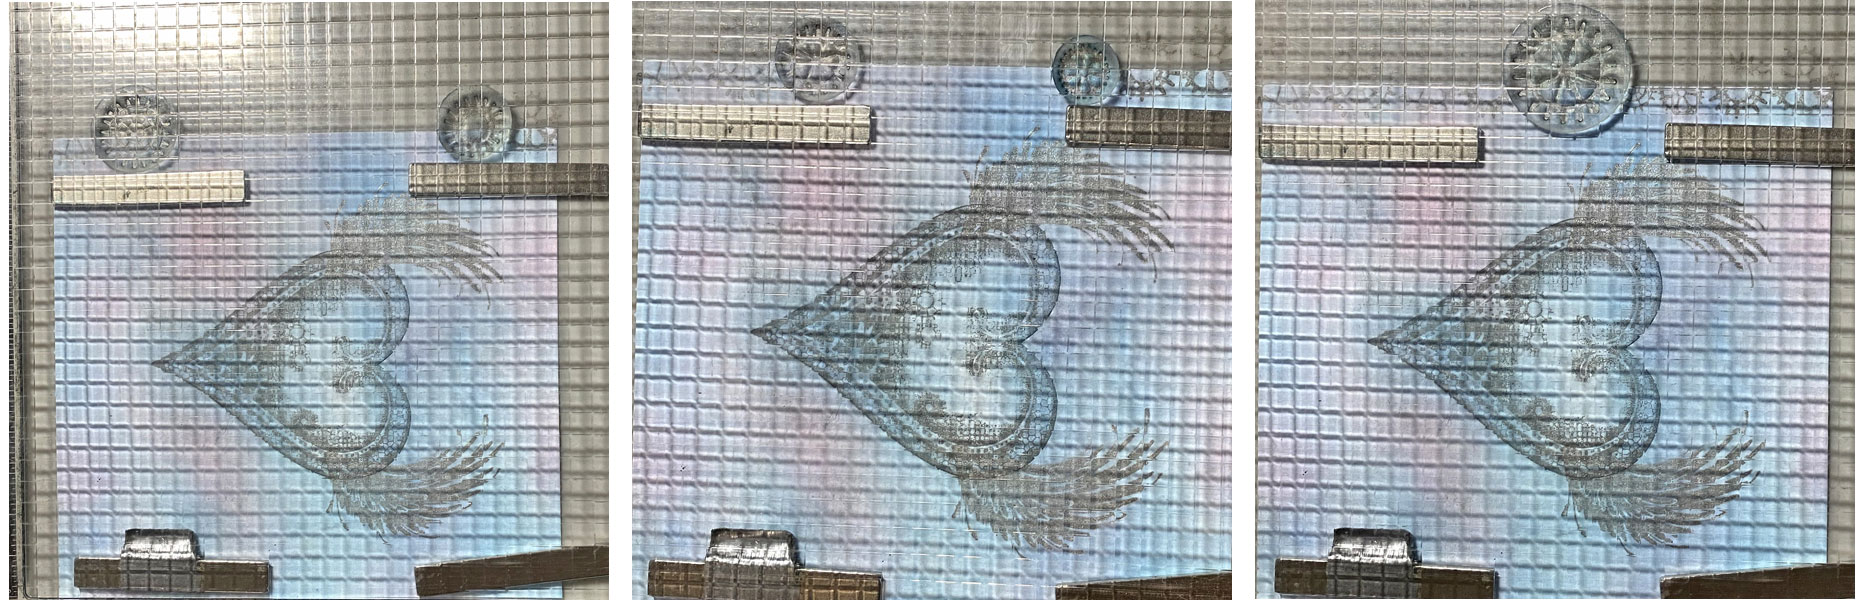
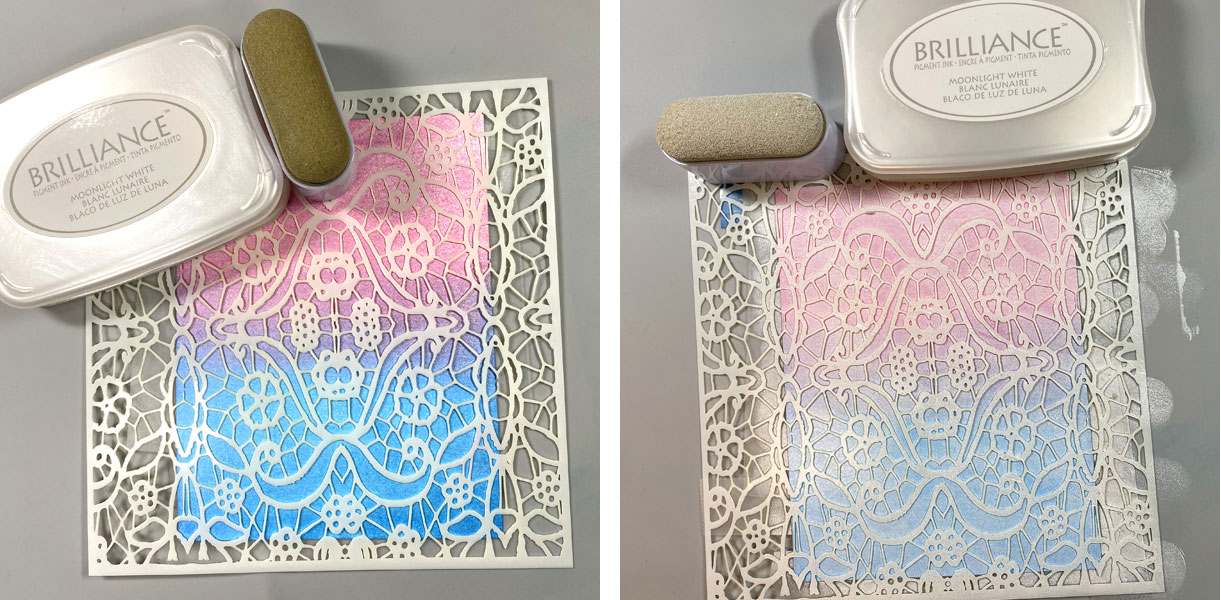
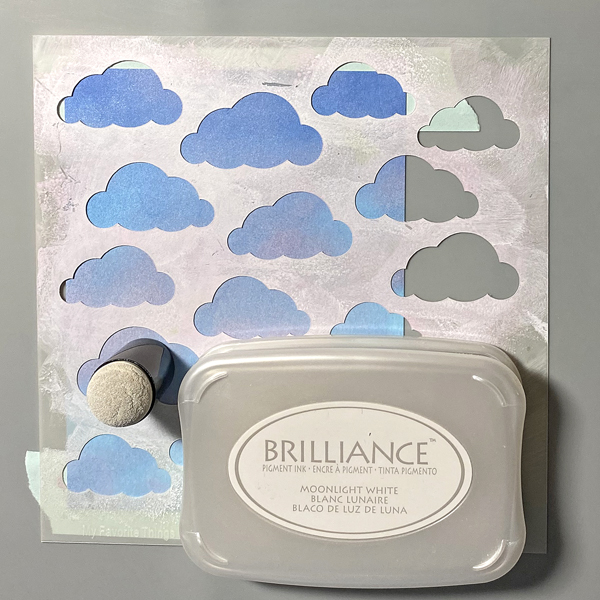
Tape the image panel to the back of the Clouds Stencil.
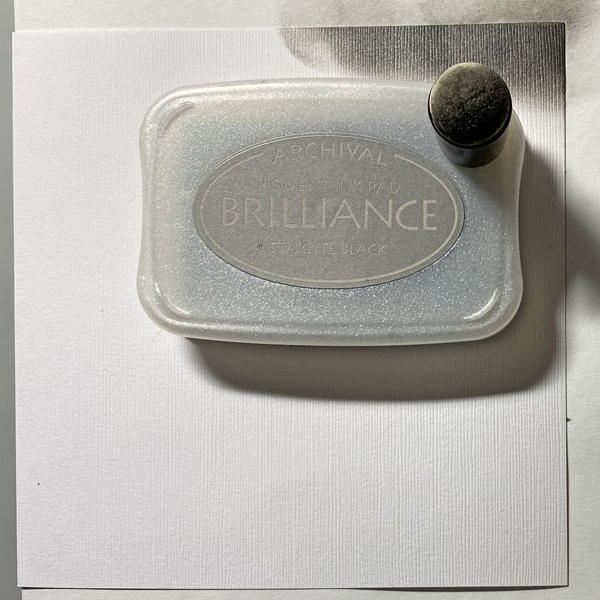
Using a Sponge Dauber, apply Moonlight White Brilliance ink over the stencil onto the image panel.
Remove the stencil and heat set the ink.
Step 3:
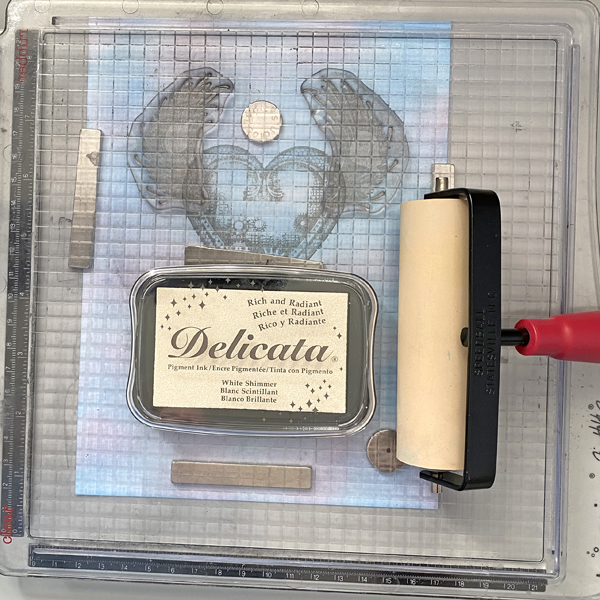
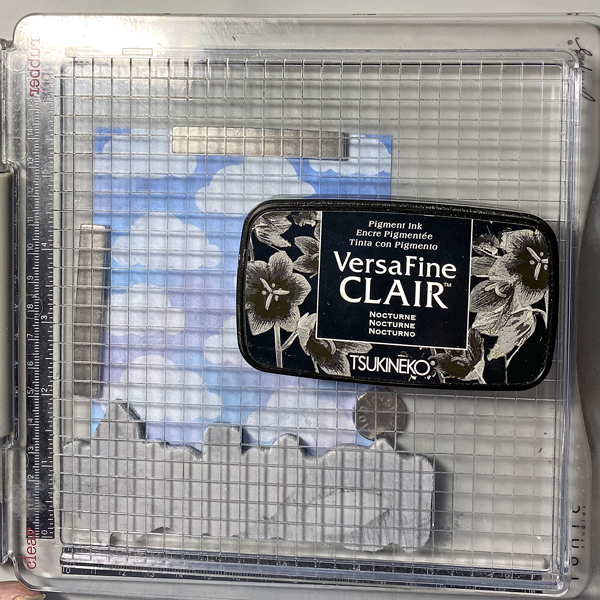
Use magnets to secure the ink-sponged panel approximately .5” from the right edge and 1” from the bottom of the stamping platform.
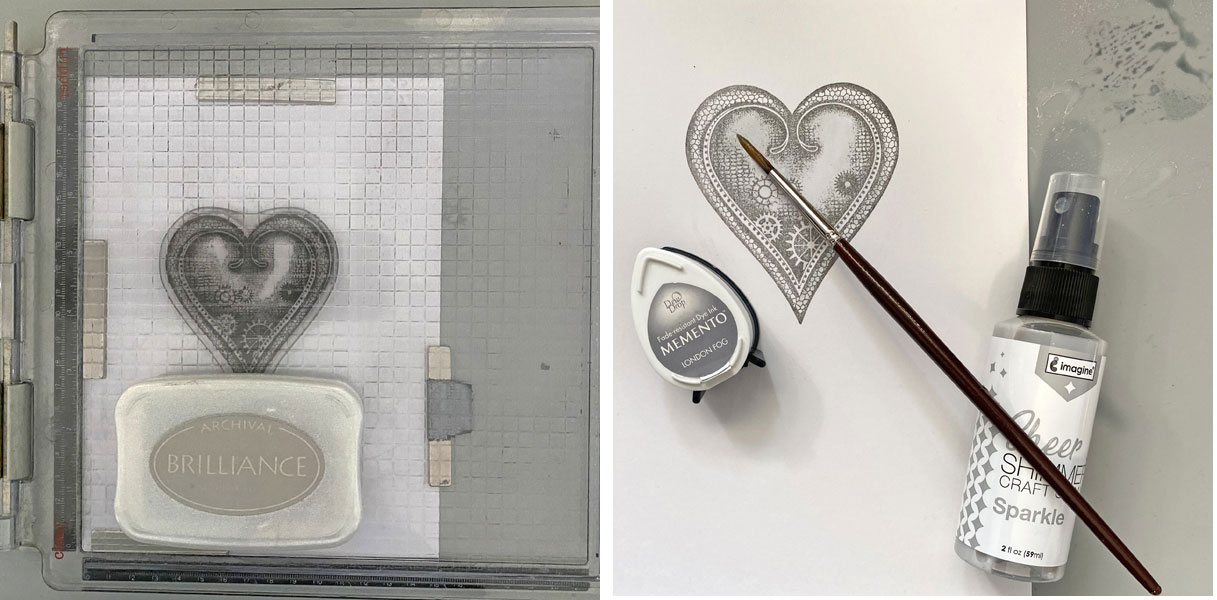
Position the Cityscape Reflections Stamp facedown along the bottom of the stamping platform.
Ink the stamp with Nocturne VersaFine Clair Ink and stamp. Re-ink and stamp again if needed. Remove the stamp and heat set the panel.
Step 4:
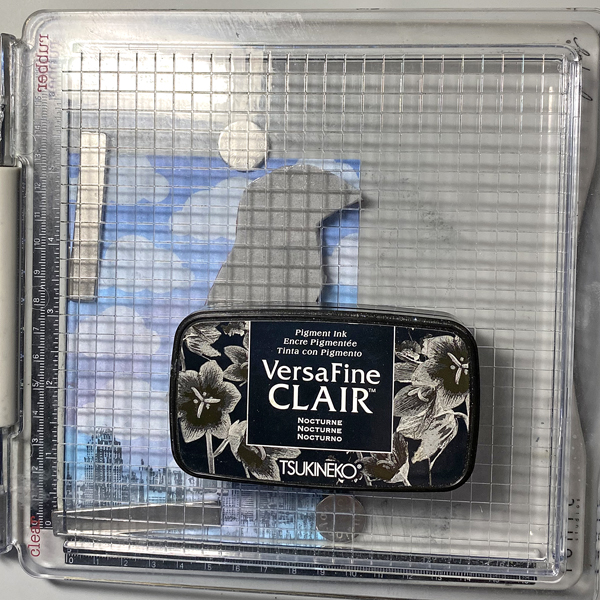
Move the image panel so that it’s flush the right and bottom edges of the stamping platform. Secure with magnets.
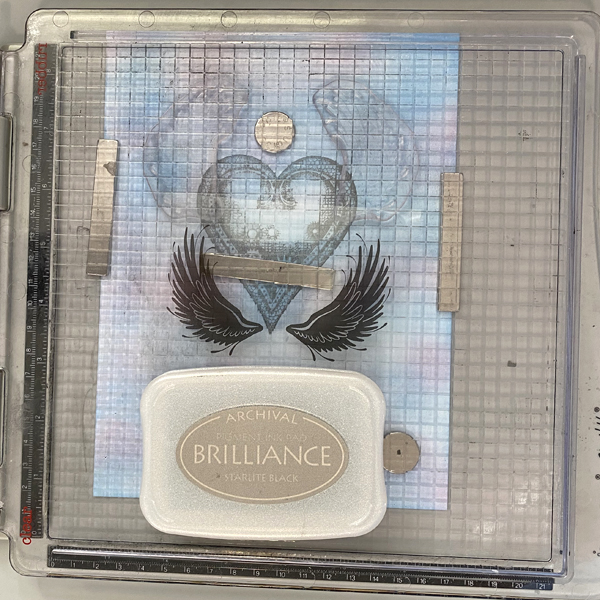
Position the Silhouette Lady with Umbrella Stamp facedown along the right edge above the cityscape.
Ink the stamp with Nocturne VersaFine Clair Ink and stamp. Re-ink and stamp again if needed. Remove the stamp and heat set the panel.

Step 5:
Trim the image panel to 3 7/8” x 5 1/8”.
Use a Sponge Dauber and Mediterranean Blue Brilliance Ink to edge the image panel.
Step 6:
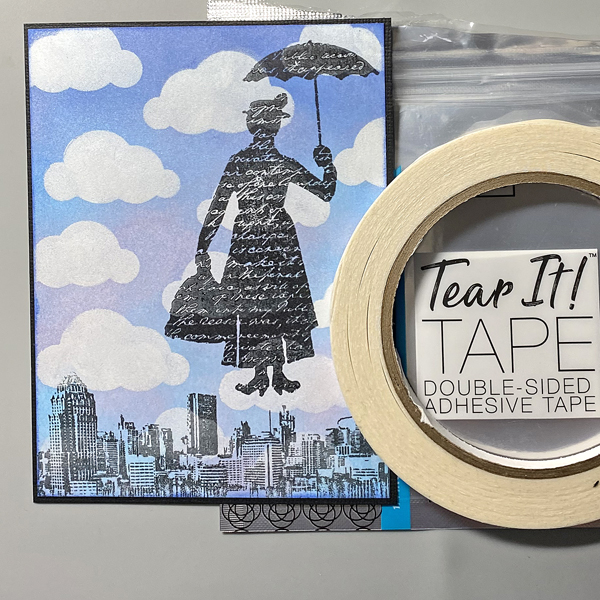
Cut a piece of Raven cardstock to 4” x 5.25”.
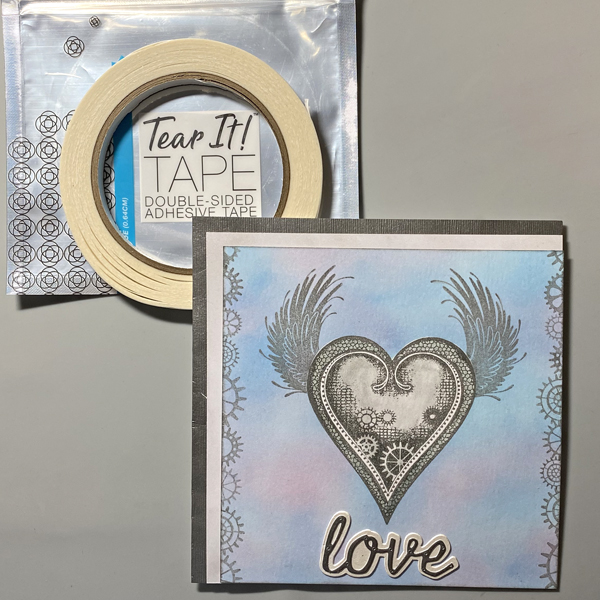
Use Tear It! Tape to adhere the image panel to the black cardstock.
Step 7:
Create an A2 Card from White cardstock.
Use a Sponge Dauber to apply Mediterranean Blue Brilliance Ink to the outer .5” of the folded card. Heat set.
Step 8:
Use Tear It! Tape to adhere the image panel to the card.
Adhere the sentiment sticker to finish the card.
Imagine Crafts Supplies:
- Brilliance Dew Drop Ink – Mediterranean Blue, Pearlescent Ice
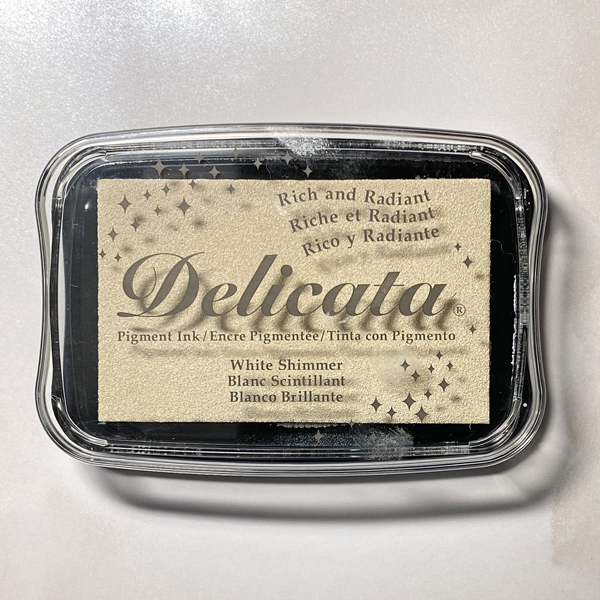
- Brilliance Ink Pad – Moonlight White
- Brilliance Tri-Color Pad – Aurora
- VersaFine Clair Ink – Nocturne
- Sponge Daubers
- Tear It! Tape
- Craft Mat
Other Supplies:
- 140 lb. Bristol Paper by Strathmore
- Raven Black Cardstock by Bazzill Basics
- Solar White Classic Crest Cardstock by Neenah Papers
- Cityscape Reflections Cling Rubber Stamp by Andy Skinner for Creative Expressions
- Silhouette Lady With Umbrella Unmounted Rubber Stamp by Lost Coast Stamps
- Small Talk Idea-ology Stickers by Tim Holtz for Advents
- Stamping Platform
- Heat Gun by EK Success