By Anna Escalada York
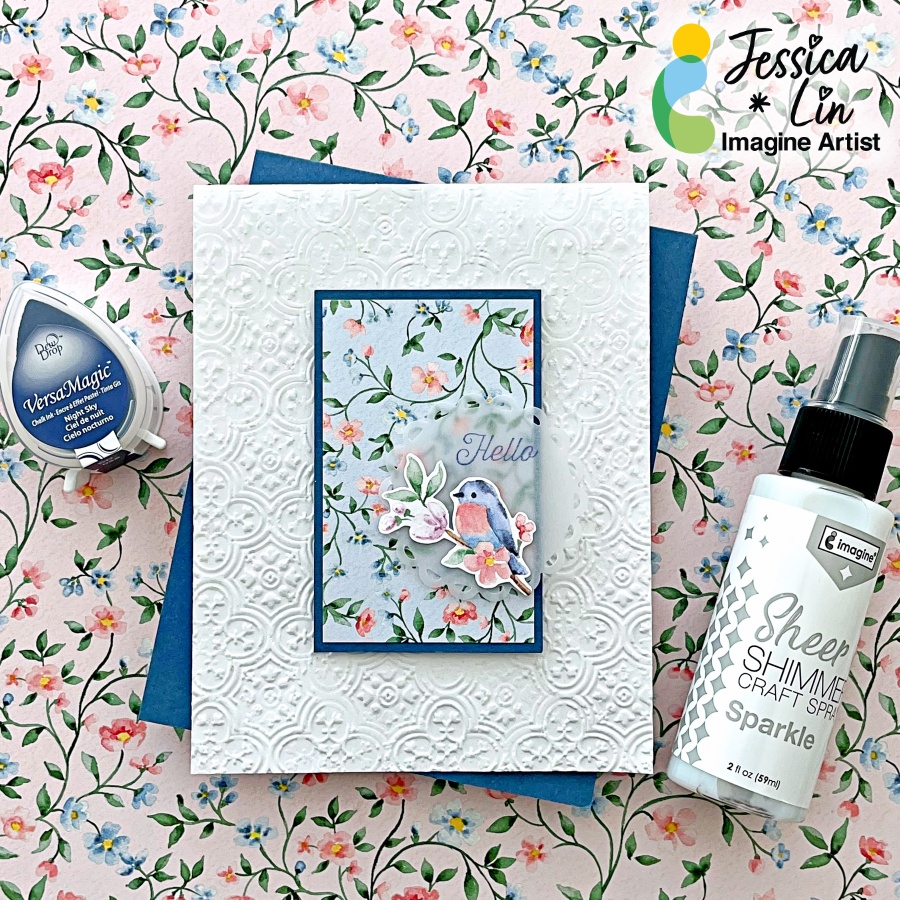
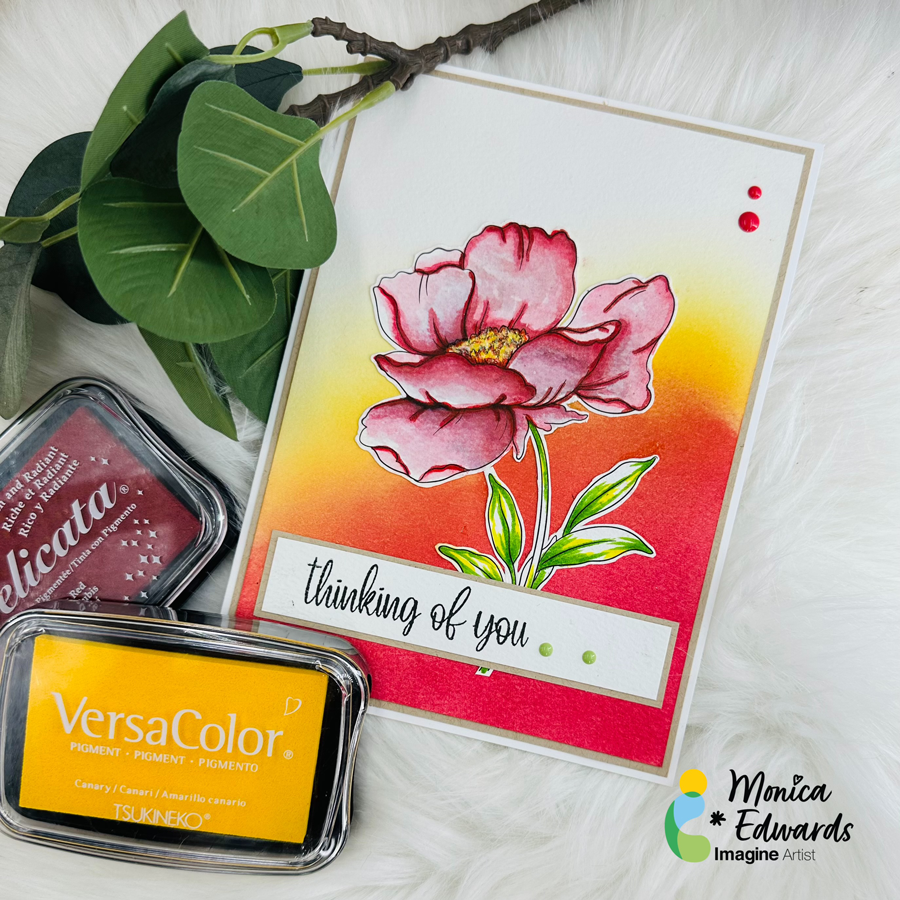
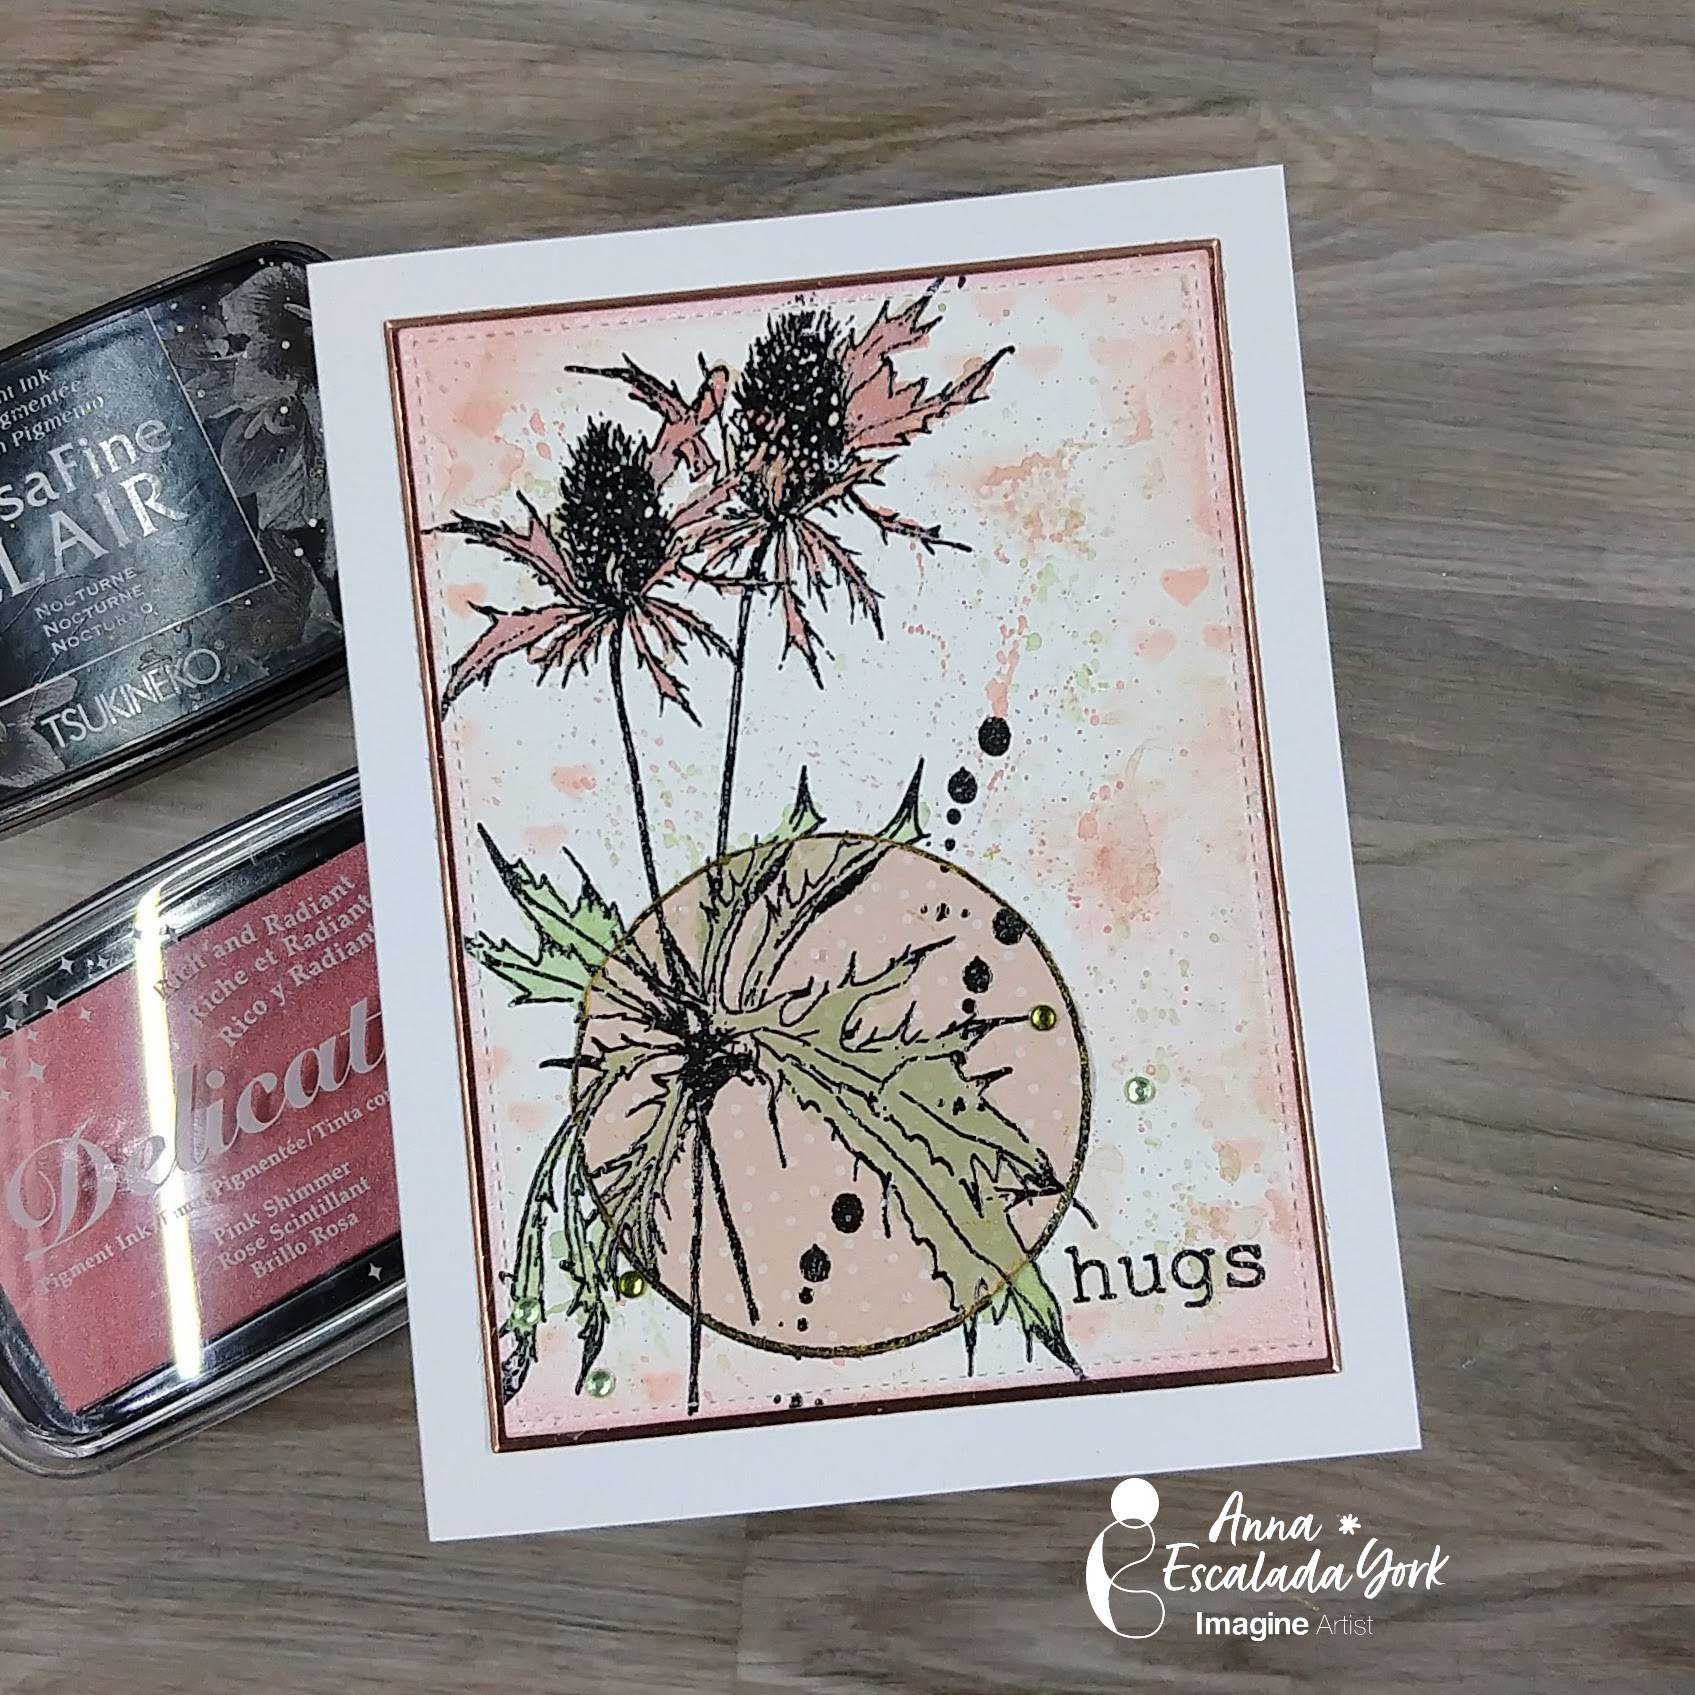
In today’s blog post, I will show you how to add some patterned paper to a card to spotlight a
part of the image.
Skill: Intermediate
Time: 1.5 hours
Directions:
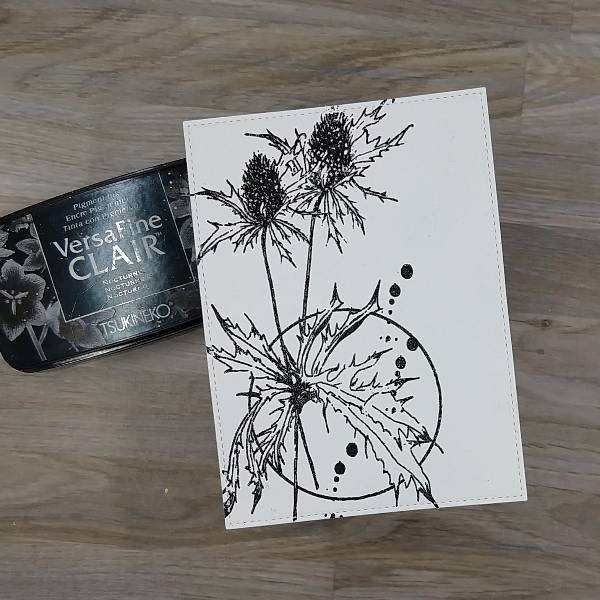
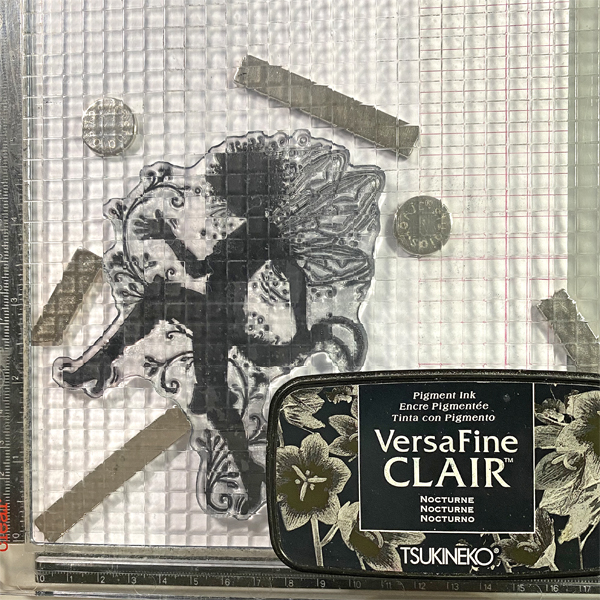
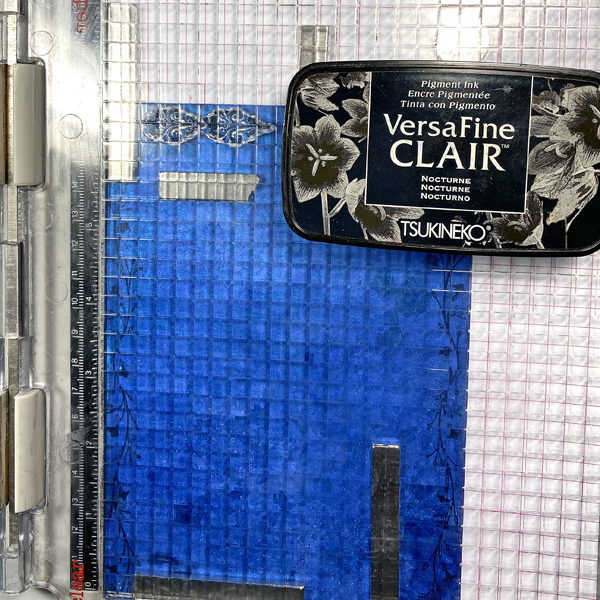
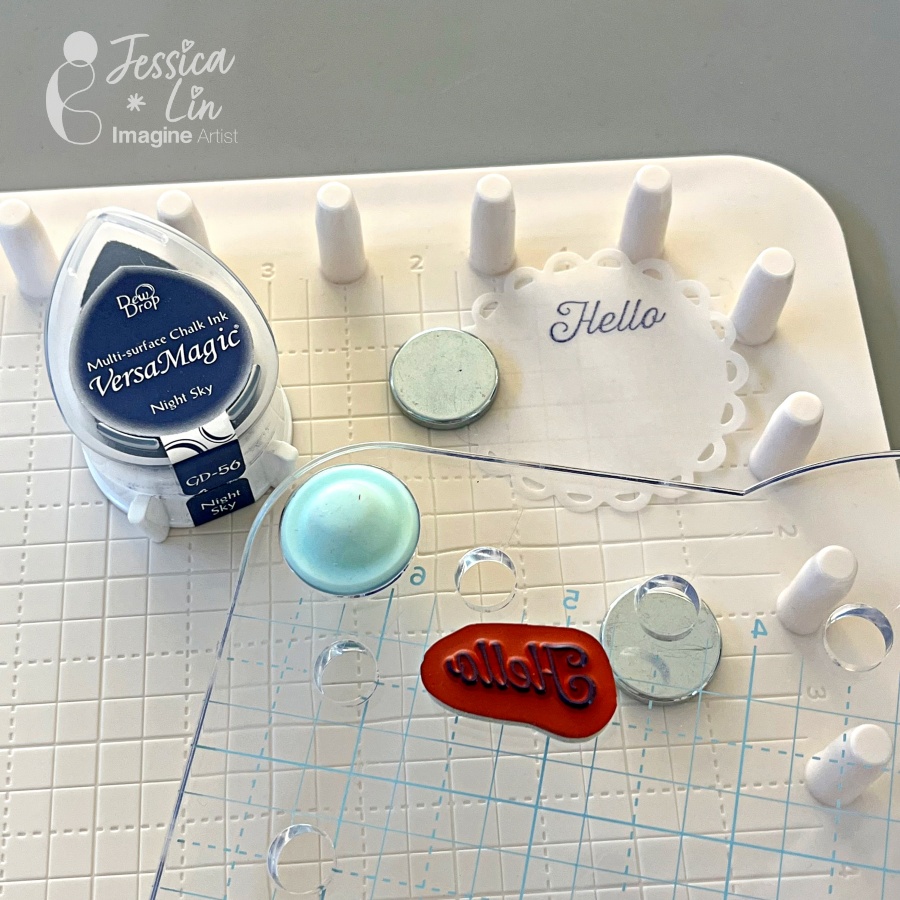
Step 1:
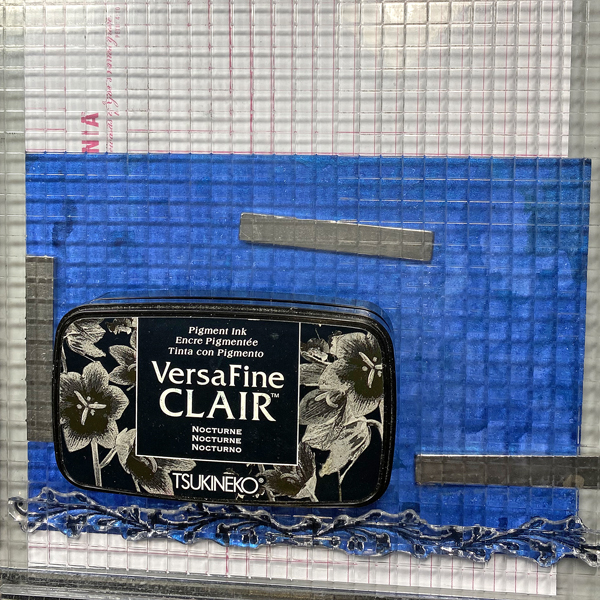
Using a stamping platform, stamp the floral image with Nocturne VersaFine Clair ink onto a
piece of watercolor paper. (I used a pre-die cut panel.)
Optional step: Heat emboss with a clear embossing powder. I did this because I didn’t want to
wait for the VersaFine Clair ink to dry, as well as add some subtle shine.
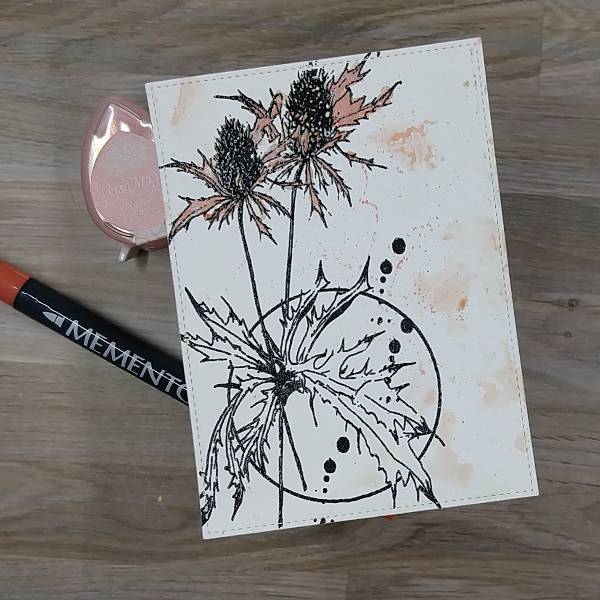
Step 2:
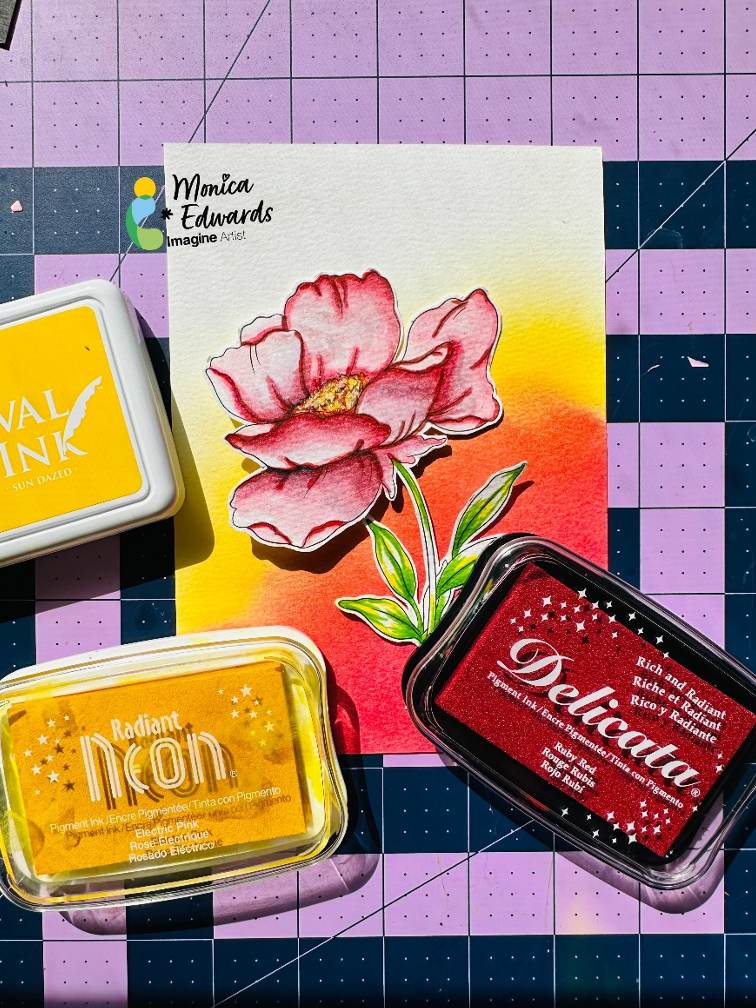
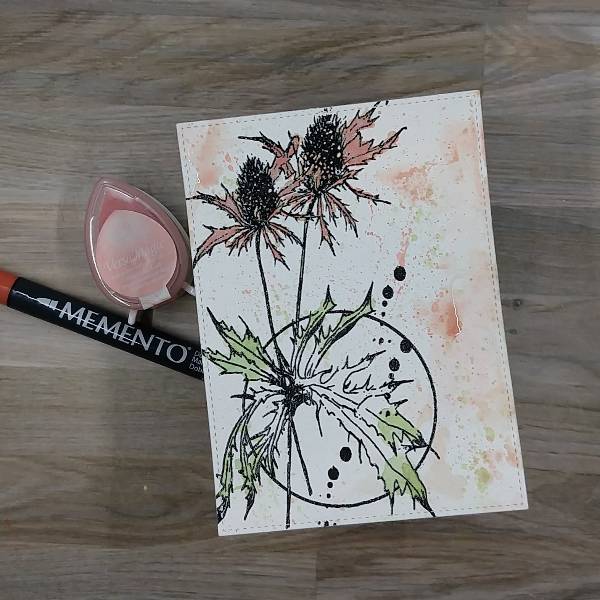
Mix some Pink Grapefruit VersaMagic Chalk Ink with a Morocco Memento marker by pressing
the ink pad and coloring a piece of scrap acetate and spraying both with water before mixing the
colors to create a coral watercolor.
Watercolor the petals of the floral image. Using the remainder of the watercolor to splatter the
watercolor panel and smoosh the panel as well to add color around the panel. It was set aside
to dry.
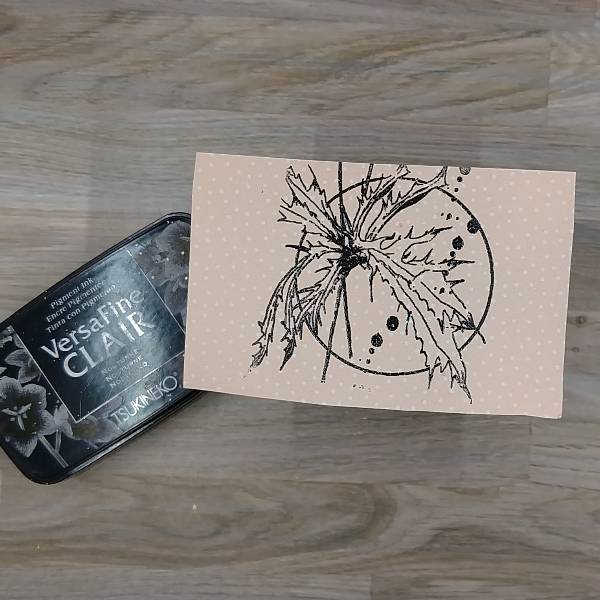
Step 3:
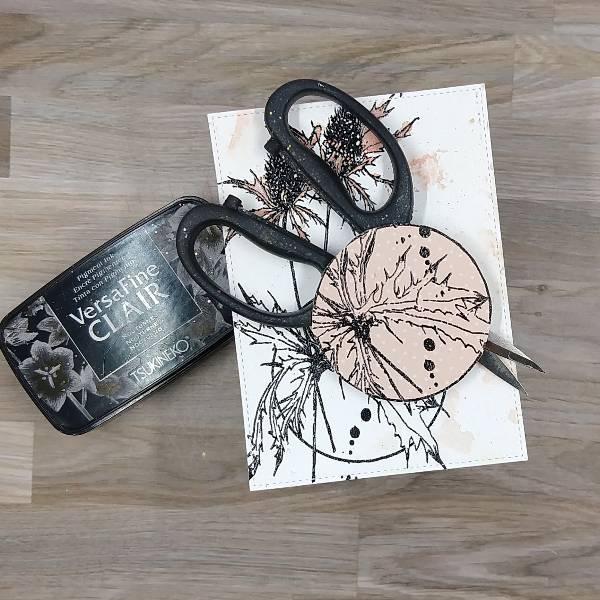
Stamp the bottom part of the stamp onto a piece of dusty pink patterned paper with more
Nocturne VersaFine Clair ink.
Optional step: Heat emboss the image with more clear embossing powder.
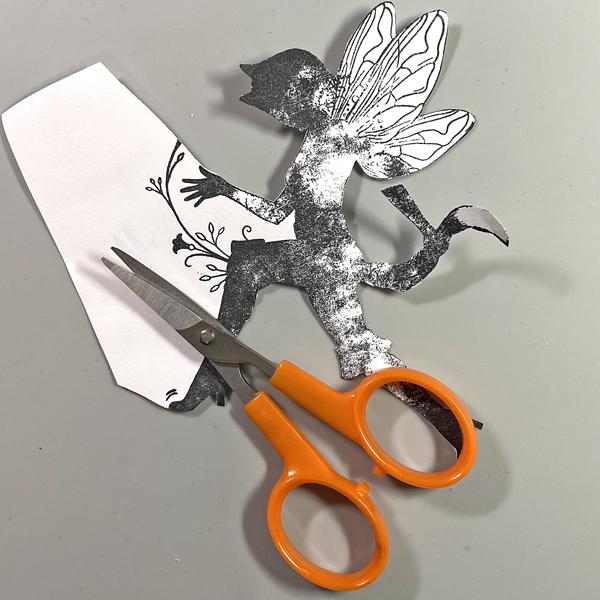
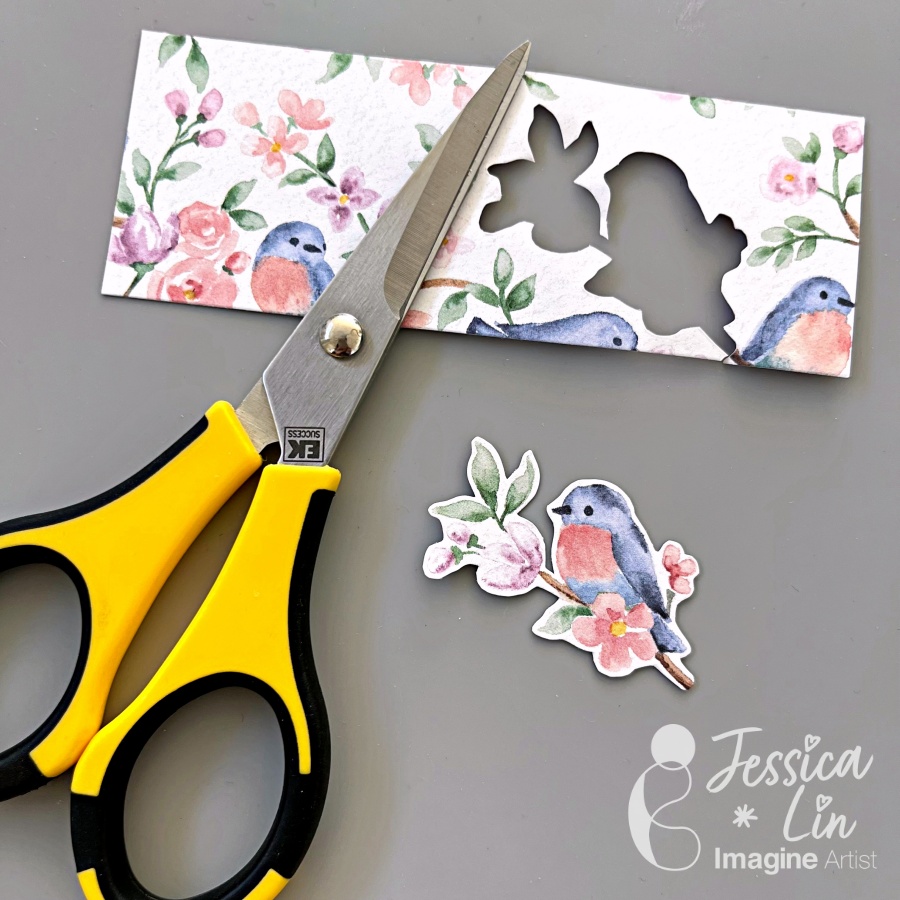
Step 4:
Cut the patterned paper image along the circular edge.

Step 5:
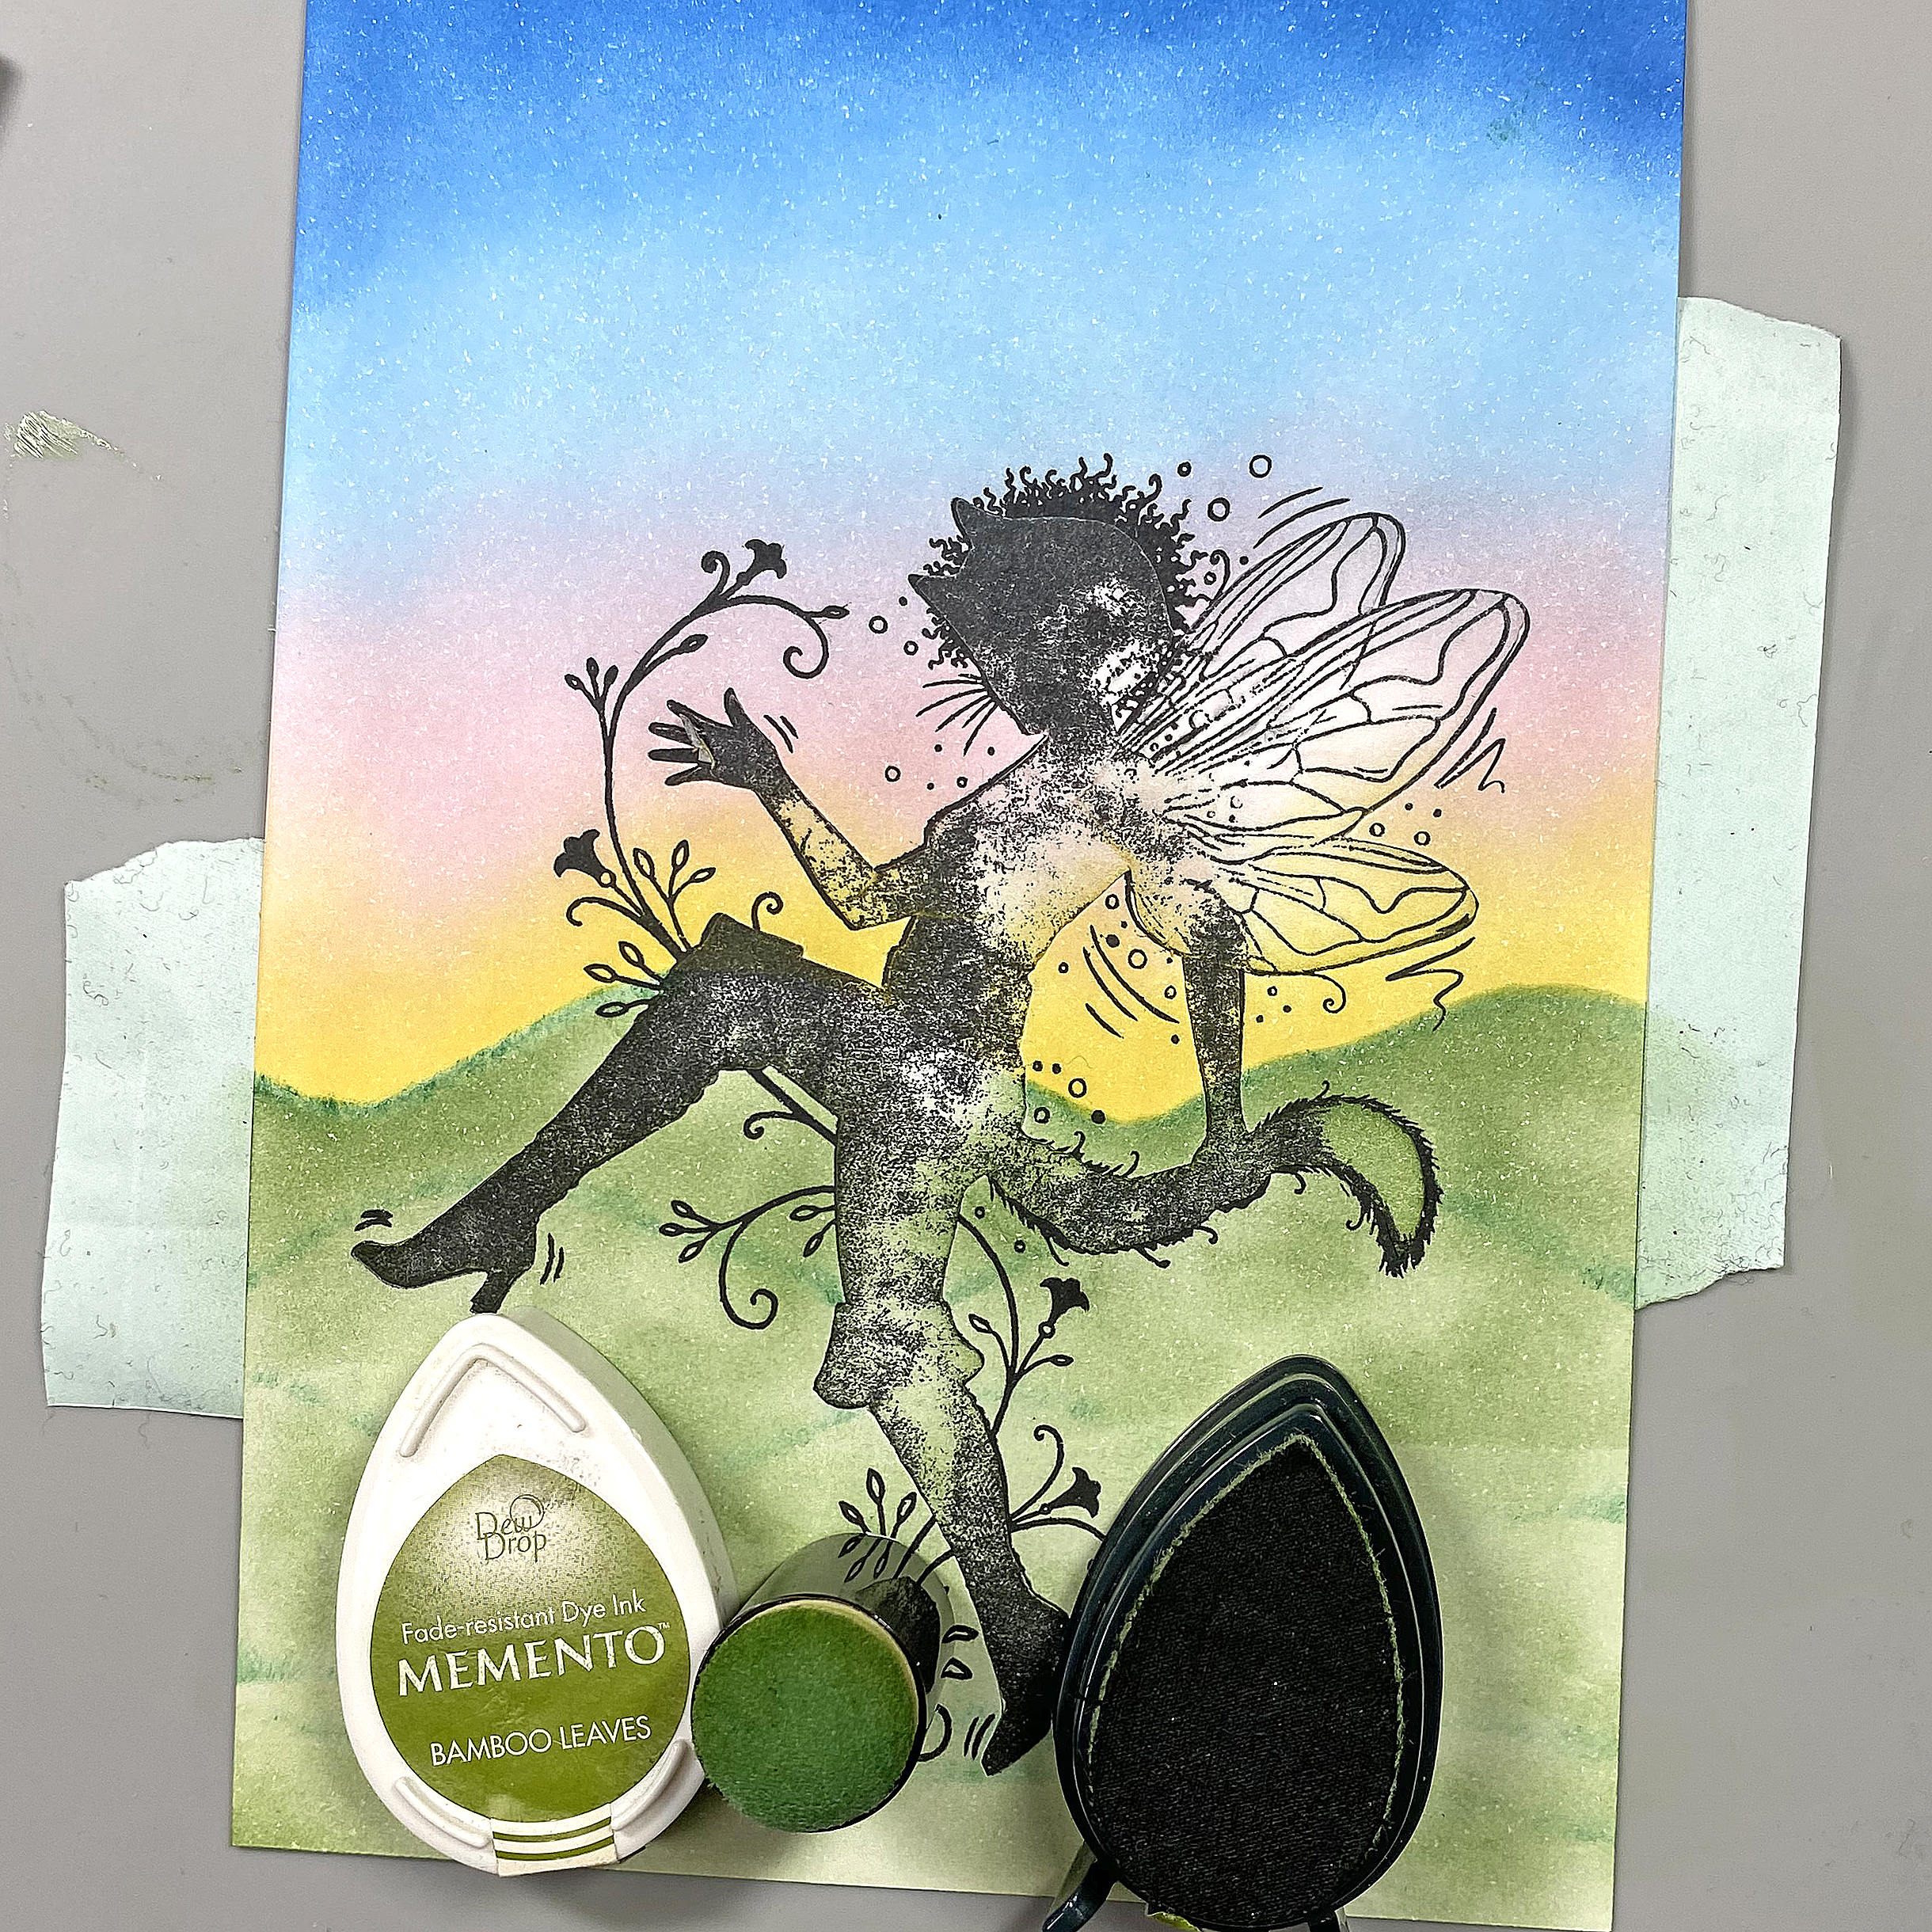
Create green watercolor by pressing Tea Leaves VersaMagic Chalk Ink onto a piece of acetate
Create green watercolor by pressing Tea Leaves VersaMagic Chalk Ink onto a piece of acetate
as well as scribbling the acetate with both Cottage Ivy and Bamboo Leaves Memento marker
and spraying all of the areas of color with water before mixing them together. Watercolor the
edges of the leaves with the watercolor. (You won’t need to color the central parts of the leaves
as they will be covered soon.) Again, splatter the card and watercolor smoosh the panel with the
acetate to add green blobs around the watercolor panel. Again, set aside to dry.
Step 6:
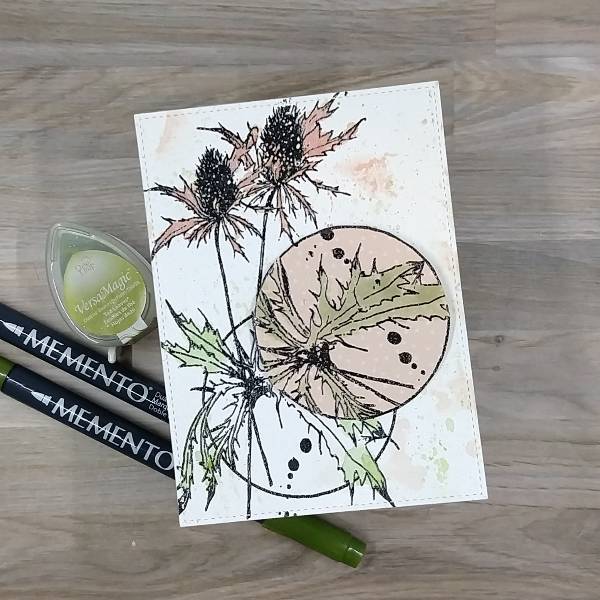
Watercolor the leaves on the patterned paper with the same mix of greens created using the
Tea Leaves VersaMagic Chalk ink as well as Collage Ivy and Bamboo Leaves Memento marker
mixed with water. Set this aside to dry.
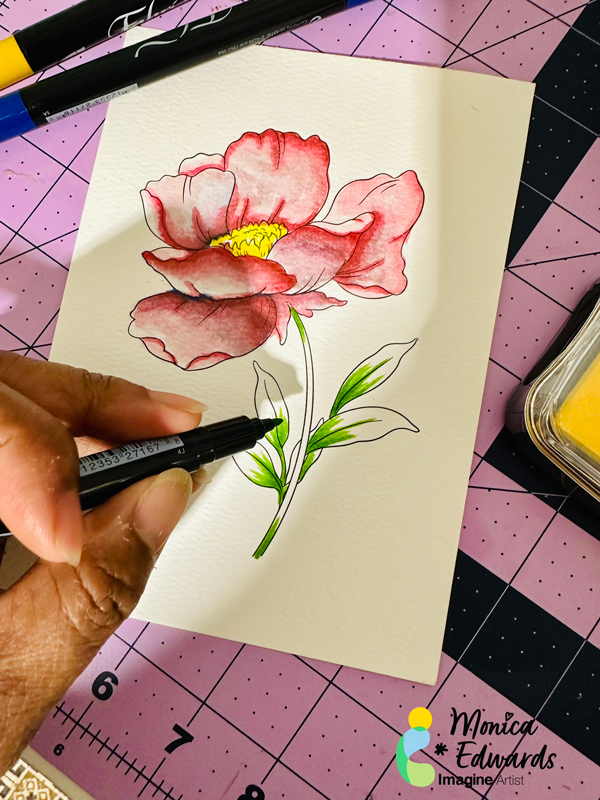
Step 7:
I decided to add a little more intensity to the coral colors on the petals and on the
watercolor panel by adding more Pink Grapefruit VersaMagic Chalk ink and Morocco Memento
marker added to the scrap of acetate and again mixed with water before painting the petals. The
remaining coral-colored watercolor was again smooshed onto the watercolor panel.
Set the panel aside to dry again.
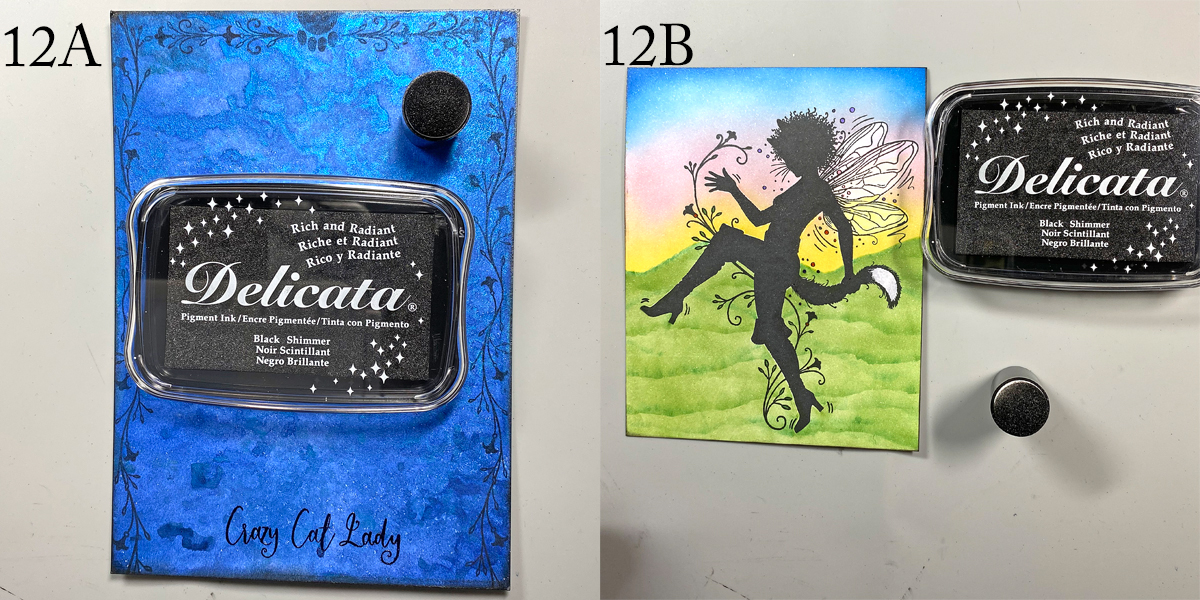
Step 8:
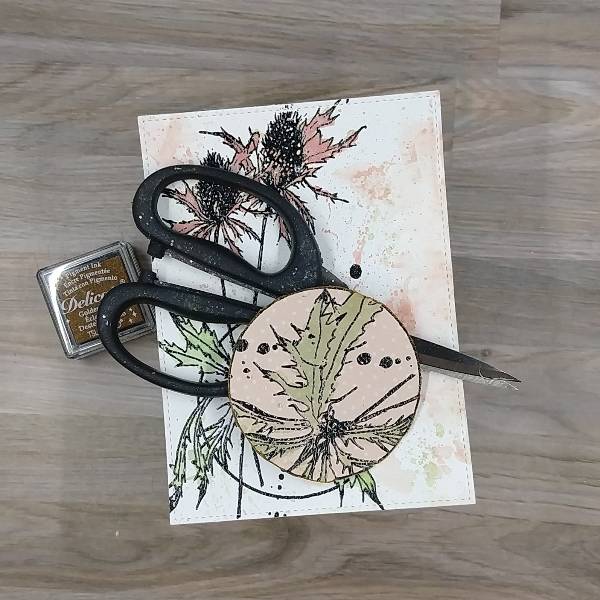
Distress the edges of the patterned paper circle by rubbing the sharp part of a pair of scissors’
blade around the circle. Then rub the distressed edge of the circle with Golden Glitz Delicata.
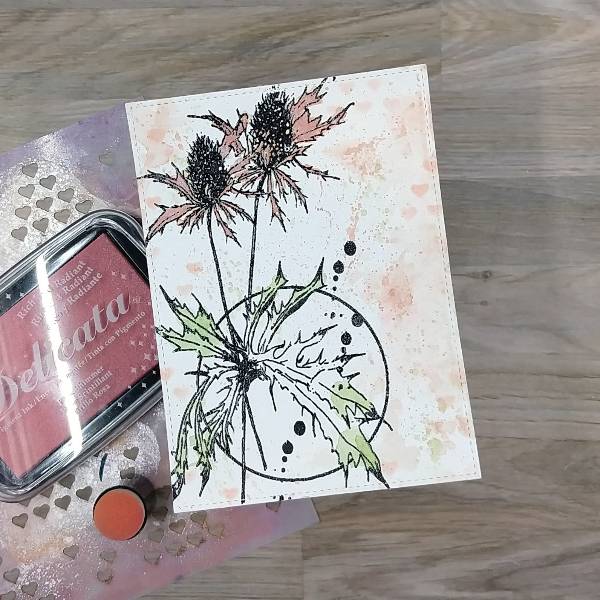
Step 9:
Using a sponge dauber, ink blend Pink Shimmer Delicata ink through a heart stencil in my stash
on random parts of the watercolor paper.
Not pictured: Ink blend the edges of the panel with more of the Pink Shimmer Delicata ink.
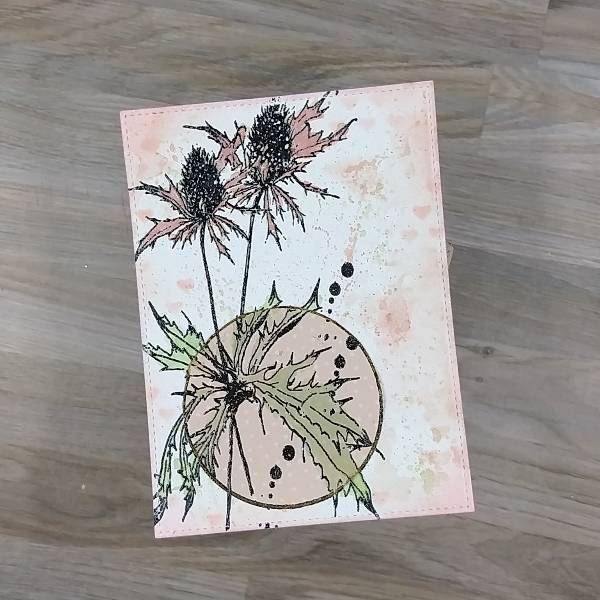
Step 10:
Glue the patterned paper circle onto the stamped image, making sure that the patterned paper
circle lines up with the rest of the stamped image.
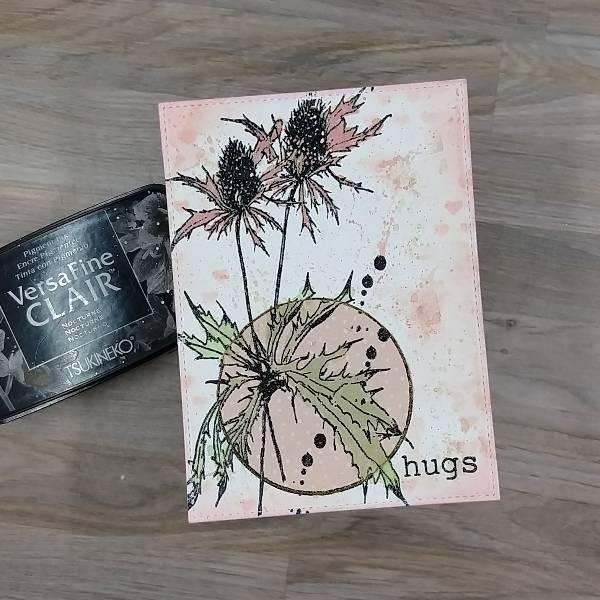
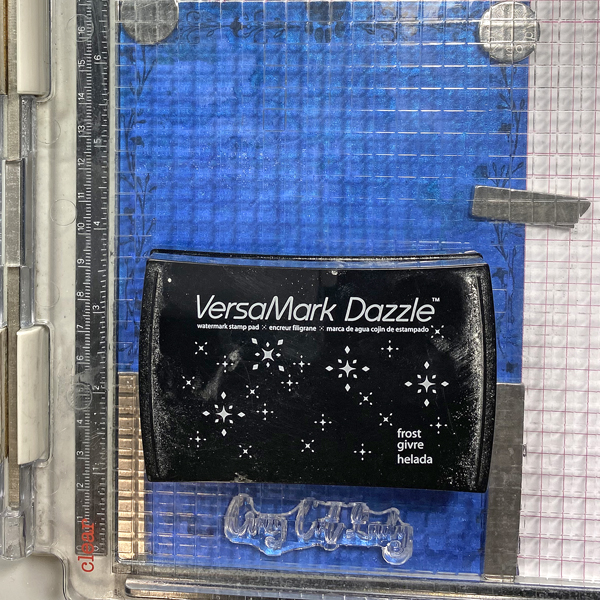
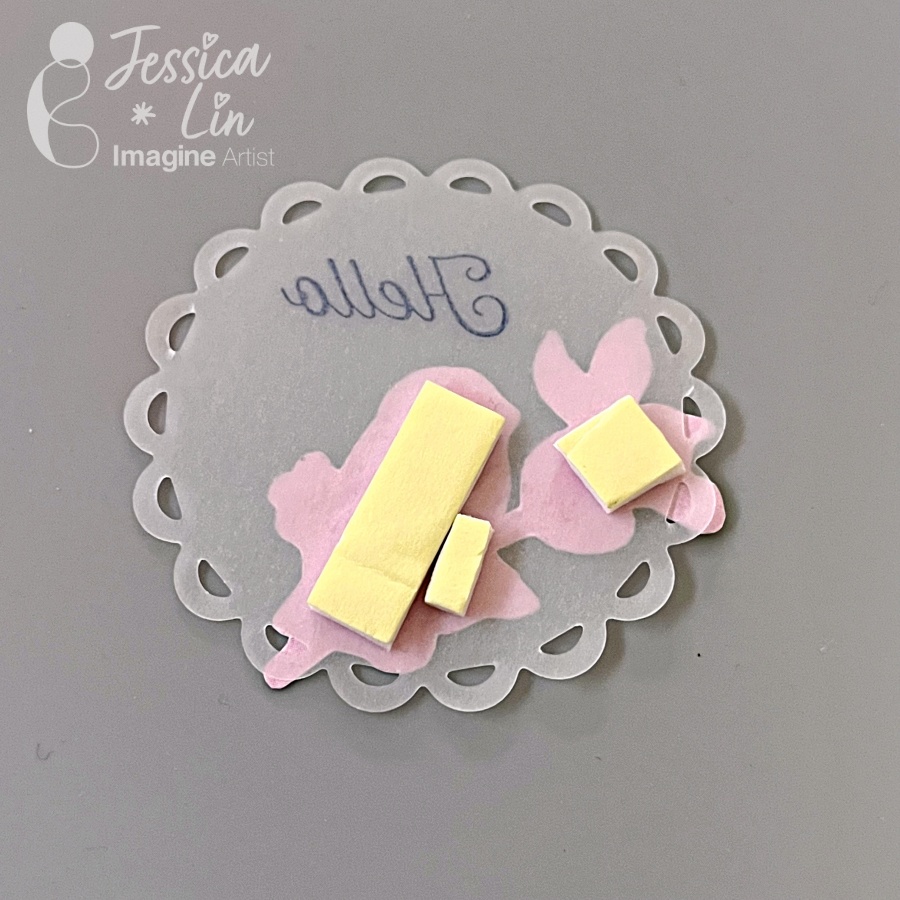
Step 11:
Stamp the sentiment on the lower right corner of the watercolor panel with more Nocturne
VersaFine Clair ink.
Optional step: Heat emboss the image with more clear embossing powder.
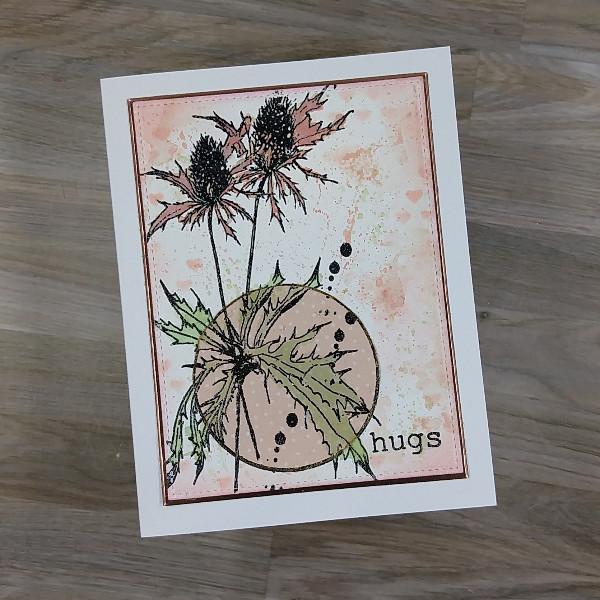
Step 12:
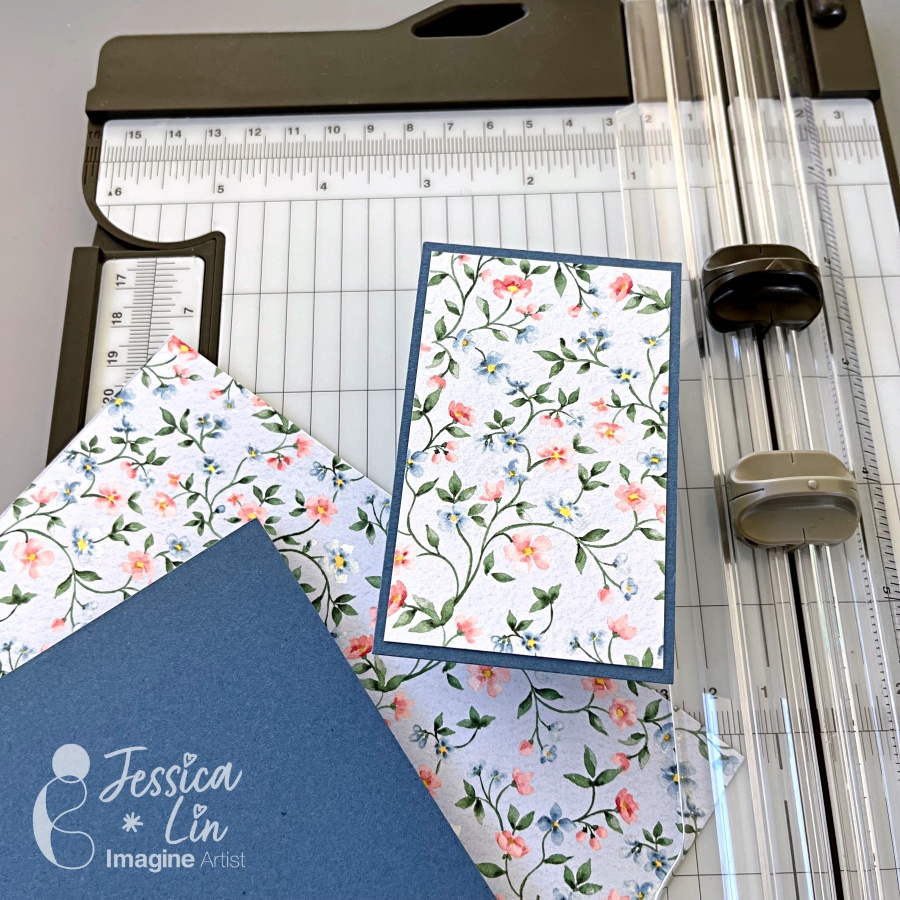
Using a slightly larger die than the watercolor panel, die cut a piece of rose gold cardstock. Glue
the two panels together, and glue both onto an A2-sized white card base.

Step 13:
Add green gem stickers around the circle of patterned paper to finish the card.
Art Supplies
Imagine
Delicata Ink – Golden Glitz, Pink Shimmer
Memento Dual Tip Marker – Bamboo Leaves, Cottage Ivy, Morocco
VersaMark Ink – Pink Grapefruit, Tea Leaves
VersaFine Clair Ink – Nocturne
Sponge Dauber
Other
AALL & Create – stamp set – Flower Journey
Gina K Designs – dies- Master Layout 2 die set
Honey Bee Stamps – gem stickers
Memory Box – stamp set – Big and Little Words
Sizzix- cardstock – Rose Gold Opulent cardstock
Heart stencil in my stash
Clear embossing powder in my stash
Watercolor paper
Scissors
Small paint brush
Stamp positioner
Glue