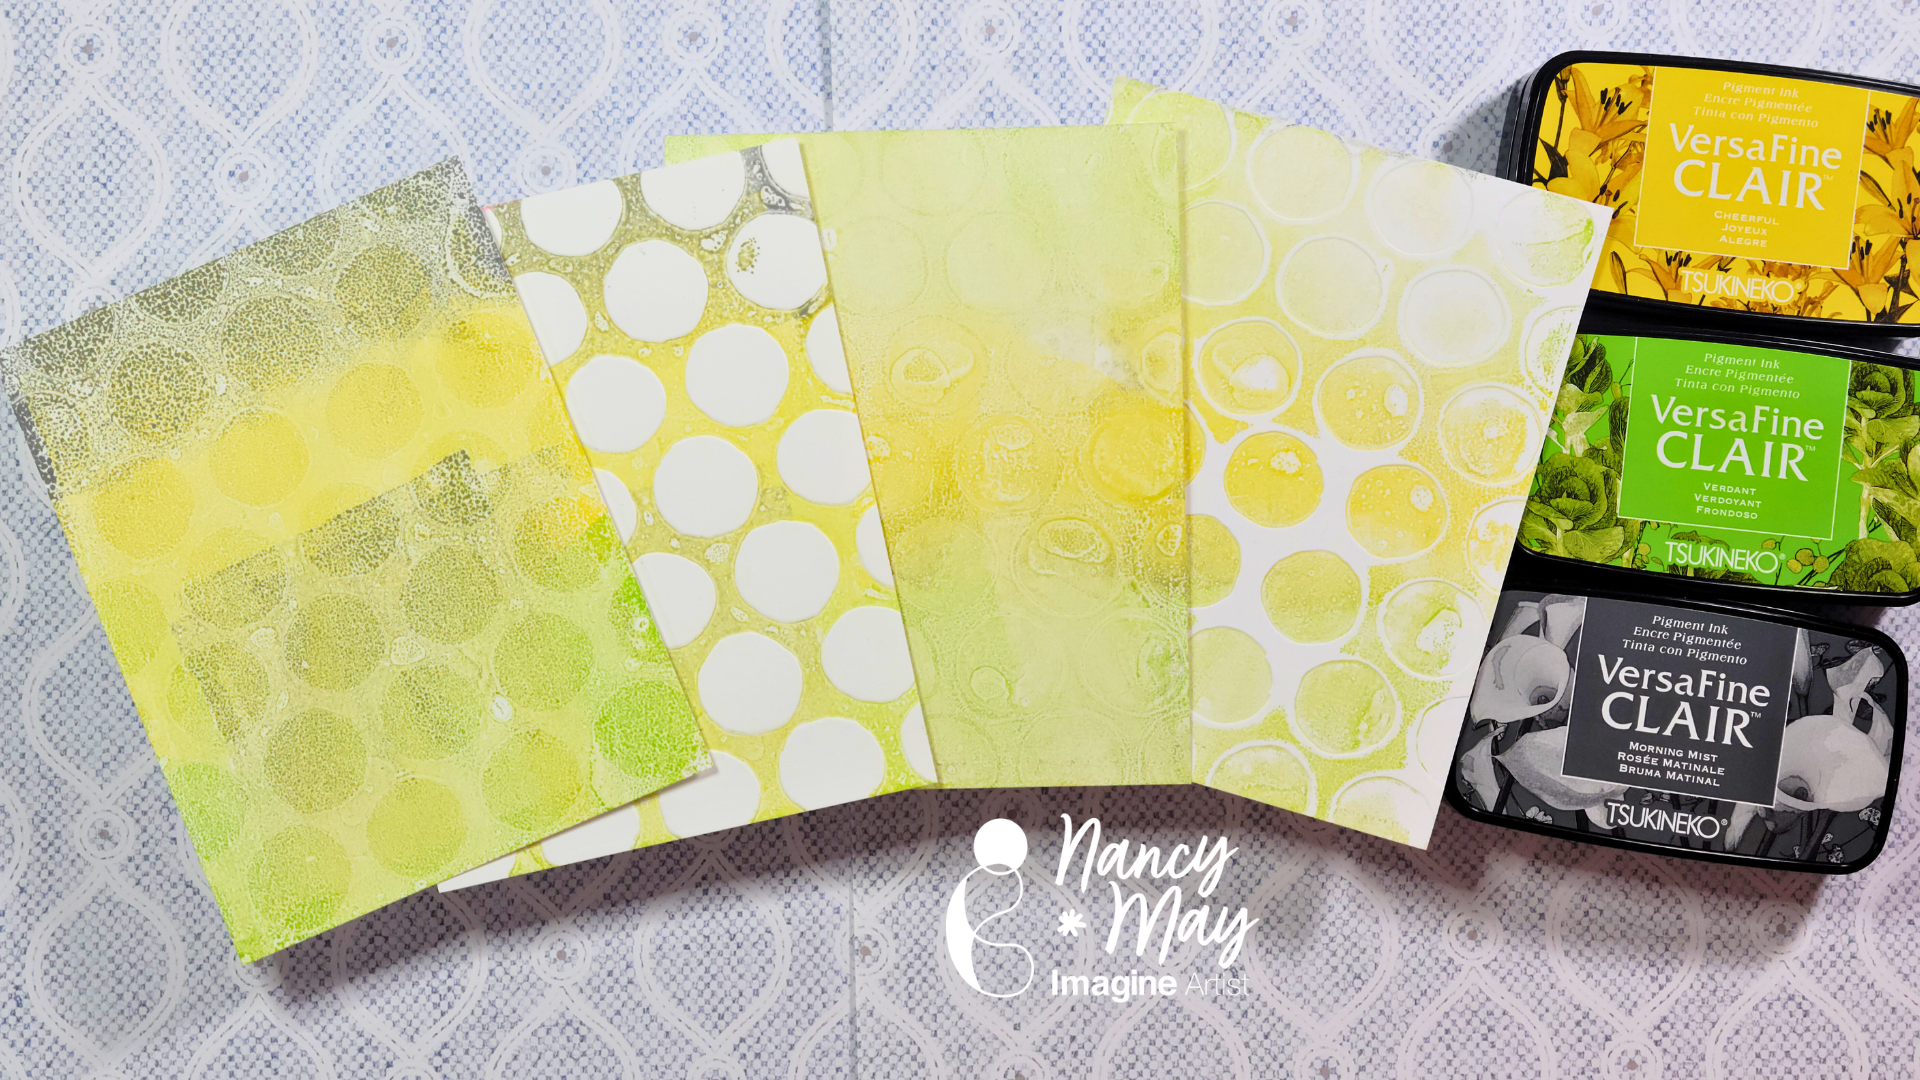
Hello friends! This is Linh (or LV Handcrafted on all the socials). In today’s video I’m showing two techniques for creating background panels that you can either cut down or die cut from! One technique features the ever-so-popular ink “smooshing” and the other features creating monoprinting with a gel plate! These techniques are fast and easy to make multiples of if you ever need to make the same card en mass. I made a set of 6 Artist Trading Cards (ATC) using one panel for the background and the monoprint for die-cutting.
•When I lose my mojo it helps to just play and experiment with no particular direction or intent; simply allowing the process to guide me. That is where I am at today, so lets play with a bunch of different inks, sprays, embossing folders and a gel plate. Again, our focus is on exploration and discovery versus a completed project. Come back next time to see how some of the backgrounds become finished projects.
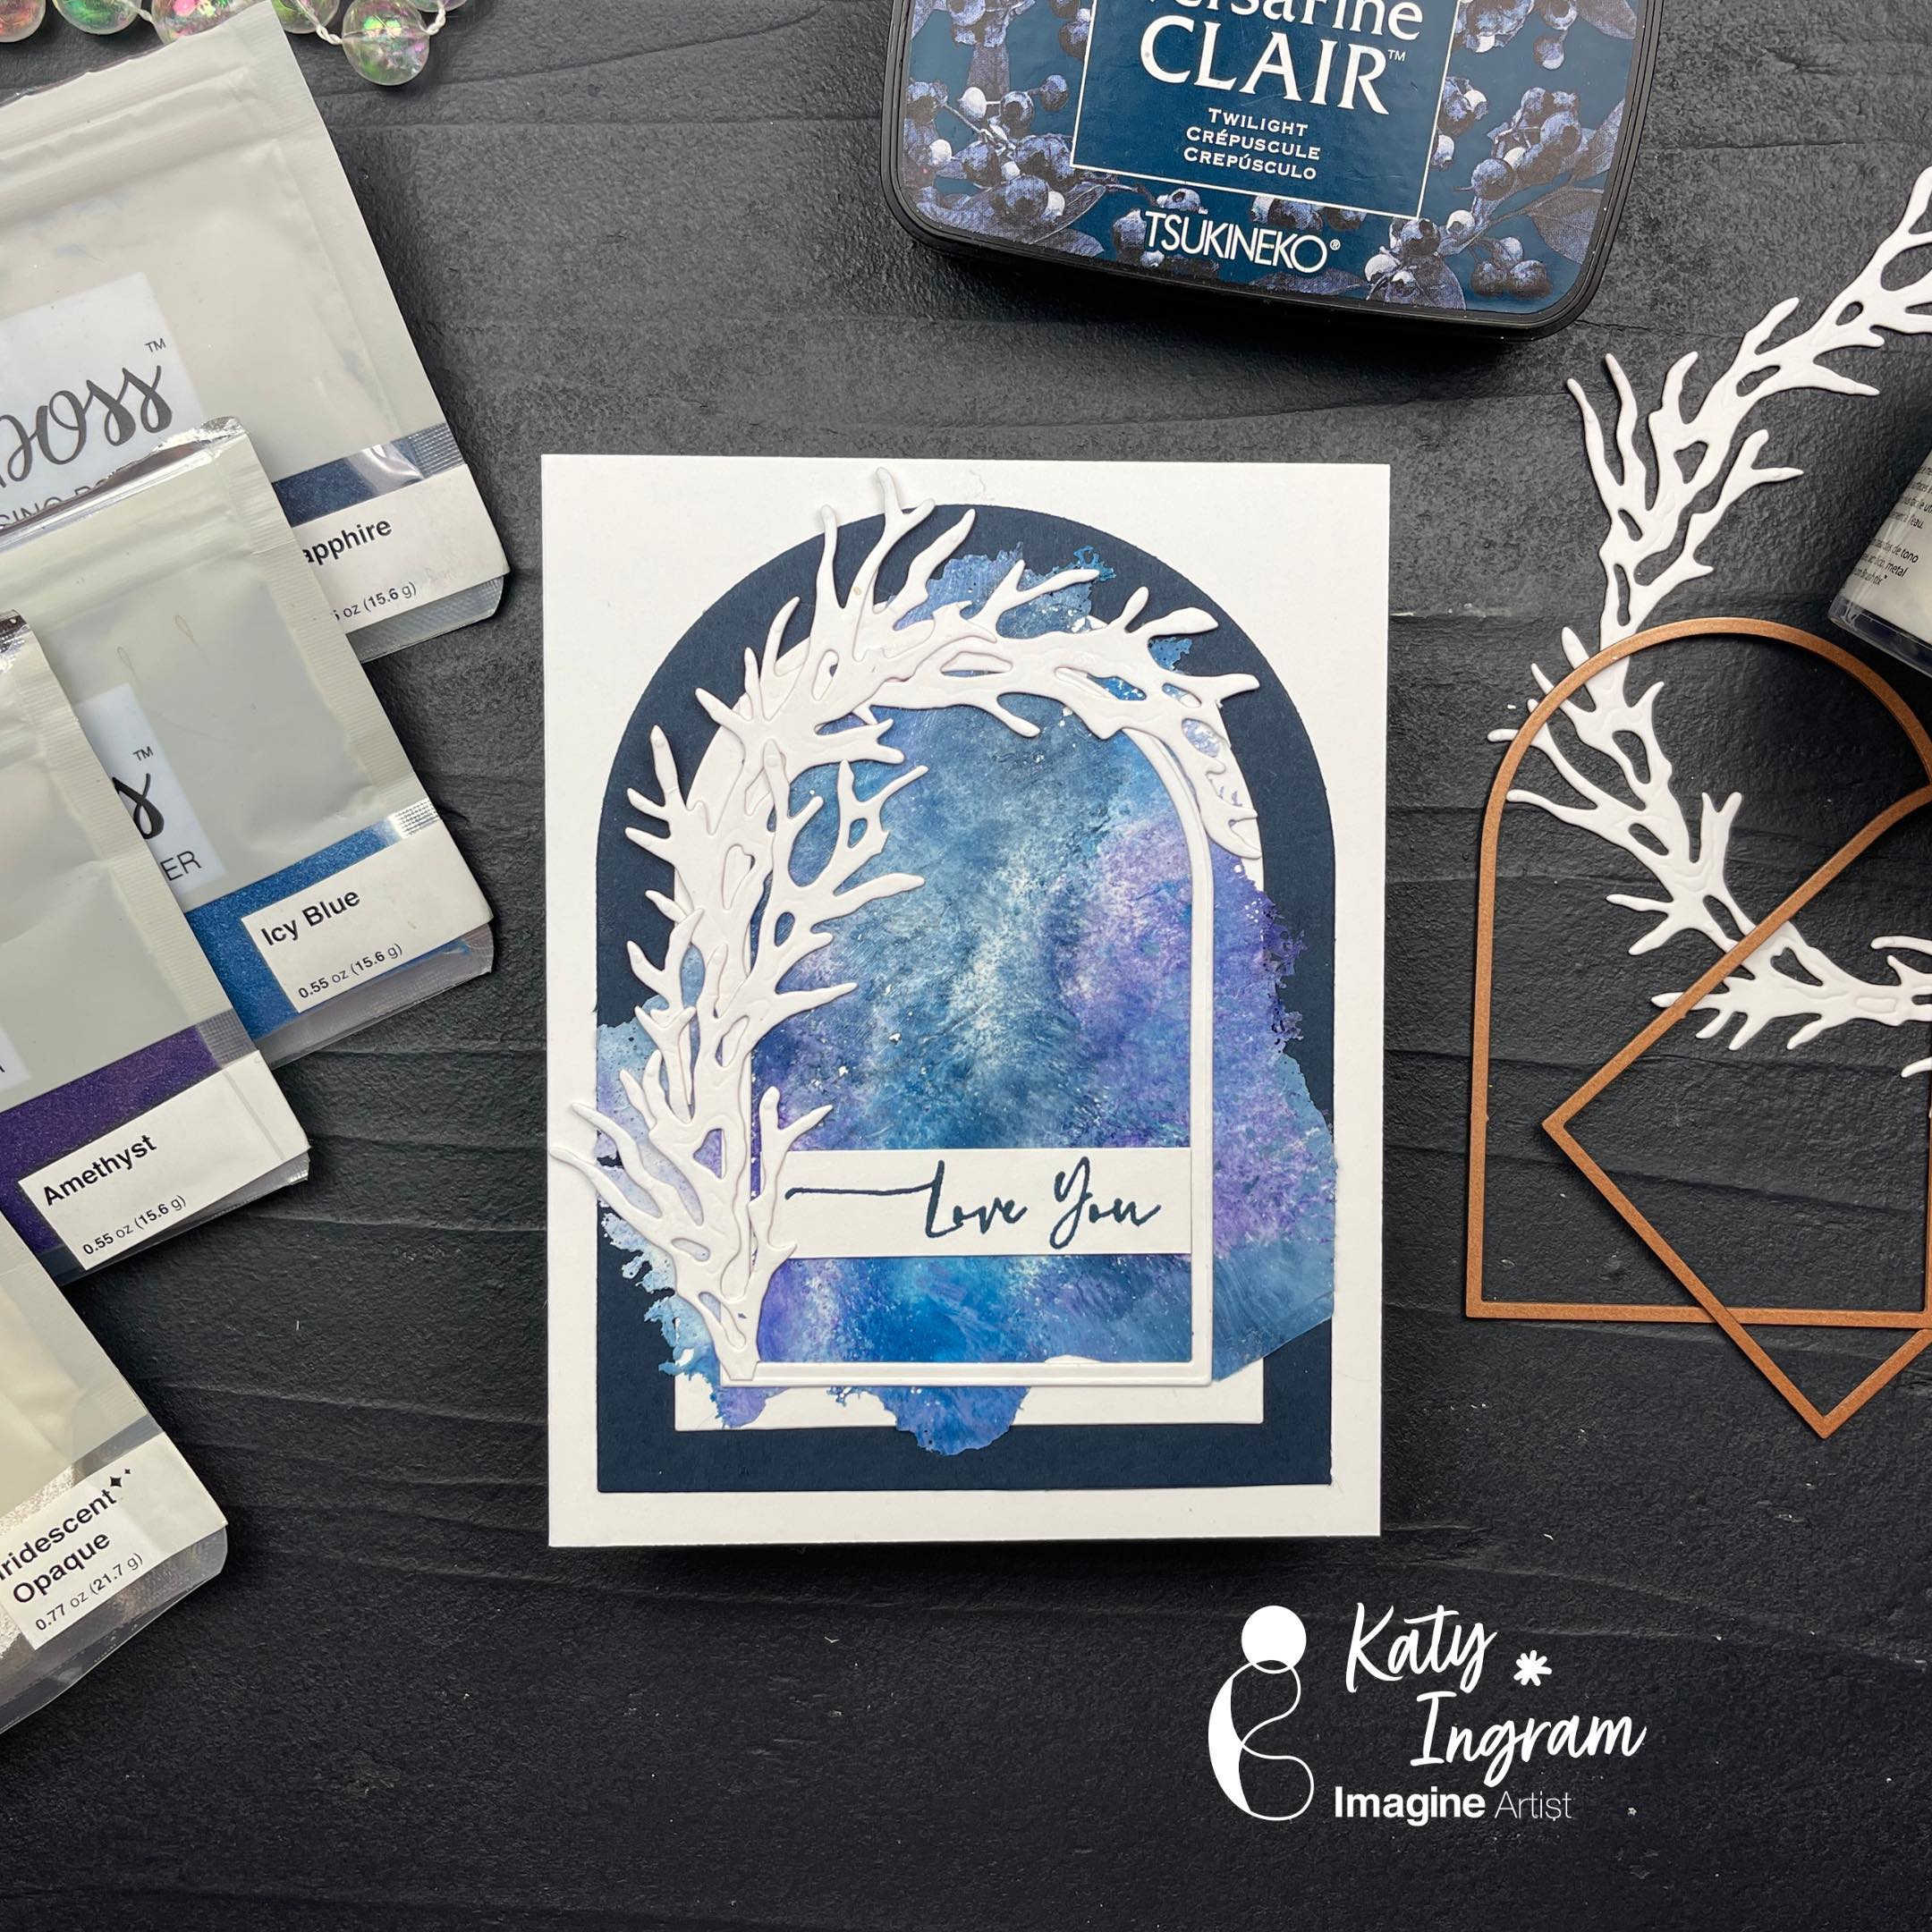
Hello Friends! Katy here and today I have a really fun technique using MBoss Embossing Powders to make paper thin backgrounds, AKA Embossing Skins.
In todays video tutorial I am sharing how I made some backgrounds using embossing powders with an iron, you can also use your heat gun. You will also need some parchment paper/baking paper. This is a quick technique, but so addicting!
The best part, you can use any embossing powder, including the ones that don’t emboss very well any more. This is a great technique to use those particular powders up so they don’t go to waste!
I have lots of tips and things to share in the video, check it out below.
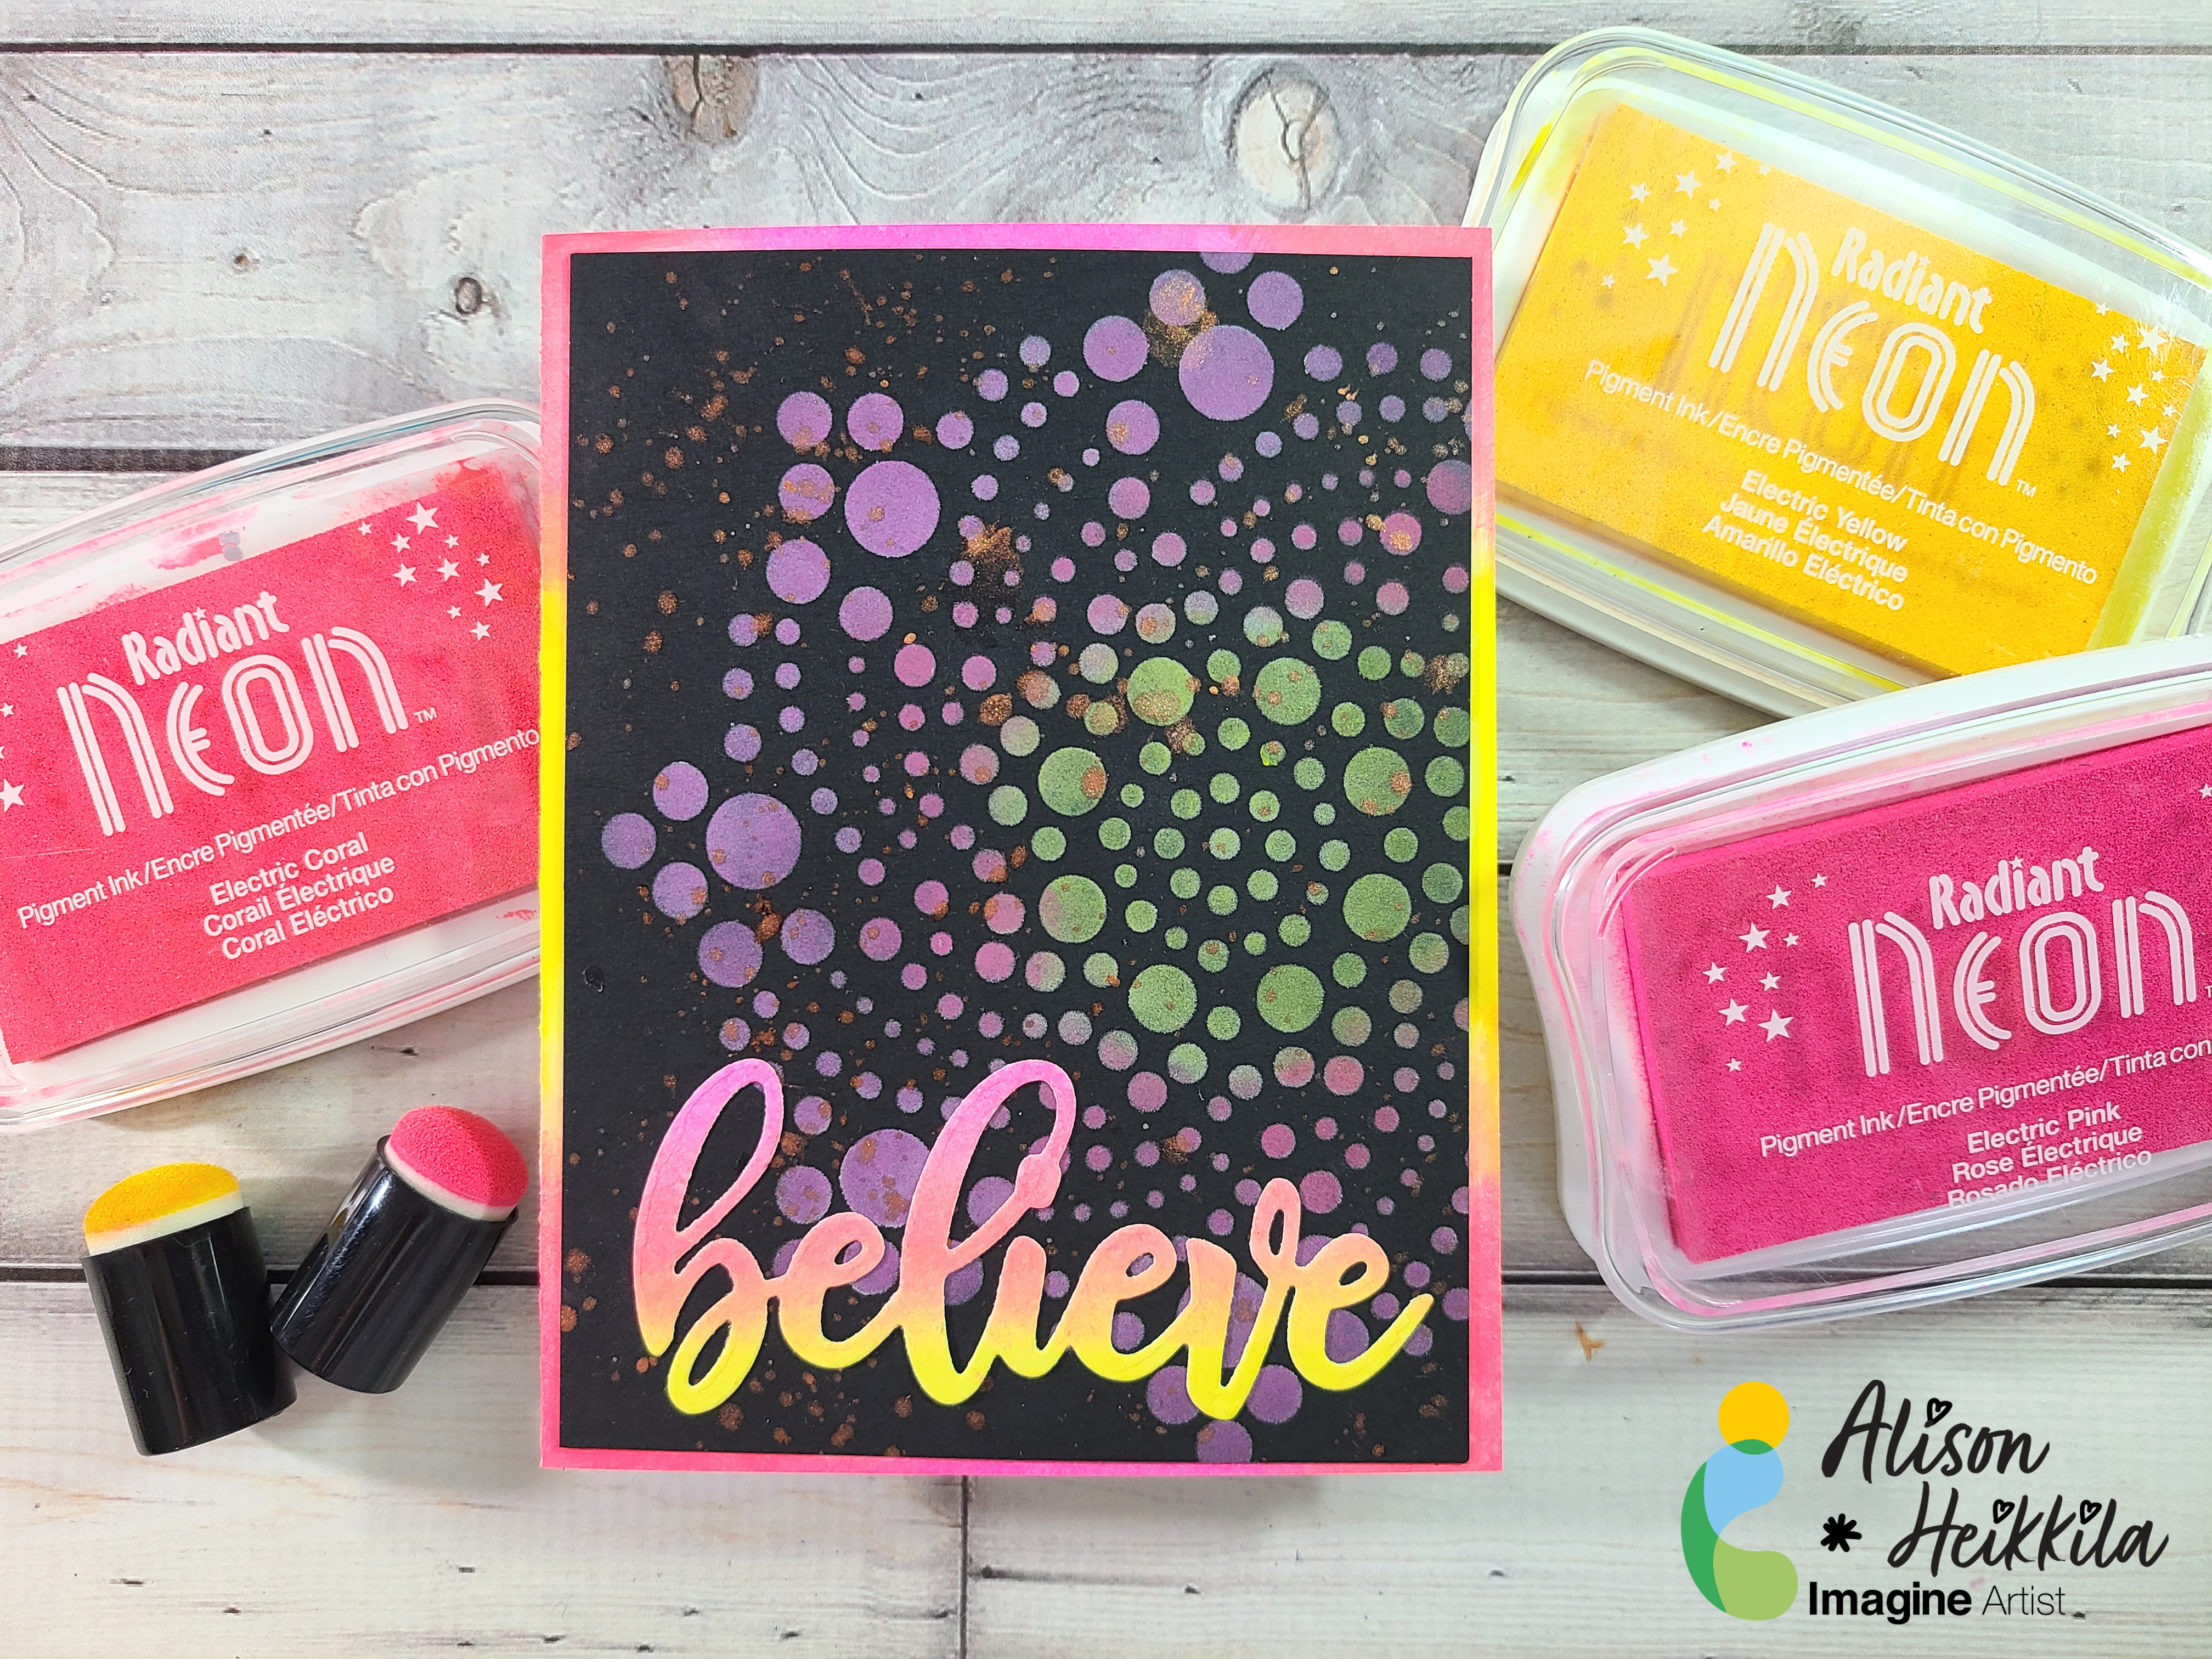
Hello! @AlisonHeikkila here. Let’s play with some Radiant Neon Inks on black and white cardstock. I use 3 of the 7 colors in a few different ways on this card. These techniques are fun and not complicated. I hope you’ll try them with your favorite stencil soon.
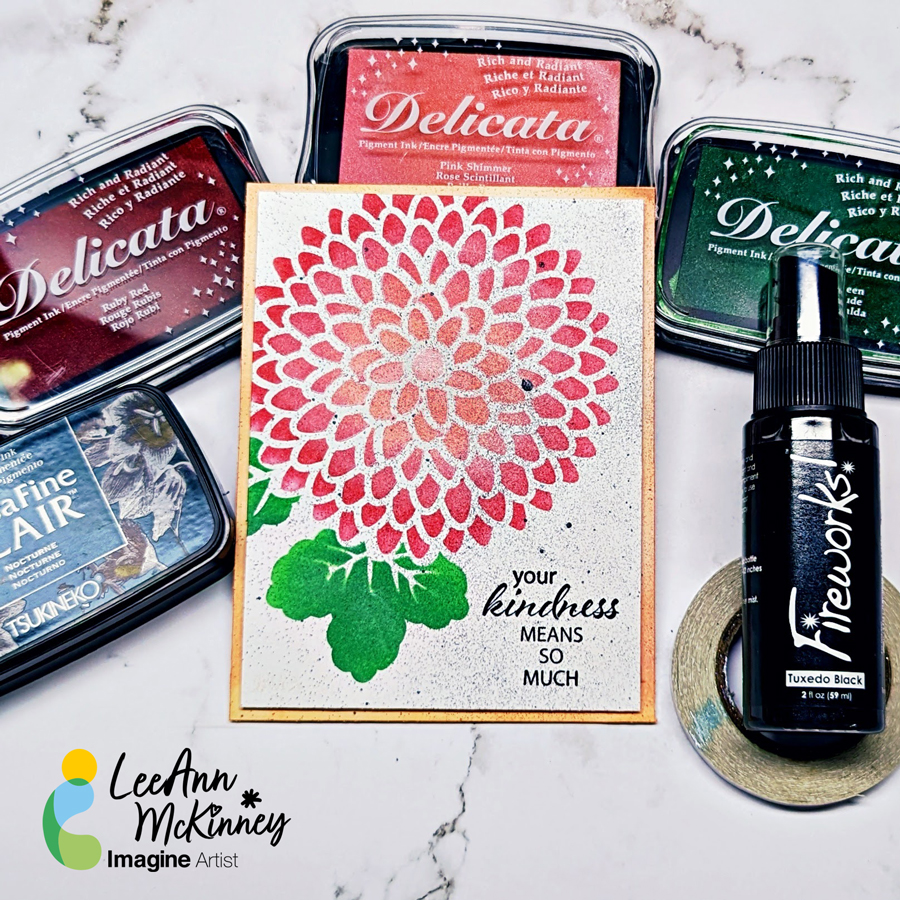
Hi there friends and fellow crafters, LeeAnn here with a fairly easy, beginner level card that anyone can do with a stencil, some inks and a few blender brushes.
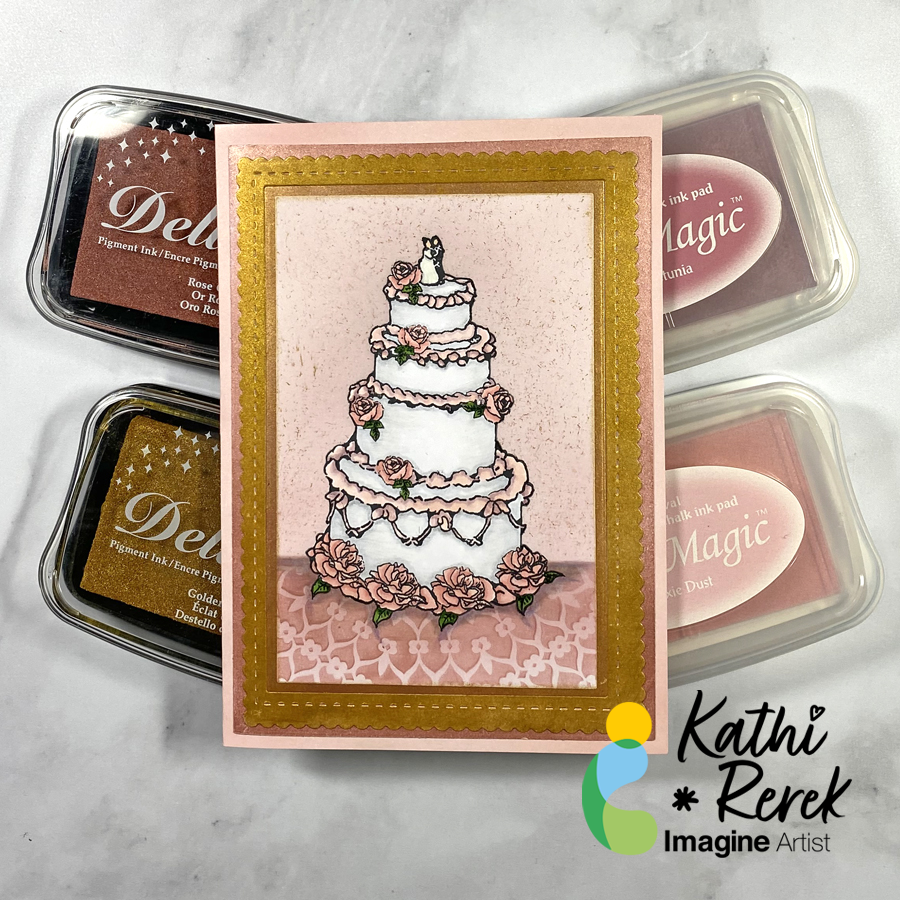
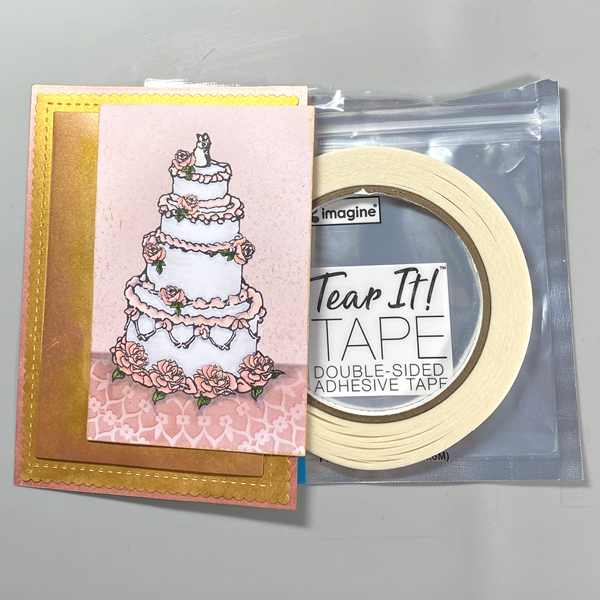
Greetings! It’s Kathi here to show you how to create a wedding card using trending wedding colors of dusky rose, pink, rose gold, and gold.
Skill Level: Beginner to Intermediate
Time: 1.5 hours
Directions:
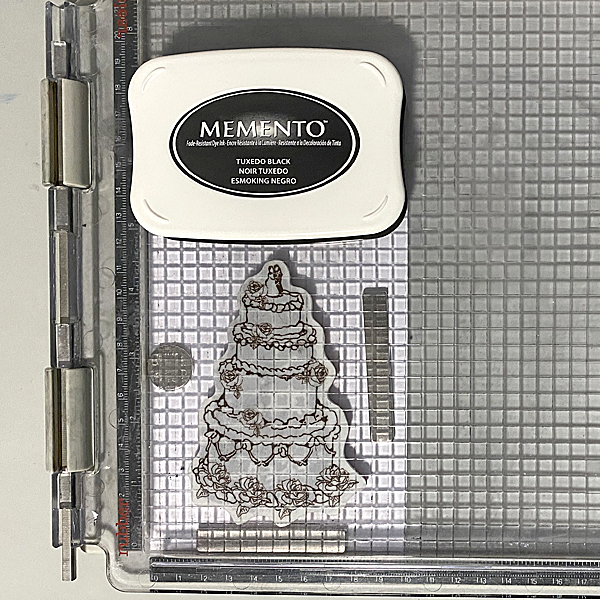
Step 1:
Use Tuxedo Black Memento ink to stamp the wedding cake from the Dreams Come True Cling Stamp Set onto a 4” x 5.25” panel of white cardstock and onto repositionable label paper.
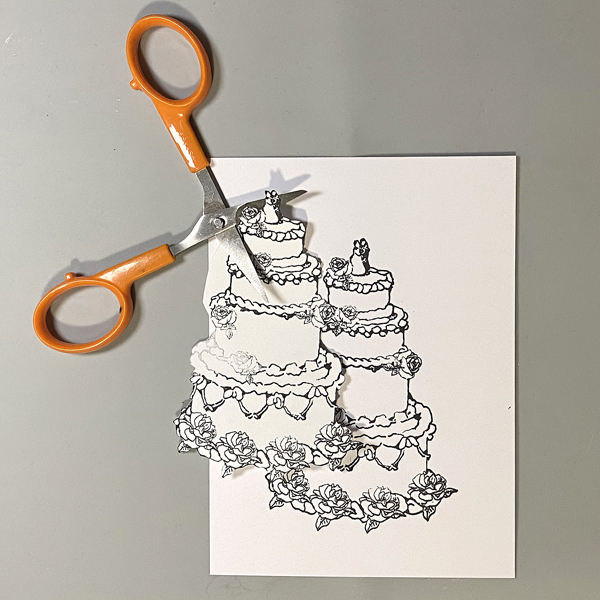
Step 2:
Use small scissors to fussy-cut the label paper version and place it atop its counterpart on the image panel as a mask.
Step 3:
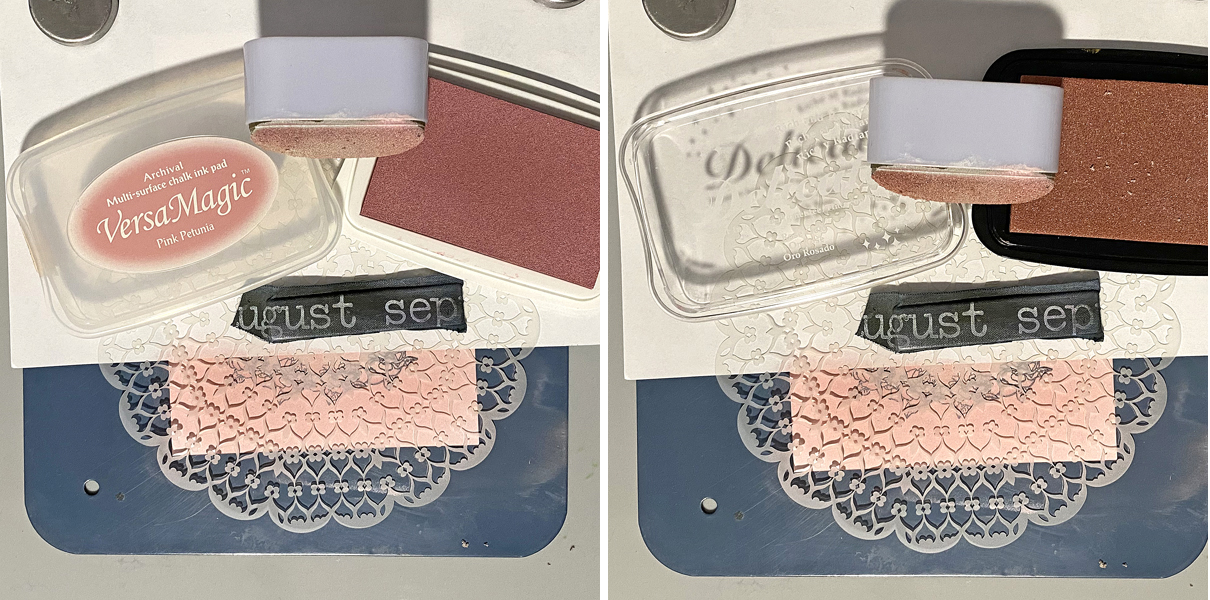
Place a ruler horizontally over the base of the image.
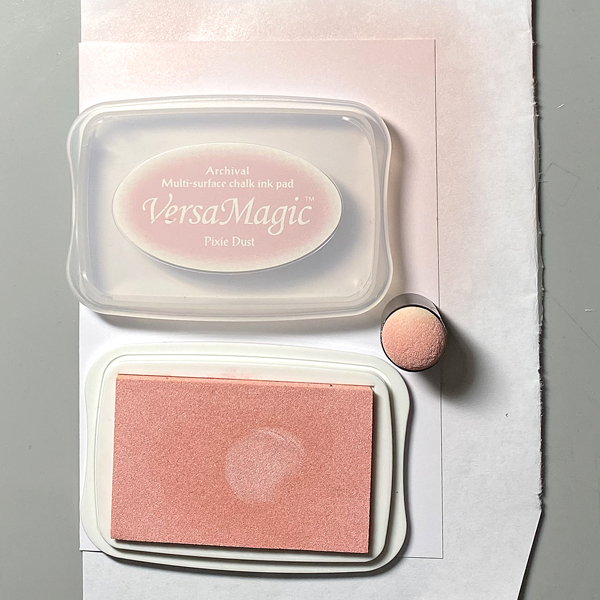
With an ink sweeper, sponge Pixie Dust VersaMagic ink over the ruler and the masked image.
Step 4:
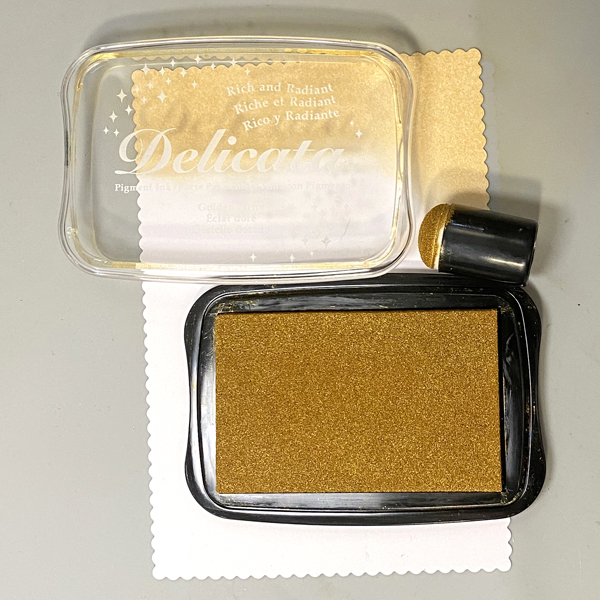
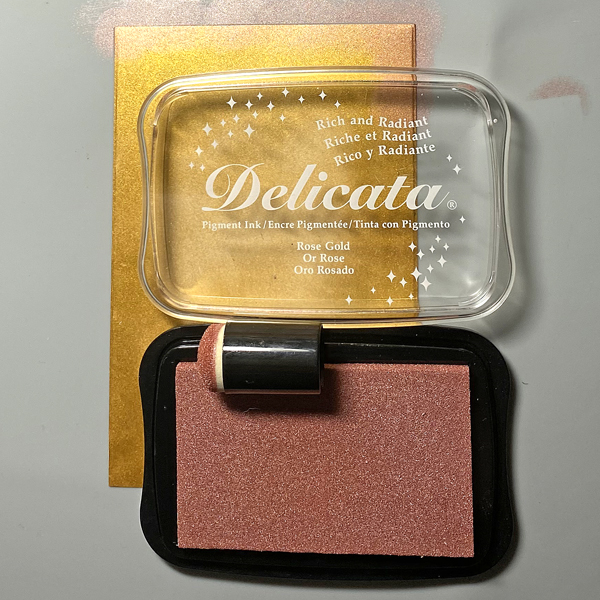
Use a pouncy tool or a stiff paint brush to pounce Rose Gold Delicata Ink.
Step 5:
Move the ruler to cover the top of the image and secure with magnets.
Use an ink sweeper to sponge Pink Petunia VersaMagic ink.
Remove the ruler and let it dry. I heat set to expedite the drying process.
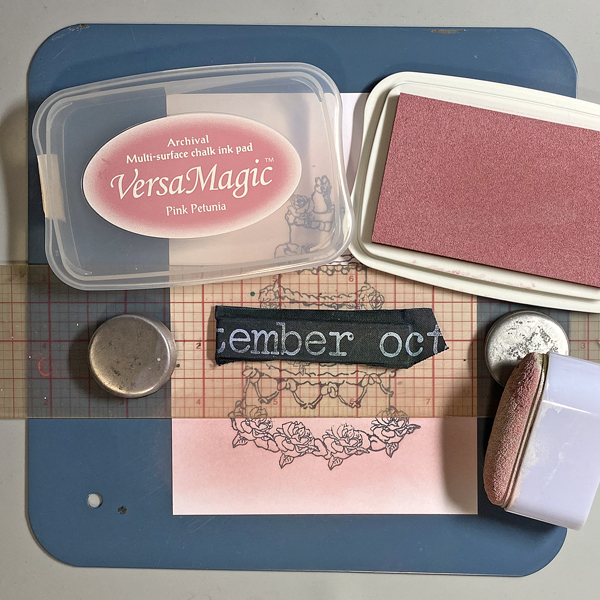
Step 6:
Use a piece of scrap paper to cover the top part of the image panel. Place the Mandala stencil over the base and secure with magnets.
Sponge image with Pink Petunia VersaMagic to create a tone on tone pattern.
Repeat process with Sponge Rose Gold Delicata Ink to add a rosy golden shimmer to the stenciled pattern.
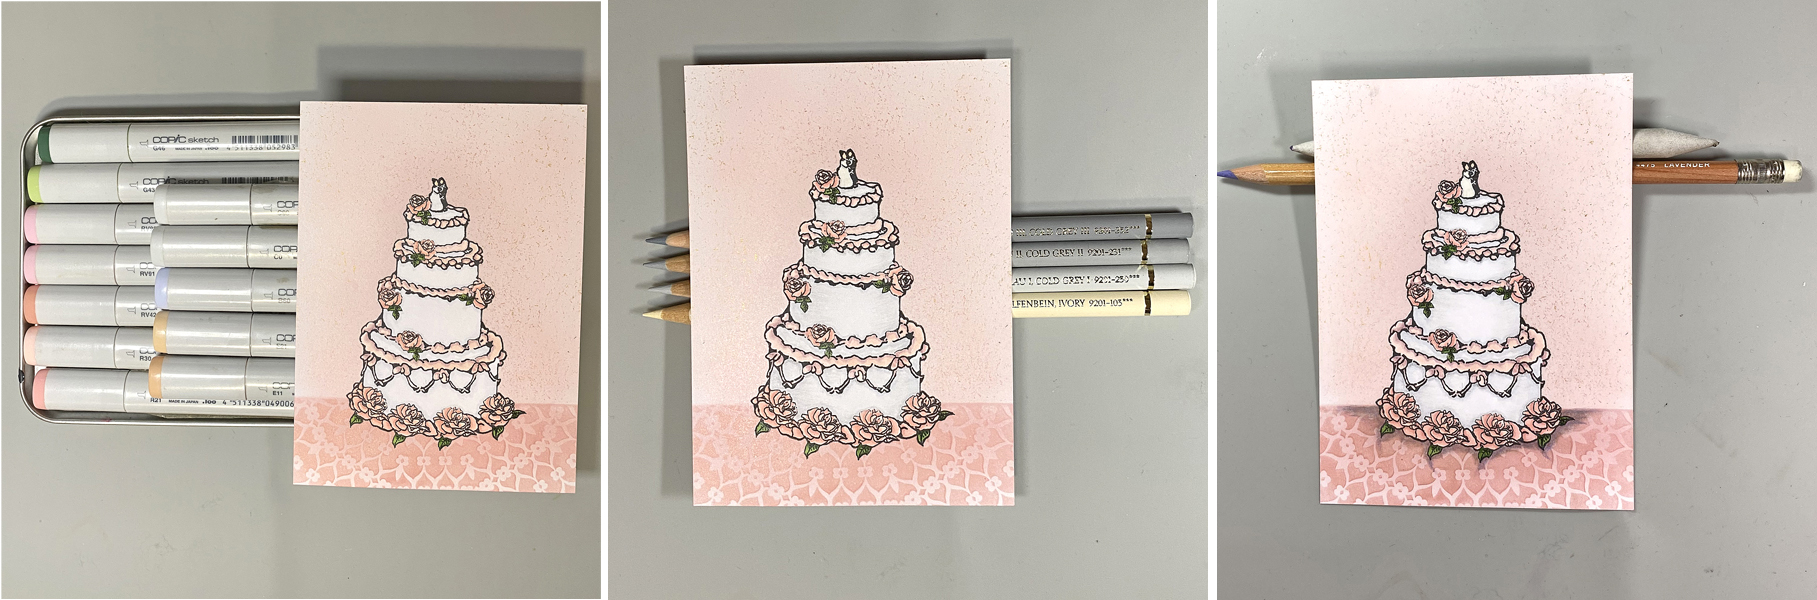
Step 7:
Use Copic markers to color the wedding cake. Add shading and fine details with colored pencils. Use chalk pencil to add shading below the wedding cake.
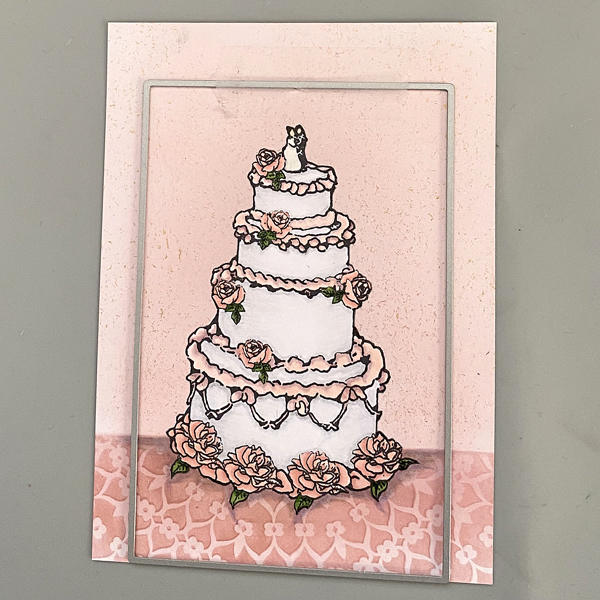
Step 8:
Position one of the plain rectangle dies from the Passe Partout Rectangles Die Set cutting side down on the image panel. Use repositionable Scotch Tape to secure it in place, then die cut the panel.
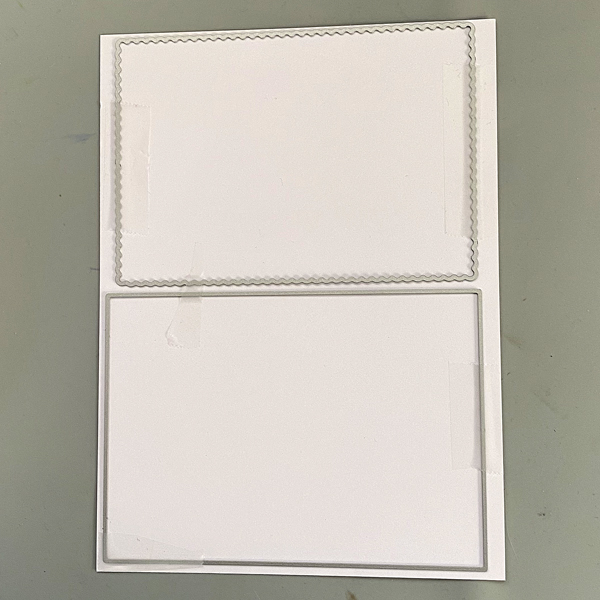
Step 9:
Cut a piece of white cardstock to 6.5”. Position the scalloped rectangle and the plain rectangle dies from the Passe-Partout Die Set on the panel, secure with repositionable Scotch Tape, and run the panel through the die-cut machine.
Step 10:
Use a sponge dauber to sponge Gold Dazzle Delicata Ink around the edges of the scalloped panel. Heat set.
Step 11:
Use a sponge dauber to sponge Rose Gold Delicata Ink around the edges of the plain panel. Heat set.
Step 12:
Position the stitched rectangle die from the Passe Partout Die Set onto the gold-sponged scalloped rectangle panel, secure it in place with repositionable Scotch Tape, and run the panel through the die-cut machine. The die will cut a rectangle from the center of the gold-sponged scalloped panel, leaving a stitched border framing the aperture.
Step 13:
Use a sponge dauber to add Rose Gold Delicata to the periphery of the die-cut. Heat set.
Step 14:
Use Tear It! Tape to adhere the gold scalloped die-cut onto the rose gold plain rectangle panel.
Use the tape to adhere rose gold die-cut to the aperture of the gold scalloped die-cut then adhere the matted image panel as the top layer.
Step 15:
Cut a piece of white cardstock to 8.75” x 6.125”. Score at 4.375” and fold to form an A6 card.
Place a piece of scrap paper into the center of the card. Use a sponge dauber to apply Pixie Dust VersaMagic ink to the periphery of the white card. Heat set.
Adhere the matted image panel to the front of the card.