Let’s Make a Beautiful Wedding Card

By Kathi Rerek

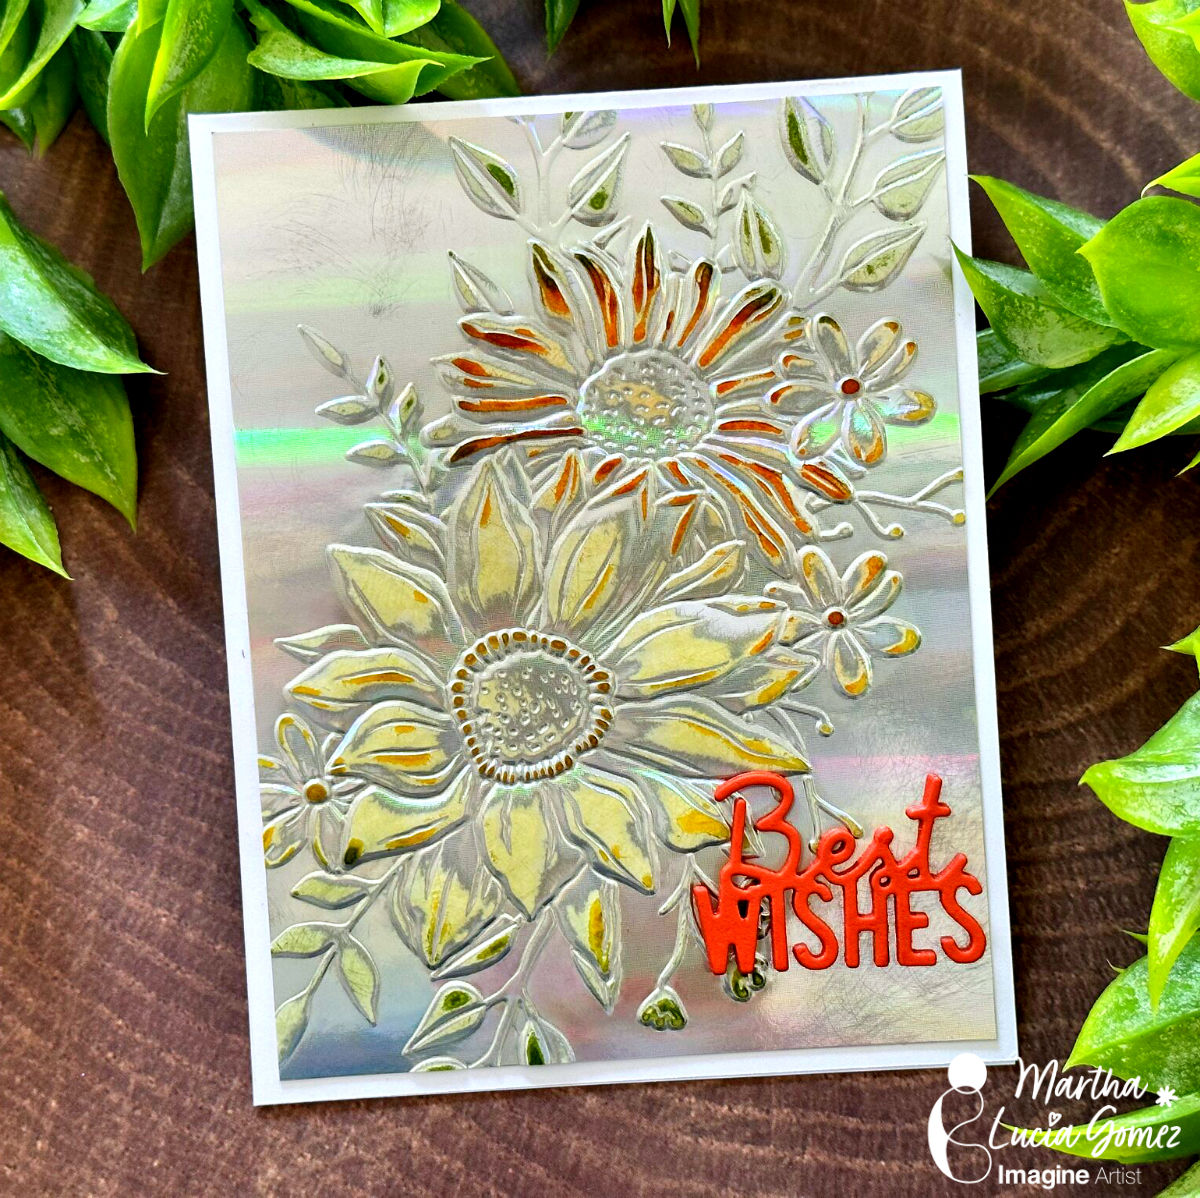
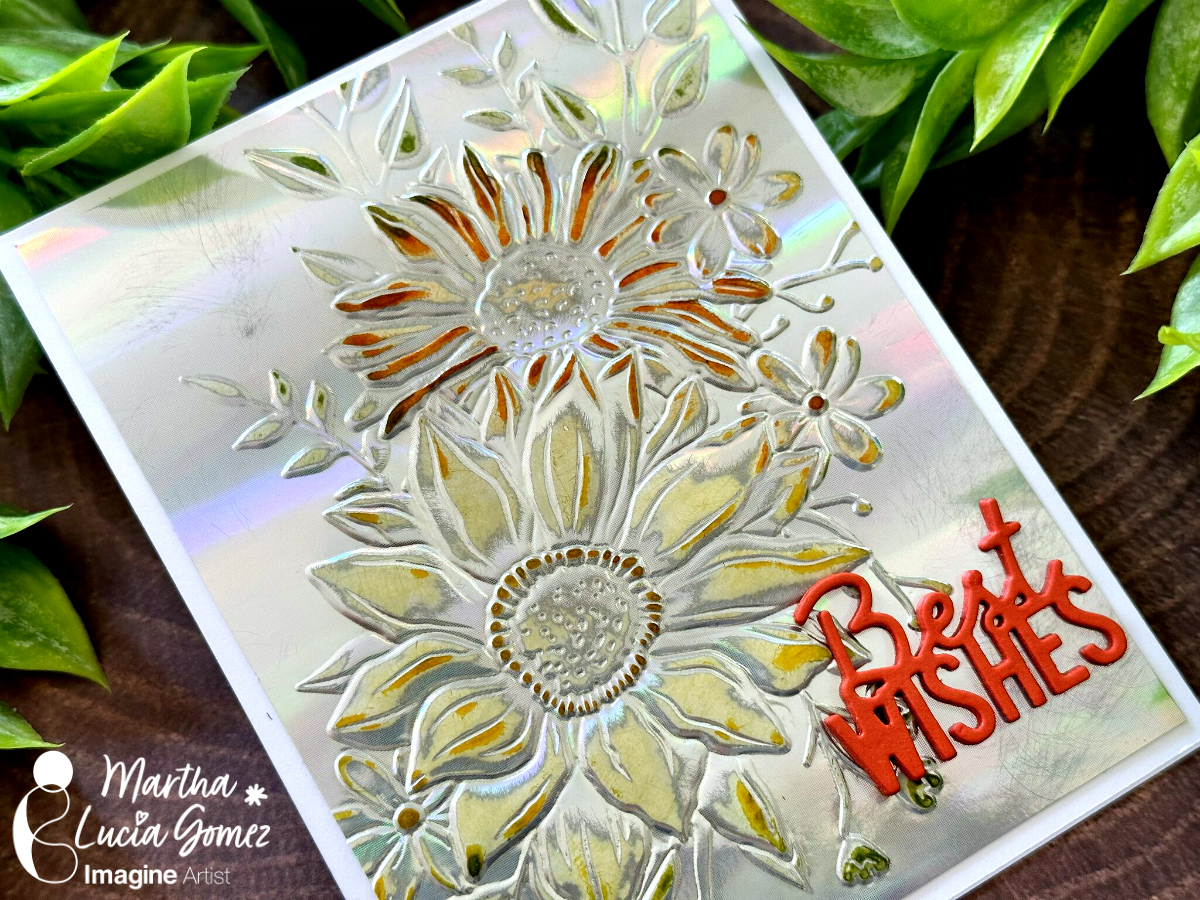
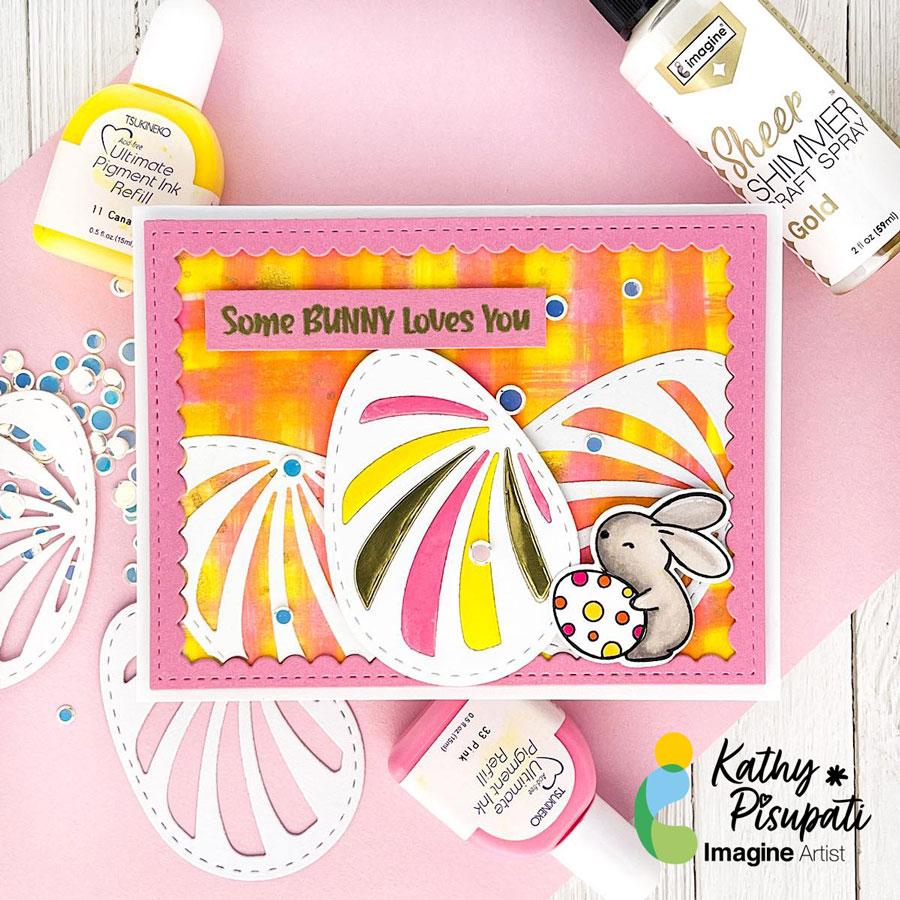
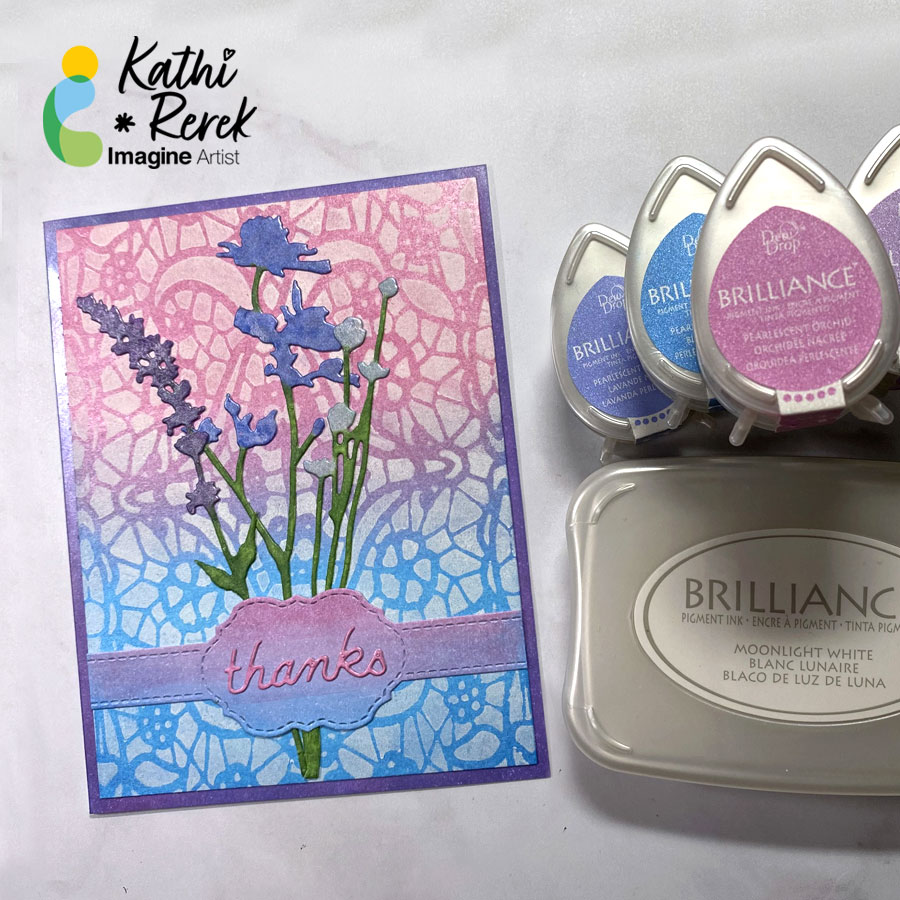
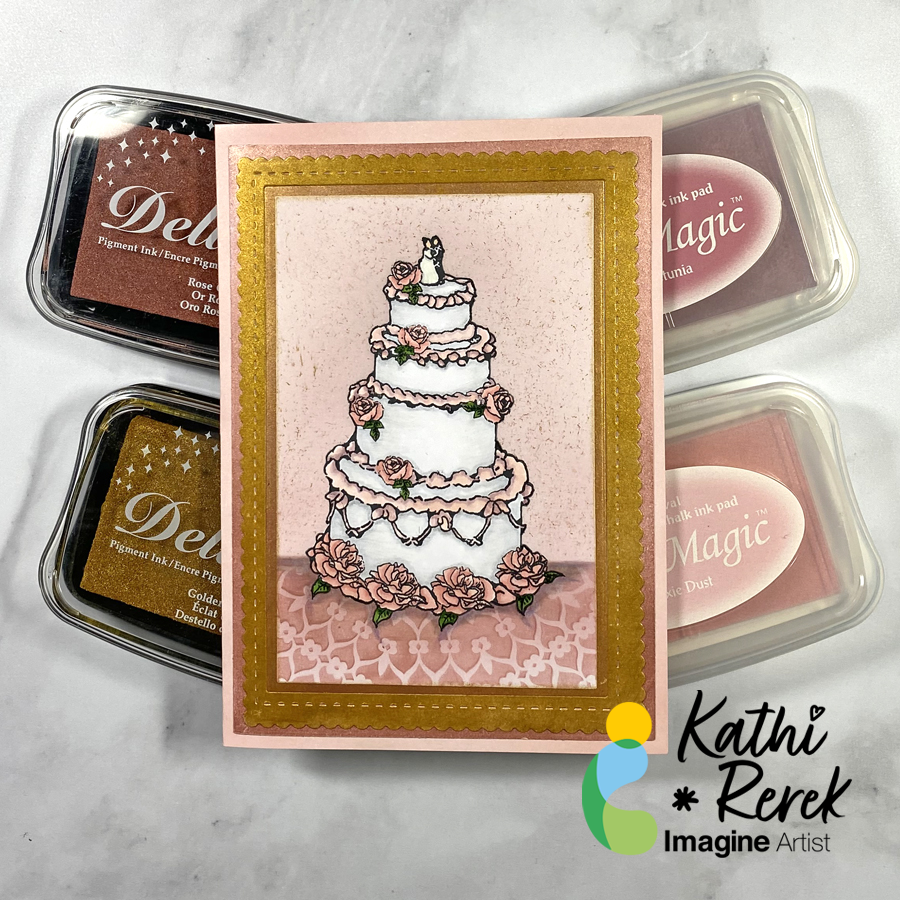
Greetings! It’s Kathi here to show you how to create a wedding card using trending wedding colors of dusky rose, pink, rose gold, and gold.

Skill Level: Beginner to Intermediate

Time: 1.5 hours

Directions:

Step 1:

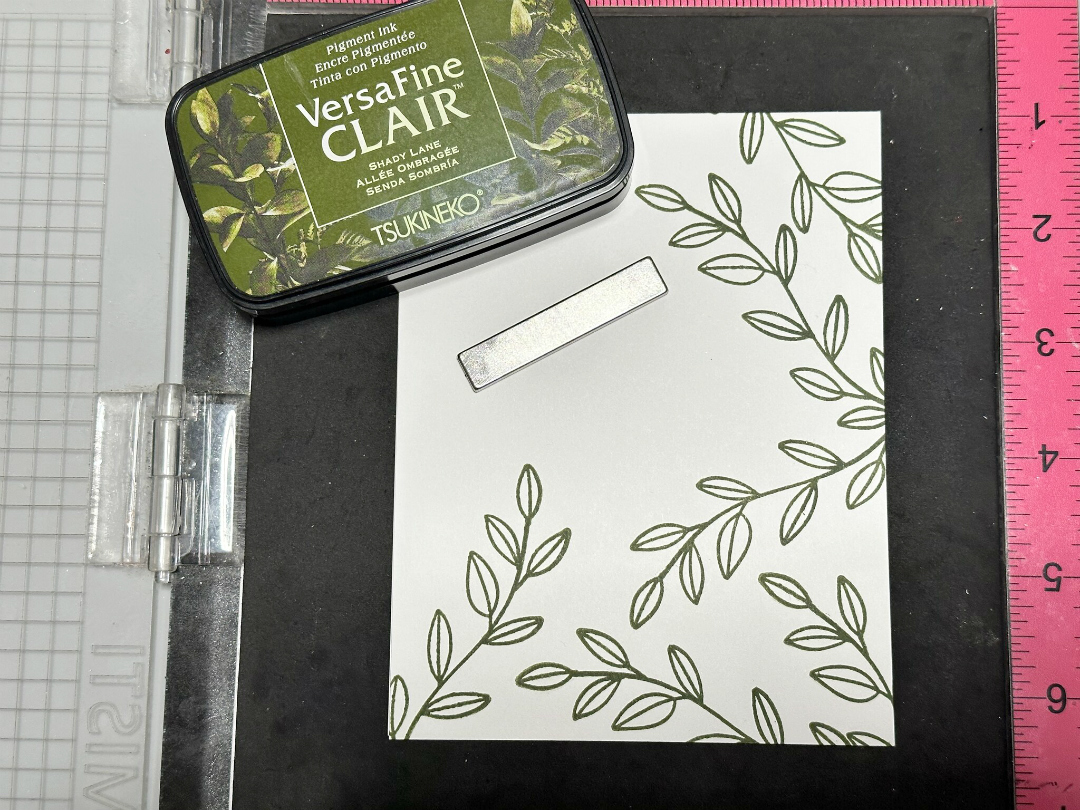
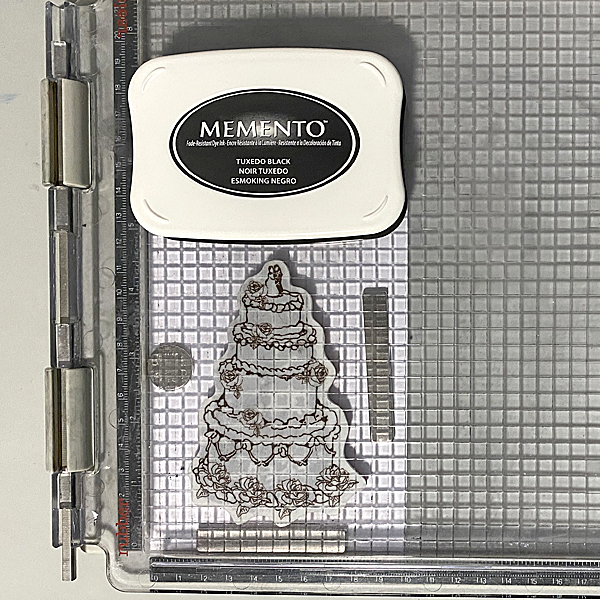
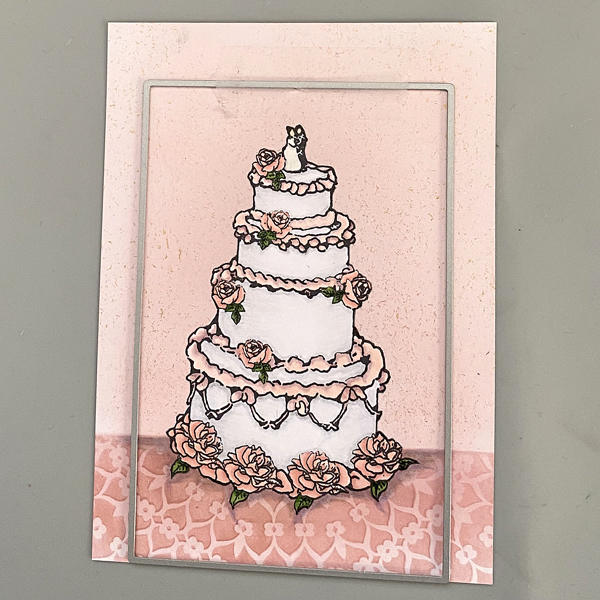
Use Tuxedo Black Memento ink to stamp the wedding cake from the Dreams Come True Cling Stamp Set onto a 4” x 5.25” panel of white cardstock and onto repositionable label paper.
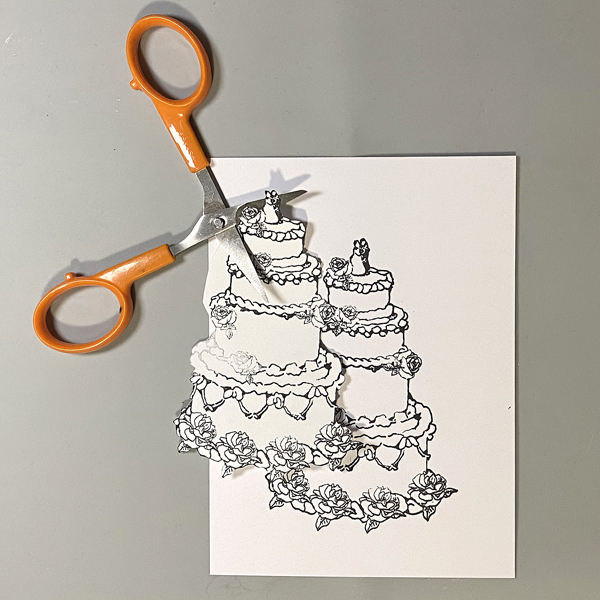
Step 2:

Use small scissors to fussy-cut the label paper version and place it atop its counterpart on the image panel as a mask.

Step 3:

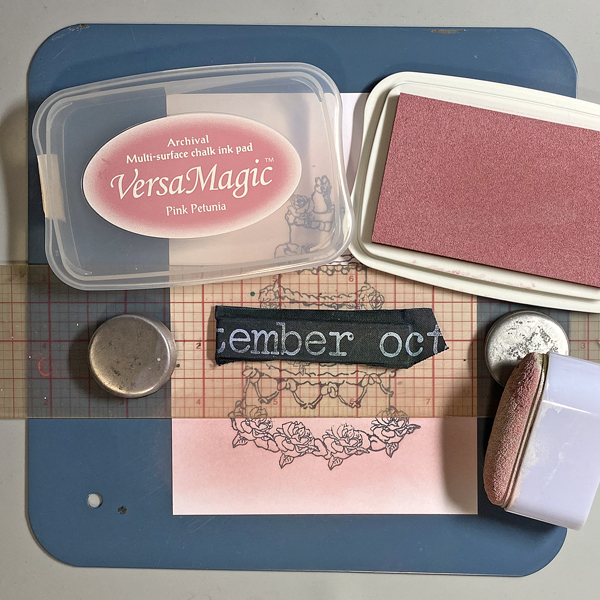
Place a ruler horizontally over the base of the image.

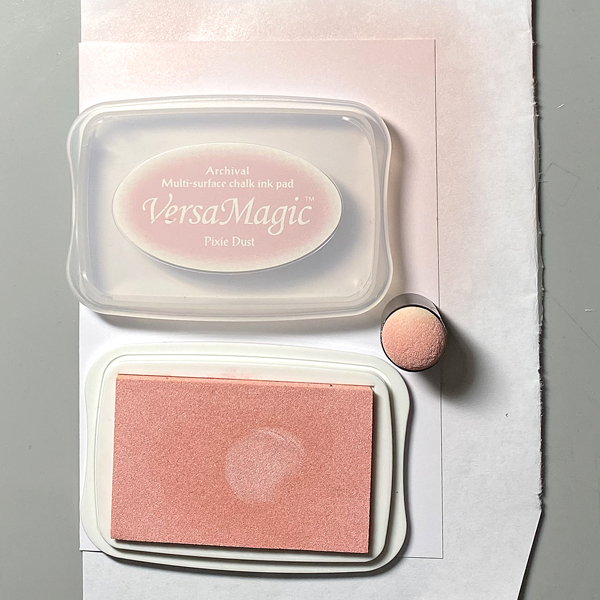
With an ink sweeper, sponge Pixie Dust VersaMagic ink over the ruler and the masked image.
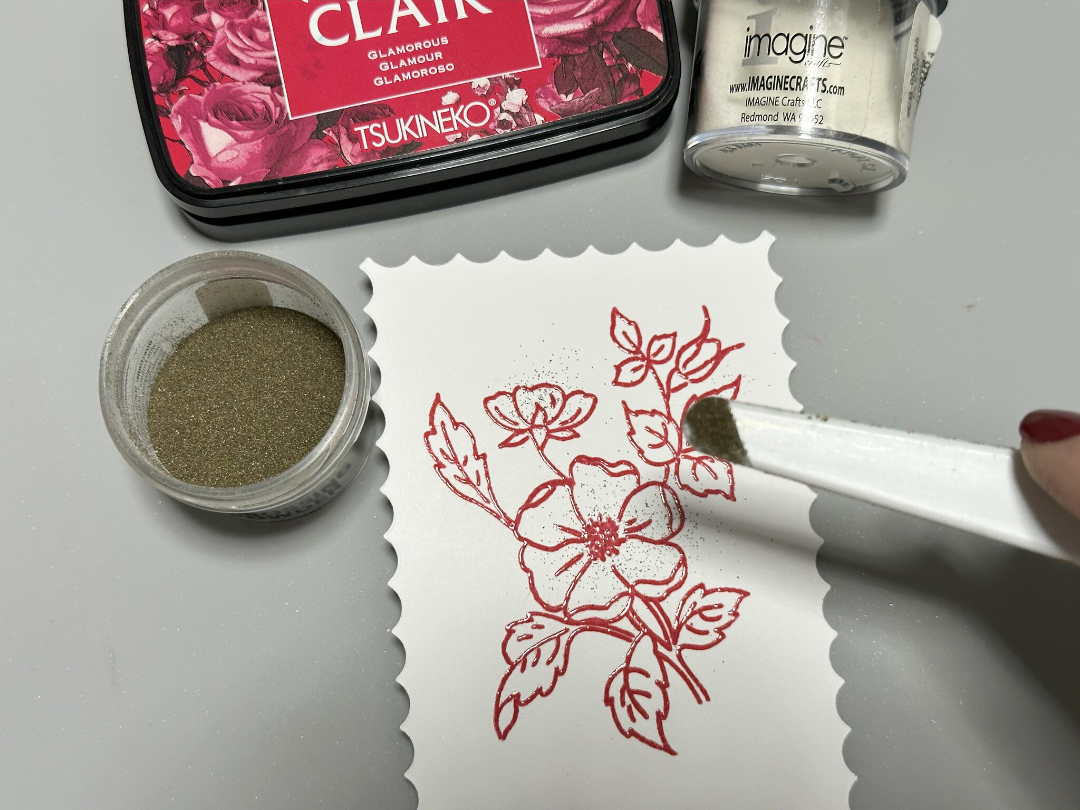
Step 4:

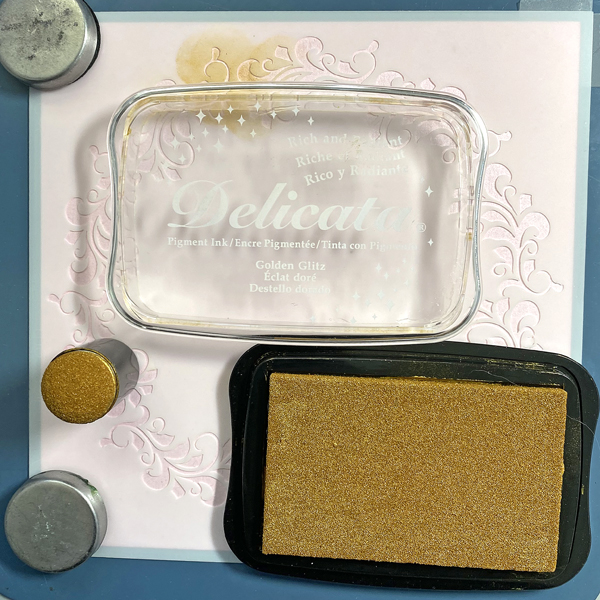
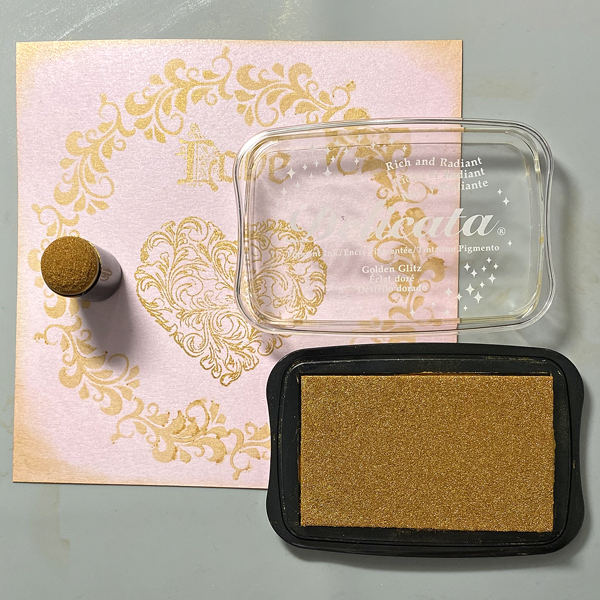
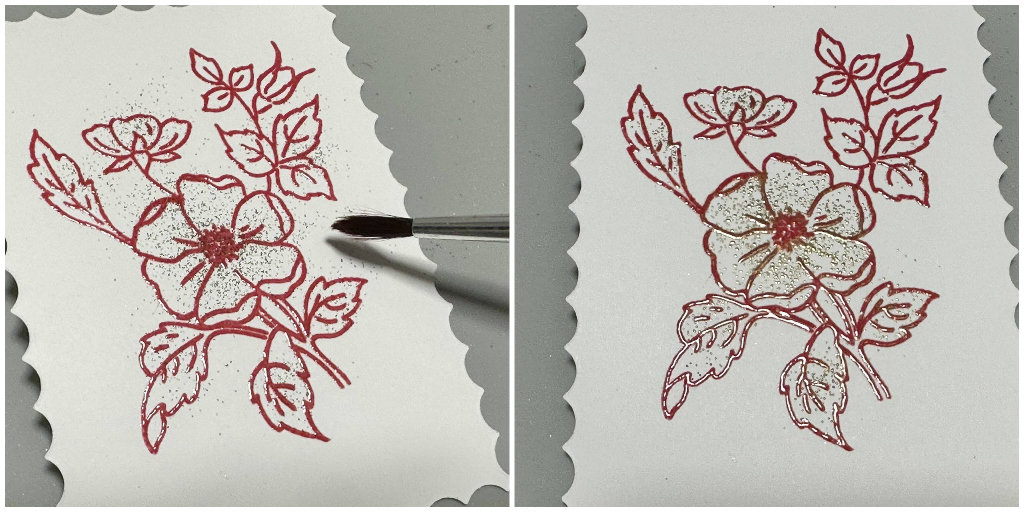
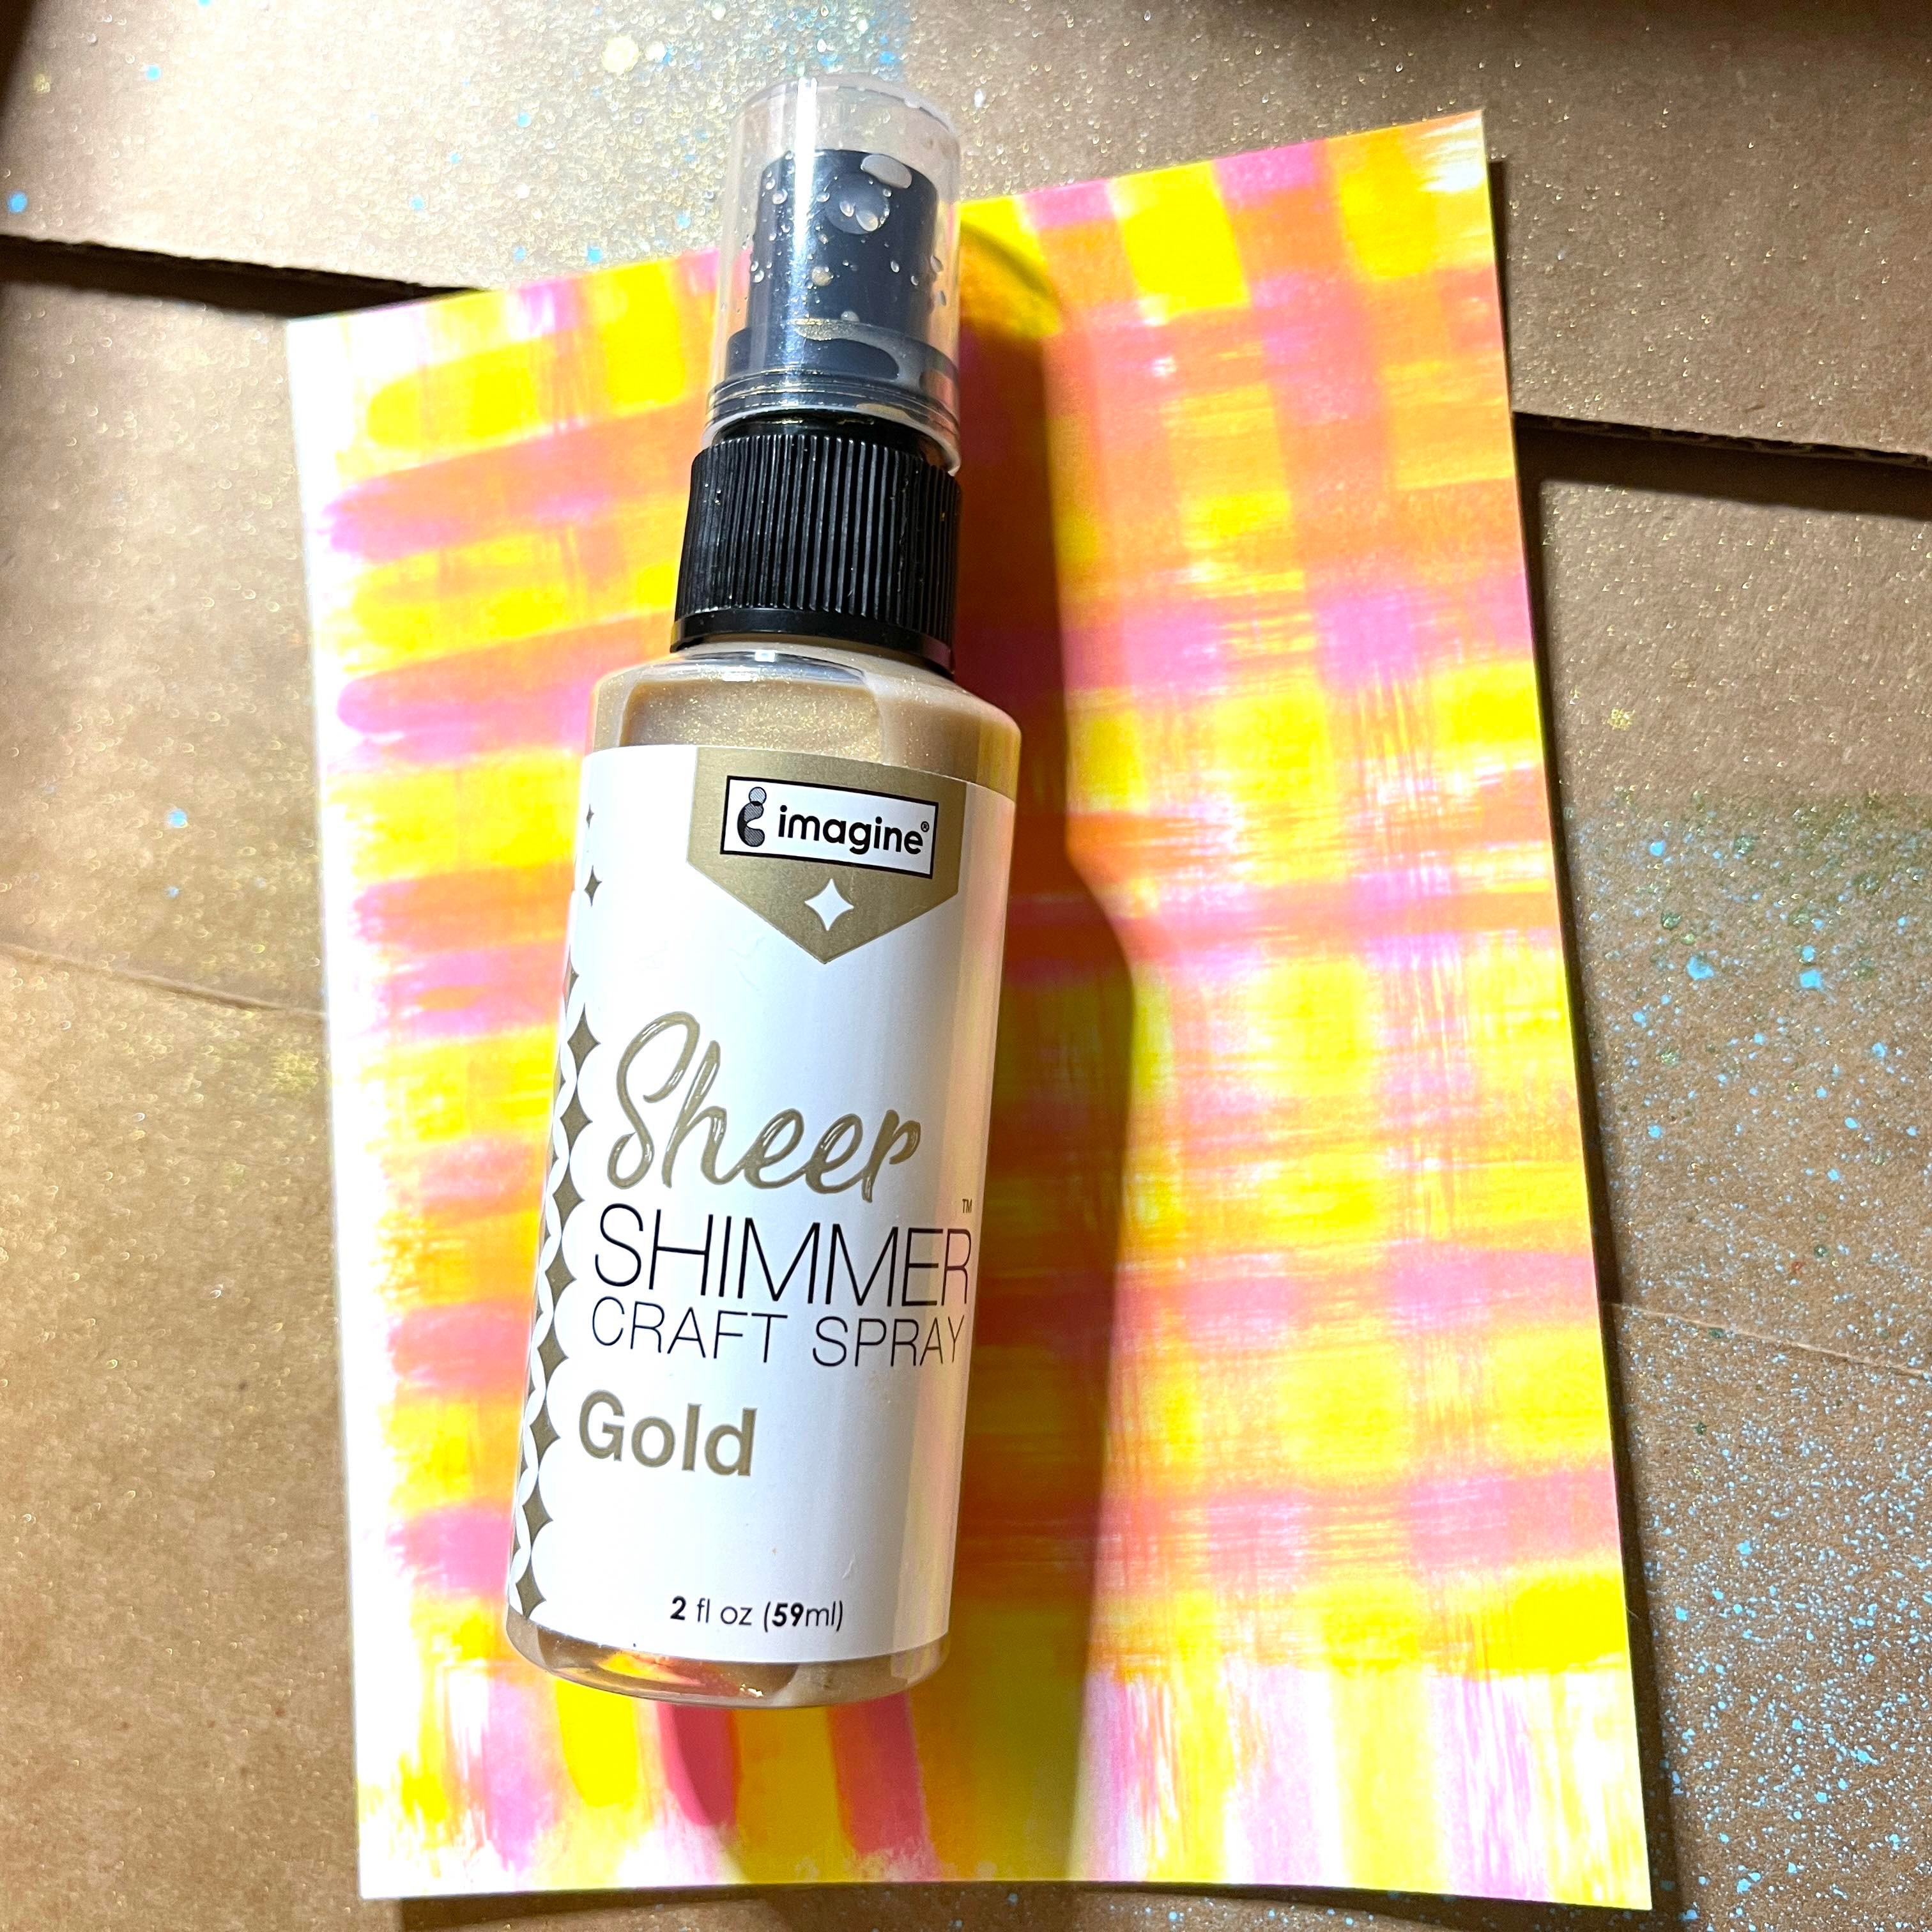
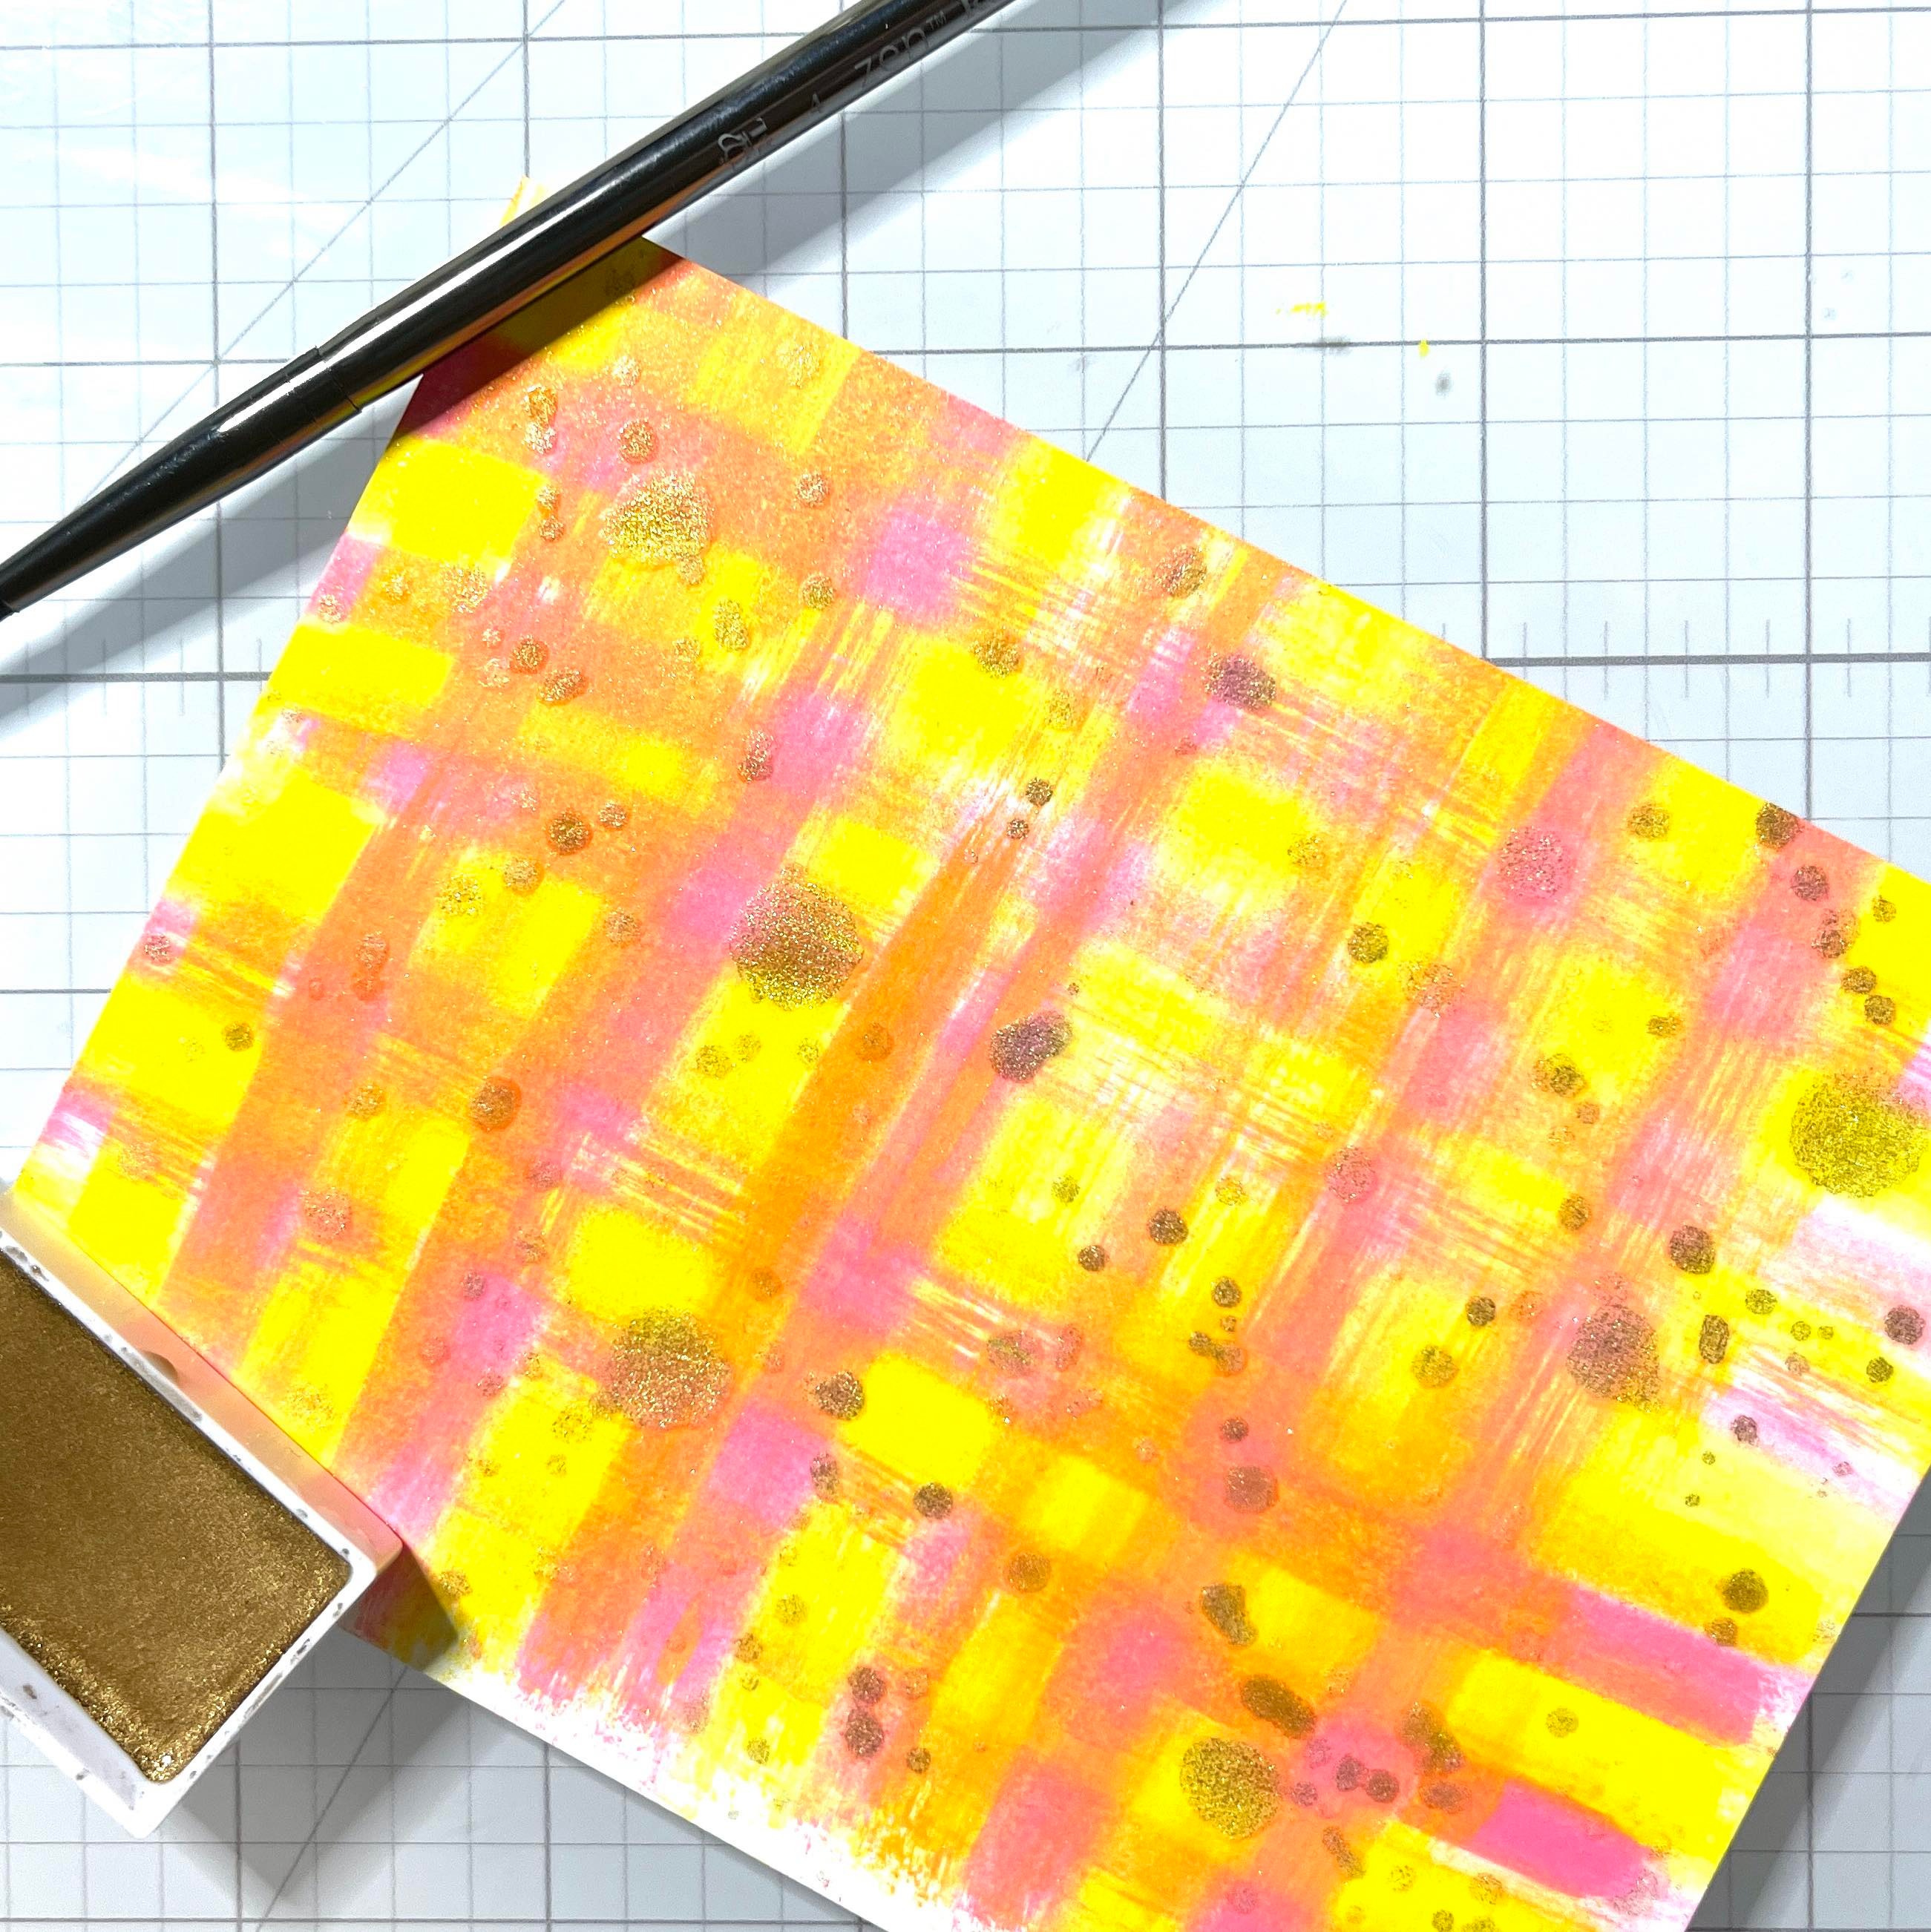
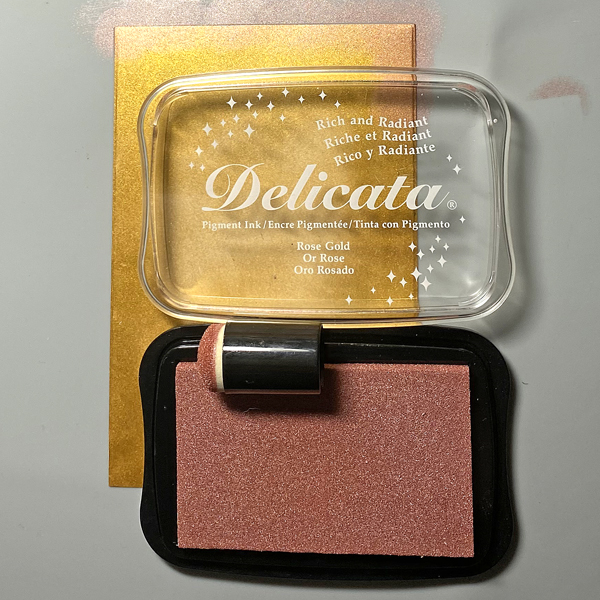
Use a pouncy tool or a stiff paint brush to pounce Rose Gold Delicata Ink.

Step 5:

Move the ruler to cover the top of the image and secure with magnets.

Use an ink sweeper to sponge Pink Petunia VersaMagic ink.

Remove the ruler and let it dry. I heat set to expedite the drying process.
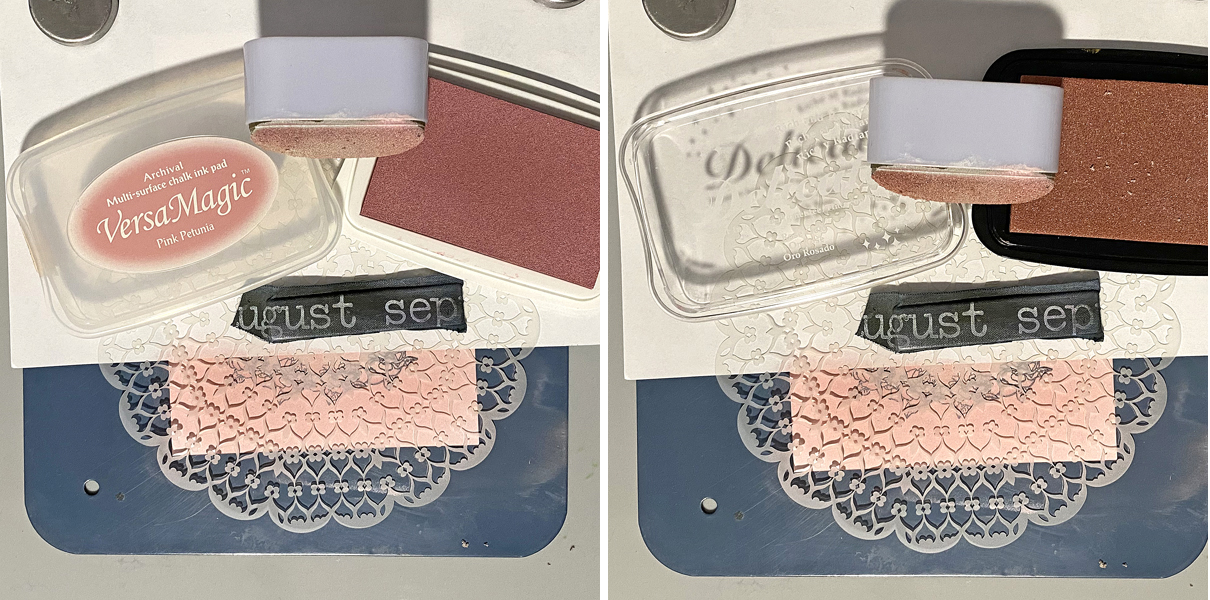
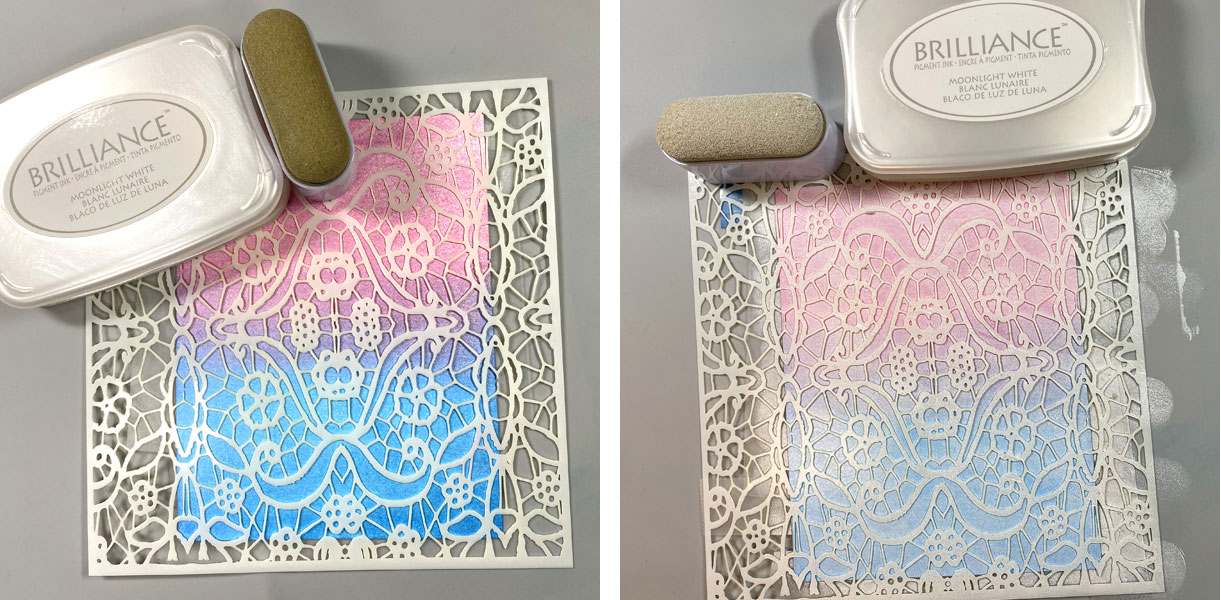
Step 6:

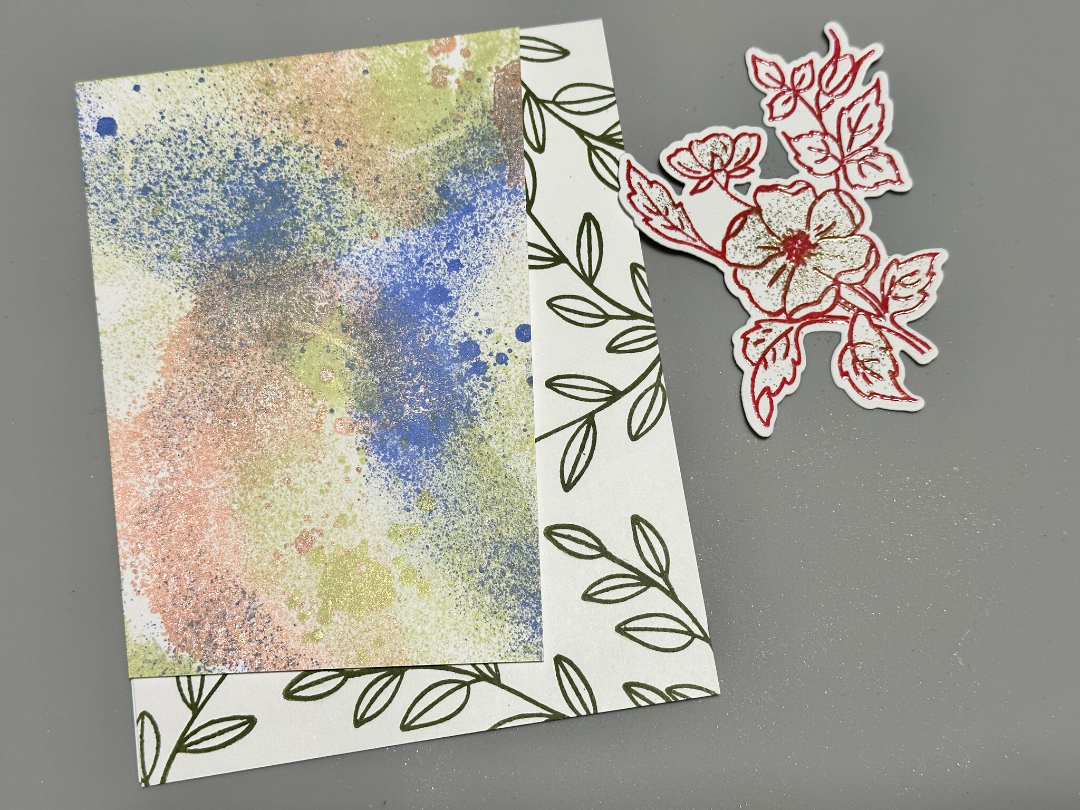
Use a piece of scrap paper to cover the top part of the image panel. Place the Mandala stencil over the base and secure with magnets.

Sponge image with Pink Petunia VersaMagic to create a tone on tone pattern.

Repeat process with Sponge Rose Gold Delicata Ink to add a rosy golden shimmer to the stenciled pattern.
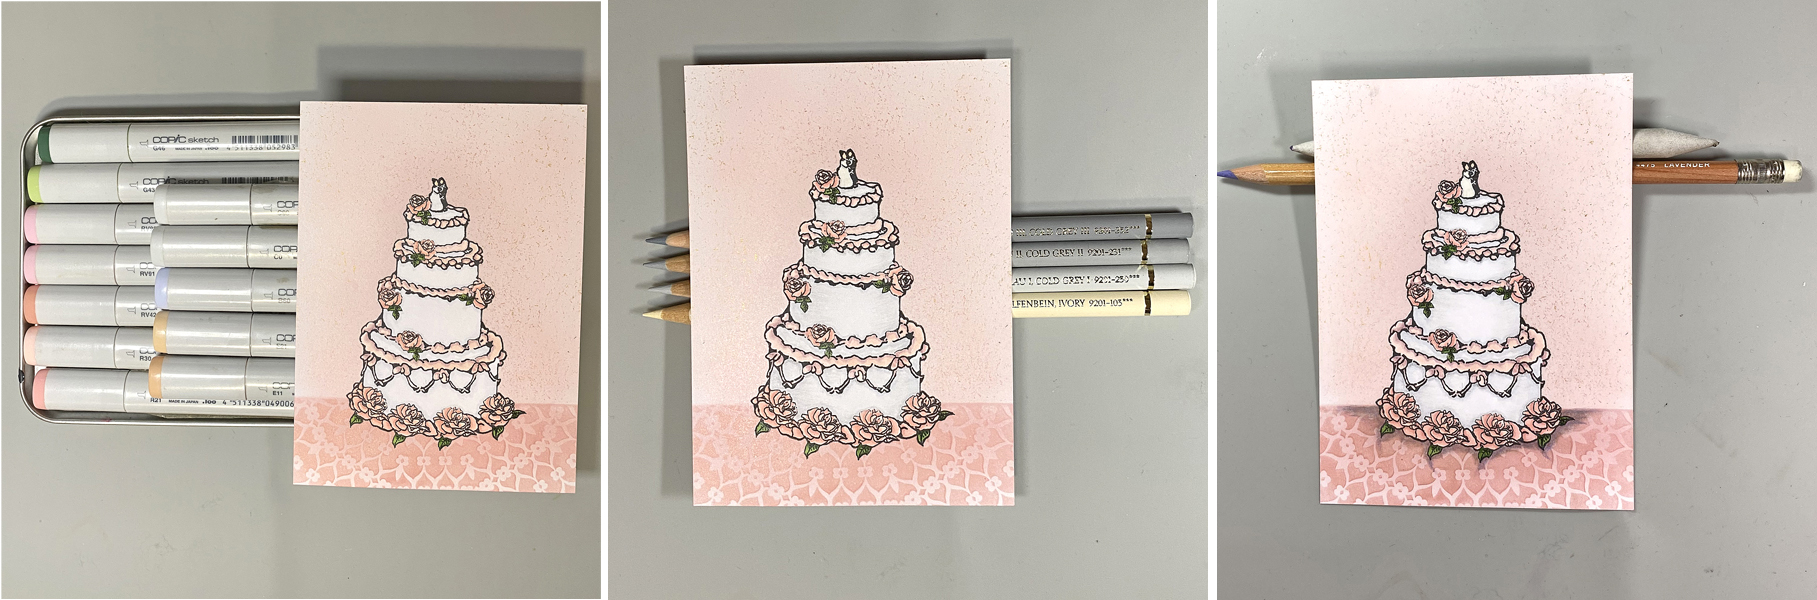
Step 7:

Use Copic markers to color the wedding cake. Add shading and fine details with colored pencils. Use chalk pencil to add shading below the wedding cake.

Step 8:

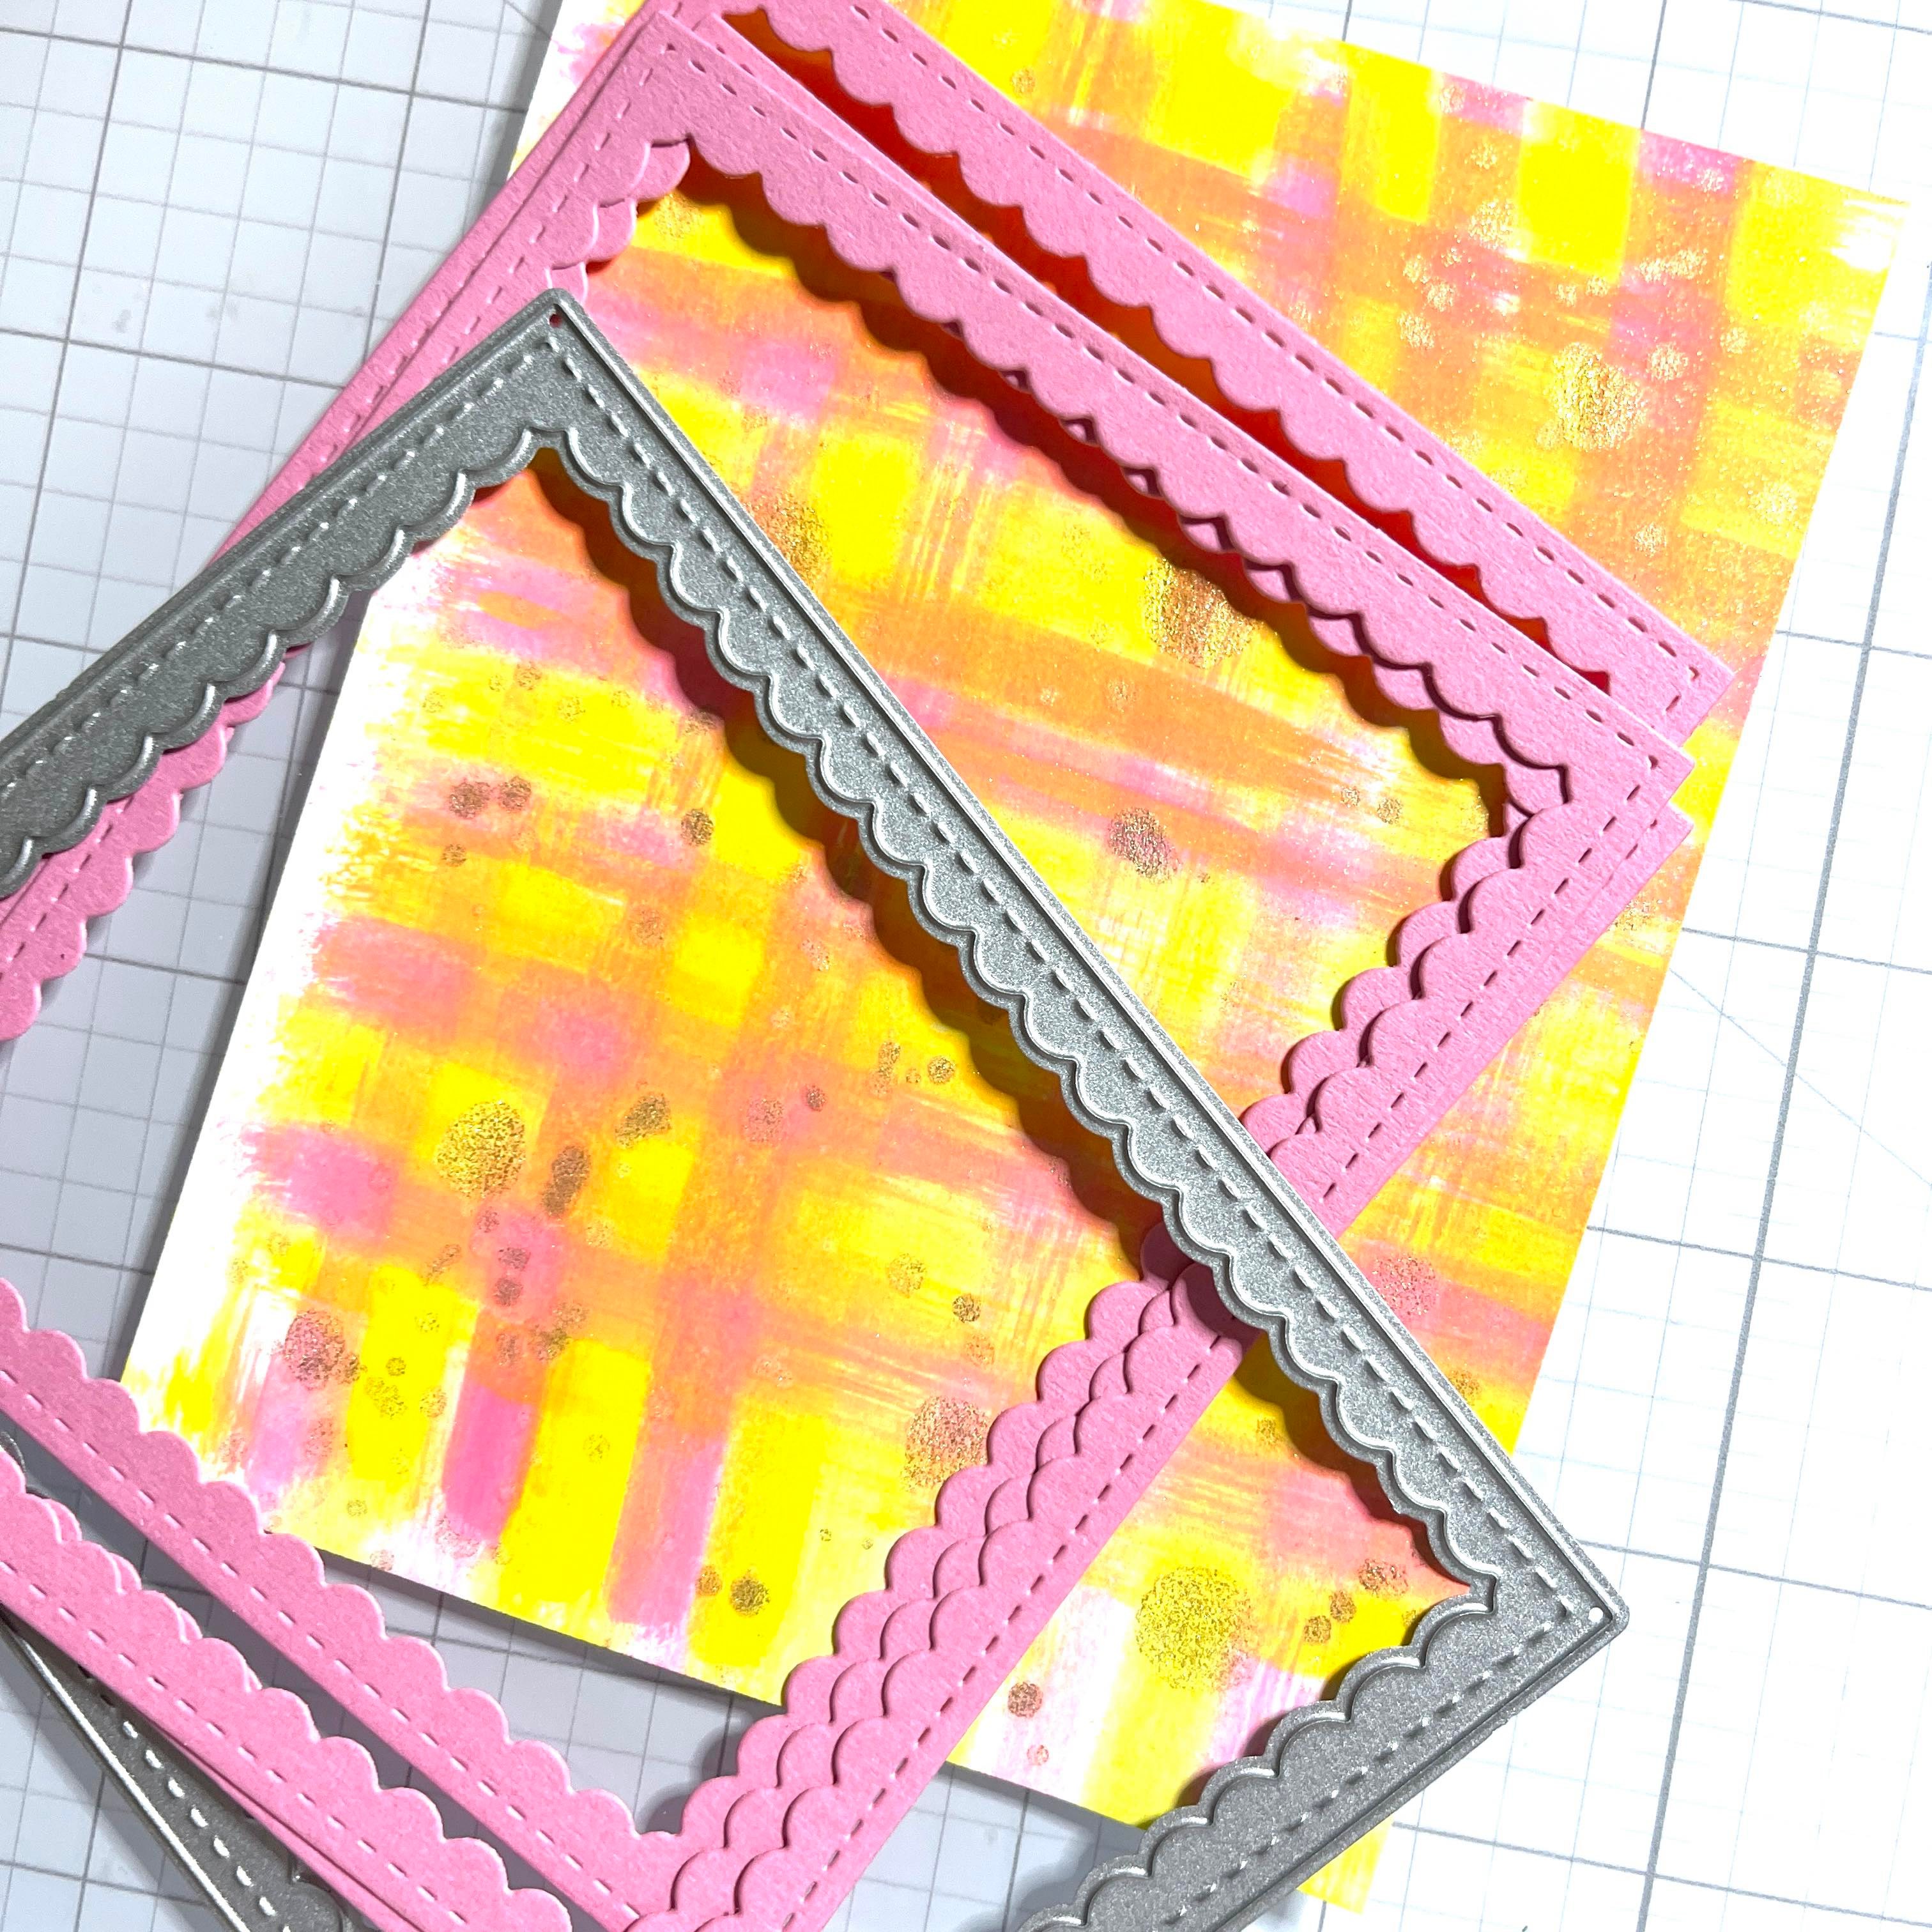
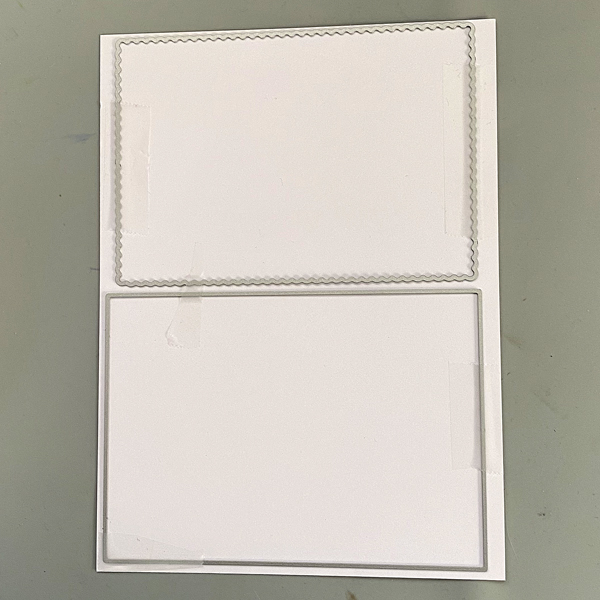
Position one of the plain rectangle dies from the Passe Partout Rectangles Die Set cutting side down on the image panel. Use repositionable Scotch Tape to secure it in place, then die cut the panel.

Step 9:

Cut a piece of white cardstock to 6.5”. Position the scalloped rectangle and the plain rectangle dies from the Passe-Partout Die Set on the panel, secure with repositionable Scotch Tape, and run the panel through the die-cut machine.

Step 10:

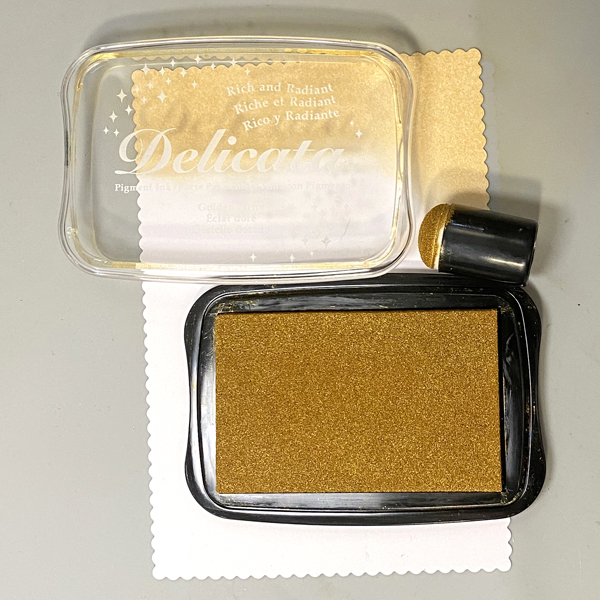
Use a sponge dauber to sponge Gold Dazzle Delicata Ink around the edges of the scalloped panel. Heat set.

Step 11:

Use a sponge dauber to sponge Rose Gold Delicata Ink around the edges of the plain panel. Heat set.
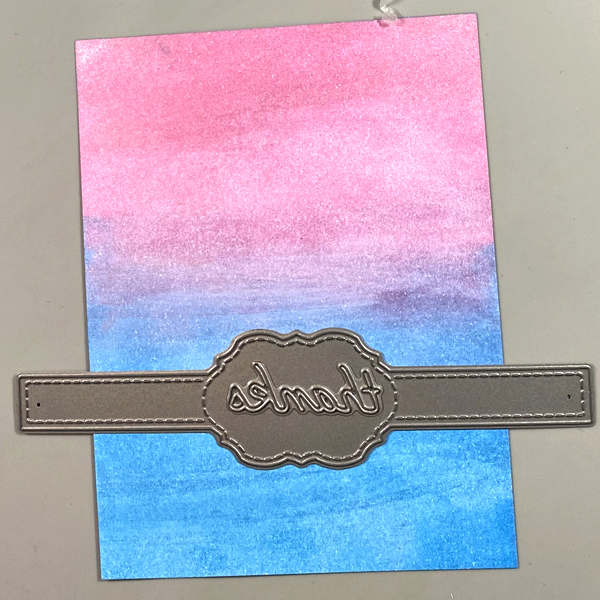
Step 12:

Position the stitched rectangle die from the Passe Partout Die Set onto the gold-sponged scalloped rectangle panel, secure it in place with repositionable Scotch Tape, and run the panel through the die-cut machine. The die will cut a rectangle from the center of the gold-sponged scalloped panel, leaving a stitched border framing the aperture.

Step 13:

Use a sponge dauber to add Rose Gold Delicata to the periphery of the die-cut. Heat set.

Step 14:

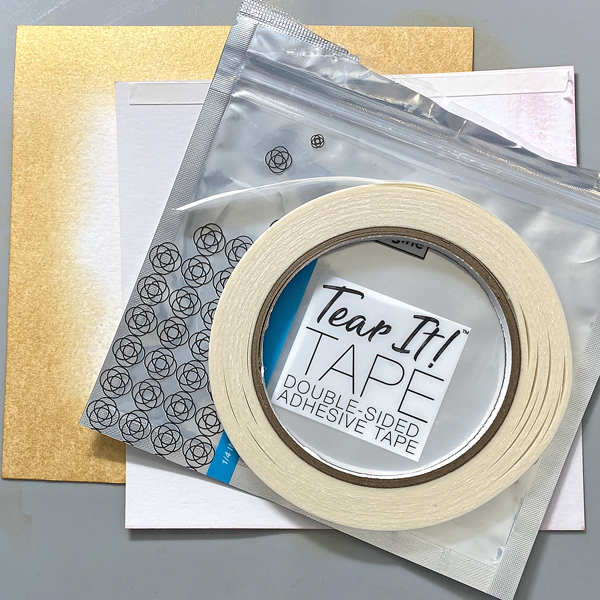
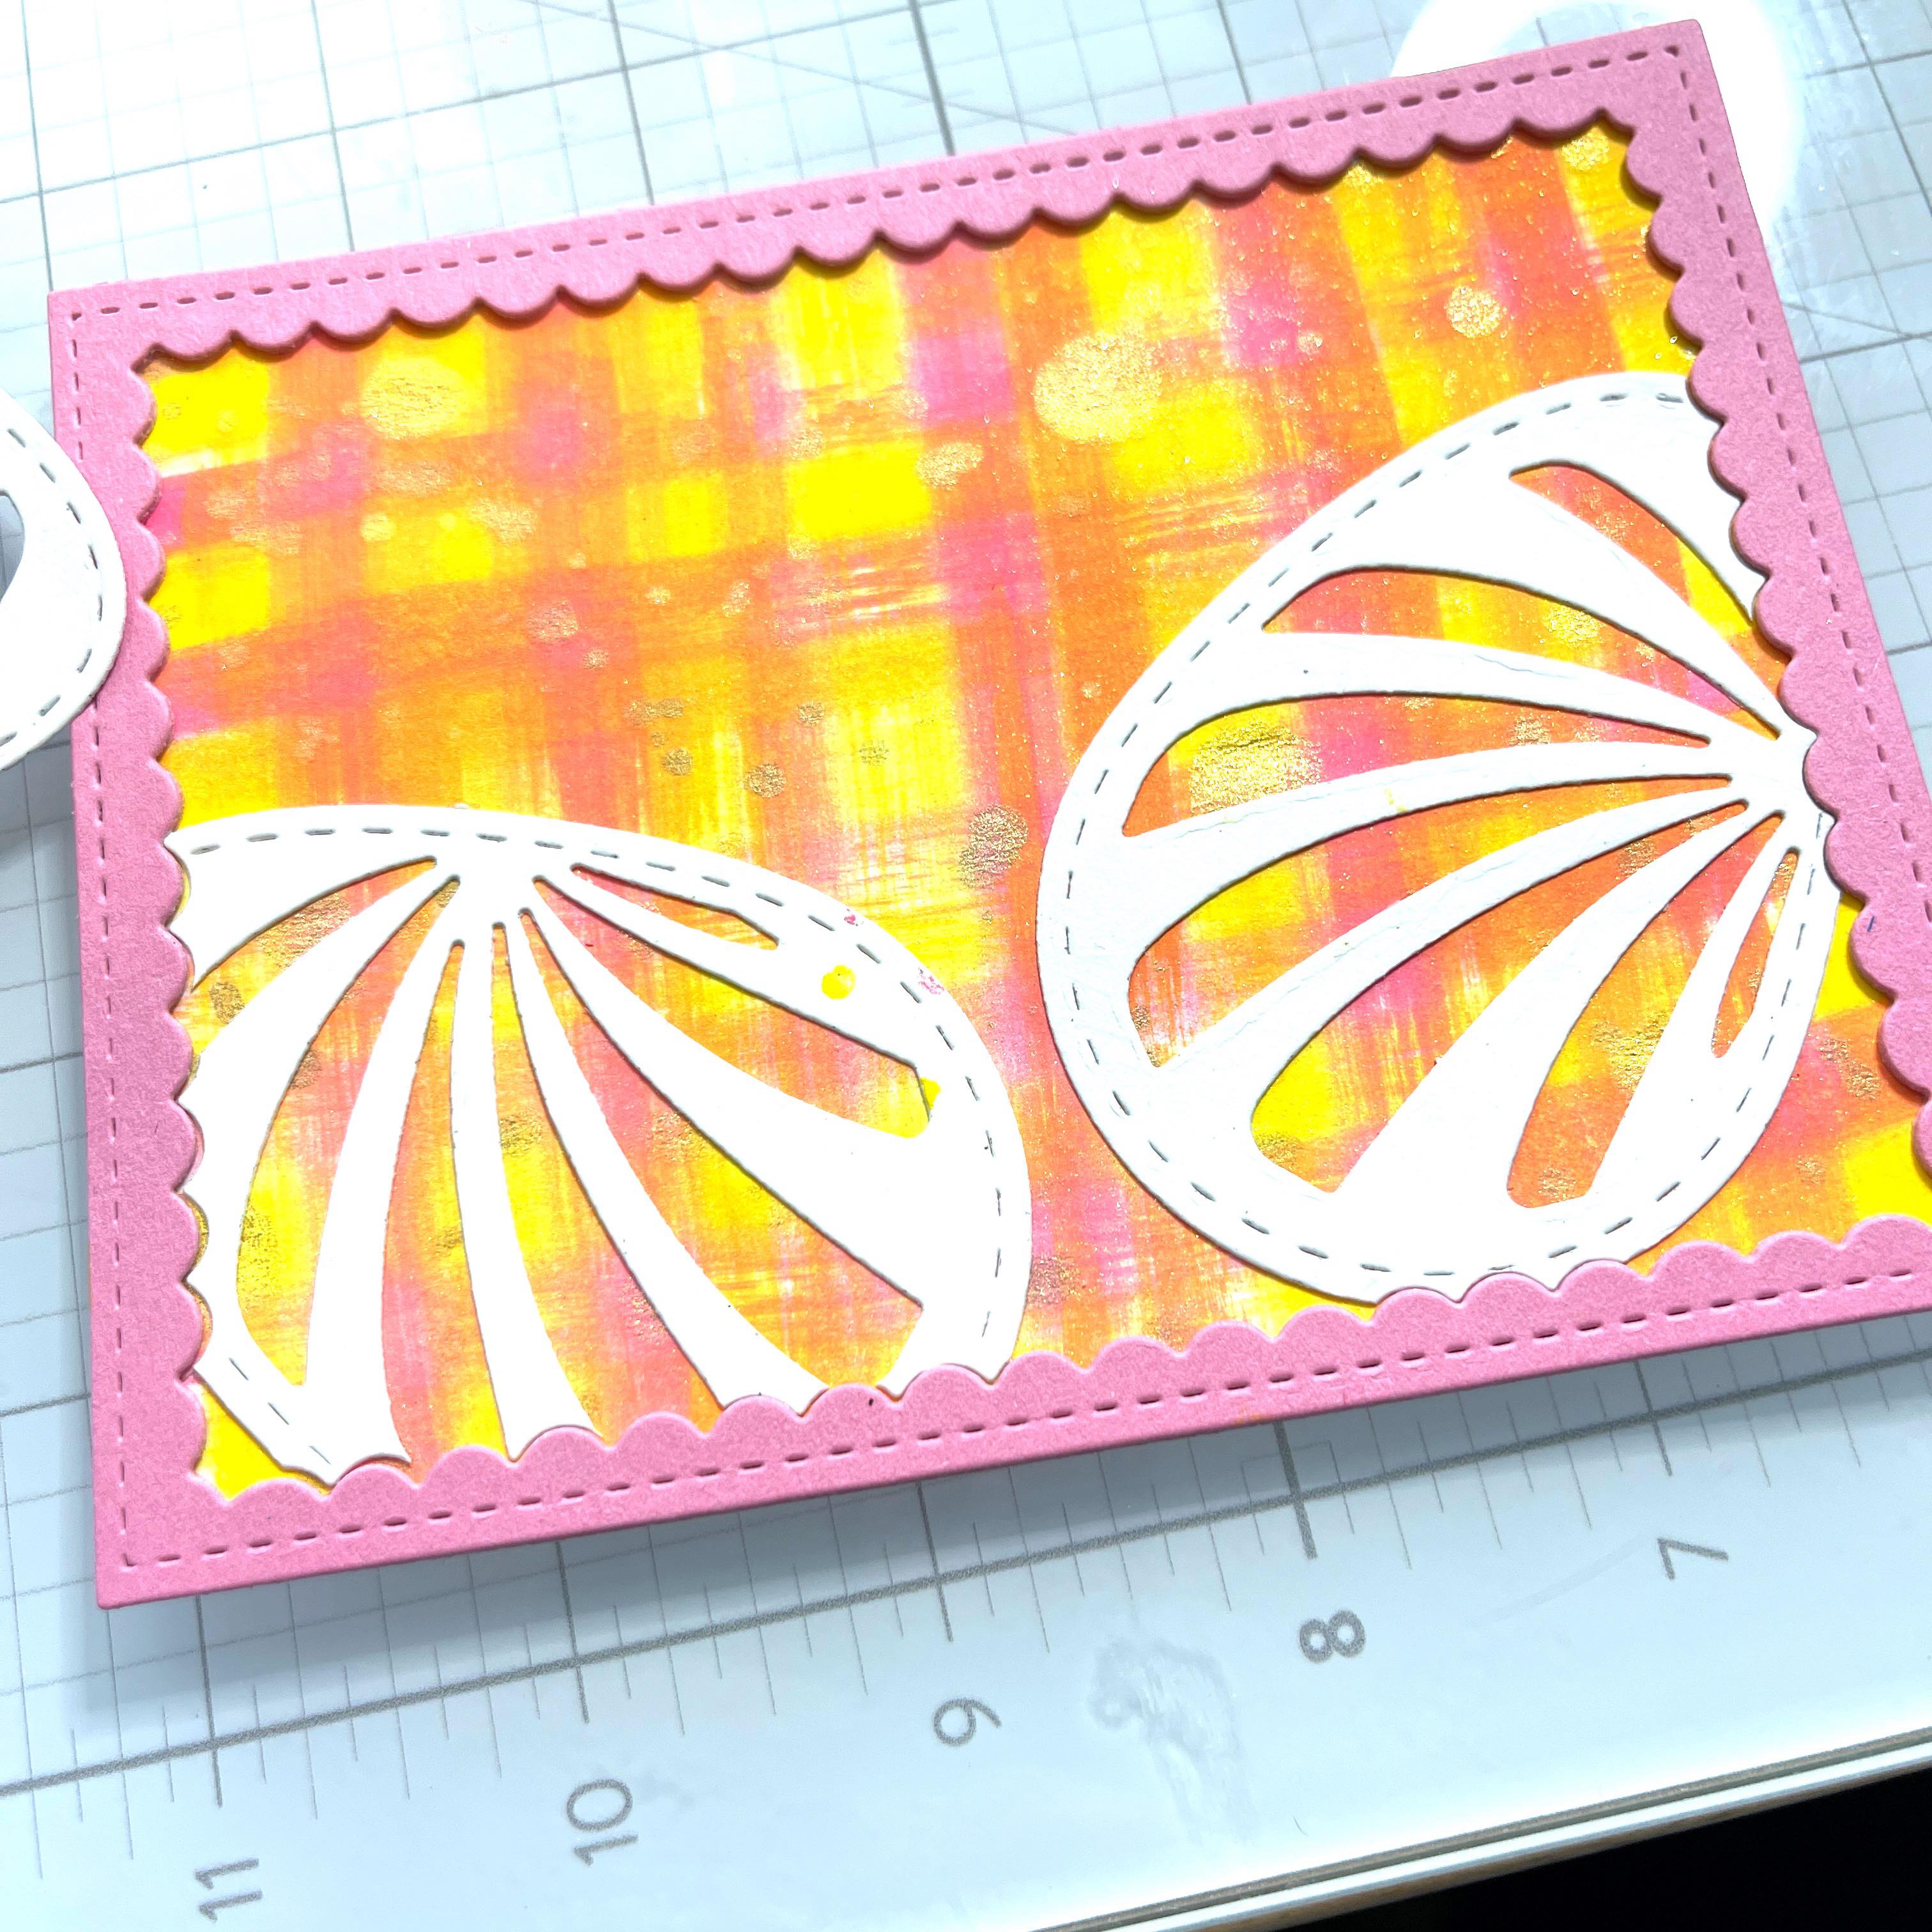
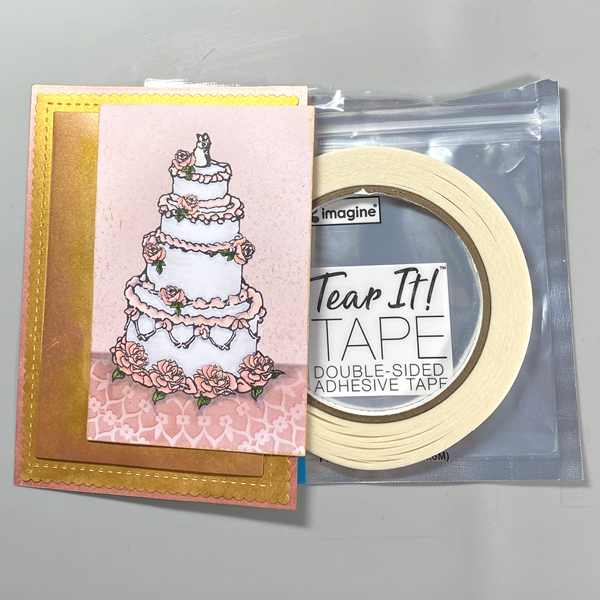
Use Tear It! Tape to adhere the gold scalloped die-cut onto the rose gold plain rectangle panel.

Use the tape to adhere rose gold die-cut to the aperture of the gold scalloped die-cut then adhere the matted image panel as the top layer.

Step 15:

Cut a piece of white cardstock to 8.75” x 6.125”. Score at 4.375” and fold to form an A6 card.

Place a piece of scrap paper into the center of the card. Use a sponge dauber to apply Pixie Dust VersaMagic ink to the periphery of the white card. Heat set.

Adhere the matted image panel to the front of the card.

Art Supplies:

Imagine Crafts Supplies:

Other Supplies:

  • Solar White Classic Crest Cardstock by Neenah Papers
  • Dreams Come True High Definition Cling Stamps by Stamperia
  • Mandala Stencil by the Crafters Workshop
  • Essentials Card Paste Partout Rectangle Die Set by Studio Light
  • Copic Markers – E11, E2, R21, R30, RV42, RV91, RV93, G43, G46, B60, C00, C0, C1
  • Elfenbein Ivory, Cold Grey I, II, III Polychromos Pencils by Faber Castle
  • Lavender Pastel Pencil by Derwent
  • Repositionable Label Paper by Avery
  • Repositionable Scotch Tape by 3M
  • STAY-tion by Ranger Ink
  • Big Shot by Sizzix
  • Stamping Platform by Tonic Studios
  • Heat Gun by EK Success

Best Wishes Wedding Card

By Martha Lucia Gomez

Hello crafty friends! Today, I have a fun tutorial to make a unique congratulations wedding card.
Let me share the project with you.  

Skill Level: Beginning
Time: 60 minutes

Directions:

To make this card is important that you use one side metallic cardstock with an embossing folder. This cardstock can be glossy or matte.

Step 1:

Take a piece of one side glossy silver cardstock and dry emboss it with the embossing folder of your preference.

Step 2:

Remove the metallic color over the embossing with a sanding block. Make it soft so that it doesn’t break the cardstock. Clean with a dry cloth.

Step 3:

Select the colors of ink that you want to give to the embossing design. In my sample, I am using Memento Ink in colors Dandelion, Tangelo and Bamboo Leaves. Then, apply the colors directly over the sanded areas or use a sponge dauber.

When you are satisfied with the colors, pass a dry cloth over the embossed area to remove the excess ink. Resize the layer and paste it over the card base.

Step 4:

To finalize the card, you can use a die cut sentiment with more dimensions. In my sample, I die cut four times the Best Wishes sentiment using the same color of cardstock and then I paste all of them with OnPoint Glue.

Step 5:

Adhere the sentiment over the card base using the same adhesive.   

Thanks for stopping by and remember, you don’t need to create complicated projects. Just use the best inks and let your creativity shine!

Art Supplies:

Imagine:

Other:

  • One Side Silver Metallic Cardstock.
  • Embossing Folder and embossing Machine
  • Die Cut Sentiment.

Let’s Make a Quick and Easy Love Card

By Kathi Rerek

Greetings! Its Kathi here to show you how to create an elegant CAS Love card using two colors of Delicata Shimmer ink, a stencil, and two stamps!

Skill: Beginner

Time: 30 minutes

Step 1:

Cut a piece of Mixed Media paper to 5.75” square. Use an Ink Sweeper to apply Pink Delicata Ink to the entire paper panel. I heat set to expedite drying process but you can let it dry naturally.

Step 2:

Tape the inked paper panel to the back of the Floral Wreath stencil. Use a Sponge Dauber to apply Golden Glitz Delicata Ink over the stencil onto the ink panel. 

Remove the stencil and heat set to dry.

Step 3:

Use Golden Glitz Delicata Ink and a stamping platform to stamp the heart and love within the stenciled Floral Wreath on the image panel. Heat set to dry.

Step 4:

Use a Sponge Dauber to roughly edge the image panel with Golden Glitz Delicata Ink. . Heat set to dry.

Step 5:

Cut a piece of 12” x 12” white cardstock in half. Score at 6” to form a 6” square card.

Place a piece of scrap paper inside the card. 

Use a Sponge Dauber to apply Golden Glitz Delicata to the periphery of the front.

Heat Set to dry.

Step 6: 

Use Tear It! Tape to adhere to the golden sponged 6” square card.

Art Supplies: 

Imagine:

Other:

  • Mixed Media Paper by Strathmore
  • Avalanche Cardstock by Bazzill Basics
  • Floral Wreath Stencil by Joggles
  • Dreams Come True Cling Stamp Set by Stamperia
  • Heat Gun
  • Stamping Platform by Tonic 

Learn to Make a Textured Spring Card

By Martha Lucia Gomez

Hello there! Today’s tutorial is about texture with Fireworks and Embossing Powder! Do you know that you can create a splattered effect with the embossing powder? Let me share the project with you.  

Skill: Beginning

Time: 60 minutes

Directions:

Step 1:

Take a selection of Fireworks! colors of your preference to create the first part of the splatter effect. First, spray a single color over your craft mat. Grab a piece of white smooth cardstock or any type of cardstock and press softly over the mat. Let the paper dry naturally or speed the process with the heat tool if you don’t want to wait a few minutes.

Repeat the above process with all the colors that you wanted to use on your background. In my sample, I used Potter’s Clay, Paris Dusk and Bamboo Leaves.

Step 2:

While the background is in drying process, you can work on the card base. Select a color of VersaFine Clair that coordinates with your background. Stamp lineal images over it. If you want, you can emboss it with clear embossing powder. In my sample, I used VersaFine Clair Shady Lane and don’t emboss de leaves.

Step 3:

In a separate piece of White Smooth Cardstock, I stamped a floral image with VersaFine Clair Glamorous and then covered it with Clear Embossing Powder. Additionally, with a tiny spoon or spatula, I sprinkle Gold Embossing Powder over the flowers and leaves, trying to keep the powder inside of the lines.

Step 4:

With a paint brush, I removed the excess of the powder around the borders of the flower and then, melted the powder with the heat tool.

As you may have noticed, to create the splattered effect, I didn’t use ink, just the powder.

Step 5:

To continue with the process, I resized the background layer in angle. Then, I die cut the floral image with a coordinated die. Additionally, I pasted all the pieces over the card base using crafty foam tape to add more

dimension to the card.   

Step 6:

As final touch, stamp a sentiment in a different color and paste over the decorated card with crafty foam.

Thanks for stopping by and don’t forget that you can use different types of ink and embossing powders to create your own look!

Art Supplies:

Imagine:

Other:

  • Stamping Tool
  • Crafty Foam Tape.

Create Your Own Background to Make an Adorable Easter Card

By Kathy Pisupati

Good morning!  Kathy here, creating art for Imagine Crafts!  Today I have a new tutorial for you.  Today’s project is an Easter card but it is also about creating your own backgrounds with Imagine Craft’s Ultimate Pigment Ink Refills!  If you don’t have much patterned paper this is an easy background using the refills and baby wipes!


Skill Level: Easy

Time to complete: 1 hour

Step 1

Cut a piece of a layering weight, white card stock to 4.25” x 5.5”.  This will be enough for three holders.  Grab your favorite ink refills.  For today’s card I used Imagine Craft’s Ultimate Pigment Ink Refills in Canary and Pink.  Grab a baby wipe and fold it up nicely.

Step 2

Dab your ink onto the baby wipe in an alternating order.

Step 3

Now just swipe across your card stock.  YES you will get messy!  But it’s fun.  You may need to add some more drops.  Make sure when swiping that you line up your baby wipe with the last swiped color as you move along.

Step 4

Time to get messy again!  We will spray Sheer Shimmer Spray in Gold all over the panel.  I use an old box and lay the panel inside.  This contains the spray a bit.  The sparkle of these sprays is so pretty and available in so many colors!

.

Step 5

I also unscrewed the top of the Shimmer Spray and splattered some random spots.  I splattered some small spots using metallic watercolor paint.

Step 6

Next, I cut some scalloped frames and glued them together with On Point Glue.  I used a coordinating pink card stock.  Trim the background panel to fit behind the frame and adhere with On Point Glue from Imagine Crafts.


 Step 7

I die-cut some an Easter Egg I had in my stash several times.  I used the scalloped frame to die-cut the edges so they would fit perfectly against the frame.  I also cut an additional egg to use as the main focal point. 

Step 8

I traced the actual die and cut a solid egg out.  I adhered this behind the main egg and adhered with glue.  I took the insides of the die cut and just painted some of the pink and yellow refill ink on alternating stripes I also added 2 gold stripes from a metallic card stock.

I stamped, colored and die-cut a cute bunny. I used alcohol markers but any coloring medium will work.  I stamped the Easter sentiment on the same pink card stock.  I used VersaMark Ink, covered with gold embossing powder and heated.  The sentiment, main egg and bunny are popped up with foam tape.  The entire panel is added to a horizontal folded A2 card base with foam tape as well.  The last thing I did was add a few confetti sequins!

I hope you enjoy this card and the tutorial. Thanks for stopping by I appreciate all of you! Please head over to the Imagine Crafts website to see all the beautiful products. Here is the link IMAGINE CRAFTS.

SUPPLIES

Imagine Crafts

Other

  • Kat Scrappiness Rainbow Egg Die Set
  • Kat Scrappiness Boxed Sentiment Dies
  • Kat Scrappiness Hippity Hoppity Bunnies
  • Kat Scrappiness Hippity Hoppity Sentiment Stamps
  • Kat Scrappiness A2 Reversed Scallop Dies
  • Kat Scrappiness Mother of Pearl Solid Round Confetti
  • Scor-Pal scoring tool
  • Spellbinders Platinum 6 Die-Cutting machine
  • Neenah Classic Crest Solar White 110lb
  • Paper Trimmer
  • Teflon bone folder
  • Foam Tape

Let’s Make a Thank You Card

By

By Kathi Rerek

– Greetings! It’s Kathi here. In today’s tutorial, I am going to show you how to create a shimmery Thank You card using multiple Brilliance Ink colors.

Skill: Beginner to Intermediate

Time: 1.5 hours

Directions:

Step 1: 

Cut a piece of Mixed Media paper to 4” x 5.25”. Using a Sponge Dauber, apply Sky Blue Pearlescent Brilliance Ink to half of the panel. Use another Sponge Dauber to apply Orchid Pearlescent Brilliance ink to the other side. Blend the two colors of ink in the center. 

Repeat this step with a second piece of paper. Set this piece aside to be used later.

Step 2:

Spray Isopropyl Alcohol onto ink blended paper panel and let sit for a minute. The alcohol will lighten, blend, and add white speckles to the paper. Heat set.

Step 3:

Use Removable Scotch Tape to tape the background panel to the back of the Mosaic Stencil, then use an Ink Sweeper to apply Moonlight White Brilliance ink over the stencil onto panel.

Step 4:

Remove the tape and the stencil. Heat set.

Step 5: 

Use three flower dies from the Wildflowers 1 Thinlits Die Set to cut Mixed Media Paper.

Step 6: 

Use Sponge Daubers to apply Pearlescent Purple, Pearlescent Ice Blue, and Pearlescent Lavender to the flowers. Use Fantastix Brush applicators to detail the flowers with Mediterranean Blue Brilliance, Pearlescent Sky Blue Brilliance, Grape Jelly Memento inks. Color the flower stems and leaves with Pearlescent Thyme Brilliance and Cottage Ivy Memento inks.

Step 7:

Use the Belly Band and “thanks” dies to cut the extra panel of paper created in Step 1.

Step 8:

Adhere the flower die-cuts to the stenciled panel. Adhere the Belly Band die-cut over the flower stems. Adhere the “thanks” die-cut to the center ornament of the Belly Band.

Step 9:

Cut a piece of white cardstock in half. Score and fold to form an A2 card. Put a piece of scrap paper inside the card, then use a Sponge Dauber to apply Purple Brilliance ink around the edges of the front of the card. Heat set.

Step 10:
Use Tear It! Tape to adhere the image panel to the card.

Art Supplies:

Imagine:

• Brilliance:

– Pearlescent Sky Blue

– Pearlescent Orchid

– Moonlight White

– Pearlescent Purple

– Pearlescent Ice Blue

– Pearlescent Thyme

• Fantastix Brush Tip

• Memento Ink

– Grape Jelly

– Cottage Ivy

• Sponge Dauber

• Ink Sweeper

• Tear It! Tape

Other:

• Mixed Media Paper by Strathmore

• Solar White Classic Crest Cardstock by Neenah

• Mosaic #54 Stencil by AALL and Create

• Wildflowers 1 Thinlits Flower Dies by Tim Holtz for Sizzix

• Belly Band Die by Frantic Stamper

• “Thanks” die: Source Unknown

• Removable Scotch Tape by 3M

• 91% Isopropyl Alchohol

• Heat Tool

• Big Shot by Sizzix