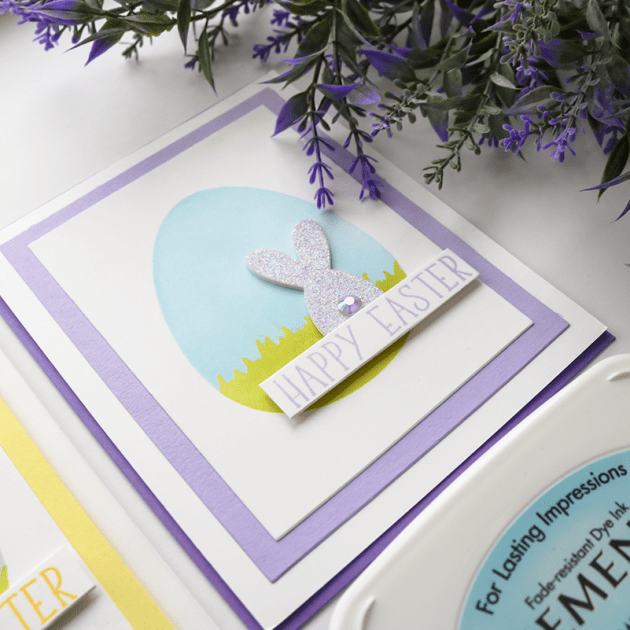
Lisa shares a quick comparison between Memento Dye Inks and Memento Luxe inks. Stamping, water coloring, and stenciling between dye inks and pigment inks can produce different results. Learn some beginner basics to understand which inks are best for your projects.
Other
Strathmore – 300 Series Bristol Board Pads | BLICK Art Materials
Arches Watercolor Paper Pad – 140 lbs, Cold Press, 9″x12″
Neenah Classic Crest – 80lb/216 GSM, Solar White, 97 Bright,
Neenah Classic Crest Cover Solar White – 110# 8-1/2×11 250/pkg
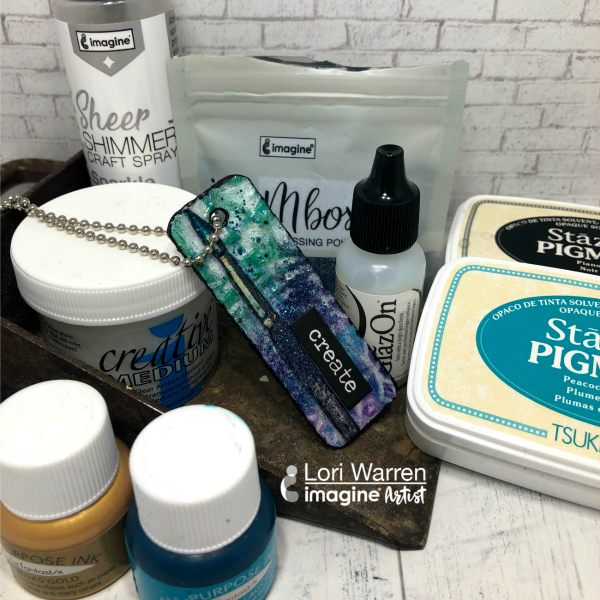
This mixed media project is a great example of how you can use different inks and mediums to create a piece full of texture and color. It’s a step by step layering technique to add depth and interest to mixed media artwork.
Skill: Intermediate Time: 30 minutes
Directions
Written Instructions:
Cut chipboard into a pendant shape and punch a hole at the top. Place a piece of paper under the book cover to protect the pages below.
Cover the front and back of the chipboard piece with white gesso.
Cover the front and back of chipboard piece with white gesso.
Stamp chipboard pendant with VersaFine CLAIR.
Cover pendant with a stencil and apply Creative Artist Medium – Clear.
Stamp brush onto watercolor paper with StazOn Pigment Ink – Piano Black.
Add color to the tip of a brush with StazOn Pigment –Peacock Feathers.
Sponge StazOn Pigment onto Pendant to highlight stencil pattern. Adhere stamp brush image.
Highlight elements of the pendant with ALL PURPOSE INK – Frost White (using a Doodlestix)
Apply splatters in ALL PURPOSE INK – Tropical Lagoon.
Cover element with GlazOn – Slight Gloss Finish.
Add MBOSS Powder to pendant while GlazOn is still wet. Heat set. Round corners of the pendant.
Edge pendant with StazOn Pigment Ink – Piano Black.
Adhere sticker saying.
Use the Waffle Flower – Clear Dies and Combo Swatch Tag Die to record color scheme for this project.
Supplies
Imagine
• All-Purpose Ink – Vegas Gold, Tropical Lagoon, Frost White
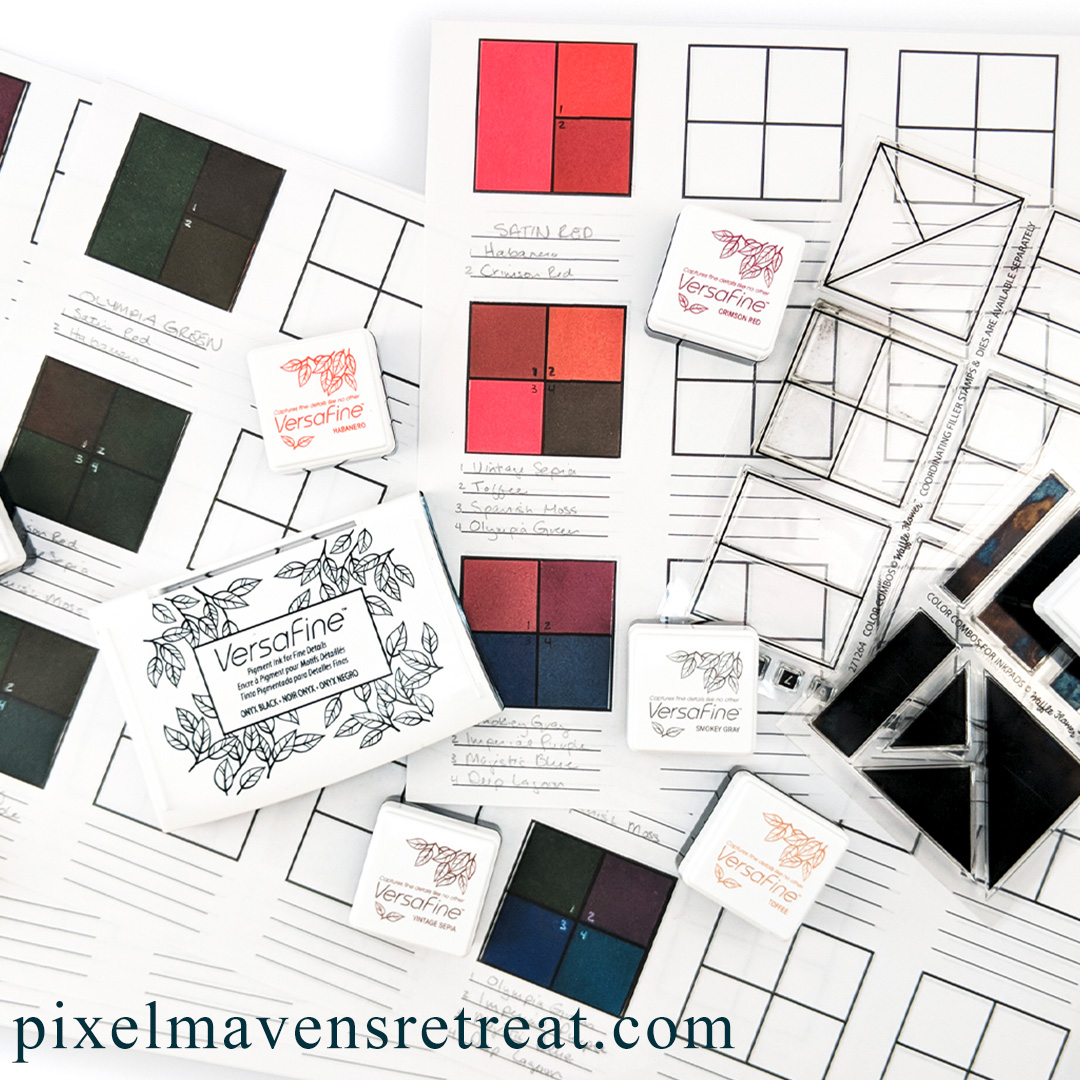
Do you know how your inks work together? Perhaps you’re not getting the results you expect. That’s when layer swatching is a helpful activity. Join Nicole as she explores the VersaFine line of inks to see how they interact when stamping different swatches in layers, much like you would with a layering stamp. You’ll discover all the amazing colors that can be achieved by stamping various colors together to create new colors. Even though VersaFine inks are pigment inks, they layer just like dye inks!
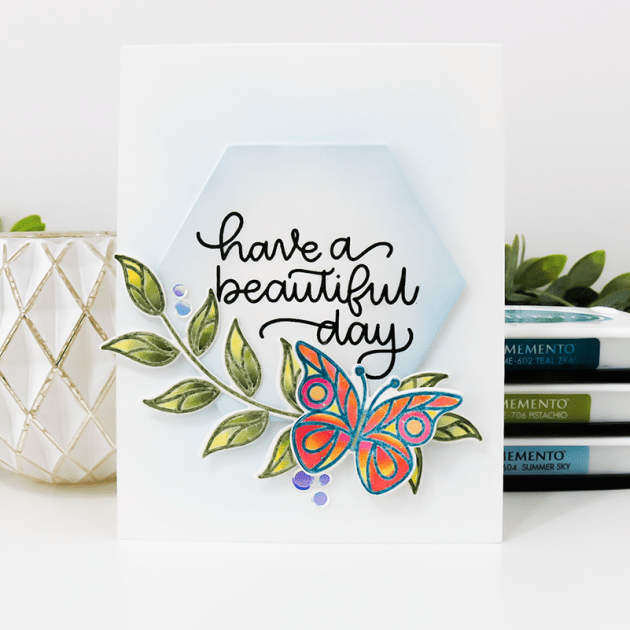
In this video, I share how to watercolor, heat emboss, and ink blend with dye inks. Follow along as I show you how to get the most out of your Memento Dye Inks and create this clean and simple card.
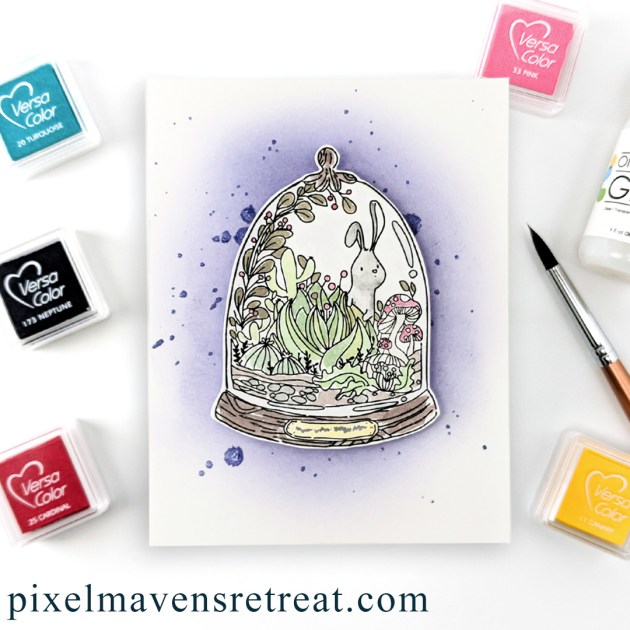
Did you know that you can watercolor with VersaColor inks? Even if you only have a limited palette, you can mix colors to create a wide variety of hues! Nicole will show you how she watercolored a cute terrarium scene with only five VersaColor shades.