See How To Create A Dynamic Looking Wedding Invitation

by Martha Lucia Gomez

See How To Create A Dynamic Looking Wedding Invitation

Hi there! Today, I have a unique wedding card technique to share with you. By using this technique each wedding invitation will have its own unique subtleties. I used Desert Sand Memento Ink but you can use the colors used in your wedding decor. Embossing folders can be used in several ways and it is fun and simple. Now that you can get wedding invitations in craft stores you can add your personal touch to the make it more special just by pasting the decorated layer on top.

Skill: Intermediate
Time: 20 minutes

Directions


Step 1

Select an embossing folder, ink the flat layer of the folder with the color of ink of your preference. Since this is a wedding card, I used Desert Sand Memento Ink because it matches well with gold and enhances the white. You can apply the ink directly with the ink pad or using a brayer. Insert the card stock on your embossing folder and pass the sandwich through your cutting machine.


Step 2

On a separate piece of card stock with the same color of the card base, stamp the couple image using VersaMark. Sprinkle Gold Embossing Powder and use a heat tool to set.

Step 3

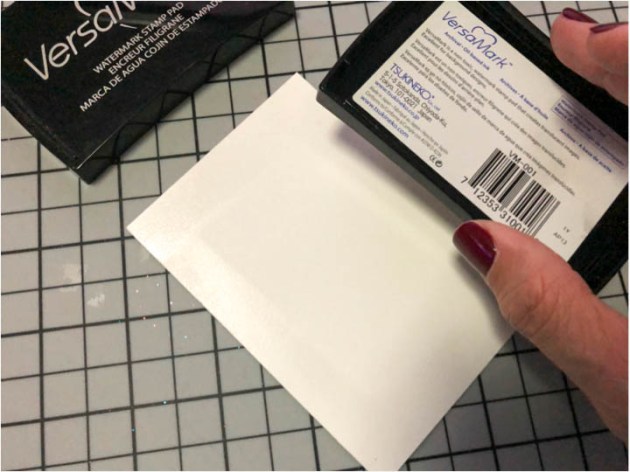
To create a matching frame for the couple image, I inked the edges of a rectangle with the VersaMark inkpad.


Step 4

Then I sprinkled a heavy amount of Gold Embossing Powder and melted the powder with the heat tool.


Step 5

If you want to add more details this is the moment. In my sample, I tie a bow in the ribbon around of the embossed background and pasted it directly over the card base. Then I pasted the main stamped image over the decorated card base using double-sided foam tape.

Supplies

Imagine
Other
  • Cardstock – Whisper White
  • Die Cutting Machine
  • The Rabbit Hole Designs – Happily Ever After Stamp Set
  • Embossing Folder
  • Satin Ribbon
  • Heat Tool
  • Double-sided foam tape

See How to Create a Soft Plaid Print on Kraft Paper

by Melissa Andrew

See How to Create a Soft Plaid Print on Kraft Paper

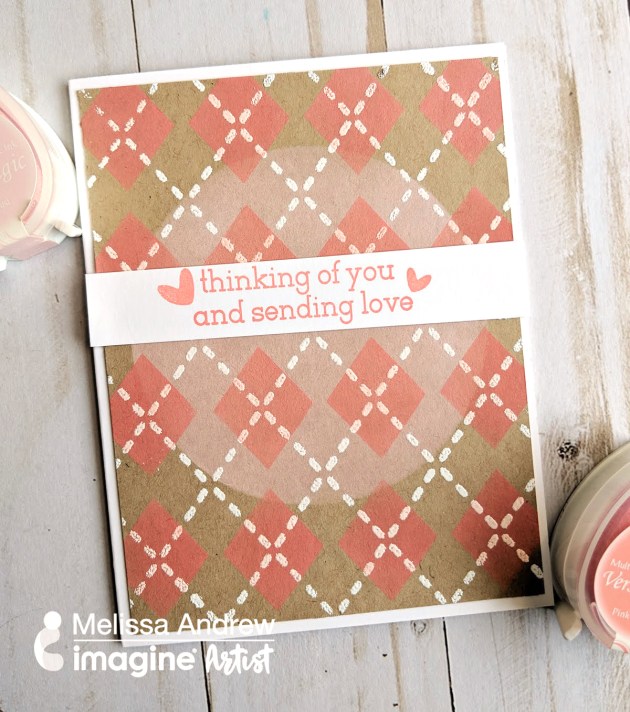
Today I’m showing you the versatile properties of the creamy and blendable chalk ink called VersaMagic. This ink is beautifully thick and shows on your darker cardstocks.

Supplies

Imagine
Other
  • Newton’s Nook – Plaid Stencil
  • Waffle Flower – “Here for You” sentiment
  • Gina K Designs – Kraft
  • White cardstock
  • Paper trimmer
  • Stamping platform
  • Heat tool

Use Rose Gold Ink to Color a Beautiful Floral Pattern

by Martha Lucia Gomez

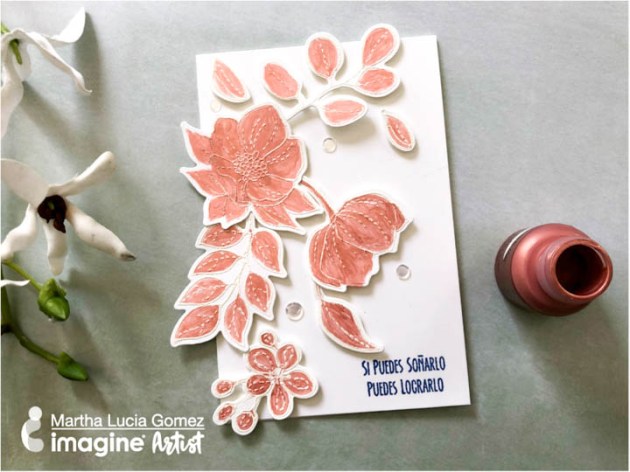
Hello dear friends! Today, I have a very special card that I made just using the new All-Purpose Ink in Rose Gold from Tsukineko. All-Purpose ink comes in a variety of colors including metallics which is perfect for this project. Rose Gold is a trending color and can easily use it in all my creations and thanks to Imagine we have many options to use. Take a look at my card:

Skill: Intermediate
Time: 30 minutes

Directions


Step 1

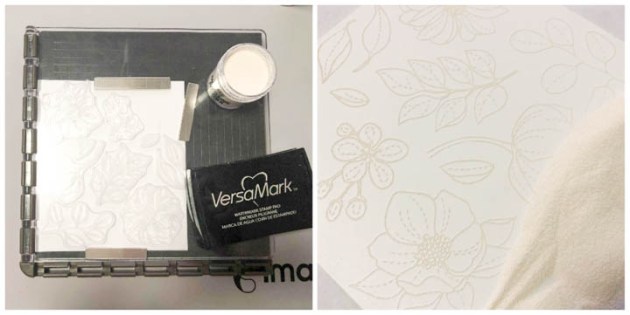
To create my card, I used whisper white card stock, embossing powder and VersaMark ink. I stamped the flowers over whisper white card stock too using VersaMark and White Embossing Powder. I melted the powder with the heat tool and then started my painted or coloring process with All-Purpose Ink Rose Gold.


Step 2

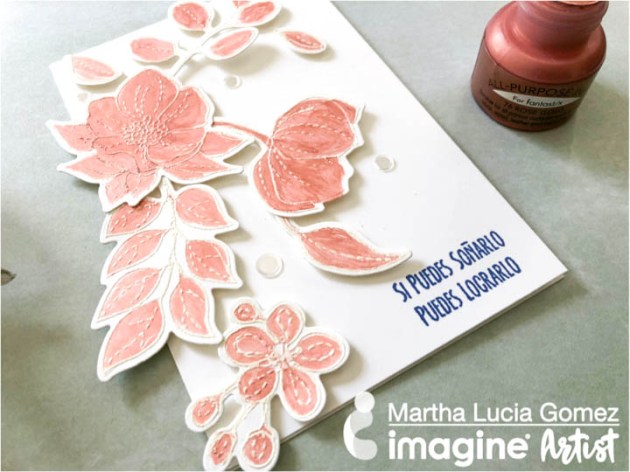
To color the flowers I used a paintbrush but you can also use Fantastix to have the same result. I cut my card in regular size but after finish it, I changed my mind and decided to reduce the width of the card and show off some of the flowers that I used. After coloring the flowers and leaves, I cut all of them with my scissors and arranged them on the left side of the card. During this process, I changed my mind on how I used some parts of the flowers on the left side.


Step 3

To have the card on normal size, I just cut the right side border about 3/4″ of an inch. I pasted all the flowers with double-sided foam tape and added white sequins with On Point Glue. To finalize the card, I stamped with Memento Paris Dusk a Spanish sentiment from the stamp set Vive Ama Sueña from Latina Crafter. Simple, easy and beautiful!

Supplies

Imagine
Other
  • Whisper White Card Stock
  • Sequins
  • Double Sided Foam Tape
  • Even More Spring Flowers Stamp Set from Simon Says
  • Misti Stamping Tool
  • Scissors
  • Paintbrush

Use VersaMagic and Brilliance Ink to Quickly Color a Card

by Arjita Sepaha Singh

For today’s card, I heat embossed a few images with white embossing powder and added color by rubbing the VersaMagic and Brilliance Dewdrop inks directly on them. The embossing created a resist and it was super duper quick to have colored elements ready for the card. I heat embossed sentiment on vellum and also created a wooden plank background using Versafine Clair ink. This was a quick card to create and you can do similar cards for your friends and family for any occasion.

Skill: Intermediate
Time: 15 – 20 minutes

Supplies

Imagine
Other
  • Cardstock – white, vellum, kraft
  • Powder Tool
  • Heat gun
  • Misti Stamping Tool
  • Scissors
  • Stamps – mason jar, warm winter wishes sentiment, trees

Use Dewlets to Create a Unique Background

by Kassy Tousignant

Use Dewlets to Create a Unique Background

The new Dewlet etched metal die is so versatile! I have used it to create an interesting background in this card project. I stamped a beautiful pattern in VersaMagic and placed the Dewlet shapes on the background of the card.

Skill: Intermediate
Time: 1 hour

Directions

Supplies

Imagine

•  VersaFine Clair – Nocturne
•  Embossing Powder – Black
•  VersaMagic – Aquatic Splash, Turquoise Gem, Night Sky
•  Dewlet
•  Tear It! Tape

Other

• Visible Image – stamp
• Washi tape
• Embossing buddy
• Vellum
• Cardstock – kraft, matte silver, white
• Carabelle – stamp for background
• Water bottle
• Heat gun
• Glue Dots

How To Create A Dewlet Shape Flower Centerpiece In A Scrap Layout

by Jowilna Nolte

How To Create A Dewlet Shape Flower Centerpiece In A Scrap Layout

With the new Dewlet die-cut making cute little elements using your Dew Drop ink pads have just become so much easier. I have always loved cutting them out to make flower petals, but now the job is so much easier thanks to this little cutie. There is a world of possibility with this clever die-cut just imagine all the effects you can create.

Skill: Advanced
Time: 1 hour

Directions


Step 1

Use your VersaMagic Dew Drop in Night Sky and stamp directly onto a smooth piece of white cardstock. Leave to dry or heat set using a heat gun.


Step 2

Use Brilliance Dew Drop in Starlight Silver and stamp directly over the first VersaMagic Dew Drop stamped shape.


Step 3

While the Brilliance ink is still wet sprinkle with Embossing Powder in Clear. Shake off the excess and return to the container. Heat set using a heat gun until fully melted.


Step 4

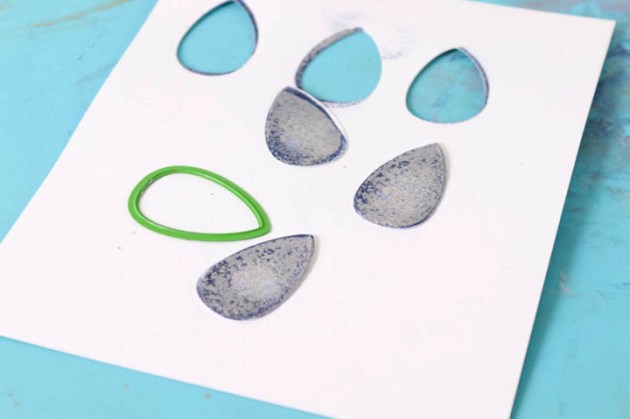
Use your Dewlet die cut shape and cut out the embossed shapes on your die-cutting machine.


Step 5

I used my Dewlet shapes on my layout to create a beautiful flower element rising out from above the photo matt. These Dewlet shapes are perfect as flower petals but can be used for so much more.


Step 6

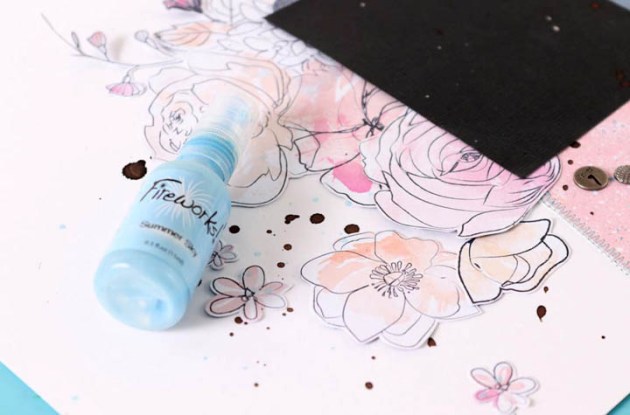
Use Fireworks Shimmery Craft Spray in Summer Sky to adds light blue splats to the background as well as Walnut Ink Crystals.

Supplies

Imagine 
Other
  • Cardstock
  • Patterned paper – Cocoa Vanilla
  • Heat gun
  • Circle punch
  • Sewing Machine
  • Embellishments
  • Scissors
  • Die Cut Machine
  • Paint brush