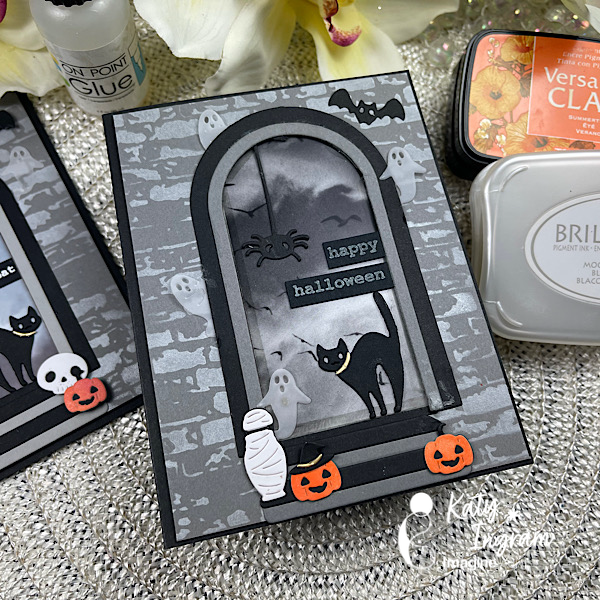
Hello Friends! Katy here with another quick project. In today’s video I create a simple Halloween card. I had some printed spooky printed acetate in my stash and paired it with a brick stencil and some Brilliance Moonlight White ink. I just love this white ink more than any others and so I like to showcase it any time I can.
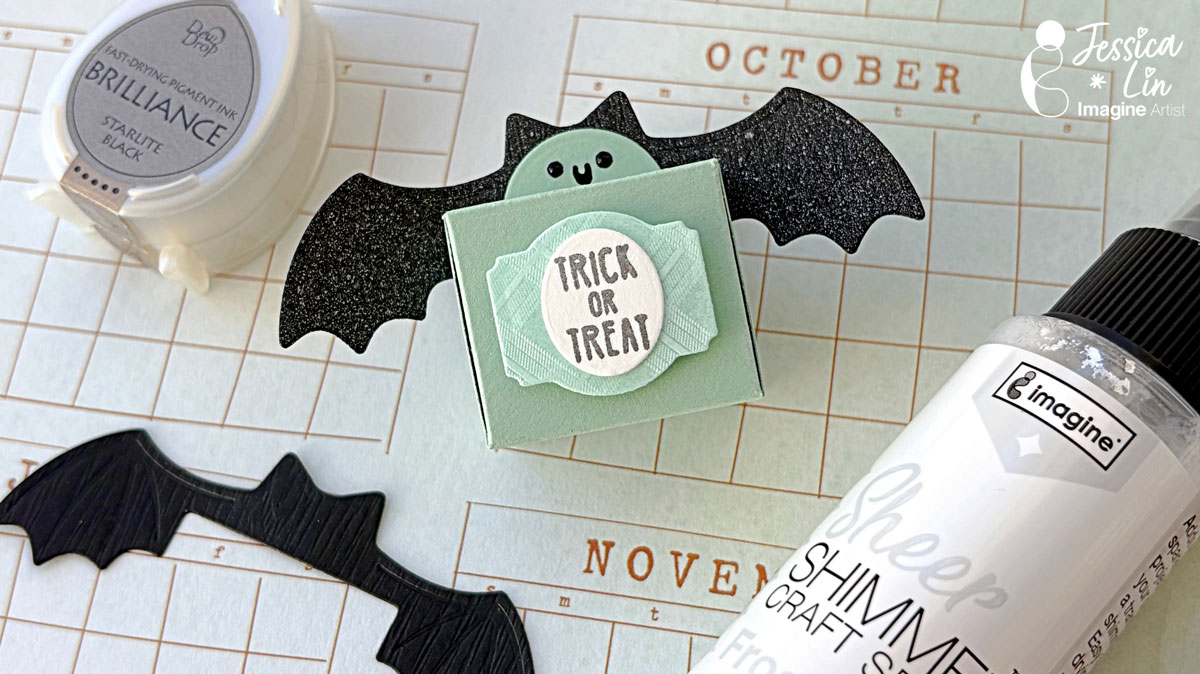
– Hi everyone! It’s Jessica here. Halloween is right around the corner and today I have a really quick & easy treat box idea for you. If you are interested in making mini treat boxes and dressing them up for Halloween, Christmas, or Easter, just keep reading!
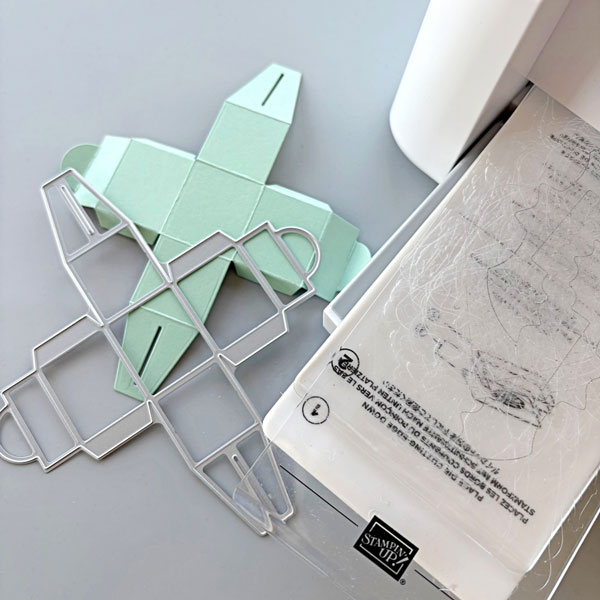
Step 1: Die cut a piece of Mint Macaron cardstock with Design a Treatbox die from Stampin’ Up. Fold along the score lines to create a mini treat box.
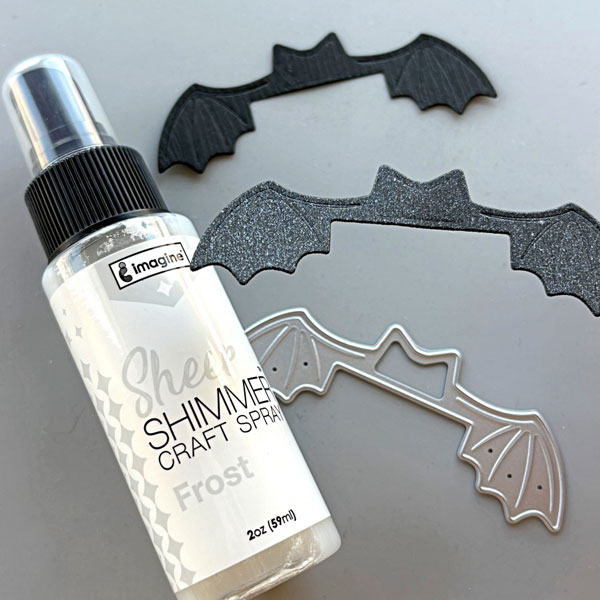
Step 2: Die cut a piece of black cardstock with the bat wing die from the same set. Then spritzed it with a generous layer of Sheer Shimmer Craft Spray in Frost. The shimmer spray really adds a whimsical touch to the bat wings! You can compare it with the die cut in the back without the Sheer Shimmer Spray. Doesn’t it look so different?
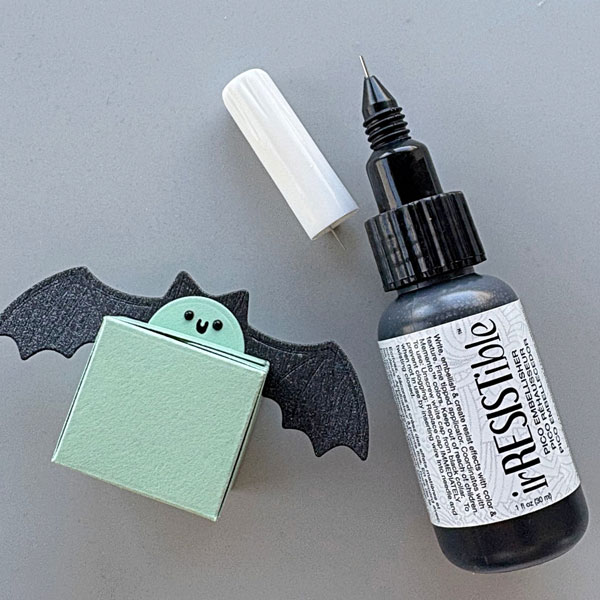
Step 3: Then I added a smiley face to the tab of the treat box with irRESISTible Pico Embellisher. The fine-tip nozzle was so easy to use to create fine details.
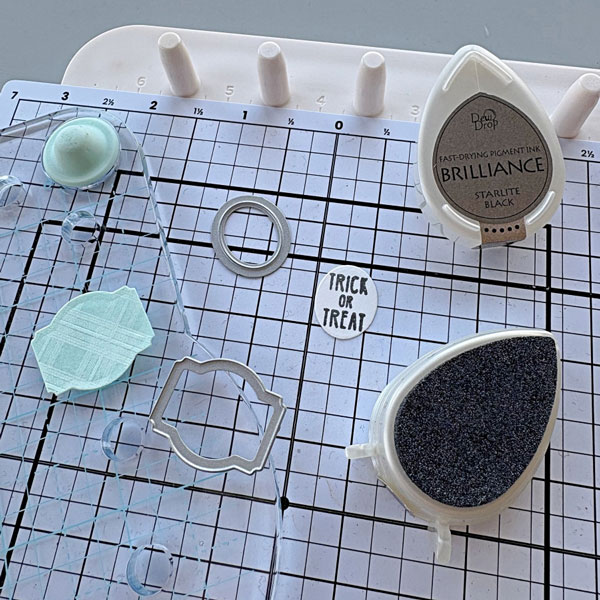
Step 4: Die cut the box labels with mint patterned paper and white cardstock. The “trick or treat” sentiment is from Mama Elephant’s Meowlloween Extras set. I stamped it with Brilliance Starlite Black ink pad.
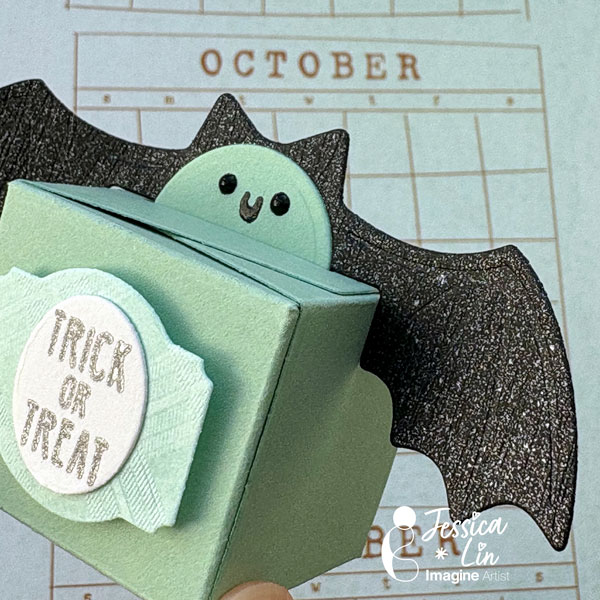
Step 5: Since this is a mini treat box (holds 2 Hershey kisses), no tape or glue is required for the box assembly. Simply fold along the crease lines and hold it together with the flaps’ openings. This no-glue project is ideal for mass production and you could create many party favors in a short time!
Once the box is assembled, adhere the label dies to the front and slide the bat wings die between the top tabs. You could also create Christmas or Easter treat boxes with the other dies in this set.
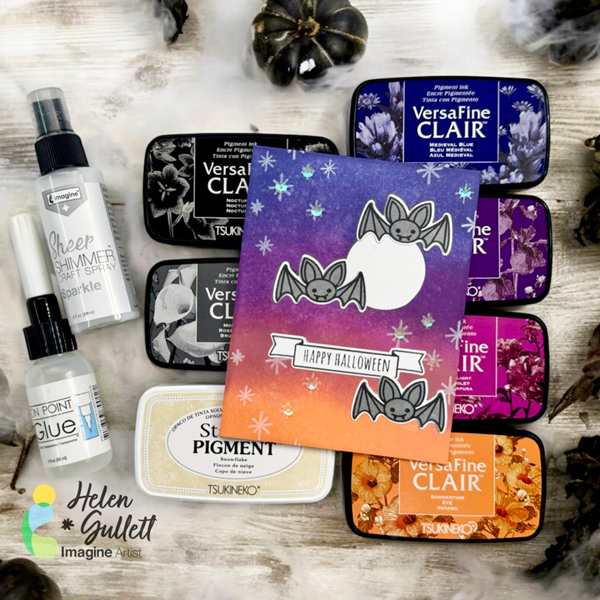
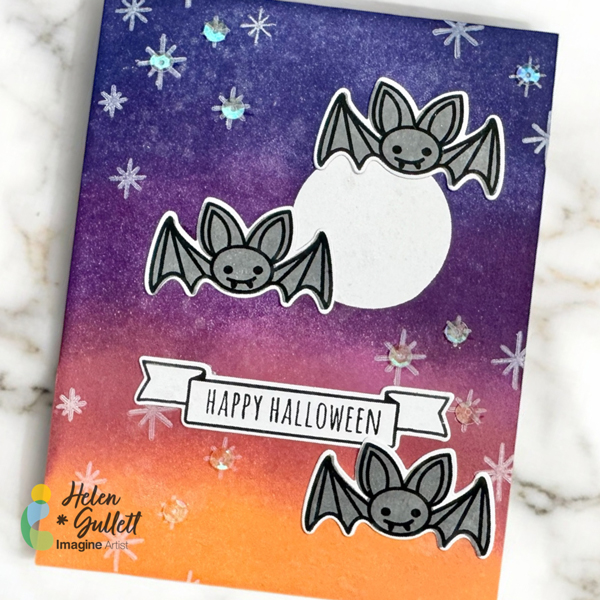
Hello crafty friends! Today, we are going to make this Halloween theme card using color blending techniques with VersaFine Clair ink pads and stamping with Staz-On Pigment ink pad. Let’s get crafting!
Skill: Intermediate Time: 15-20 minutes
Direction:
Step 1
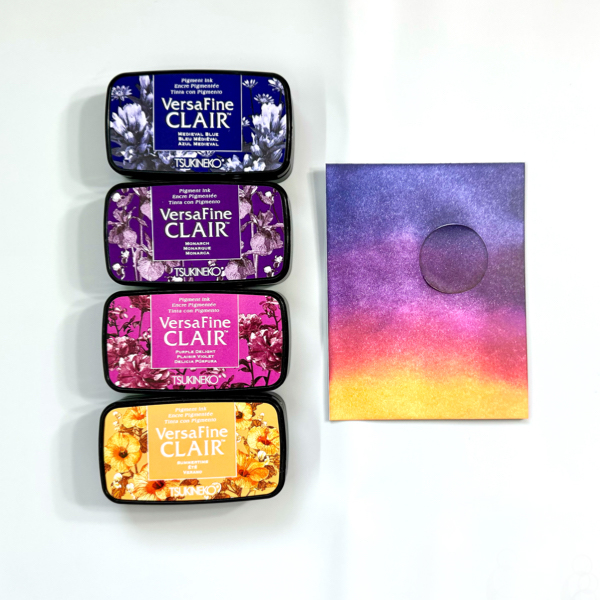
Cut out a piece of white cardstock into 4.25 inch x 5.5 inch.
Cut a piece of masking paper using 1 inch circle punch or any circle die. Peel off the backing of the masking paper and add it to the cardstock.
Start adding each color on the cardstock using a blending brush one by one. Colors I used for this background are VersaFine Clair: Medieval Blue, Monarch, Purple Delight, and Summertime. You can repeat adding colors until you are happy with the blended colors.
Step 2
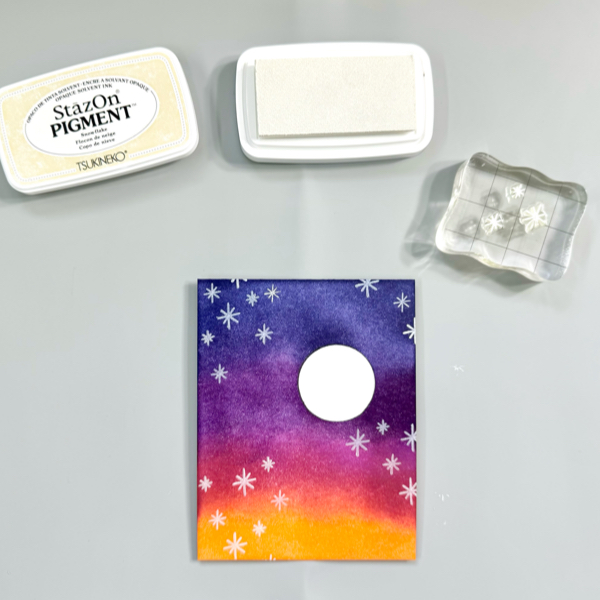
Next step is randomly stamping the small star images on the background using the Snowflake Staz-On Pigment Ink Pad. This white pigment ink is opaque and the white ink sits on top of other colors.
Remove the masking paper of the cardstock.
Step 3
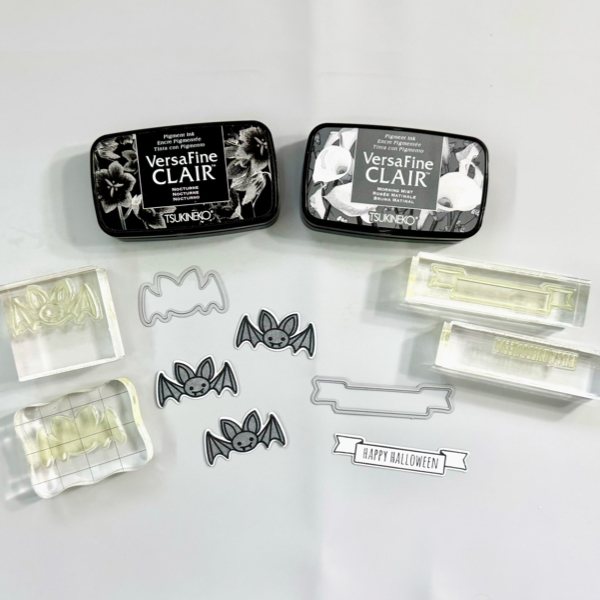
On another piece of white cardstock, stamp the bat outline stamp with VersaFine Clair Nocturne ink pad.
Put the bat solid stamp in the stamping block and add some VersaFine Clair Morning Mist ink pad on it, line up the bat solid stamp on top of the stamped bat image, and stamp.
Stamp the sentiment and banner image with VersaFine Clair Nocturne ink pad on a white cardstock.
Cut them with the matching die set, or fussy cut them with scissors.
Step 4
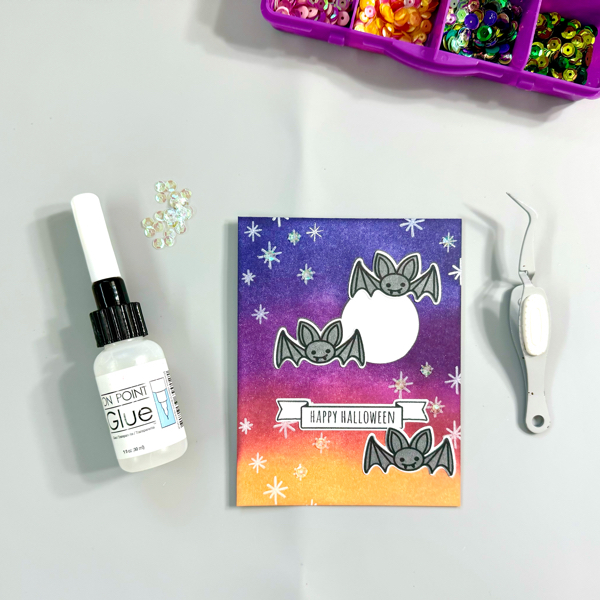
Add the background mat to the card base with some of the On Point Glue. Press firmly for a few seconds until the glue dries.
Add the bats and sentiment banner to the card with On Point Glue.
Optional, you can add some extra sequins to the card, or just leave as it is.
Step 5
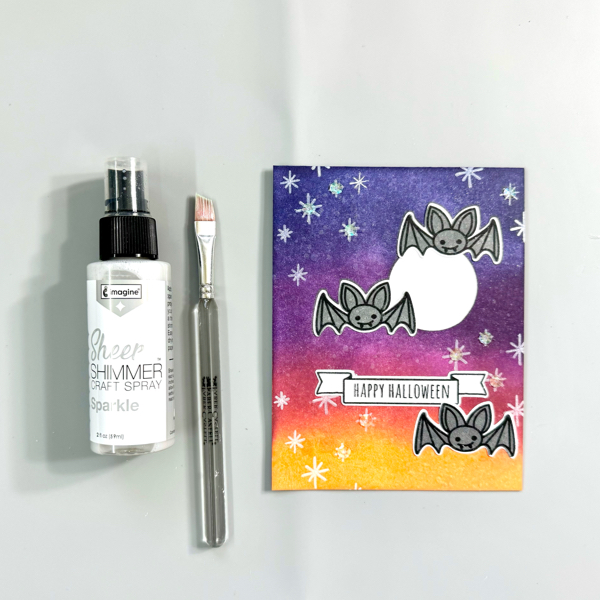
For extra shimmer, I added some Sheer Shimmer Sparkle spray on the card with small flat brush.
Aren’t those bats too cute to spook? I hope this Halloween card can put a smile on your face, too. Thank you for stopping by our blog today. Have a fabulous day!