By Jessica Lin
Skill Level: Medium
Time: 45 min
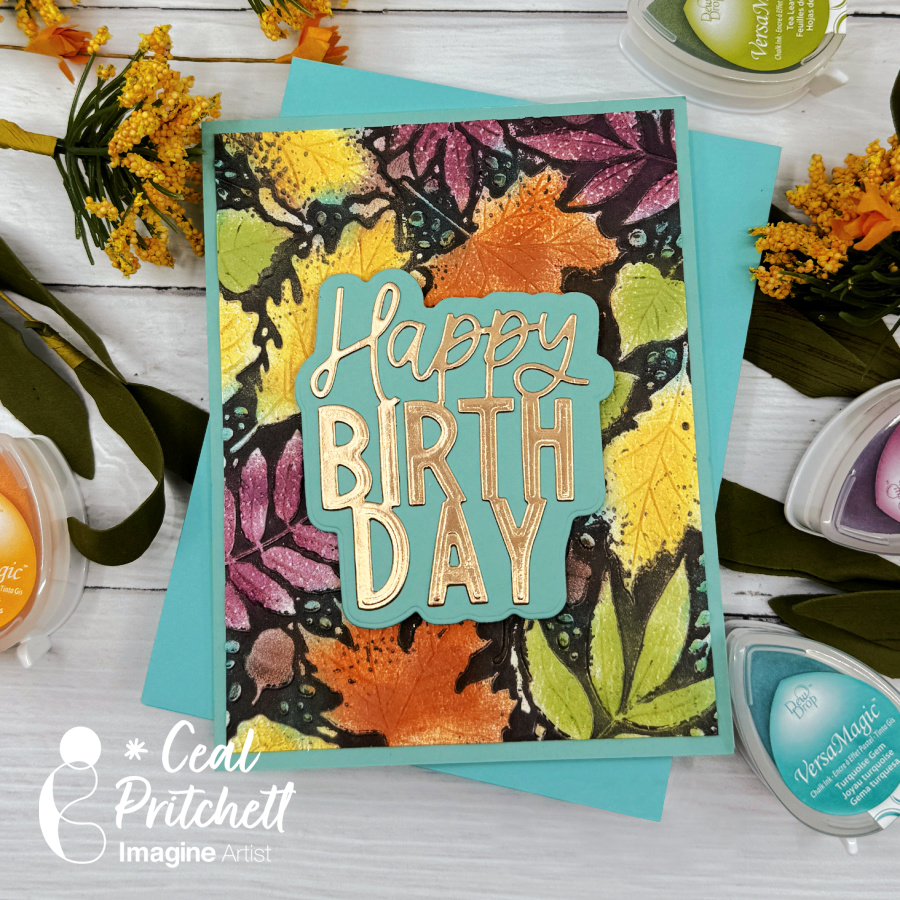
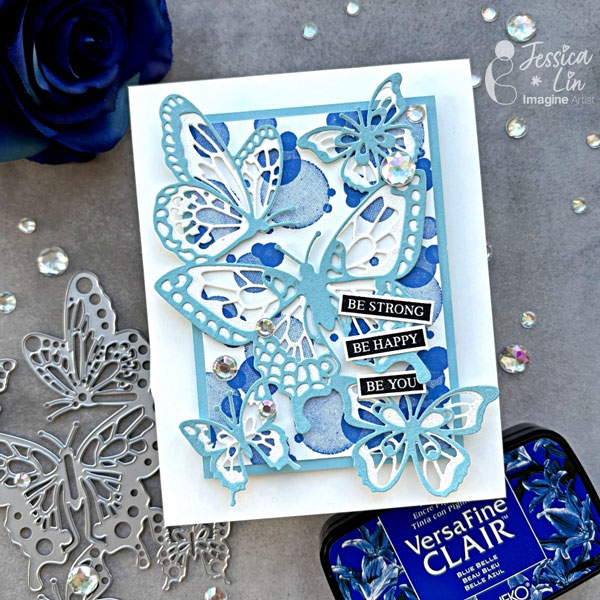
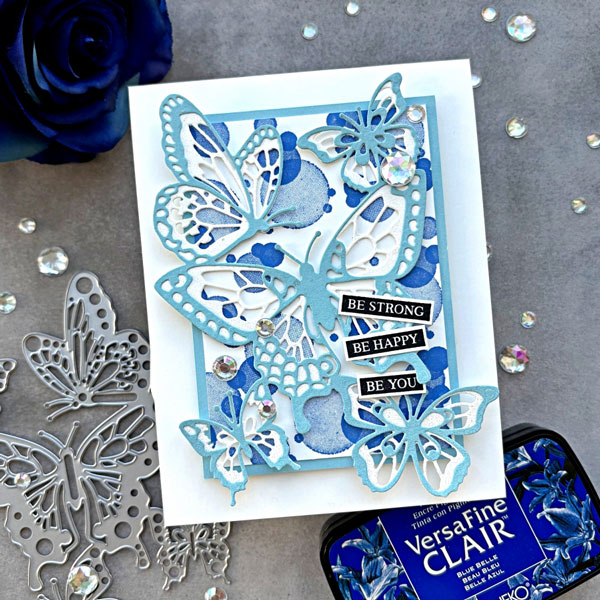
Hi everyone! It’s Jessica here. Today I will be creating a butterfly card with bright blue colors. If you are looking for monochromic card ideas, just keep reading!
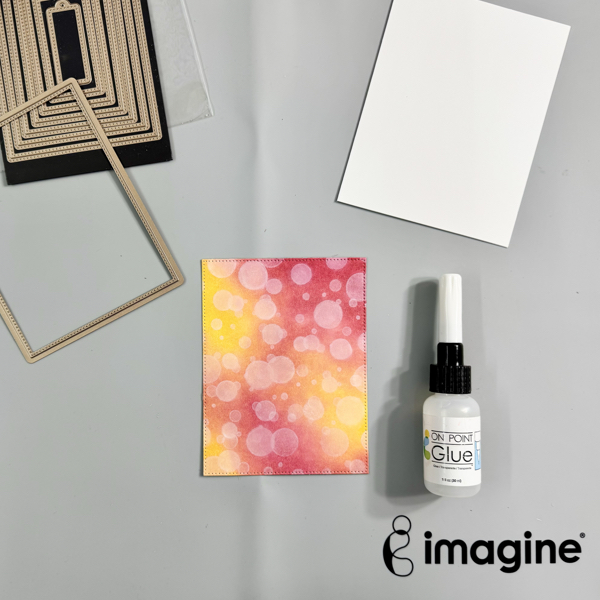
Step 1:
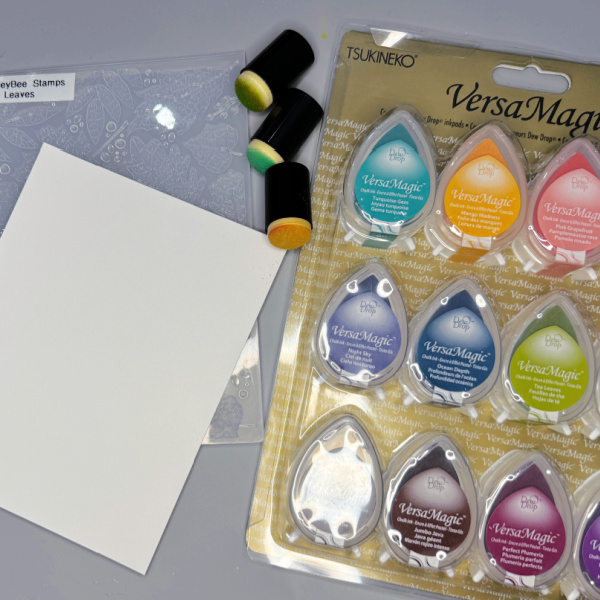
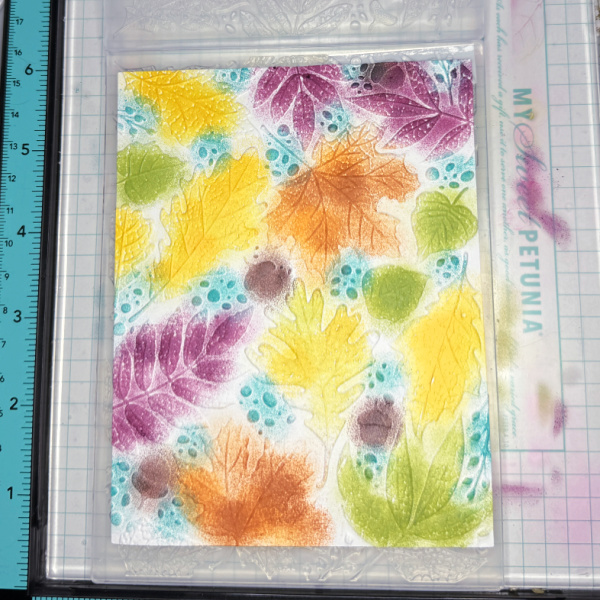
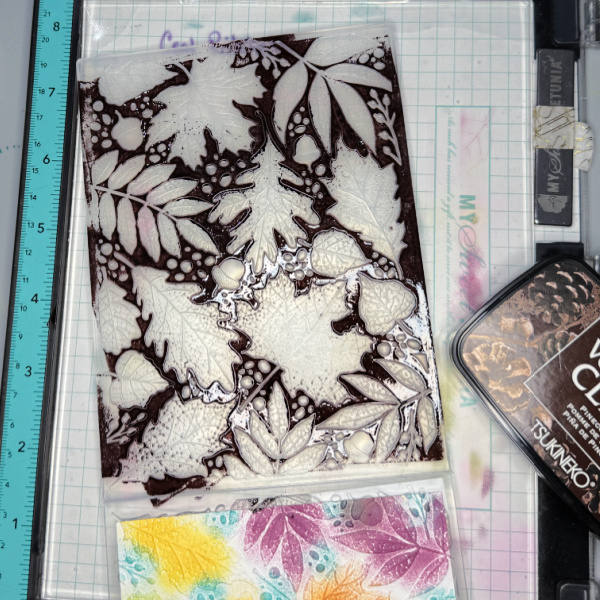
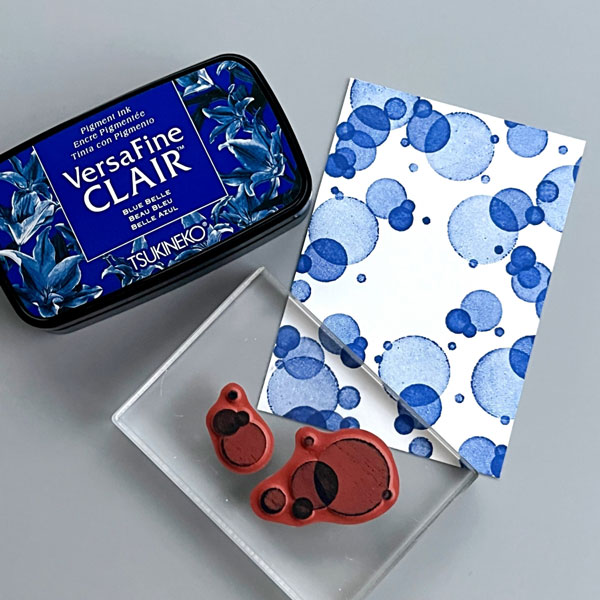
Stamp a bokeh background using Stampin’ Up’s Beauty Abounds stamp set. The stamp uses a unique technology to create light and dark shades even though I am only stamping with VersaFine Clair Blue Belle ink. I also tried to use splatter stamps to create a different background and that worked well, too.
Step 2:
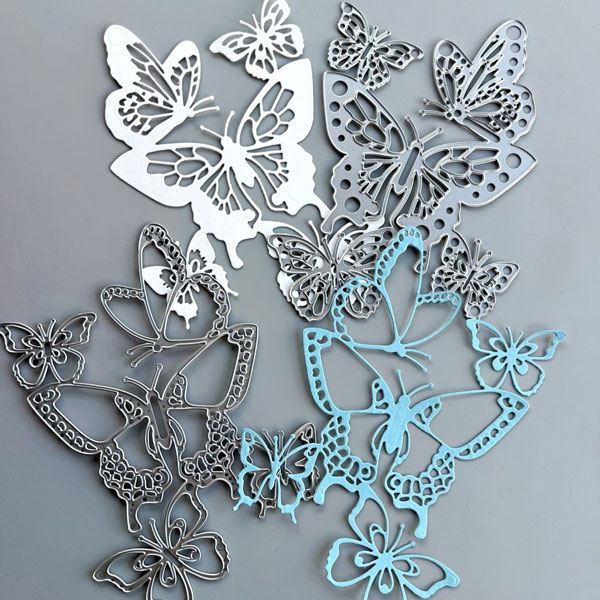
Die cut the bottom butterfly layer with white cardstock and the top layer with light blue cardstock. Then adhere the top layer to the bottom layer. Since this is an intricate design with fine lines, I adhered Stick It adhesive to the blue cardstock before die cutting. This way, the blue top layer becomes a peel and stick. Alternatively, you could use glue with fine-tip nozzles, like the On Point Glue.
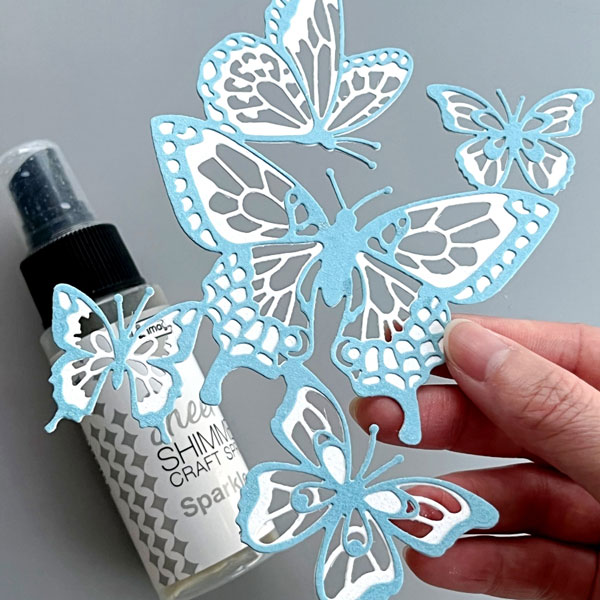
Step 3:
Then I spritzed a generous layer of Sheer Shimmer Craft Spray in Sparkle to create a subtle metallic shine on the butterfly die cut.
Step 4:
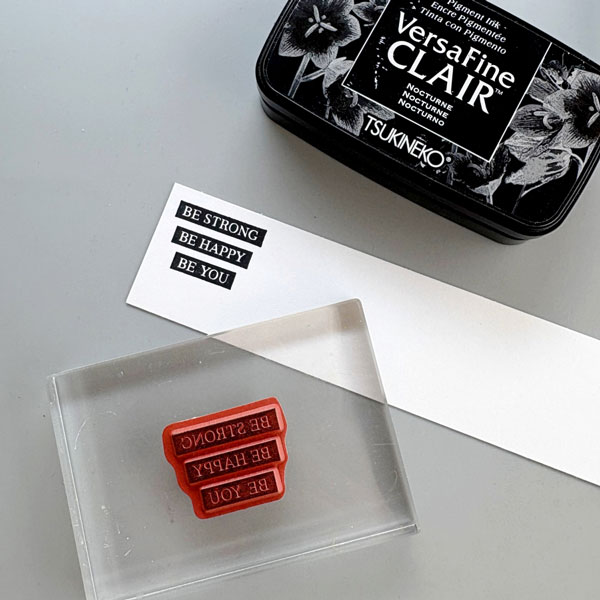
Stamp the sentiment with VersaFine Clair Nocturne ink pad. This stamp is from Stampin’ Up’s Rooted in Nature set. I decided to cut around each word to create the tape label look.
Step 5:
Apply On Point Glue to the butterfly die cut, avoiding the overhang areas, and adhere to the bokeh background. Then mount the bokeh background to the card base with foam tape. Finally, adhere the sentiment with Tear-It Tape and embellish with some rhinestones, and the card is complete!
Imagine Supplies:
- VersaFine Clair – Blue Belle, Nocturne
- Sheer Shimmer Craft Spray – Sparkle
- On Point Glue
- Tear-It! Tape
- StazOn Cleaner
- Craft Mat
Other Supplies:
- Stampin’ Up! – Stamps – Beauty Abounds
- Stampin’ Up! – Dies – Butterfly Beauty
- Stampin’ Up! – Dies – Rooted in Nature (for the sentiment)
- Foam Tape
- Clear Rhinestones