By Anna Escalada York
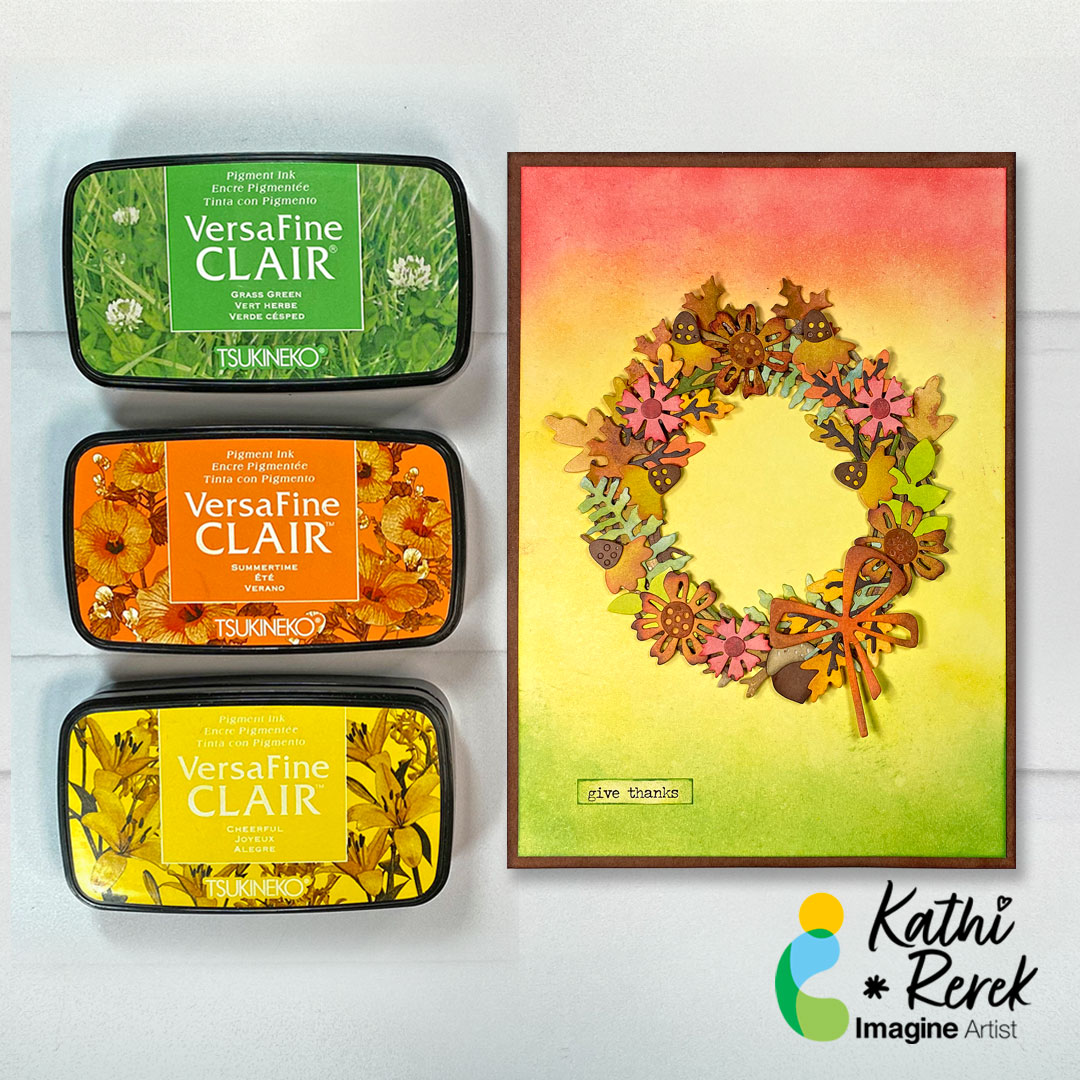
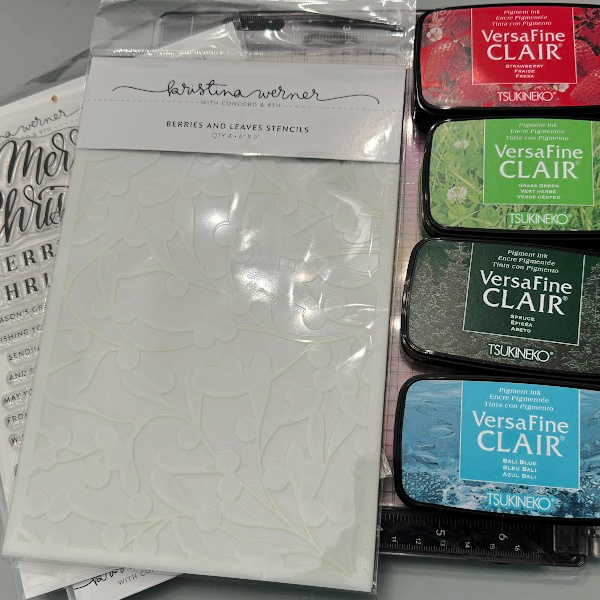
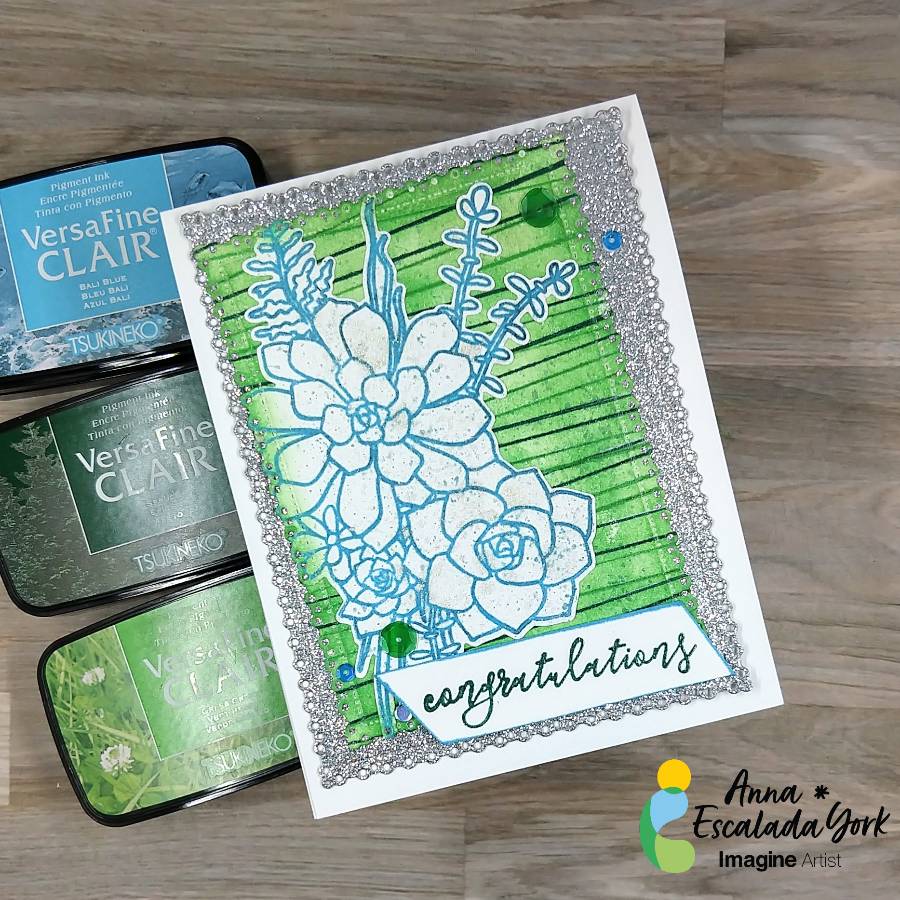
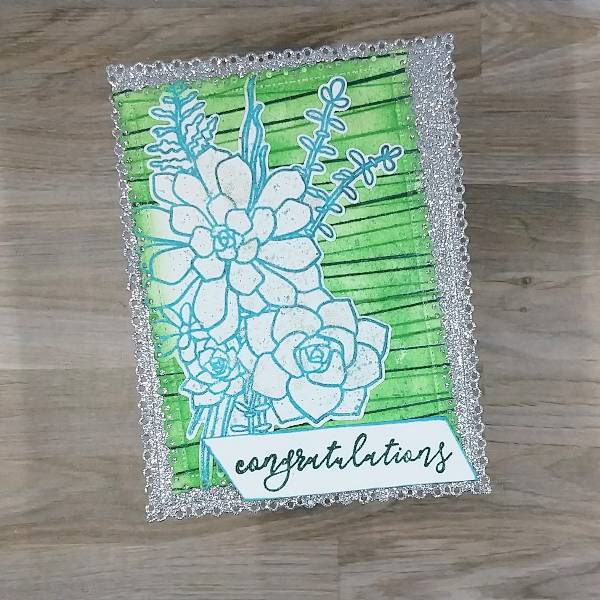
In today’s card, I made a congratulations card for a coworker who just had a baby using some of the beautiful new VersaFine Clair ink colors.
Skill: Intermediate
Time: 1.5 hours
Directions:
Step 1:
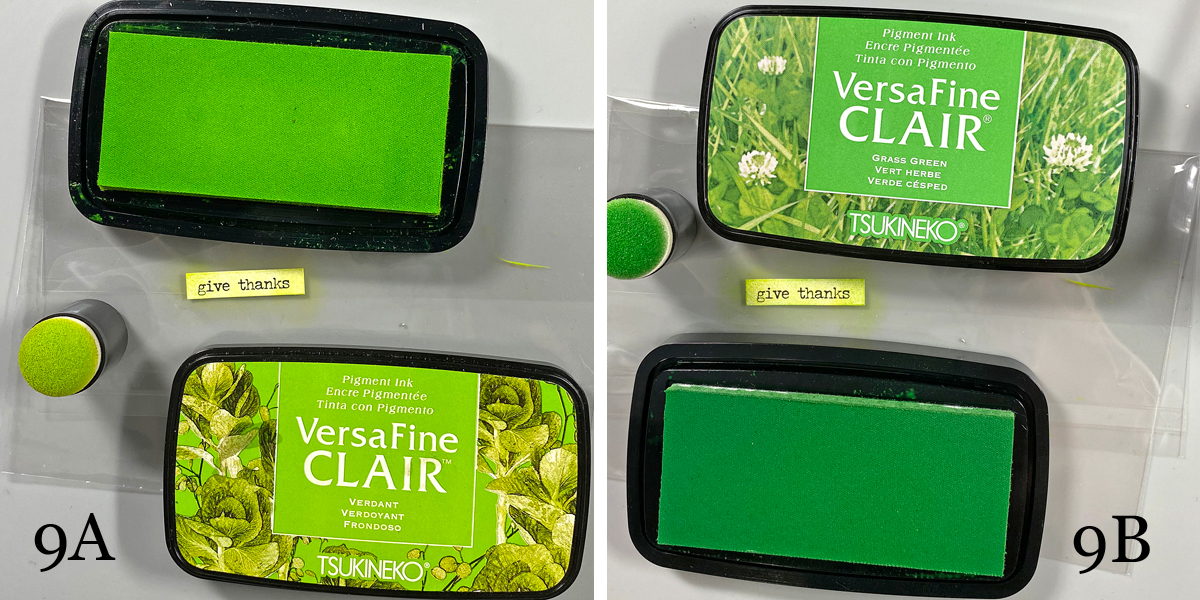
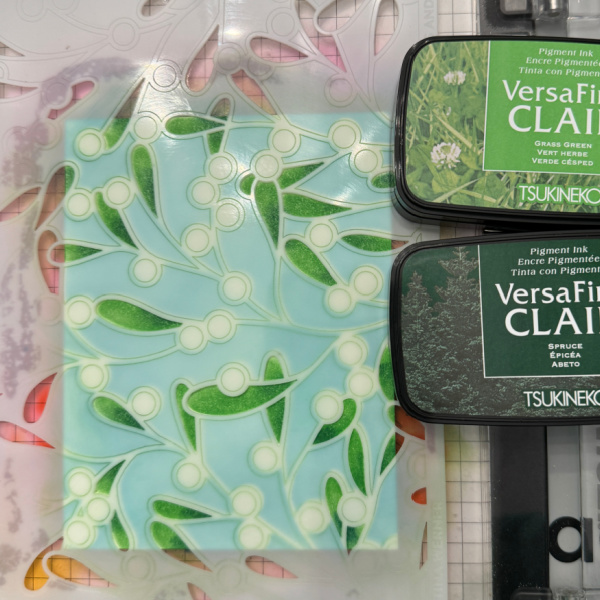
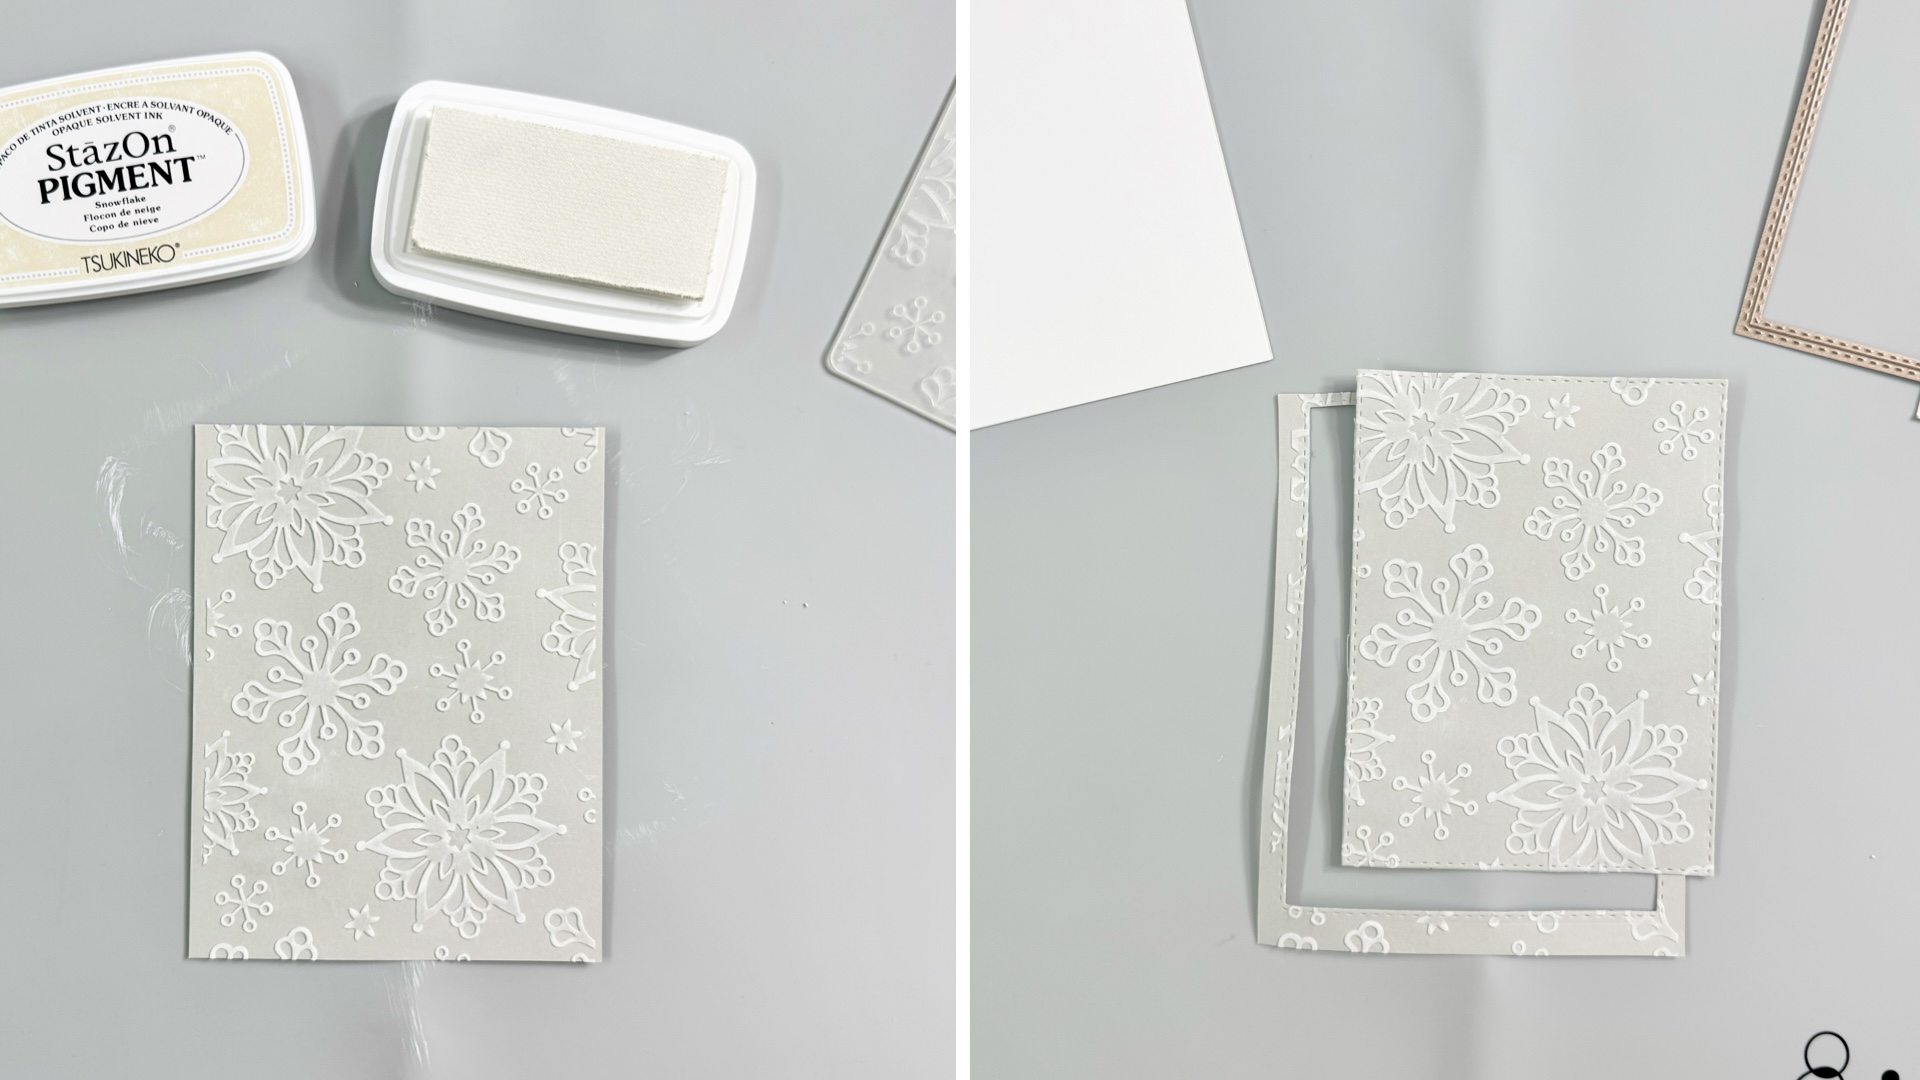
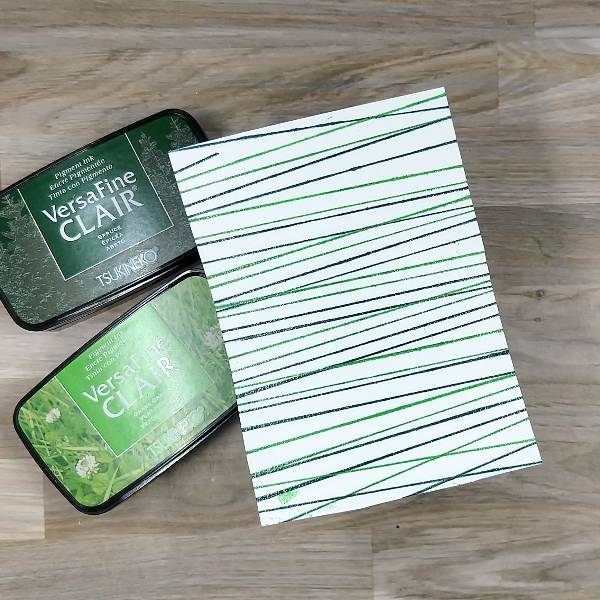
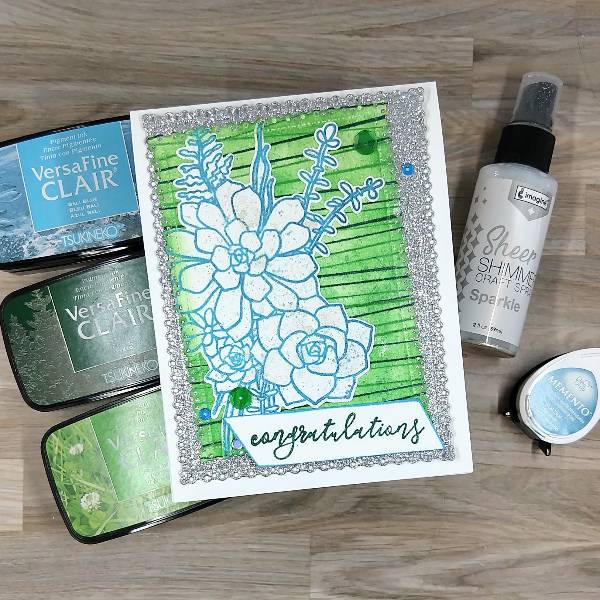
Stamp a piece of watercolor paper with Grass Green VersaFine Clair ink using a background stamp with a variety of lines on it. Rotate the paper 180 degrees and repeat the process. Then move the stamp on the stamp positioning tool a little (so the lines don’t overlap) and repeat the process with Spruce VersaFine Clair ink. Heat emboss the whole thing with Clear Mbossing powder.
Step 2:
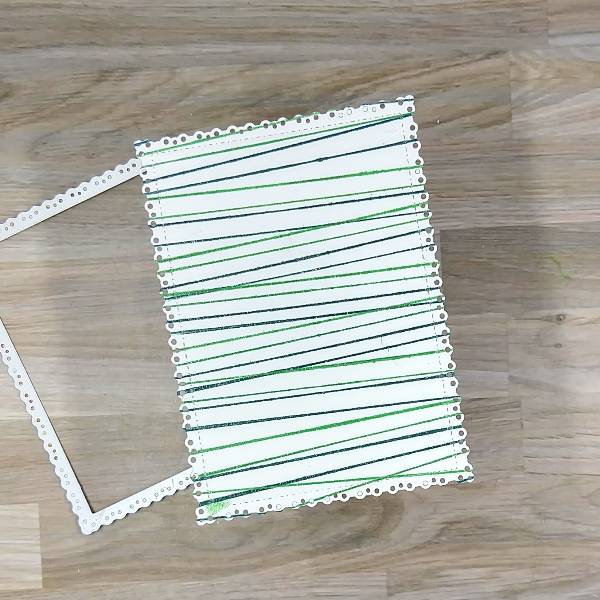
Die cut the panel with the second-largest die from a nested die cutting set.

Step 3:
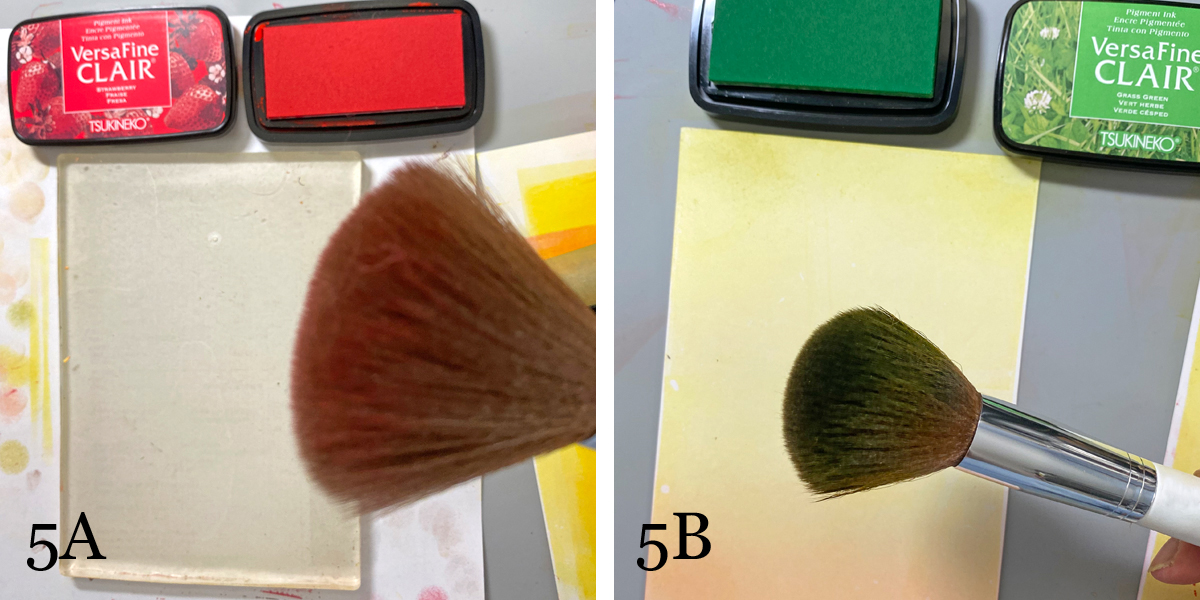
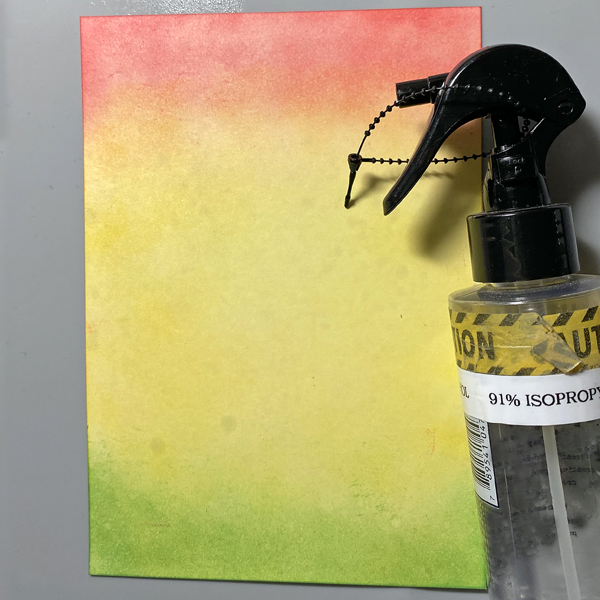
Use a sponge dauber to ink blend the whole panel with Grass Green VersaFine Clair ink. (This doesn’t have to be done perfectly because it won’t matter on the final card.)
Step 4:
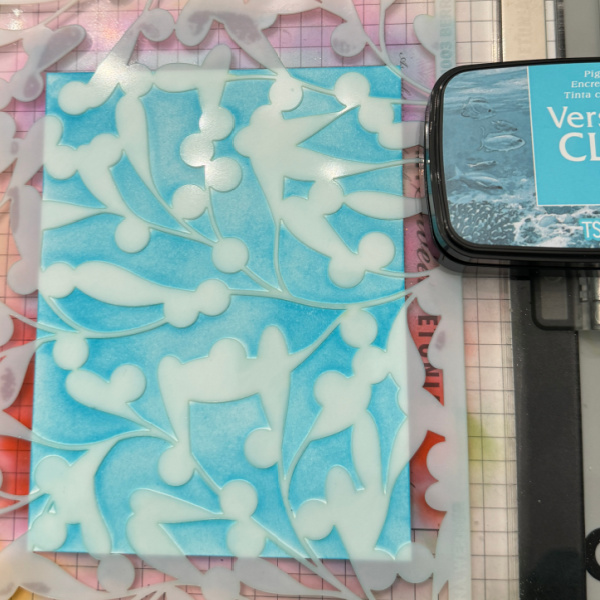
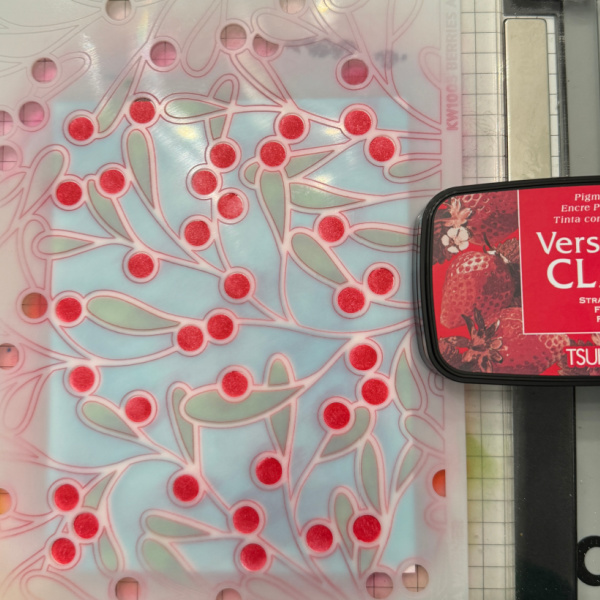
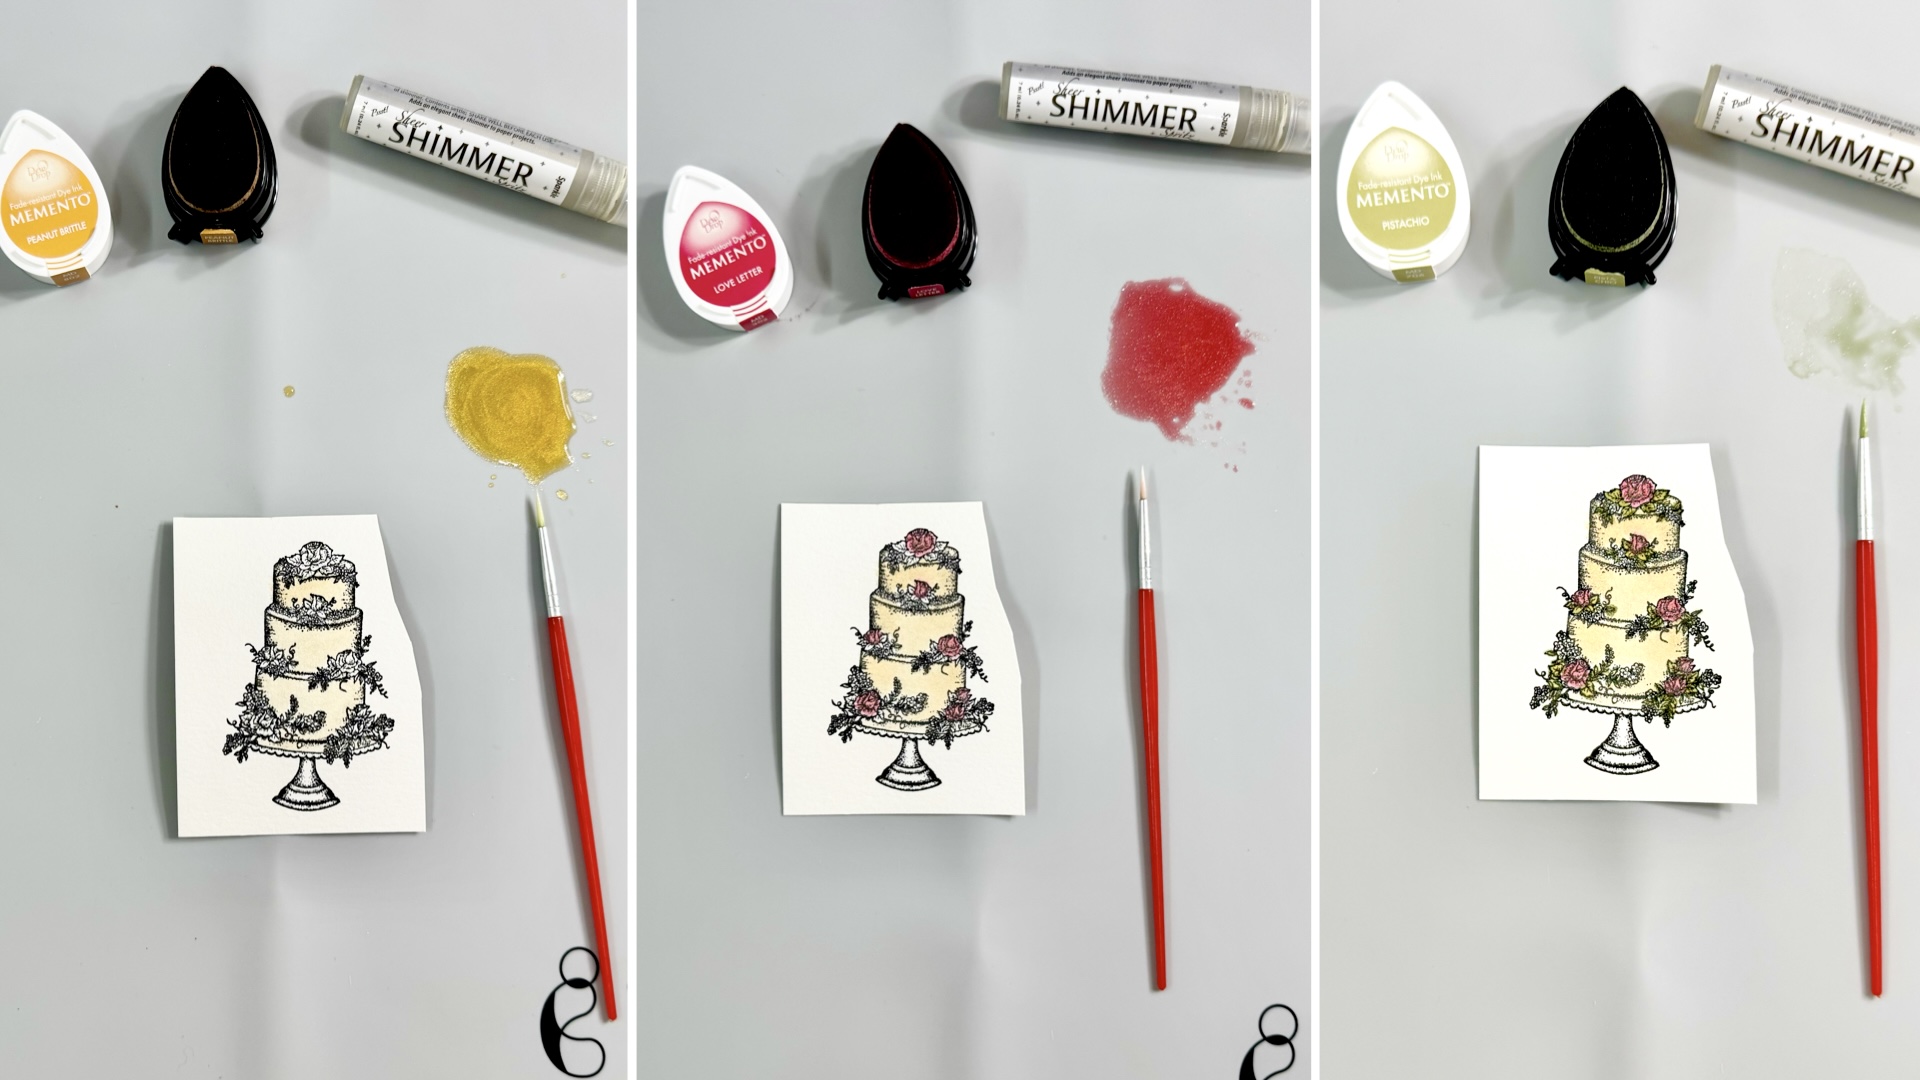
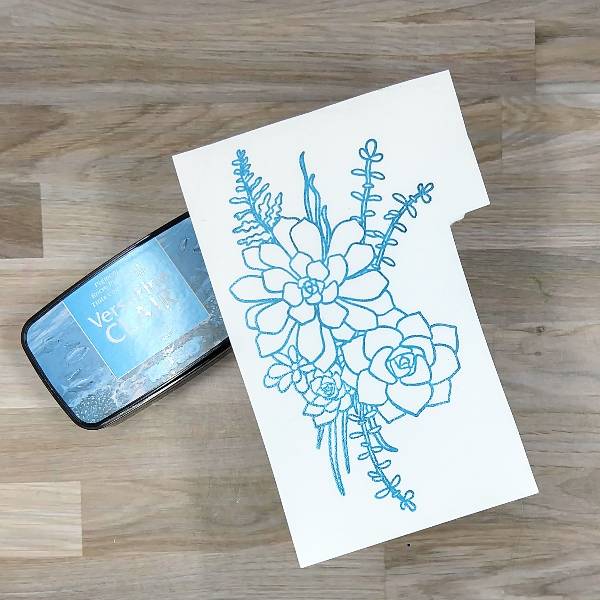
Stamp the large floral image with Bali Blue VersaFine Clair ink on another piece of watercolor paper. Then heat emboss with more Clear Mboss powder.
Step 5:
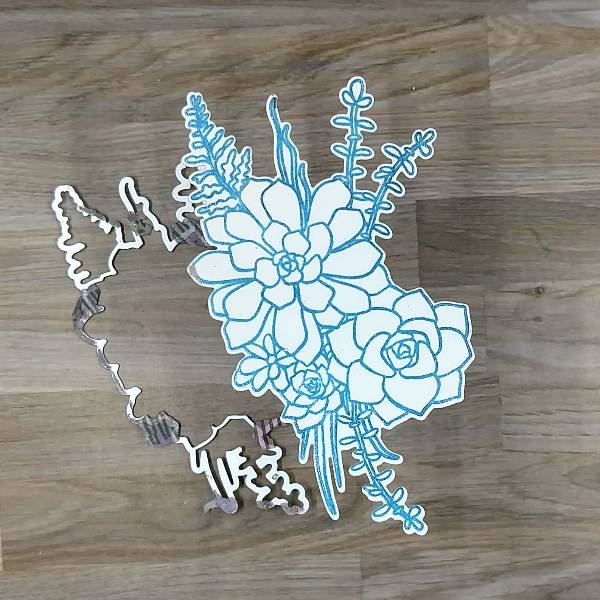
Die cut the floral image with the corresponding die.
Step 6:
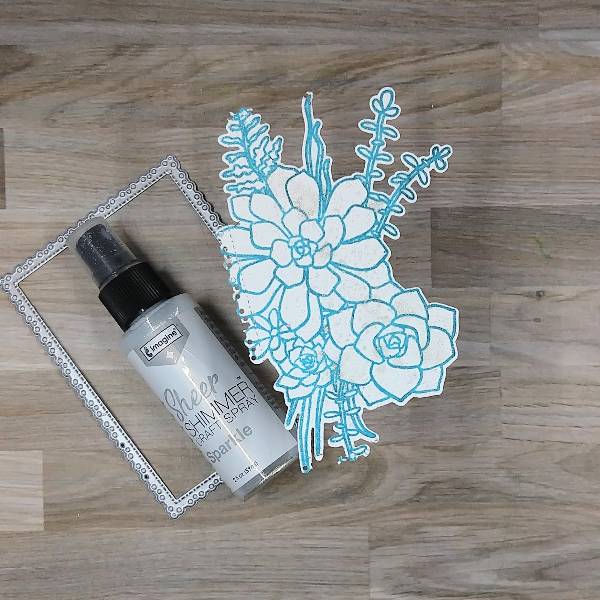
Die cut the left edge of the floral image with the same die used earlier, that way the decorative edge of the stamped image can line up with the edge of the green panel.
Since I smudged the floral image while die cutting, I decided to cover the smudge with some spray.
Spray the image with Sparkle Sheer Shimmer Craft Spray. Press the cap of the spray bottle down about half-way, allowing the spray to come out more in drips rather than as a mist. (I was able to cover the smudges with large splatters of spray.) Allow to dry.
Step 7:
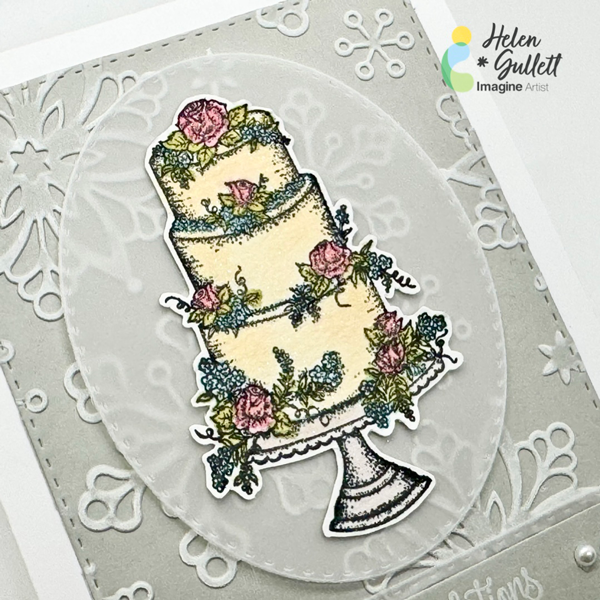
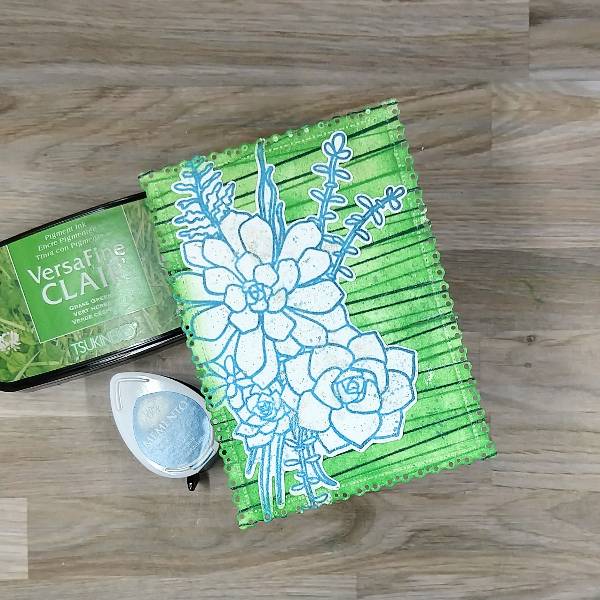
Glue the floral image onto the left side of the panel.
Press the Teal Zeal Memento Ink pad onto a piece of scrap acetate packaging and spray the packaging with water to create watercolor. Splatter it with a paint brush. After the splatter dried, ink blend the left side of the panel with more Grass Green VersaFine Clair ink.
Steps 8 and 9:
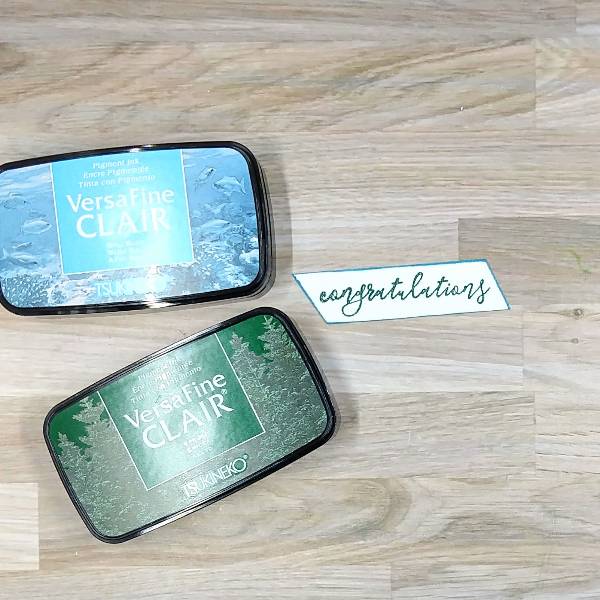
Stamp a sentiment from the same stamp set as the floral image with Spruce VersaFine Clair ink on watercolor paper and heat emboss with more clear Mboss powder. Trim the sentiment strip with a paper trimmer.
Then run the edges of the sentiment strip through the Bali Blue VersaFine Clair ink pad. Emboss the Bali Blue ink with more clear Mboss powder.
Step 10:
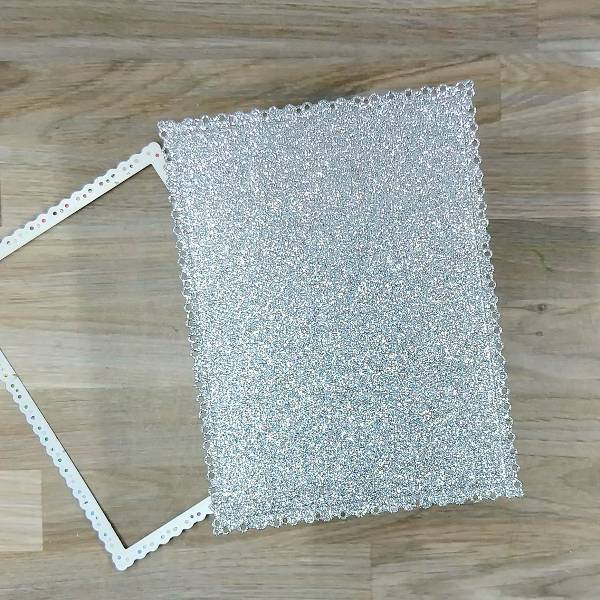
Die cut a piece of silver glitter cardstock with the largest die from the same nesting die cut set.
Step 11:
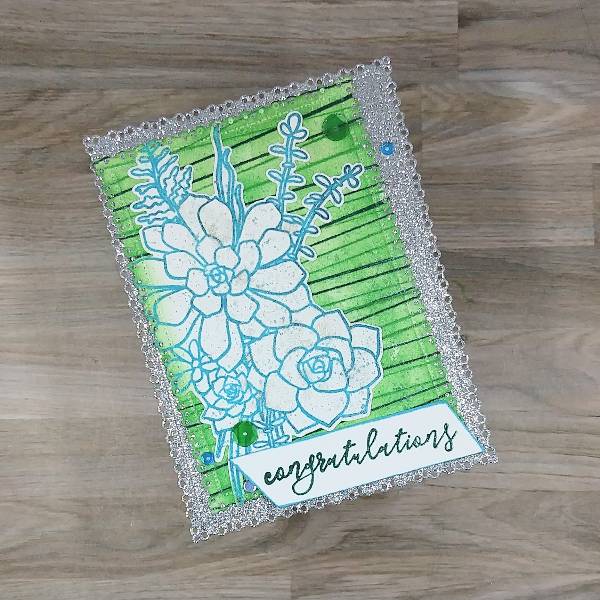
Glue the green panel onto the silver panel, orientating them at a diagonal. Glue the sentiment on the lower right corner of the green and silver panels. Set aside to dry.
Step 12:
Glue blue and green sequins onto the card–three on the lower left corner and two on the upper right corner.
Step 13:
Finish the card by gluing the whole panel onto an A2-sized white card base.
Art Supplies
Imagine
• Mboss – Clear
• Memento Ink – Teal Zeal
• Sheer Shimmer Craft Spray – Sparkle
• VersaFine Clair inks – Bali Blue, Grass Green and Spruce
• Sponge Dauber
Other
• Catherine Pooler – sequins – Yukon
• Gina Marie Designs – Die set – Pleated Lace Rectangles die set
• Hero Arts – Stamp set – Succulent Bouquet
• Hero Arts – Die set – Succulent Bouquet
• Unknown stamp company – background stamp – diagonal lines (I don’t know the brand or name of this stamp)
• Watercolor paper
• Silver glitter cardstock
• Die cutting machine
• Paint brush
• Paper trimmer
• Scissors
• Glue