Let’s Make a Nature-Inspired Birthday Card

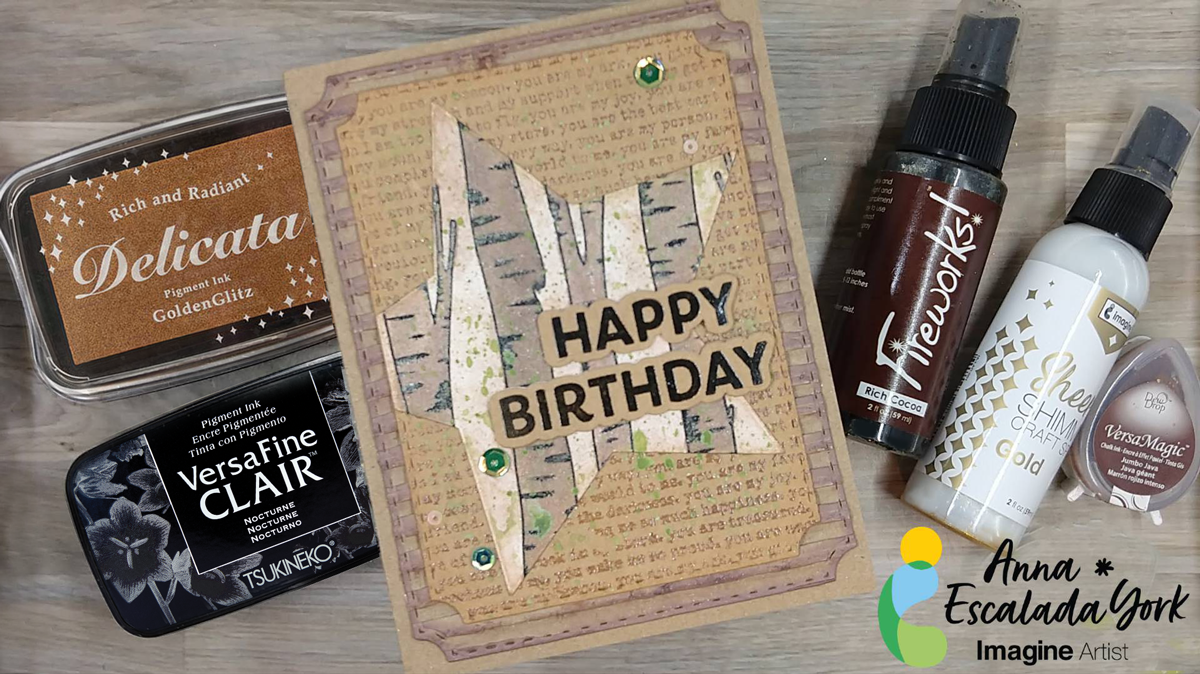
By Anna Escalada York

I wanted to use my husband’s birthday to make him a personalized birthday card. He loves to be in nature and loves it when I use recycled materials (mostly because then we don’t have to buy new things). I also added a background that expresses how I feel about him.

Skill Level: Intermediate
Time: 2 hours

Directions:

Step 1:
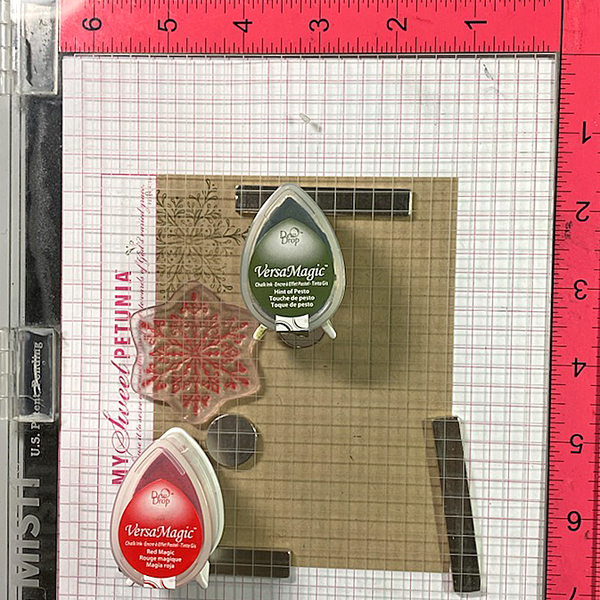
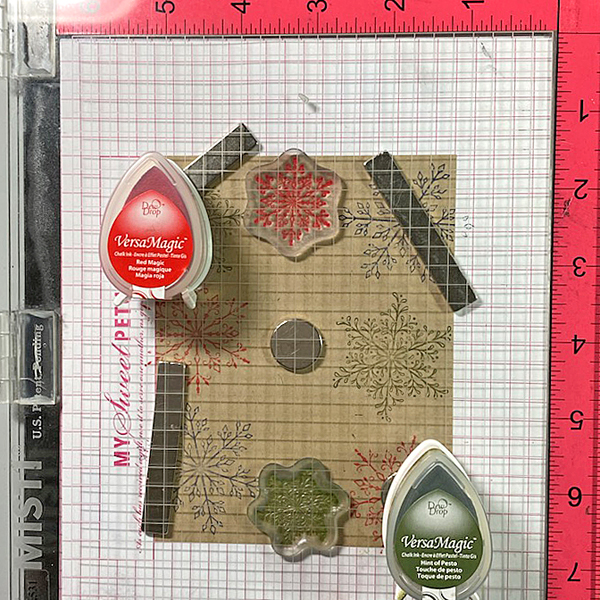
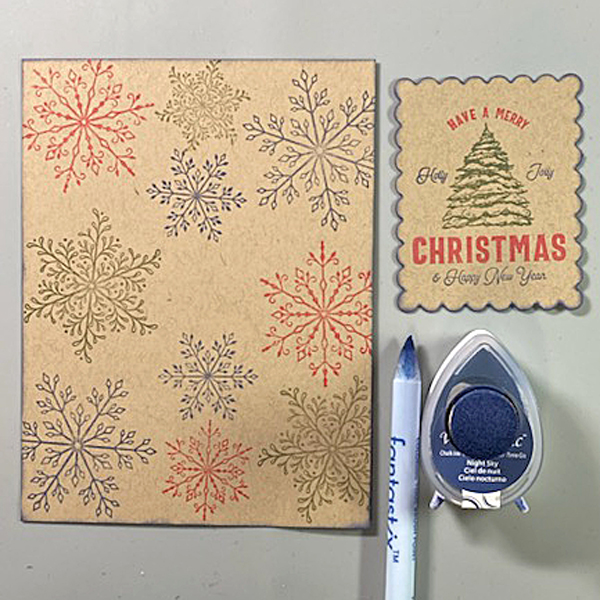
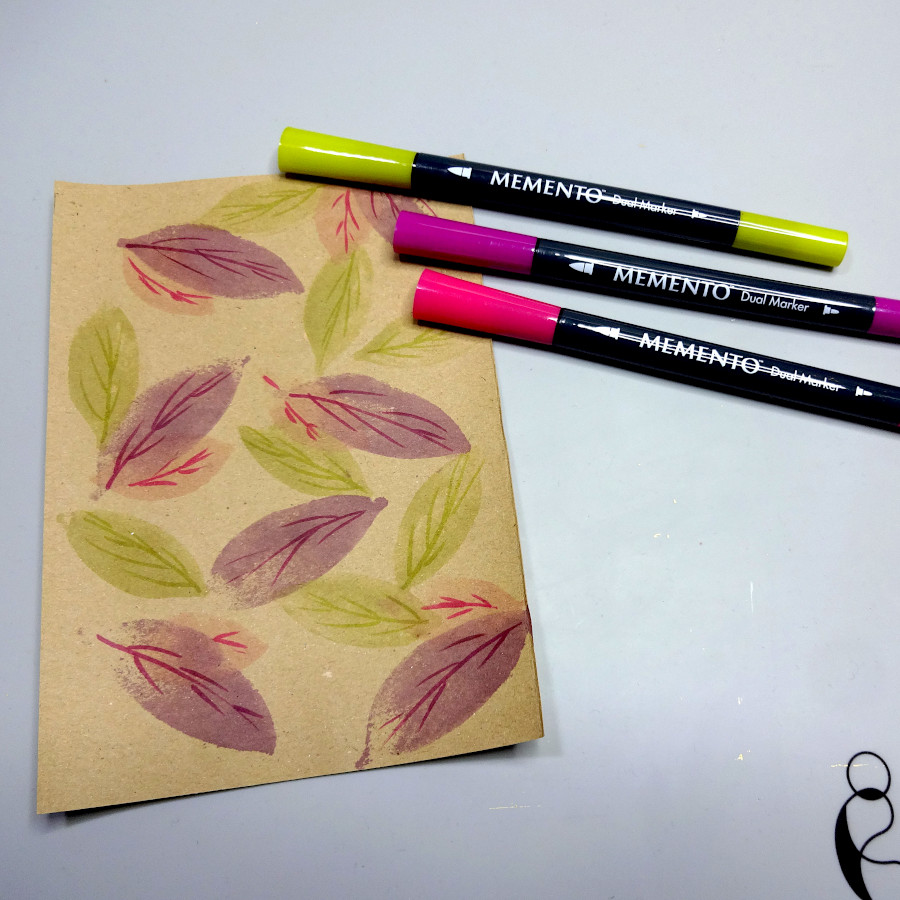
Stamp a piece of kraft cardstock with a text-based background stamp with Jumbo Java VersaMagic Chalk Ink. Heat emboss with clear embossing powder. Die cut the panel with the second-largest die from a nested A2-sized nested die set.
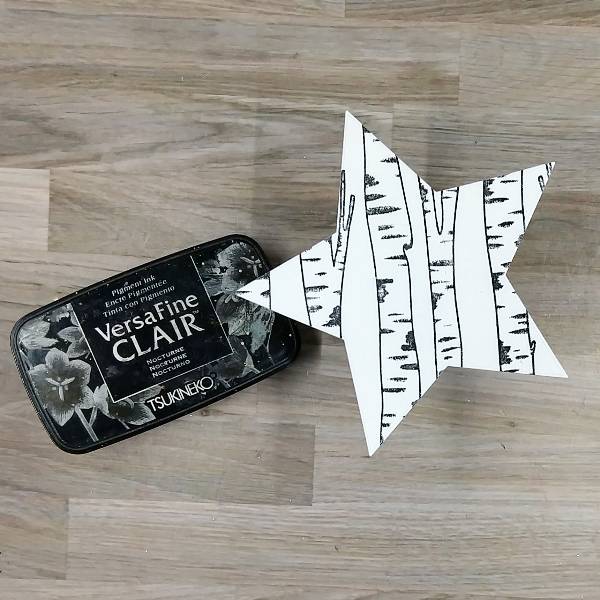
Step 2:
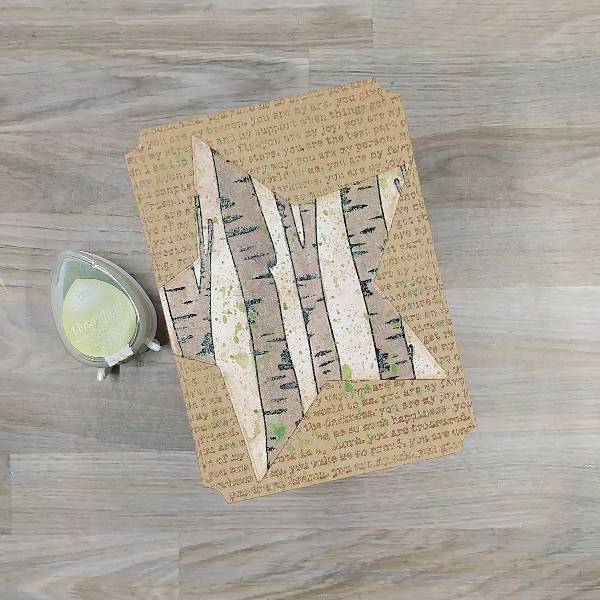
Stamp a large tree stamp set on a piece of watercolor paper with Nocturne VersaFine Clair ink. Heat emboss with clear embossing powder. Die cut with a mid-sized star die from a nested star die set.
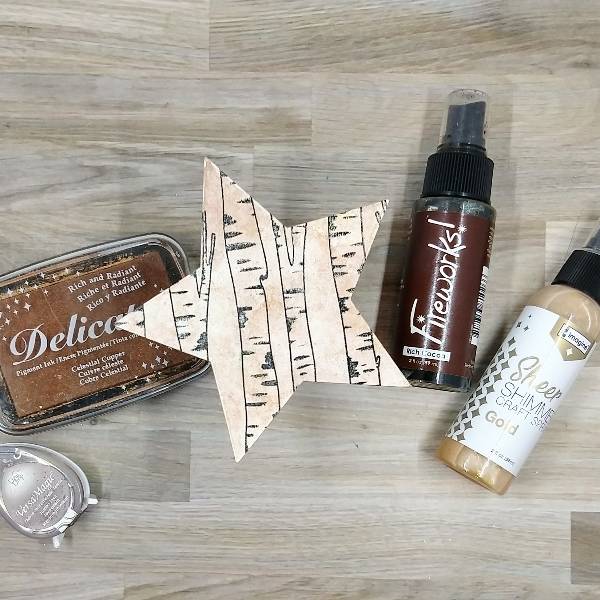
Step 3:
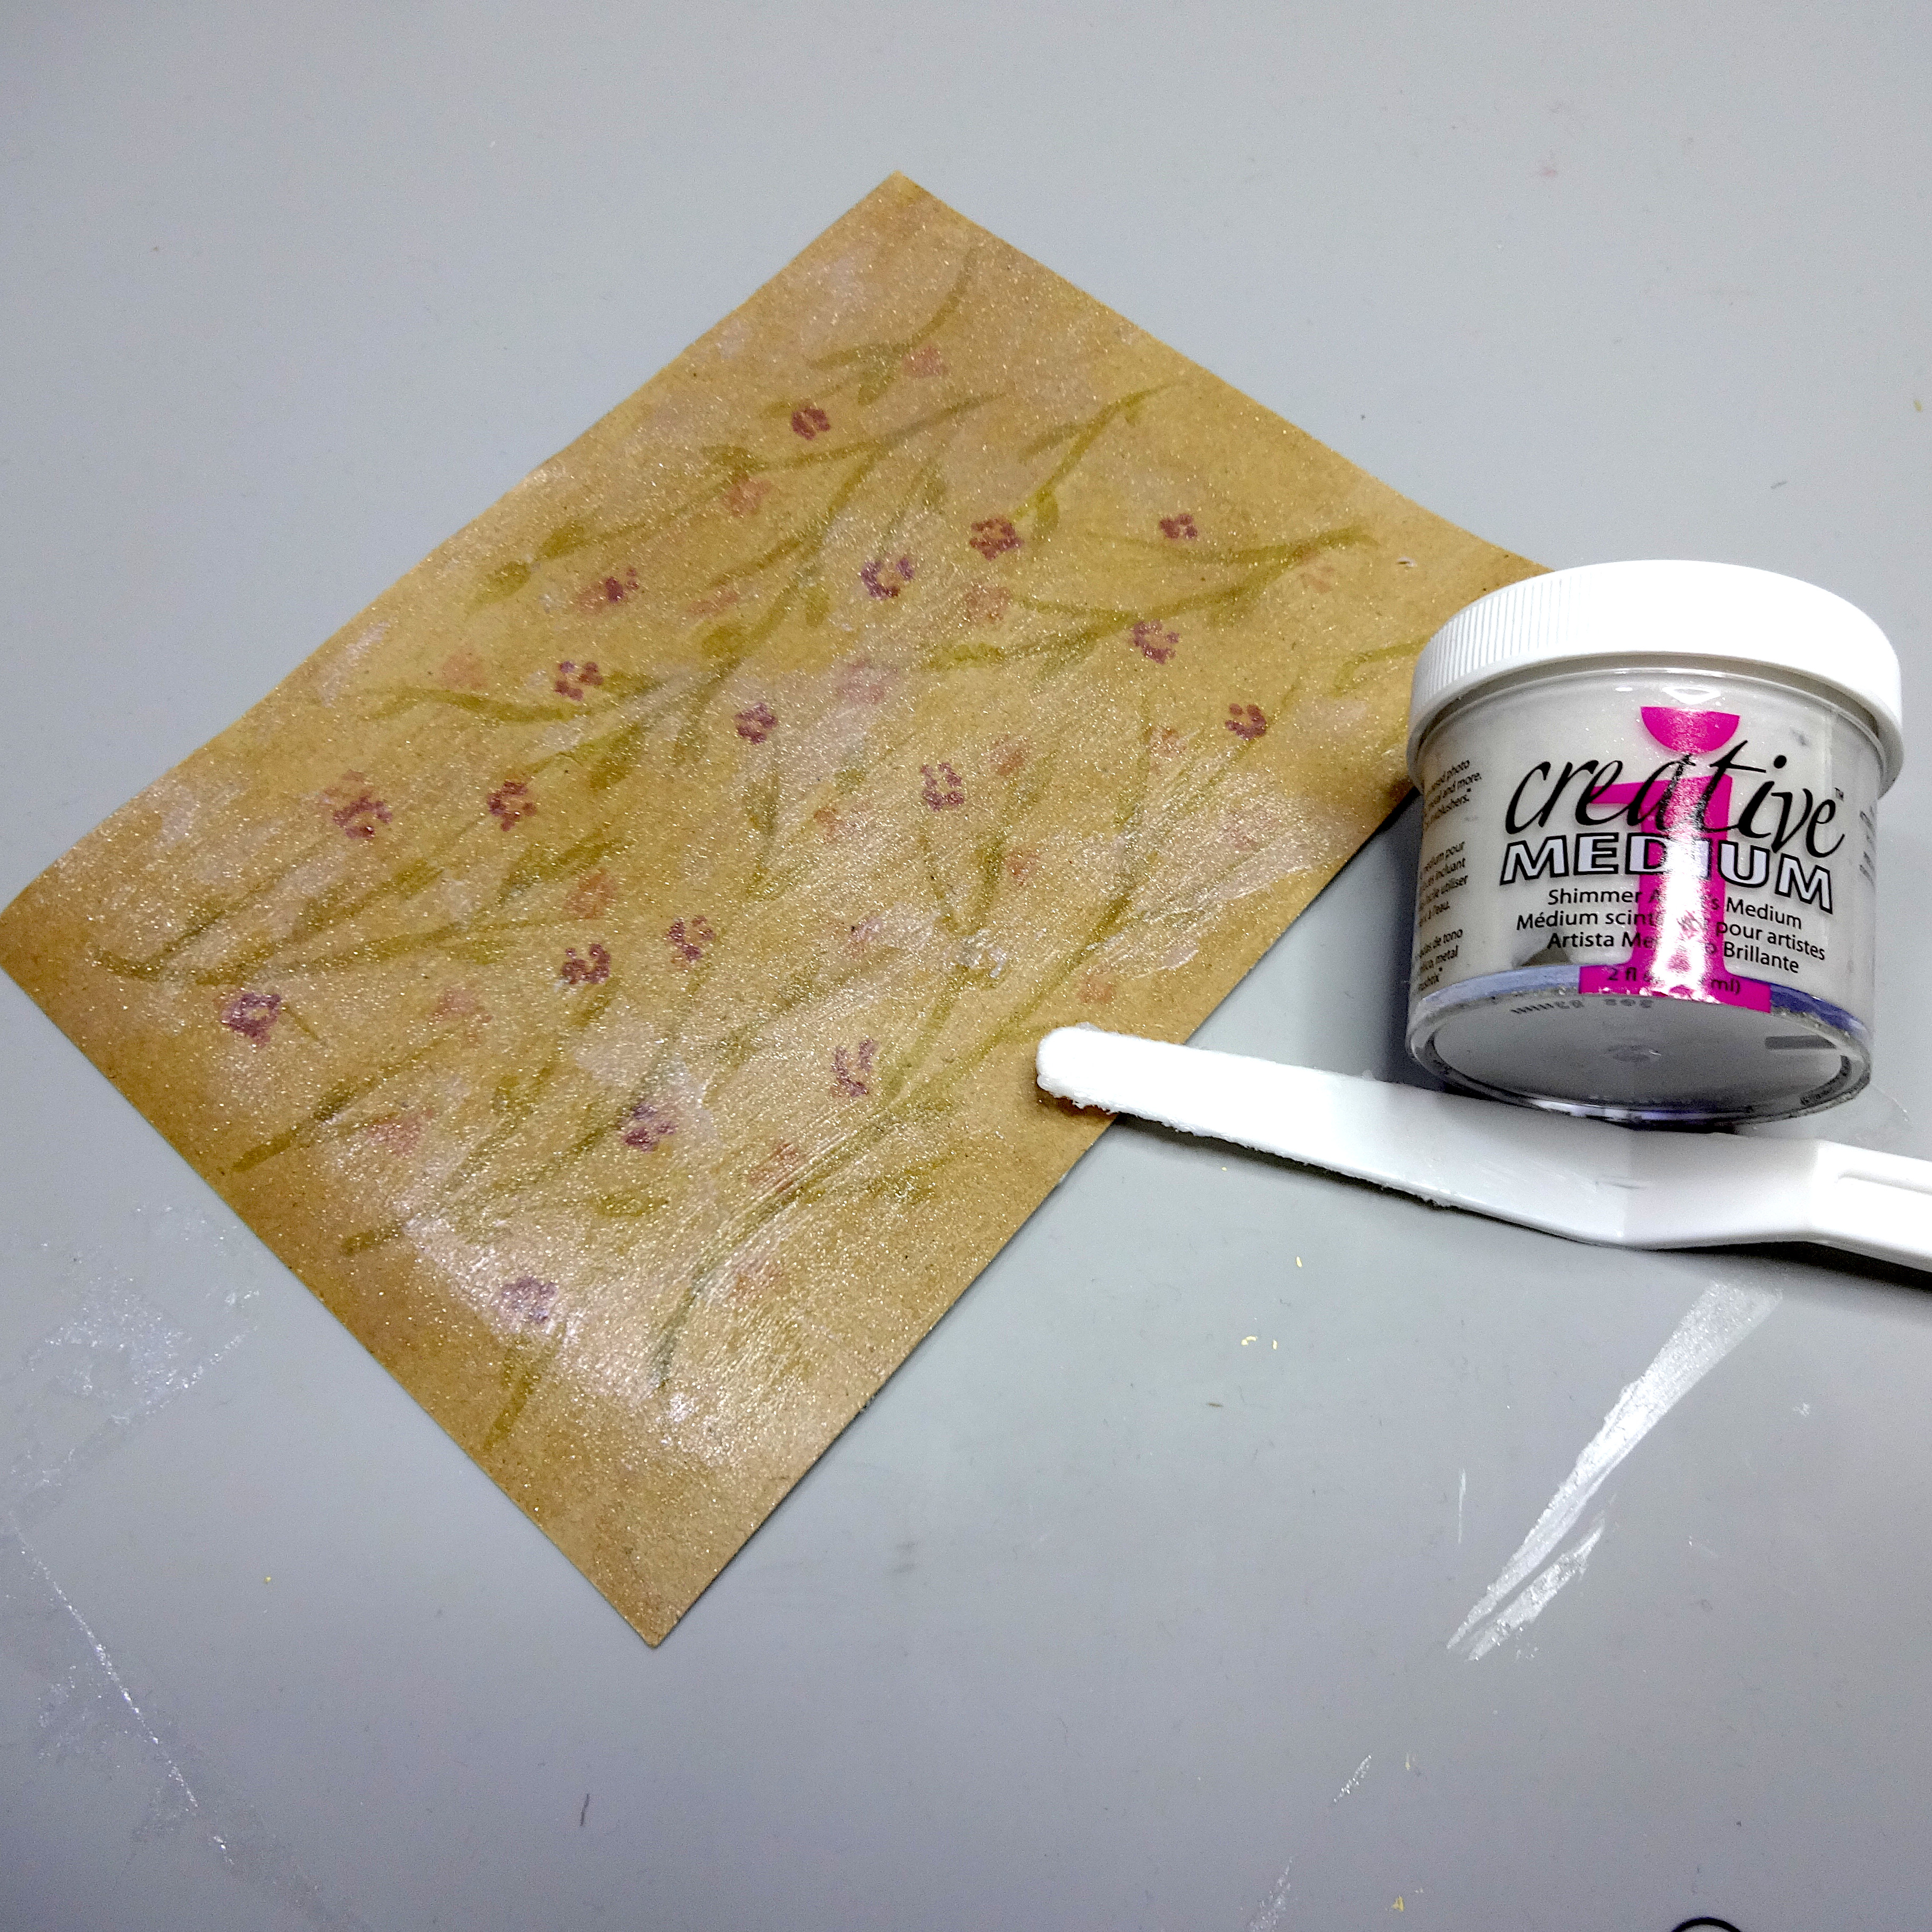
Lightly spray Rich Cocoa Fireworks! Craft Spray and Gold Sheer Shimmer Craft Spray onto the watercolor stamped star. Blot a little of the spray off with a paper towel and allow to dry. Then Then press Celestial Copper Delicata ink onto a piece of acetate packaging and spray with water. Watercolor smoosh the star by pressing the liquid copper onto the panel. Then repeat the watercolor smooshing with Jumbo Java VersaMagic Chalk Ink mixed with water on the acetate. Let the panel dry again.

Step 4:
Mix some of the remaining Jumbo Java VersaMagic Chalk Ink and water with more of the Rich Cocoa Fireworks! Craft Spray to make a darker brown watercolor. Paint the trees with the watercolor. Allow to dry. Apply a second coat of watercolor to a few trees to add interest and darker trees. Allow to dry a second time.

Step 5:
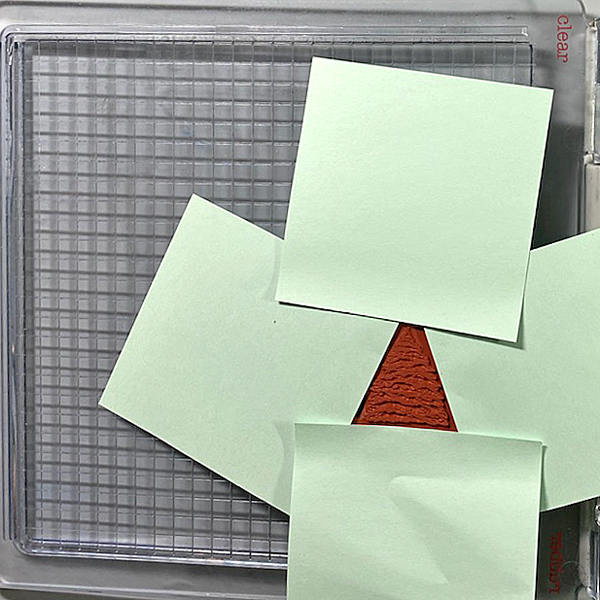
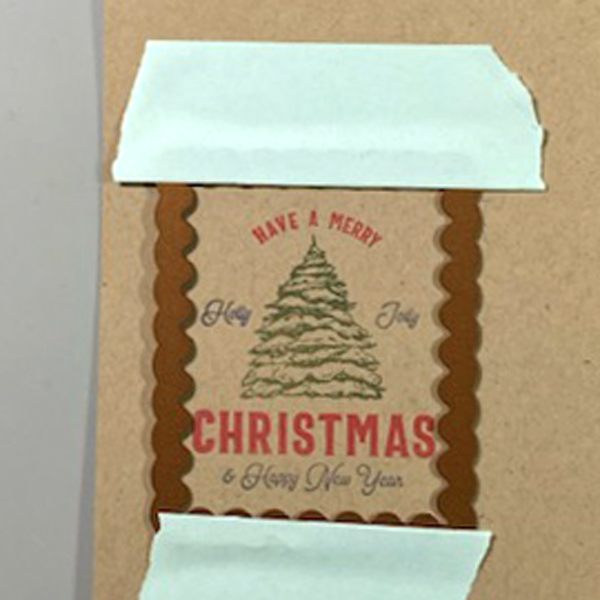
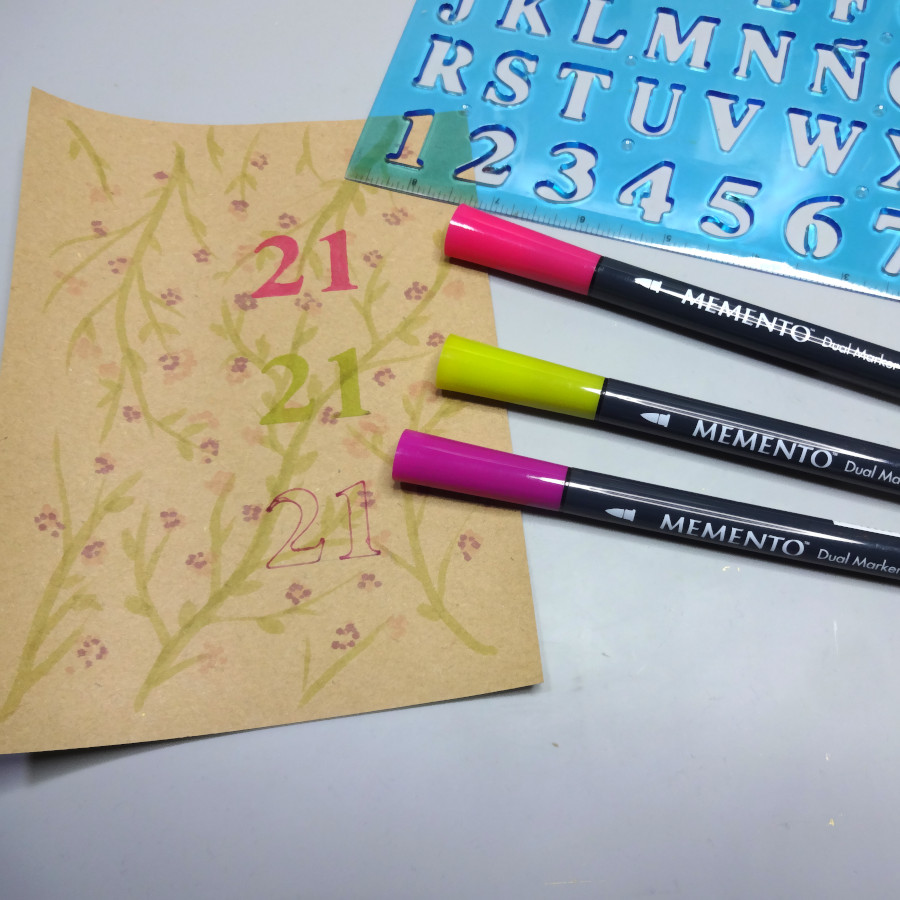
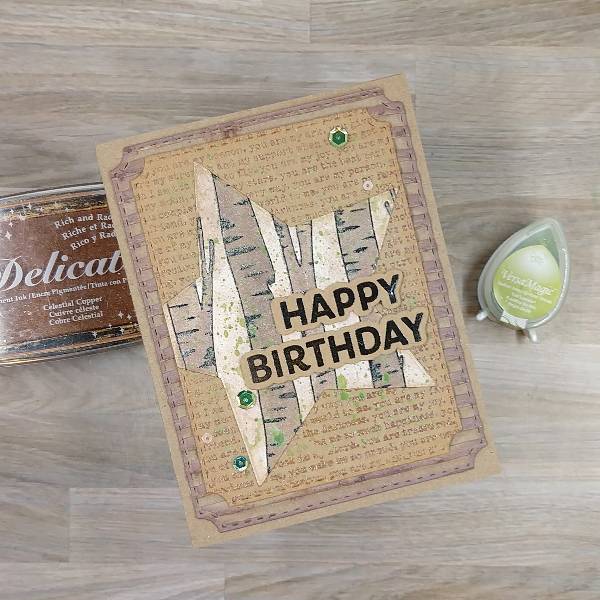
Stamp a sentiment on kraft cardstock with Nocturne VersaFine Clair ink. Then heat emboss with more clear embossing powder. Then die cut with the corresponding dies.

Optional: Die cut 2 more die cut layers for each of the sentiment (3 layers total for each of the dies–1 that is the stamped kraft layer, and two scrap layers). Glue the layers together and set aside to dry.
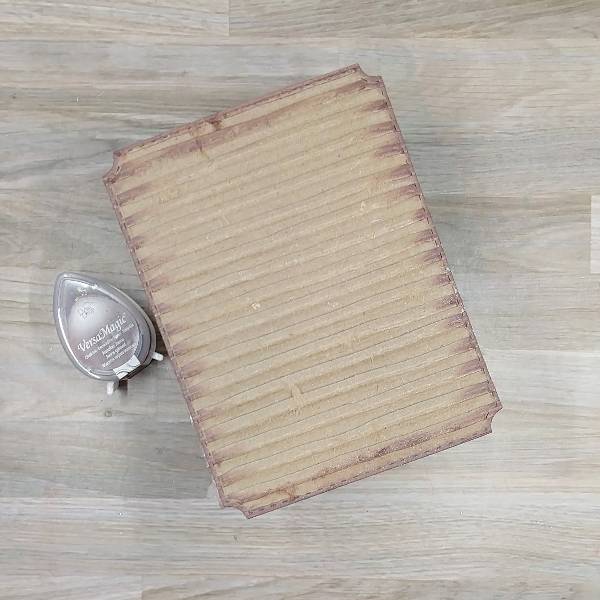
Step 6:
Die cut a piece of corrugated cardboard with the largest die from an A2-sized nesting panel die set. Then brush the edges of the panel with Jumbo Java VersaMagic Chalk Ink.

Step 7:
Use a sponge dauber to ink blend the edges of the star with Celestial Copper Delicata ink. Glue the die cut star onto the smaller, stamped panel. Trim the overhanging left part of the star. Then press Tea Leaves VersaMagic Chalk Ink onto acetate packaging and spray with water.

Splatter the Tea Leaves-colored watercolor onto the panel. Add a couple of watercolor smooshed areas to add interest (or to cover areas where you want splatters but the splatters are not doing what you want). Allow to dry.

Step 8:
Brush the edges of the smaller, stamped panel with the Celestial Copper Delicata ink pad.

Step 9:
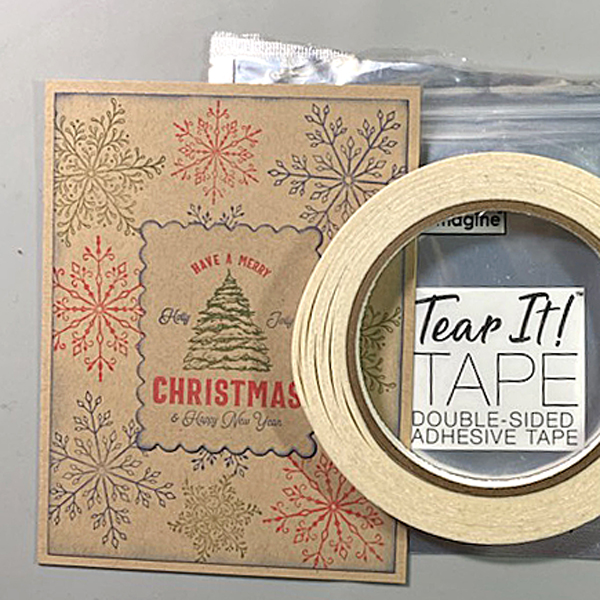
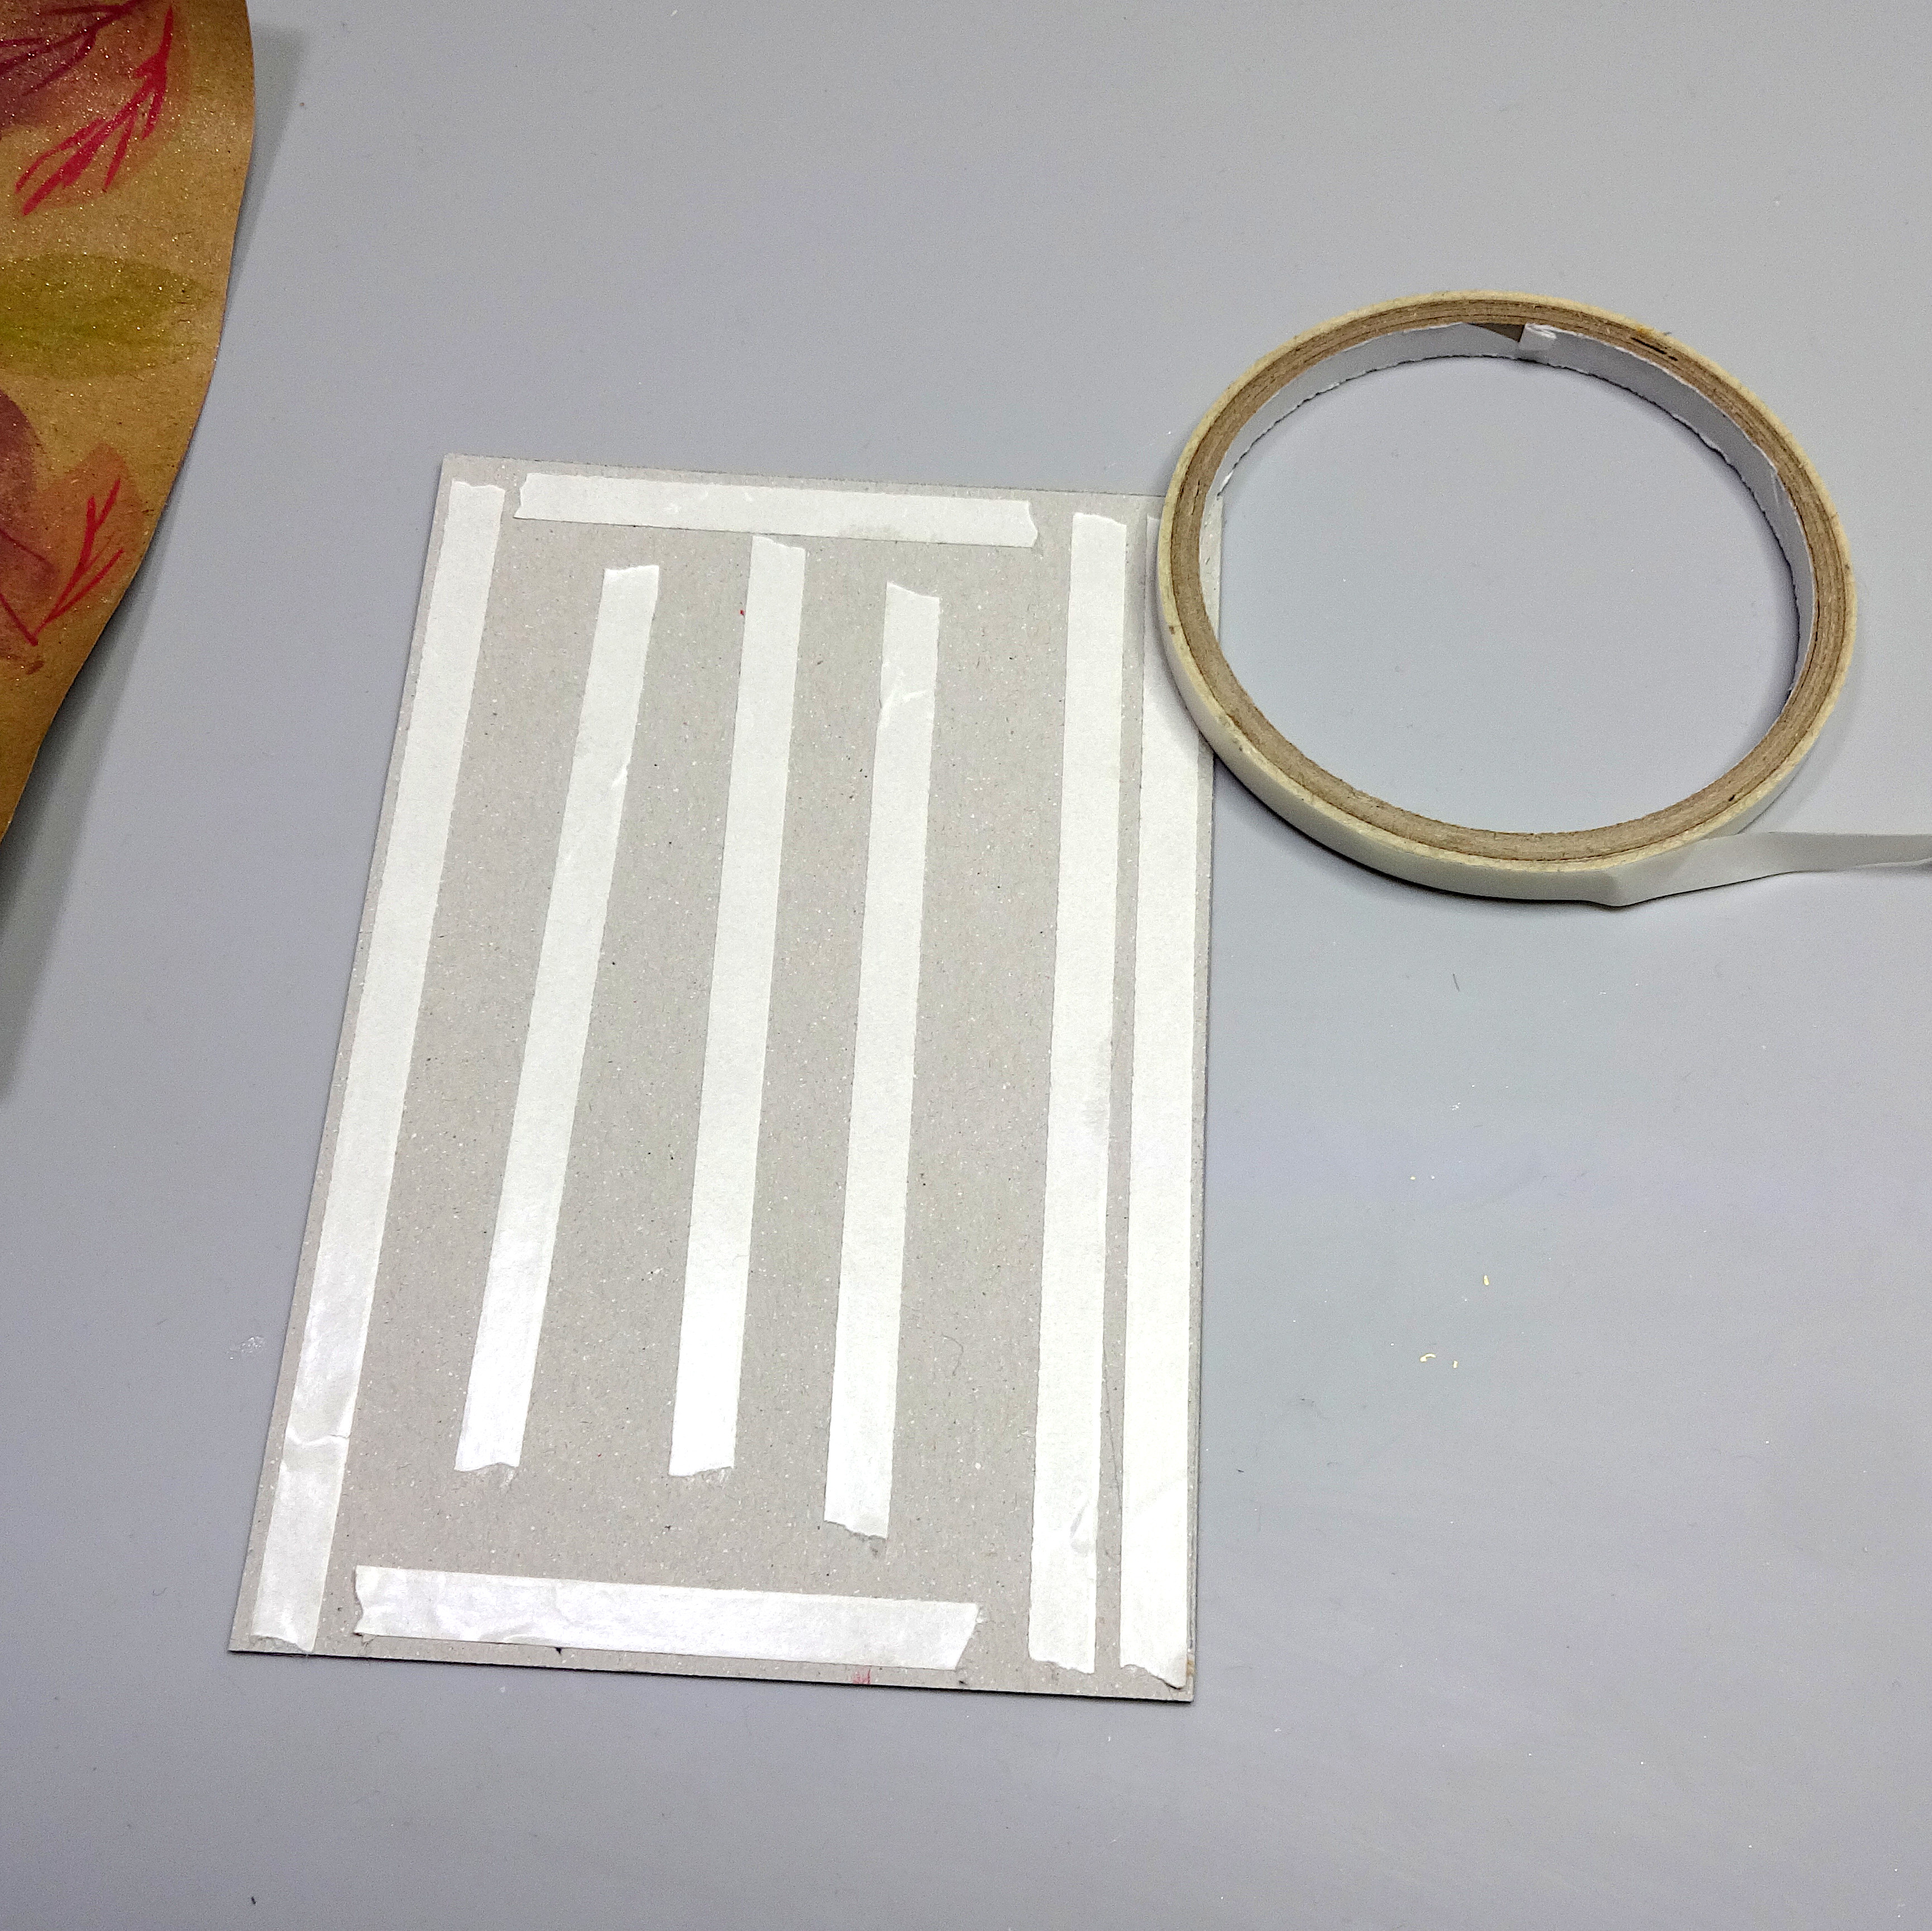
Assemble the card. Glue the two panels together. Glue the sentiment strips onto the panel. Then add sequins on the lower left and upper right parts of the card. Then glue the whole thing onto an A2-sized kraft card base.

Art Supplies

Imagine
• Delicata Ink – Celestial Copper
• Fireworks! Craft Spray – Rich Cocoa
• Sheer Shimmer Craft Spray – Gold
• VersaFine Clair ink – Nocturne
• VersaMagic Chalk ink – Jumbo Java
• VersaMagic Chalk ink – Tea Leaves
• Sponge Dauber

Other
• Altenew – die set – Wings & Petals (for the sentiment)
• Altenew – stamp set – Wings & Petals (for the sentiment)
• Catherine Pooler – sequin mix – Wintergreen
• Pink and Main – die set – Notched Corners
• Simon Hurley create – background stamp – Timber!
• Simon Says Stamp – die set – Nested Stars Wafer Dies
• Simon Says Stamp – background stamp – You Are
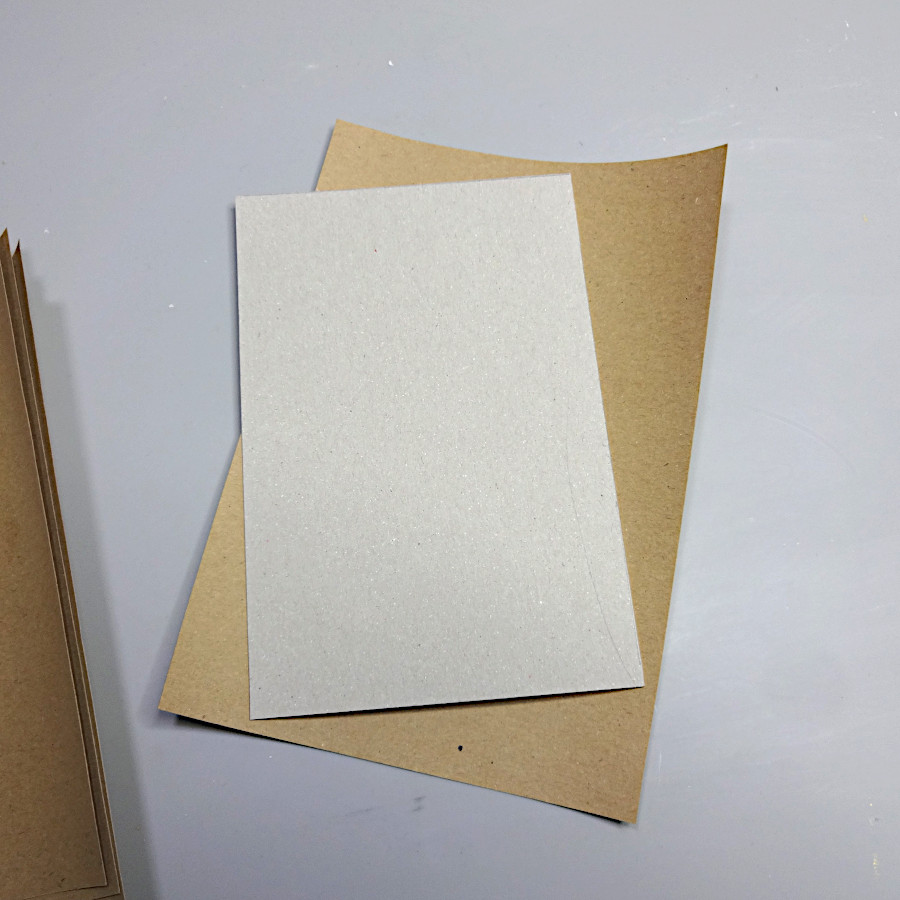
• Kraft cardstock
• Watercolor paper
• Corrugated cardboard
• Clear Embossing Powder

Winter Wishes Card on Kraft Cardstock

By Kathi Rerek

Skill Level: Beginner to Intermediate
Time: 1 hour

Step 1:
Use magnets to secure a 4” x 5.25” piece of Kraft cardstock onto the base of a stamping platform.

Position two snowflakes from the Snowflakes Large Clear Polymer Stamp Set so that one is facedown at the top left of the image panel and the other one is at the bottom right of the image panel. Ink the snowflake stamps with Emerald Green and Ruby Red Delicata Ink and stamp. Re-ink and stamp again if necessary to create good images. Clean and dry both stamps.

Step 2:
Position the third snowflake stamp from the stamp set facedown between the stamped snowflakes on the image panel. Ink the stamp with Sapphire Blue Delicata Ink and stamp. Re-ink and stamp again if necessary to create a good impression. Clean and dry the stamp. Reposition the same stamp facedown on the other side of the image. Ink the stamp with Sapphire Blue Delicata Ink. Clean and dry the stamp.

Step 3:
Position one of the snowflake stamps from the Snowflakes Small Clear Polymer Stamp Set facedown in the center top of the image panel. ink the stamp with Sapphire Blue Delicata Ink and stamp. Re-ink and stamp again if necessary to create a good impression. Clean and dry the stamp.

Continue the process of stamping snowflakes from the Snowflakes Small and the Snowflakes Clear Stamp sets with all three colors of Delicata Inks, taking care to clean and dry the stamps between colors. Heat set the image panel.

Step 4:
Ink the sentiment stamp with Sapphire Blue Delicata ink and stamp onto a piece of Kraft cardstock.

Step 5:
Use low-tack tape to secure a rectangle die to the sentiment strip. Run the sentiment strip through a die-cutting machine. Use a slightly larger rectangle die to cut a Kraft cardstock.

Step 6:
Use a sponge dauber to apply Emerald Green Delicata Ink to the die-cut. Heat set.

Step 7:
Use a Sponge Dauber to edge the snowflake stamped image panel. Heat set.

Step 8:
Use Tear It! Tape to adhere the image panel to a Kraft A2 Card. Use Tear-It Tape to adhere the sentiment to finish the card.

Imagine Crafts Supplies:

Other Supplies:

  • Kraft Cardstock by Bazzill Basics
  • Snowflakes Clear Polymer Stamp Set by Lavinia Stamps
  • Snowflakes Large Clear Polymer Stamp Set by Lavinia Stamps
  • Snowflakes Small Clear Polymer Stamp Set by Lavinia Stamps
  • Sentiment Stamp (Retired) by Unity Stamps
  • Circles Die Set by QuicKutz
  • Rectangles Nestabilities by Spellbinders
  • Heat Gun by EK Success
  • Big Shot

We Love Holiday Stamping On Kraft Cardstock

By Kathi Rerek

I recently saw a video on Unity Stamps’ Instagram that showed how to use colored inks to stamp snowflakes onto Kraft cardstock. I thought that it would be interesting to try VersaMagic Chalk Inks to see how it would work.

Skill Level: Beginner to Intermediate
Time: 1 hour

Step 1:
Use magnets to secure a 4” x 5.25” piece of Kraft cardstock onto the base of a stamping platform.

Use Hint of Pesto to stamp the leafy snowflake from the Snowflakes Large Clear Polymer Stamp Set on the top left. Re-ink and stamp again if necessary to create good impression.

Position the spiky snowflake from the set facedown on the image panel below green-stamped snowflake. Use Red Magic VersaMagic ink to stamp the snowflake. Re-ink and stamp again if necessary to create good images. Clean and dry both stamps.

Step 2:
Position the third snowflake stamp from the stamp set facedown on the bottom left of the image panel. Ink the stamp with Night Sky VersaMagic Ink and stamp. Re-ink and stamp again if necessary to create a good impression. Clean and dry the stamp.

Repeat Steps 1 and 2 along the right edge of the image panel as shown in the card photo above.

Step 3:
Position one of the snowflake stamps from the Snowflakes Small Clear Polymer Stamp Set facedown in the center top of the image panel. ink the stamp with Red Magic VersaMatic Ink and stamp. Re-ink and stamp again if necessary to create a good impression. Clean and dry the stamp.

Continue the process of stamping snowflakes from the Snowflakes Small Stamp set with all three colors of VersaMagic Inks  taking care to clean and dry the stamps between colors. Remove the image panel from the stamping panel and heat set.

Step 4:
Secure a piece of Kraft cardstock to the base of the image panel. Position the Holiday Spruce Rubber Stamp face-down on the image panel. Press the platform’s lid onto the back of the stamp and lift.

Use Post-It Notes to cover all elements of the stamp except for the Christmas Tree. With the Post-It Notes in place, ink the stamp with Hint of Pesto VersaMagic Ink. Remove the Post-It Notes and stamp twice — once onto the image panel and once onto repositionable sticker paper. Fussy-cut the sticker paper version and place over the stamped tree on the image panel.

Use Post-It Notes to cover each element of the Holiday Spruce Rubber Stamp, ink with one of the the VersaMagic Inks, remove the Post-It Notes, and stamp.

Heat set when the image is completely stamped.

Step 5:
Use low-tack tape to secure a scalloped rectangle die to the sentiment panel. Run the sentiment panel through a die-cutting machine.

Step 6:
Use a sponge dauber and Night Sky VersaMagic Ink to edge both the image panel and the sentiment die-cut. Use a Fantastix to reach between the scallops! Heat set both panels.

Step 7:
Use Tear It! Tape to adhere the image panel to a Kraft A2 Card. Use Tear-It Tape to adhere the sentiment die-cut to finish the card.

Imagine Crafts Supplies:

Other Supplies:

  • Kraft Cardstock by Bazzill Basics
  • Snowflakes Clear Polymer Stamp Set by Lavinia Stamps
  • Snowflakes Large Clear Polymer Stamp Set by Lavinia Stamps
  • Snowflakes Small Clear Polymer Stamp Set by Lavinia Stamps
  • Holiday Spruce Make a Tag Cling Rubber Stamp by Unity Stamps
  • Scalloped Rectangles Nestabilities by Spellbinders
  • Low-Tack Tape
  • Post-It Notes
  • Heat Gun by EK Success
  • Big Shot

Create a Beautiful Kraft Paper Notebook with Walnut Inks

Create a Beautiful Kraft Notebook with Walnut Inks

By Kyriakos Pachadiroglou

Beyond staining paper with Walnut inks, use them to stamp with foam stamps and as a drawing medium with the Fantastix brush tips for free hand designs on kraft wrapping paper. Seal the result and make the paper resistant with a layer of Creative MEDIUM.  Celebrate the new year and create some awesome goals.

Skill: Intermediate
Time: 1 ½ hour

Directions


Step 1

Cut 4x6in pieces of the carton paper and 5x7in of the kraft paper. 4 of each to make 2 notepads.

Step 2

Pour some Walnut Ink Lilac Posies on the craft mat and press the foam leaf stamp on it and stamp in a scattered pattern on the kraft paper. Try not to over soak the foam. (If you don’t have a leaf stamp, cut a simple, almond like, leaf shape from a piece of foam).

Step 3

Continue with smaller size leaves using the Cherry Blossom and Willow Walnut inks. Make two kraft paper pieces as above.

Step 4

Dip three Fantastix brush tips in the Walnut Inks colors above and draw brunches with the Willow one.

Step 5

Add flowers (small dots can work to decorate) with the Cherry Bloom and the Lilac Posies. Make two of the kraft paper pieces as above.

Step 6

Decorate the leaves with the MEMENTO dual tips markers.

Step 7

Add the number 21 using the number stencil and the MEMENTO dual tips markers.

Step 8

Cover the kraft papers with a long palette knife and Creative MEDIUM Shimmer and let them dry.

Step 9

Place Tear It Tape on the carton pieces and set in the middle the kraft papers. (½ in should be left on every side).

Step 10

Add Tear It Tape to the edge of the ½ in kraft paper, cut the corners and fold to secure on the back of the carton paper. This step creates the book cover. Repeat process with the rest pieces.

Step 11

Cut 3 ¾ x 5 ¾ in pieces of kraft paper, place Tear It Tape and set to the back (inner) side of the book covers.

Step 12

Cut blank pages in 3 ¾ x 5 ¾ in size. Use a book binding machine or book binding tools to bind the notepads. Alternate punch holes with hole punch tool and add book binding rings to hold the pages.

Art Supplies

Imagine

Other

  • Kraft wrapping paper
  • Carton paper
  • Foam stamps (or foam sheet)
  • Blank A4 pages
  • Numbers stencil
  • Book binding machine and wires (or hole punch tool)

See How to Create a Soft Plaid Print on Kraft Paper

by Melissa Andrew

See How to Create a Soft Plaid Print on Kraft Paper

Today I’m showing you the versatile properties of the creamy and blendable chalk ink called VersaMagic. This ink is beautifully thick and shows on your darker cardstocks.

Supplies

Imagine
Other
  • Newton’s Nook – Plaid Stencil
  • Waffle Flower – “Here for You” sentiment
  • Gina K Designs – Kraft
  • White cardstock
  • Paper trimmer
  • Stamping platform
  • Heat tool