Make a Playful Axolotl Card Using Reinkers

By Amalia Montano

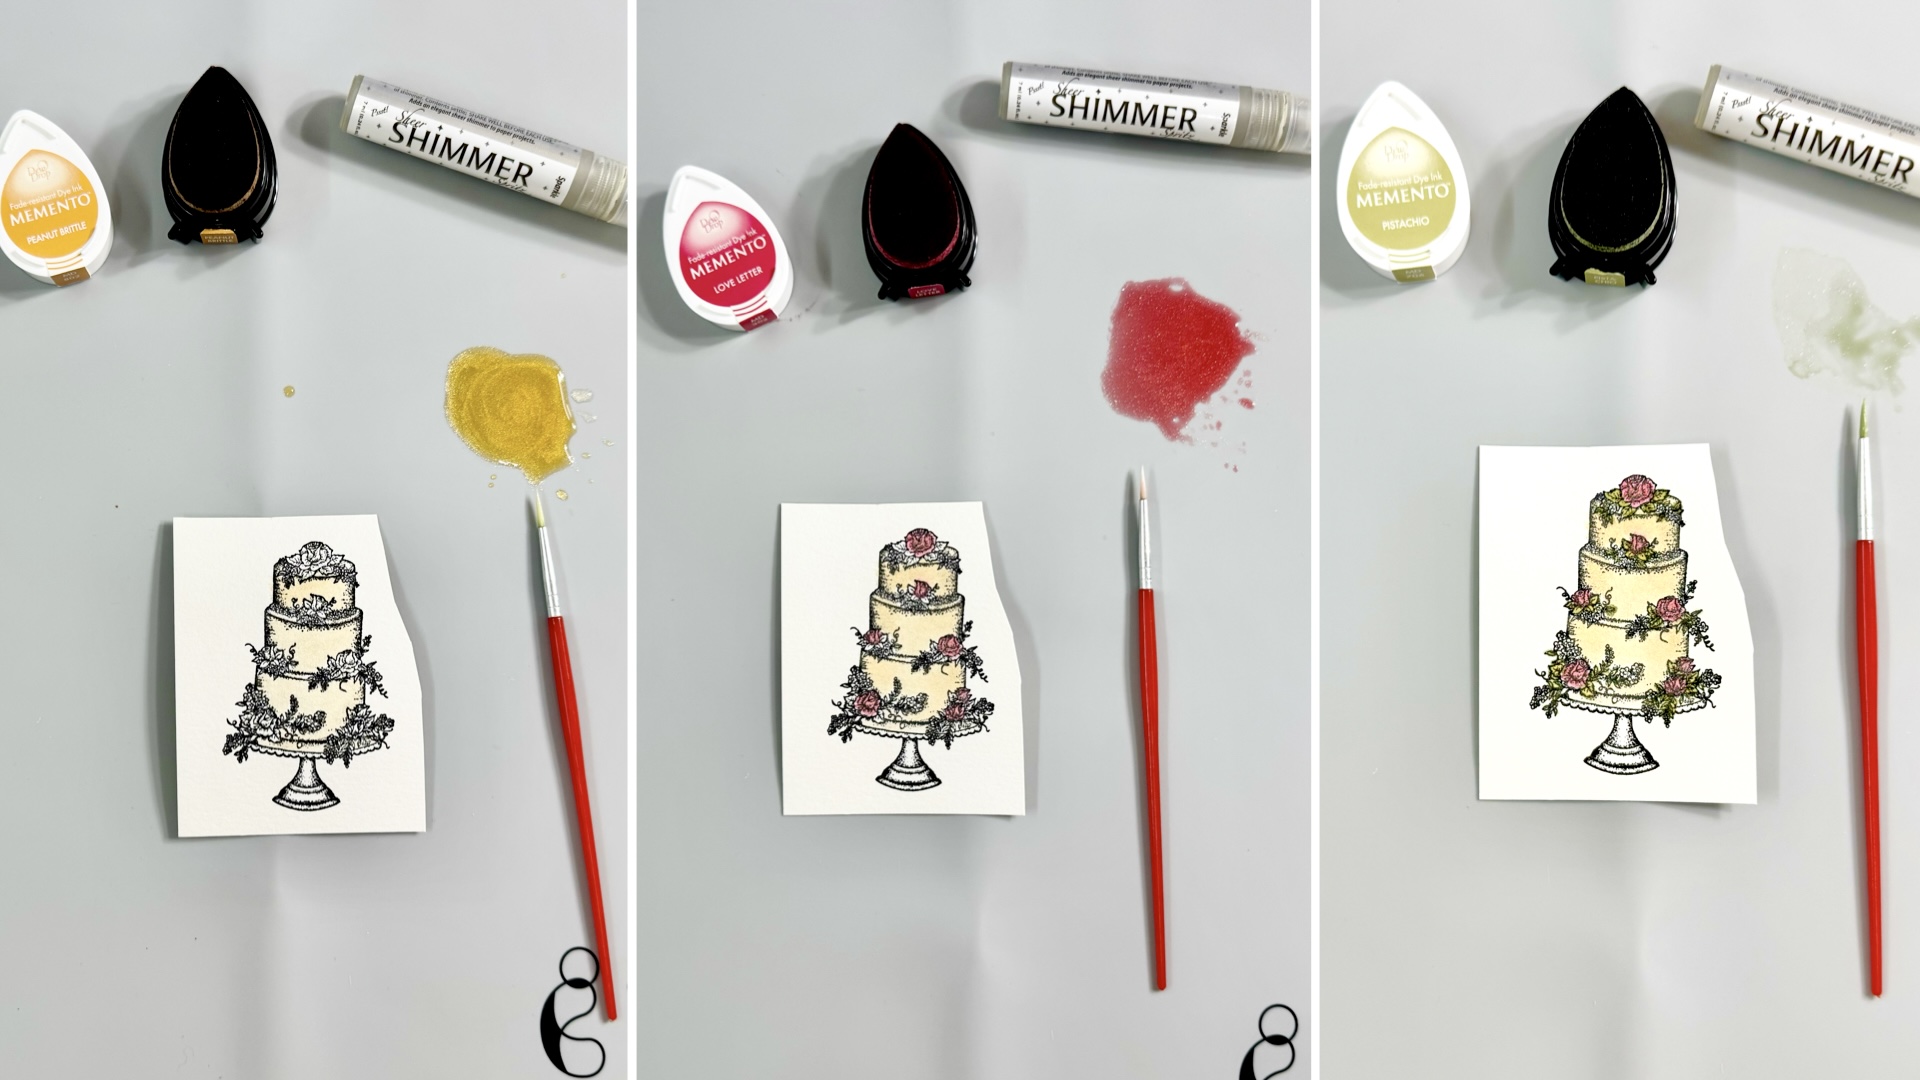
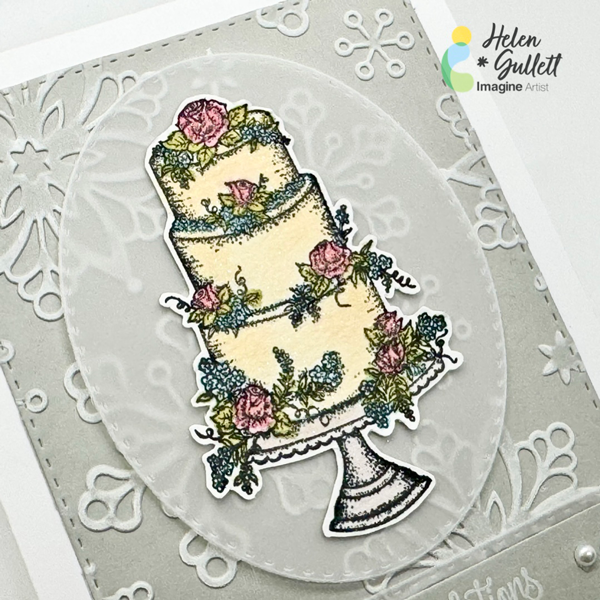
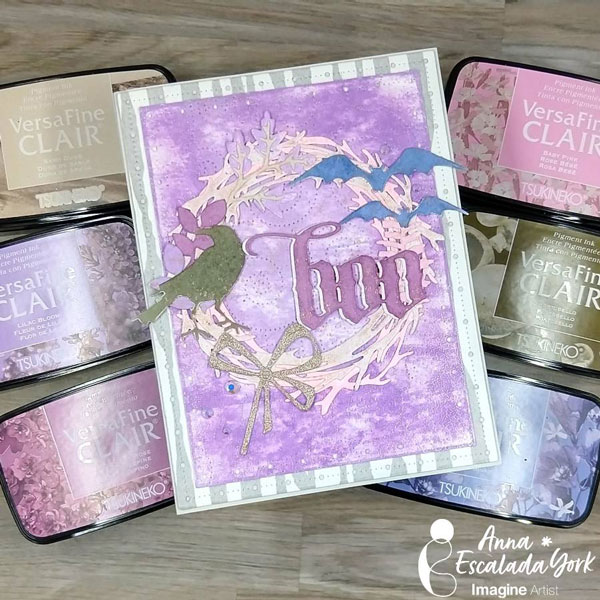
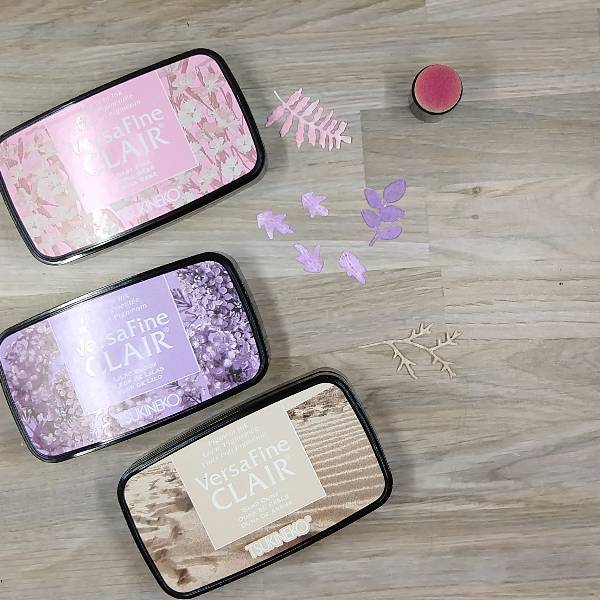
-Hi, I am Amalia. In today’s video, I dive into the creative process by simply playing with my supplies—something I often do when I’m unsure how to start a project. I used Tsukineko inks to experiment with different backgrounds, and while they didn’t all turn out perfect, I was still able to create some beautiful results. One background turned into an elegant design, and another led to the creation of a cute critter—an axolotl, which is a fascinating salamander known for its adorable smile and unique ability to regenerate its limbs. Join me as I explore the fun and sometimes unexpected outcomes of just letting creativity flow! When you don’t know what to do, just play!

Skill: Beginner to intermediate
Time: 20 minutes

YouTube Video Link: https://youtu.be/fYdX1cxbpaE

Craft Supplies:

Imagine Products

• Delicata Ink Refills- Golden Glitz, Pink Shimmer, Ruby Red 
• Sheer Shimmery Craft Spray – Sparkle 
• VersaFine Clair – Pinecone, Nocturne or Morning Mist 
• Ultimate Pigment Ink Refill- Cardinal, Pink and Canary 
• Craft Mat

Other Products:

• Clear Acetate 4.25″x5.5″- Heat Resistant
• A2 Card Bases Pre Cut & Pre Scored
• Thanks A lot’l Stamp Set
• Super Sentimental Stamp Set
• Gina K. Designs | Pick & Stick Tool
• Crystals

Amalia from Cool Cakes and Craft with Amalia on YouTube

https://www.amazon.com/shop/coolcakesandcraftswithamalia

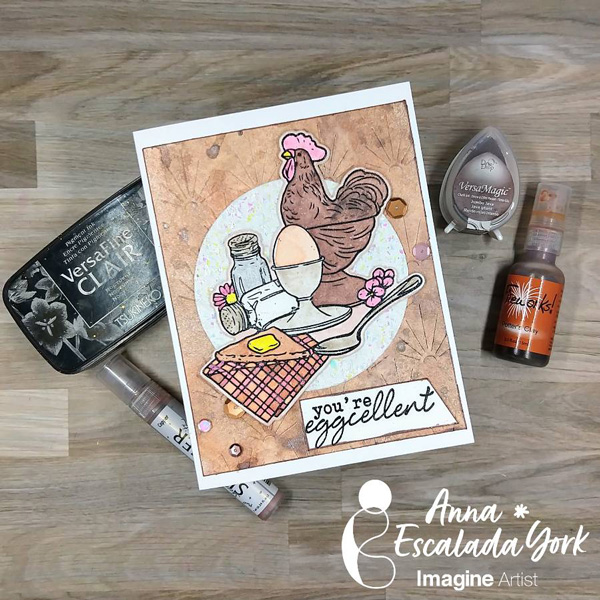
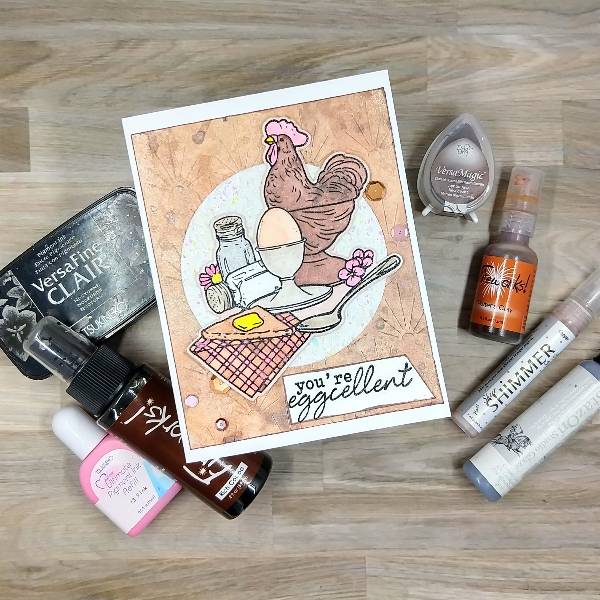
Let’s Make an Eggcellent Card

By Anna Escalada York

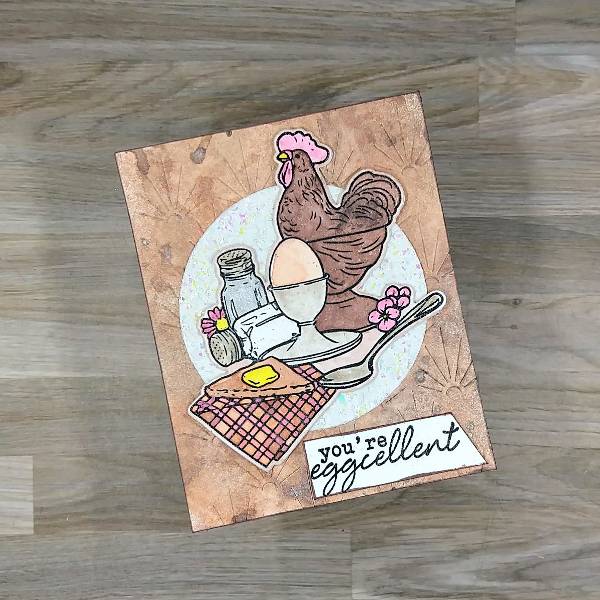
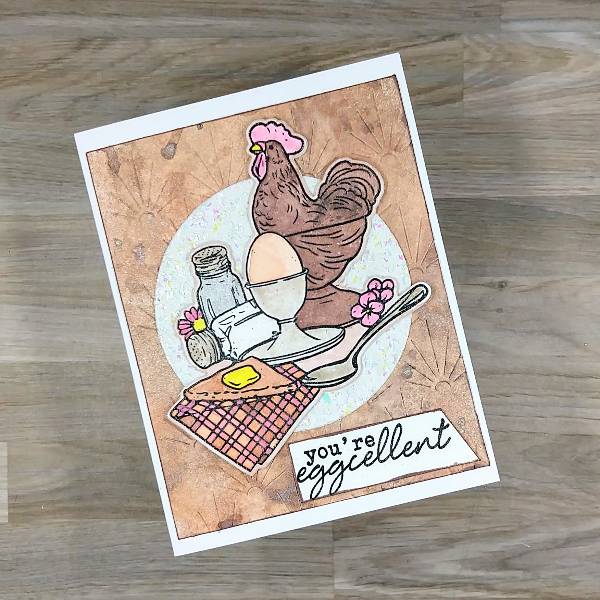
In today’s post, I made a card featuring earthy colors.

Skill: Intermediate
Time: 1.5 hours

Directions

Step 1:
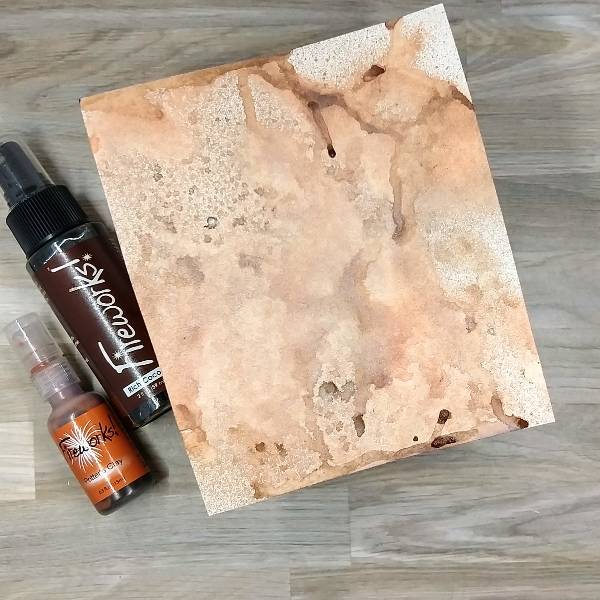
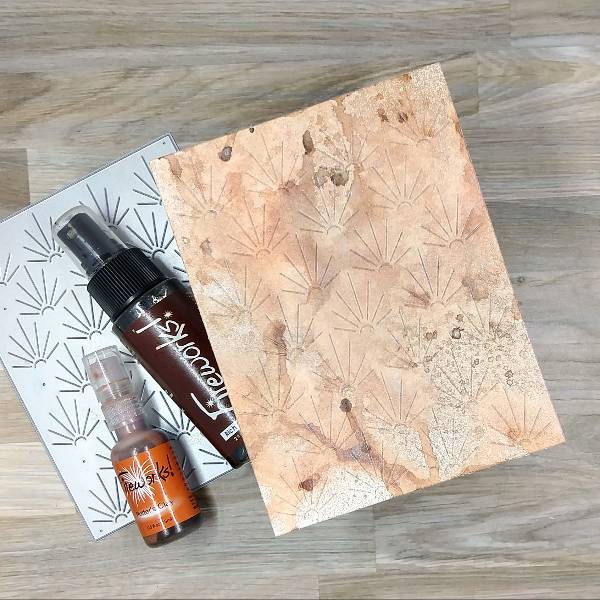
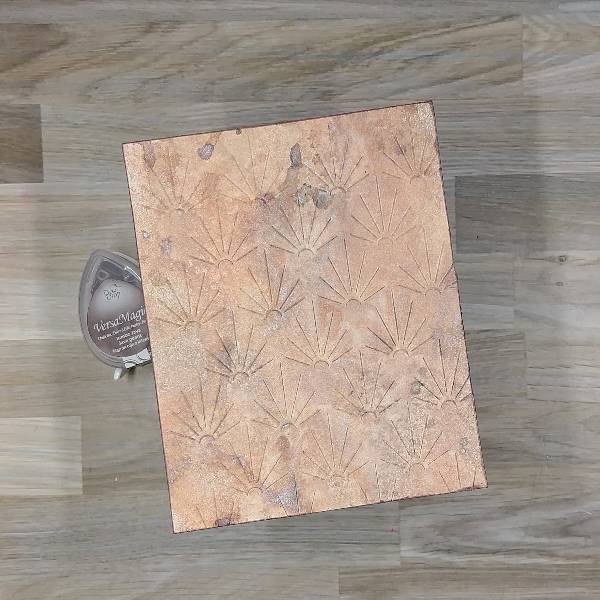
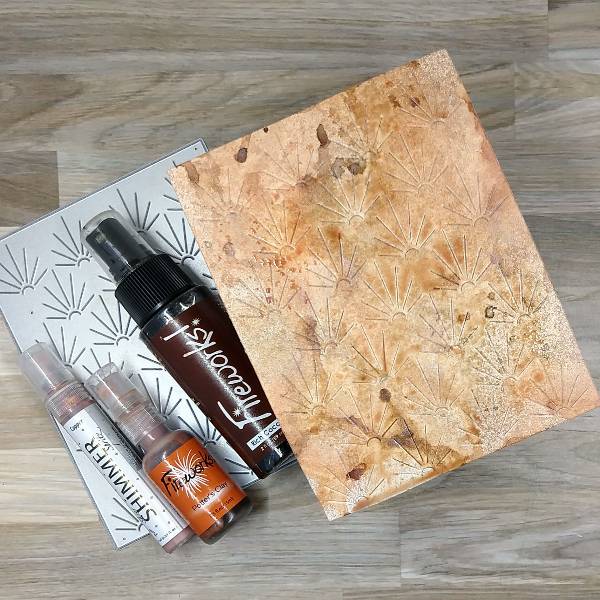
Spray a piece of watercolor paper with Rich Cocoa and Potter’s Clay Fireworks! Spray.

Step 2:
Die cut the sprayed panel with a panel die.

Step 3:
Spray the same panel with Copper Shimmer Spritz spray.

Step 4:
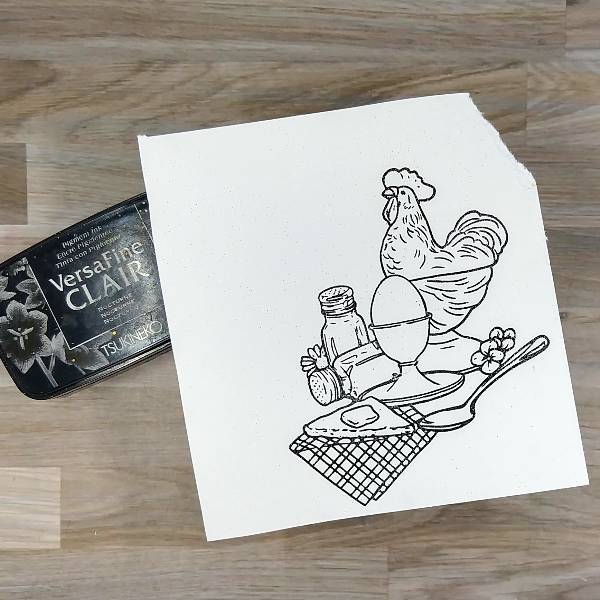
Stamp another piece of watercolor paper with Nocturne VersaFine Clair ink. I chose to heat
emboss the image with clear embossing powder.

Step 5:
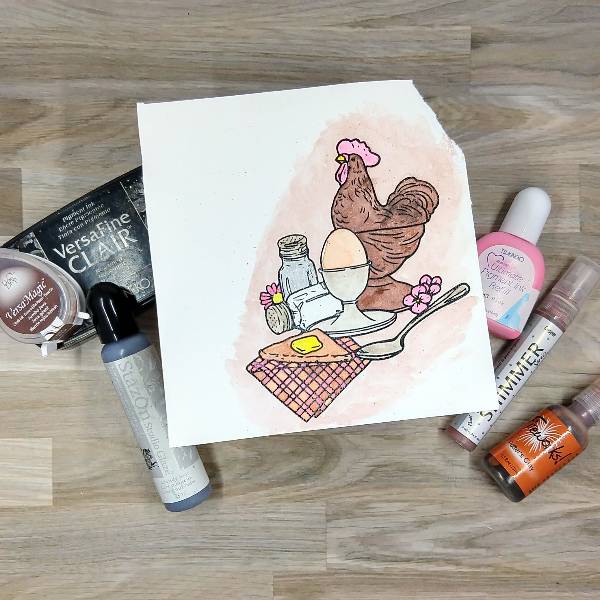
Color the image. I used a variety of mediums mixed with water to color the image.
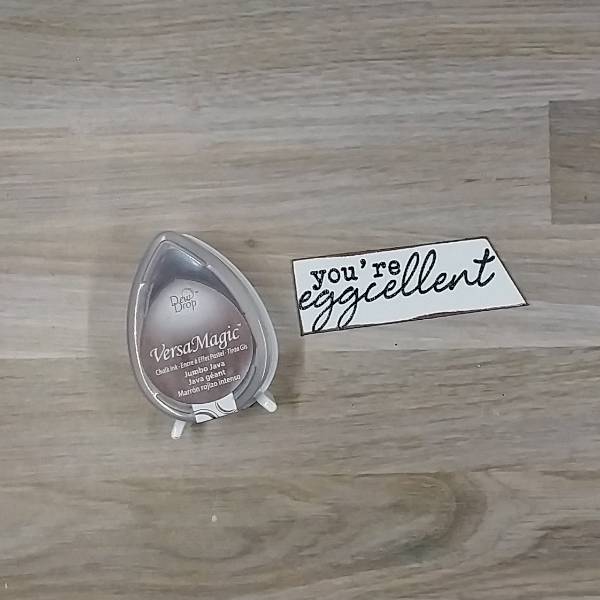
– I colored the rooster jar with Jumbo Java VersMagic Chalk Ink mixed with water.
– The salt and pepper shaker tops, the egg holder and spoon with Cloudy Sky StazOn
Studio Glaze mixed with water.
– The rooster’s comb and wattles plus the flowers and the pink parts of the napkin with
Pink VersaColor Pigment ink refill mixed with water.
– Potter’s Clay Fireworks! Spray mixed with water was used to paint the toast, the napkin,
the egg and the background.
– I used a yellow glitter brush marker to color the beak, butter, and the center of the
flowers.
– I painted some Copper Shimmer Spray over the rooster.
Finally, I added some sparkle with a sparkle pen on the salt and pepper shakers.

Step 6:
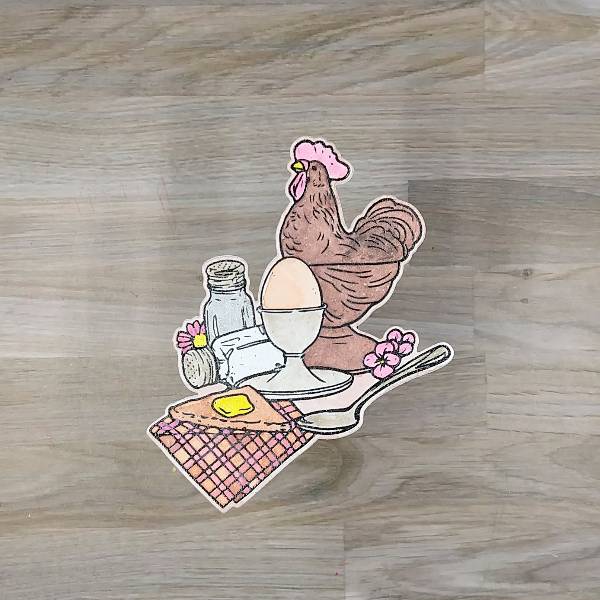
After the stamped image dried, die cut the stamped image with the corresponding die.
(Optional step: Die cut a scrap piece of cardstock and glue this scrap die cut behind the
stamped and colored layer for dimension and strength.)

Step 7:
I used my paper trimmer to trim the panel. I then ran my Jumbo Java VersaMagic Chalk Ink
around the edges of the panel to create a border.

Step 8:
Stamp a sentiment on a piece of watercolor paper. If desired, heat emboss with clear
embossing powder. Then trim the sentiment strip.

Step 9:
Run the Jumbo Java VersaMagic Chalk Ink around the edges of the sentiment to create a
border.

Step 10:
Die cut a piece of white glitter cardstock. Glue the white die cut glitter cardstock onto the
background panel. Glue the breakfast scene (the main stamped image) over the white glitter
cardstock. Then glue the sentiment onto the lower corner of the panel. Let the glue dry.

Step 11:
Glue the whole panel onto an A2-sized white card base.

Step 12:
Glue sequins around the main stamped image to finish the card.

Products Used:
Imagine:
Fireworks! Shimmery Craft Spray – Potter’s Clay Fireworks! Shimmery Craft Spray – Rich Cocoa Sheer Sheer Shimmer Craft Spray – Copper
StazOn Studio Glaze – Cloudy Sky VersaColor Reinker – Pink
VersaFine Clair ink – Nocturne VersaMagic Chalk Ink – Jumbo Java

Other:
Catherine Pooler Designs – Sequins – Mazatlán
Erin Lee Creative – Glitter Cardstock – Cotton Cardstock (retired) Hero Arts – Stamps – Eggcellent
Hero Arts – Dies – Eggcellent
Hero Arts – Dies – Nesting Circle Infinity dies Reverse Confetti – Die – Deco Cover Panel (retired) Sakura – Glitter Gel Pen – Gelly Roll Stardust pen
Scrapbook.com – Glitter Brush Marker – Sunshine Yellow Clear embossing powder
Watercolor paper Paper Trimmer Scissors
Glue

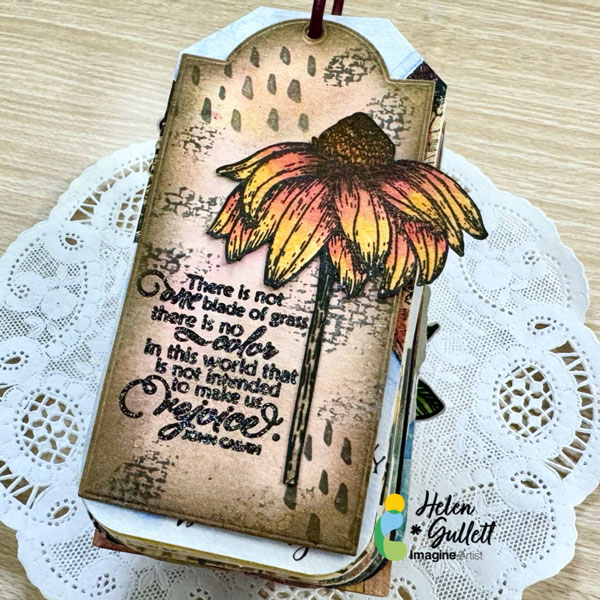
Design A Fall Mixed Media Tag

By Helen Gullett

Hello crafty friends! The change of season is here and we can see how changes can bring some beautiful colors to our life. Today, I would like to share my Fall Mixed Media Tag.

Skill: Intermediate
Time: 15-20 minutes

Direction:

Step 1
Cut out a piece of cold-press watercolor paper for the Fall theme stamps..
Stamp the images with VersaFine Onyx Black ink pad using a stamping tool.
Option, you can stamp a couple times to get crisper stamped images result on a watercolor paper.

Step 2
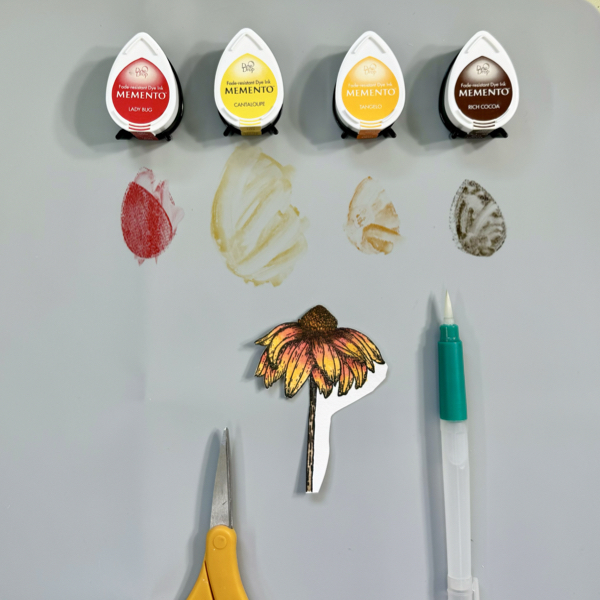
Memento inks (Full size and Dew Drop) are great for watercoloring! Simply add some of the Memento Dew Drop inks (Lady Bug, Cantaloupe, Tangelo, Rich Cocoa) on the craft mat.
Use a water brush to pick up the pigment and color the flower.
After coloring the image, use a craft heat gun to dry the watercolor inks.
Cut the image using micro-tip scissors.

Step 3
Cut out another piece of the cold press watercolor paper.
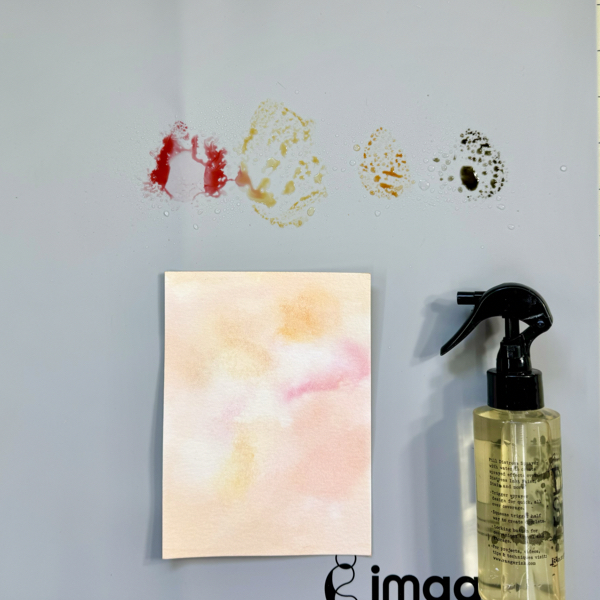
Add more of the Memento inks by dabbing the Memento Dew Drop on the craft mat.
Spray lightly with some water and then smoosh the watercolor paper to the inks on the craft mat to create the watercolor wash background.
You can repeat this step a couple times to get the colored background you like.

Step 4
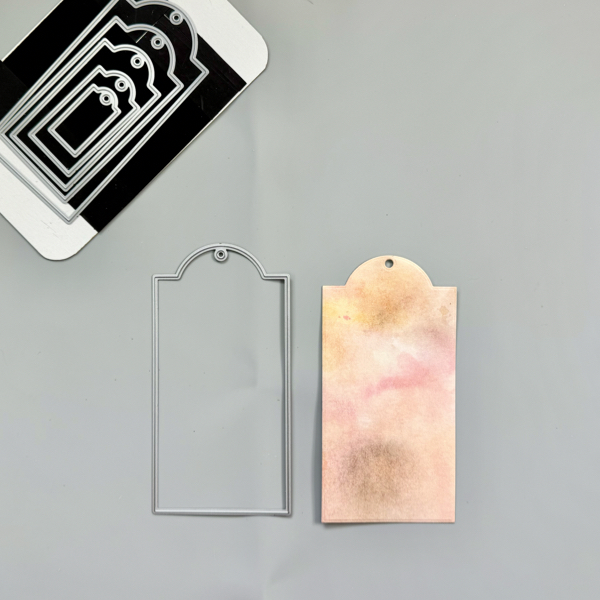
Dry the watercolor background panel with a craft heat gun.
Cut it out with a tag die. Or, If you do not have any tag die, you can trace any packing tag to it and cut it with scissors.

Step 5
Add some of the Memento Rch Cocoa ink around the edge of the tag with a sponge dauber for extra shadow and distress look.
And then, add some of the Delicata Golden Glitz randomly around the edge of the tag with a sponge dauber for some extra shine to it.
Dry the ink on the tag with a craft heat gun.

Step 6
Add some of the anti-static powder to the whole tag.
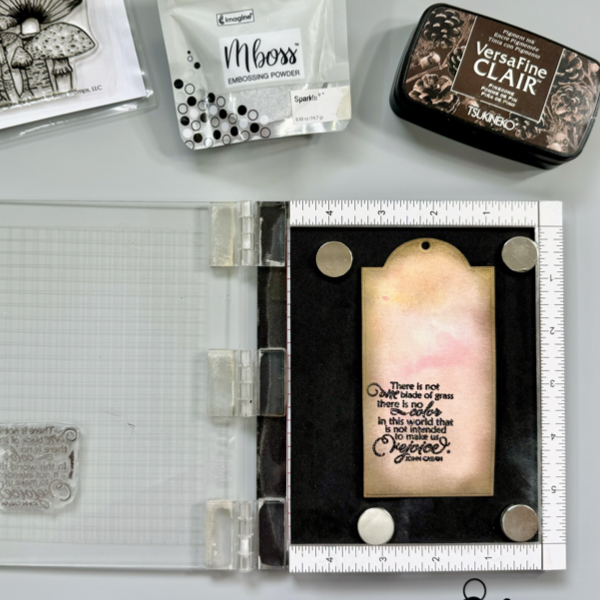
Using a stamping tool, stamp the sentiment on the tag using the VersaFine Clair Pinecone ink pad.
Right away while the ink is still wet, add some of the Mboss Sprakle embossing powder to the tag and heat set it with a craft heat gun.
Gently wipe off the anti-static powder of the tag using a paper towel after the embossed sentiment cool off.

Step 7
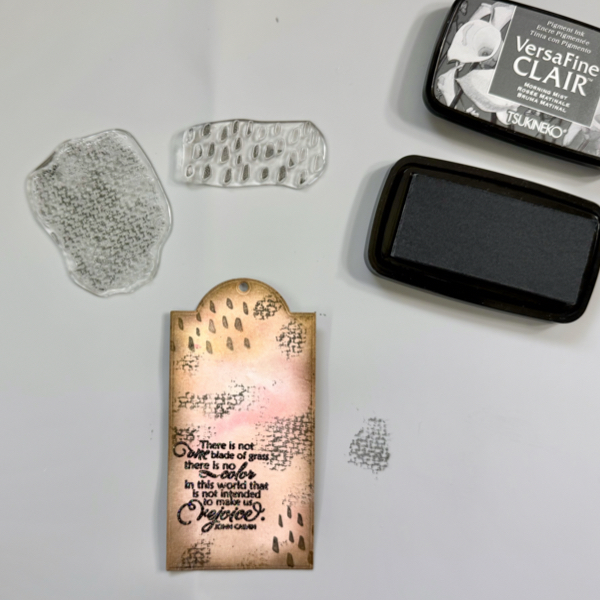
Add some texture to the tag by stamping some patterns using the background texture stamps and VersaFine Clair Morning Mist.
To get the uneven look on the background, stamp the image using your hand directly and not a stamping acrylic block.

Step 8
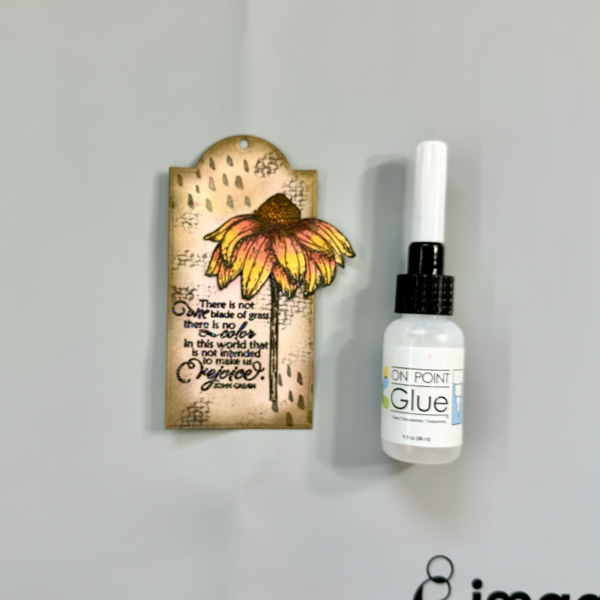
Add some of the glue from On Point Glue to the half of the back of the watercolor flower and add it to the tag.
Add a couple of acrylic stamping blocks on the flower for a couple minutes until the glue dried permanently.

Step 9
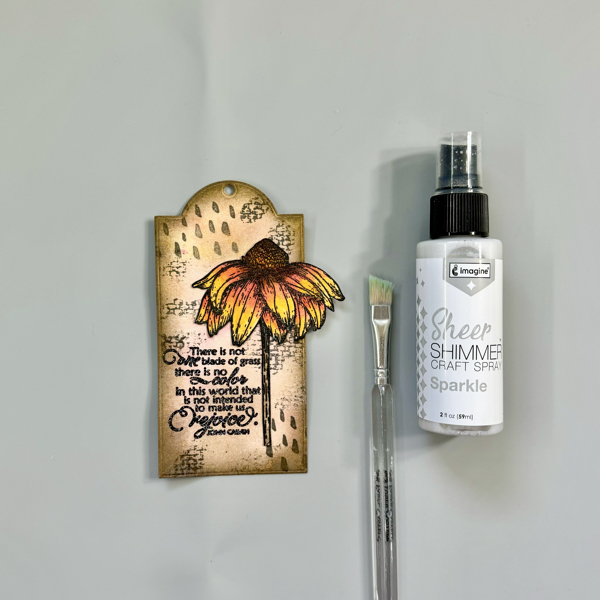
This last step is an option. But I decided to add some extra sparkle to this Fall tag.
Use a flat small brush to add some splatters of the Sparkle – Sheer Shimmer Craft Spray to the tag and then use a craft heat gun to dry it completely.

I love how this Fall mixed media tag turned out. The Fall colors plus some gold and sparkle to it makes me happy to look at it. It is now a new addition to my tag ring collection.
I hope you’ll like this Fall tag project and give it a try with your own twist. Thank you for stopping by our blog today. Have a fabulous day!

Craft Supplies

Imagine Crafts:

Others:

  • Colors of Fall Stamp Set (Creative Worship Stamps)
  • Mini Marks 1 Stamp Set (Creative Worship Stamps)
  • Tag Die Set (STAMPlorations, expired)
  • Canson Watercolor Paper 140 lb
  • MISTI stamping tool
  • Acrylic stamping blocks
  • Paper trimmer
  • Micro-tip Scissors
  • Die cutting Machine

“Wishing You A Happy Birthday” Card

By Anna Escalada York

In today’s post, I am sharing a fun, summer card that features some bold colors!

Skill: Intermediate
Time: 1 hour

Directions:

Step 1
Color a piece of acetate packaging with both Cottage Ivy Memento marker and Emerald Fabrico
marker and then spraying the acetate with water. Press the acetate onto a piece of watercolor
paper multiple times, moving the acetate around so add green color around the watercolor
paper. Allow the water to dry.

Step 2
Die cut the watercolor smooshed paper with a circular die cut. Add a small dot of Pink Ultimate
Pigment Pigment Refill into the raised areas of an embossing powder, and then spray the
embossing folder with Sparkle Sheer Shimmer Craft Spray to both help the watercolor paper
stay moist (so it won’t tear) while embossing, and to help dilute the condensed pink refill ink.
Then sandwich the watercolor paper into the embossing powder and run it through a die cutting
machine.
After the watercolor paper has dried, ink blend the edge of the circular die cut with Pink
VersaColor pigment ink.

Step 3
Die cut another piece of watercolor paper with a slightly larger circular die. Directly press the
Pink VersaColor Pigment ink pad onto the watercolor paper.
Optional step: Heat emboss the ink with clear embossing powder.

Step 4 (and 4.5)
Stamp an image onto watercolor paper with a nature scene with Nocturne VersaFine Clair ink.
Heat emboss with clear embossing powder.
Using a variety of media to watercolor the image: Celestial Copper Delicata Ink pad mixed with
water to color the rocks, Emerald Fabrico marker mixed with water to color the frog and leaves,
Bahama Blue Fireworks! Spray to color the sky and water, and Pink Ultimate Pigment Ink Refill
to color the flower petals. Finally, color the centers of the flowers with a Dandelion Memento
marker.

Step 5
Watercolor smoosh some of the leftover inks from the last step to watercolor smoosh a piece of
watercolor paper and then spray the whole thing with Sparkle Sheer Shimmer Craft Spray. Use
some additional color to stamp a text stamp in my stash to add a little interest onto the panel by
pressing the stamp into the acetate instead of an ink pad. Repeat the process a few times until
you like the amount of extra interest that is added. After everything dried, die cut the watercolor
panel.

Step 6
Glue the two circular die cuts (the embossed panel and the larger pink die cut circle)
and then glue it onto the watercolor background panel. After the glue dried, the whole thing was
die cut again to trim the circular die cuts. The edges were ink blended with more Pink
VersaColor Pigment ink. Splatters of the remaining Bahama Blue Fireworks! Spray from the
acetate packaging were added to the panel as well.

Step 7
Stamp a sentiment with Nocturne VersaFine Clair ink.

Optional step: Heat emboss with clear embossing powder.

Step 8:
Die cut sparkly white paper with a slightly larger rectangular die. Glue the main (frog)
stamped and die cut image onto the top panel, glue the matte (sparkly larger panel) behind the
top panel and then glue everything onto an A2-sized white card base. Glue sequins to the card
base.

Art Supplies

Imagine

• Delicata Ink – Celestial Copper
• Fabrico Marker – Emerald
• Fireworks! Spray – Bahama Blue
• Memento Marker – Dandelion
• Memento Marker – Cottage Ivy
• Sheer Shimmer Craft Spray – Sparkle
• Ultimate Pigment Ink Refill – Pink
• VersaColor Pigment ink – Pink
• VersaFine Clair ink – Nocturne
• VersaMark Dazzle – Frost

Other
• Catherine Pooler Designs – Sequins – Milwaukee
• Gina K Designs – Dies – Master Layout 2 die set
• Hero Arts – Dies – Nesting Circles Infinity die set
• Penny Black – Stamp – Thanks, Thanks stamp (retired)
• Vicki Boutin – Embossing Folder – Let’s Wander (retired)
• Watercolor paper
• Clear embossing powder
• Scissors
• Glue

Make a Fourth of July Card with Colorful Heat Embossing 

By Jessica Lin

Hi everyone! Are you ready to celebrate the Fourth of July? I made a sparkly, light-up card to celebrate the occasion. It’s been a while since I heat embossed with colorful embossing powders and I truly miss this simple and fun technique. Be sure to check out the supply list at the end to see the colors I used!

Skill Level: Advanced
Time: 1 hour

Step 1:
Stamp one image from MFT’s Festive Fireworks set with VersaMark ink pad. Then pour on embossing powder with the color of your choice. Repeat the steps if you would like to use different colors of embossing powders, making sure to heat set the powder before moving on to the next color. The colors I used today are Mboss – Valentine, Lucky Stars, Princess Party, and Shimmering Night Sky (not pictured here).

Step 2:
Use Brilliance – Galaxy Gold ink pad to stamp the layering images. I used a stamp positioning tool so that I could restamp a couple of times and get good ink coverage. The gold stamped images look so well against the black background, don’t you think?

Step 3:
I decided to add interactive elements to make this card even more festive! I used Chibitronics LED light stickers to create the light up circuit. If you are interested in making a light up card, feel free to check out the step-by-step video tutorial on my YouTube channel “Craft with Jessica V. Lin” and search for “How to Make a Fireworks Light Up Card with BLACK Cardstock”.

Step 4:
For some finishing touches, I splattered some Sheer Shimmer Craft Spray to the background. I used the brush-over-acrylic-block flicking method, but you could use the spray nozzle to add a fine mist of shimmer as well. Then I adhered some sequins with On-Point Glue, and that completes the card!

Imagine Supplies:

Other Supplies:

  • MFT – Stamps – Festive Fireworks
  • We R – Tool – Precision Press
  • Antistatic Powder Tool
  • Heat Tool
  • Hero Arts – Dies – Infinity Circle (to die cut the small center circles for light to shine through the fireworks images)
  • Chibitronics – Tool – LED sticker and Circuit Tape
  • Foam Tape
  • Black cardstock
How to Make a Wedding Card with Embossing Powder

By Alison Heikkila

Hello! My latest video for Imagine is a wedding-themed card, though it can certainly be used for other occasions too. We’re going to use embossing powder in a few ways on this card, and they’re all fairly simple to do.

*Some affiliate links are used in this post. That means that if you shop through these links, I may receive a small compensation, at no cost to you. For more information, please see my Affiliates page, where I also have some coupon codes.

Skill Level: Intermediate
Time to Complete: 30 minutes

Supplies:
Imagine:
VersaMark Ink
VersaFine Clair Ink in Nocturne
Copper MBoss Embossing Powder
Sheer Shimmer Spritz in Sparkle
Tear It! Tape
On Point Glue

Other:
Spellbinders: Timeless 5×7 Cardfront
Spellbinders: Tiny Dots Embossing Folder
Hero Arts: Floral Imprints
Accent Opaque White 100lb. Cardstock
White Sequins
Foam Dots