By Jessica Lin
Skill: Beginner
Time: 45 minutes
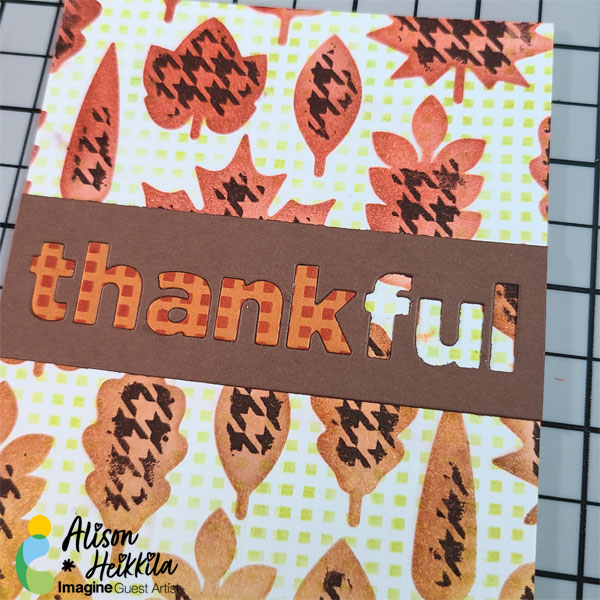
Hi everyone! It’s Jessica here and welcome back to another card tutorial. Thanksgiving is coming up and I love to make cards to express my gratitude! Today I’m also watercoloring with various ink pads from the VersaMagic, Brilliance and Delicata ink lines. Let’s begin!
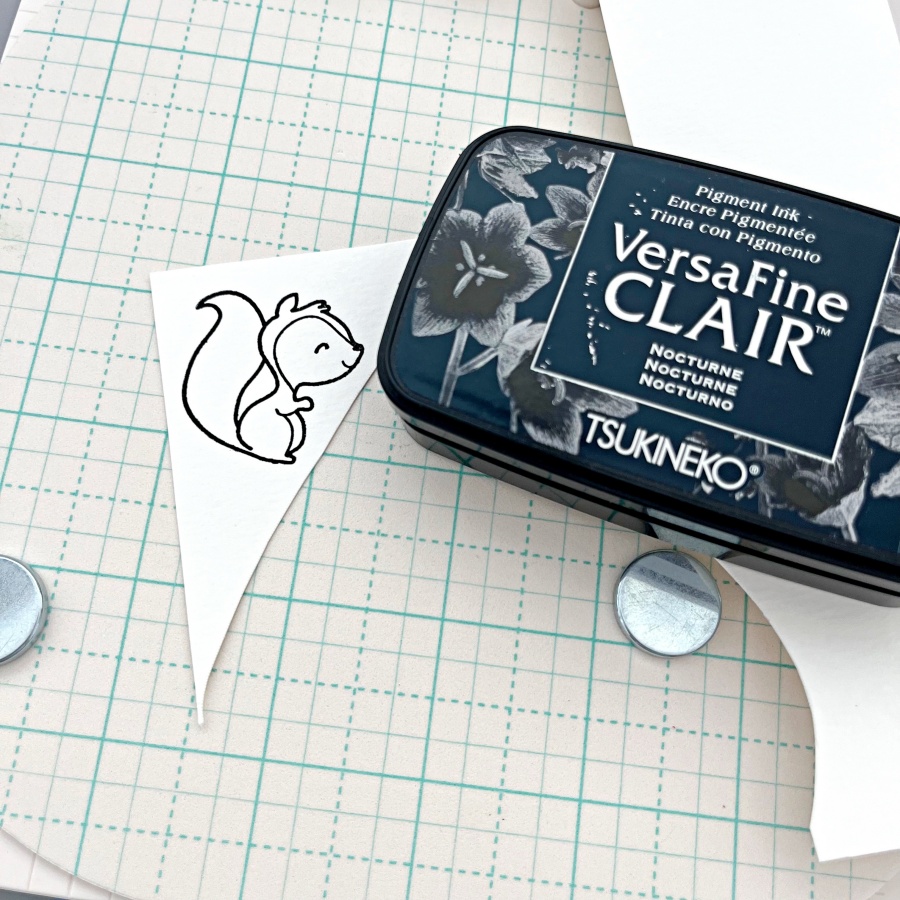
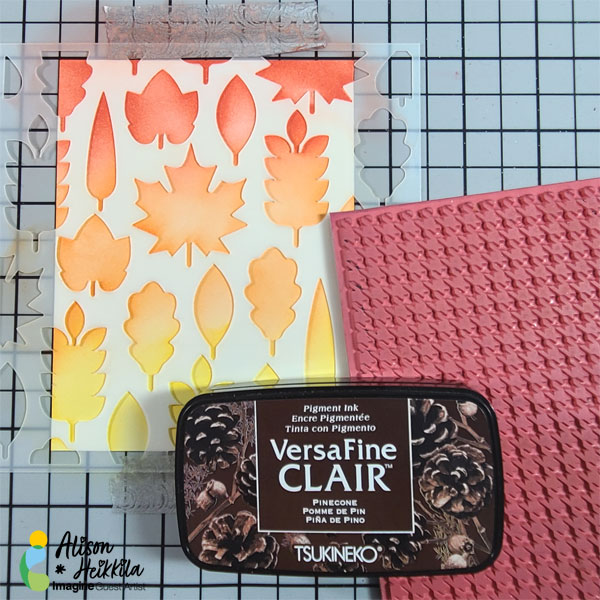
Step 1: Stamp the critter images from The Greeting Farm Wood Friends stamp set with VersaFine Clair Nocturne ink. This is my favorite black ink for stamping and it’s perfect for watercoloring.
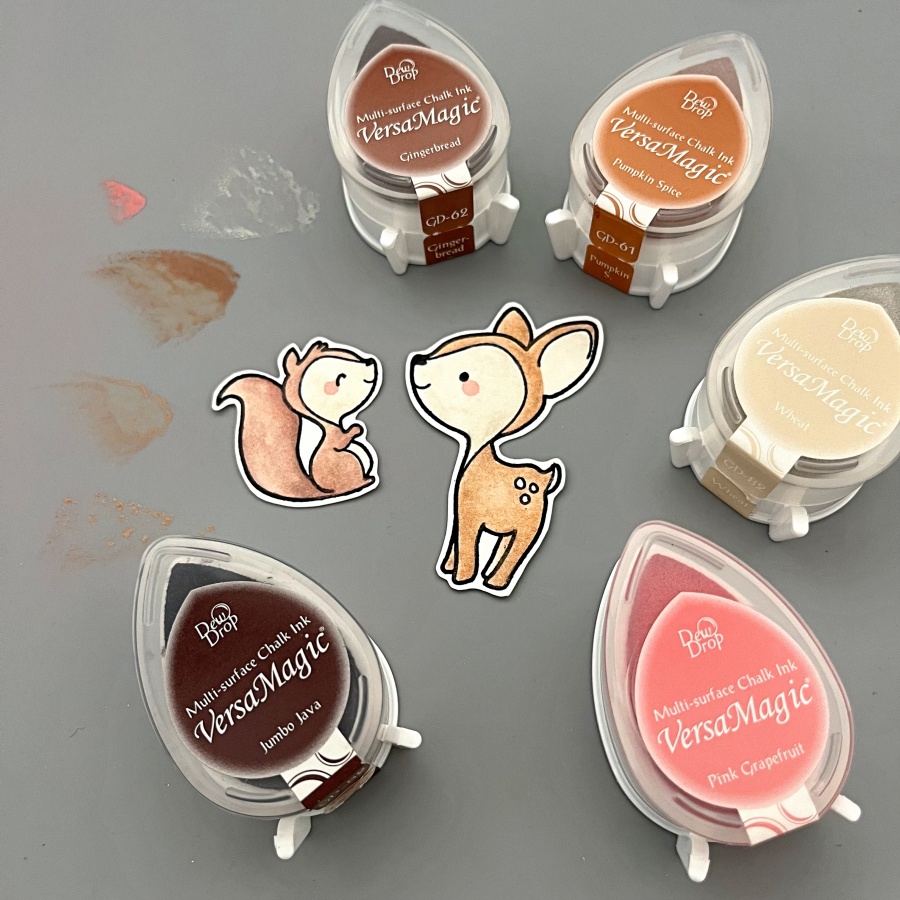
Step 2: Color the images with VersaMagic inks. I used Gingerbread, Pumpkin Spice and Wheat for the deer, and to add some shimmer and shine, I watercolored a layer of Celestial Copper from the Delicata ink line. For the squirrel, I used Sahara Sand and Jumbo Java as the base color and added Cosmic Copper Brilliance ink as an accent. VersaMagic, Delicata, and Brilliance ink pads are all pigment inks and I love that you can mix and match the colors for maximum creativity. For the final touch, I added small amounts of Pink Grapefruit to create their rosy cheeks.
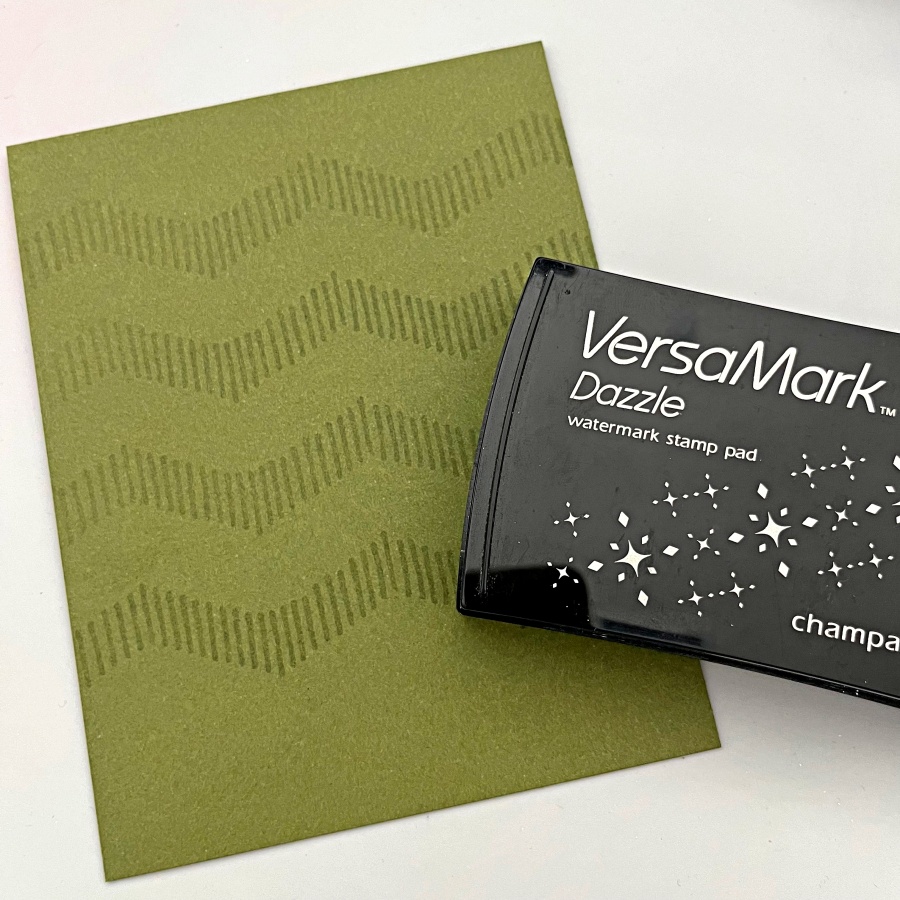
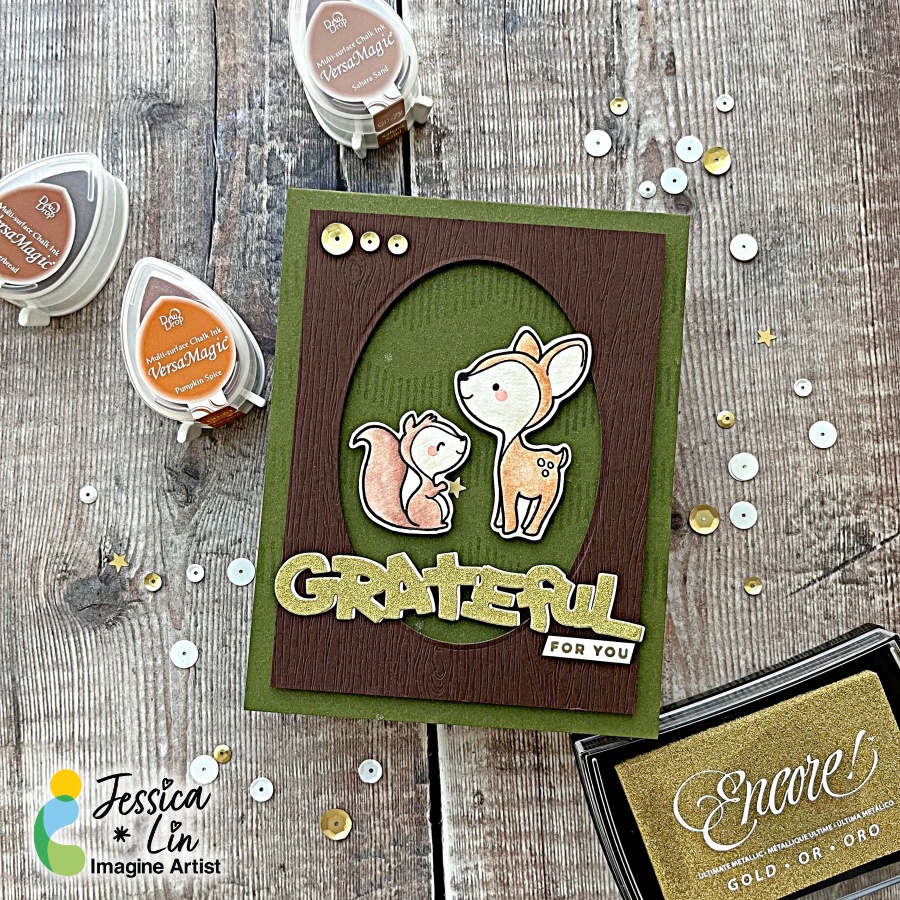
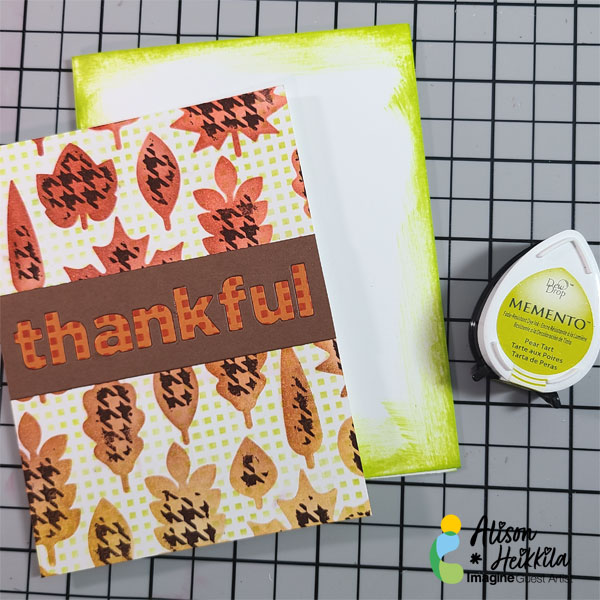
Step 3: I decided to use Stampin’ Up!’s Mossy Meadow cardstock as the cardbase since it’s a nice foresty color. I also stamped some geometric striped pattern with my VersaMark ink pad. Did you know that you could stamp with VersaMark as well? It’s known for being the best ink for heat embossing, but I also stamp with it quite often to create additional interest to the background.
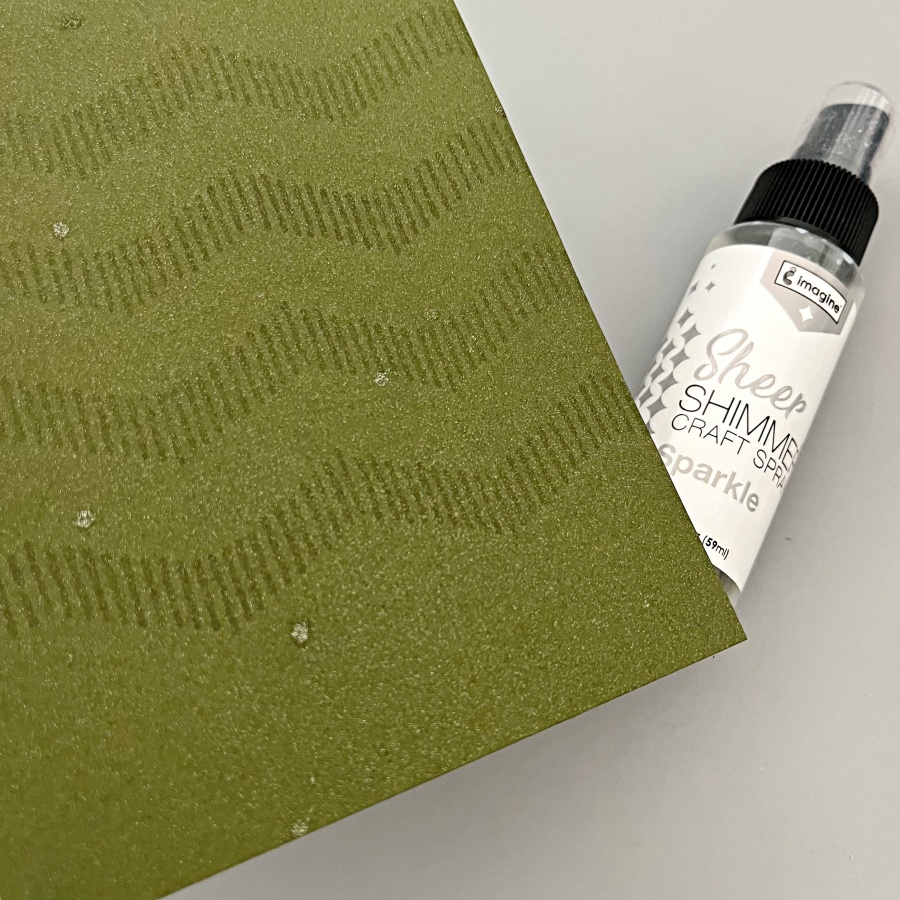
Step 4: Then I spritzed on a layer of Sheer Shimmer Spray in Sparkle. I wish you could see the shimmer in real life! The photo does not do its justice. The shimmer is just so beautiful and it truly transformed this simple card base.
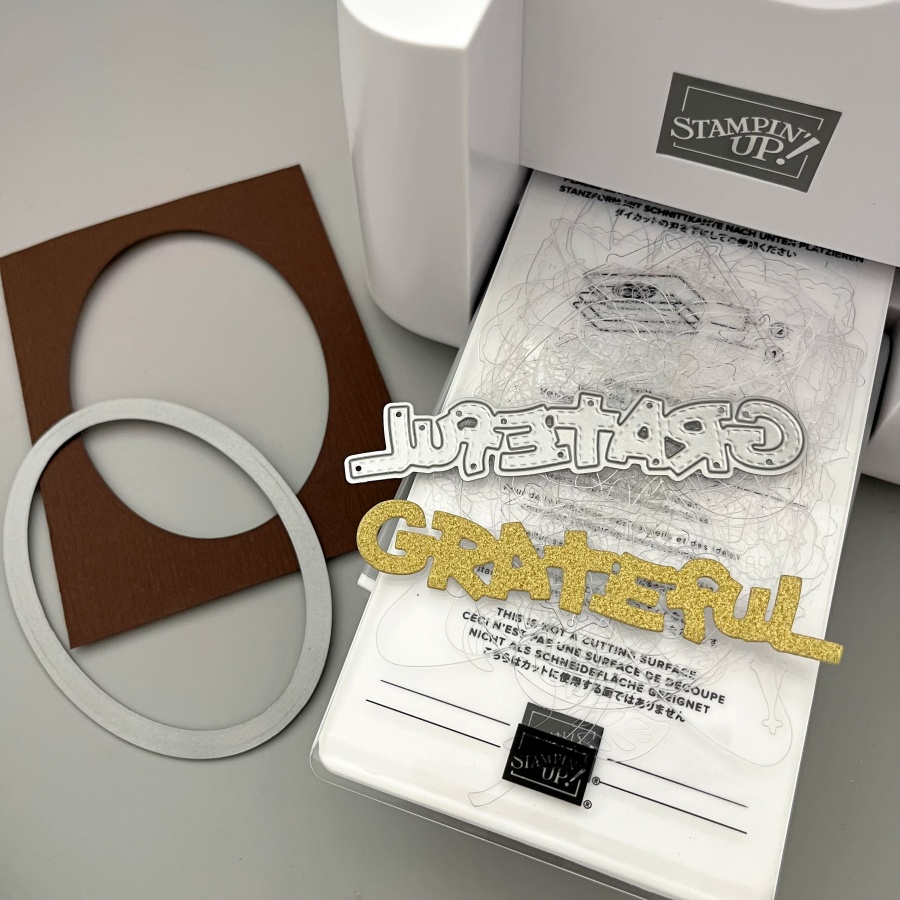
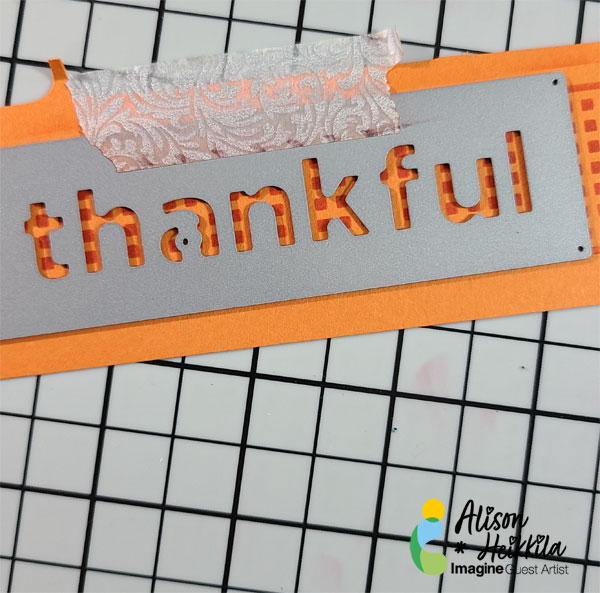
Step 5: Next, I die cut an oval panel as a frame for the little critters, and I die cut the Grateful sentiment from gold glitter cardstock as well.
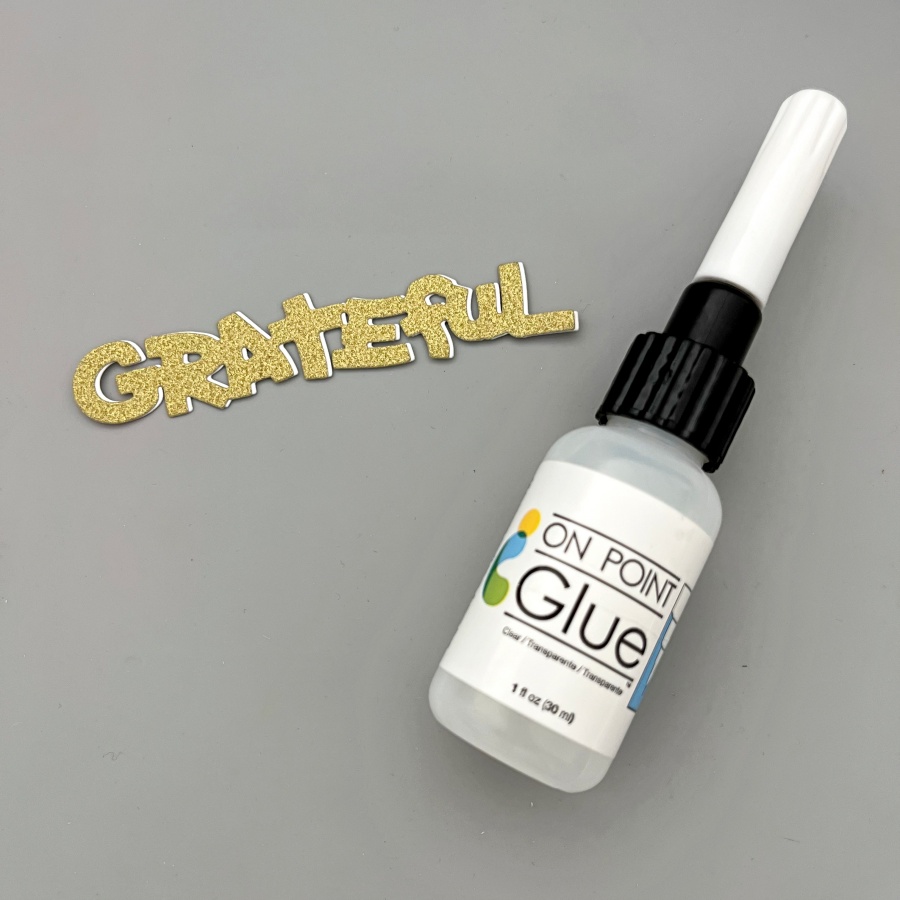
Step 6: To make the sentiment stand out a little bit more, I die cut again using white cardstock and layered it underneath the gold one. This creates a subtle shadow effect. The On Point Glue has a fine tip nozzle that makes applying small amounts of glue so easy. If you work with intricate dies all the time, I recommend having this glue in your stash!
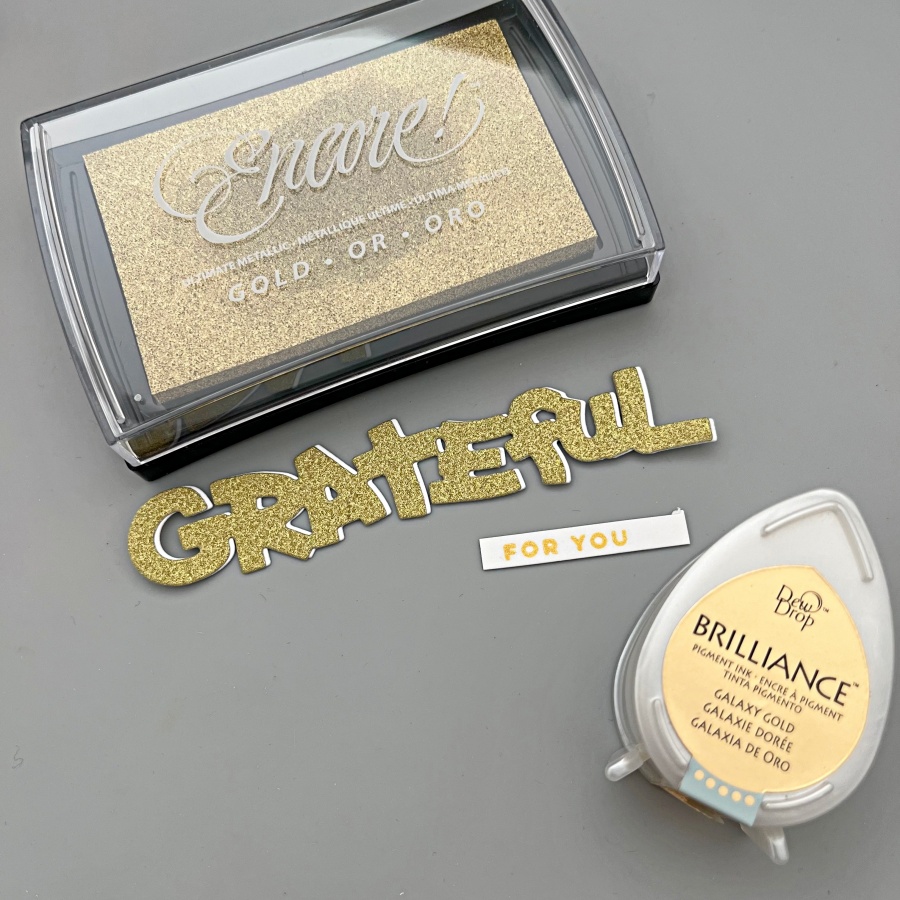
Step 7: Finally, I stamped the “For You” stamp in gold as well to complete the sentiment. Initially I picked the Brilliance Galaxy Gold ink pad as it is my go-to gold ink, but I realized that the tone is slightly too warm compared to the gold glitter cardstock I used. So I
re-stamped with Gold Encore ink instead. I have a close-up comparison below as well.
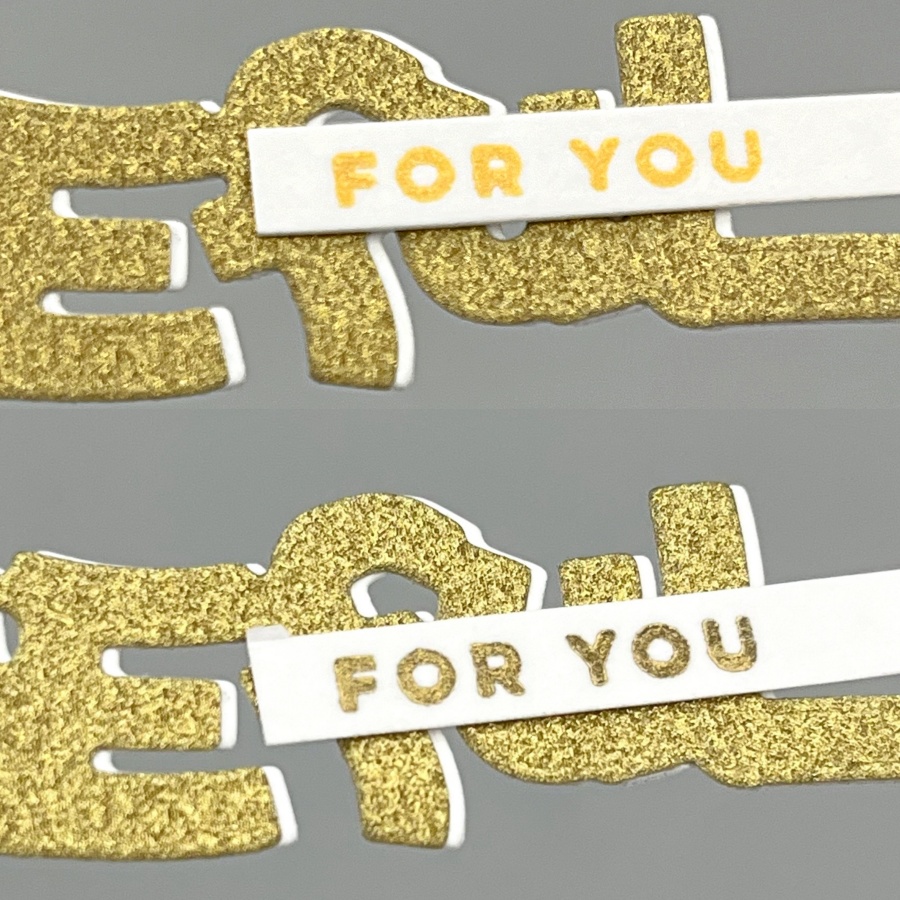
The picture on the top used Brilliance Galaxy Gold and the one below used Encore Gold. Brilliance Galaxy Gold is a really yellow, sunny kind of gold while Encore Gold shows a cooler tone. The finish is different between the two as well! Brilliance ink pads are shimmery and the Encore line is metallic.
Craft Supplies
Imagine Supplies:
- VersaFine Clair – Nocturne
- VersaMagic – Gingerbread, Pumpkin Spice, Wheat, Sahara Sand, Jumbo Java, Pink Grapefruit
- Delicata – Celestial Copper
- Brilliance – Cosmic Copper
- VersaMark – Dazzle Champagne
- Sheer Shimmer Spray – Sparkle
- On Point Glue
- Encore – Gold
- Craft Mat
Other Supplies:
- The Greeting Farm – Stamps – Wood Friends
- Lawn Fawn – Dies – Stitched Oval
- Stamplorations – Dies – Grateful
- Stampin’ Up! – Cardstock – Mossy Meadow
- We R – Tool – Precision Press
- DCVW – Cardstock – Gold Glitter
- White and Watercolor cardstock
 e.
e.