By Anna Escalada York
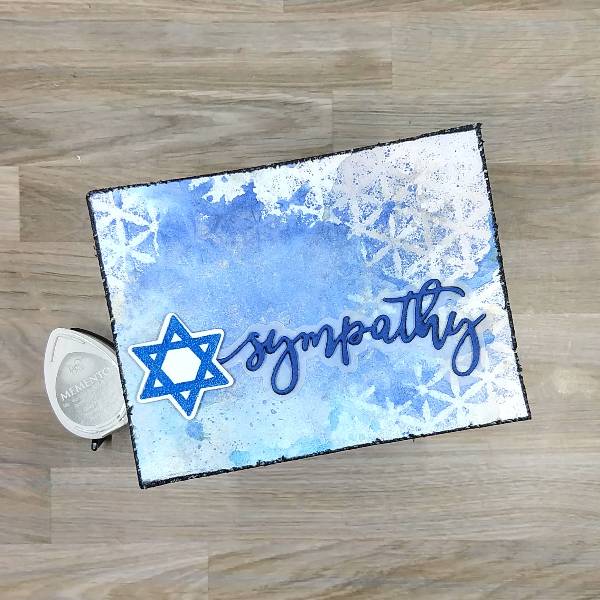
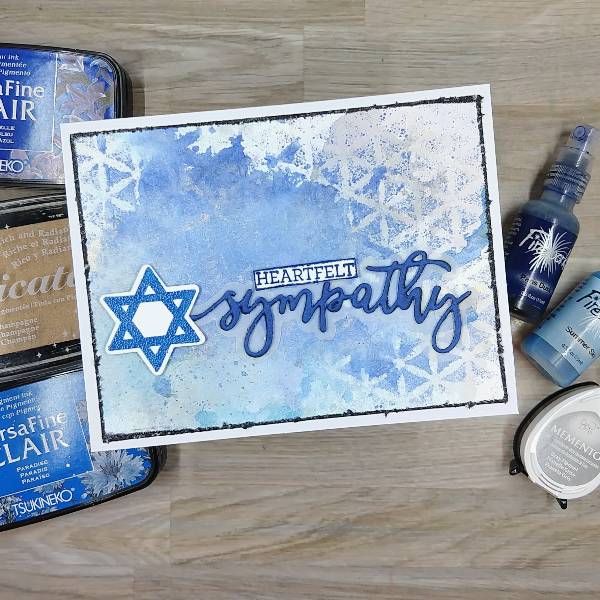
Sadly, I needed to make a sympathy card.
Skill: Intermediate
Time: 1 hour (plus drying time)
Directions:

Step 1:
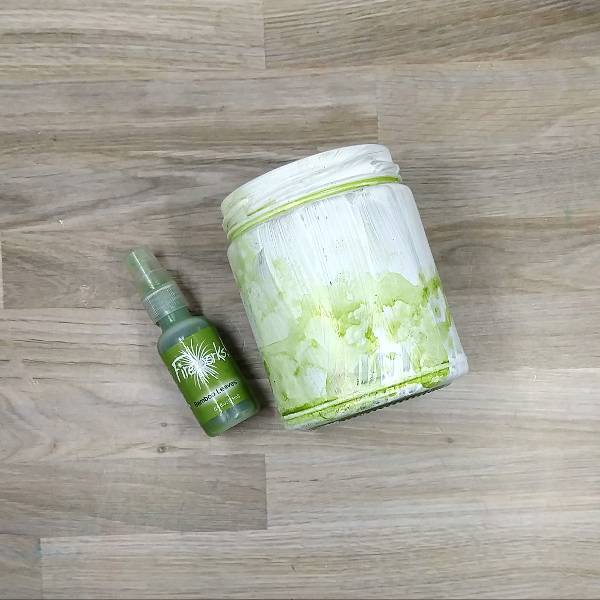
Trim a piece of watercolor paper a little bit larger than an A2 sized cardbase (4.5” x 5.75”) and watercolor smoosh the panel with Gray Flannel Memento Ink mixed with water on acetate packaging. Allow the panel to dry. Then repeat the process with Pearlescent Lavender Brilliance Ink and then finally with Champagne Delicata Ink.

Step 2:
Stamp stars on watercolor paper with Paradise VersaFine Clair ink. Repeat the process so make the blue of the ink darker. Then heat emboss with clear embossing powder. Then die cut with the corresponding die.

Step 3:
Press Blue Belle VersaFine Clair Ink onto another piece of watercolor paper and then use this paper to die cut the sentiment. Die cut two pieces of scrap paper with the same sentiment die and glue the three layers together for dimension.
Use the corresponding shadow die to die cut a vellum shadow layer and glue behind the sentiment.

Step 4:
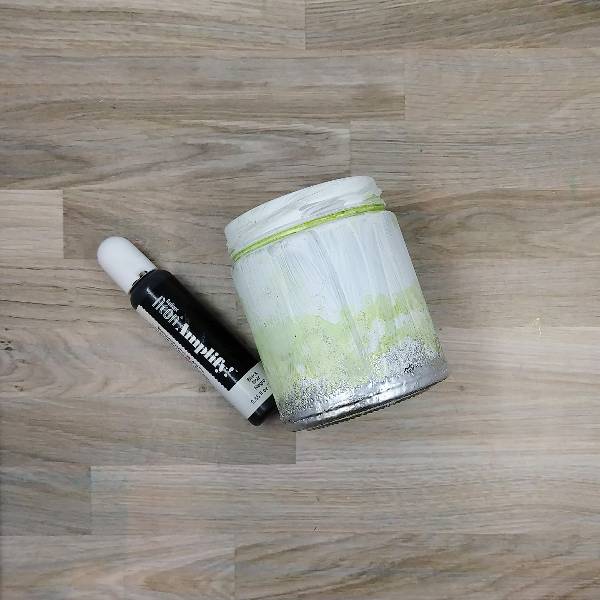
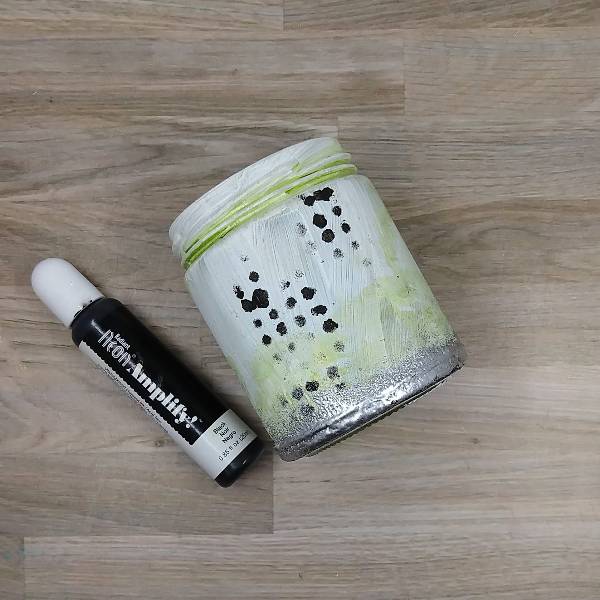
Spray the background panel with Paris Dusk Fireworks! Craft Spray through a stencil. While the spray is still wet, remove the stencil and spray the panel with Summer Sky Fireworks! Craft Spray to move both colors of spray. Splatter some of the light blue areas of the panel with Paris Dusk Fireworks! Craft Spray. Allow panel to dry.
Step 5:
Trim the background panel to about 4” by 5.25” and then distress the edges with a pair of scissors. Press the edges of the panel into the Gray Flannel Memento Ink pad and then heat emboss with more clear embossing powder.
Next, glue the sentiment onto the center-right and the Star was attached with foam tape.

Step 6:
Stamp a sub-sentiment on a small piece of watercolor paper with more of the Blue Belle VersaFine Clair ink and then heat embossed it with more of the clear embossing powder. Then distress the edges with scissors and then press the edges into the Blue Belle VersaFine Clair Ink.
Step 7:
Attach the sub sentiment onto the panel with more of the foam tape. Then glue the whole panel onto an A2-sized white cardbase to finish the card.
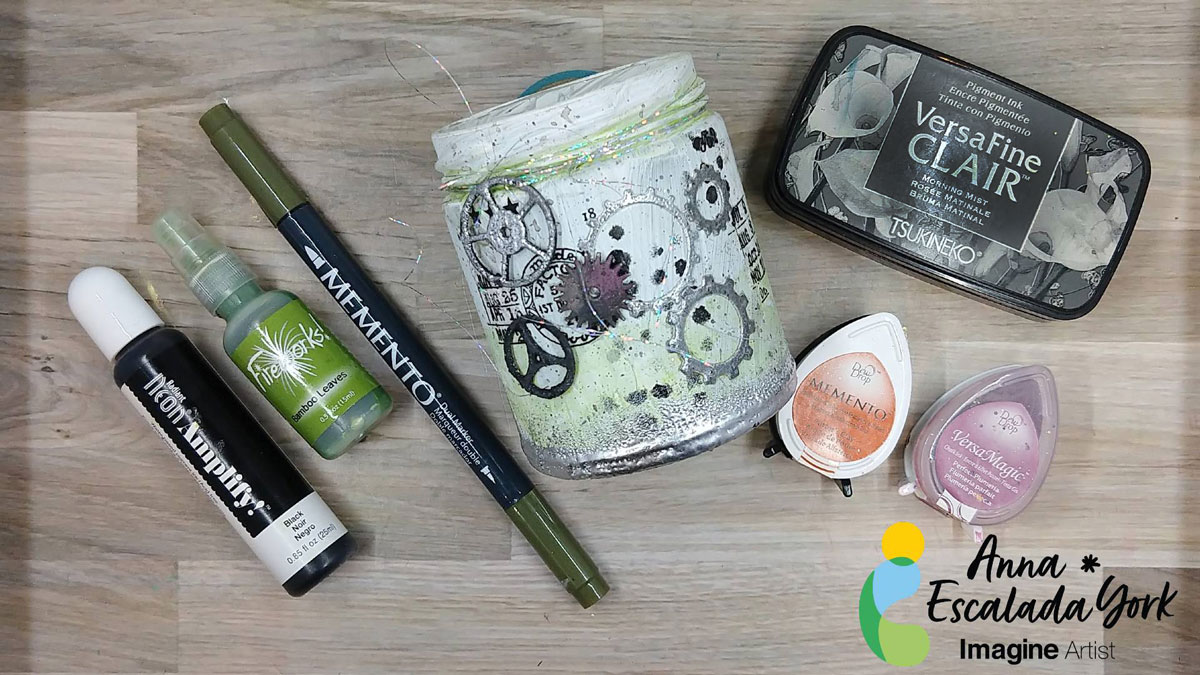
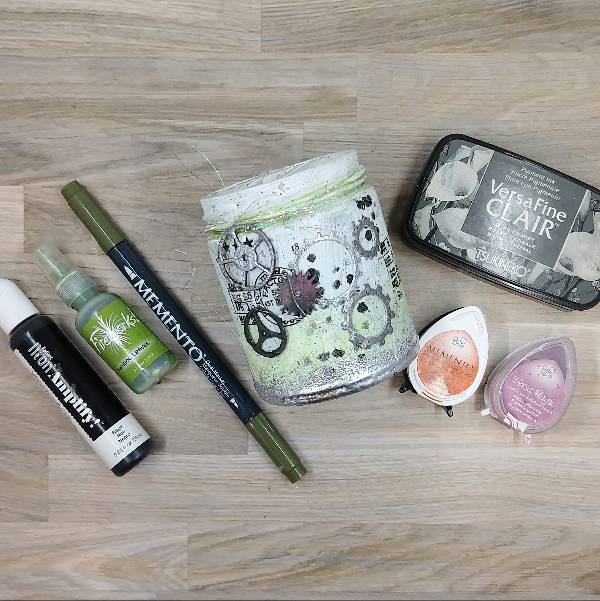
Art Supplies
Imagine
• Brilliance Ink – Pearlescent Lavender
• Delicata Ink – Champagne
• Fireworks! Craft Spray – Paris Dusk
• Fireworks! Craft Spray – Summer Sky
• Memento ink – Gray Flannel
• VersaFine Clair ink – Blue Belle
• VersaFine Clair ink – Paradise
Other
• Altenew – foam tape -Instant Dimension Foam Tape
• Honey Bee Stamps – die set – Happy Hanukkah
• Honey Bee Stamps – stamp set – Happy Hanukkah
• Honey Bee Stamps – die set – With Sympathy
• Honey Bee Stamps – stamp set – With Sympathy
• The Crafter’s Workshop (TCW) – stencil – Kaleidoscope (TCW347S)
• Clear Embossing Powder
• Heat tool
• Scissors
• Glue
• Watercolor paper
• Vellum