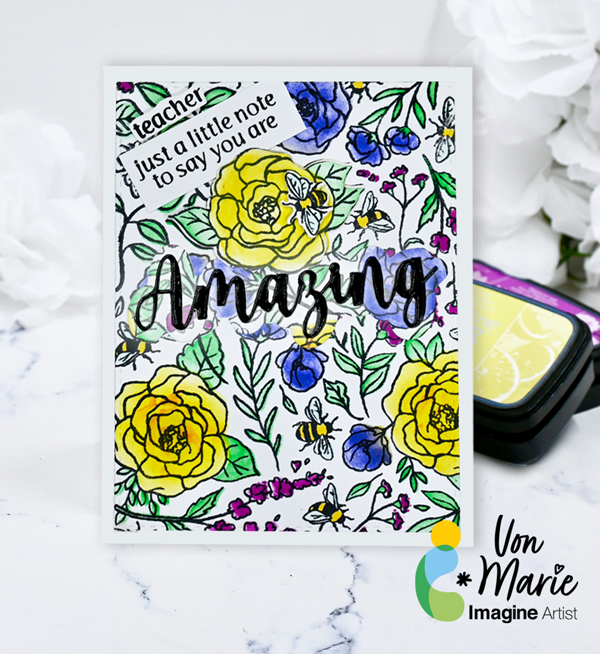
– Hello everyone! Von Marie here with my latest video. Teacher thank you cards are always wonderful to have on hand, so I thought it would be fun to create one using the beautiful new VersaFine Clair colors. I love how bright and cheerful these inks make this card! Watch the video to see how it all comes together. Thank you for watching!
Other Supplies: Simon Says Stamp Stitched Rectangles Dies Hero Arts Flower and Bees Floral Cling background Stamp with Coord. Dies and Coloring Layering Roses stencils. Hero Arts Retired Amazing Word Fancy Die and Shadow Die White cardstock Stamping Platform Paper Trimmer Die-cutting Machine Blending brushes A2 Card Base
Using background stamps, stencils,and inks are a fun way to mass produce a lot of the same card too. Have fun and hope you make some Thank you cards.
I always love when I can share my love for pop culture in the cards that I make. This card gave me the perfect opportunity to create a colorful galaxy background using the new VersaFine Clair ink colors, along with shimmer sprays and layered stamping for a fun mixed media look. Skill: Intermediate
Time: 1.5 hours Directions:
Step 1: Die cut a watercolor panel with a mid-sized die from an A2-sized die set. Stamp the smaller android image in the lower-center part of the watercolor panel with Nocturne VersaFine Clair Ink and heat emboss with clear embossing powder.
Stamp the image a second time on masking paper and fussy cut out the image. Then place the fussy cut masking paper over the android image.
Step 2: Stamp the taller android image to the left of the first droid with more Nocturne VersaFine Clair Ink and heat emboss with more clear embossing powder. (Since the first android was masked, it will appear like the second droid is behind him since his right hand will not be seen in the final image.) Stamp the same image a second time with more masking paper and fussy cut the masking paper. Then place the masking paper over this android so that both of them are protected for the next few steps.
Step 3: Stamp a circuit image stamp twice on the watercolor panel with Dahlia Purple VersaFine Clair Ink by stamping once in the lower left corner and then rotating the watercolor panel 180 degrees and stamping the image a second time. Heat emboss both stamped corners with more clear embossing powder
Step 4: Spray Rose Gold Sheer Shimmer Craft Spray generously through a scattered star stencil. Use the spray to add more clear embossing powder to the panel. The embossed stars will resist color that will be applied to the panel in the next few steps.
Step 5: Spray the watercolor panel with London Fog Fireworks! Craft Spray. If desired, blot off some of the spray with a paper towel if it is too dark. Allow to dry.
Step 6: Remove the masking paper. Color the androids and the area around them to help them look grounded. Use the following markers to color the scene:
● The smaller android (on the right): Teal Zeal and Danube Blue Memento Dual Markers as well as Tropical Lagoon and Poppy Red Fabrico Dual Markers
● The taller android (on the left): Cantaloupe and Dandelion Memento Dual Markers, Lemon Yellow Fabrico Dual Marker
Watercolor the area around the androids with Rich Cocoa Memento Dual Marker mixed with water on acetate to create the ground around the two androids, and Ultramarine Fabrico Dual Marker mixed with water on acetate to color the sky/walls behind he androids. Allow to dry.
Step 7: To add shimmer to the androids, watercolor both of them with Frost Sheer Shimmer Craft Spray.
Step 8: Press the edges of the watercolor panel directly into the Nocturne VersaFine Clair Ink Pad. Then use a sponge dauber to blend additional Nocturne VersaFine Clair Ink around the edges.
Step 9: Stamp the sentiment on a separate piece of watercolor paper with more Nocturne VersaFine Clair Ink and heat emboss with more clear embossing powder. Then trim the sentiment with a paper trimmer.
Step 10: Die cut a matte layer of black watercolor paper (or black cardstock) with the next-largest die from the nesting die set used in step 1. Glue both panels together. Attach the sentiment on the lower right corner of the top watercolor panel with foam tape. Glue star-shaped and bronze sequins on the lower left and upper right corners of the card. To finish the card, glue the whole thing onto an A2-sized card base.
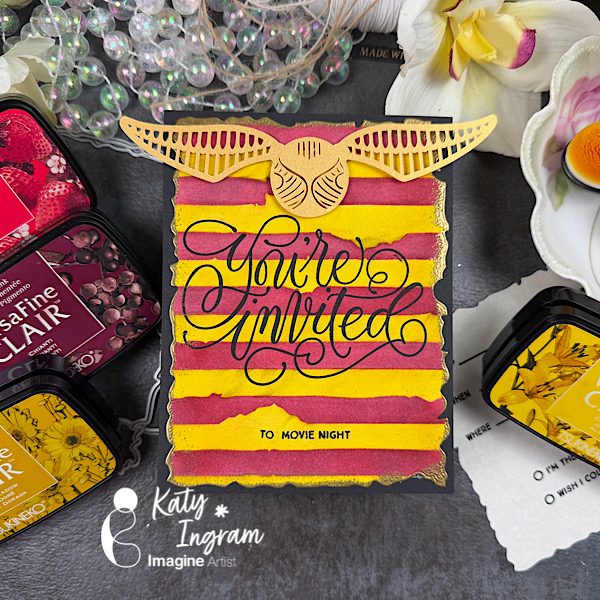
Hello Friends! Katy here with my latest video showcasing VersaFine Clair inks once again to create a Harry Potter theme invitation. Video has all the details. Thanks for watching.
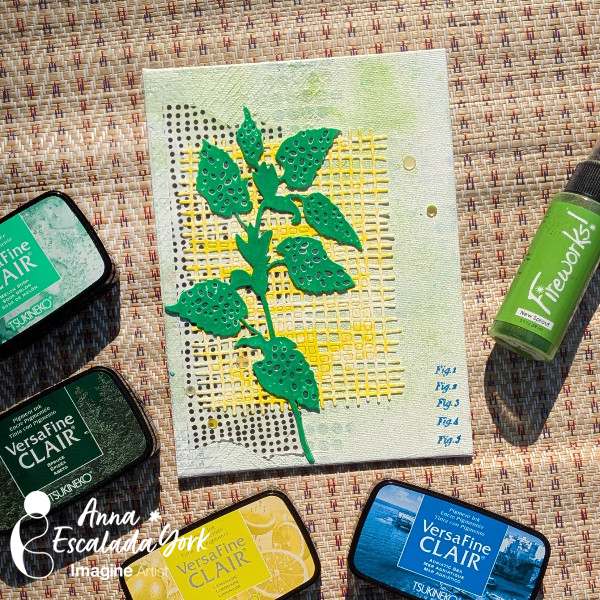
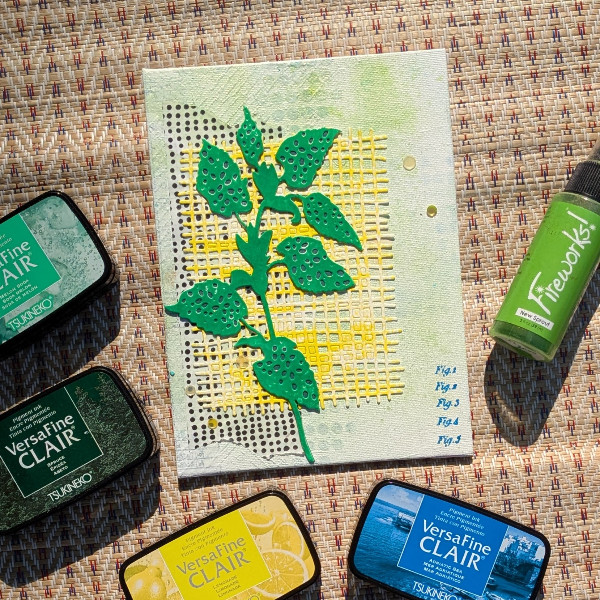
–The new VersaFine Clair ink colors are so bright and fun. I decided to use a few of them to make a piece of art to put up in our home.
Skill: Intermediate Time: 2 hours
Directions:
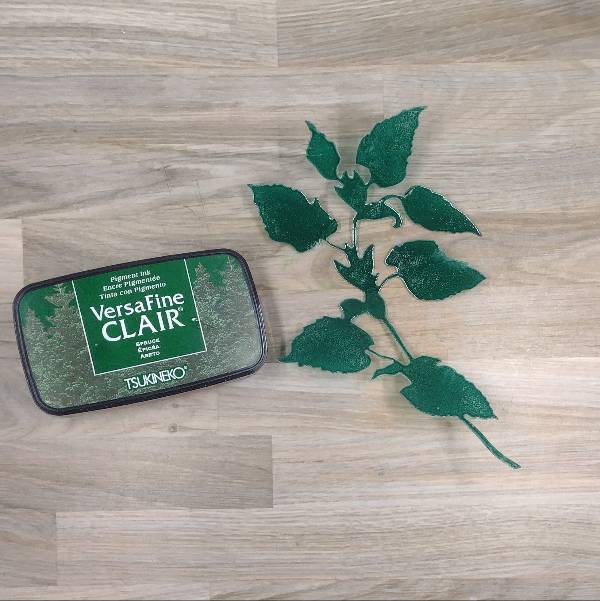
Step 1: Press the bottom layer of a layering die cut of watercolor paper into the Spruce VersaFine Clair ink pad and set aside to dry.
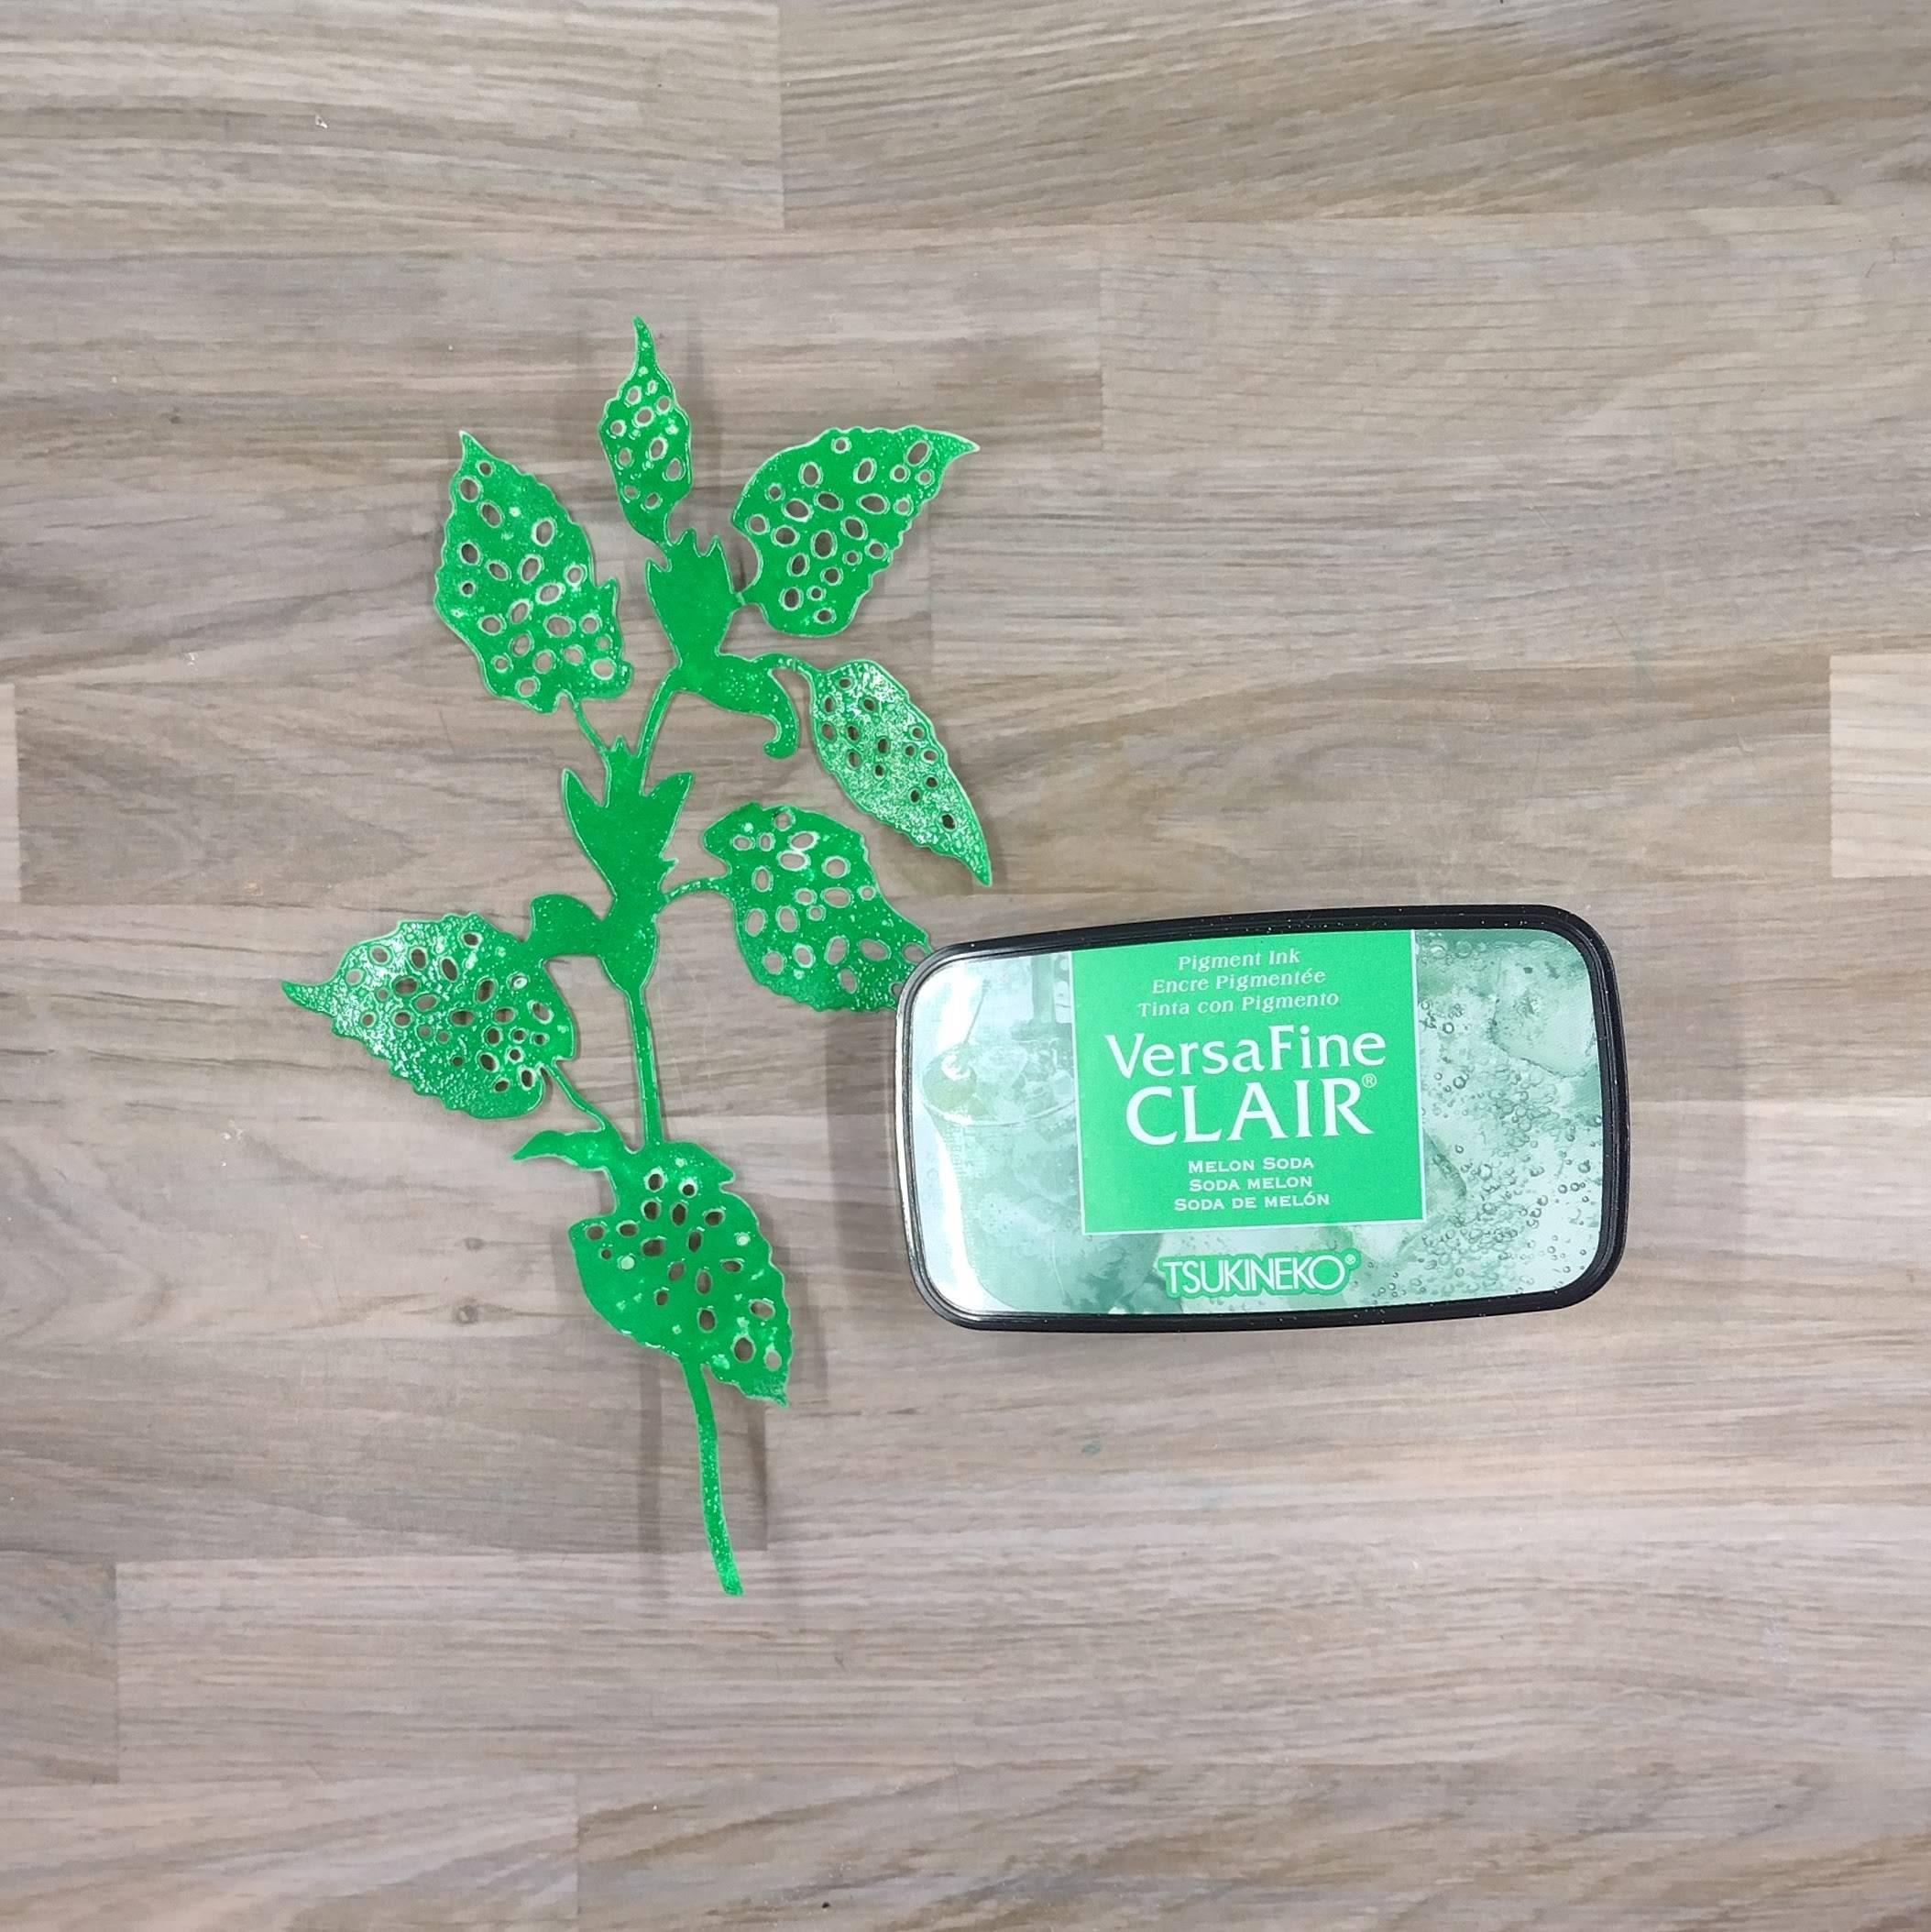
Step 2: Press the top layer of die cut watercolor into the Melon Soda VersaFine Clair ink pad. Then heat emboss with clear embossing powder. Glue both layers together and set aside.
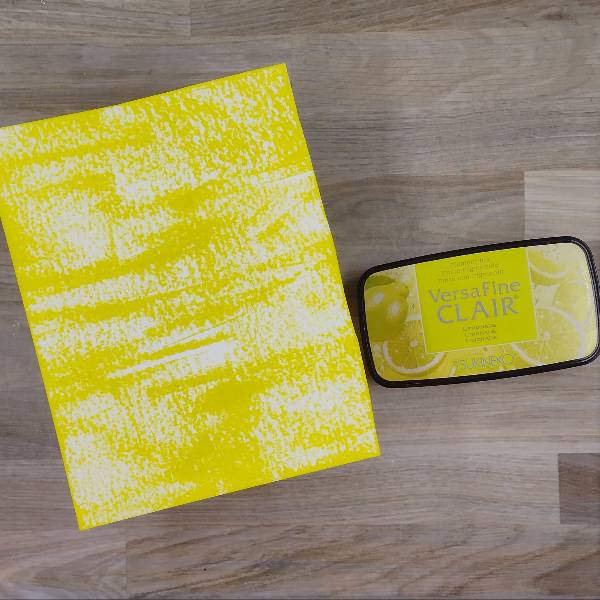
Step 3: Run the Lemonade VersaFine Clair ink pad across a watercolor panel horizontally multiple times to give the panel a woodgrain-ish look. Die cut the panel with a burlap-design die.
Step 4: Paint a coat of gesso onto a cotton canvas panel with a large paintbrush and allow it to dry.
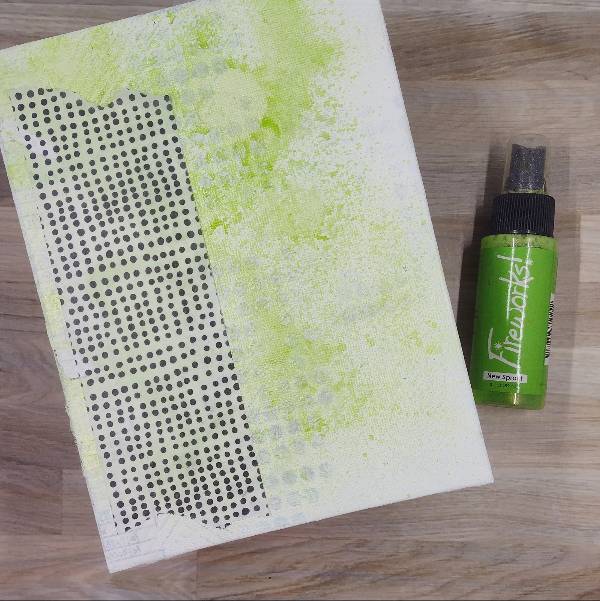
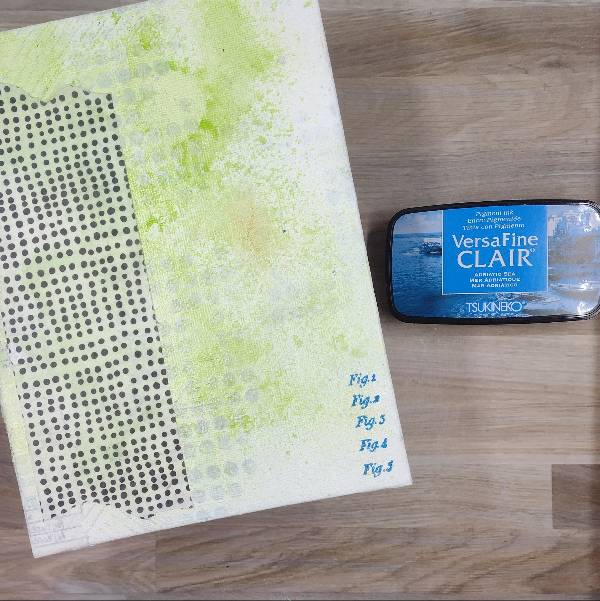
Create layered background texture by stamping the panel with a striped background stamp with Adriatic Sea VersaFine Clair ink and heat embossing with clear embossing powder, then adding another coat of gesso. Repeat with a dot background stamp and a strip of collage paper adhered along the left side. Cover everything with another thin coat of gesso, allowing hints of the stripes, dots, embossing, and collage paper to remain visible. Spray New Sprout Fireworks! Shimmer Spray onto the panel and allow it to dry. Add a large strip of washi tape along the left side.
Step 5: Stamp the sentiment on the lower right corner of the panel with Adriatic Sea VersaFine Clair. Heat emboss with more embossing powder.
Step 6: Glue the yellow burlap design die cut on the middle of the panel, and then glue the botanical die cut onto the panel. Glue yellow sequins on the lower left and upper right corners of the panel to finish the piece.
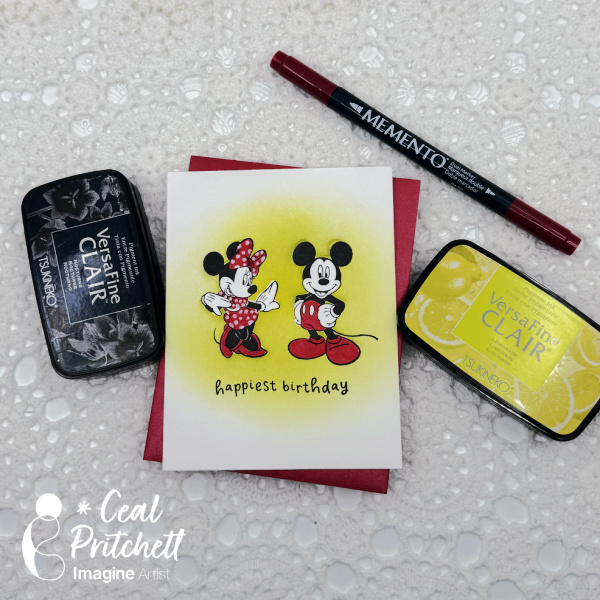
Hello crafty friends. It’s Ceal, here. Today I am sharing a Mickey and Minnie Birthday card with you. I am a long time Disney fan and I have a couple Disney sets of Disney characters in my stash.
Skill: Intermediate Time: 45 Minutes
Directions:
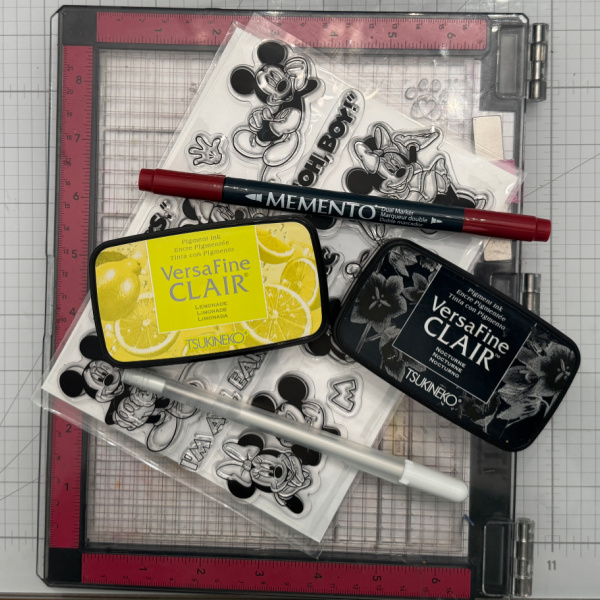
Gather your supplies. You will need a set of fictional characters that you’re a fan of, markers, black ink, colored ink, and a white gel pen.
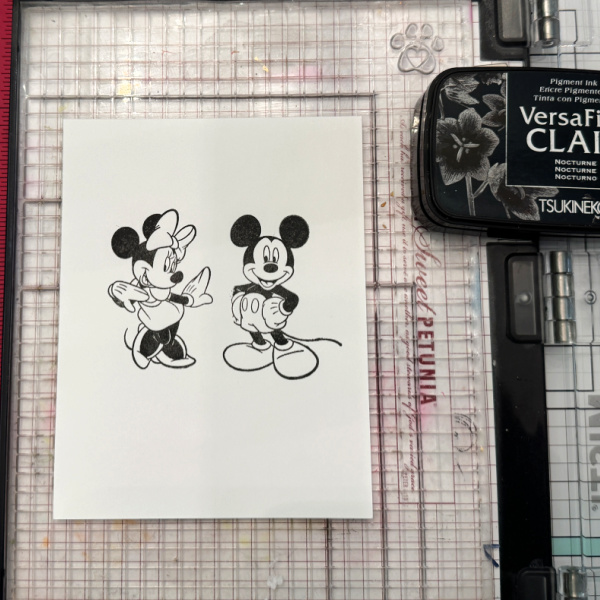
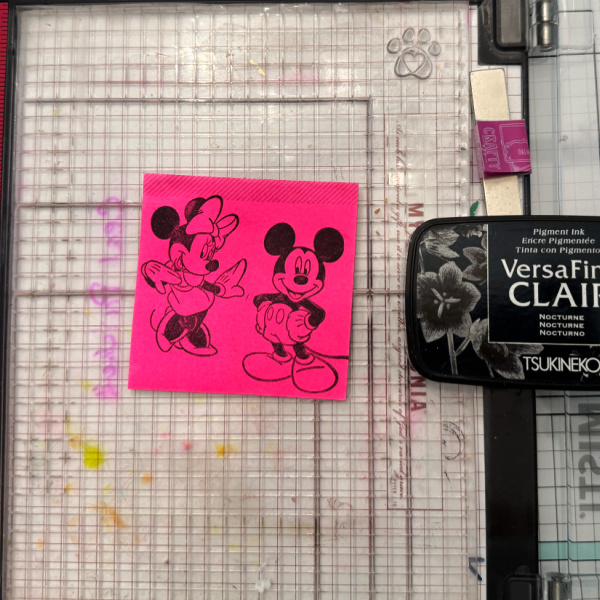
Step 1: Stamp the image using black ink. I used VersaFine Clair Nocturne ink.
Step 2: Stamp the image again on Post-it note paper or masking paper using black ink.
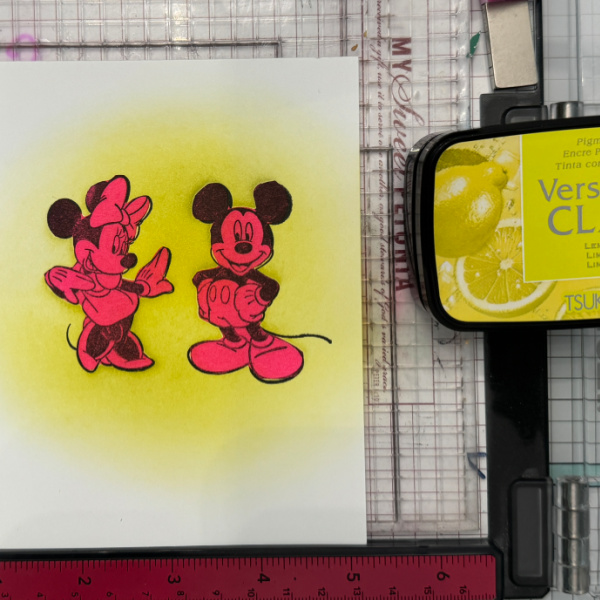
Step 3: Fussy cut the images out and cover the images that were stamped on the panel. Then using a colored ink blend a circle of ink around the images. I used one of the newest colors of VersaFine Clair, Lemonade.
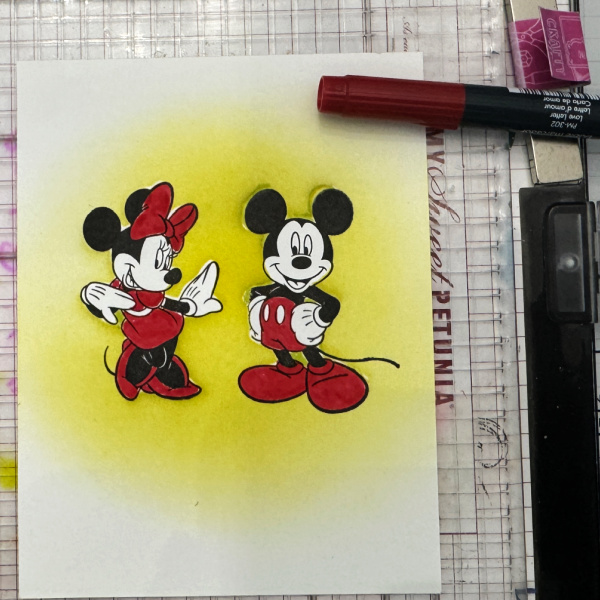
Step 4: Remove the mask and color the images with markers. I used the Memento marker, Love Letter.
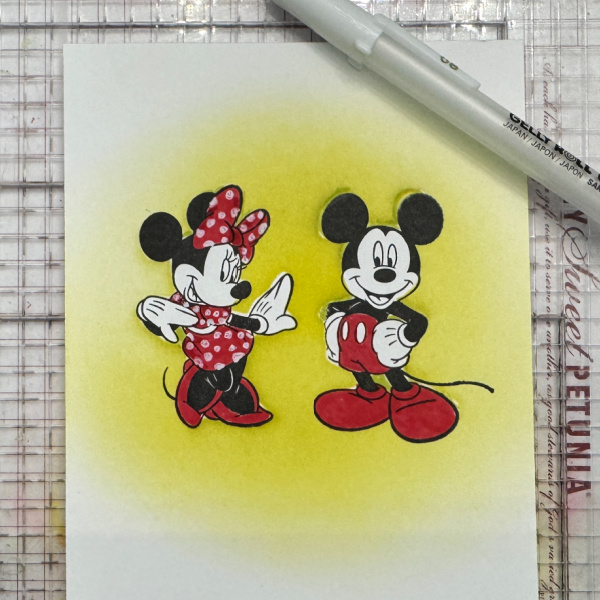
Step 5: Using a white gel pen, add polka dots to Minnie’s dress. To finish the card, add a greeting (I went with birthday) and adhere the panel to an A2 card base.
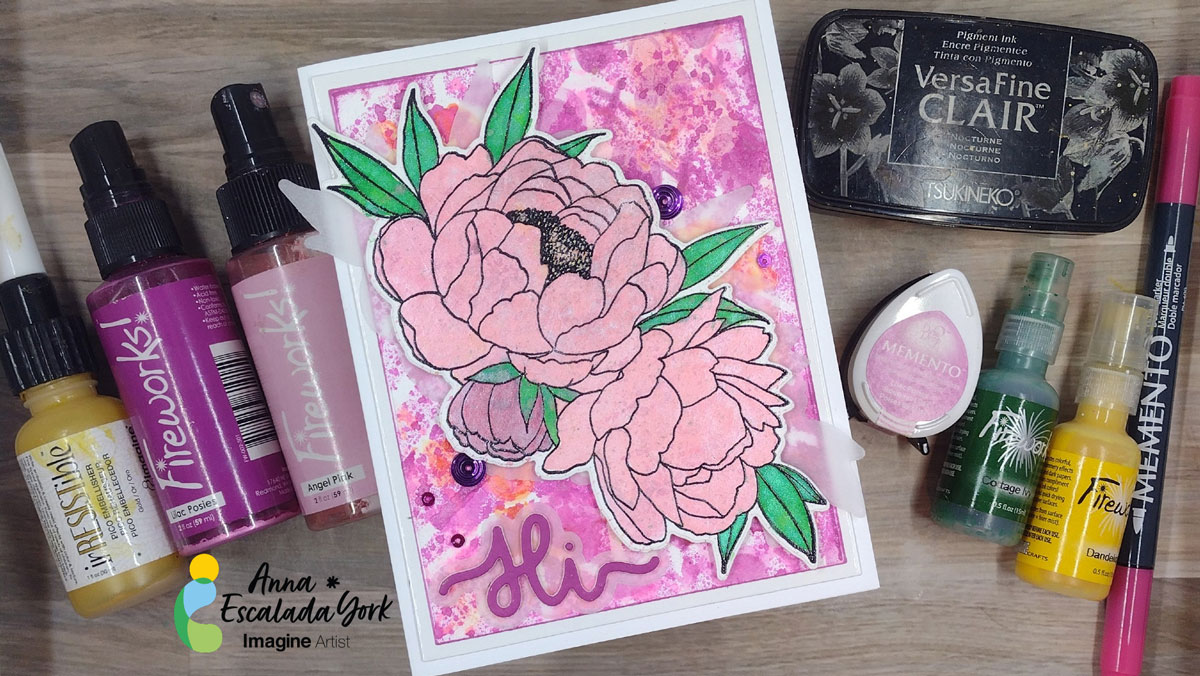
Summer in the Pacific Northwest is filled with beautiful flowers and the bluest sky. I know I appreciate them so much more since most of the year is so soggy. To celebrate the season, I made a colorful card filled with flowers.
Skill: Intermediate Time: 2 hours
Directions:
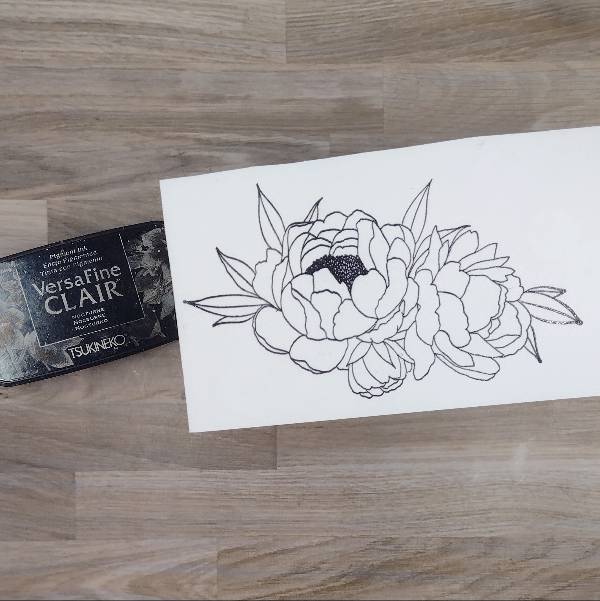
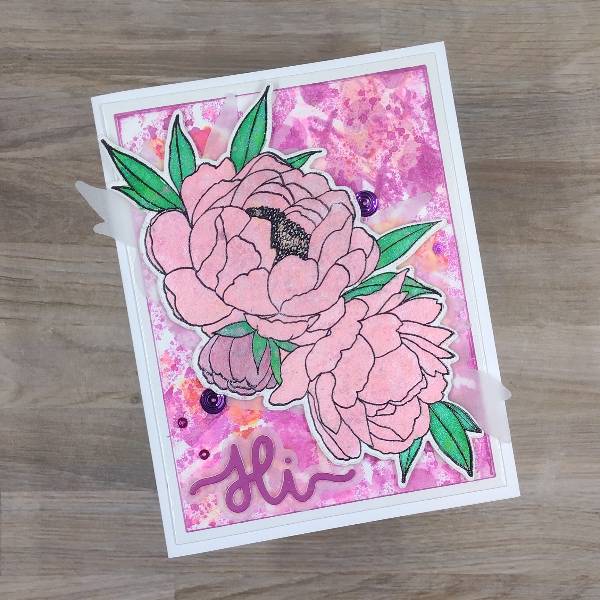
Step 1: Stamp the large floral image onto watercolor paper with Nocturne VersaFine Clair Ink and heat emboss with clear embossing powder.
Then die cut the flower with the corresponding die. Also die cut a piece of vellum with the same die cut.
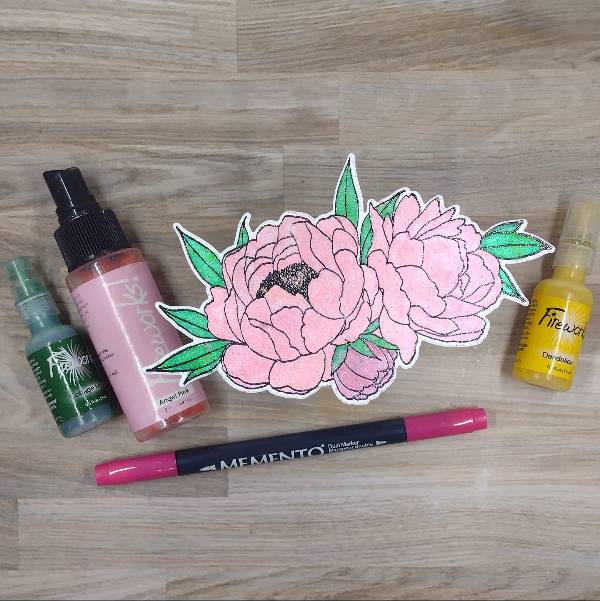
Step 2: Watercolor the floral image. The larger two flowers were watercolored with Angel Pink Fireworks! Shimmery Craft Spray, the center of the largest flower with Dandelion Fireworks! Shimmery Craft Spray, and the leaves with Cottage Ivy Fireworks! Shimmery Craft Spray. The smallest flower was watercolored with a mix of Rose Bud Memento Dual Marker mixed with more Angel Pink Fireworks! Shimmery Craft Spray. After everything dried, the smallest flower’s color was made darker by adding a second layer of the combination of Rose Bud Memento Dual Marker mixed with Angel Pink Fireworks! Shimmery Craft Spray.
To cover up a few small blemishes, lightly splatter Cottage Ivy Fireworks! Shimmery Craft Spray over the flowers. Set aside to dry.
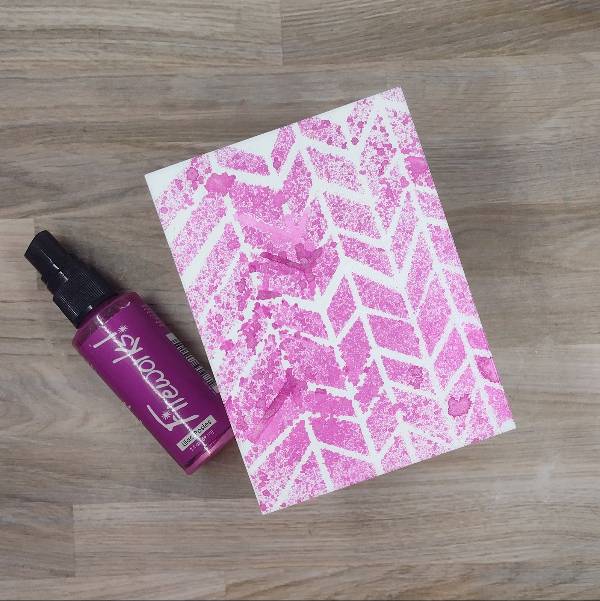
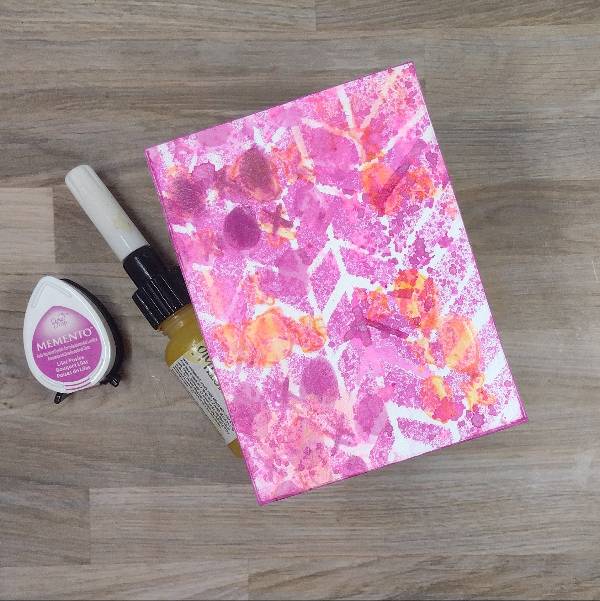
Step 3: Spray Lilac Posies Fireworks! Shimmery Craft Spray through a stencil on a watercolor panel.
After the spray dried, die cut the panel with a mid-sized die from an A2-sized nesting die set. While at the die cutting machine, die cut a piece of glossy white cardstock with the next largest die from the A2-sized nesting die set.
Step 4: Ink blend Lilac Posies Memento Ink through selected parts of a second stencil. Then mix Gold irRESISTible Pico Embellisher with a little water to dilute it and use a small paintbrush to paint other parts of the stencil with the Gold irRESISTible onto the panel. Allow to dry.
Then press the Lilac Posies Memento Ink pad along the edge of the panel to add color to the edges of the panel.
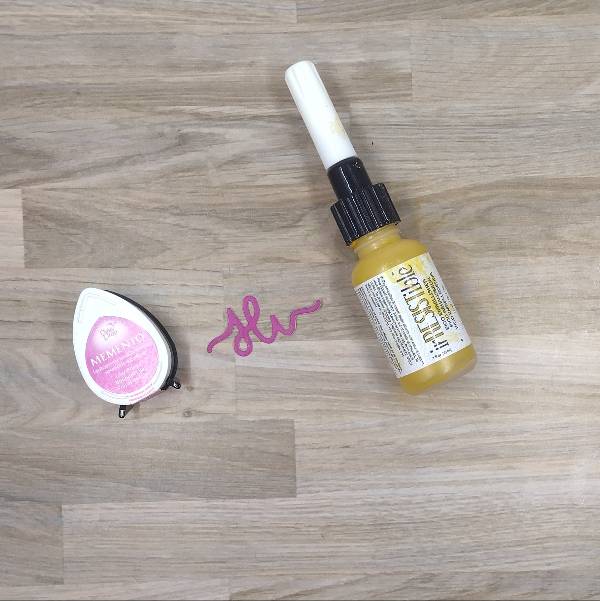
Step 5: Press the Lilac Posies Memento Ink pad onto a small scrap of watercolor paper and allow to dry. Then die cut the colored scrap of watercolor paper with the sentiment die.
Also die cut a piece of vellum with the shadow layer of the sentiment as well as a couple of scraps of cardstock with the sentiment die.
Assemble the sentiment by gluing the three die cuts together. Then glue them onto the shadow layer of vellum and set the whole thing aside.
Step 6: Assemble the card. Glue the vellum floral die cut onto the stenciled panel. Use foam tape to adhere the stamped floral image at an angle, allowing the vellum layer to peek out from underneath for extra dimension. Glue the sentiment on the lower left corner of the panel. Add purple and hot pink sequins around the floral image with more glue. Then attach the panel to the glossy cardstock matte layer. To finish the card, glue the whole card panel onto an A2-sized white cardbase.