Hello Friends! Katy here with my latest video showcasing VersaFine Clair inks to create a watery blue background and sparkling sea shell Summer vibe card. Video has all the details. Thanks for watching.
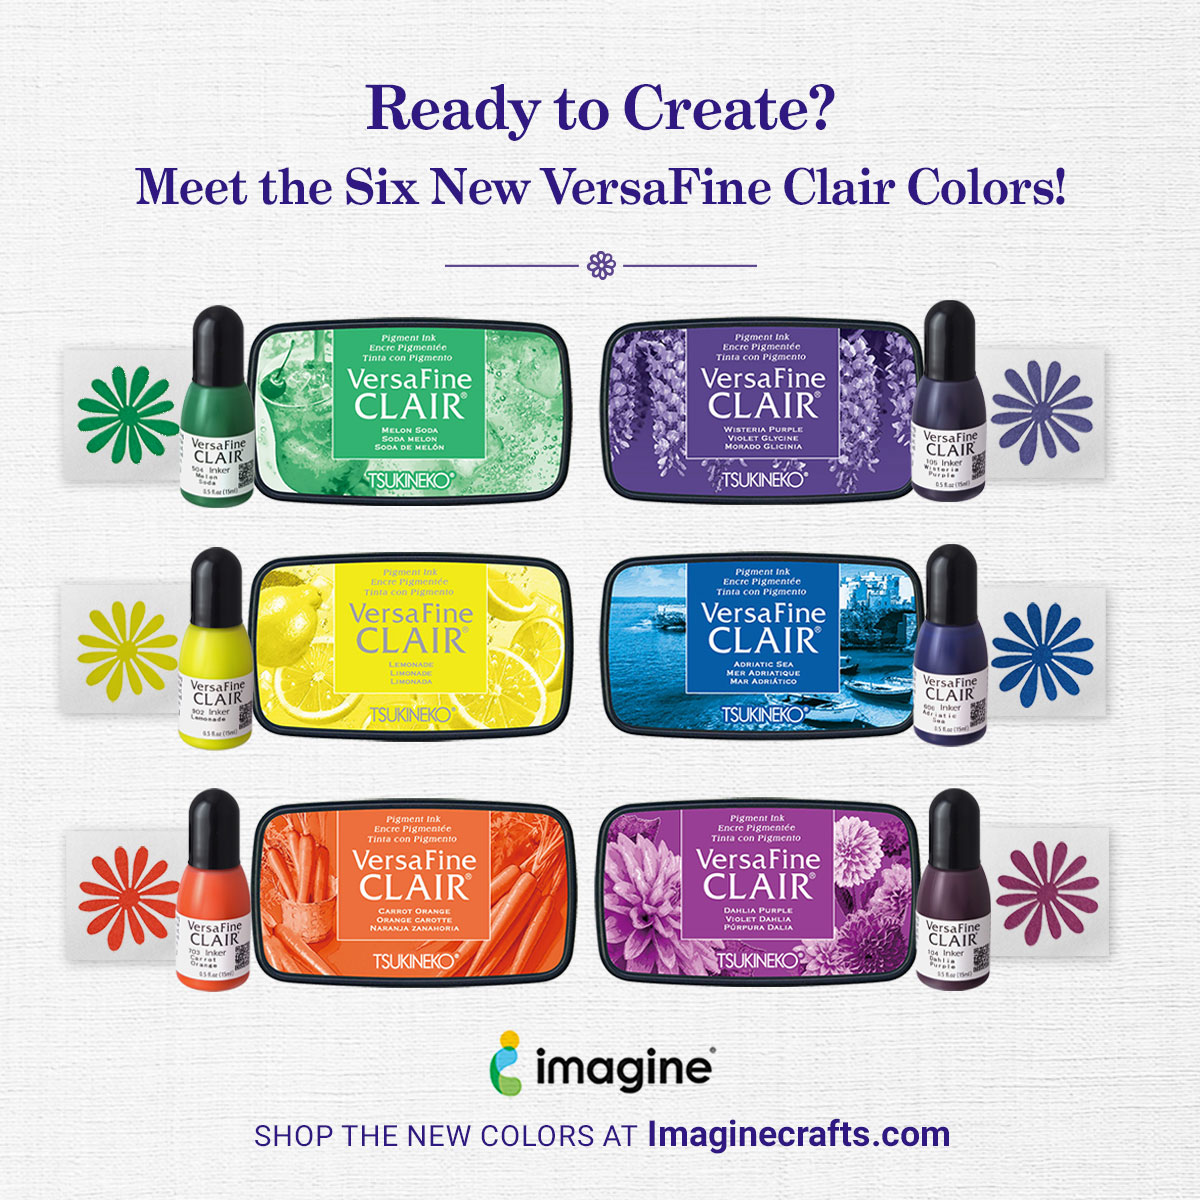
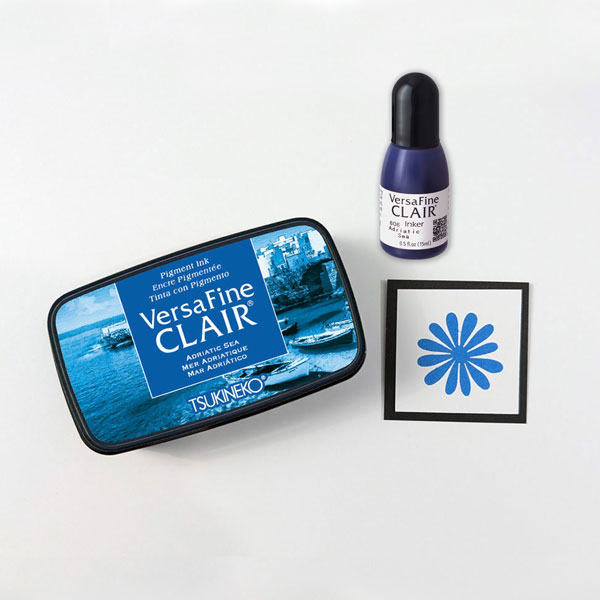
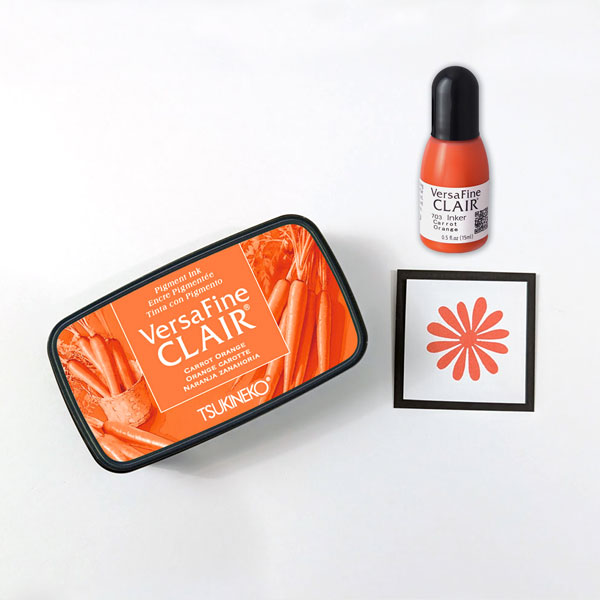
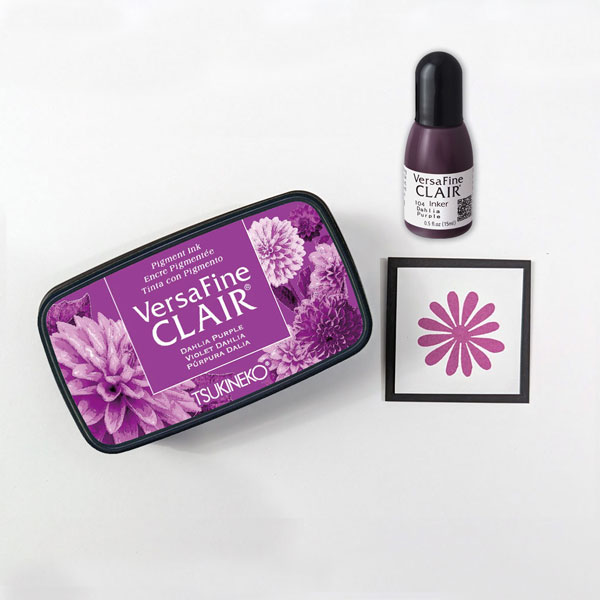
Whether you’re stamping detailed images, creating handmade cards, journaling, or experimenting with mixed media, the six newest VersaFine Clair colors are ready to inspire your next creation!
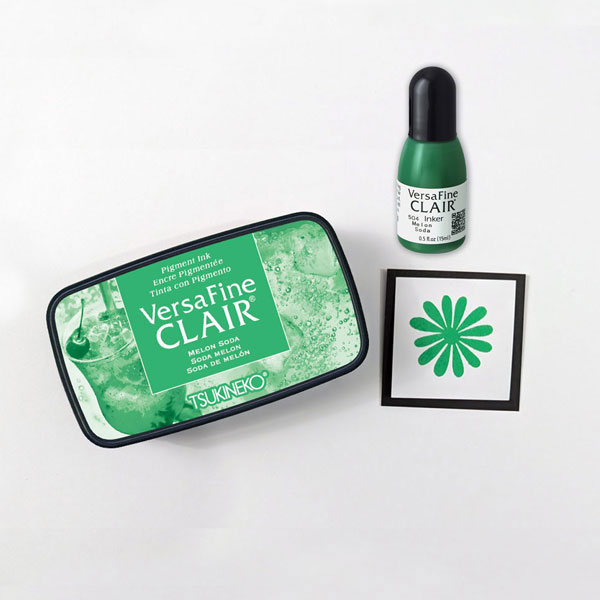
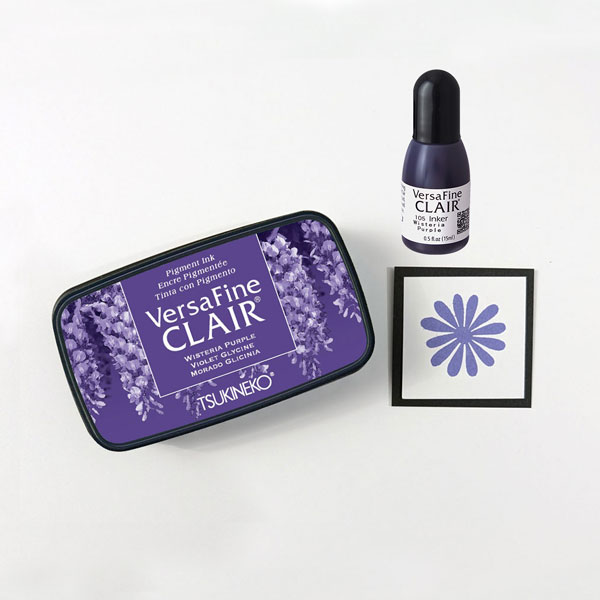
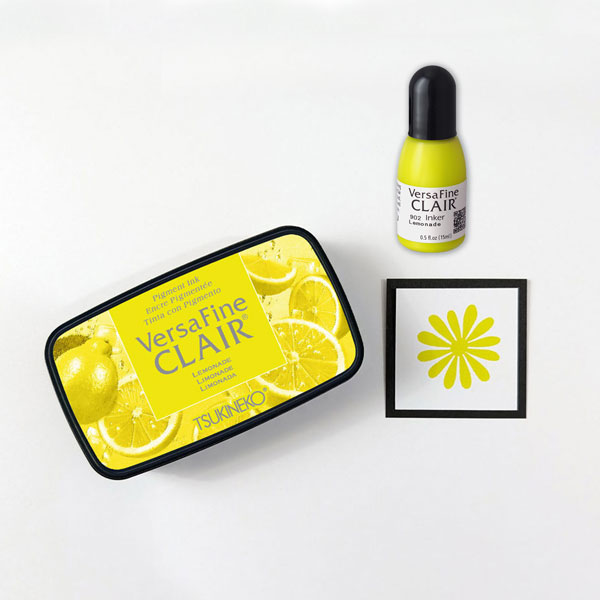
From vibrant citrus hues to rich florals and deep ocean blues, these beautiful additions expand the VersaFine Clair family with fresh, versatile shades you’ll reach for again and again.
Why Crafters Love VersaFine Clair
VersaFine Clair has become a favorite among stampers for a reason. Its richly pigmented formula creates crisp, detailed impressions that capture even the finest lines.
Perfect for card making, mixed media, journaling, and more, VersaFine Clair also:
Produces exceptionally detailed stamped images
Dries quickly, making it ideal for heat embossing
Becomes water resistant when dry
Works beautifully on a variety of papers
Features an airtight case that helps keep your ink pad fresh longer
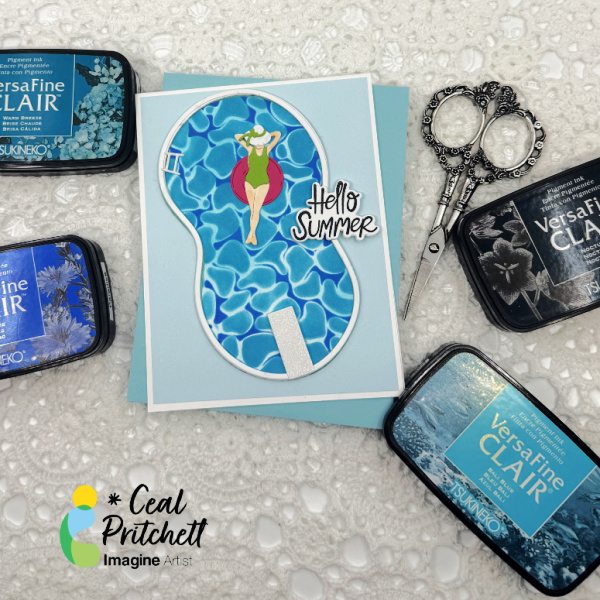
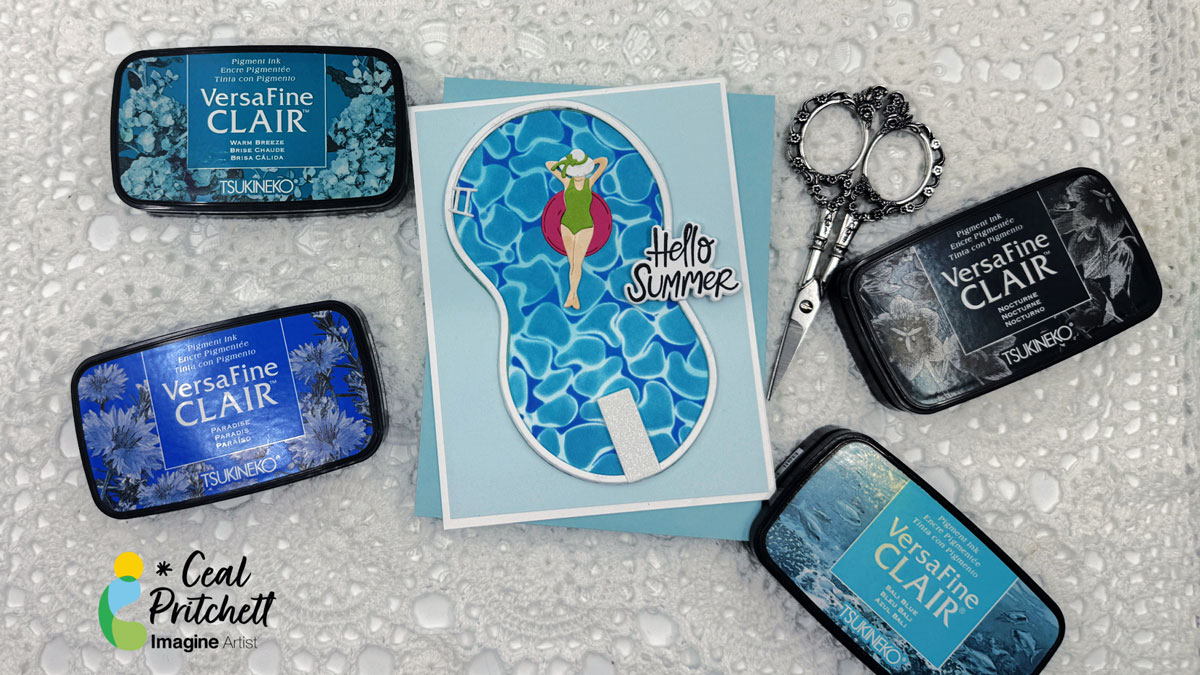
Hello friends, it’s Ceal here. Today I am sharing a summer card with you.
Skill: Intermediate Time: 45 minutes
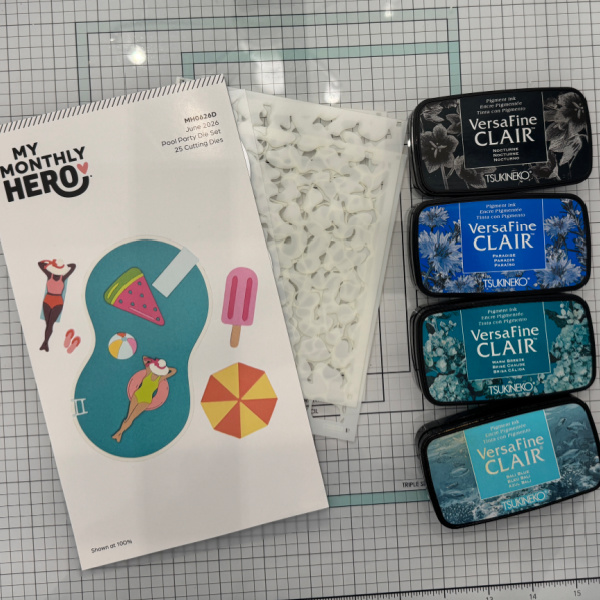
Directions: Gather your supplies. You will need a summer themed die set, layering stencils, three different shades of blue ink, a grip mat, a stamp positioning tool and a summer sentiment set.
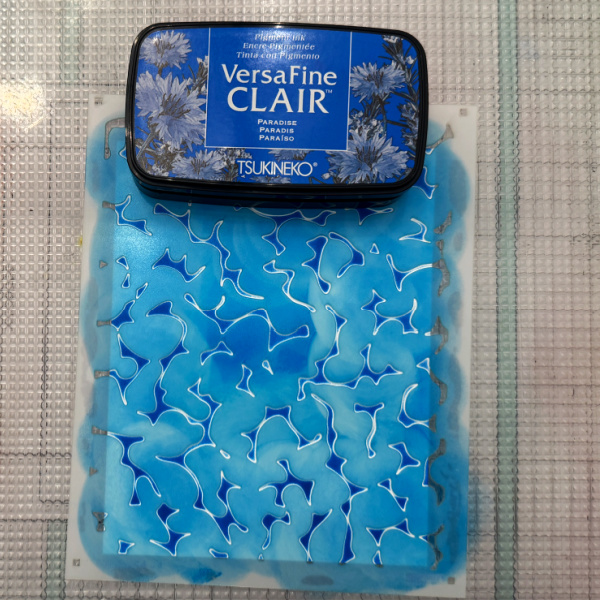
Step 1: Using a blending tool and the first layering stencil, ink blend blue ink over the stencil. I used VersaFine Clair Paradise.
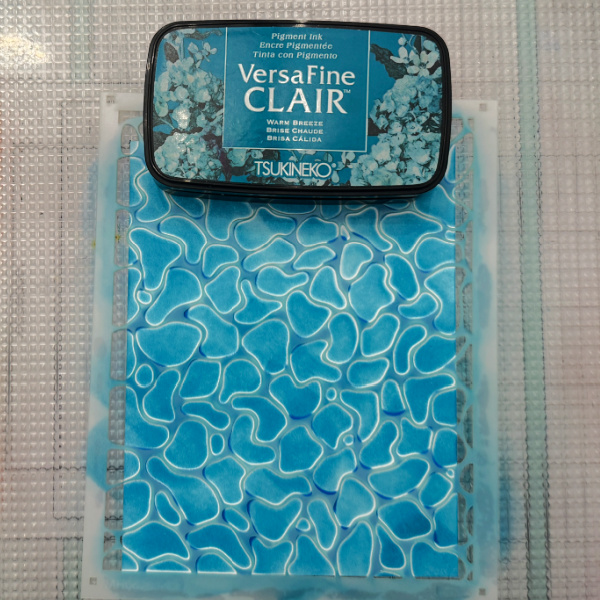
Step 2: Using a blending tool and the second layering stencil, ink blend a different shade of blue over the stencil. I used VersaFine Clair Warm Breeze.
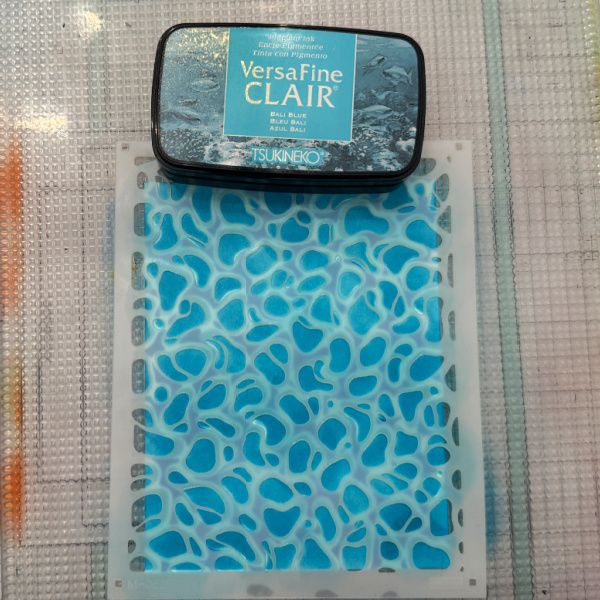
Step 3: Using a blending toll and the third layering stencil, ink blend the third color of blue over the stencil. I used VersaFine Clair Bali Blue.
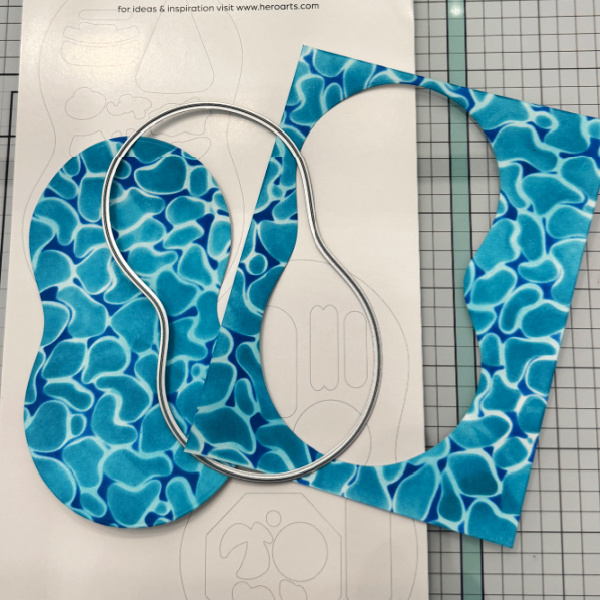
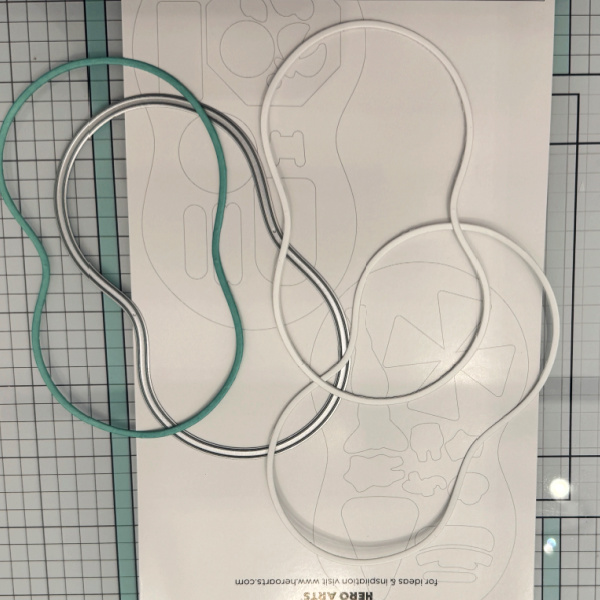
Step 4: Using the “water” die and the finished panel of water, cut out the water for the pool.
Step 5: Using the “pool” die cut out the pool. Cut several but only use the pool outline.
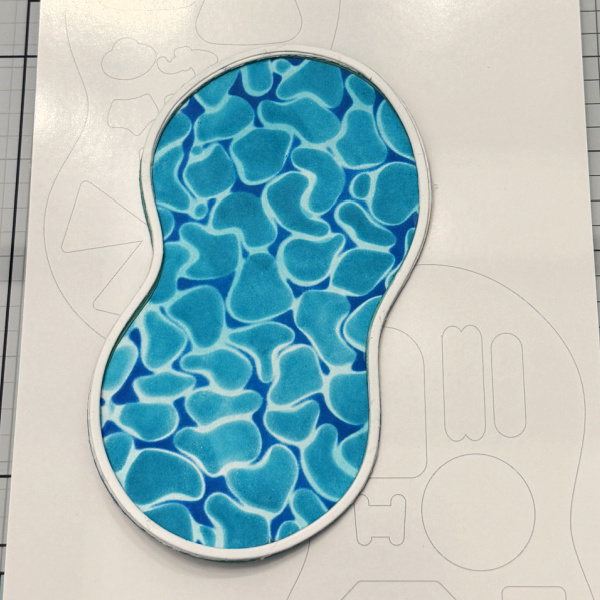
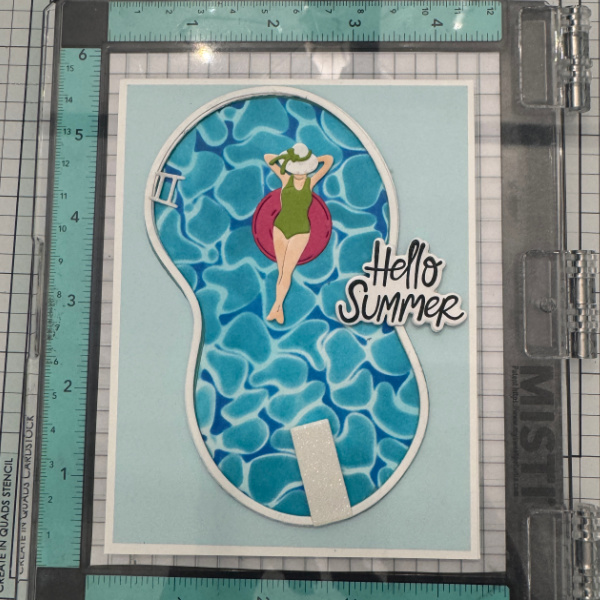
Step 6: Stack the pool outline around the water, where the water will be lower than the sides to make it more realistic
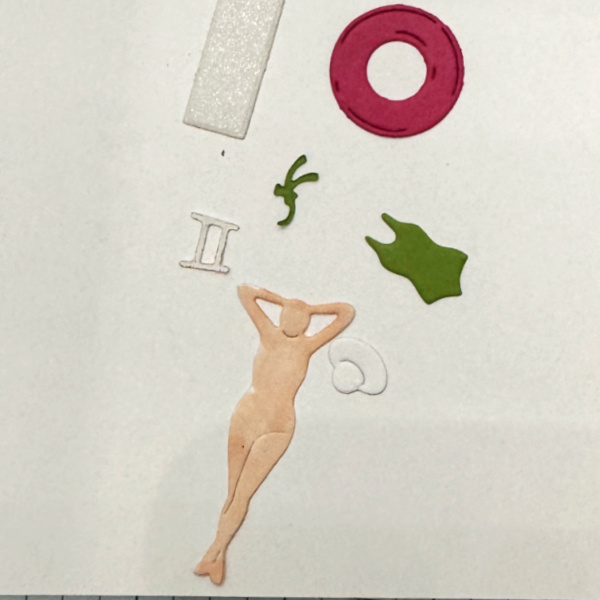
Step 7: Cut out all the die cut pieces to place in the pool. For the girl I colored her with a Copic marker. The others are cut out of colored cardstock.
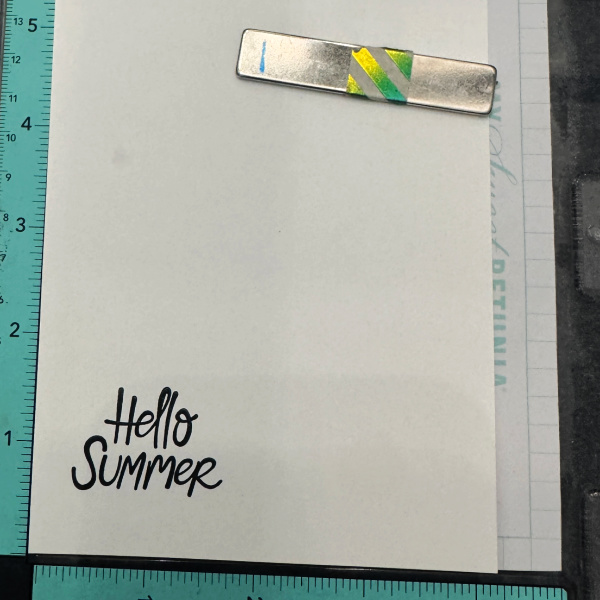
Step 8: Stamp and cut out the sentiment.
Step 9: Place all the elements in the pool and the sentiment on the side.
Other Products My Monthly Hero Pool Party Die set – Hero Arts MMH Reflection Layering Stencil set – Hero Arts Hello Summer Stamp & Cut – Hero Arts Grip Mat – Altenew Mini Misti – My Sweet Petunia
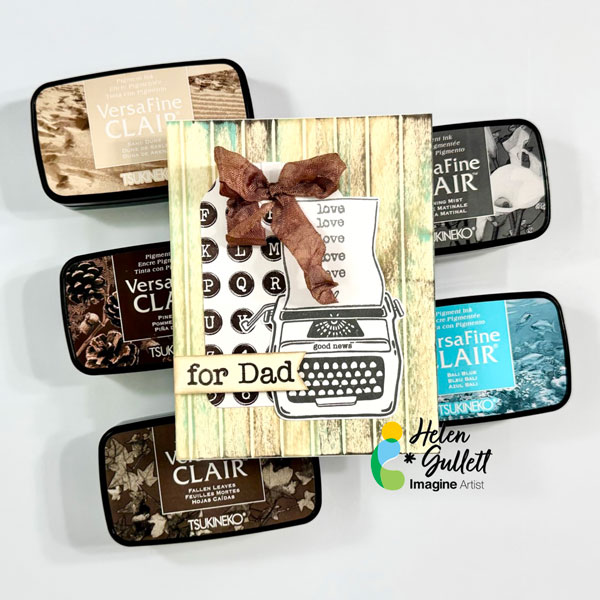
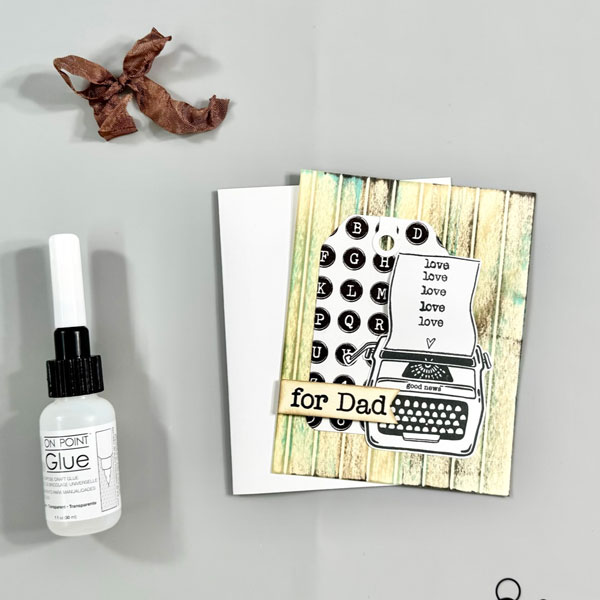
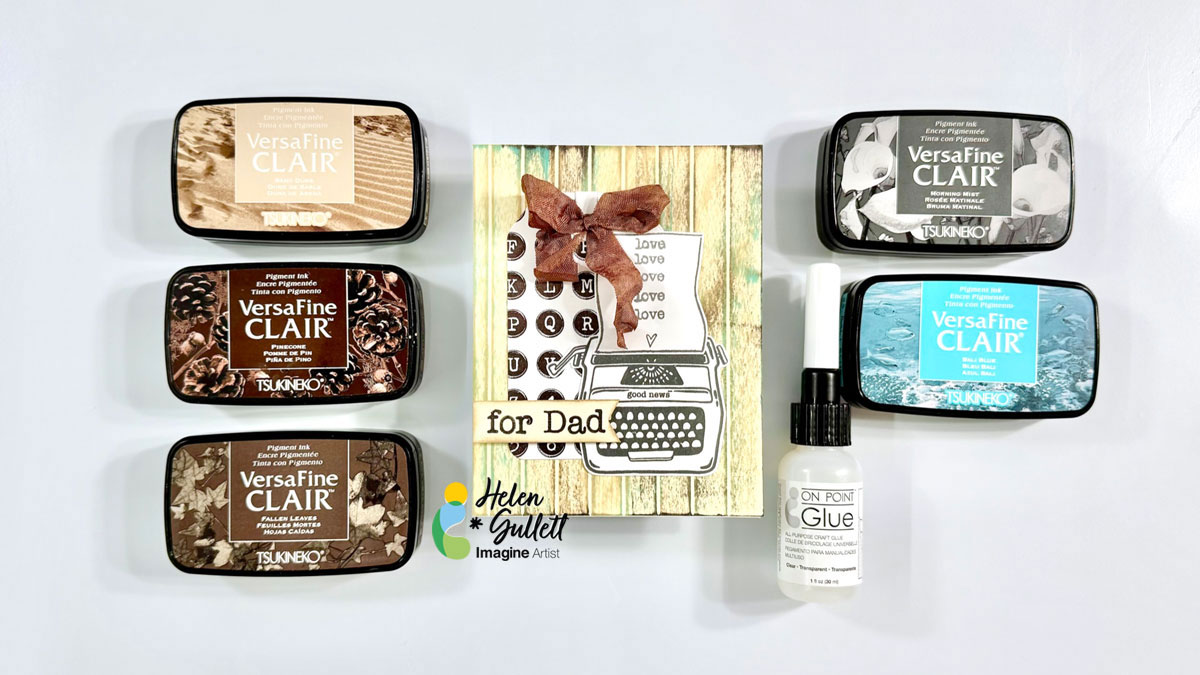
~Hello crafty friends! Today, we are going to make a masculine card style card for dads with a faux wood background and some layers. So, let’s get crafting!
Skill: Intermediate Time: 15-20 Minutes
Directions:
Step 1
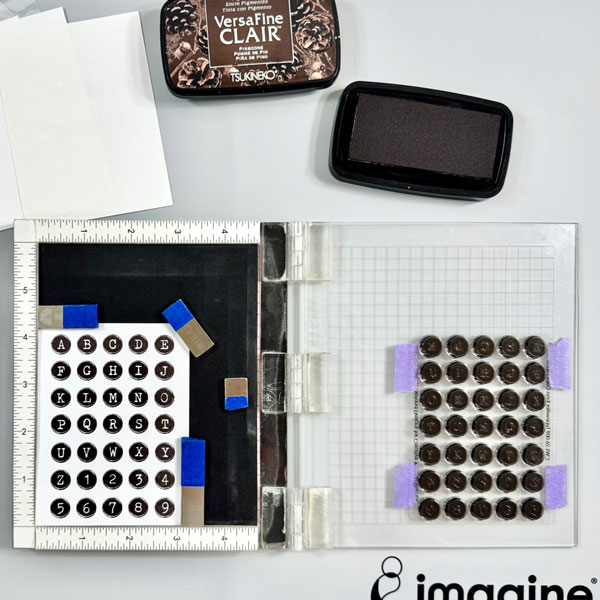
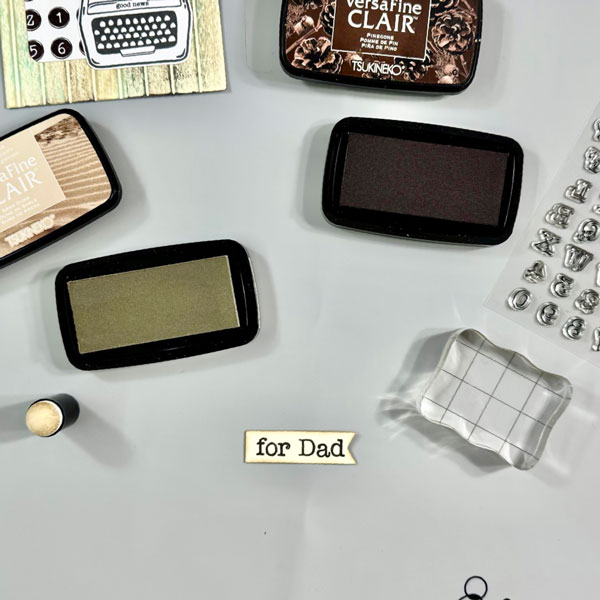
Stamp the Typewriter Keys Caps alpha stamp set on a piece of white cardstock with the VersaFine Clair Pinecone ink pad.
Since I used the whole stamp set, I did not remove them from its acetate backing and added to the stamping lid and taped it.
Step 2
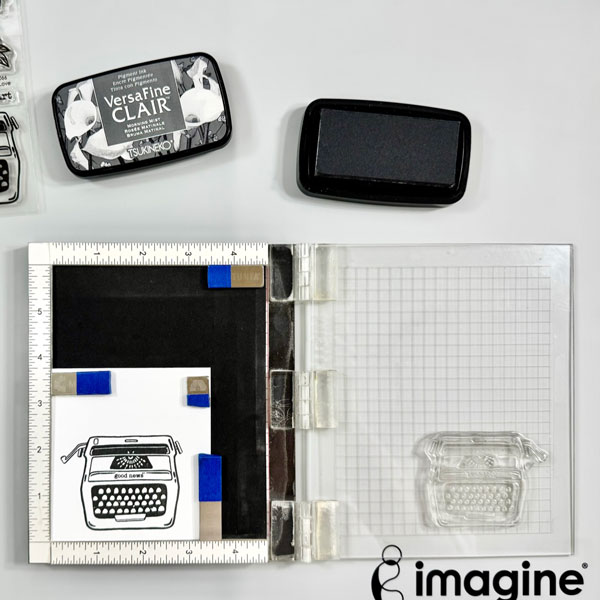
On another piece of white cardstock, stamp the typewriter image with the VersaFine Clair Morning Mist ink pad.
Step 3
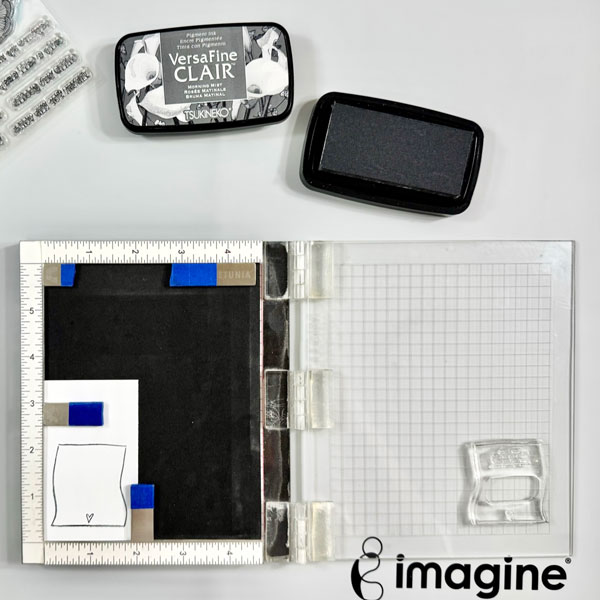
Stamp the paper image with the VersaFine Clair Morning Mist ink pad on a piece of white cardstock.
Step 4
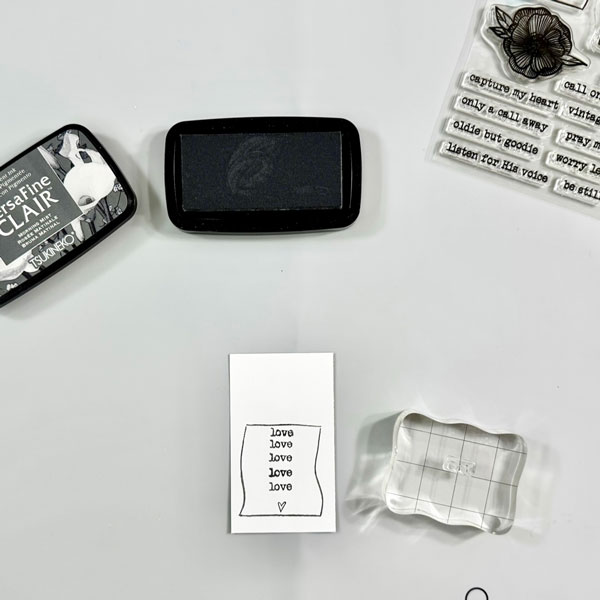
Stamp the word “love” in the middle of the stamped paper image with VersaFine Clair Morning Mist ink pad.
Step 5
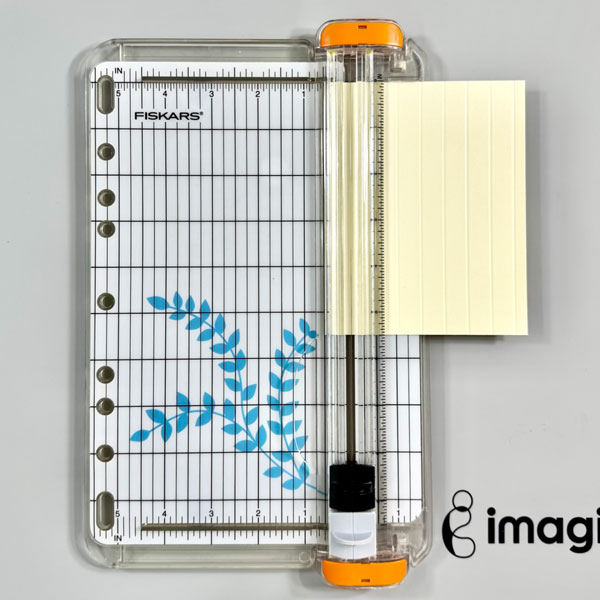
Cut a piece of ivory cardstock into 4.25 inch x 5.5 inch.
Score the cardstock at ½ inch until the whole cardstock scored.
Step 6
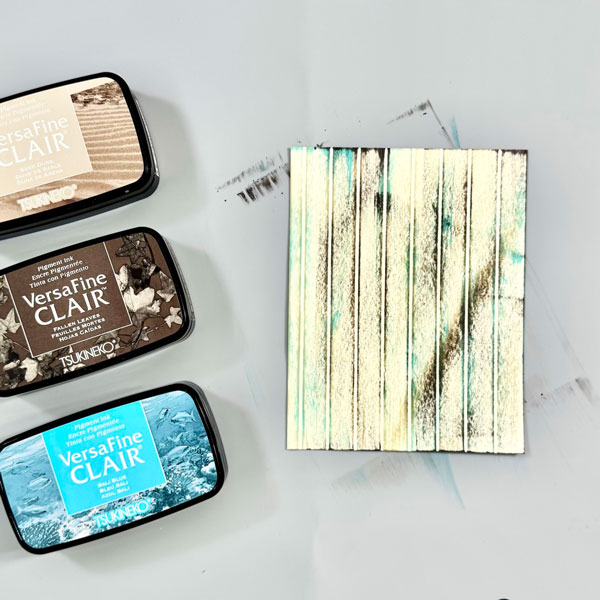
This is the fun part… ink swiping to create the faux wood background.
Lightly swipe the ink over the scored cardstock, start with VersaFine Clair Sand Dune ink pad, and then use the VersaFine Clair Fallen leaves, and the VersaFine Clair Bali Blue ink pad.
Use a craft heat gun to dry the inks in between swiping to avoid the ink transfer to the different color ink pad.
Step 7
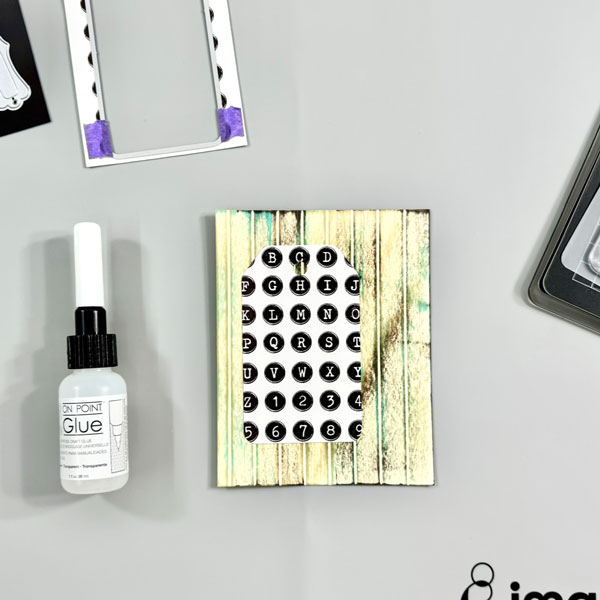
Use a tag die to cut the stamped alpa cardstock.
Add it to the faux background mat with On Point Glue.
Step 8
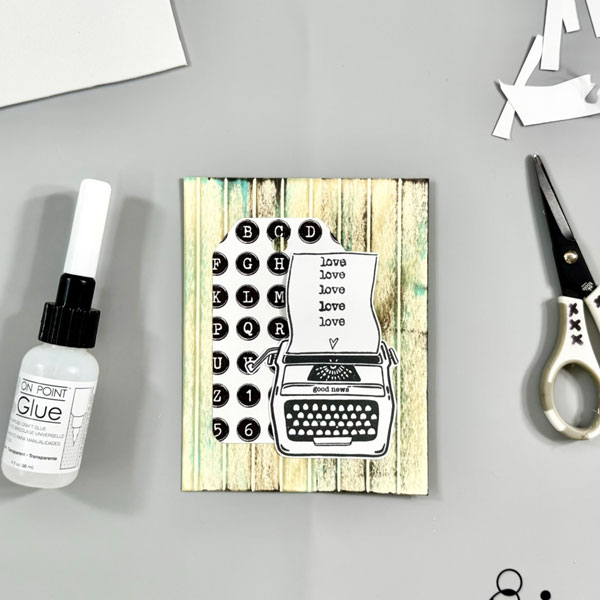
Fussy cut the stamped typewriter image and the stamped paper image with micro-tip scissors.
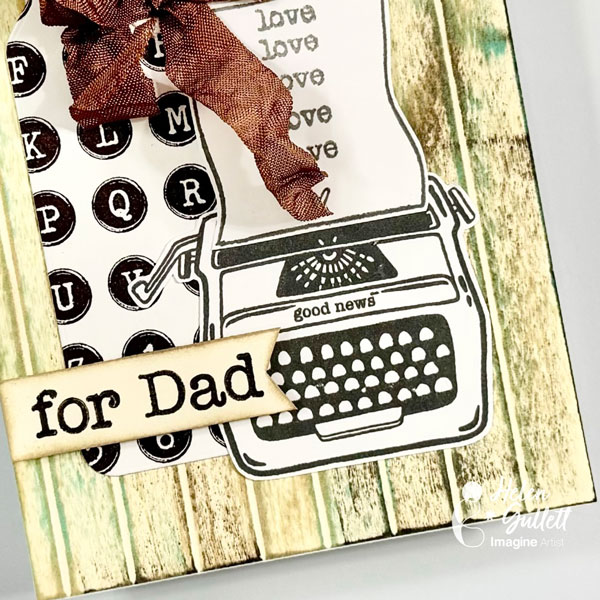
Add the paper to the typewriter with On Point Glue. And then add a little piece of white fun foam behind the paper using On Point Glue for a bit of dimension.
Add the whole image to the background mat with On Point Glue.
Step 9
On a piece of ivory cardstock, stamped the sentiment with VersaFine Clair Pinecone ink pad. Trim it into a banner flag, and then add some of the VersaFine Clair Sand Dune ink around it with a sponge dauber.
And then add a piece of fun foam behind the sentiment and the sentiment banner to the background mat with On Point Glue.
Step 10
Add the whole finish background mat to the card with On Point Glue. Press firmly for a few seconds to make sure the glue dries well.
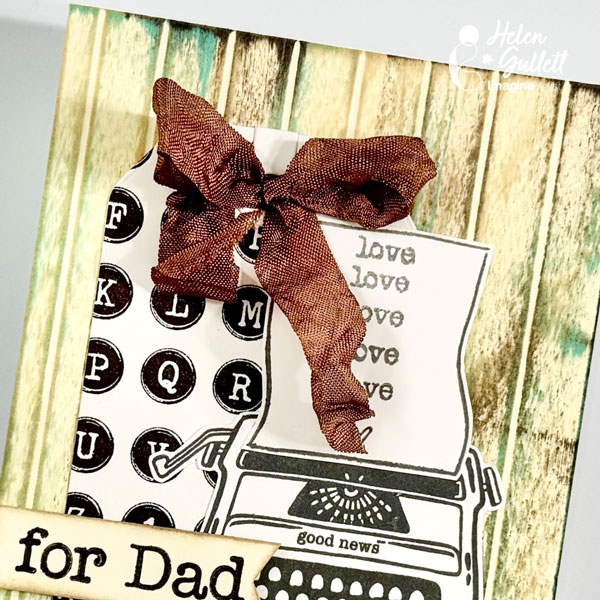
Add the ribbon bow to the top of the tag with On Point Glue. Hold it for a few seconds for the glue to dry well in place.
The simple scoring and ink swiping techniques are a fun technique to try to add texture to the faux wood background.
I hope you like this masculine card idea and give it a try to make a card for a special dad figure in your life.
Thanks so much for stopping by our blog today. Have a wonderful day!
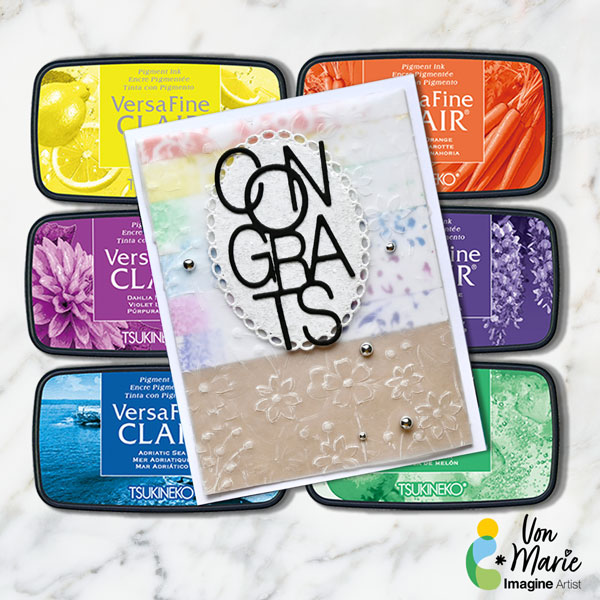
Hello everyone. Von Marie here with my latest video and I wanted to do something different and make a colorful embossed Wedding Card using New VersaFine Clair inks and I will give you a swatch of the inks of what they look like in a couple techniques. There will be more details in the video.
Skill Level: Intermediate Time: 60 Mins.
Art Supplies:
• Mixed Media Paper • Card Base 4 ¼ x 5 ½ • Glitter cardstock • Word Sentiment • Embossing Folder • Glue • Vellum Cardstock • Foam tape • Kraft Cardstock • Rectangle die or Scissors • Embellishments • Oval or any shape • Die-Cutting Machine
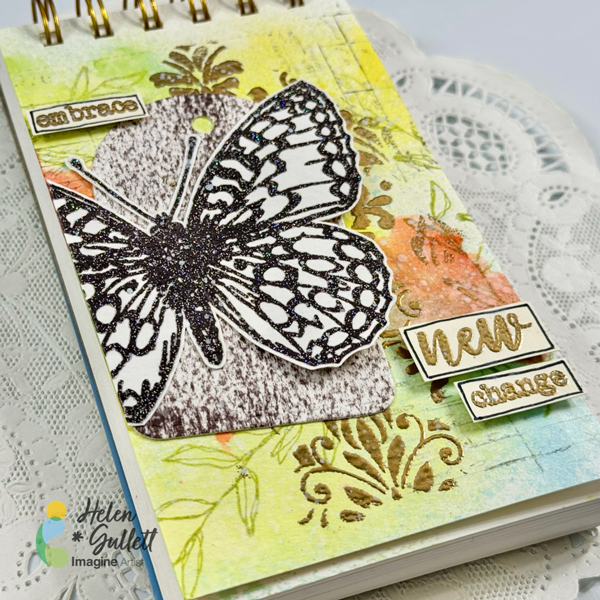
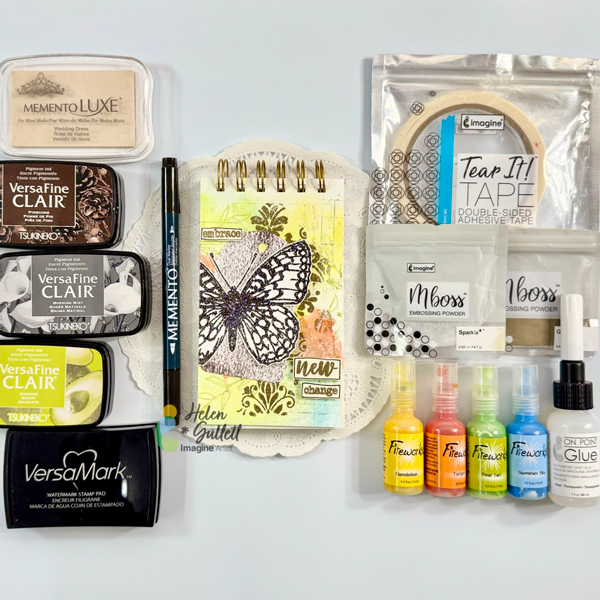
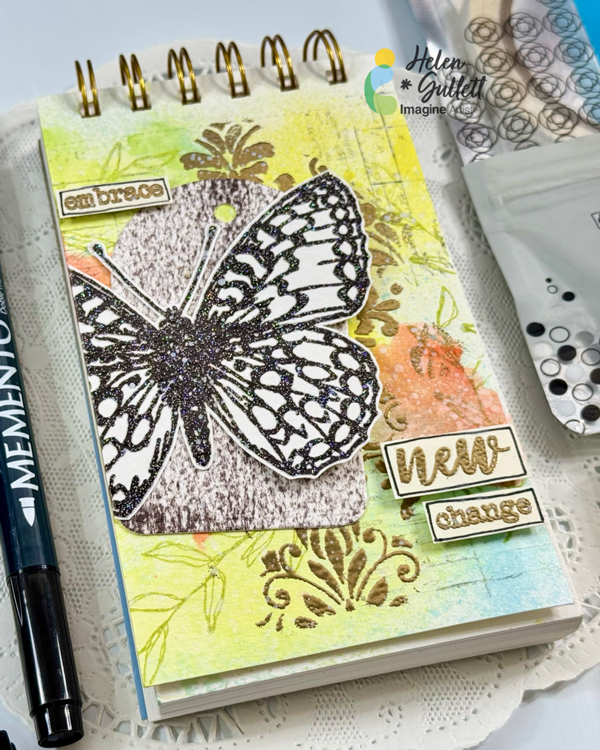
– Hello crafty friends! The new season always brings something new that can surprise us. And new change brings hope, it can be beautiful. Let us embrace it with expectation. Today, we are going to make an art journal together.
Let’s get crafting!
Skill: Intermediate Time: 30-45 Minutes
Direction:
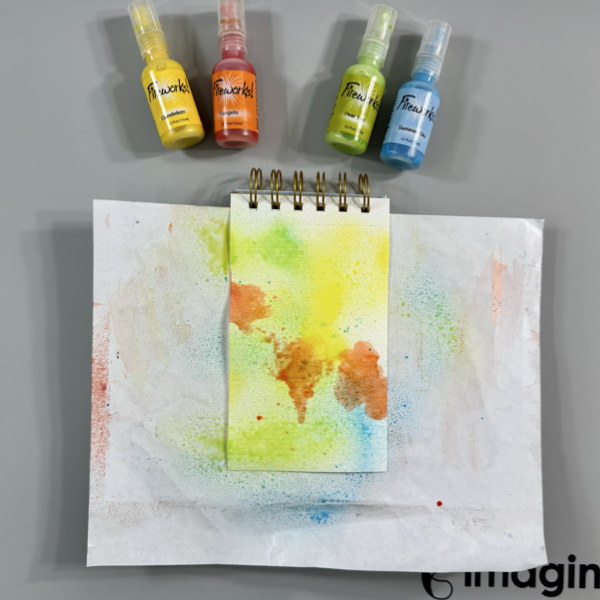
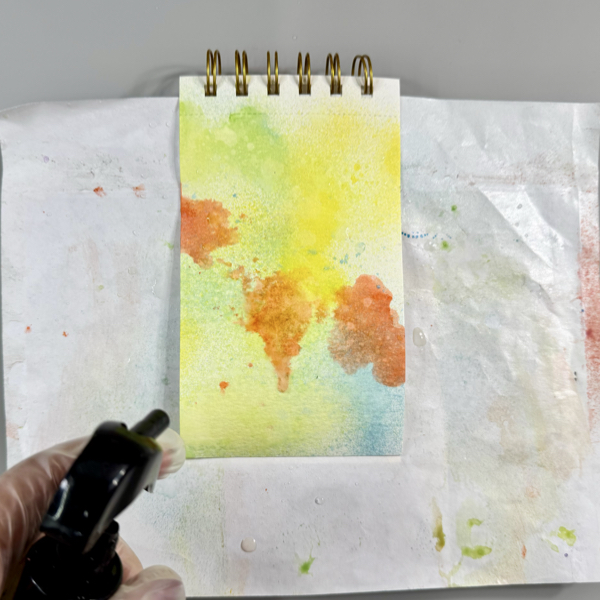
Step 1 First step we are going to build the base watercolor background. Spray randomly each color of the FireWorks! Shimmery Craft Spray.
Step 2 While the spray pains are still kinda wet, spray lightly some water using a sprayer bottle.
Let it sit for a few seconds and then dab off some of the water with a clean dry paper tower. This will create more texture to the background.
Dry the page with a craft heat gun. Make sure the surface is completely dry.
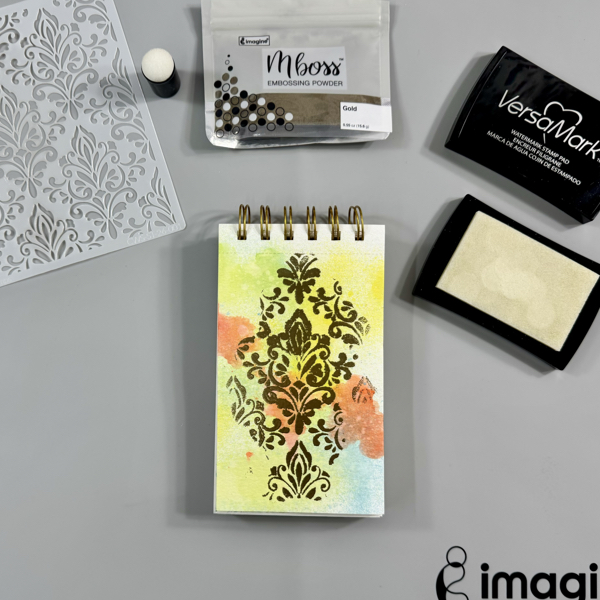
Step 3 Cover the page with some anti-static powder and brush it off the page.
Add the stencil on the page and secure it with a washi tape or low-tack tape.
Add the VersaMark Original ink to the page with finger sponge dauber and remove the stencil off the page.
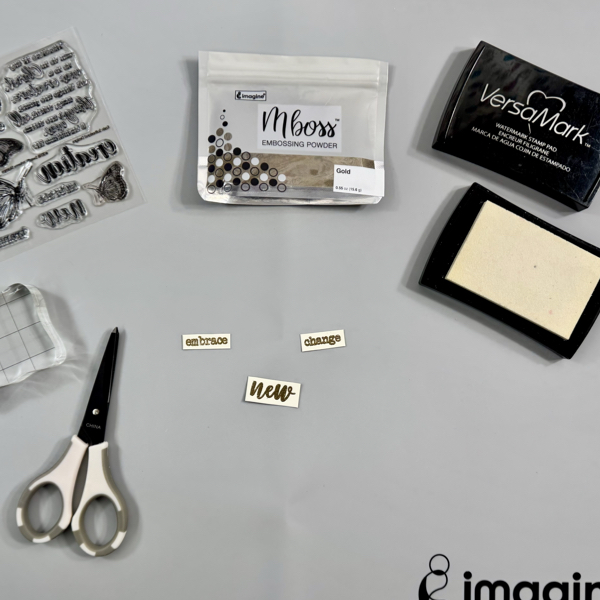
Add some of the Gold Mboss Embossing Powder and heat set it with a craft heat gun.
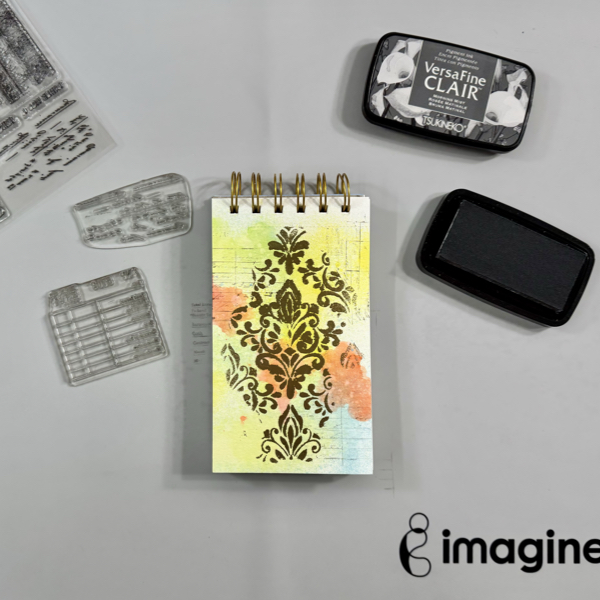
Step 4 Randomly on the page, stamp the ledger pattern stamp with VersaFine Clair Morning Mist ink using second generation stamping technique.
And then using the stamping technique and ink, stamp the script pattern stamp on the page.
Dry the stamped images with a craft heat gun.
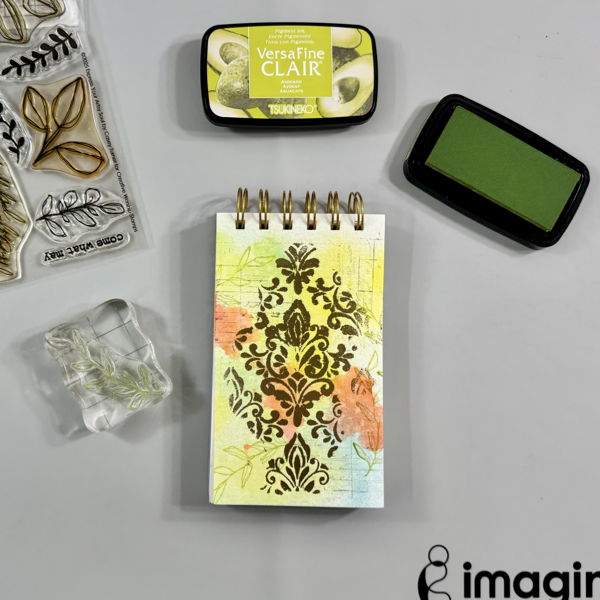
Step 5 Stamp the leaves branch on the page with VersaFine Clair Avocado ink.
Dry the stamped images with a craft heat gun.
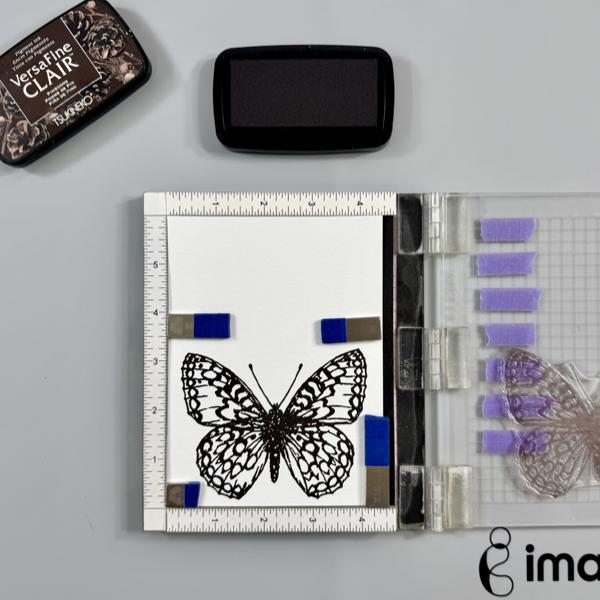
Step 6 Put a piece of white cardstock on the stamping tool and stamp the butterfly stamp with VersaFine Clair Pinecone ink.
Do not remove the stamp and paper.
Clean the ink off the stamp with Staz-On All-Purpose Stamp Cleaner.
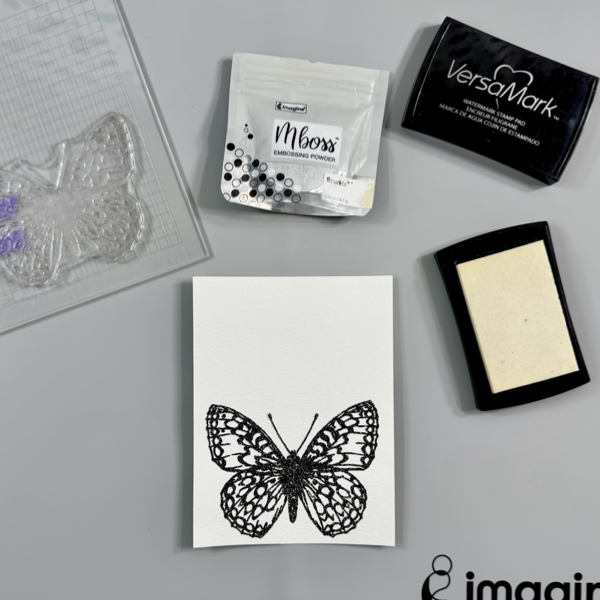
Step 7 Stamp the same butterfly stamp with VersaMark Original ink.
Add some of the Sparkle Mboss Embossing Powder to the stamped image and heat set it with a craft heat gun.
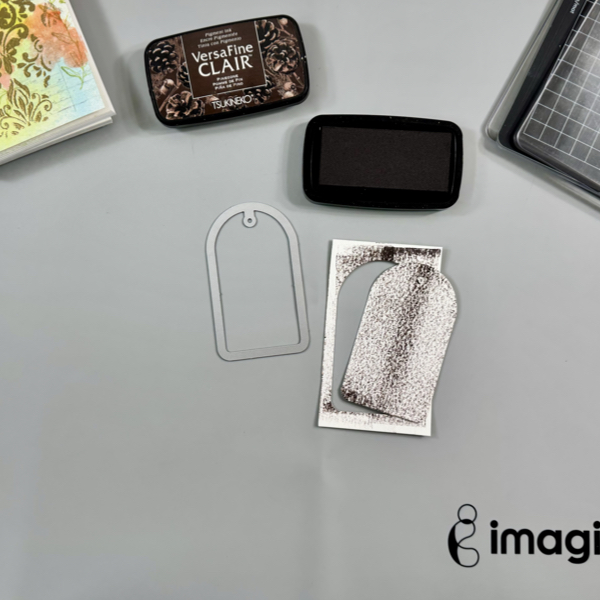
Step 8 On a piece of white cardstock, gently swipe the VersaFine Clair Pinecone across the cardstock.
Dry the ink with a craft heat gun.
Cut it with one of the Stitched Tag dies.
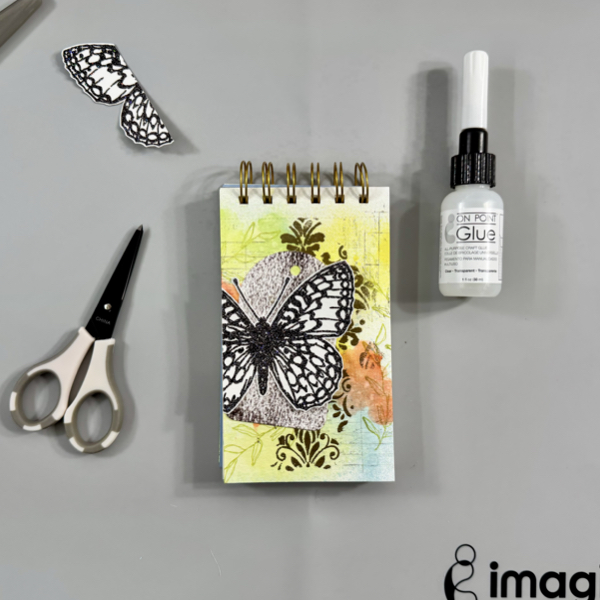
Step 9 Add the tag to the page with On Point Glue.
Put the butterfly slightly off the page, and then glue the center of the butterfly with some of the On Point Glue. Leave the wings loose.
Cut the extra wing off the page with micro-tips scissors.
Step 10 Stamp the words on a piece of ivory cardstock with VersaMark Original ink.
Add some of the Gold Mboss Ebossing Powder and then heat set it with a craft heat gun.
Cut them with micro-tip scissors.
Draw lines around the word with Memento Marker Rich Cocoa.
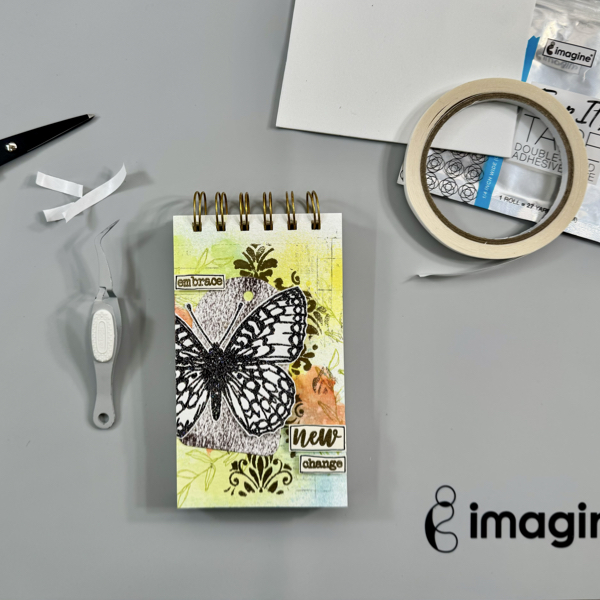
Step 11 Add some of the Tear It! Double Sided Tape to 3D fun foam to create your own 3D foam tape.
Add some of the foam tape to each word and add them to the page.
Add some of the foam tape under the wings also to give them a 3D effect.
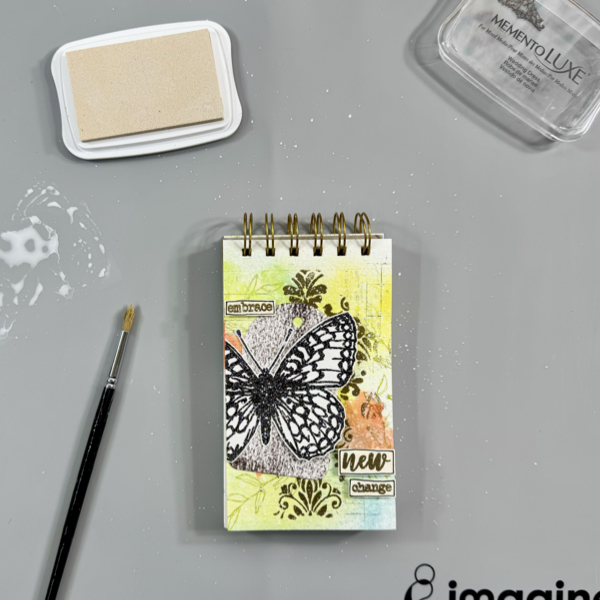
Step 12 Dab some of the Memento Luxe Wedding Dress ink on the craft mat and spray it with some water.
Pick up the ink with a small round brush, and add some splatters to the page.
Dry the whole page one more time with a craft heat gun.
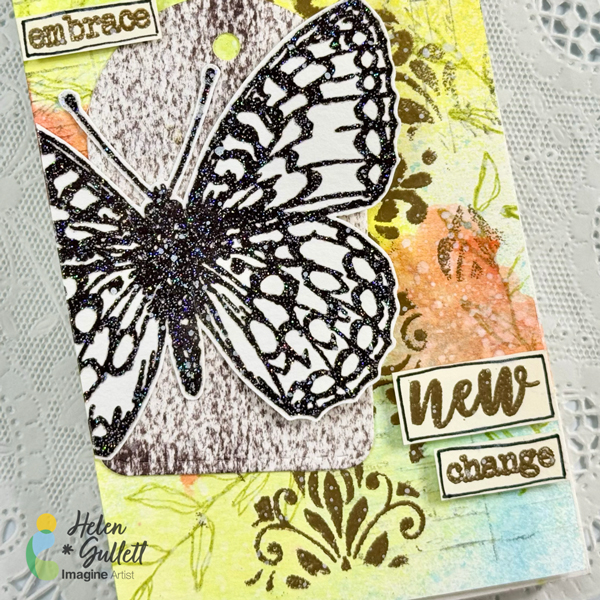
This mini mixed media art journal page is done. It has a combination of the shimmery background, sparkly butterfly, and shiny gold metallic embossed texture and sentiment.
I hope you like the page and give this tutorial a try. Thanks so much for stopping by our blog today.