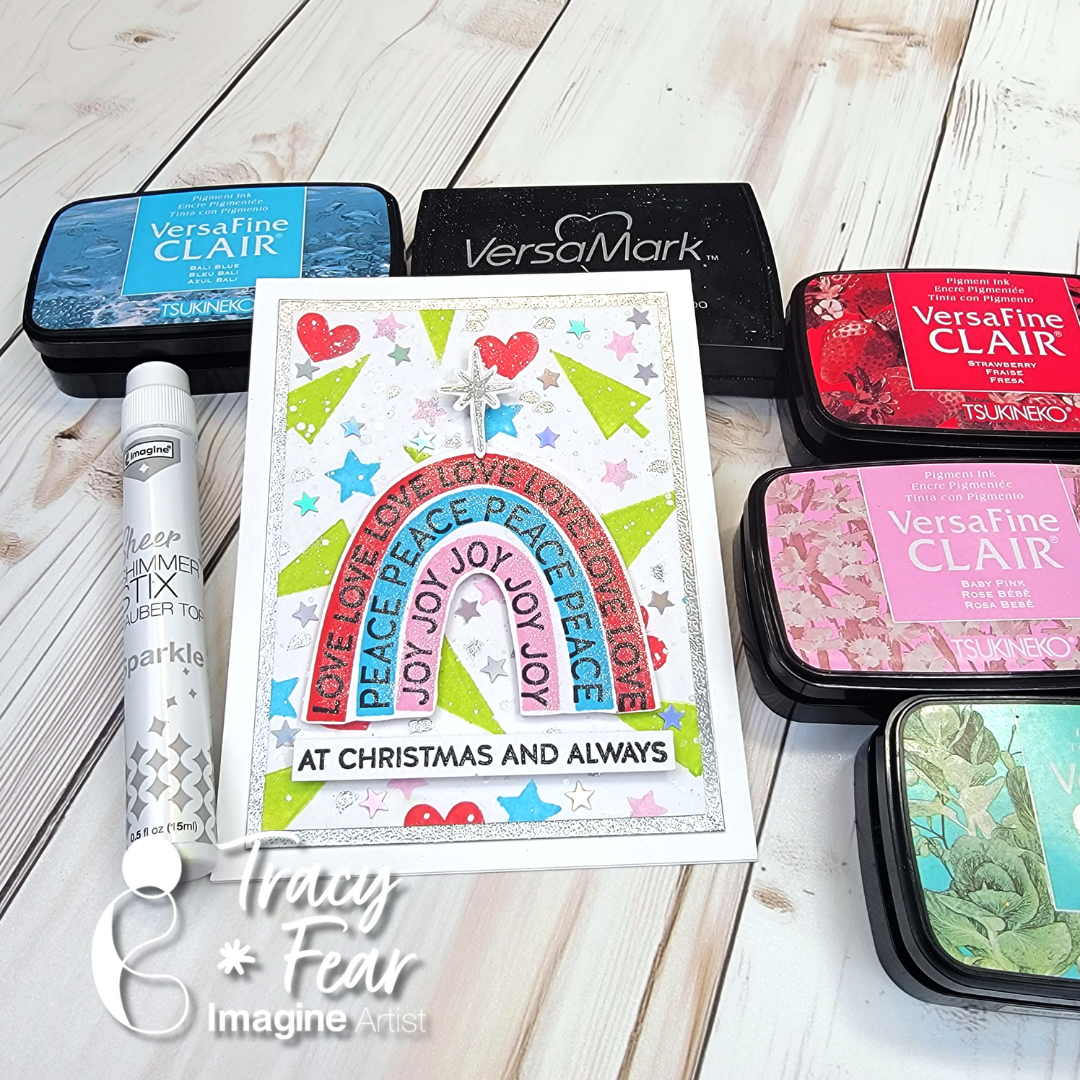
– Hello Friends! Tracy here and today I am delighted to share this tutorial for a fun and whimsical Christmas Card starring some non-traditional colors!
In today’s video tutorial I am sharing how I created my own pattern paper background using traditional and non traditional colors for Christmas!
Skill: Intermediate Time: 30 Minutes to 90 Minutes
Other Products Used • Rainbow Christmas Stamps from Simon Says Stamp • WOW Silver Embossing Powder • 120lb paper in white • Misti Stamping Platform tool • PVA Adhesive • Holographic Stars from Trinity Stamps
ALTERNATIVE PRODUCTS THAT CAN BE USED TO RECREATE SOMETHING SIMILAR
Any inks or stamps in your stash! To learn how to create your own modern, funky Christmas Card click here!
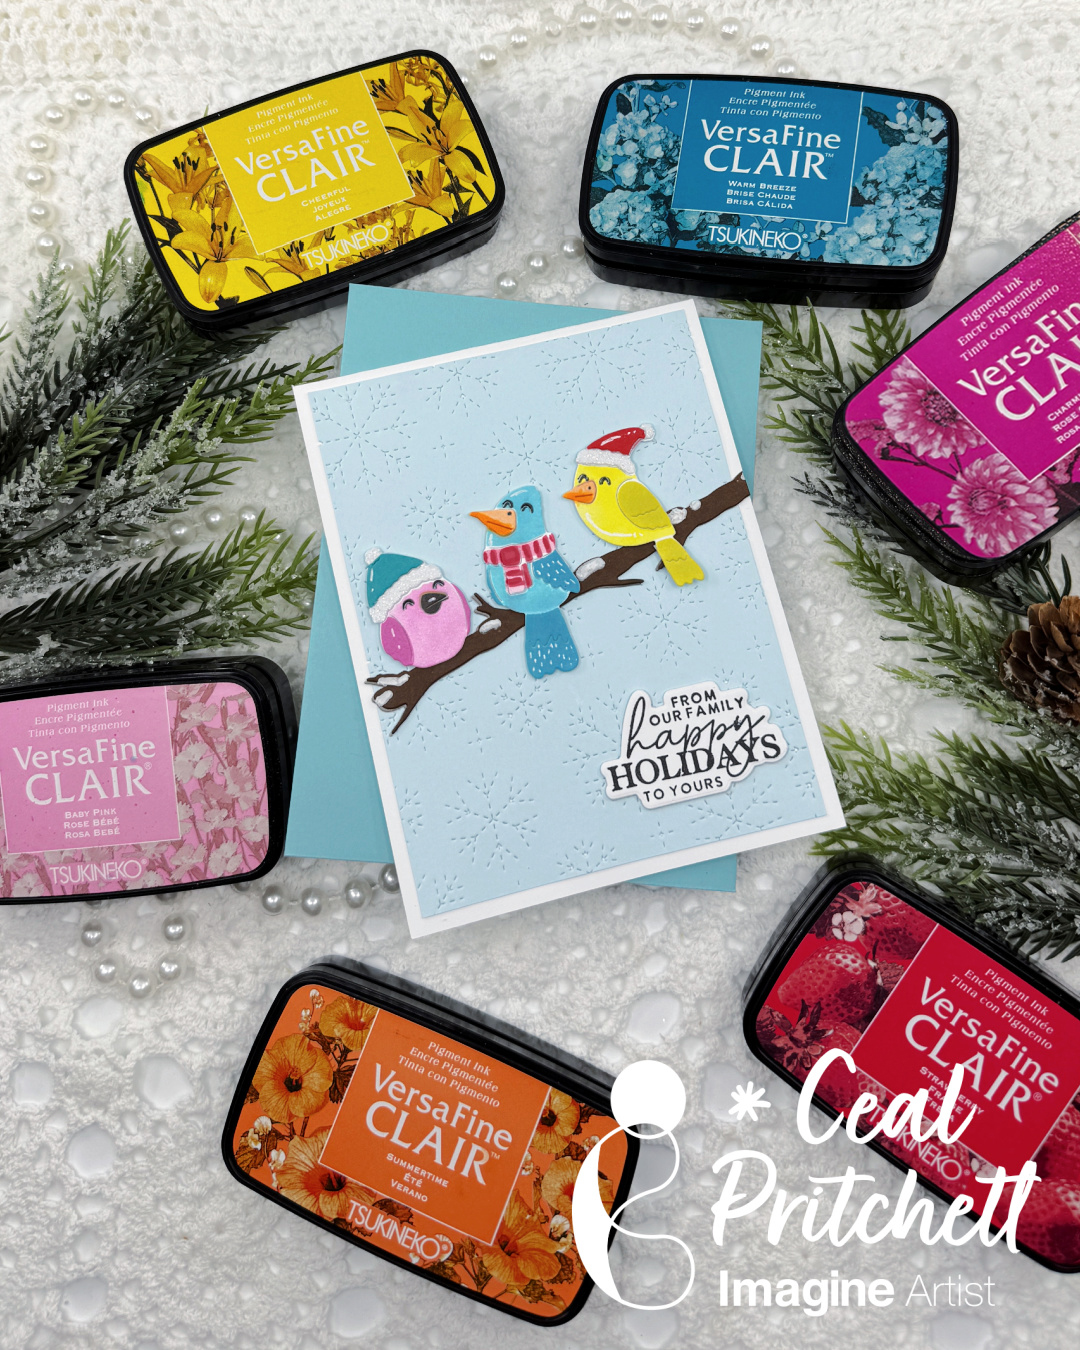
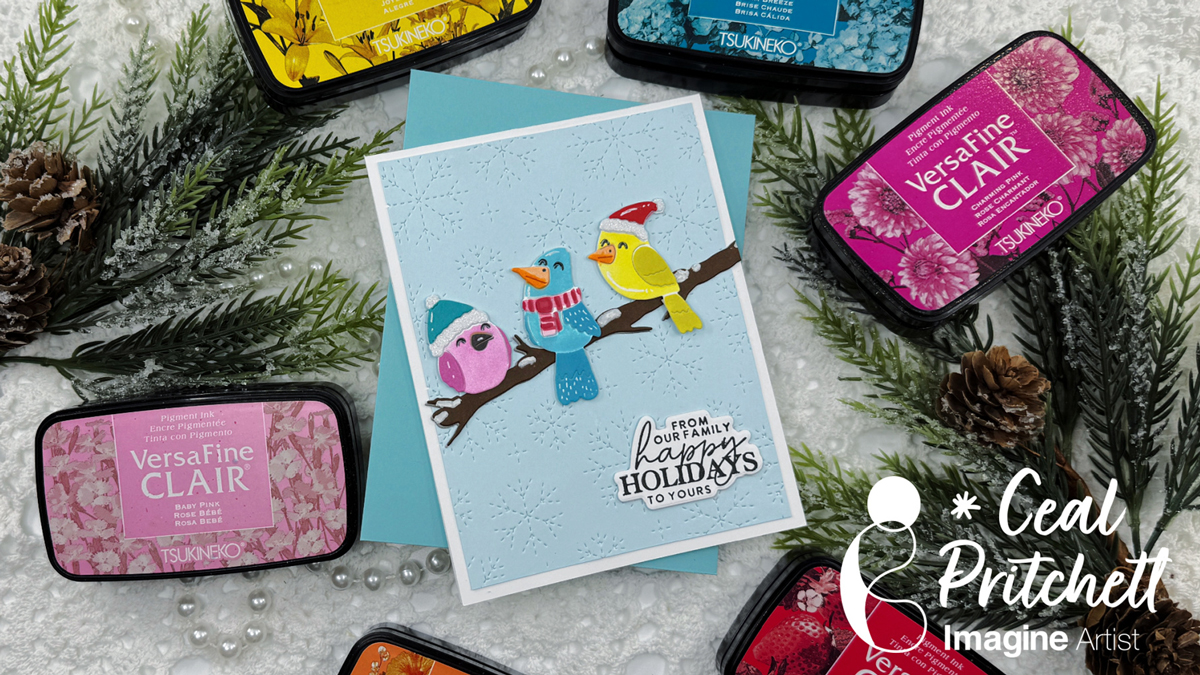
– Hello Crafty friends! It’s Ceal, here. Today I am sharing how to make this sweet birdie holiday card using some VersaFine Clair inks.
Skill: Beginner to Intermediate Time: 45 minutes
Directions:
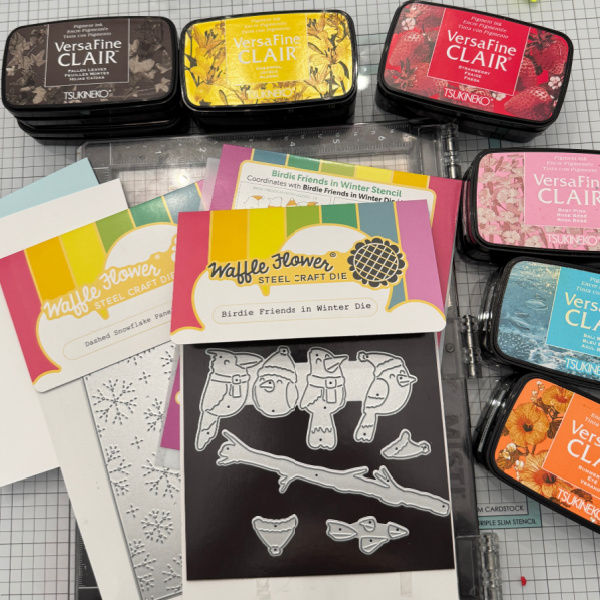
Gather your supplies. You will need several colors of ink, the Birdie Friends in Winter die and stencil or any other die/stencil combo you’d like to use. A holiday sentiment set, a snowflake
cover die or any other background you’d like to use. You will also need either a Sticky Mat or Grip Mat and some paste.
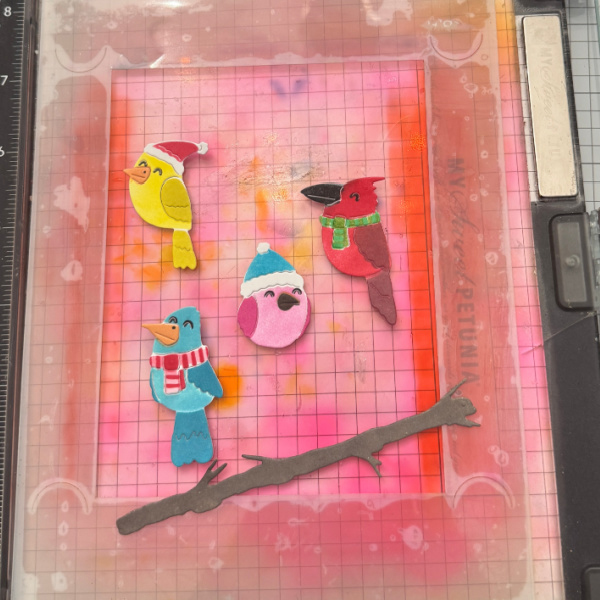
Step1: I didn’t show all of them in the picture, but the first step is to cut all the birds out of white cardstock.
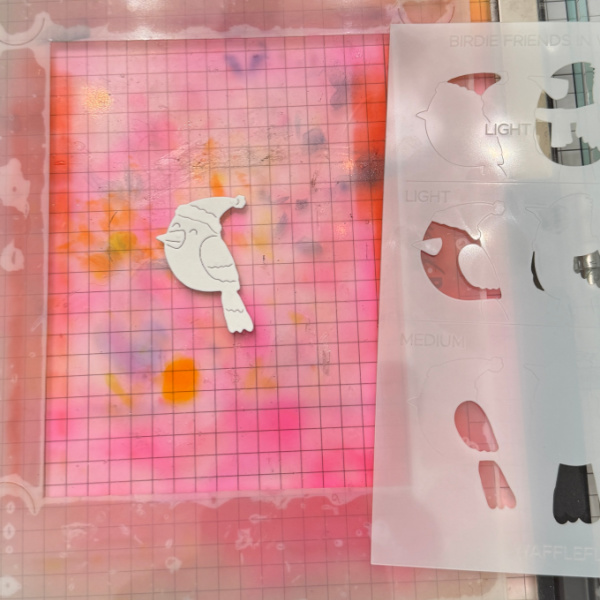
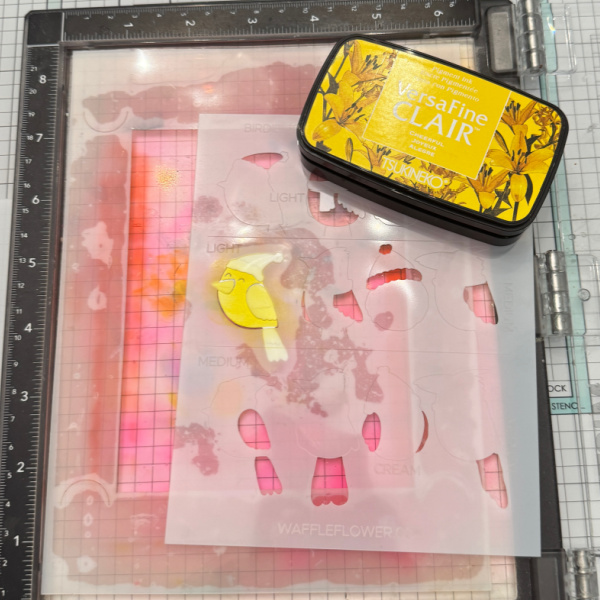
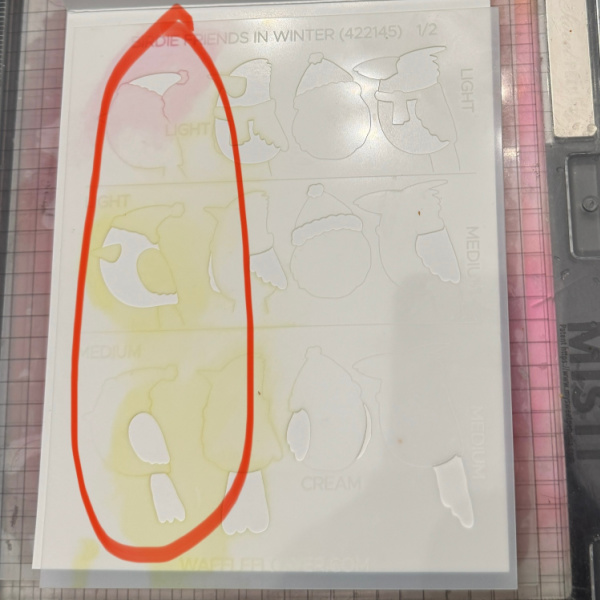
Step 2: Using the coordinating stencil add color to each bird as you please. For the pink bird I used Baby Pink and Charming Pink. The blue bird uses Warm Breeze, Bali Blue and Strawberry. The yellow bird uses Cheerful and Golden Meadow. I have a picture with the steps circled so you can see the need for different shades of color.
No Step just showing stencil steps
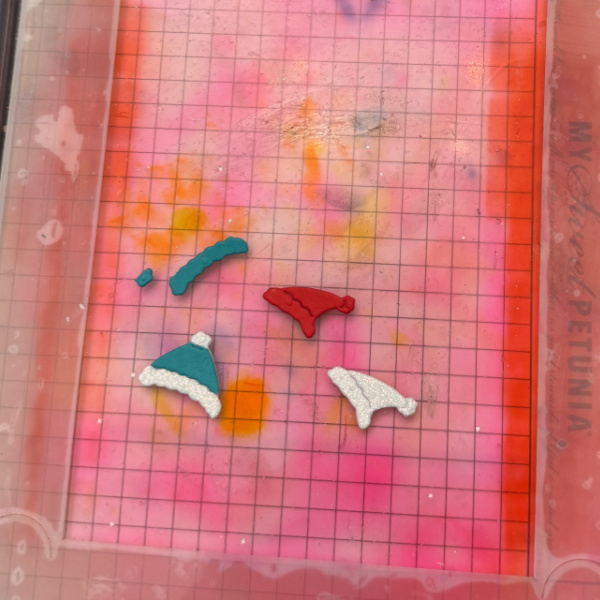
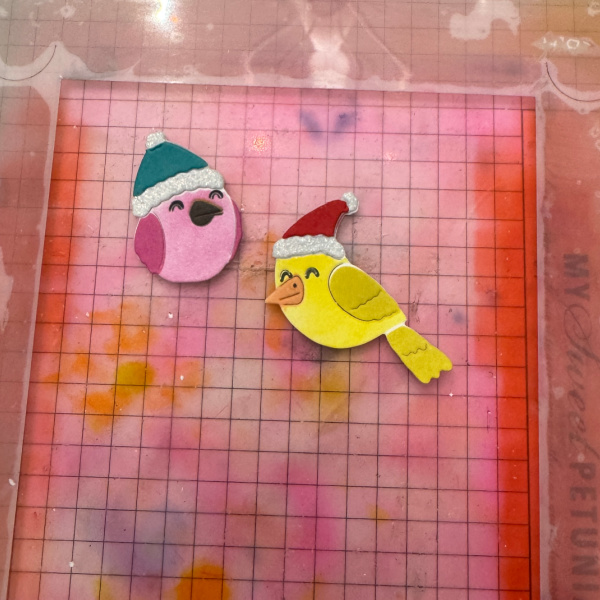
Step 3: Cut hats out of glitter cardstock and colored cardstock. Cut apart and add to glitter cardstock as shown in picture. Glue onto the birdie.
No step just showing completed birds
Step 4: Cut the branch out of a dark brown cardstock.
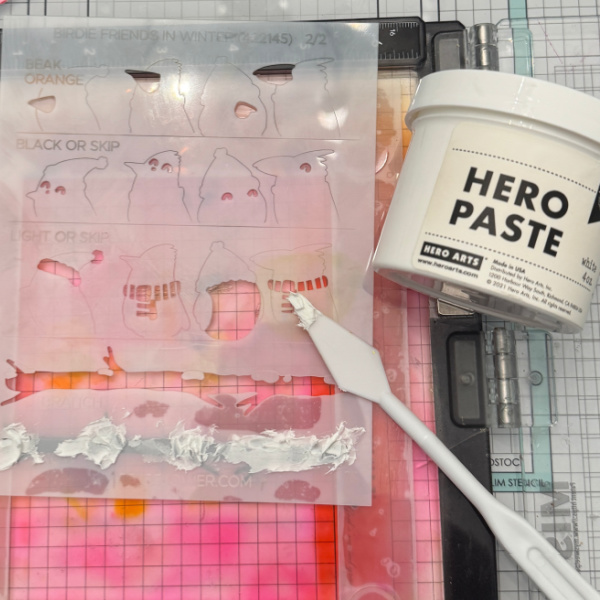
Step 5: Place branch under stencil, lining it up with the etched portion. Add a white paste using a palette knife.
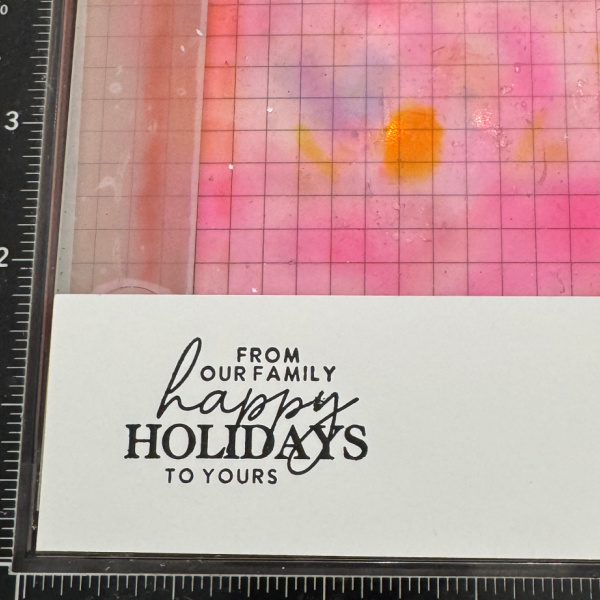
Step 6: To finish the card, stamp and cut out the sentiment to add to the front.
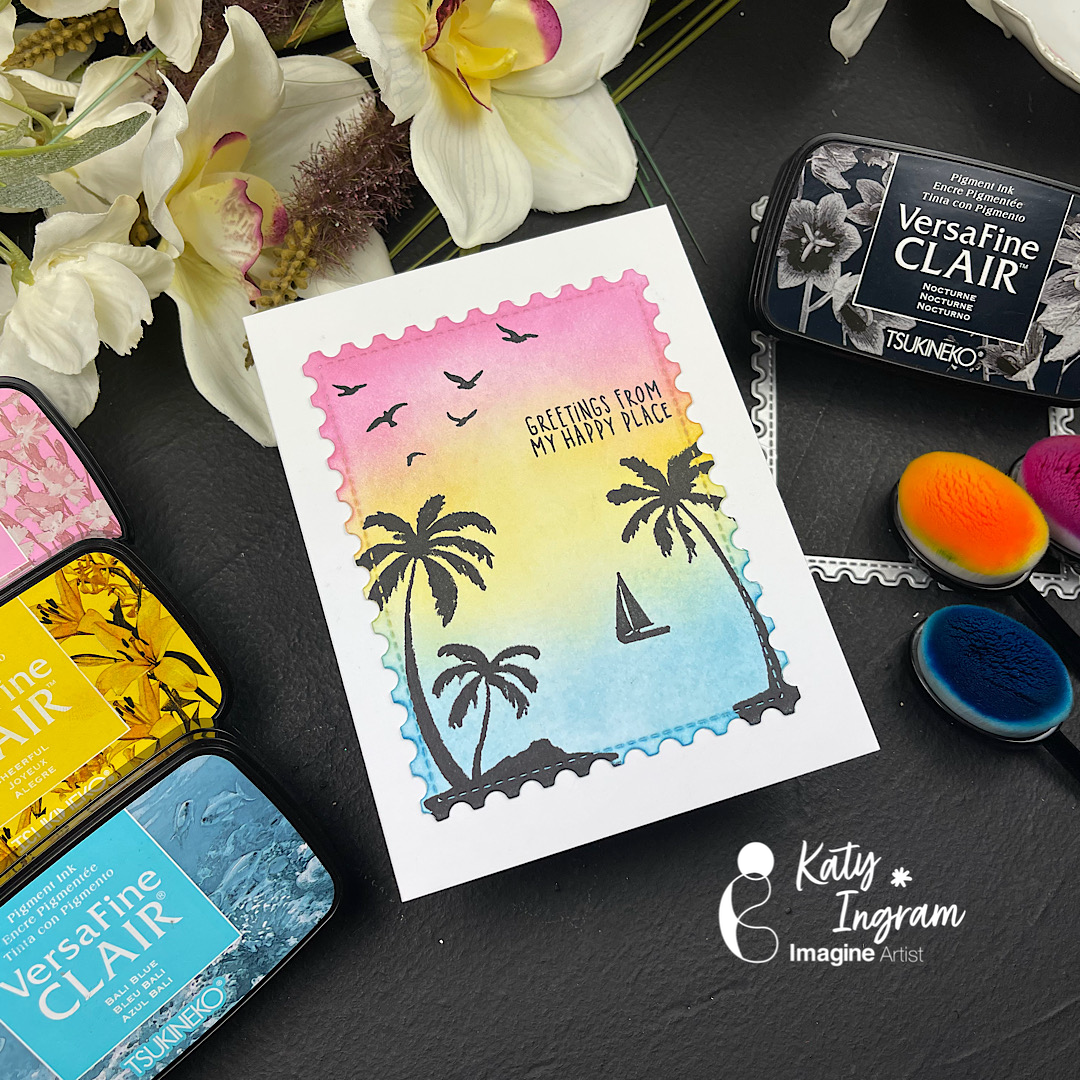
Hello Friends! Katy here with another quick project for you. Today’s card is a fun summertime vibes card, but as always you can use this design for what ever you need!
I did a little ink blending to create my background and used some silhouette stamps to create my scene. Check out the video below for all the details.
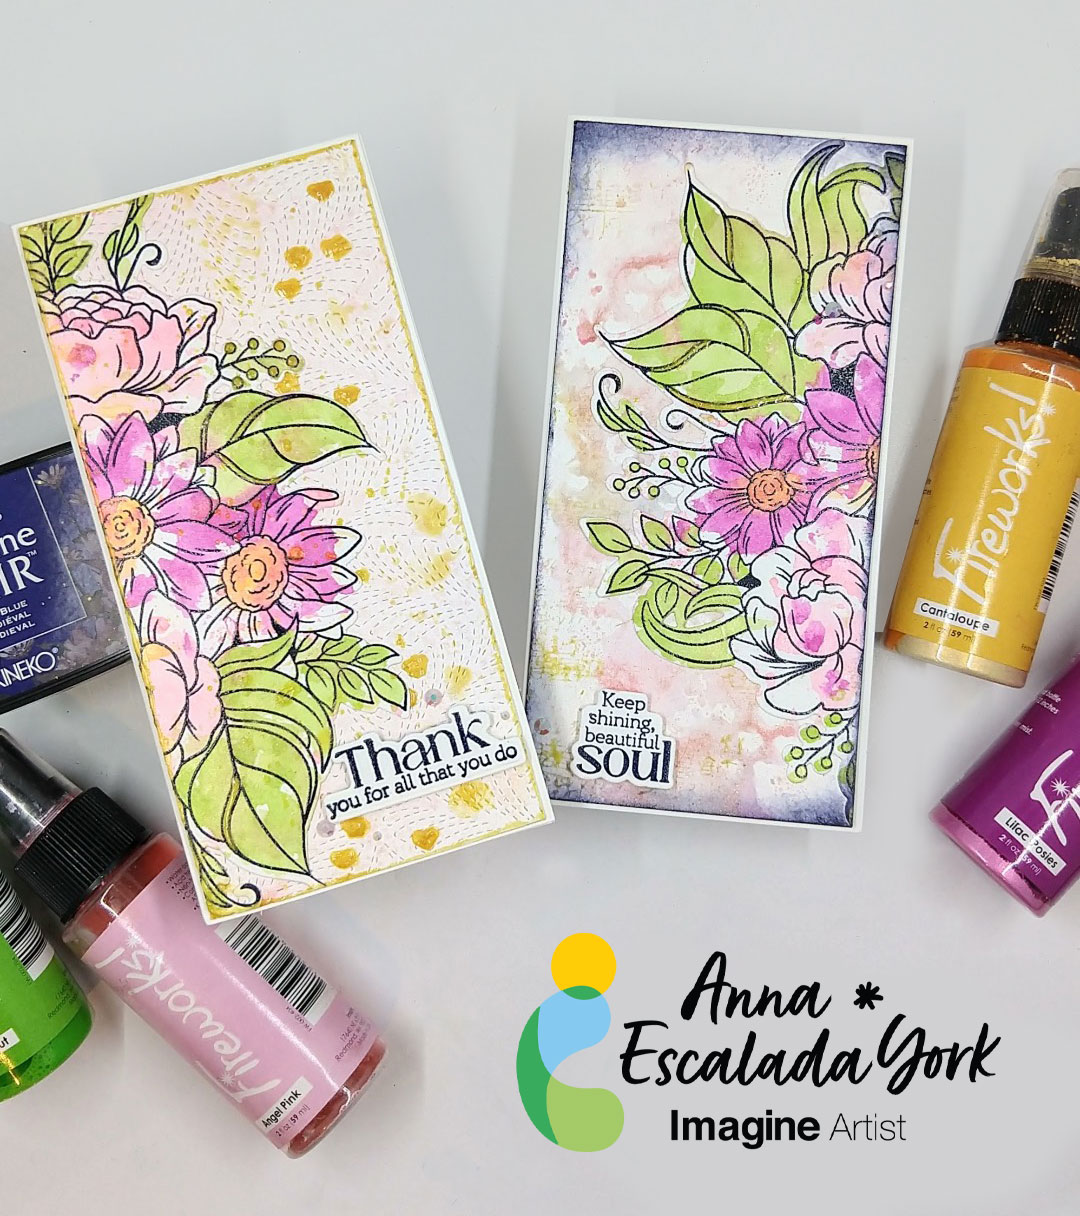
As I was making one card focusing on summer colors, I realized that I could easily make a second (bonus) card and wanted to share both with you.
Skill: Intermediate Time: 2 hours
Directions:
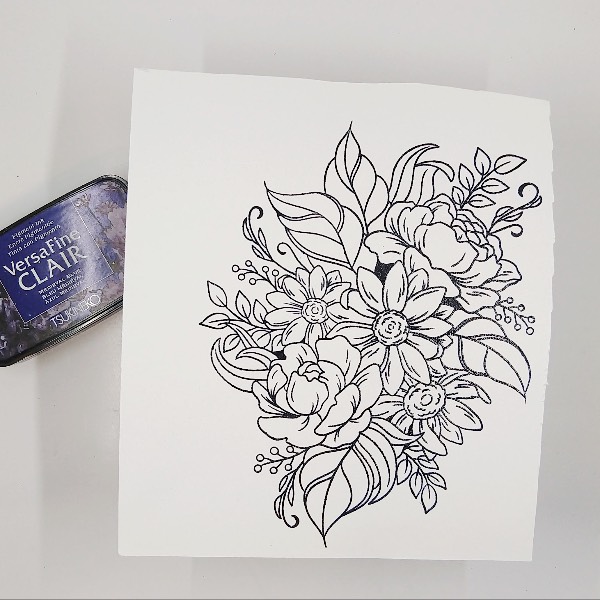
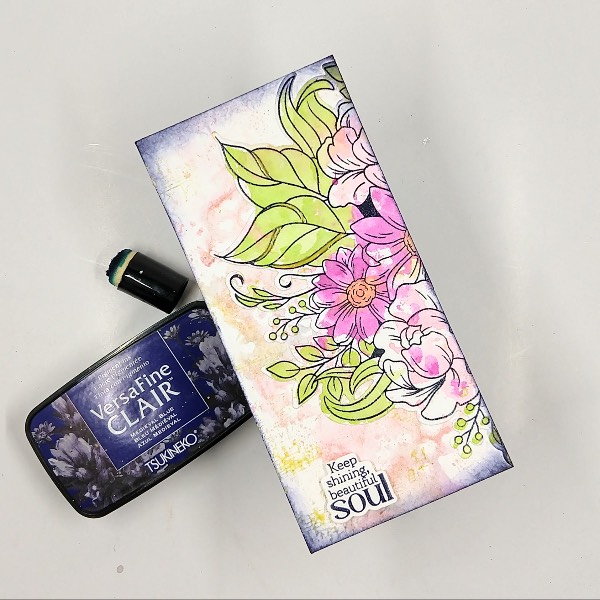
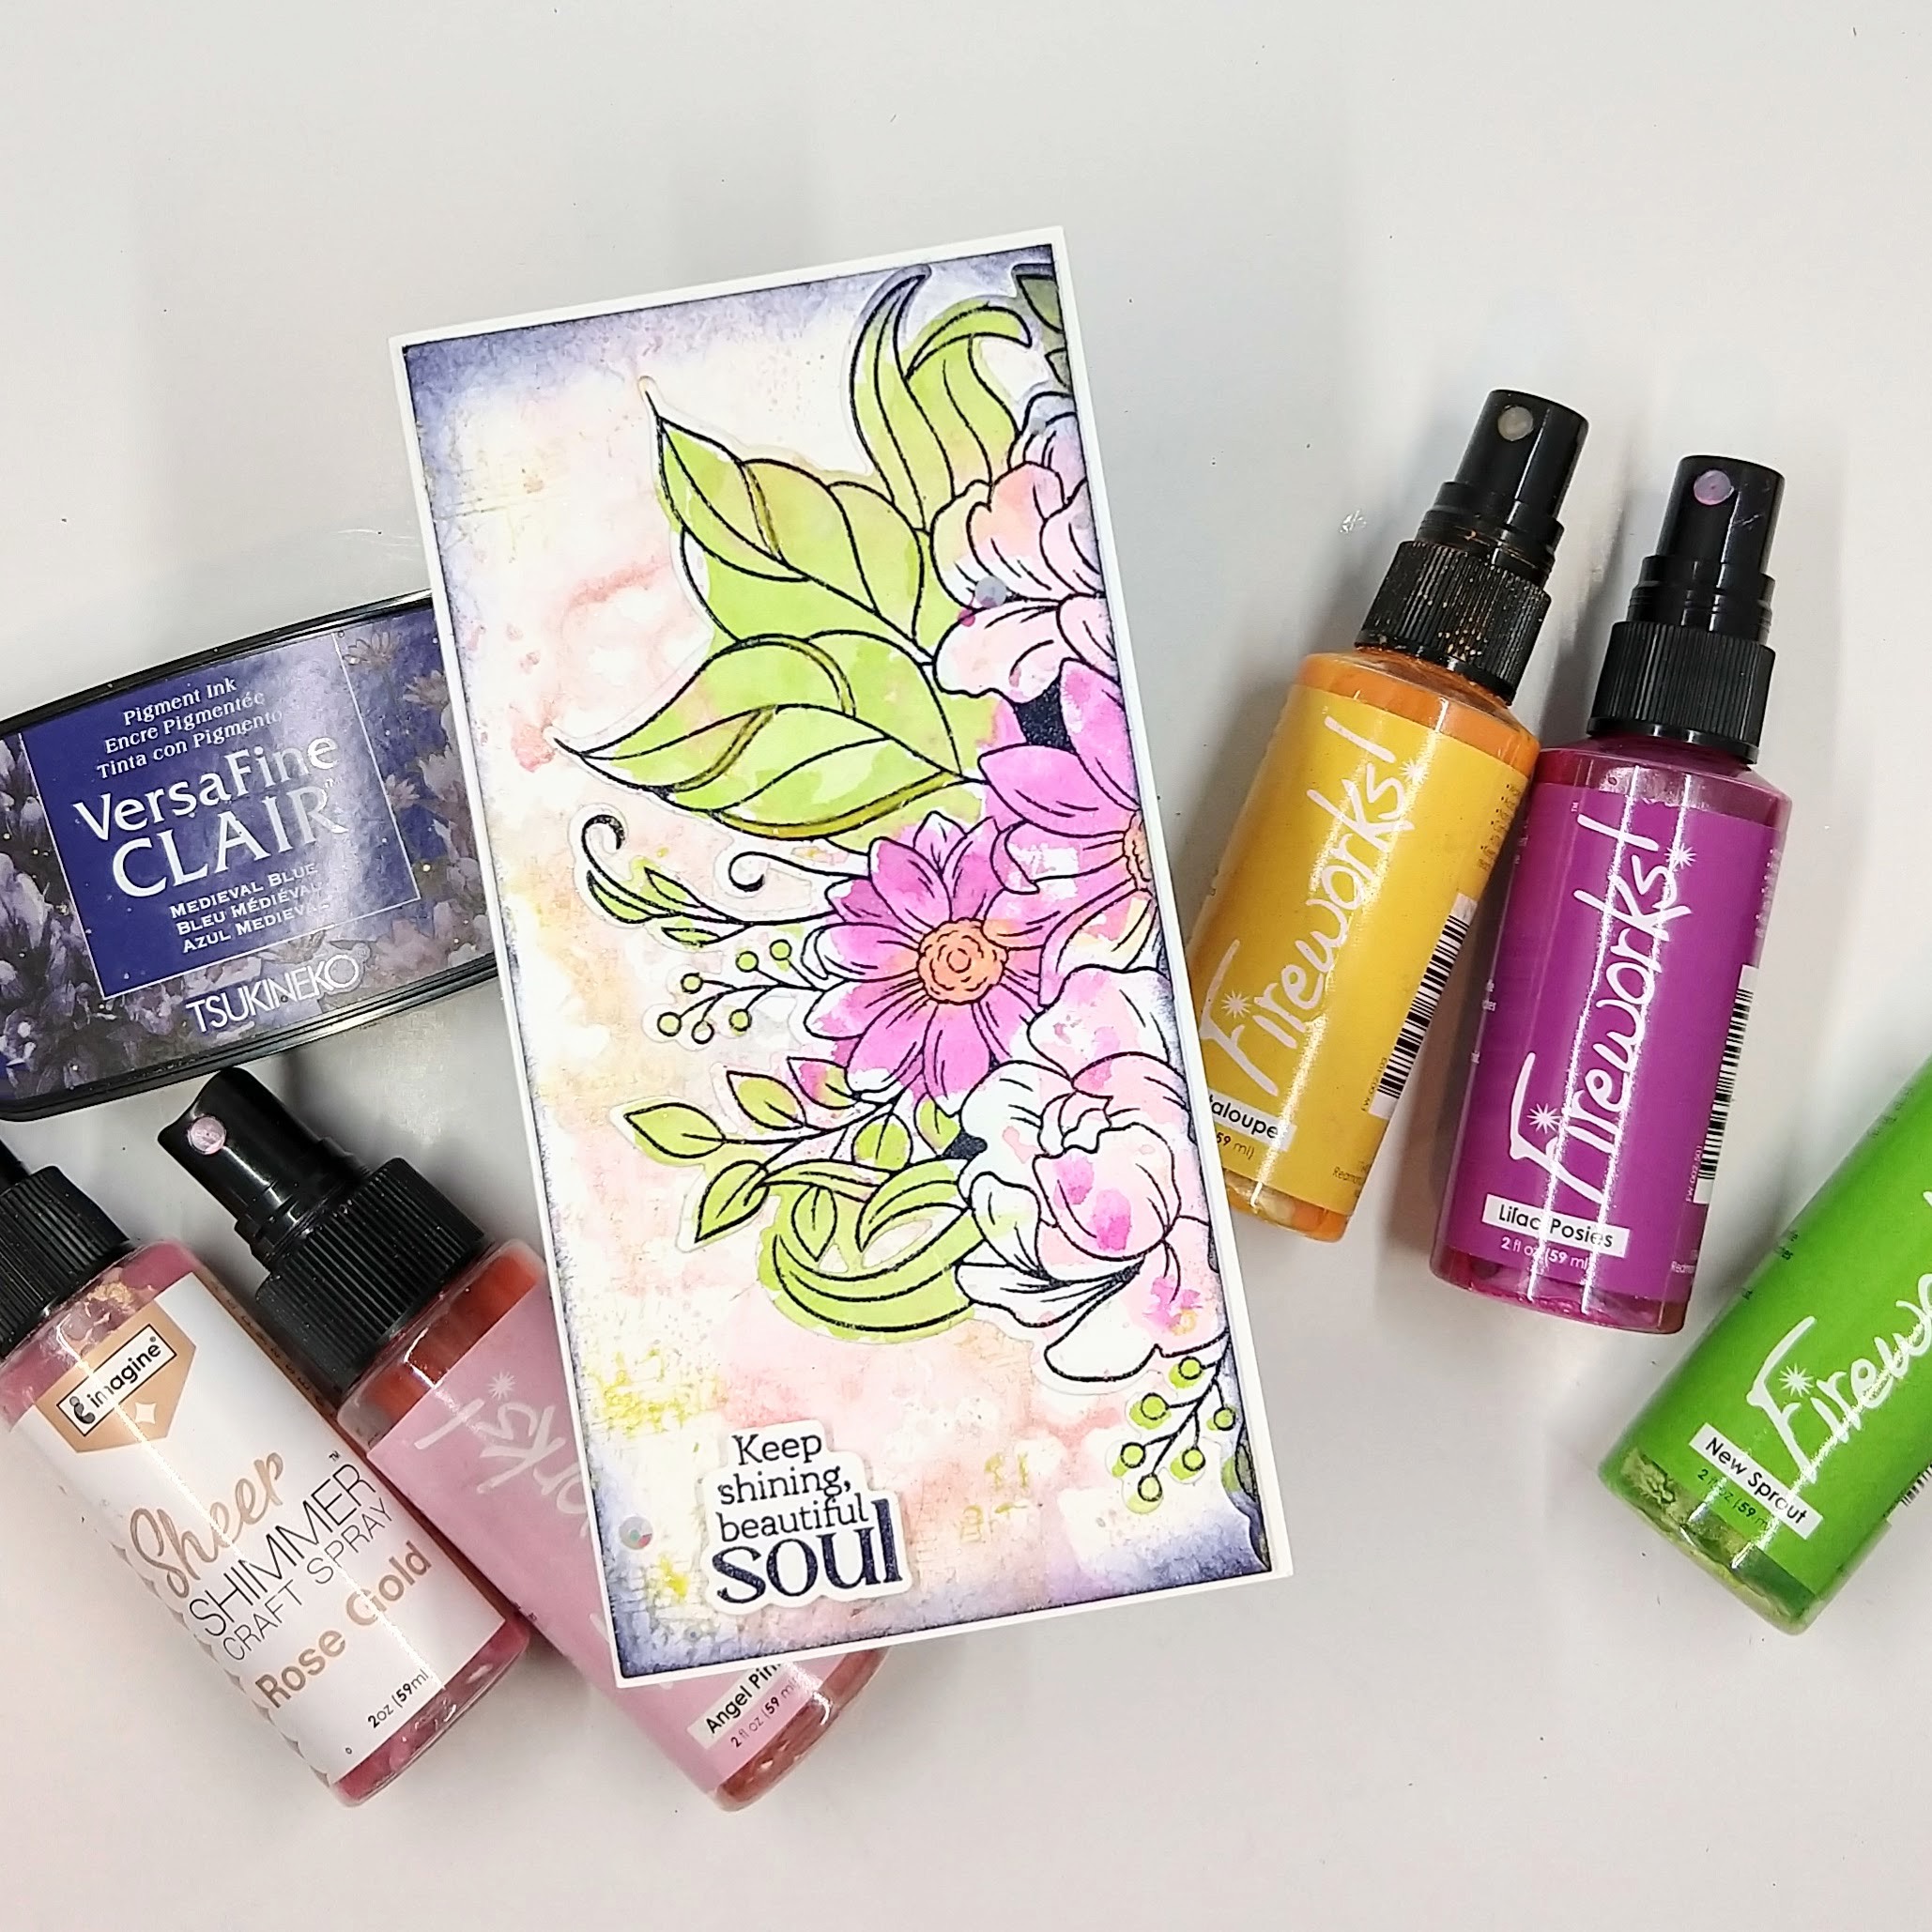
Step 1: Stamp a large floral image on watercolor paper with Medieval Blue VersaFine Clair Ink and heat emboss with clear embossing powder.
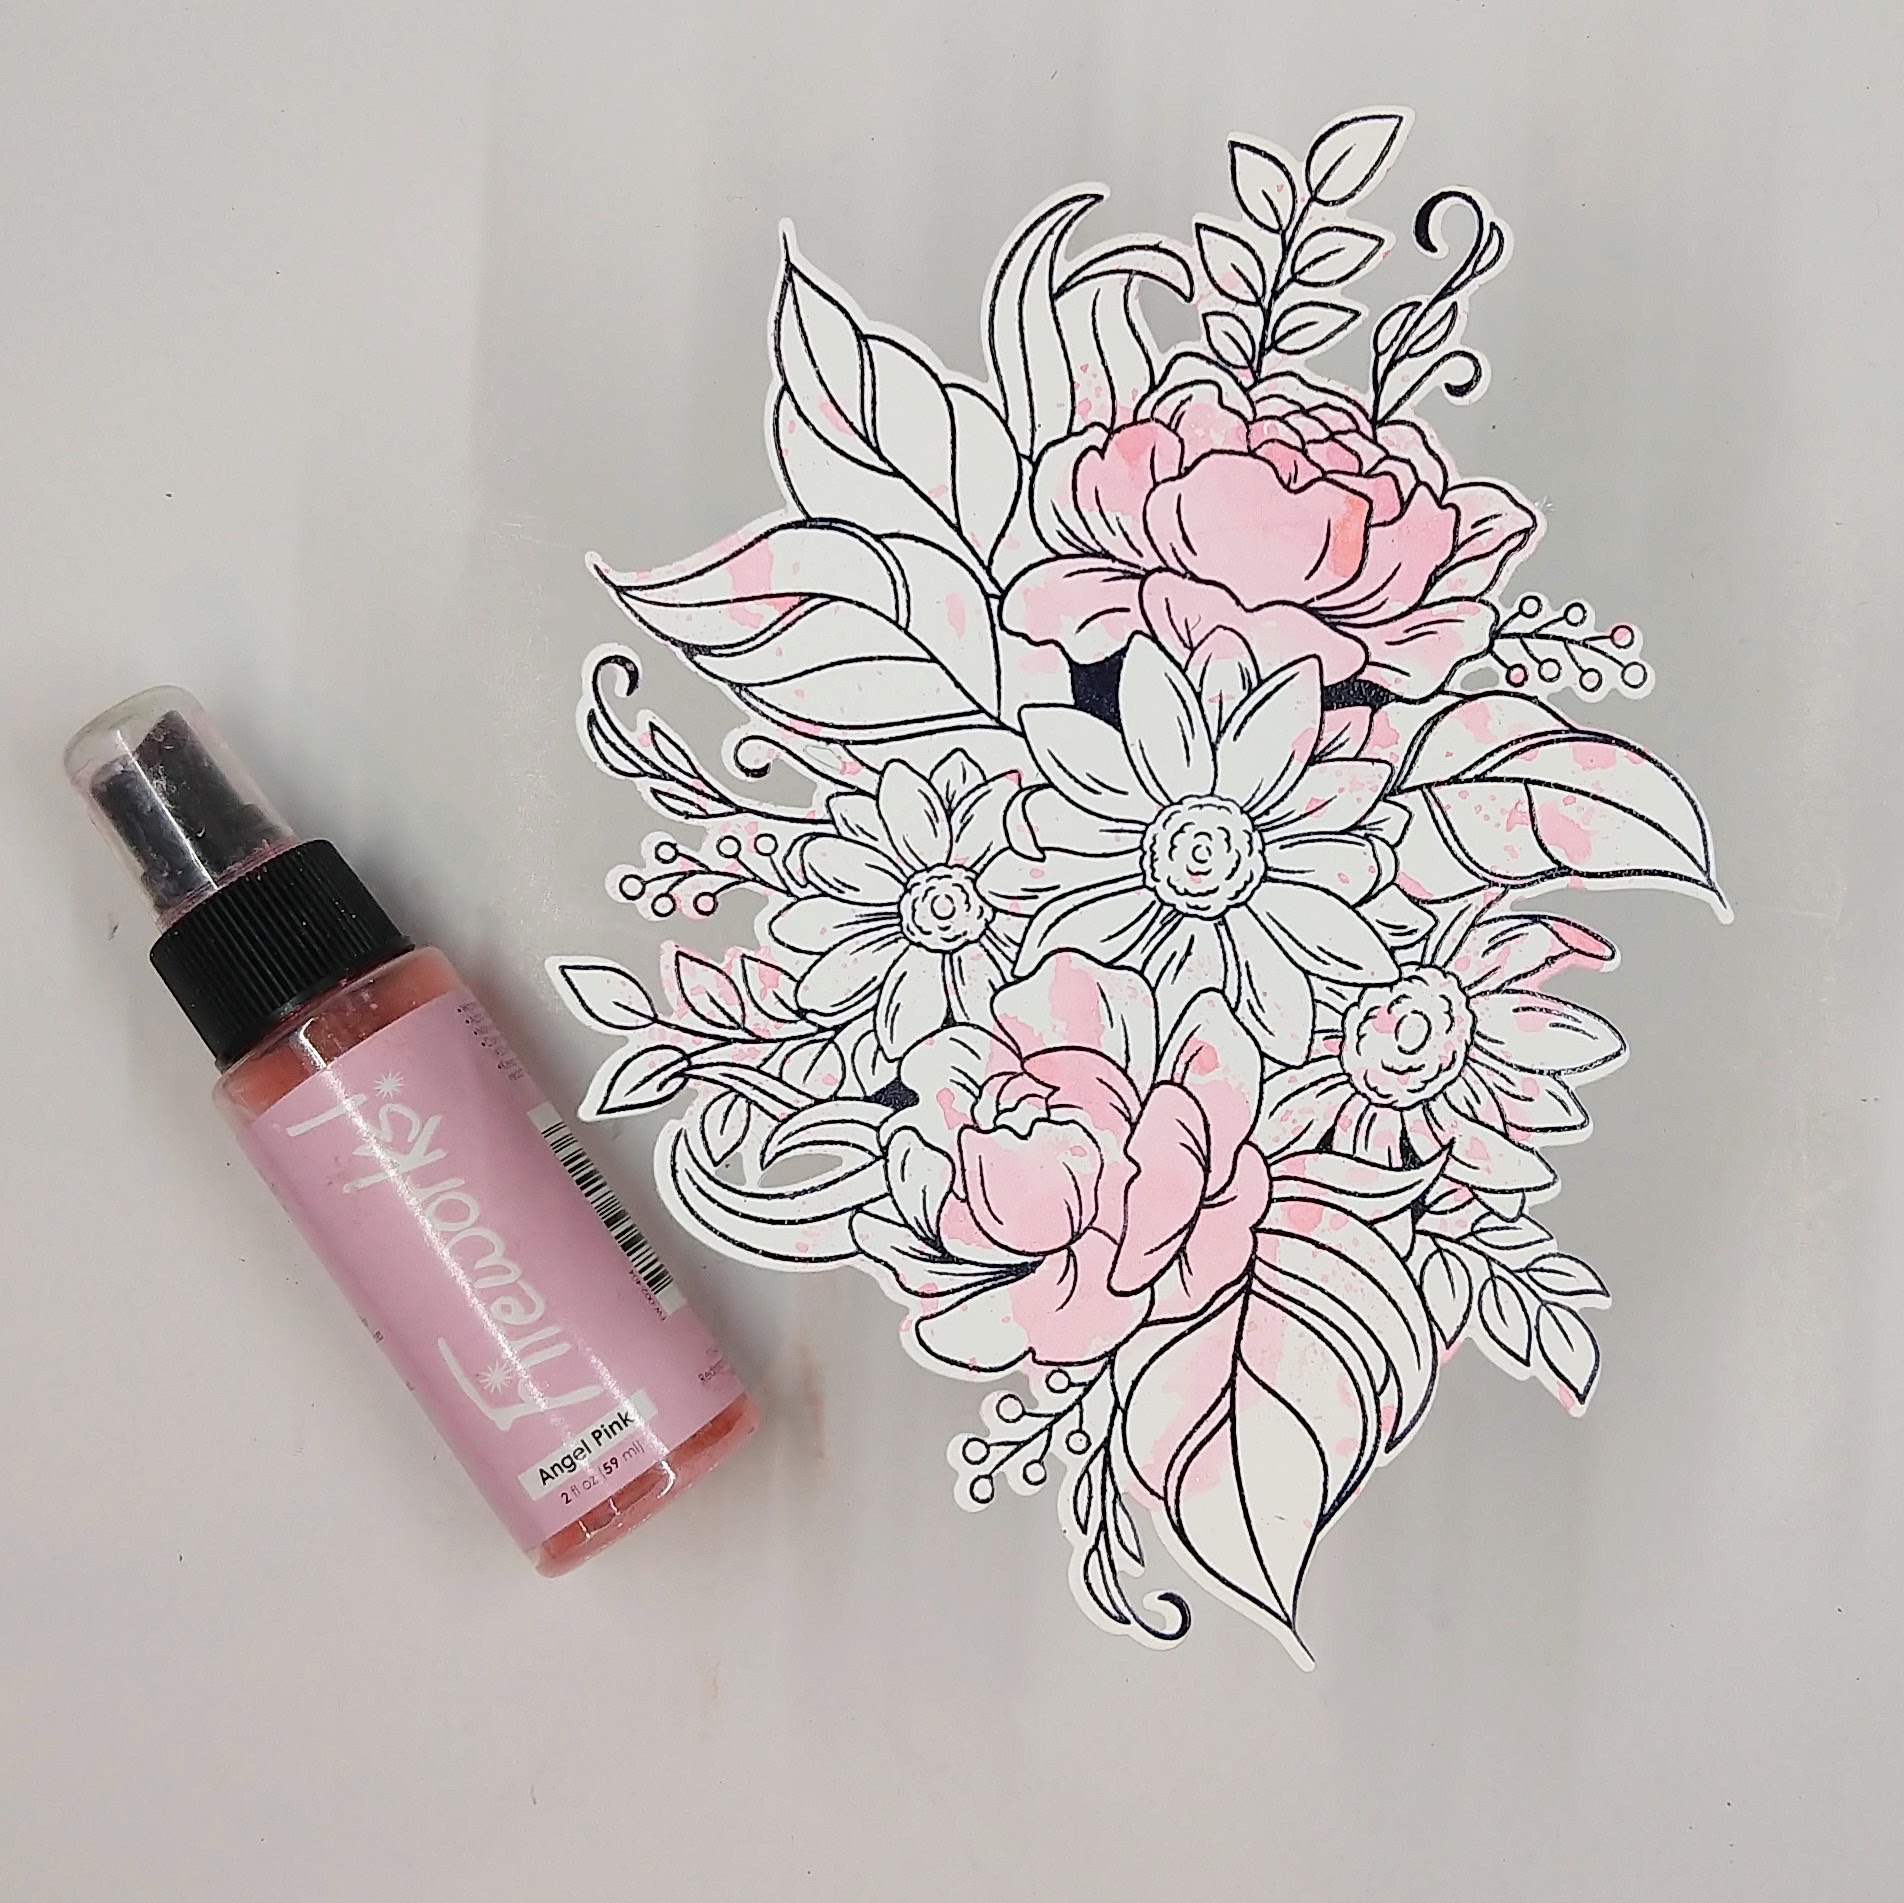
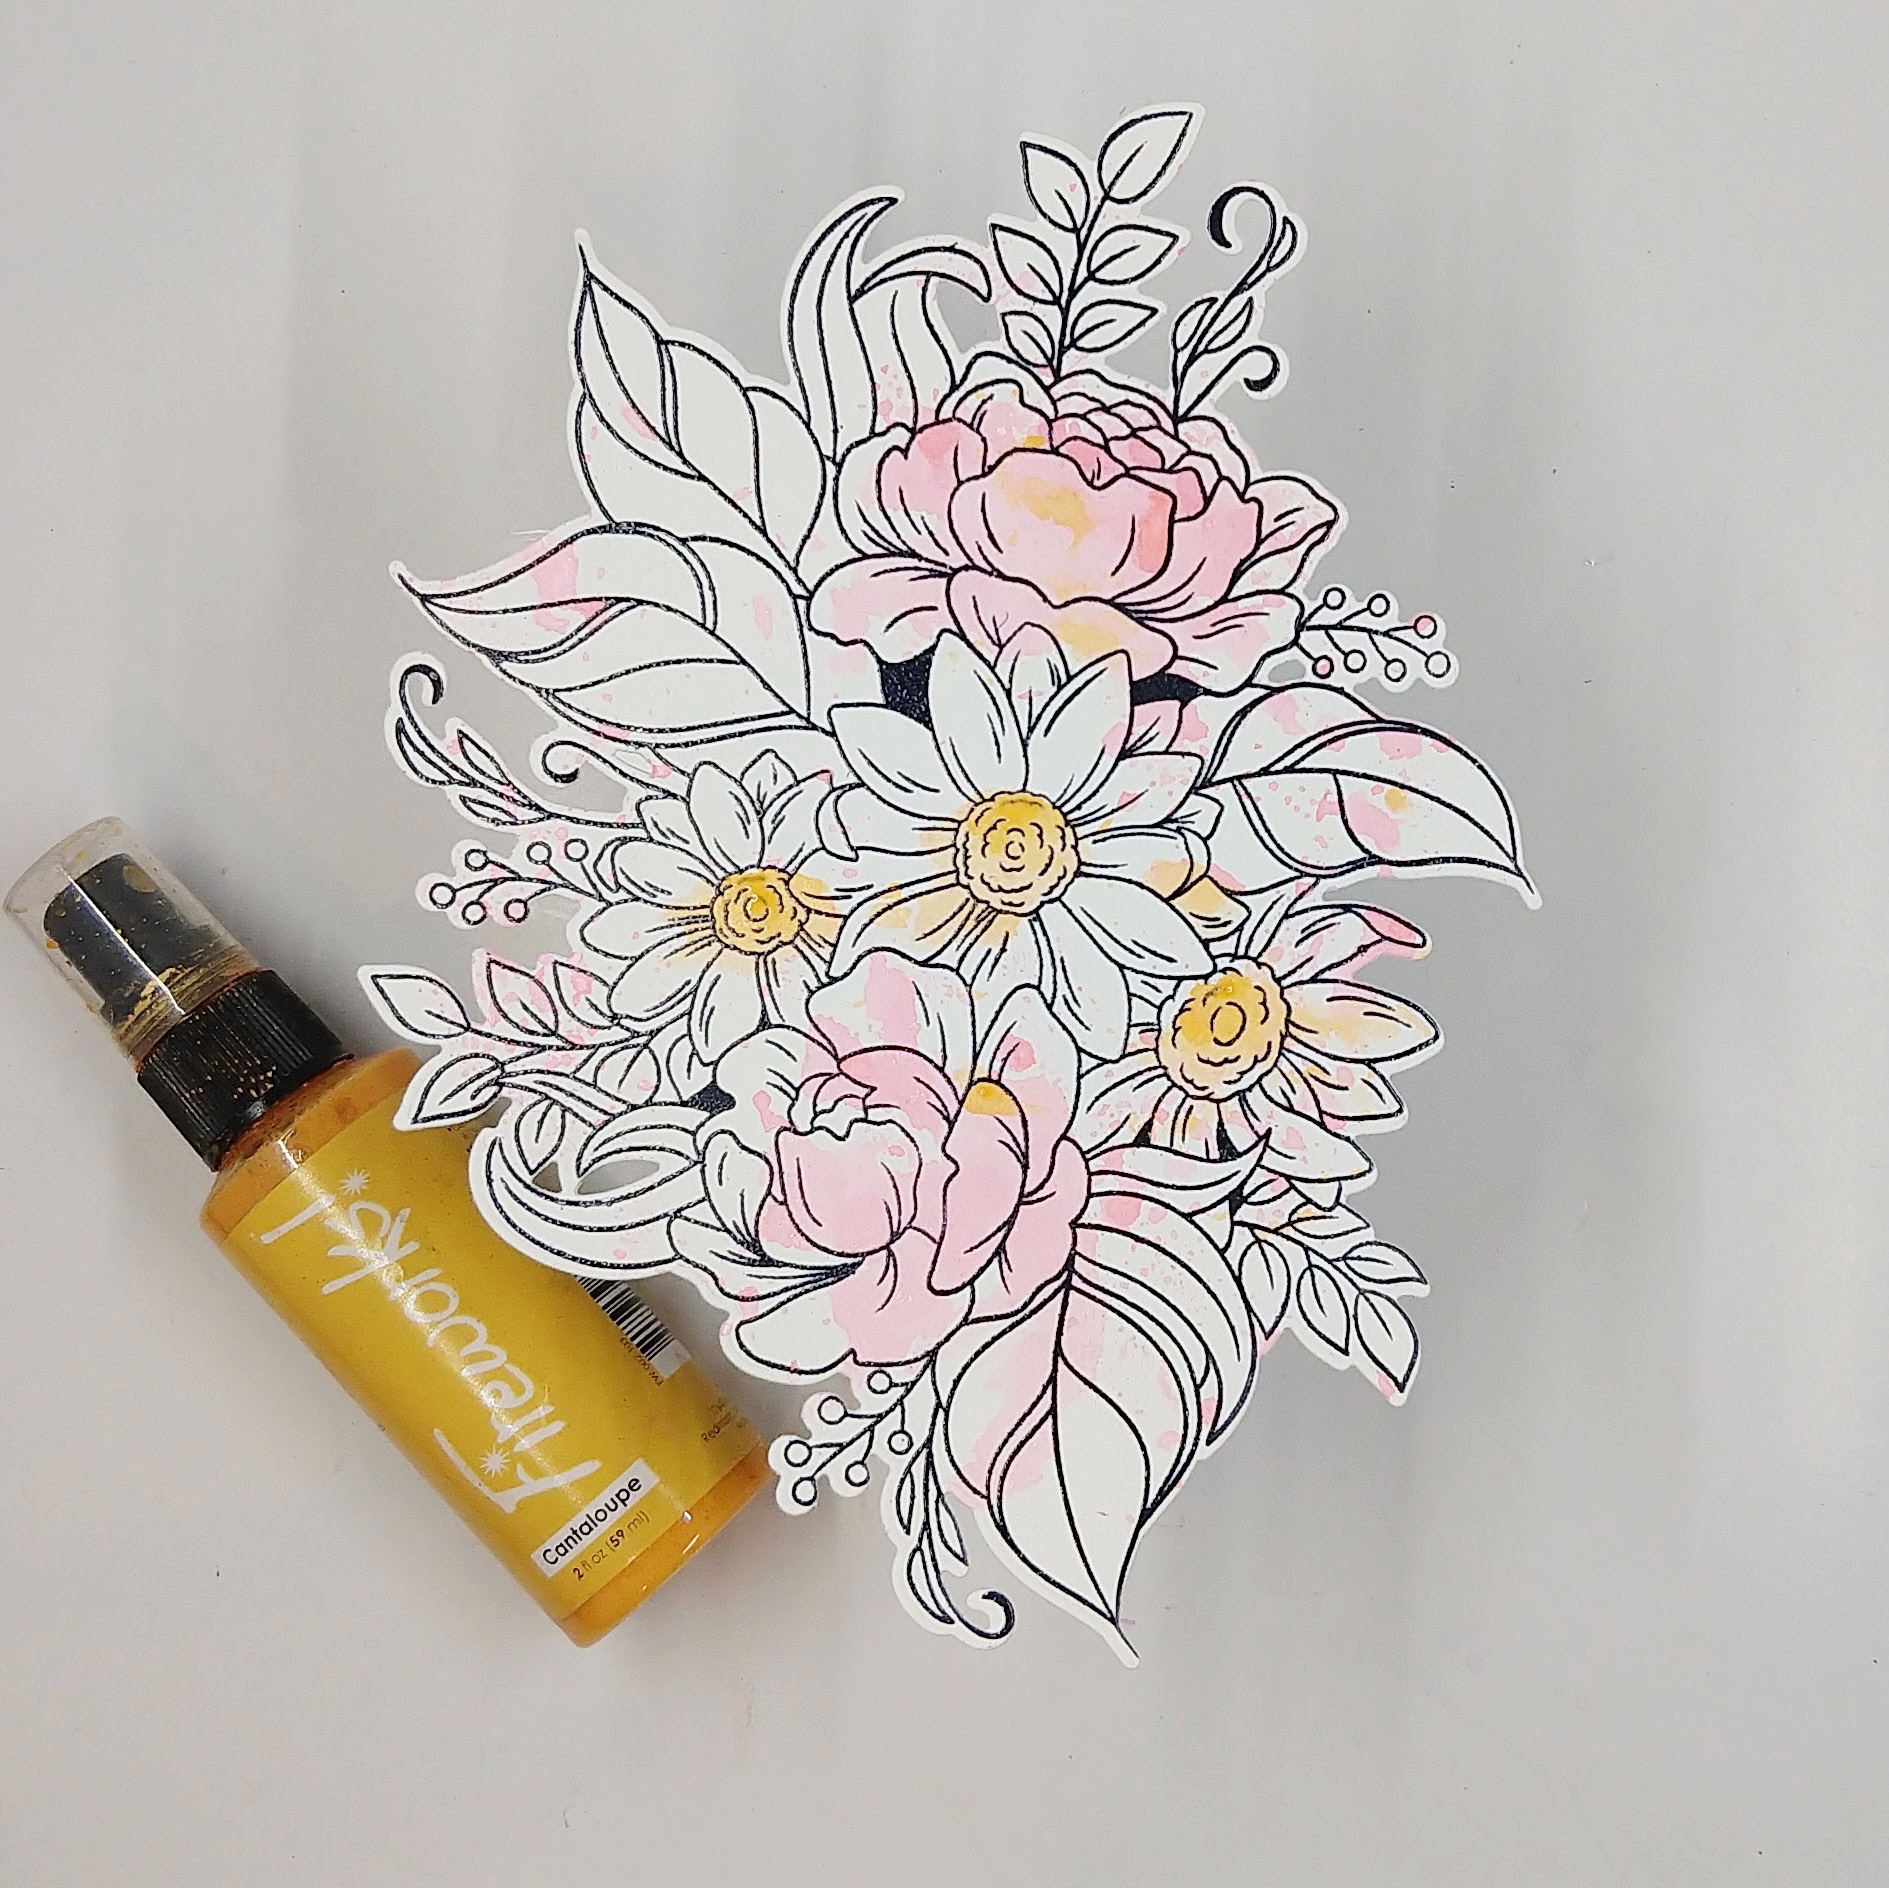
Step 2: After die cutting the floral image with the corresponding die, watercolor smoosh Angel Pink Fireworks! Shimmery Craft Spray, focusing on coloring the roses. Use a heat tool to dry the spray or set aside to dry.
Step 3: Watercolor smoosh the floral image with Cantaloupe Fireworks! Shimmery Craft Spray, this time focusing on getting most of the color into the centers of the daisies. Use a heat tool to dry the spray or set aside to dry.
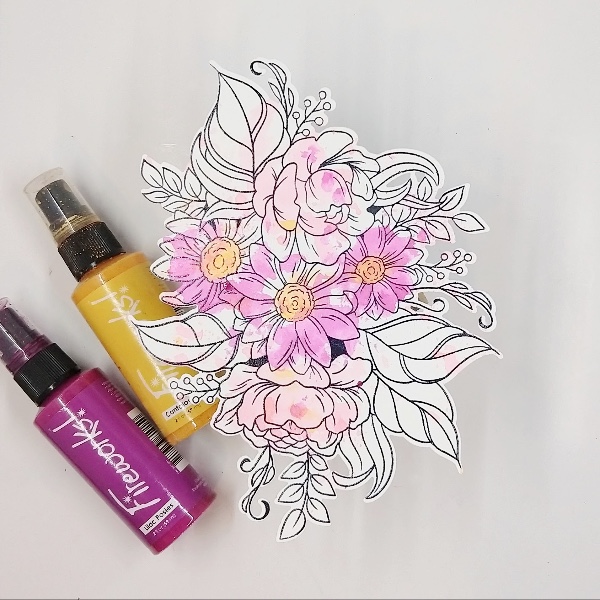
Step 4: Use Lilac Posies Fireworks! Shimmery Craft Spray to add another layer of watercolor smooshing to the image, this time focusing the color onto the daisies’ petals. Then paint in more of the Cantaloupe Fireworks! Shimmery Craft Spray into the centers of the daisies (to cover up some of the Lilac Posies spray in daisies’ centers).
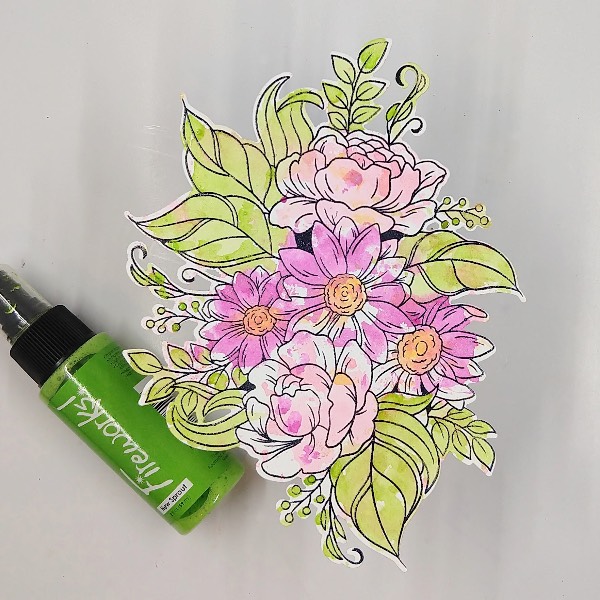
Step 5: Watercolor smoosh the floral arrangement again–this time with New Sprout Fireworks! Shimmery Craft Spray, focusing on adding color to the leaves and other greenery.
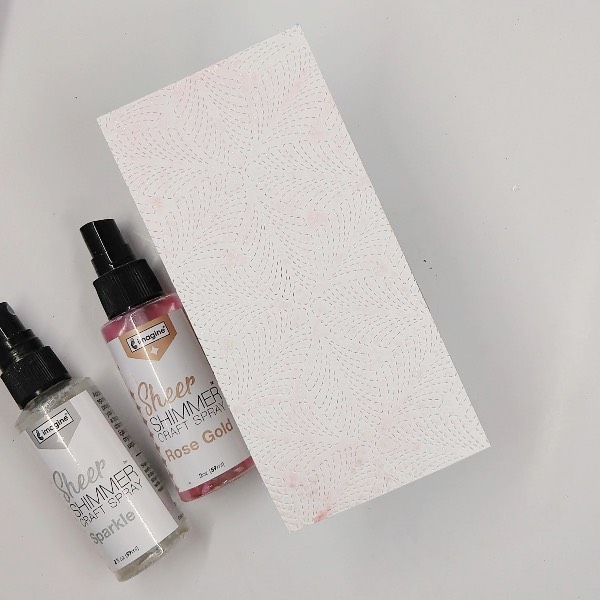
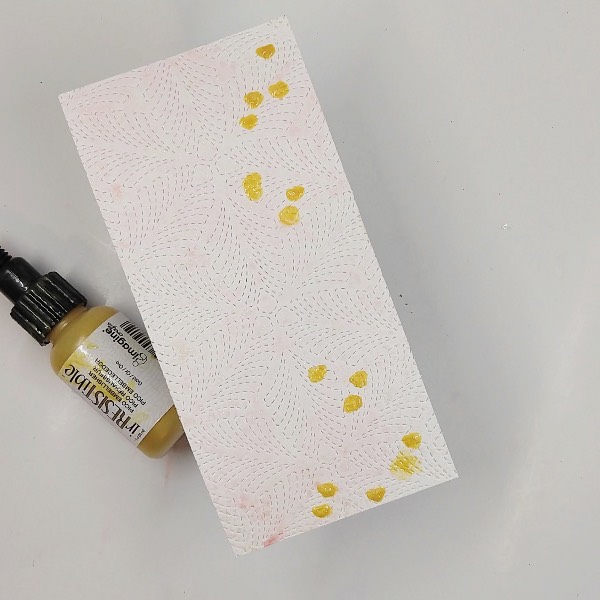
Step 6: Cut a piece of watercolor paper about 3 inches by 5.5 inches. Add texture to the panel by die cutting the panel. (Since the panel was smaller than the die, it didn’t actually cut anything out it just pierced the panel.) Then spray the panel with Rose Gold and Sparkle Sheer Shimmer Craft Spray. Allow to dry.
Step 7: Add irRESISTible Gold medium through a heart stencil onto the right side of the watercolor panel.
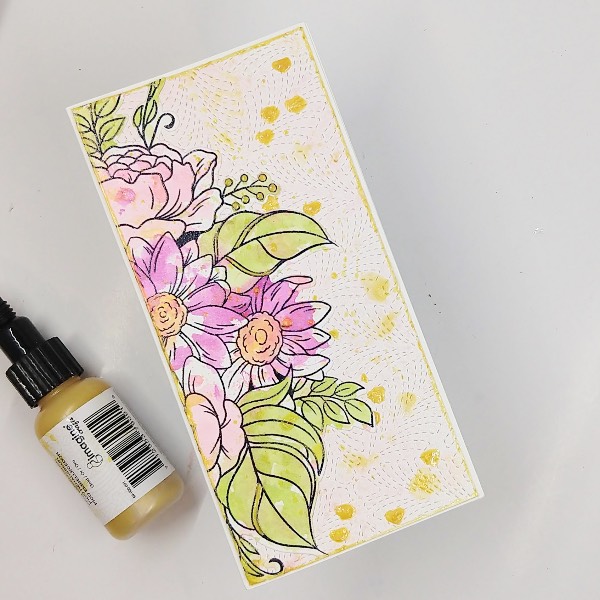
Step 8: Add irRESISTible Gold onto some of the thinner ribs on the larger stamped leaves and onto some of the berries. After it dried, cut the floral cluster in half with a paper trimmer. Then glue half of the floral cluster onto the lefts side of the panel.
Add more of the irRESISTible Gold medium onto the piece of acetate and spray with water to dilute it. Watercolor smoosh it onto the floral cluster and the background panel. Then glue half of the floral cluster onto the left side of the panel. Then paint the edges of the panel with more of the irRESISTible Gold medium.
Finally glue everything onto a minislimline card base.
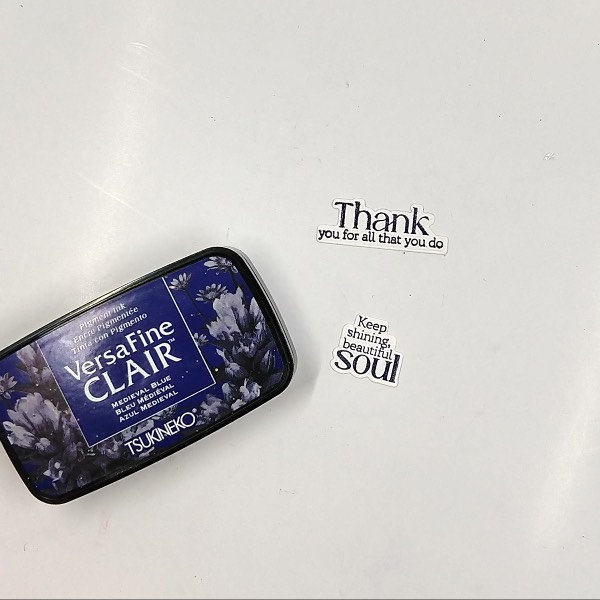
Step 9: Stamp two sentiments on a scrap of watercolor paper with Medieval Blue VersaFine Clair ink and emboss them with clear embossing powder. They were die cut with corresponding dies.
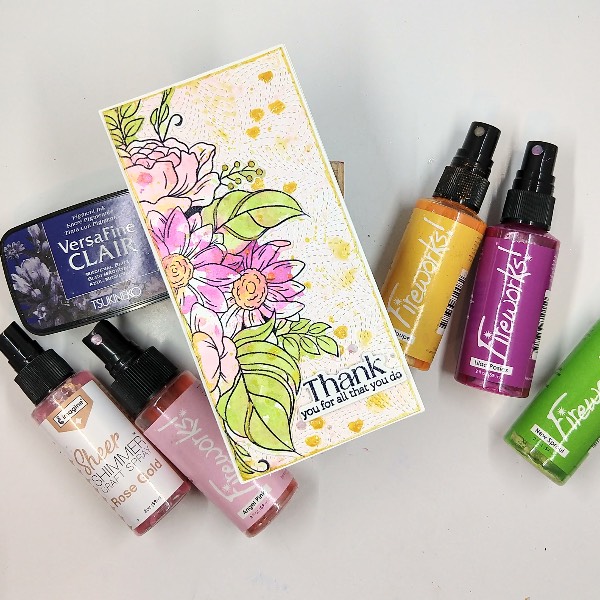
Step 10: Attach one of the sentiments onto the card with foam tape. To finish the card, glue white gem embellishments around the sentiment.
Step 11: Then it was onto the bonus card made with the leftover part of the floral image. The same heart stencil was sprayed with Rose Gold Sheer Shimmer Spray and then was pressed onto another panel of watercolor paper trimmed to 3 inches by 5.5 inches. After the spray dried, more of the gold IrRESISTABLE medium was painted onto a small music stamp, which was then stamped multiple times onto the panel.
Step 12: The remaining half of the floral cluster stamp was glued onto this pahel. The sentiment was attached with more foam tape. The edges were ink blended with Medieval Blue VersaFine Clair ink using a sponge dauber.
Step 13: Finish the second card by gluing the panel onto another mini slimline cardbase and gluing more white gem embellishments around the sentiment.
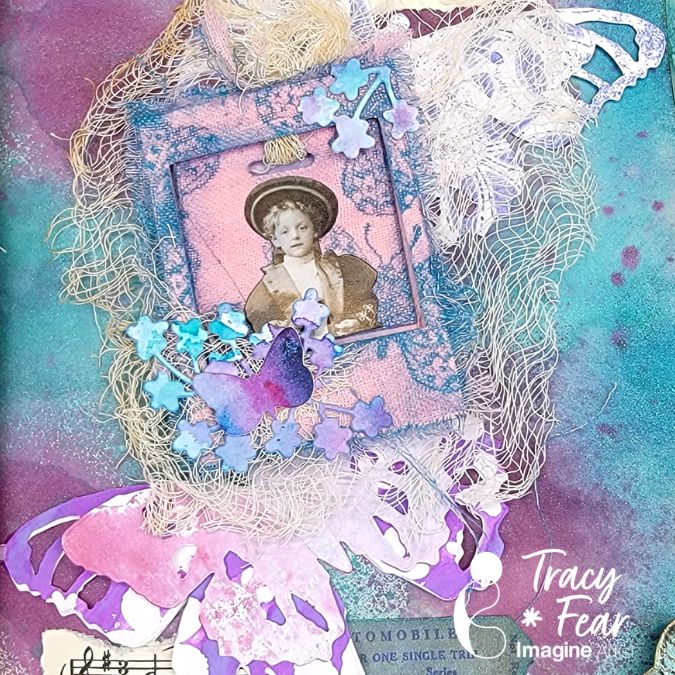
Hello Friends! Tracy here and today I am delighted to share this little frame tutorial perfect to fit into your junk journals or any other type of journal!
In today’s video tutorial I am sharing how I used stamps on muslin fabric to create a fun frame project! We will make one together, I will make 2 off camera, and at the end I will show you how I incorporated all three into my junk journal. Be careful, my friends, making these is addictive!
Skill: Intermediate Time: 30 Minutes to 90 Minutes
Art Supplies Stamping Platform Glue Brush (I use silicone) Your choice of stamps Ephemera of your choice Muslin Fabric-pressed
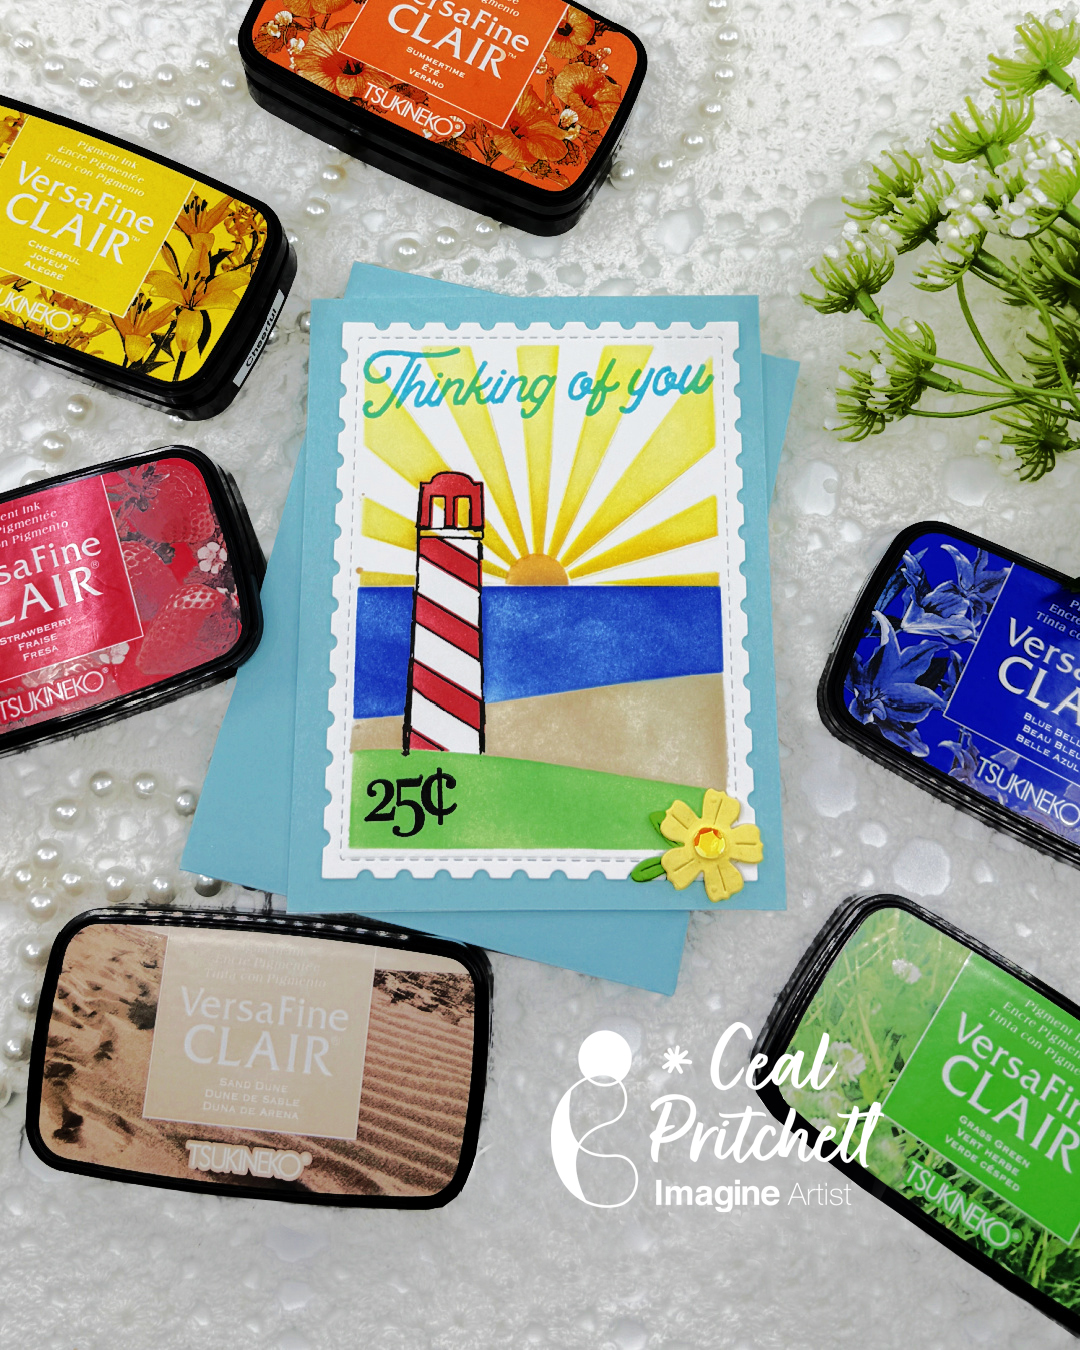
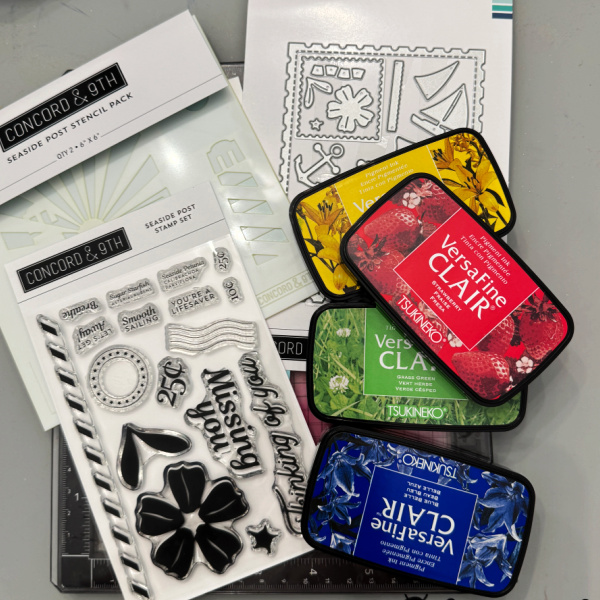
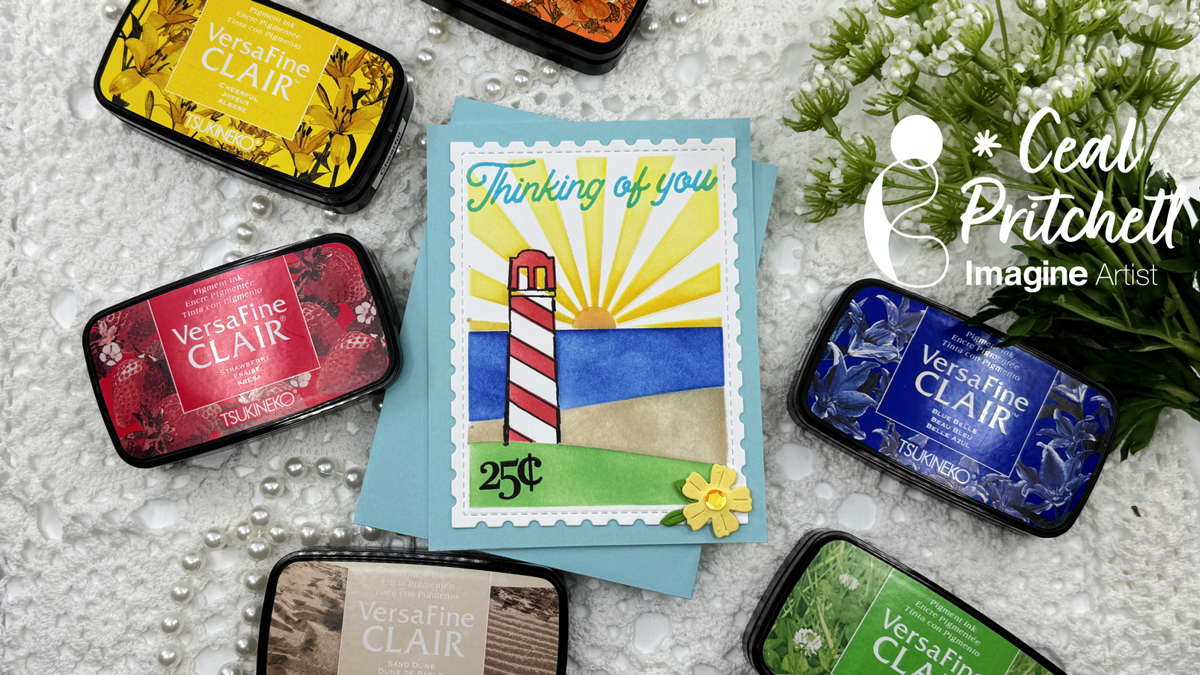
Hello crafty friends. It’s Ceal, here. Today I am sharing a beachy card using some summer colors. When I think beach, I think lighthouses because the beach we go to has one on it.
Skill level: Intermediate to advanced Time: An hour or more
Directions:
Gather your supplies. You will need a beach themed stamp, stencil and dies. Several colors of inks. Post-it notes or masking paper and a fine liner pen.
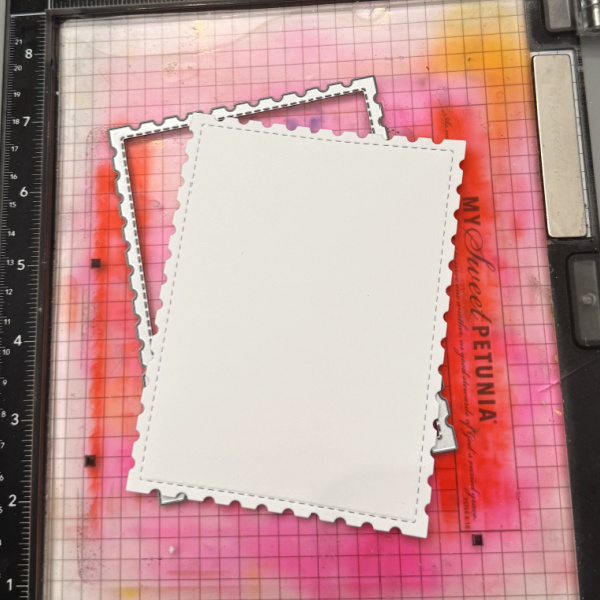
Step 1:
Die cut the postage stamp panel. This must be cut first with this particular set because you line up the stitched lines.
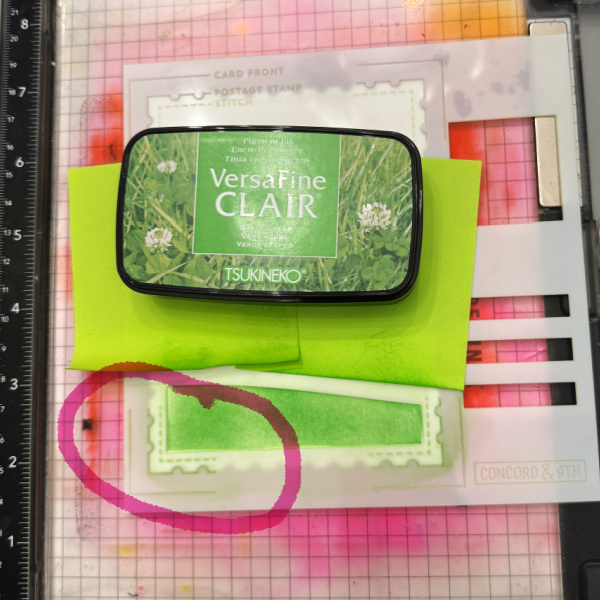
Step 2:
Place the stencil over the panel, lining up the stitched part, I circled it so you could see what I am referencing. Mask off other areas of the card so you don’t get ink on it. Ink blend green ink for the grass. Remove and clean the stencil
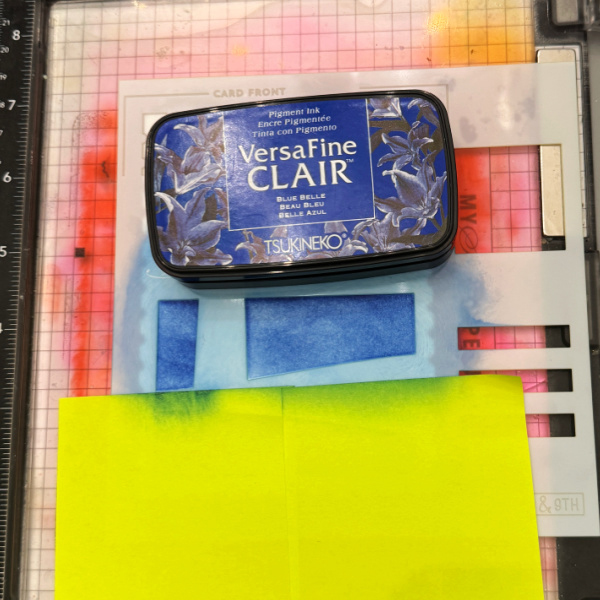
Step 3:
Mask off the grass and ink blend blue for the ocean. Remove and clean the stencil.
Step 4:
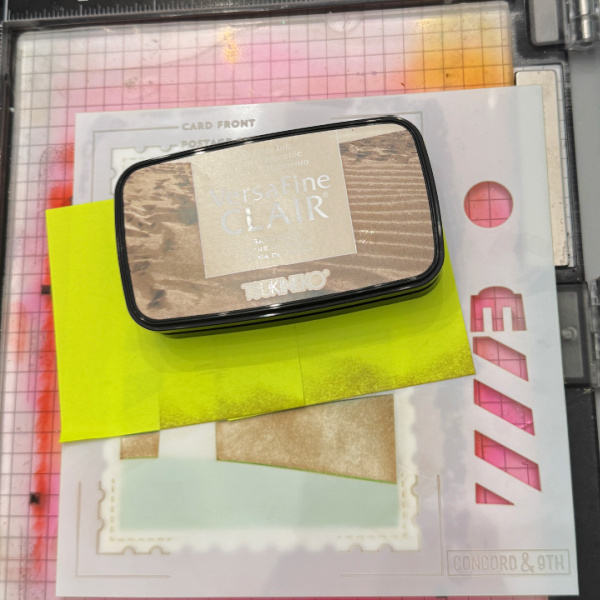
Mask off the ocean. Ink blend brown for the sand, remove and clean the stencil.
Step 5:
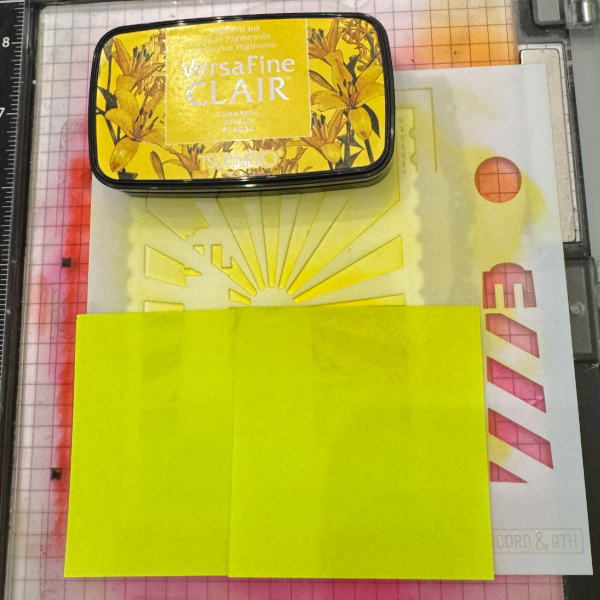
Mask off the bottom portion of the stencil. Ink blend Yellow for the sun rays. Remove and clean the stencil.
Step 6:
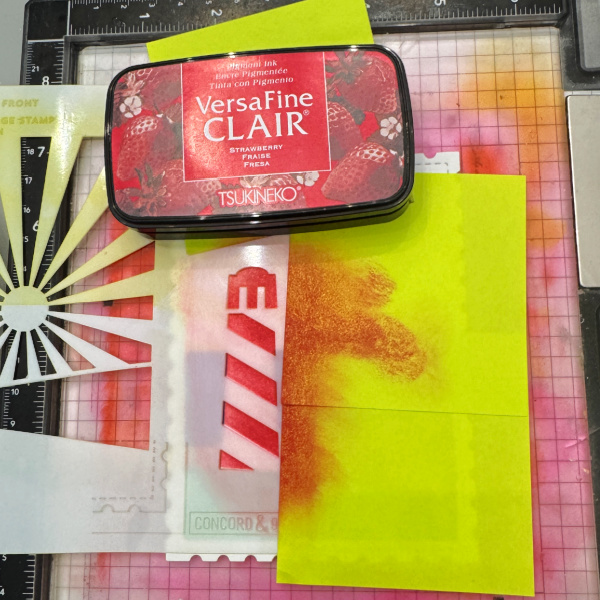
Ink blend red for the lighthouse. Remove and clean the stencil.
Step 7:
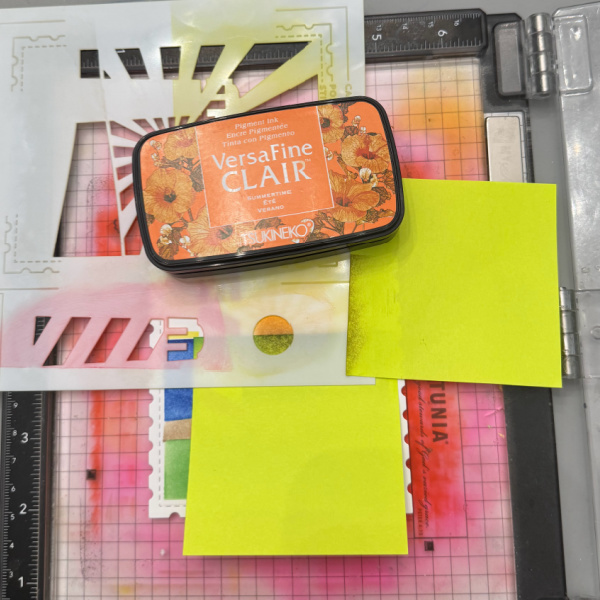
Be sure to mask off portions of the card that may get inky. Place the stencil down where the sun is in the white space that was left after blending the sunrays. Ink blend orange in the circle and also at the base of the sunrays. Remove and clean the stencil.
Step 8: (optional)
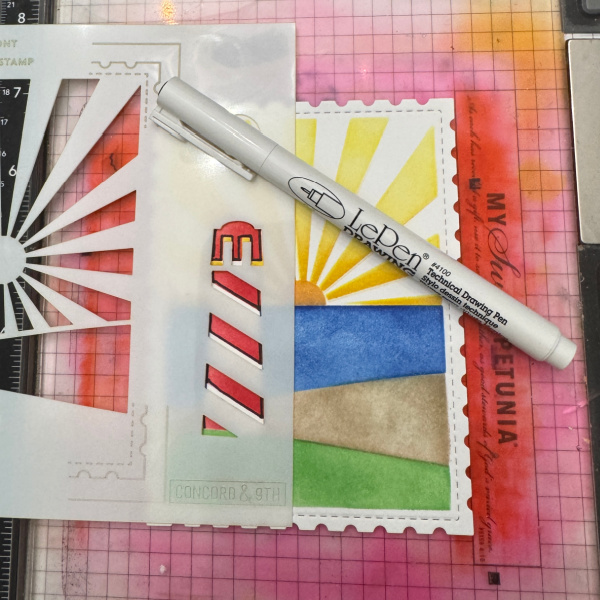
This step s totally optional but I like the way it grounds the lighthouse. Place stencil back over the lighthouse and use a fine liner pen to trace the stripes.
Step 9:
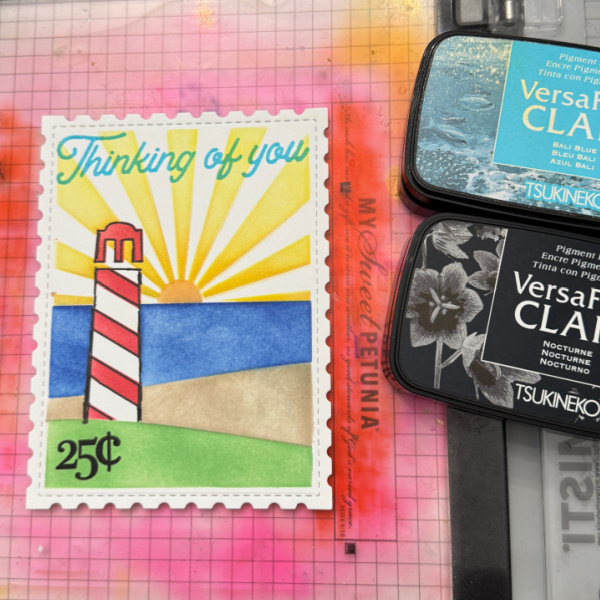
Stamp the greeting in blue and the 25 cents in black. Not pictured in this photo but you will need to die cut the flower and add it to the corner as shown in the finished card.



 Imagine Blog