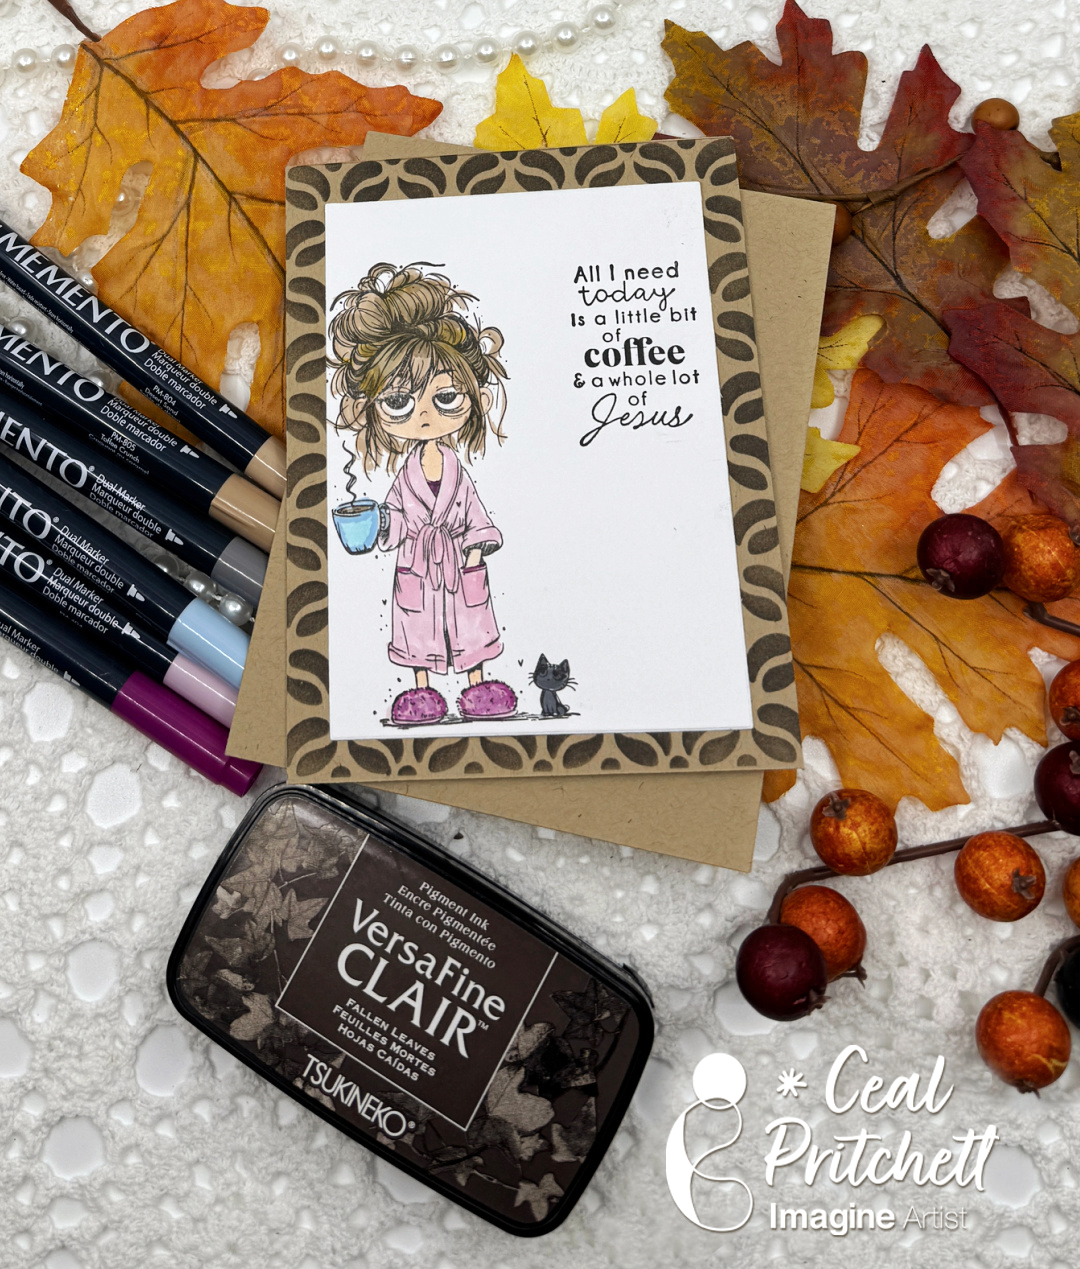
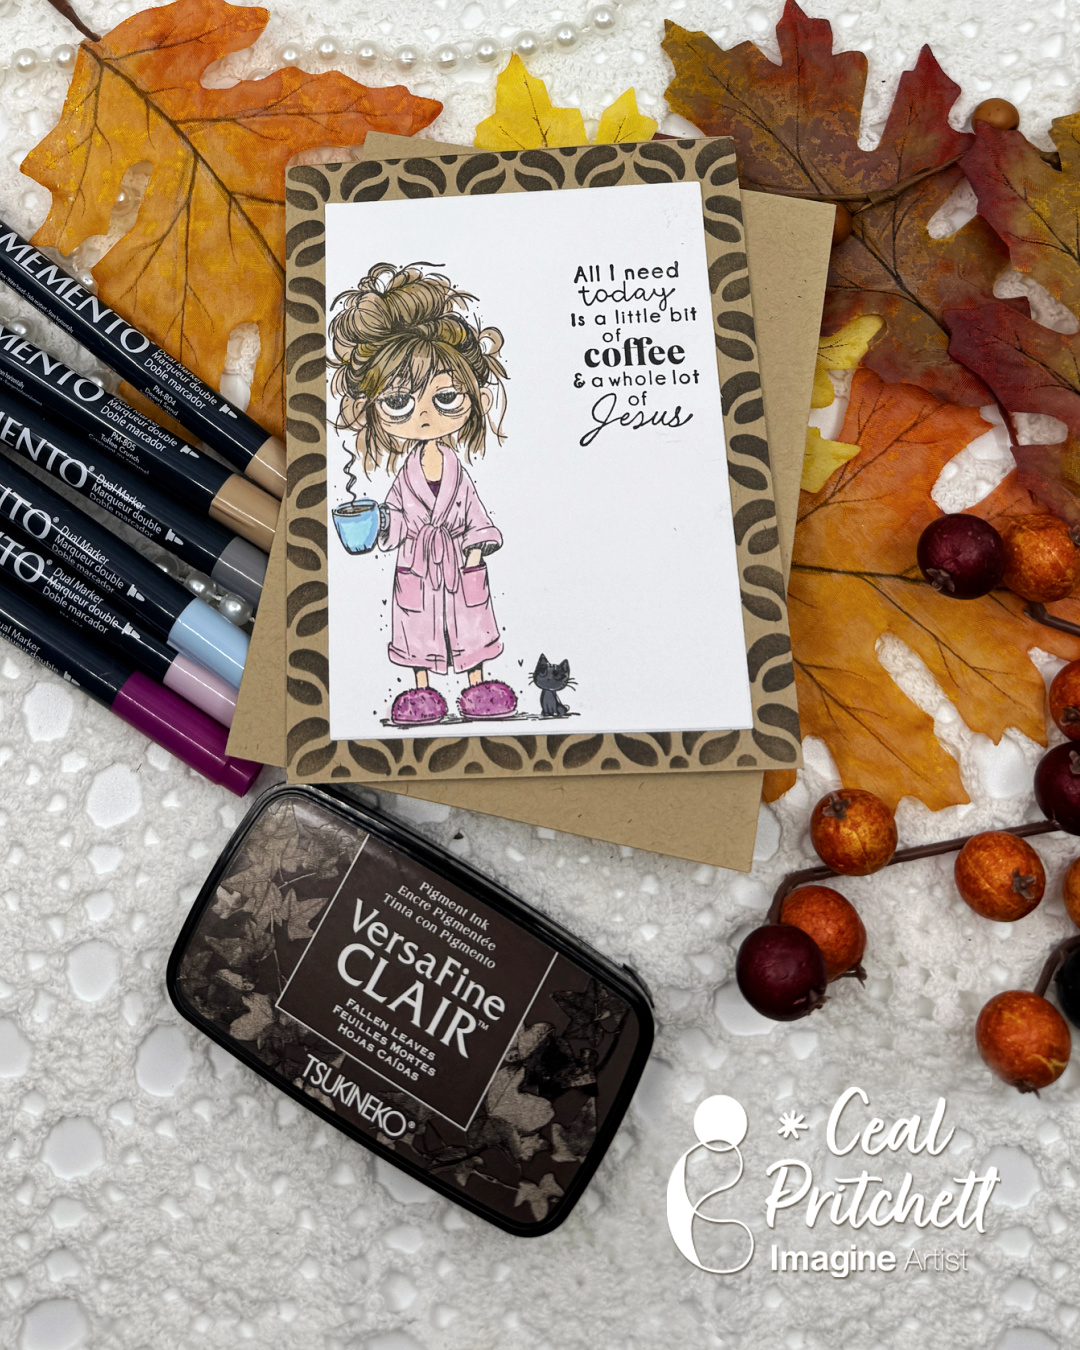
Hello friends! It’s Ceal, here. Today I am sharing a coffee card. This totally looks like me on a Monday morning.
Skill: Beginner Time: 30 minutes
Directions:
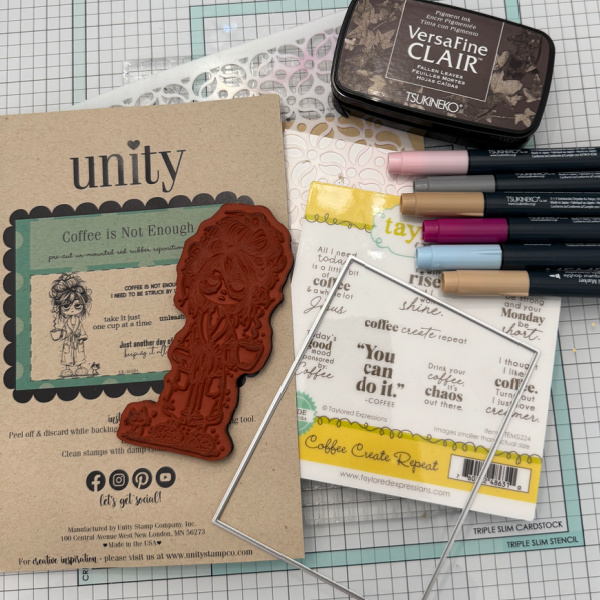
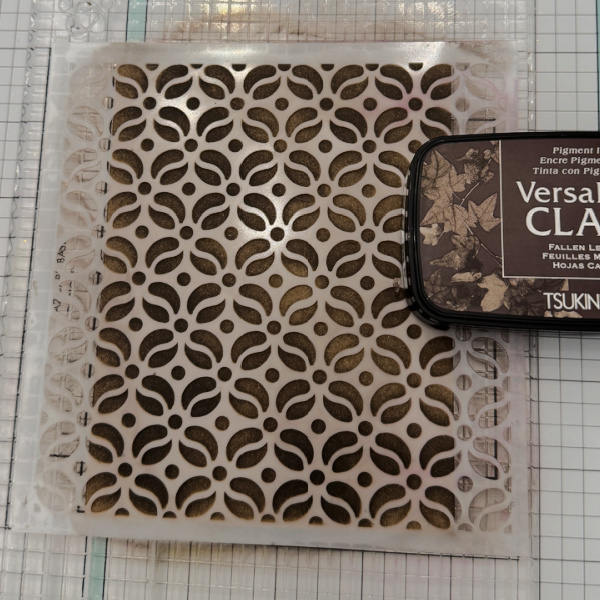
Gather your supplies. You will need a coffee stamp, a sentiment set, markers, dark brown ink and a stencil for the background.
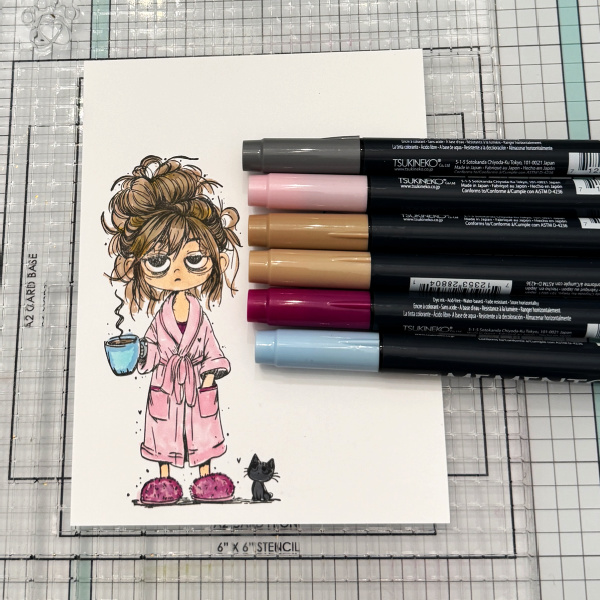
Step 1: Stamp the image and color it in with markers. I used Toffee Crunch and Desert Sand for her hair, Angel Pink and Lilac Posies for her outfit, Summery Sky for the coffee cup and Gray Flannel for the kitty.
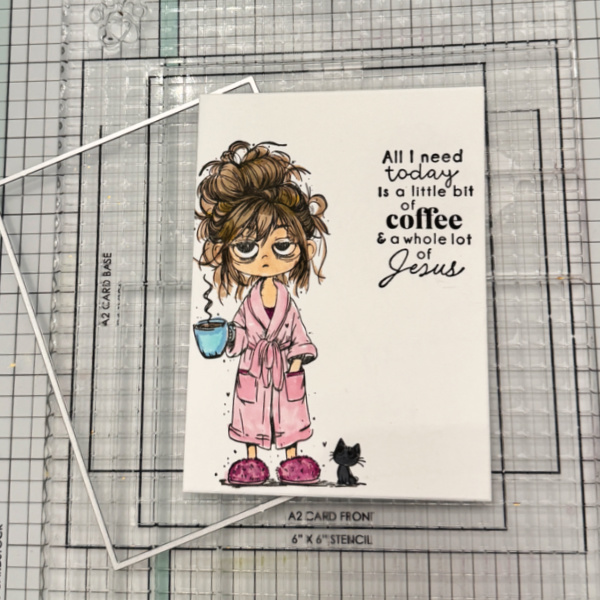
Step 2: Cut the panel down and add sentiment.
Step 3: Cut a panel of Kraft cardstock to A2 size and use a dark brown (I used Fallen Leaves) to color in the stencil for the background. Add the background panel and the image panel to the card base.
Other supplies: • Coffee is not Enough Stamp Set – Unity Stamp Co • Coffee Create Repeat Stamp set – Taylored Expressions • Coffee Bean Flower Stencil – Ink On 3 • Rectangle dies – Hero Arts • Grip mat – Simon Says Stamp
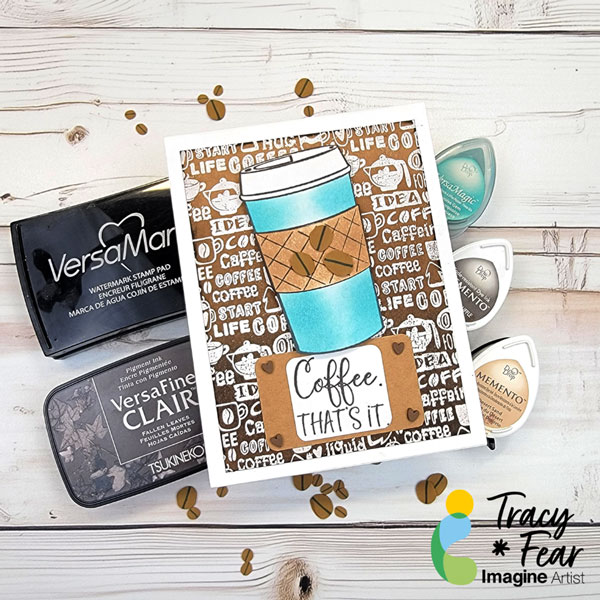
Hi everyone! It’s Jessica here. Today I have a simple coffee card to share with you. I like to include die-cutting and embossing in a lot of my projects, but I thought today I would focus on the basics – stamping with just ink and paper.
Step 1: Stamp the coffee stamps using Brilliance Coffee Bean and VersaFine Clair Warm Breeze ink pads. The stamp set I am using today is from Stampin Up’s Latte Love set, but you can use whatever coffee stamps you may have.
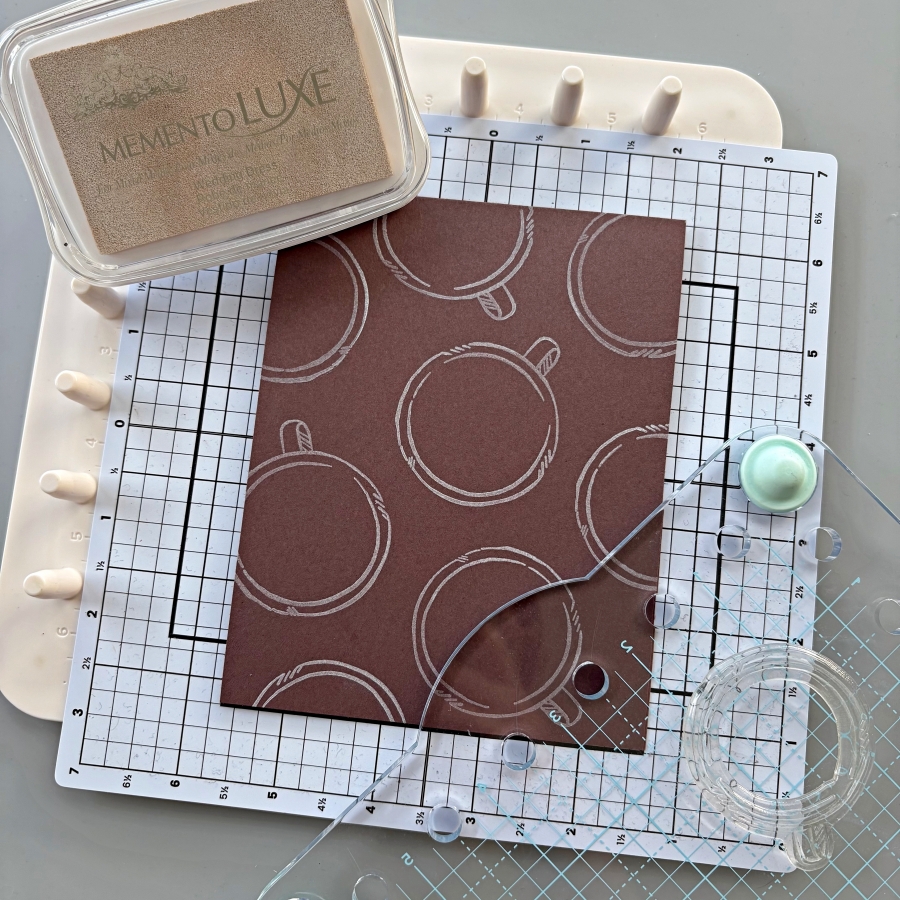
Step 2: To create a simple, patterned background, try stamping the same image at various angles using Memento Luxe Wedding Dress ink pad. For a more subtle, tone-on-tone look, you could use VersaMark ink pad instead. These two ink pads are my favorite for stamping background patterns.
Step 3: For the sentiment, I decided to use VersaFine Clair Pinecone since the VersaFine Clair ink pads are great at capturing fine details in sentiment stamps. I also fussy cut around the stamped image.
Step 4: I added a bow using some twine I saved from previous gift packaging, and adhered both the sentiment and the latte images with foam tape. And that completes today’s coffee card! Thanks so much for stopping by, and I’ll see you in my next tutorial!
Other Products Used • Coffee Background Stamp and Coffee Cup stamp from Technique Junkies • 120lb paper in white and Kraft • Foam Tape • Misti tool • PVA Adhesive • White Super Fine Embossing Powder
ALTERNATIVE PRODUCTS THAT CAN BE USED TO RECREATE SOMETHING SIMILAR Any Inks any combination of background stamps and feature stamps To learn how to create your own dressed up box click here!
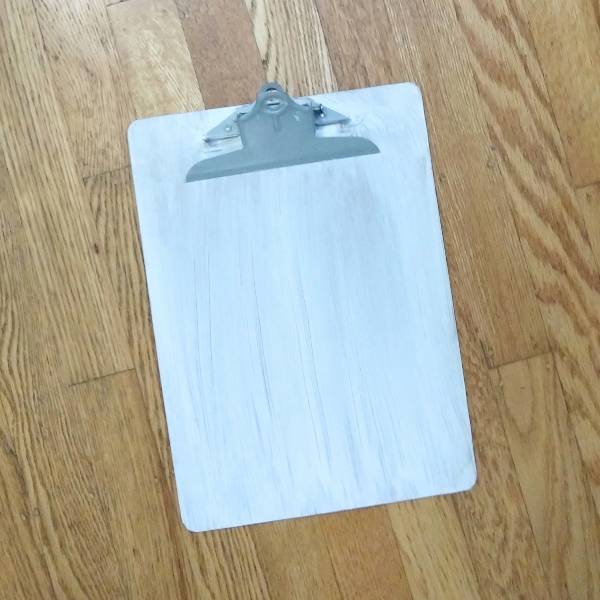
Step 1: Paint a thin layer of thin layer of white gesso onto an old clipboard and set aside to dry. (I used some old spools of washi tape to hold open the metal clip so that it wouldn’t get stuck in the drying gesso.)
Step 2: Spray Pear Tart Fireworks! Craft Spray through a detailed heart stencil on the lower left corner of the clipboard. Emboss with clear embossing powder to set the spray.
Here is a closeup of Step 2:
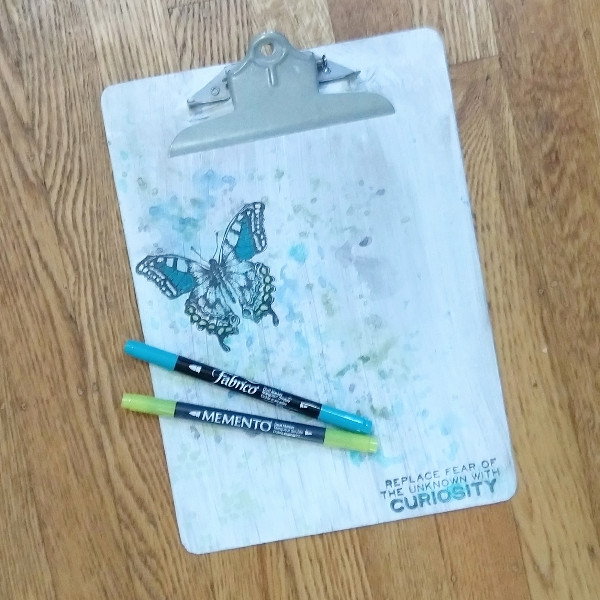
Step 3: Stamp a large butterfly in the upper left part of the clipboard base and a sentiment (or maybe in this case affirmation) in the lower right corner with Nocturne VersaFine Clair ink and then heat emboss both with clear embossing powder.
Step 4: Watercolor smoosh the clipboard with a variety of blue, green and black watercolor in layers.
Starting out with Turquoise Gem VersaMagic Chalk Ink, press the ink pad onto a scrap piece of acetate packaging and spray with water. Then press the acetate over the butterfly to create a light blue area around the butterfly. Press the remaining color from the acetate in a diagonal line across the clipboard from the upper left corner to the lower right corner into the stamped sentiment.
Repeat the process with Hint of Pesto VersaMagic Chalk Ink.
Then draw on the acetate with Danube Blue Memento Dual Marker and spray with water; this time focus most of this darker color around the butterfly and splatter the clipboard with the remainder of the dark blue watercolor.
Finally, draw on the acetate with Tuxedo Black Memento Dual Marker and spray with water. Use the black watercolor to splatter the butterfly (and to cover up any blemishes left behind when stamping).
Let everything dry.
Step 5: Color in parts of the butterfly image with Tropical Lagoon Fabrico Dual Marker (center of the upper wings) and Pear Tart Memento Dual Marker (small circles on the edge of the lower wings). Color in the word curiosity in the sentiment with more of the Tropical Lagoon Fabrico Dual Marker. Heat emboss with clear embossing powder.
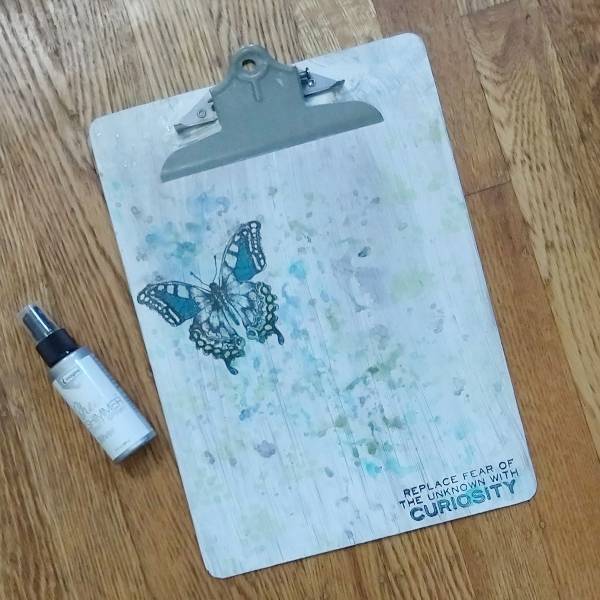
Step 6: Spray Silver Sheer Shimmer Craft Spray onto the acetate and watercolor smoosh it onto the clipboard. Splatter any remaining spray on the acetate onto the clipboard. If larger individual splatters are desired, unscrew the top and use the tube/straw from the spray bottle to dab large blobs of Silver Sheer Shimmer Craft Spray onto the clipboard and finish the project.
Other • Golden – Gesso Semi-Opaque Acrylic Primer • Stampers Anonymous and Tim Holtz – stamp set – Perspective CMS213 Clear Embossing Powder • Foam paint brush (for the gesso) Thin paint brush (for splattering) Small detail stencil in my stash
– Hi everyone! It’s Jessica here. Today I am sharing a simple way to create 3D Christmas trees for your holiday cards. It is beginner friendly with minimal supplies, and I think it’s perfect to mass produce as well.
Skill: Beginner Time: 30 min
Directions:
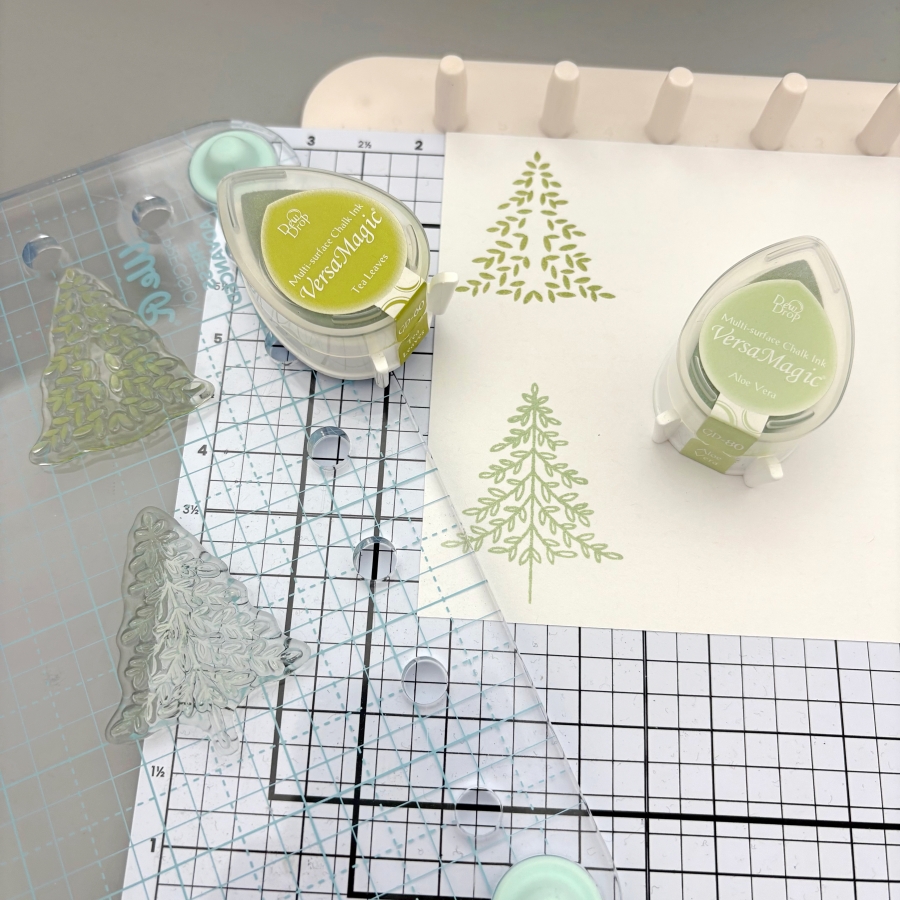
Step 1: Start by stamping Christmas tree images with VersaMagic Aloe Vera and Tea Leaves ink pads. I used stamps from Stampin’ Up’s Perfectly Plaid set, but any small Christmas tree image would work for today’s technique. For each 3D Christmas tree, you would need three layers. You could stamp each design three times for each layer, or only stamp the top layer for quick mass production of cards.
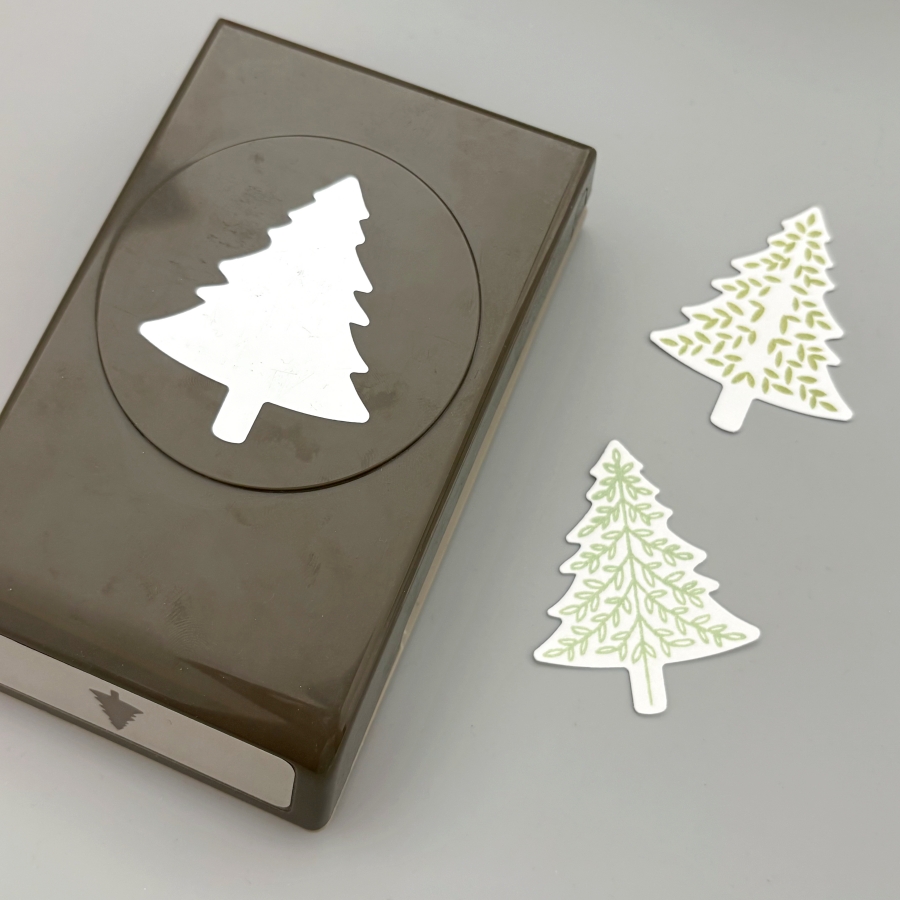
Step 2: Next, use the matching paper punch to cut out the Christmas trees. If you only stamped the top layer, be sure to punch out 2 additional cutouts with white cardstock for each 3D tree you are building. Since I am making two 3D trees today, I would need 4 more white cutouts.
Step 3: Score each Christmas tree cutout in the middle. I lined up the top and bottom of the cutout to the score guide to score.
Step 4: After scoring, fold the stamped Christmas tree cutout in half, and apply On Point Glue to the top of the folded crease. Then adhere it to a blank (or stamped) cutout. Be sure to hold the folded layer in place for about 20 seconds before the glue dries. Repeat this process to adhere the second layer to the third tree cutout.
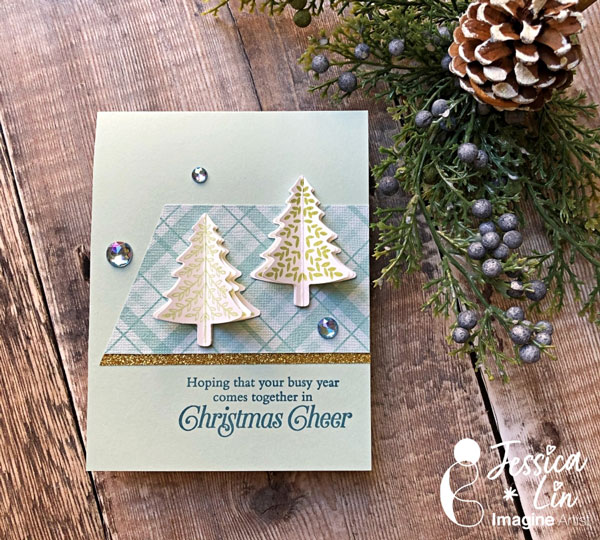
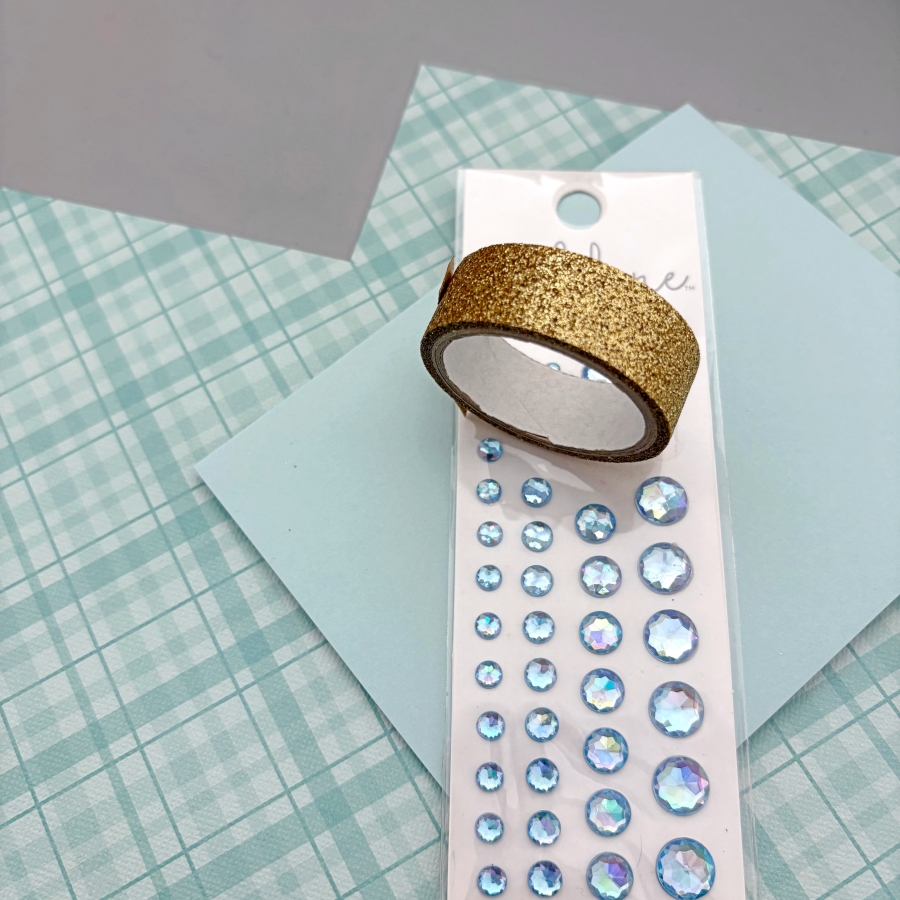
Step 5: Now that the 3D Christmas trees are made, it is time to prepare the card base. Trim a piece of patterned paper to 4 x 2 ¼ inches and a cut a 4 ¼ inch piece of gold glitter washi tape. Trim one side at an angle to create a banner shape and adhere both pieces to the card base.
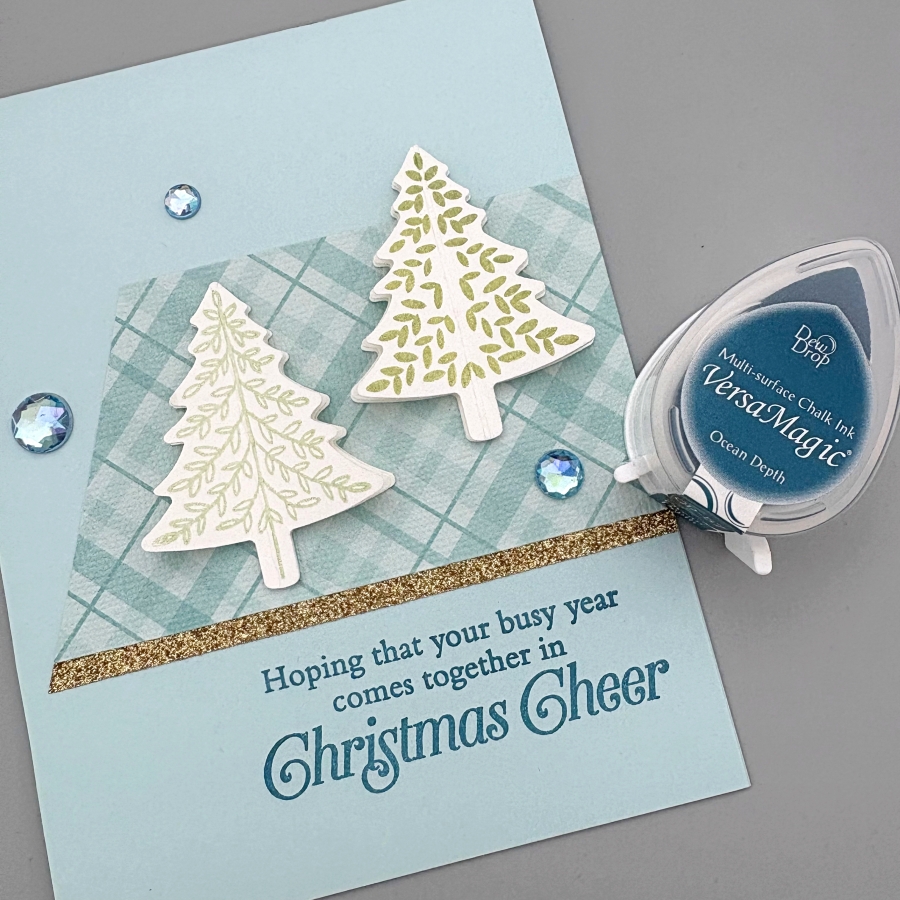
Step 6: Finally, stamp the sentiment using VersaMagic Ocean Depth ink pad. Adhere the 3D Christmas trees using Tear-It! Tape and embellish the card with a few rhinestones.
Here is a finished card where I stamped all 3 layers of the 3D Christmas trees. I love how easy it is to create the 3D element, and it is mail-friendly, too! I hope this tutorial inspires you to get a headstart on making Christmas cards for this year. Thank you so much for stopping by, and I’ll see you in my next tutorial!
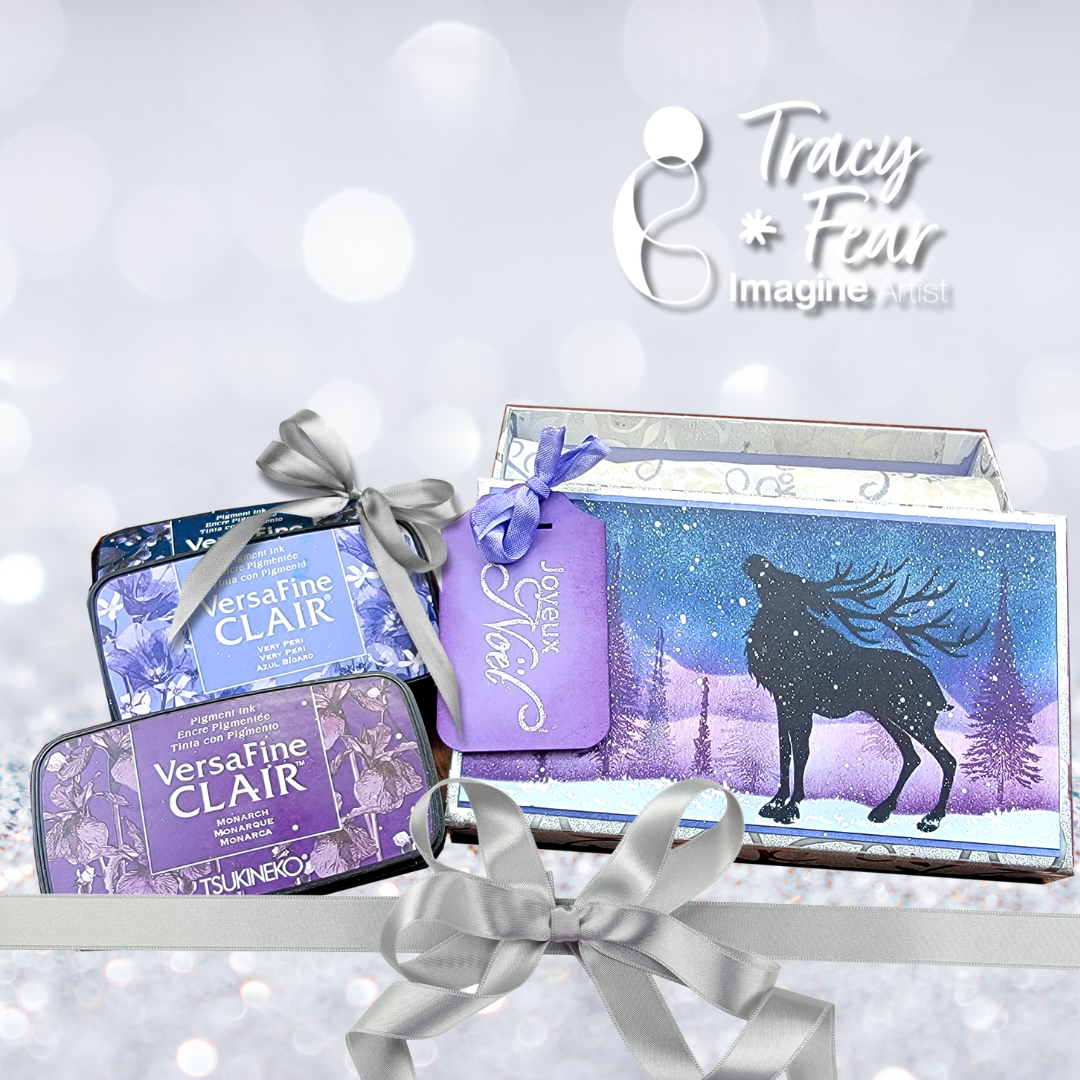
Hello Friends! Tracy here and today I am delighted to share this tutorial that helps you make gift giving even more spectacular by creating a custom gift box using your stamps and inks!
In today’s video tutorial I am sharing how I used some plain tissue paper and a Dollar Store box along with stamps and inks and a little paint to dress up a gift box!
Tracy
Skill: Intermediate Time: 30 Minutes to 90 Minutes
Art Supplies
Stamping Platform Glue Fan brush Your choice of stamps Ephemera of your choice Tissue paper Empty gift box Stencil Stencil Brush











 Imagine Blog