See How to Create Rose Gold Theme Gift Tag

by Lori Warren

See How to Create Rose Gold Theme Gift Tag

I have limited space for craft supplies and am always looking for ways to get multiple uses out of a single supply. One way to accomplish this, for example, is to keep a stash of white paper flowers in different sizes and color them to match your project.  This way, you don’t have to make room for multiple packages of pre-colored flowers. See how I create a Rose Gold Dragonfly theme gift tag using several of Imagine and Tsukineko inks.

Skill: Beginner
Time: 1 hour

Directions


Step 1

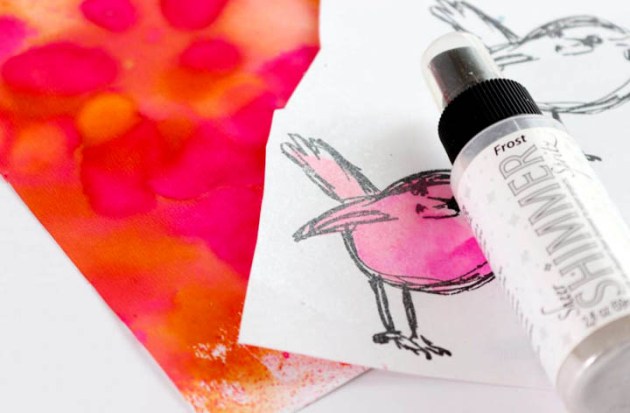
Apply Brilliance Ink to mat, add Shimmer Spray, use to color paper flower. Allow to dry.


Step 2

Repeat step one for multiple flowers.


Step 3

Add dots of clear IrRESISTible Pico Embellisher to flowers. Allow to dry.


Step 4

Apply Brilliance Ink in Pearlescent Coral to the mat, add Shimmer Spray and lay tag down into wet ink.  Allow to dry.


Step 5

Stamp diamond pattern, with Brilliance, to sections of tag.


Step 6

Stamp script onto tag with Delicata Golden Glitz.


Step 7

Edge tag with Brilliance.


Step 8

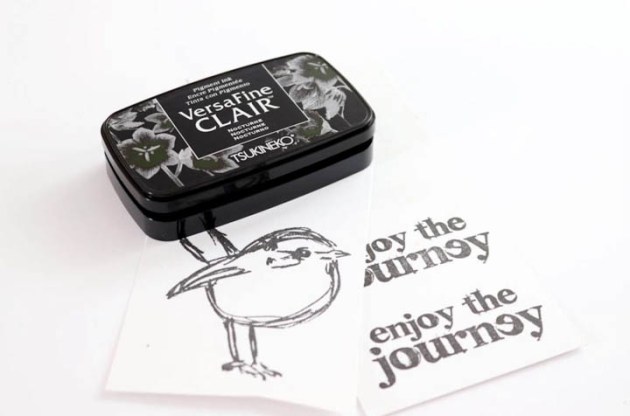
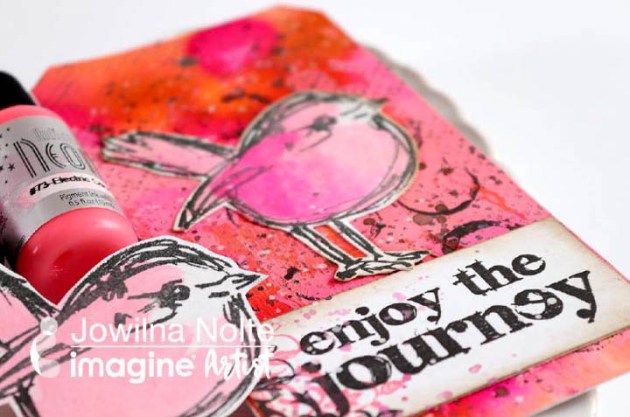
Stamp Dragonfly image and saying with VersaFine CLAIR in Nocturne.


Step 9

Embellish with dots of Tuxedo Black IrRESISTible Pico Embellisher.


Step 10

Apply Rose Gold Sheer Shimmer Stix to edge of flowers.


Step 11

Embellish tag with ribbon and flowers.

Supplies

Imagine
Other
  • The Paper Studio – white tag
  • Recollections – paper flowers
  • Celebrate it – sheer ribbon
  • Ashland Floral Essentials
  • Lori’s Cards & Creations – Art Nouveau Dragonfly stamp set
  • Viva Las Vegas script stamp
  • Lost Coast Designs – Little Diamonds Background

Learn How To Use Rose Gold Shimmer Stix For A Beautiful Card

by Jowilna Nolte

Learn How To Use Rose Gold Shimmer Stix For A Beautiful Card

The new Sheer Shimmer Stix shows the range of products from Imagine and how the control of the dauber adds just the right amount of shimmer and shine to any crafting projects. Take a look at how this die-cut element is transformed into the star of the show with a few strokes of genius using the clever new Shimmer Stix.

Skill: Advanced
Time: 20 minutes

Directions


Step 1

Use a pre-cut heart or download the cut file from the link in the products list below and cut with a Cricut machine. Create the die-cut heart and take it apart. Use a jumbo dauber and blend Radiant Neon Coral around the outside edges.


Step 2

Use the Rose Gold Sheer Shimmer Stix to add shimmer over the inked heart.


Step 3

Use the same Shimmer Stix to add color and shine to the outside of the die-cut heart. Leave to dry.


Step 4

Ink a chipboard sentiment using Radiant Neon Coral ink pad.


Step 5

Ink the chipboard sentiment with VersaMark ink pad and sprinkle with glitter embossing powder. Heat the powder until fully melted with your heat gun. Use On Point Glue to adhere the outside and the inner of the die-cut heart to the front of your folded card.


Step 6

Use Rose Gold Sheer Shimmer Spritz to add colored splats to the background of your card and leave the ink drops to dry. Adhere the embossed sentiment to the front of the card and finish off diamanté. The shimmer created by the embossed sentiment and that of the Sheer Shimmer Stix and Spritz makes for an amazing shiny card.

Supplies

Imagine
Other

See a Stamping Technique Inspired by Impressionism

by Lori Warren

See a Stamping Technique Inspired by Impressionism

We all need a little inspiration sometimes and, for this project, I took my inspiration from the Impressionism style of paintings from the 1860s.  It resulted in a fun project using the All-Purpose inks and other Imagine products to create a miniature floral scene on a 4”x4” flat panel canvas.

Skill: Beginners
Time: 1 hour

Directions

Directions


Step 1

Apply Cool Grey ink to the canvas with a bullet-shaped Fantastix.


Step 2

Stipple on Sky Mist ink with Fantastix to the upper portion of the canvas.


Step 3

Stipple on Celadon ink to lower portion of canvas with Fantastix.


Step 4

Stipple Blue Bayou onto the upper portion of the canvas, sparingly.


Step 5

Place Celedon ink onto craft mat, ink stamp, & stamp stems onto the lower portion of the canvas.


Step 6

Stamp roses with VersaFine Clair in Medieval Blue & Monarch across canvas above the stems.


Step 7

Stamp saying with VersaFine Nocturne onto the canvas.


Step 8

Edge panel with Blue Bayou ink.


Step 9

Add black paint splatters.


Step 10

Spray canvas with Sheer Shimmer Craft Spray in Sparkle.


Step 11

Edge canvas with Sheer Shimmer Stix in Gold.

Supplies

Imagine  
Other
  • The Angel Company stamps
  • Mini canvas
  • Acrylic block
  • Paint brush

See How to Use Inkers for a Mixed Media Tag

by Jowilna Nolte

See How to Use Inkers for a Mixed Media Tag

This month’s color, Coral offers so many possibilities. I pulled out all my products in those shades and created a bright and beautiful gift tag perfect for tying around a gift. I love making tags instead of cards – so quick and easy and just the right size to experiments and create some fun effects.

Skill: Beginner
Time: 30 minutes

Directions


Step 1

Add a few drops of dye ink refill ink onto watercolor paper and mist with water. Keep adding drops of ink and mist with water until you are happy with the look.


Step 2

Use a tag template and cut your colored paper into a tag shape.


Step 3

Stamp birds and sentiment onto smooth white cardstock using VersaFine Clair Nocturne ink.


Step 4

Add a few drops of re-inker ink onto your craft mat. Mist water next to the ink. Pick up a small amount of water and mix with the ink and then paint your bird images.


Step 5

Mist your tag and painted birds using Shimmer Spray in Frost. It gives the end product a beautiful shimmer.


Step 6

Trim your sentiment strip and adhere it to the bottom of your tag. Adhere to the painted birdie above the sentiment. Add additional stamped detail to the left of the tag and the background. Use inks to add splatters over the tag for some interest.

Supplies

Imagine

Other

  • Watercolor paper
  • Cardstock – white
  • Stampers Anonymous – stamp
  • Paint brush
  • Watercolor paint

With Love Is The Sentiment Today

by Jowilna Nolte

Make your colors pop and become more vibrant by using layers of ink on top of each other and add a magical spray of Ink Potion to it. A quick resist effect and stenciling adds to this fun love inspired Valentine’s Day card in shades of red.

Skill: Intermediate
Time: 30 minutes

Directions


Step 1

Adhere a stencil (brick design) to a piece of white cardstock. Use Sweet Plum and Love Letter Memento Luxe ink pads and blend color through the stencil.


Step 2

Leave the stencil in place for this step. Use an ink blusher and a small amount of gloss texture paste and swipe it over the stencil. Using a small amount at a time will prevent the paste from seeping underneath the stencil. Carefully remove the stencil and leave to dry. Wash your stencil immediately.


Step 3

Trim your stenciled panel smaller to fit onto the front of a card. Use a heart stencil and modeling paste to add a stenciled design to your background. Leave the paste to dry.


Step 4

Once the paste is dry, spray Lady Bug Fireworks over the right side of the panel to add color. Mist the entire panel with Ink Potion no.9 and see how all the colors pop. The resist from the glossy paste leaves the design clear only letting the ink sit inside the open spaces adding more color in selected areas.


Step 5

Use VersaFine Clair Glamorous and stamp onto white cardstock using a background design. Die-cut small and large hearts out of the stamped piece.


Step 6

Ink the panel around the edges using Memento Rich Cocoa to highlight the color even more. Adhere the hearts using foam tape for dimension. Emboss a sentiment and adhere to the large heart. Add ink splats in red, white, brown and black. Finish off your card with diamante.

Supplies

Imagine 

Other

  • Modeling Paste
  • Heart Stencil
  • Brick stencil
  • Kaisercraft – Sentiment
  • Heart die-cuts
  • Carabelle Studio – background stamp
  • Watercolor paint
  • Palette knife
  • Heat gun
  • Anna Griffin – Glossy Paste
  • Foam tape

Make It Happen with this Beautiful Art Journal Design

by Lori Warren

Make It Happen with this Beautiful Art Journal Design

Who wants to “Make things happen” in 2019?  I sure do and that is what inspired me to make this 4” x 6” Art Journal page featuring a variety of Imagine products. The tutorial includes how to use your Craft Mat to create a watercolor background effect with irRESISTible sprays as well as how to create a watercolor palette for detail coloring with Memento inks.

Skill: Beginner
Time: 1 hour

Directions


Step 1

Apply VersaFine Clair (Medieval Blue & Teal Zeal) to a 4” x 6” Art Journal panel with Jumbo Daubers.


Step 2

Spray panel with Ink Potion No. 9 and encourage the ink to blend.


Step 3

Spray Teal Zeal irRESISTible Texture Spray directly onto your Craft Mat.


Step 4

Lay the panel, facedown, into the wet ink and lift. Set aside and allow to dry.


Step 5

Spray Teal Zeal irRESISTible ink directly onto the panel in a few key areas. Allow to dry.


Step 6

With VersaFine Clair in Nocturne, randomly stamp script across the panel.


Step 7

Spray Art Journal Panel with Sheer SHIMMER Craft Spray in Sparkle. Allow to dry.


Step 8

Stamp the four-butterfly image (from the Tim Holtz Alterations French Flight stamp/die set) on to the panel with VersaFine Clair in Nocturne. Stamp the image just off center and then to the left of the panel.


Step 9

From the same Butterfly stamp set, stamp the large butterfly image into a piece of white cardstock with VersaFine Clair in Nocturne.


Step 10

Apply three colors of Memento (Morocco, Teal Zeal, Elderberry) directly onto your Craft Mat and then add water; use like you would watercolors to paint the butterfly image. Allow to dry.


Step 11

Spray the butterfly image with Sheer SHIMMER Spray in Sparkle.  Allow to dry.


Step 12

With the coordinating die from the stamp set, die cut the butterfly image.


Step 13

Adhere black thread, in a circle pattern, underneath the butterfly and then mount to panel with double-sided foam tape (directly over the previously stamped image).


Step 14

With a paintbrush, apply GooseBumps Clear Texture Spray to butterfly. Allow to dry.


Step 15

Edge panel with VersaFine Clair in Nocturne and then embellish with adhesive pearls.


Step 16

Add sticker sentiment “Make It Happen” below the colored butterfly.


Step 17

Add the pages, back panel and metal rings to transform this project into an art journal.

Supplies

Imagine
Other  
  • Mark Richards Pearls – Dark Grey
  • Tim Holtz Alterations Stamps – French Flight
  • Sizzix Thinlits – French Flight
  • Sizzix Sidekick – Brown & Black
  • Lori’s Cards & Creations – Inspire Background stamp
  • 3M Foam Mounting Tape