Call for Imagine Design Team for 2020

Imagine is proud to announce its call for Imagine’s Design Team for 2020! We are looking to change things up this year and are looking for artists and designers who can inspire the next generation of beginning crafters with amazing projects using Imagine and Tsukineko products.

We are looking for 5 energetic video artists to fill two different roles for 2020:

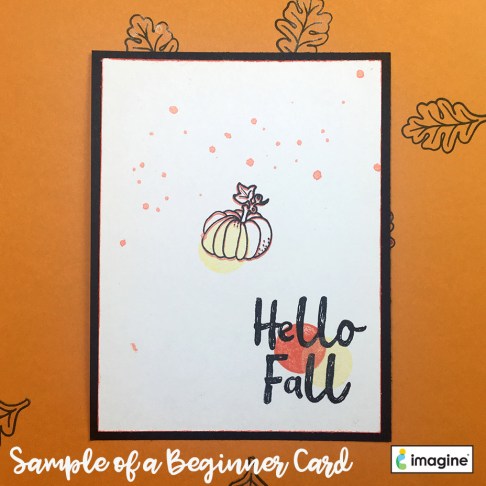
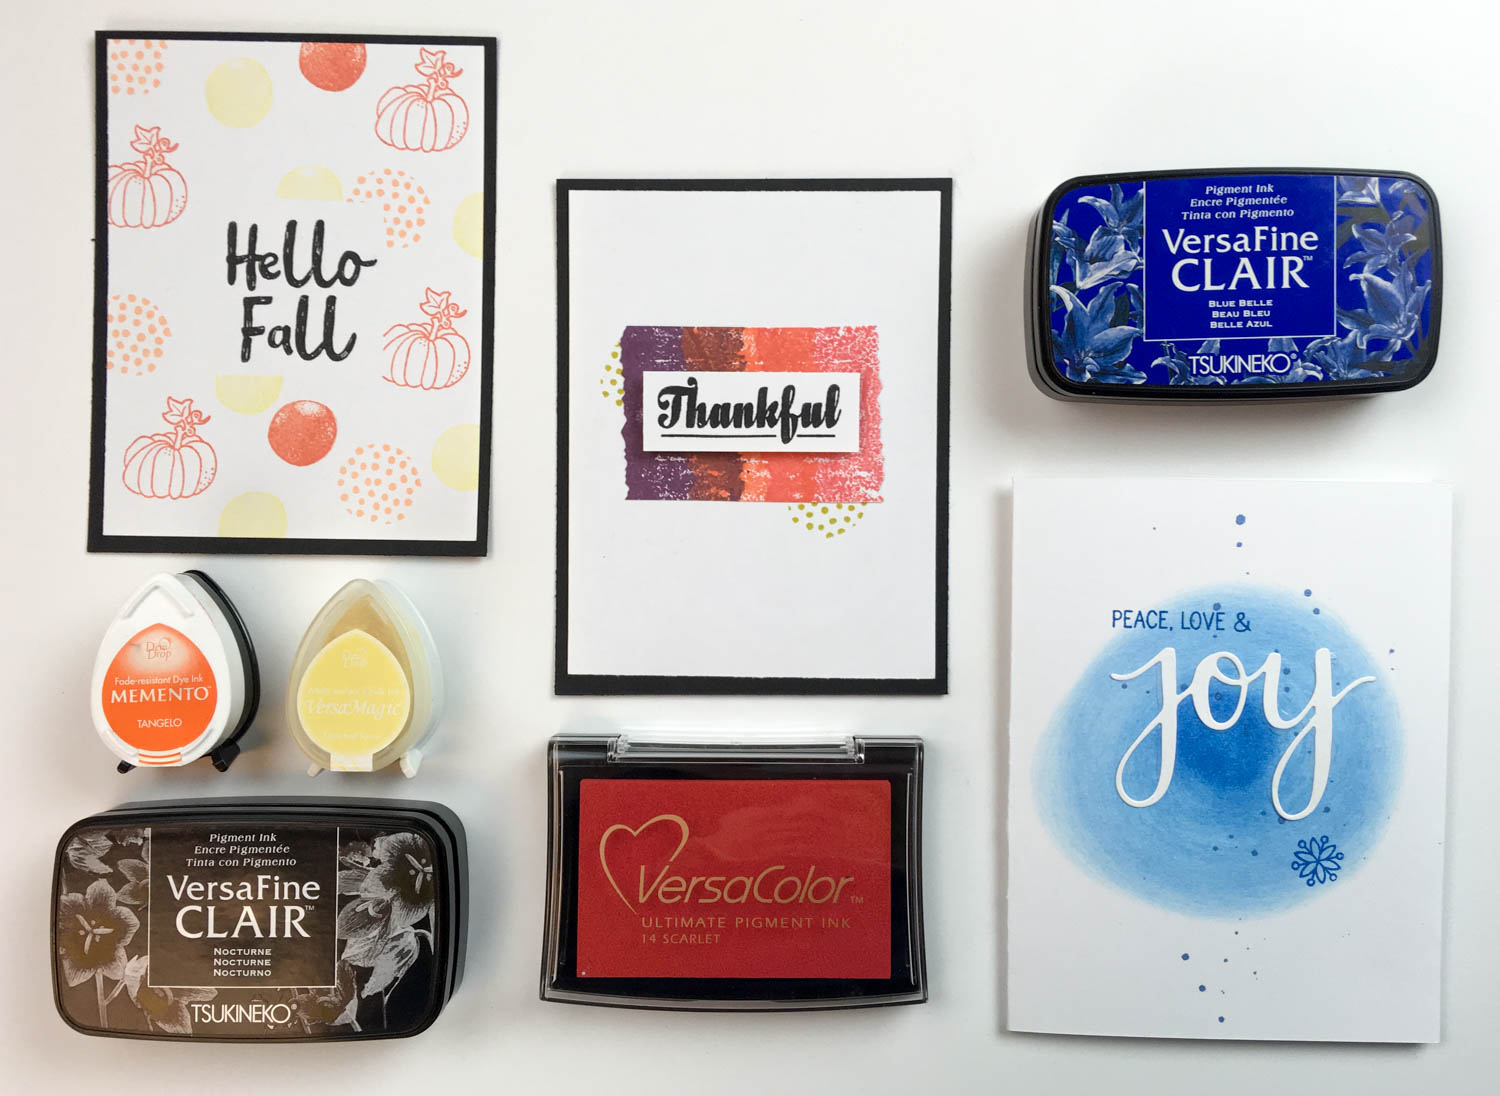
3 Beginner Crafters Project/Tutorial Artists who will submit 2 edited videos per month featuring a quick and easy project and/or technique intended for the beginning level crafter. We intend these projects to look simple, clean and easy to complete in 3-4 steps. See our Blog for an example.

2 Intermediate to Advanced Technique Artists who will submit 2 edited videos per month featuring a crafting technique or how-to project intended for all crafters. We intend these projects to look simple, clean and able to complete in 5-8 steps.

Basic requirements:

  • Commitment of one year — January 1st, 2020 – December 31st, 2020.
  • Ability to professionally photograph, film, edit and submit high-res JPG images and video.
  • Submit clearly written and detailed descriptions in English for each project, including a list of supplies.
  • Socially active online with an established blog and Facebook or Instagram presence.
  • Not currently employed and/or affiliated with competing manufacturers including as a design team member, guest designer, etc.

Perks:

  • Exposure of your work 
  • Generous supply of Imagine and Tsukineko products
  • Opportunities to grow your stash with the product from Imagine’s preferred partners.
  • Links back to your blog or website

Show Us Your Artwork!

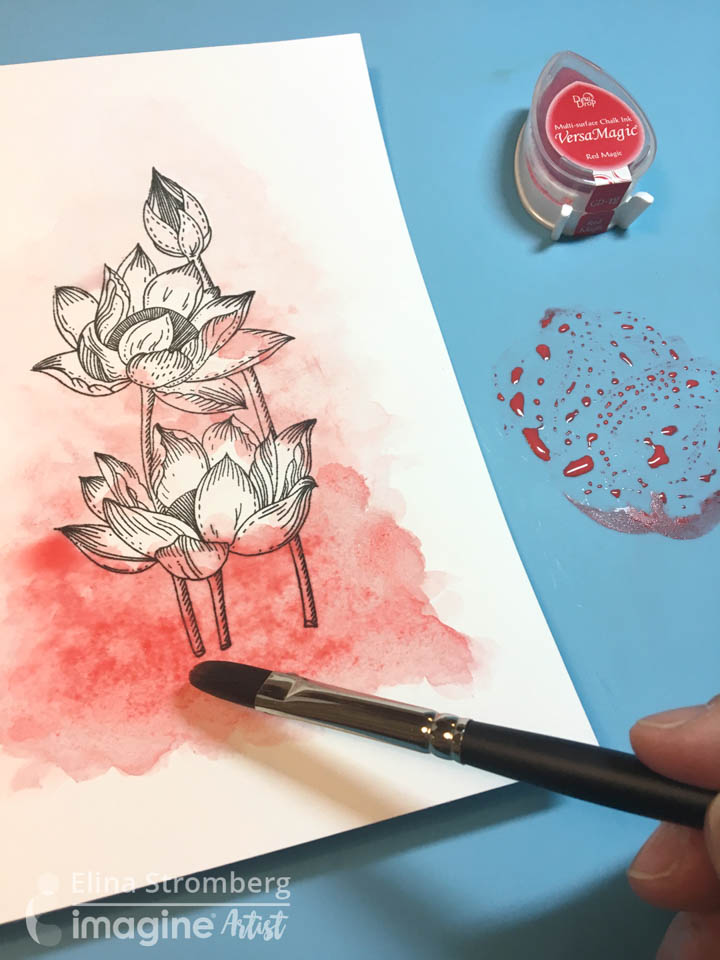
Show us just how creative you are! Make a project using Imagine or Tsukineko products. We are looking for clean and simple papercrafting or art projects that reflect a modern aesthetic.

Submission Process for Round 1

Send your submission to marketing@imaginecrafts.com with the subject line of “DesignTeam Round 1 <your name>”. Your email must include: which role you are applying, name, mailing address, phone number, email address, your personal blog and/or website address, and two links to video content of your work, a 700px wide jpg of your original artwork. Please name your photograph “DesignTeam_<your name>_2020.JPG” 

Round 1 submissions are due by 11:59pm Pacific Standard Time on Thursday, November 7th. Those artists who will be continuing on to the next round will be contacted by Wednesday, November 13th with further instructions.

See How to Make a Fall Themed Birthday Shaker Card with VersaColor Ink

by Melissa Andrew

See How to Make a Fall Themed Birthday Shaker Card with VersaColor Ink

Today, I am showing you a wonderful property of the VersaColor pigment ink! This creamy pigment ink blends so beautifully with sponge daubers. The fall colors I used today created a smooth blend that made a perfect background for a fall card. In addition, I used Fireworks spray to help tone down the background for a gorgeous shimmer frame for a shaker card.

Skill: Advanced
Time: 1 hour

Directions

Supplies

Imagine
Other

See How to Achieve Bliss with All-Purpose Ink and Embroidery

by Iris Rodriguez

See How to Achieve Bliss with All-Purpose Ink and Embroidery

I have a confession. I am not a sewing person, whatsoever. However, I do like textile arts and a friend, who destashed her crafting supplies, gave me a gallon bag of embroidery thread. Well, it was time to challenge myself with an embroidery project. I made this wall hanging using All-Purpose Inks to color the plain fabric and stitch some whimsical stitches.

Skill: Advanced
Time: 2-4 hours


Step 1

For this project, you will need fabric for embroidery. You have several options of fabric that will work; 100% cotton; linen, muslin or specialized needlework linen. I bought a piece of 100% cotton remnant from my local fabric store. You will also need embroidery hoops and thread. Fasten the fabric to the hoops.


Step 2

Spray water on the fabric. Place a small drop of Red Delicious All-Purpose ink.


Step 3

Spray water onto the drop of the All-Purpose ink. The color will spread out, creating cool effects and shapes.


Step 4

Repeat Step 3 with the rest of the All-Purpose Inks; Thyme, Wisteria, Blue Lagoon. Allow the project to dry. You can allow it to dry naturally or dry with an iron to speed up the process. At this point, you will find that the colors are lighter than when the fabric was wet. You can darken the color by adding more ink.


Step 5

Determine the embroidery thread you will use. I like to use a contrasting color.


Step 6

Use embroidery needles for your project. They are designed with wider holes than a regular needle.


Step 7

Embroider onto the fabric. If you are not familiar with embroidery stitching techniques as was the case with me. The internet is an excellent resource; do a general search, Pinterest has great pics of stitches and mini visual tutorials, YouTube has stitching videos as well. Above I choose some simple star and X-shape patterns. If you wish to add lettering or an image, it helps if you have a guide. Use a regular pencil to mark up the fabric. Stitch over the pencil mark.


Step 8

No matter the stitch you use, you must make a knot in the back when you are finished with a segment. Add different stitch types for added variation. Once you are finished. Cut the excess fabric. Glue the excess fabric onto the hoop.

Supplies

Imagine
Other
  • Fabric for embroidery; 100% cotton, linen, or muslin
  • Embroidery Thread
  • Embroidery Hoops
  • Embroidery Needles

Color of the Month for October is Chili Pepper

Color of the Month for October is Chili Pepper

Color of the Month for October is Chili Pepper! We see this color as a rich dark red. This richness can be a true red with a hint of brown. We feel that the Fall is a great time to indulge in warm rich colors and this is the perfect match. Some of our ink brands that represent this color are StazOn in Claret, Delicata in Ruby Red, Memento Ink in Rhubarb Stalk and VersaFine Clair in Chianti.

We challenged our artist with this beautiful color as well as the use of Fabric in their projects. So stay tuned for crafty goodness this month.

Here is a Sneak Peek!

Embroidery Hoop Colored with All-Purpose Ink by Iris Rodriguez

Denium & Stamping on Fabric by Kyriakos Pachadiroglou

Farm Harvest Stamp on Fabric by Roni Johnson


See How to Make a Colorful Card with a Cut-Out Background

by Kassy Tousignant

See How to Make a Colorful Card with a Cut-Out Background

I am really in love with the cut-out and embossing technique used to make the background of this colorful and high contrast card. It was fun to use the negative of the flower shape to create this greeting card background and have the bright green, magenta and purple colors show through a black, shiny frame. The stylish Waffle Flower stamps are a perfect compliment with the fun Memento ink colors! I hope this card inspires some creative card making ideas.

Skill: Intermediate or Advanced
Time: 40 minutes

Directions

Supplies

Imagine
Other
  • Waffle Flower stamp – Enveloper OK
  • Waffle Flower die – Magical Flower 2
  • Cardstock – silver matte
  • Foam adhesive
  • Heat gun
  • White paint pen

 Learn How to Mix Mediums to Create a Home Décor Birdhouse

by Lori Warren

 Learn how to mix mediums to create a home décor bird house

A great aspect of Imagine products is that they pair very nicely with other mixed media mediums.  This project features the use of StazOn Pigment ink, Creative Medium and Fireworks! sprays along with acrylic paint and varnish to complete a mixed media home decor project.

Skill: Advanced
Time: 2 hours

Directions


Step 1

Adhere pieces of corrugated paper to a pre-made wood birdhouse with Creative Medium.


Step 2

Spray birdhouse with Fireworks sprays. Allow drying.


Step 3

Mix Rich Cocoa Fireworks! spray with matte varnish, apply to the birdhouse. Allow drying.


Step 4

Sponge on Chocolate Brown StazOn Pigment to portions of the birdhouse.


Step 5

Coat with another layer of matte varnish. Allow drying.


Step 6

Dry brush texture with white gesso.


Step 7

Stamp flower images onto tissue paper with StazOn Pigment, Snow White.


Step 8

Tear stamped tissue into pieces and arrange onto birdhouse.


Step 9

Adhere stamped tissue with matte varnish.


Step 10

Stamp smaller flower images (with StazOn Pigment, Piano Black) directly onto birdhouse.


Step 11

Add white paint splatters.


Step 12

Use the same techniques on wooden bird element.


Step 13

Adhere bird element to the birdhouse and tie fibers to top.

Supplies

Imagine
Other
  • Waffle Flower Stamps – In Every Way Stamp Set, Pretty Foliage Stamp Set
  • Bark Wood – Birds
  • Wood Bird House
  • Fibers
  • Corrugated Cardboard
  • DecoArt Americana – White Gesso
  • DecoArt Americana – DuraClear Matte Varnish
  • Tissue Paper