Quick and Easy Projects: How To Make An Ink Blended Emboss Resist Card


orange and pink ink blended Hello to a special friend card

by LeeAnn McKinney

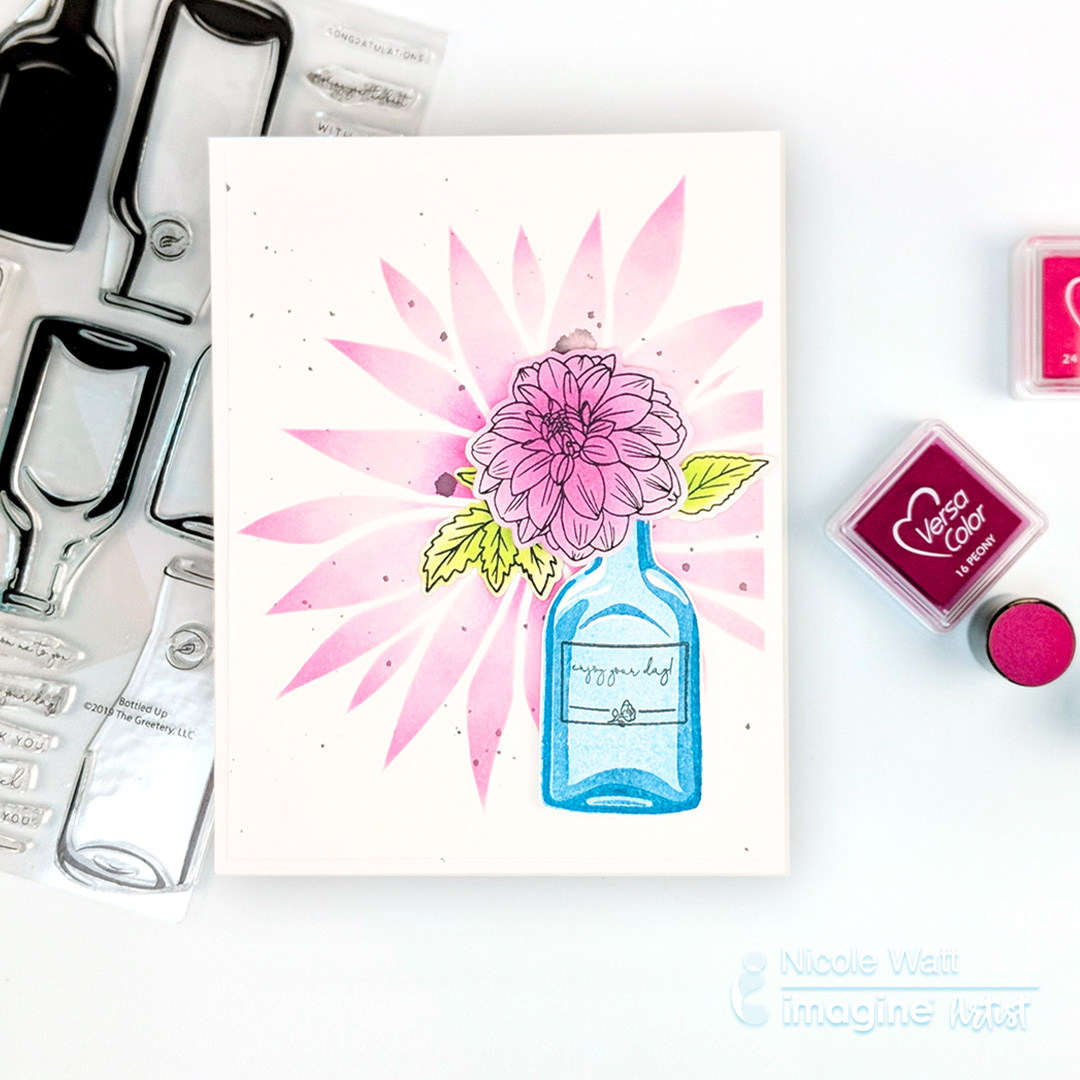
Hi there friends, LeeAnn here with a beautiful quick and easy floral themed “Hello” card I made to send to a friend. Hope you enjoy this Emboss Resist with Ink Blending card.

Skill: Intermediate
Time: 10-15 minutes

Directions

Other
  • MFT “Beautiful Bloom” Stamp
  • MFT “Hello” Die
  • Joy Clair “Friends and Flowers” Stamp Set
  • Recollections Card Stock
  • Double Side Wide Tape

Step By Step

1. Cut White panel to 4″ x 5.25″

2. Ink Up Beautiful Bloom stamp with Versamark and Stamp in various places around Card Panel

3. Sprinkle with MBoss Clear Embossing Powder and heat set.

4. Using Reinkers ink up sponges and blend over the card base to add fun with the flowers and background.

5. Allow drying while die-cutting the Hello sentiment

6. Attach layers to the card base using Tear It Tape

7. Attach Hello to the card panel

8. Layer stamped the sentiment on the black panel and attach to the base using Tear It tape

I had so much fun with this project and I hope you enjoyed this video.

Making a Fun Gnome Card With Memento and Creative Medium

by LeeAnn McKinney

Making a Fun Gnome Card With Memento and Creative Medium

Hi there friends, LeeAnn here with a fun beachy card I made using a range of blue hues in Memento Dye inks and texture with Creative Medium.

Skill: Beginner-Intermediate
Time: 30 minutes

Directions

Supplies

Imagine
Other
  • Kat Scrappiness Summer Gnome Stamp
  • DCAM Splash Stencil
  • Bristol Smooth Card stock
  • Recollections Card stock
  • Foam Tape
  • Repositionable Tape
  • Guillotine Trimmer

Quick & Easy Projects: Wish Upon a Star Card

Quick & Easy Projects: Wish Upon a Star Card

by Jowilna Nolte

Here’s some inspiration for a quick card using some of my favorite inks. I used the direct to paper inking to create a simple and quick background but effective and informal just the way I like it. With a bit of bling on top and a gorgeous star, this card is perfect for any celebration.

Skill: Intermediate
Time: 15 minutes + dry time

Directions


Supplies

Imagine
Other
  • Stencil – Stars
  • Stamp – Wish Upon A Star
  • Card Base
  • Card Stock
  • Glitter Paste

Create an Artsy Book Cover with All Purpose Inks

by Lori Warren

Creating an Artsy book cover is easy with All-Purpose Ink and Ink Droppers. This project will walk you through the step by step process of creating a unique background paired with a large word stamped (with StazOn Pigment Ink) as a focal point. 

Skill: Intermediate
Time: 20 minutes

Directions

Part 1: Create an Artsy book cover with All-Purpose Inks.

Part 2: Color Scheme Tag Journal

  1. Start with a blank hardcover book.
  2. Place a piece of paper under the book cover to protect the pages below.
  3. Using ink droppers, draw up a small amount of All-Purpose Ink into the dropper and release (splatter) the ink onto the cover. Repeat with different colors.
  4. After the ink has dried, stamp “ART” onto the cover using StazOn Pigment ink.
  5. Apply StazOn Ink directly to each edge of the book cover.
  6. Step two – Create Color Swatch Tag
  7. Cut a tag using the Waffle Flower Tag Die.

Supplies

Imagine

Other

Retro Floral Card Using Various VersaColor Ink Techniques

by Nicole Watt

Versacolor ink to make a card

Join Nicole as she creates a retro-looking floral card using VersaColor inks. She’ll show you a few different ways you can use this versatile water-based pigment ink to create different effects.

Skill: Intermediate
Time: 20 minutes

Directions

Supplies

Imagine
  • VersaColor – Peony, Opera Pink, Pink, Lime, Cyan, Lapis Lazuli, Mountain Lake, Black

Other

  • Bottle Up Stamp Set (The Greetery)
  • New Beginnings Stamp Set (Altenew)
  • Bursting Dahlia Stencil (Altenew)

A Gift for Someone Special – Create a Chipboard Pendant with StazOn

by Lori Warren

A Gift for Someone Special –  Create a Chipboard Pendant with StazOn. A beautiful teal and blue jewelry piece that features a paintbrush image and reads "create".

This mixed media project is a great example of how you can use different inks and mediums to create a piece full of texture and color. It’s a step by step layering technique to add depth and interest to mixed media artwork.

Skill: Intermediate
Time: 30 minutes

Directions

Written Instructions:

  1. Cut chipboard into a pendant shape and punch a hole at the top. Place a piece of paper under the book cover to protect the pages below.
  2. Cover the front and back of the chipboard piece with white gesso.
  3. Cover the front and back of chipboard piece with white gesso.
  4. Stamp chipboard pendant with VersaFine CLAIR.
  5. Cover pendant with a stencil and apply Creative Artist Medium – Clear.
  6. Stamp brush onto watercolor paper with StazOn Pigment Ink – Piano Black.
  7. Add color to the tip of a brush with StazOn Pigment –Peacock Feathers.
  8. Sponge StazOn Pigment onto Pendant to highlight stencil pattern.  Adhere stamp brush image.
  9. Highlight elements of the pendant with ALL PURPOSE INK – Frost White (using a Doodlestix)
  10. Apply splatters in ALL PURPOSE INK – Tropical Lagoon.
  11. Cover element with GlazOn – Slight Gloss Finish.
  12. Add MBOSS Powder to pendant while GlazOn is still wet.  Heat set.  Round corners of the pendant.
  13. Edge pendant with StazOn Pigment Ink – Piano Black.
  14. Adhere sticker saying.
  15. Use the Waffle Flower – Clear Dies and Combo Swatch Tag Die to record color scheme for this project.

Supplies

Imagine

All-Purpose Ink – Vegas Gold, Tropical Lagoon, Frost White

Creative Medium

Mboss Embossing Powder

Sheer Shimmer Spray – Sparkle