Create a Paint Brush Splatter Style Card with Waffle Flower Stamps

by Roni Johnson

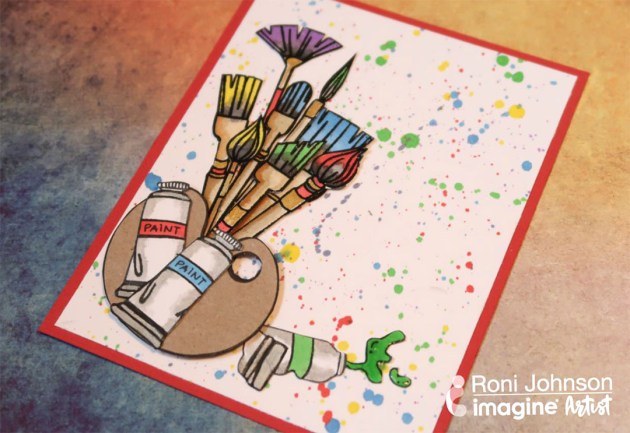
September brings a wonderful pairing of Waffle Flower stamp and all of the amazing products from Imagine. Today I wanted to share a card I made using Waffle Flower’s set Little Painter. I just love the variety of brushes and the cute little tubes of paint. They are so much fun to color and the uses are endless.

Skill: Intermediate
Time: 45 minutes

Directions

Step 1

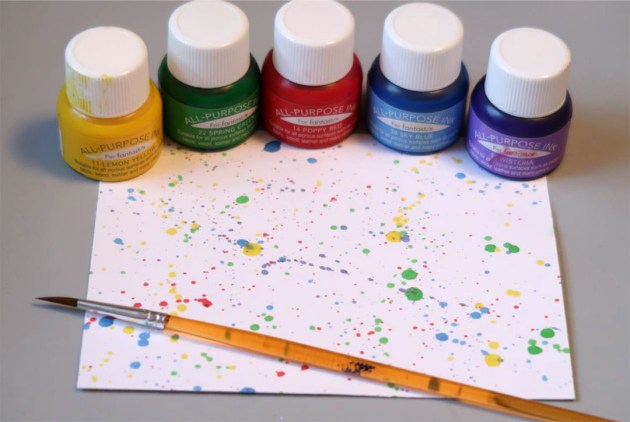
Cut a piece of white cardstock 4” x 5.25”. Flick a variety of colors of All-Purpose Ink onto the card panel using a paintbrush. Rotate the card panel with every application of ink so the splatters come from different directions for a more natural look. Set the panel aside to dry.

Step 2

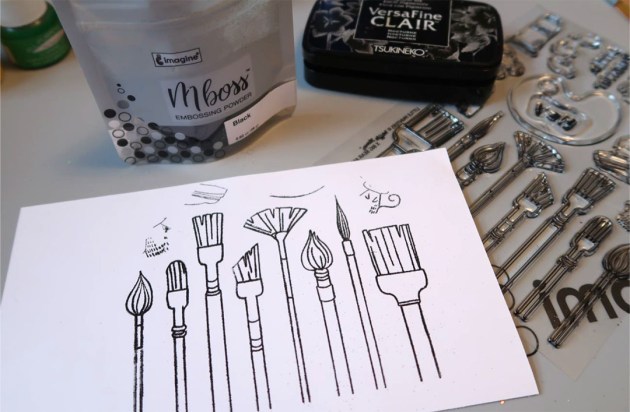
Stamp the paintbrushes onto a piece of white cardstock using VersaFine Clair Ink; stamp 3 tubes of paint onto a separate piece of white cardstock using the same ink. Sprinkle Black Mboss embossing powder over all of the images; shake off excess powder and return it to the pouch. Melt the embossing powder with a heat tool and let the embossed images cool.

Step 3

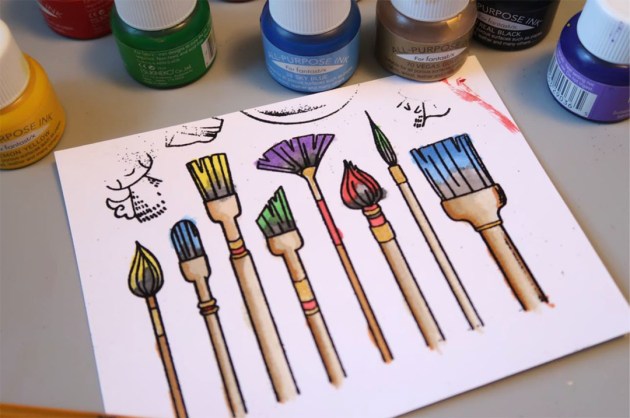
Watercolor each image using the same colors of All-Purpose Ink that was used to create the background. Fussy cut each image and set it aside. Stamp the easel image onto a scrap of brown cardstock and fussy cut.

Step 4

Mount the background splatter panel onto a red card blank; arrange and adhere the images as desired. Cover the paint blob with a layer of Sparkle irRESISTible Pico Embellisher to add shine and a touch of sparkle.

Supplies

Imagine
Other

See How to Make a Colorful Card with a Cut-Out Background

by Kassy Tousignant

See How to Make a Colorful Card with a Cut-Out Background

I am really in love with the cut-out and embossing technique used to make the background of this colorful and high contrast card. It was fun to use the negative of the flower shape to create this greeting card background and have the bright green, magenta and purple colors show through a black, shiny frame. The stylish Waffle Flower stamps are a perfect compliment with the fun Memento ink colors! I hope this card inspires some creative card making ideas.

Skill: Intermediate or Advanced
Time: 40 minutes

Directions

Supplies

Imagine
Other
  • Waffle Flower stamp – Enveloper OK
  • Waffle Flower die – Magical Flower 2
  • Cardstock – silver matte
  • Foam adhesive
  • Heat gun
  • White paint pen

See How to Use Blending and Embossing to Create a Beautiful Card

by Martha Lucia Gomez

See How to Use Blending and Embossing to Create a Beautiful Card

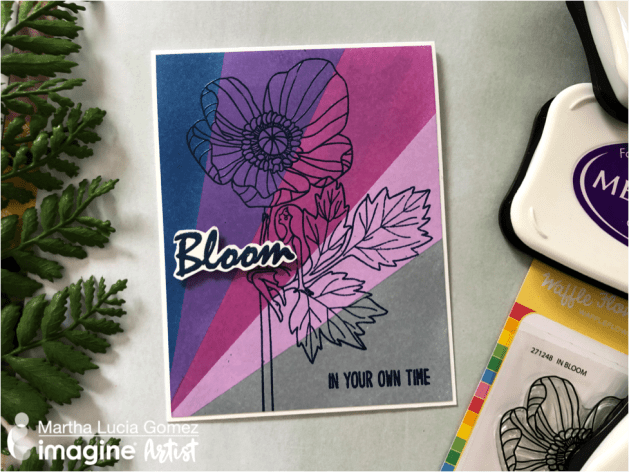
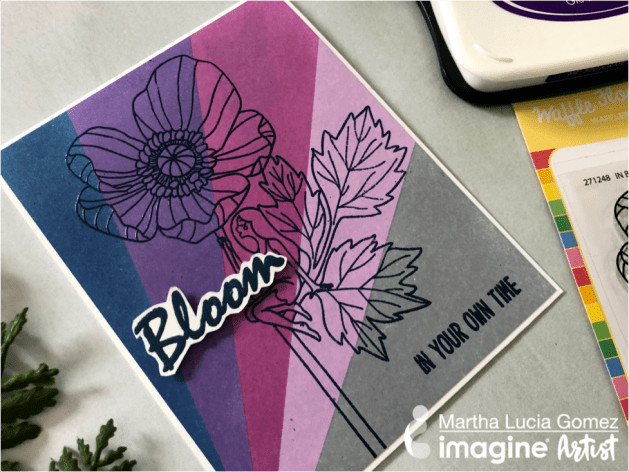
Hi there, Martha Lucia here! Today I have a fun project creating a Violet rainbow with your Memento Inks. This month the design team of Image is featuring the amethyst color and I decided to use not exactly violet colors but some colors from the same line.

Skill: Beginner – Intermediate
Time: 20 minutes

Directions


Step 1

Most of the work in this design is coloring the background. I started with a whisper white piece of cardstock and masking tape. As you can notice on the photo my initial idea was using four colors of Memento Ink but at the end, I changed my mind and used five. The colors of Memento Ink that I used were Paris Dusk, Grape Jelly, Lilac Posies, Lulu Lavender and the versatile London Fog. By the way, London Fog is one of my favorites colors of Memento Ink because it can be used to no-line coloring and also is great for watercolor and many other techniques.


Step 2

Next, I stamped the large beautiful flower stamp from Waffle Flower’s “In Bloom” stamp set. Since I used dye inks in the background, I can now stamp over the inked layer with VersaMark Ink and MBoss Embossing Powder Sapphire. To create the contrast, I stamped the “Bloom” sentiment over Whisper White cardstock with VersaMark Ink and the same color of MBoss. I fussy cut with scissors the sentiment and added it to the project using double-sided foam tape.

Thank you for stopping by!

Supplies

Imagine
Other
  • Waffle Flower – In Bloom Stamp Set
  • Cardstock – Whisper White
  • Masking Tape
  • Stampin Buddy
  • Double-sided Foam Tape
  • Scissors

See How to Make a Cute Japanese Mountain Scene Greeting Card

by Arjita Sepaha Singh

See How to Make a Cute Japanese Mountain Scene Greeting Card

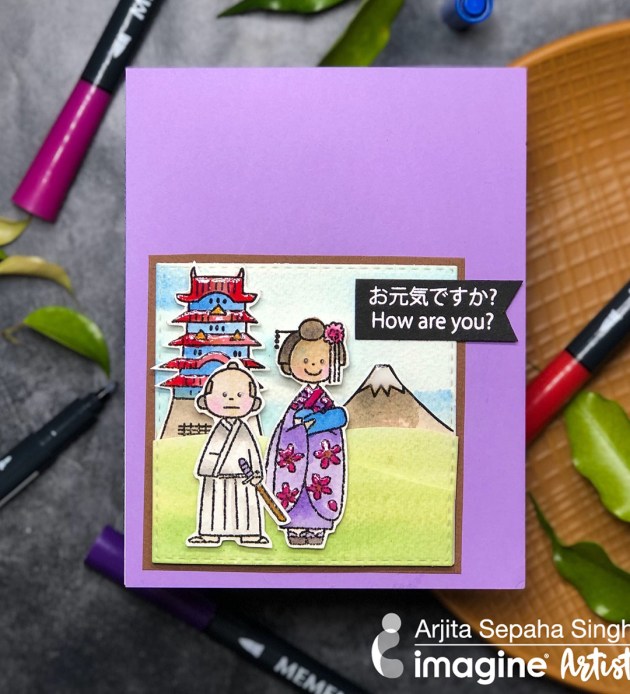
For today’s card, I used an adorable Konnichiwa Stamp Set by Waffle Flower Stamps and Memento markers to create a mountain scene. I stamped the images on watercolor paper with VersaFine in Onyx Black and then cut out each one individually. VersaFine is a great ink for watercoloring because it does not react with water-based inks. For the sentiment “how are you,” which is in English and Japanese, I used VersaMark ink and white embossing powder. To add some finishing touches, I added Pico Embellisher at few areas which creates a nice dimensional effect. The card is super cute easy to make.

Skill: Intermediate
Time: 45 minutes

Directions

Supplies

Imagine

• VersaFine Inkpad – Onyx Black
• Memento Markers – Grape Jelly, Pear Tart, Angel Pink, Rose Bud, Summer Sky, Rich Cocoa, Espresso Truffle, Lady Bug, Desert Sand
• VersaMark Inkpad
• Mboss Embossing Powder – White

Other

• Waffle Flower – Konnichiwa Stamp Set – http://bit.ly/2kakJ8m
• Cardstock – Arches Cold Press, Violet cardstock
• Misti Stamping Tool
• Paint Brush
• Heat Tool
• Paint Brush
• Scissors

Stamping and Watercoloring Techniques Using Waffle Flower Stamps

by Nadine Carlier

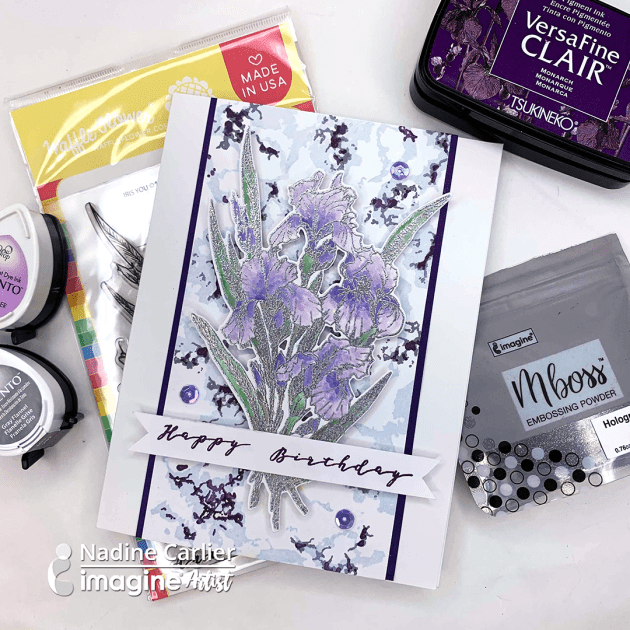
Are you enjoying all the inspiration so far this month with the Waffle Flower and Imagine collaboration? The Waffle Flower Iris You stamp set I thought went perfectly with this months color of the month, Amethyst.
Watch my video below to see how I created the amazing marbled background and colored the gorgeous iris’. Don’t forget to subscribe to the Waffle Flower and Imagine YouTube channels and comment (one comment per video per person) on all the videos on their channels this month using products from both companies for a chance to win a $50 gift certificate. There will be 2 winners picked, one from Imagine and one from Waffle Flower!
Video link below…. Enjoy!

Skill: Intermediate
Time: 30 minutes

Supplies

Imagine
Other

Visit our YouTube Channel for more inspirational videos and subscribe. Make sure to click the bell to get updates when we post new videos.

See How to Heat Emboss on Rinea Foil Paper

by Martha Lucia Gomez

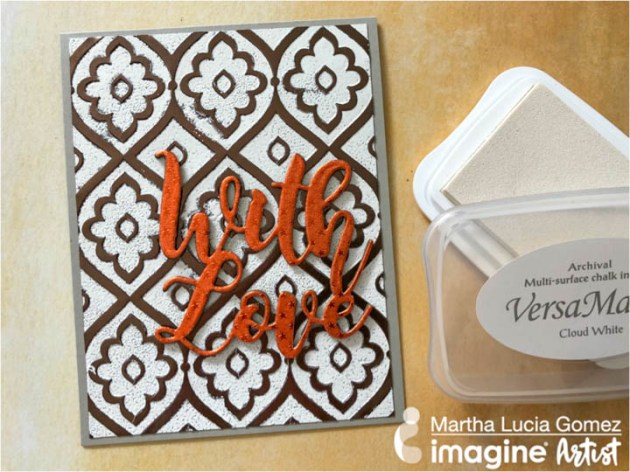
Hi there, Martha Lucia here! Today I am featuring one of my favorite techniques, heat embossing over Foiled Paper. During this month the teams of Imagine and Rinea are working together to promote the combination of these brands. The base of my card is Sahara sand card stock and the second layer is Mocha/Gold Glossy Rinea Foil Paper. Let me share with you the entire process.

Skill: Intermediate
Time: 30 minutes

Directions


Step 1

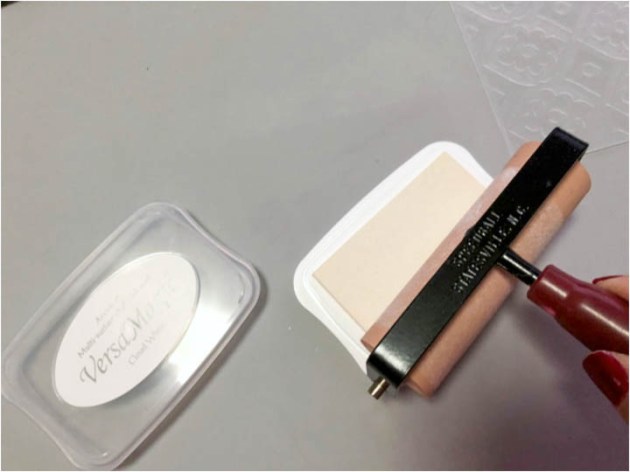
Cut the base of your card. Mine is 4-1/4″x11″ with the score in 5-1/2″. Cut a second layer using your favorite color of Rinea Foiled Paper. Mine is Mocha/Gold Glossy. Select the embossing folder that you want to use. Mine is Tile Patterned from Darice. Ink a brayer with VersaMagic Cloud White or any pigment ink. The brayer will make the color uniform.


Step 2

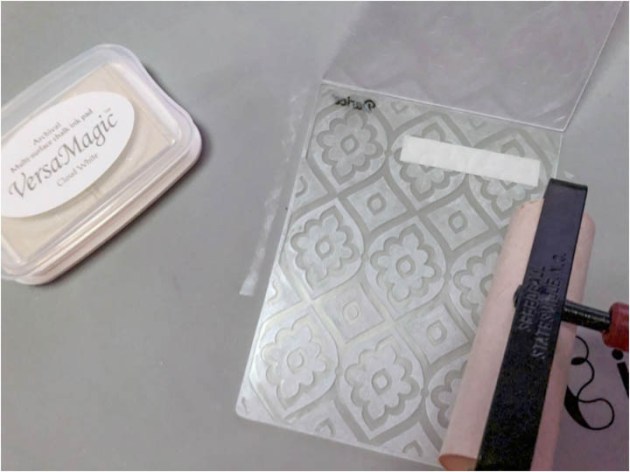
Ink the de-bossing side of the folder with VersaMagic Cloud White or any other pigment ink. Rub the Rinea foiled paper with an anti-static bag or embossing buddy.


Step 3

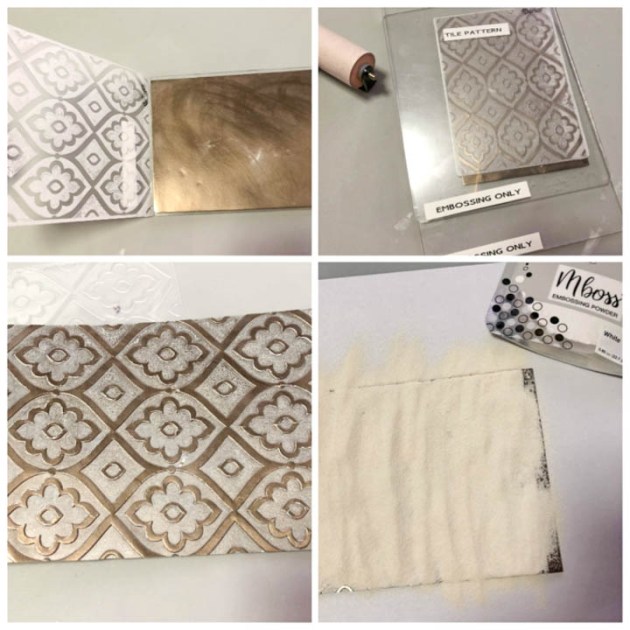
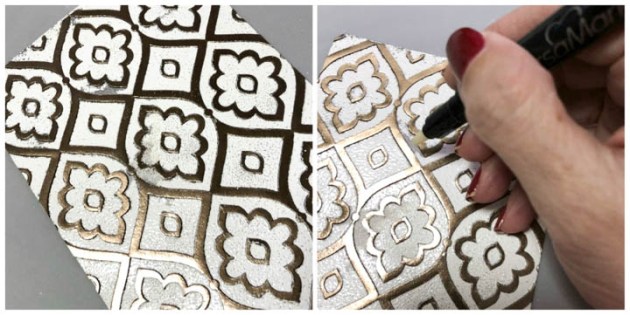
Put the Rinea foiled paper inside of the inked embossing folder and pass it through your die cut machine.  Remove the embossed foiled paper and cover it with white embossing powder. Melt the powder with the heat tool, taking care of not burn your foiled paper.


Step 4

If you consider necessary to make a few retouches of the embossed layer, you can use the VersaMark pen and cover the area with the same color of embossing powder. In this case, white.


Step 5

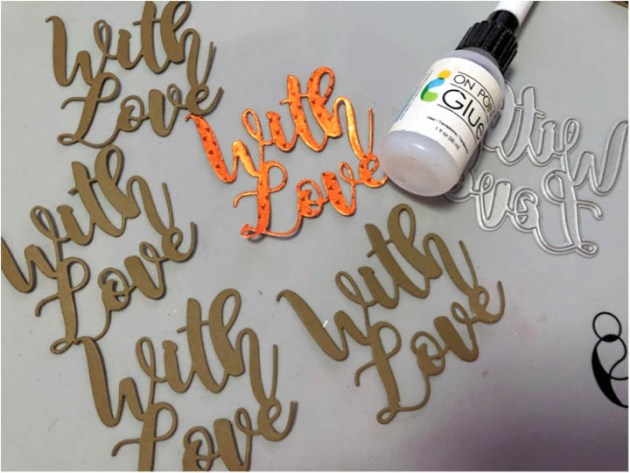
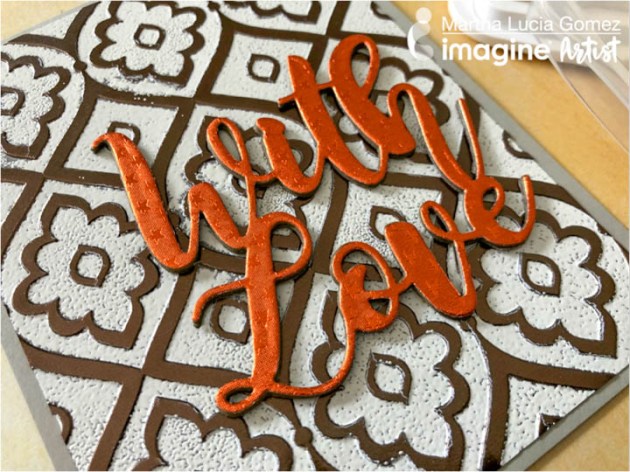
Paste the embossed layer over the card base and finalize the decoration of your card. I decided to add a thick word die cut and for that, I cut several layers of the die-cut in card stock and one on Marigold Starstruck Rinea Foiled paper.  I am using the With Love Word Die from Lil’Inker Designs.


Step 6

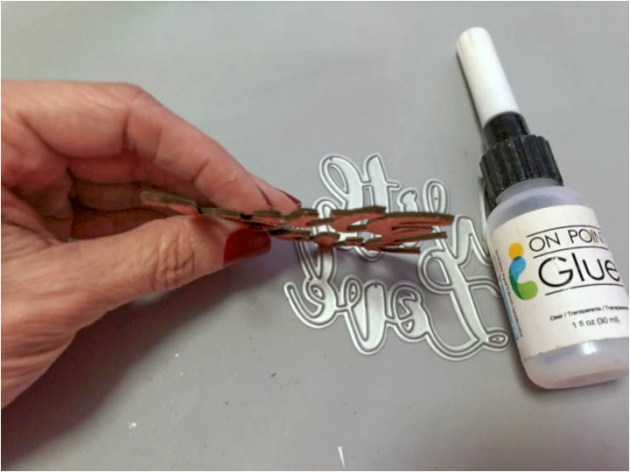
Paste and stock all the word die cuts using On Point Glue.


Step 7

Paste the decorated word over your decorated card with glue dots.

Supplies

Imagine
Other
  • Rinea Foiled Paper – Mocha Gold Glossy, Marigold Starstruck
  • Cardstock
  • Darice – Embossing Folder Tile Pattern
  • Lil’Inker Designs – “With Love” die
  • Big Shot or Die Cutting Machine
  • Brayer