How To Create a Mixed Media Valentine

By Katy Ingram

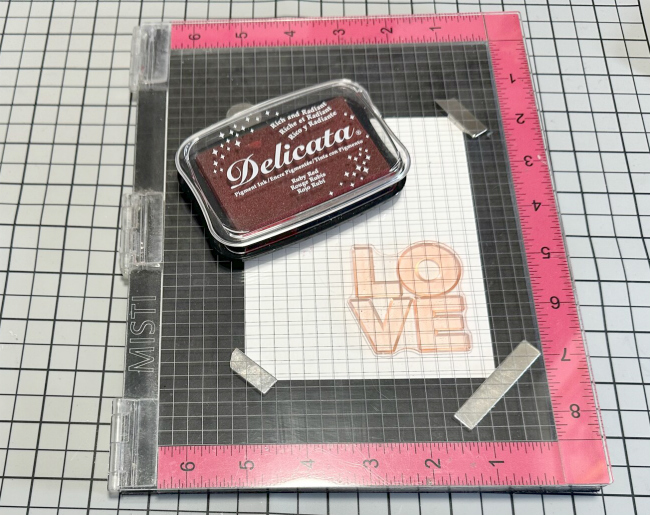
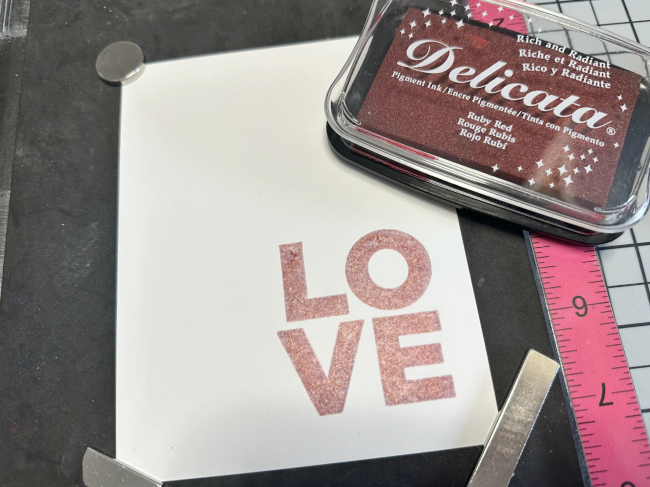
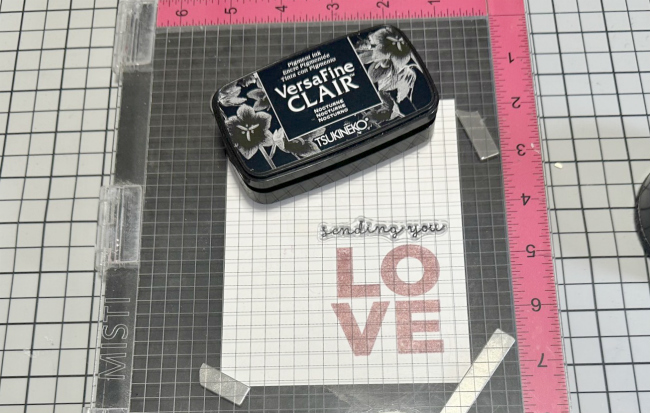
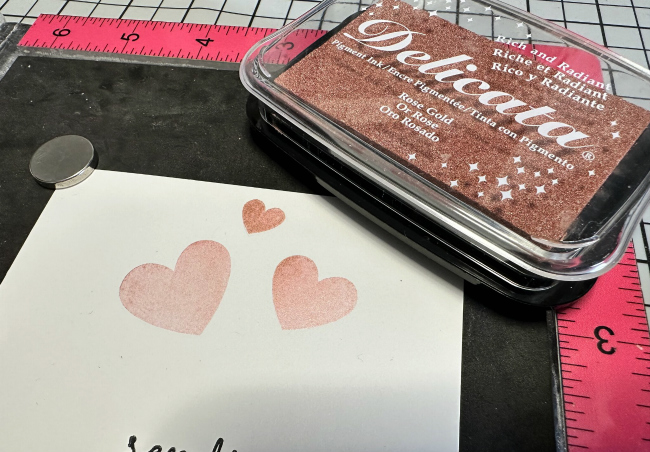
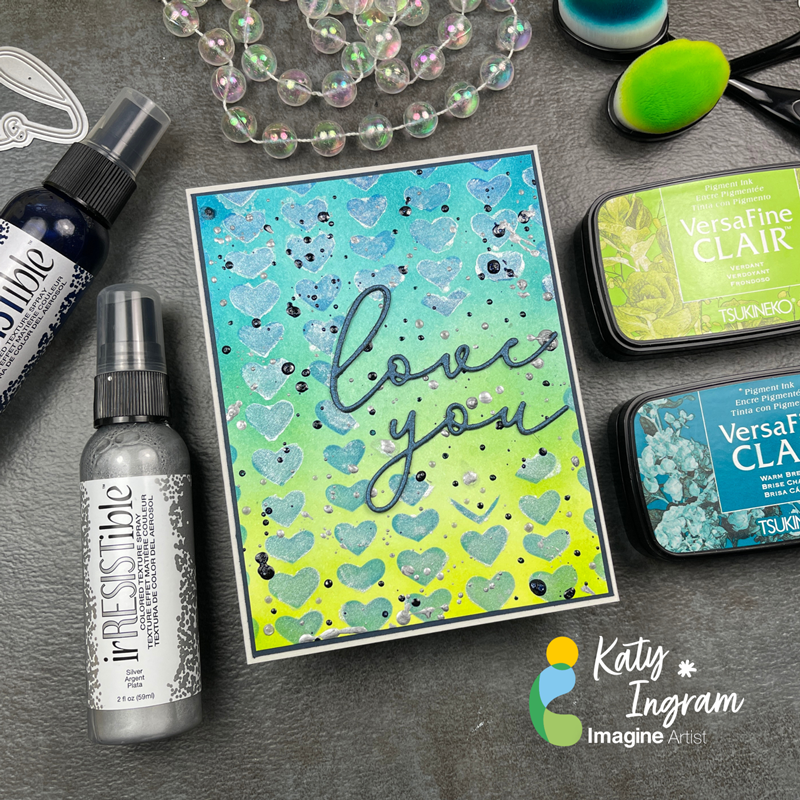
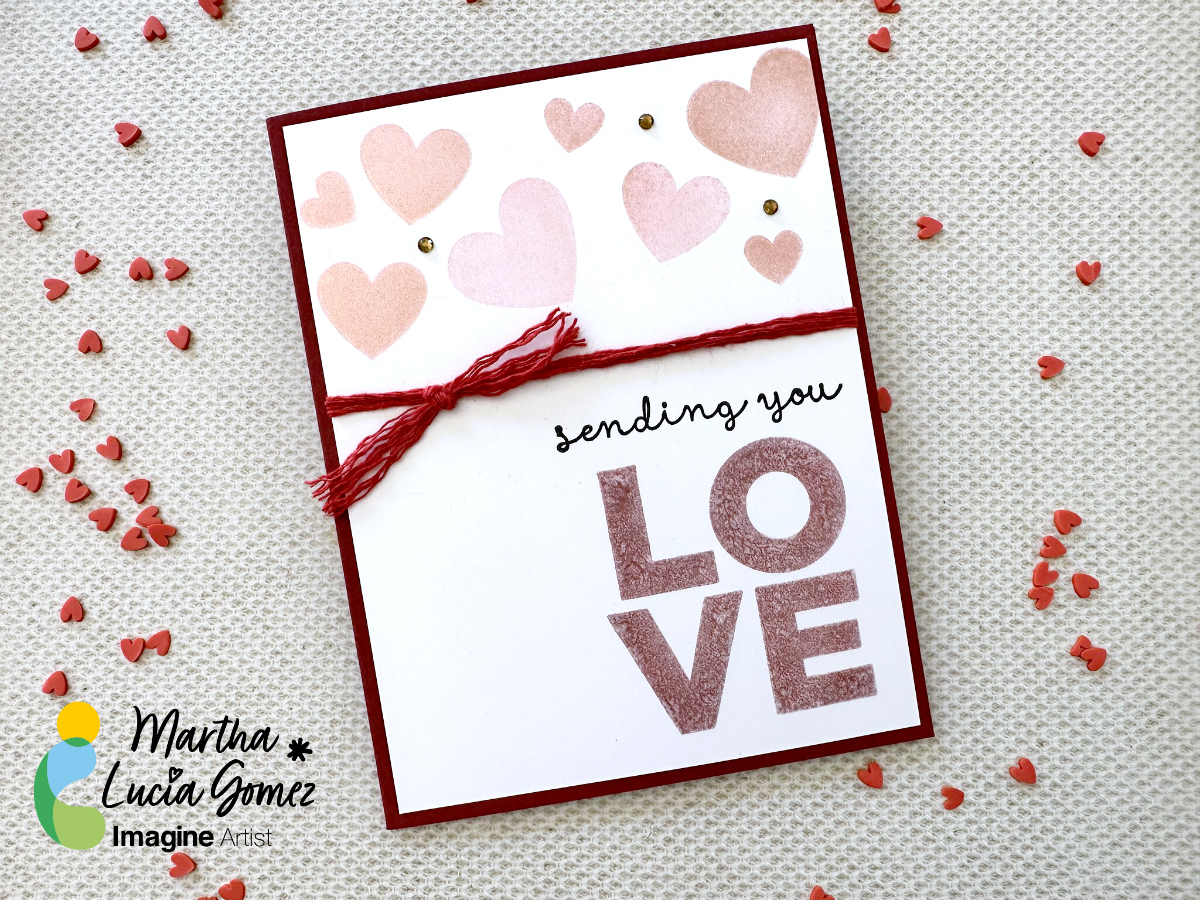
Hello Friends! Katy here and today I am using a variety of products to create this Love You card.

In today’s video tutorial I do some ink blending with VersaFine Clair Verdant and Warm Breeze. I haven’t used these two colors for ink blending before and they blended really well and the colors coordinate perfectly together. I used a heart stencil with VersaFine Clair Paradise to blend over the ink blended panel and then added some Sheer Shimmer Stix in Frost for a bit of shimmer.  I also pulled out some irRESISTible Spray in Paris Dusk and Silver to create some splatter. I finished the panel off by die cutting the words love and you with some metallic blue cardstock. Check out the video to see the process in action. I hope you enjoy and thanks for stopping by. 

Katy

Skill: Beginner, Intermediate, Advanced

Time: 30 minutes 

Directions:

Art Supplies

Imagine Products

• VersaFine Clair Verdant

• VersaFine Clair Warm Breeze

• VersaFine Clair Paradise

• Sheer Shimmer Stix-Frost

• irRESISTible Spray Paris Dusk

• irRESISTible Spray Silver

• irRESISTible Pico Embellisher Teal Zeal

• irRESISTible Pico Embellisher Silver

• 1/4 inch Tear It! Tape

Other Products Used

• Miss Ink Stamps Hand Drawn Hearts Stencil

• Layering Hearts Dies

• scrapbook.com/Pinkfresh Love and You Dies

• Blending Brushes

Learn to Make a Valentine’s Day Treat Bag/Gift Card Holder

By Kathy Pisupati –

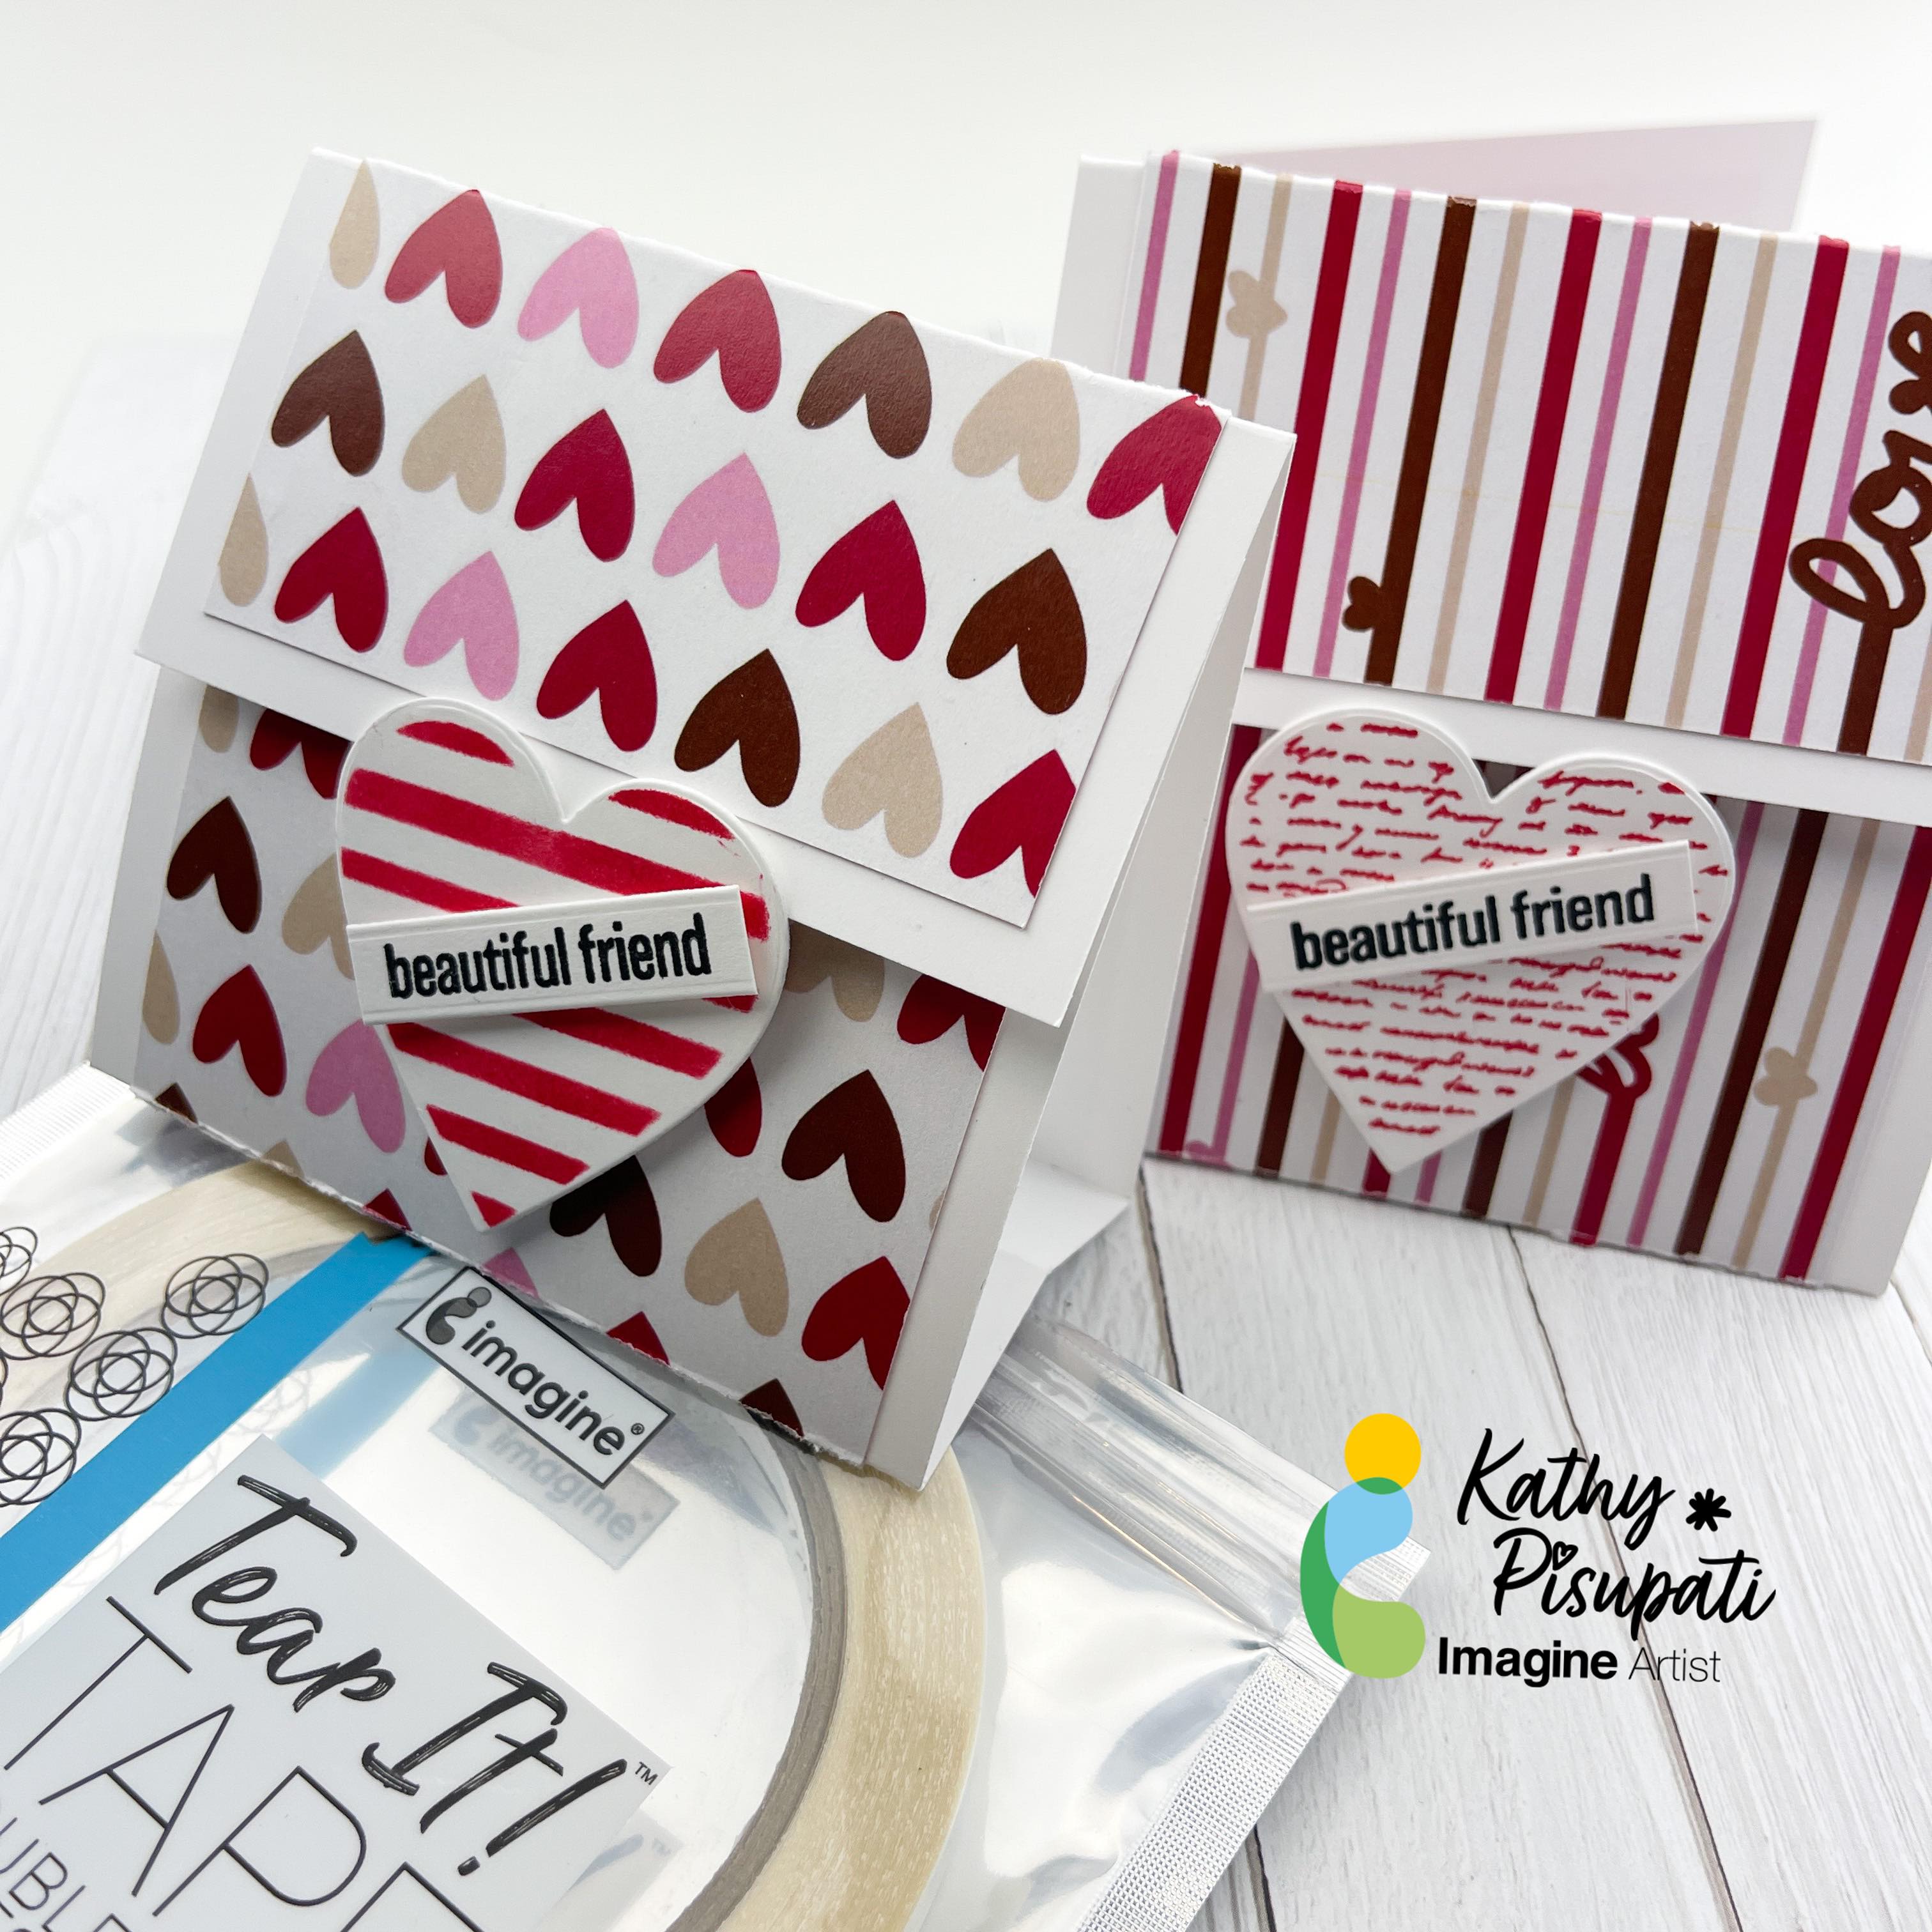
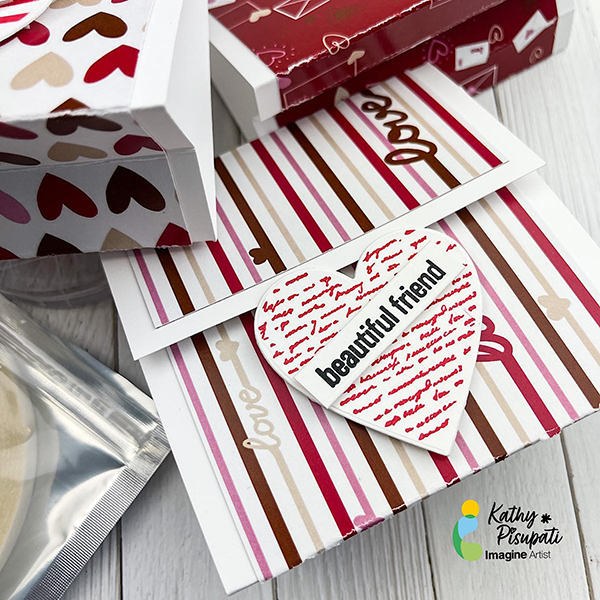
Hello!  Kathy here, creating art for Imagine Crafts!  Today’s project is a treat/gift card holder for Valentine’s Day but it is also about ADHESIVES!  Adhesives aren’t the focus on most tutorials so let’s change that today.

.Skill Level: Easy

Time to complete: 1 Hour

Directions:

Step 1

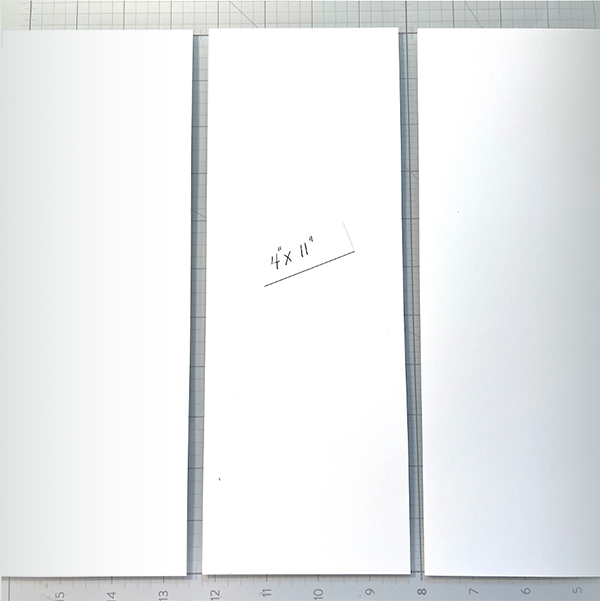
Cut 3 pieces of a layering weight, white card stock to 4” x 11”.  This will be enough for three holders. You don’t need a heavy weight card stock as we will be scoring, folding and adding a layer of patterned paper.

Step 2

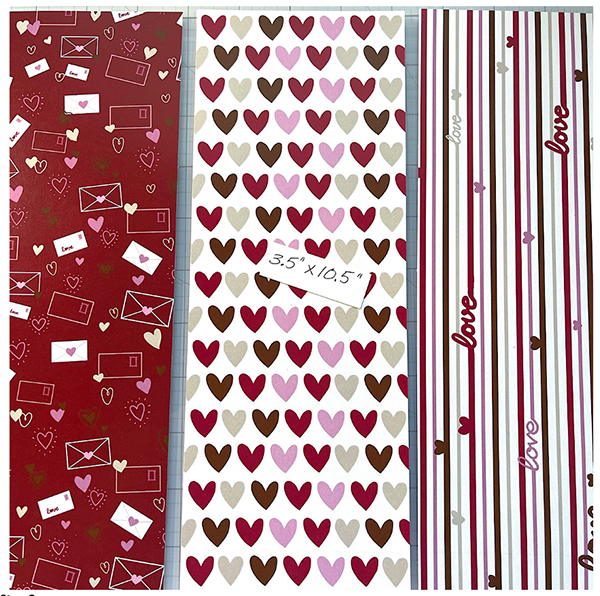
Cut 3 panels of patterned paper to 3.5” x 10.5”.  I had this fabulous patterned  paper from Kat Scrappiness in my stash which is perfect for Valentine’s Day!

Step 3

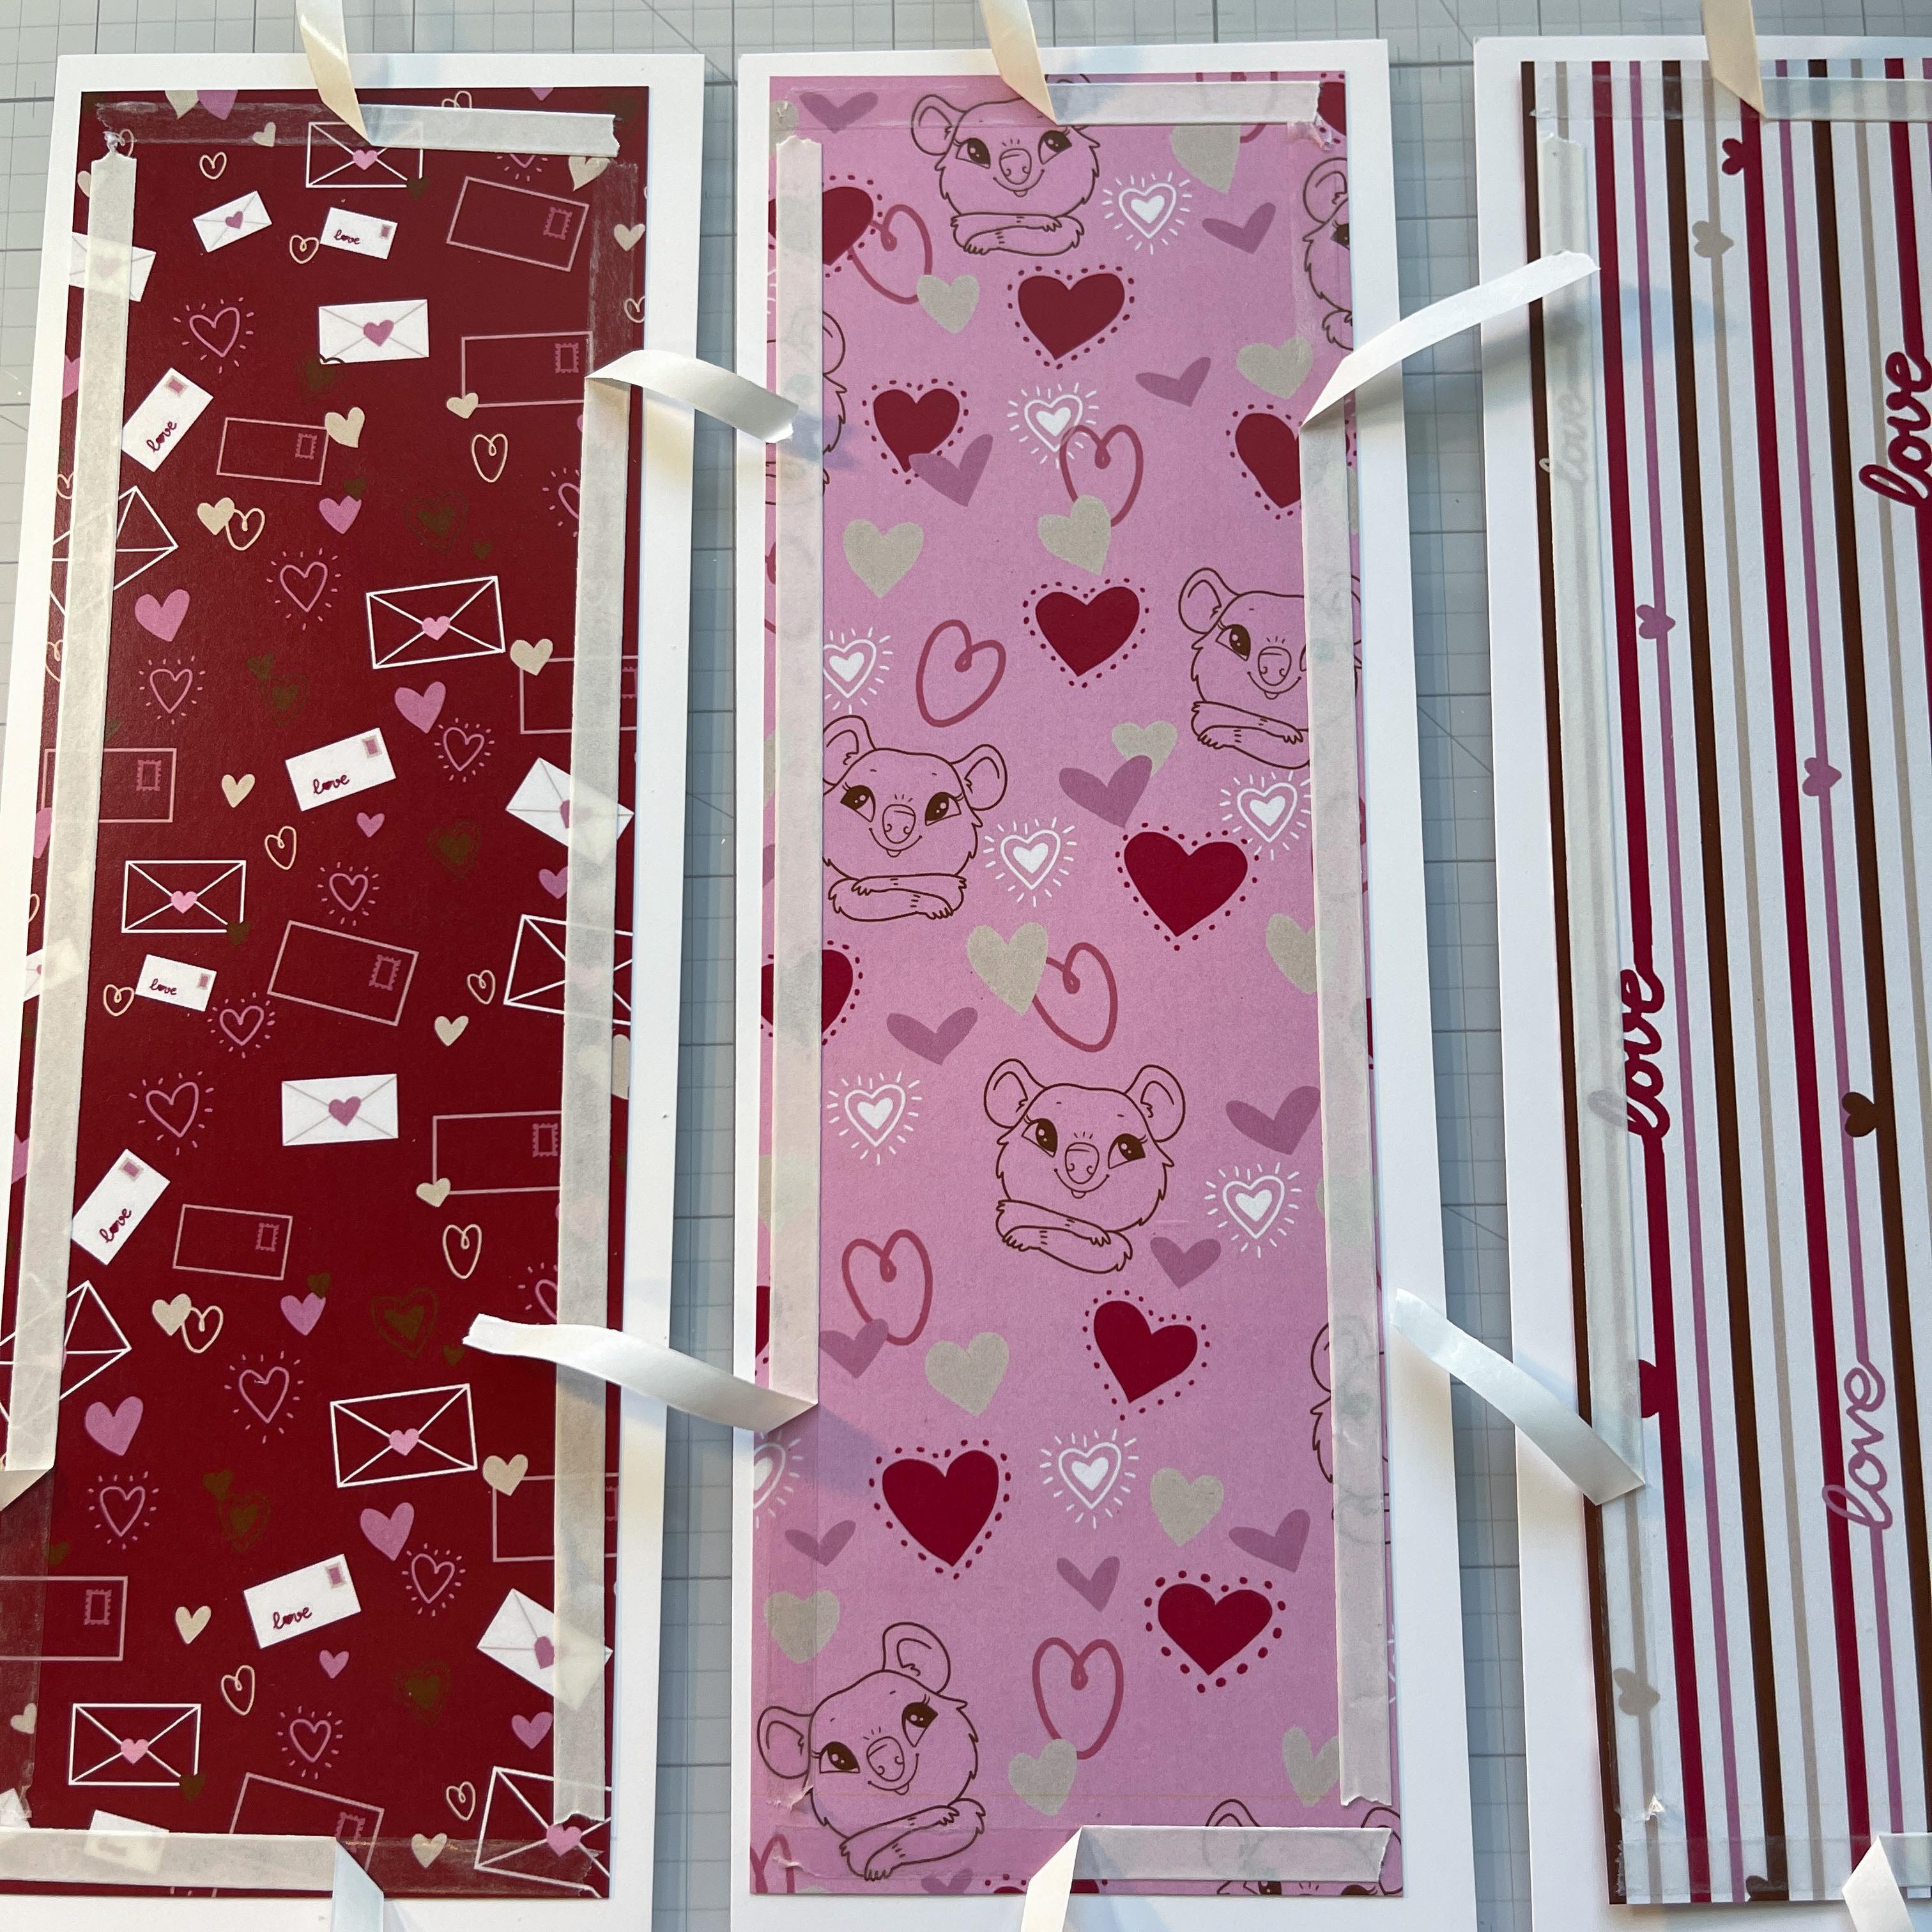
Here is where the adhesive comes in!  You will attach the patterned paper panels to the white card stock.  The Tear It! Tape from Imagine Crafts is SO easy to use.  It is a strong double-sided adhesive AND you don’t need to reach for your scissors every time you want a piece.  Just tear it!  It tears so easy!  We will also be using the On Point Glue and I will give you a tip in a second.  The On Point Glue comes in a small bottle with a micro tip.  The cap of the bottle has a built in pin that fits in the micro tip when you close the cap so it never gets clogged!  No more losing those pins!

Step 4

Add your Tear It! Tape to the back of all four panels on all sides.  Here’s a tip, pull up only a bit of each back and a bit of On Point Glue to the exposed area.  Then flip the panel over and align to your white card panel.  This allows some wiggle room for you to align the panels perfectly!  Once the patterned panel is aligned press down the areas of exposed adhesive and then gently pull the backing paper off from each side.

Step 5

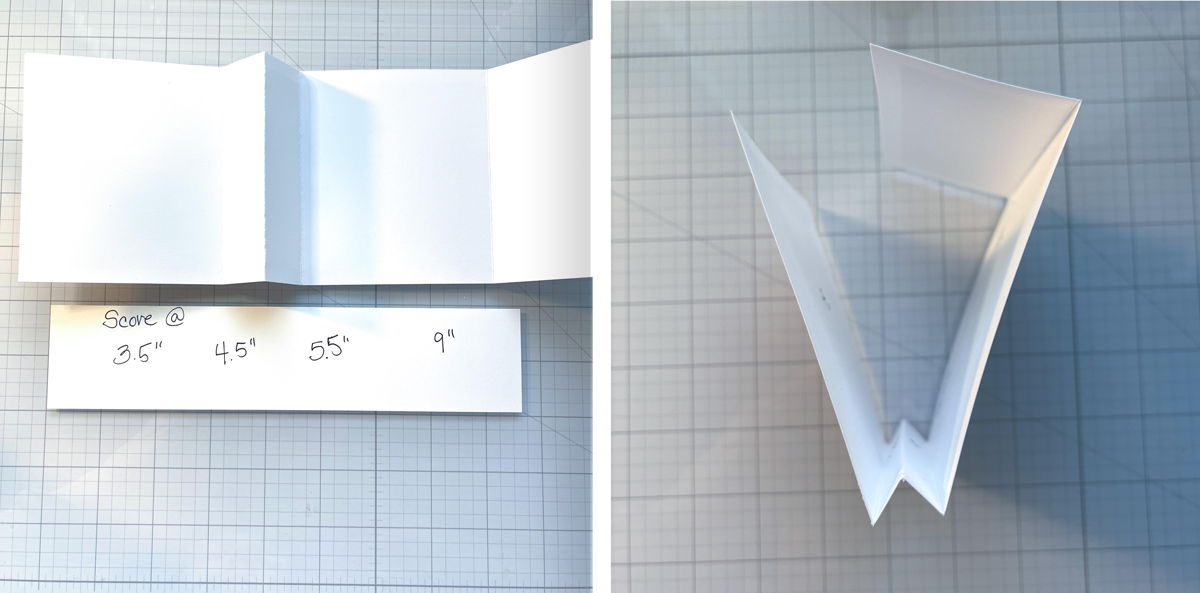
Now it’s time to score and fold.  You will score as indicated above and fold in the manner shown.

Step 6

Now it’s time to add a little decoration!  I used a heart die and coordinating stamps.  I stamped using VersaColor Cardinal ink.  For the sentiment I used VersaFine Clair Nocturne Ink.  Foam tape was added to the lower half of the heart.  The reason for this is so the flap of the holder can tuck under the heart.  I also added foam tape to the sentiment, adding a bit more dimension to the design.  These were SO easy to create and you could change up the design for ANY occasion.  I haven’t put anything inside yet.  A gift card fit perfectly inside, just add some temporary adhesive to the back of the gift card.  You can also adhere a small cellophane bag filled with small treats and adhere it or add a bit of temporary adhesive to the back of a fun-size candy bar!  Perfect for Valentine’s Day and Halloween!

I hope you enjoy this card and the tutorial. Thanks for stopping by I appreciate all of you! Please head over to the Imagine Crafts website to see all the beautiful products. Here is the link IMAGINE CRAFTS.

SUPPLIES

Imagine Crafts

• VersaColor Cardinal

• On Point Glue

• Tear It! Tape

• VersaFine Clair Nocturne

Other

• Kat Scrappiness Patterned Paper

• Heart Die

• Coordinating Heart Stamp/Stencil

• Scor-Pal scoring tool

• Spellbinders Platinum 6 Die-Cutting machine

• Neenah Classic Crest Solar White 110lb

• Paper Trimmer

• Teflon bone folder

• Foam Tape

Quick and Easy “Happy New Year” Banner

By LeeAnn McKinney

Howdy friends and fellow crafters, LeeAnn here with a quick and easy project for you.

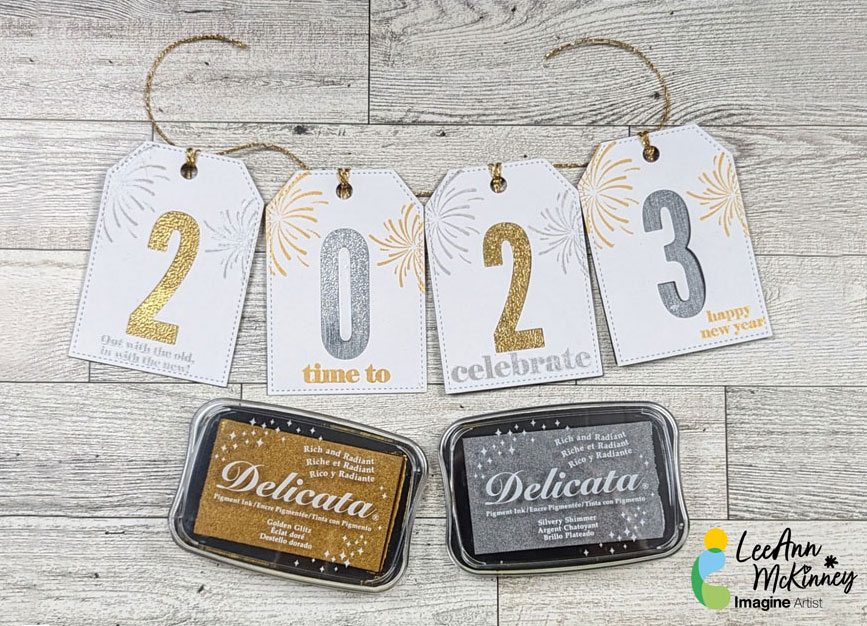
This “New Year’s” Banner is easy to make. I made it to hang in my craft room ushering in 2023.

Skill Level: Beginner

Time: 30 minutes

Art Supplies:

Imagine:

• Craft Mat

• On Point Glue

• Delicata: Golden Glitz

• Delicata Shimmery Silver

• MBoss Gold

• Mboss Embossing Powder Silver

• Tear It! Tape

• VersaFine Clair Nocturne

• StazOn Stamp Cleaner

Other Supplies:

• Darice Heat Tool

• Accent Opaque 120lb Cardstock

Learn to Make a “Season’s Greetings” Holiday Card 

By Annie Collins –

Hello Crafty Friends – 

Annie here with a Holiday card made using MBoss and VersaMagic Ink.

Supplies Used:

Imagine:

Mboss Embossing Powder: Shimmering Night Sky

VersaMark Ink

VersaMagic Ink: Sea Breeze, Aspen Mist, & Aegean Blue

Sponge Dauber

Tear It! Tape

On Point Glue

Craft Mat

Other Supplies:

Brutus Monroe: Let It Snow Stamp Set

Brutus Monroe: Mixed Media Stencil 6×6: Snowfall

Recollections brand 110lb Cardstock: White

Recollections Brand 65lb Cardstock: Light Blue

Sequins – Blues & Clear

Make a Holiday Gift Box Using Vertigo Translucent Sheets

By Neva Cole –

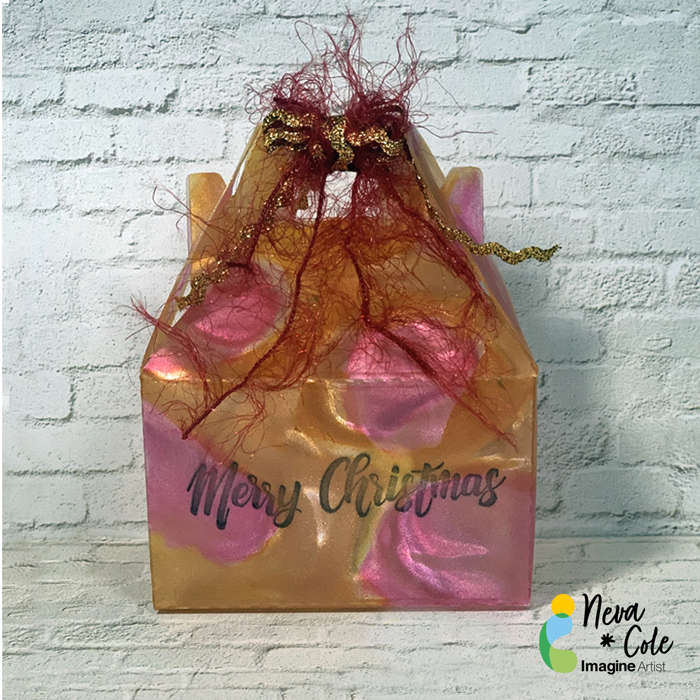
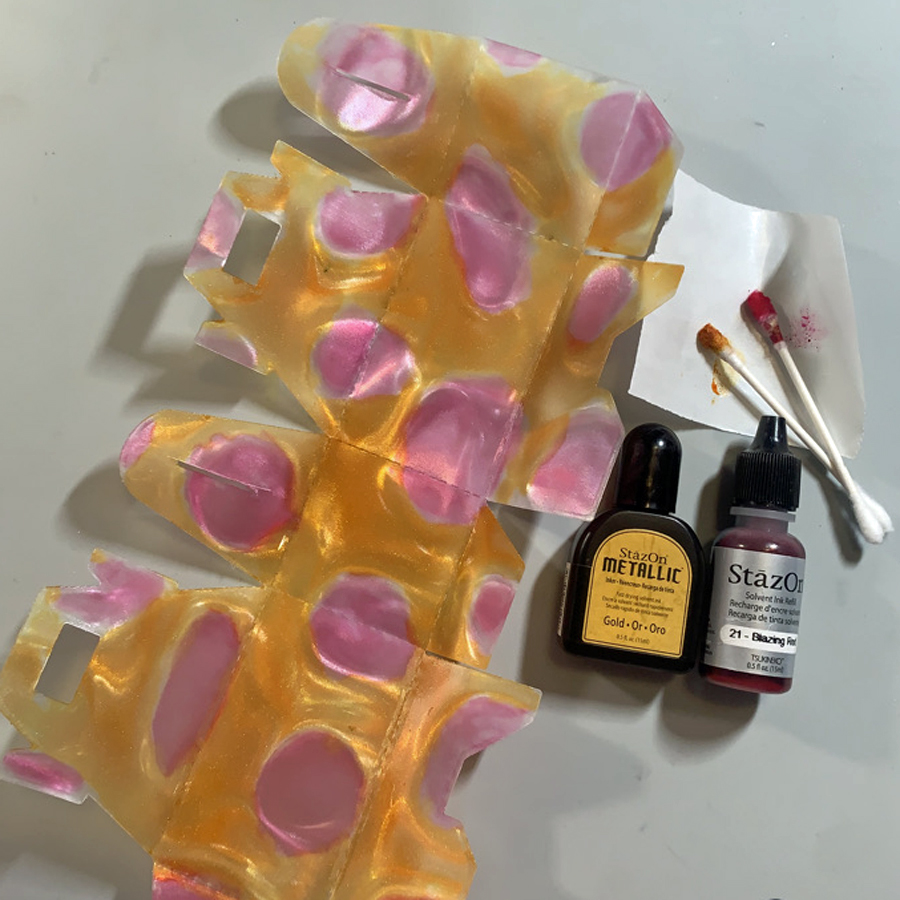
Vertigo is a beautiful translucent material to use in creating projects, in today’s tutorial, I am sharing tips and hints to make your project shine!  The perfect ink for this box is StazOn,  as it is the only ink that will dry on Vertigo and other plastics. 

Skill:  Intermediate

Time:  1 hour

Directions:

Step1:

Vertigo can be cut with scissors OR with a simple die.  Complex dies do not work well with most plastics, Vertigo included.
This particular box needed 8.5” by 5” section of Vertigo, 12” x 12” sheets can be purchased directly from Imagine Crafts website.  Recycled packaging may be substituted for Vertigo, however the results will not have the stunning effect the the patterns that Vertigo provides. The Pebbles pattern of Vertigo was used for my box.

Step 2:

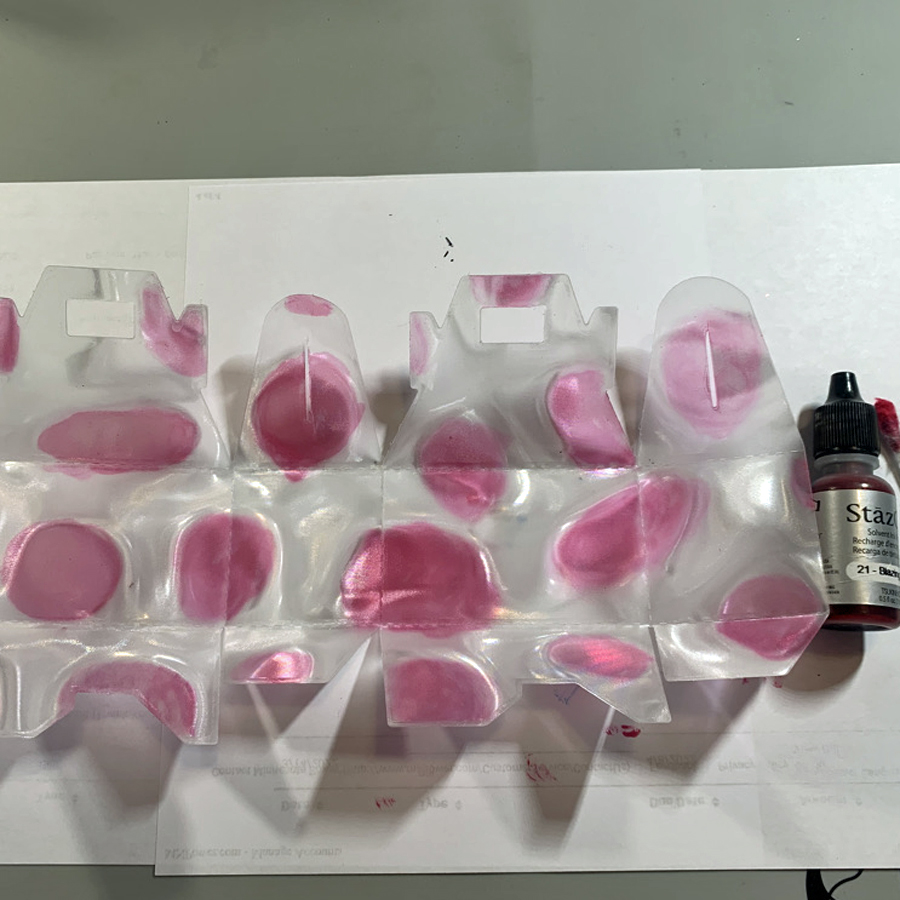
Place a few drops ink from StazOn Blazing Red inker on a plastic surface to use as a palette. 
On the INSIDE  of the box use a cotton swab to color each of the pebbles from the center out. 
A little goes a long way with the translucent colors. 

Step 3:

Metallic StazOn ink is slightly less translucent than the other colors. 
To capture more shimmer, apply a drop or two of StazOn Metallic Gold on the INSIDE of the box
and move the ink with a cotton swab to color around the pebbles.

Step 4:

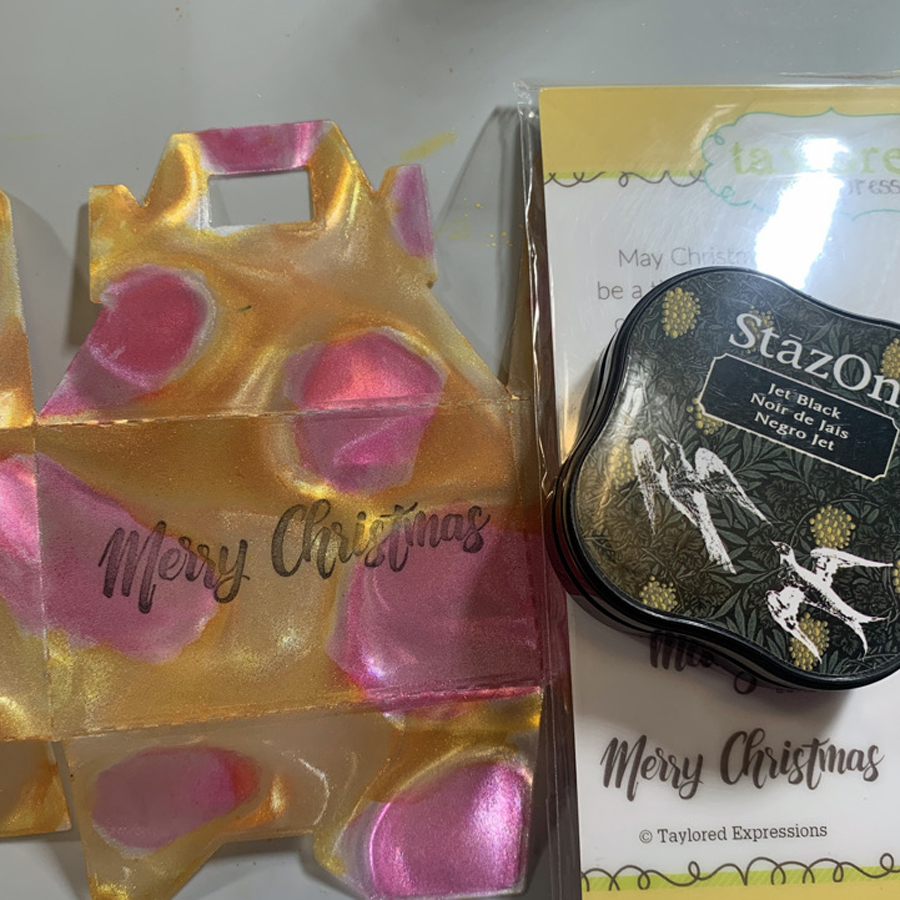
Continue to add StazOn Metallic Gold ink to cover the remaining areas of the inside of the box. 
Set aside to dry, as the Metallic ink is a bit thicker and takes a longer to dry. 

Step 5:

Using StazOn Jet Black, stamp the “Merry Christmas” sentiment on the OUTSIDE of the box.
This keeps the interior of the box ink from lifting and to have the correct orientation. 

Step 6:

Tear It! tape is perfect to hold the bottom of this gift box together. 
Assemble box and determine the best placement for the Tear It! tape. 
Unfold box and add Tear It! tape, my project called for five sections to hold the box in shape.

Remove Tear It! Tape liner and assemble gift box. 

Decorate with matching ribbon and fibers to close the top and keep your gift secure.

Art Supplies

Imagine:

Vertigo–Pebbles 12” x 12” sheet

StazOn Inkers–Blazing Red and Metallic Gold

StazOn Jet Black

 Tear It! Tape

Other:

Bakery Gift box die–Lifestyle Crafts

Cotton Swabs 

Sentiment–Christmas Blessings Taylored Expressions

Misc:  Gold Ric Rac and red fibers

Create A Holiday Tree Ornament Using Creative Medium, Memento and Brilliance Inks 

By Katy Ingram

Hello Friends! Katy here and for todays project I thought I would used a variety of products with some die cuts to create an ornament for the Christmas tree. 

In todays video tutorial I explain each layer of the ornament starting with the snowy background which uses the Creative Medium with a snowflake stencil, once dried I applied the Brilliance Ink in Pearlescent Orchid, Pearlescent Purple, Pearlescent Lavender and Pearlescent Sky Blue and was blown away. Check out the video for all the details on how this ornament came together. 

I hope you enjoy and thanks for stopping by. 

Skill Level: Beginner, Intermediate, Advanced

Time: 10 minutes 

Art Supplies

Imagine Products

Poinsettia

– Memento Ink Angel Pink, Love Letter, Lady Bug, Rhubarb Stalk

– Delicata Ruby Red

– Pico Embellisher-Shimmer

Greenery

– Memento Ink Bamboo Leaves, Northern Pine

– Pico Embellisher-Shimmer

Woodland Wreath

– Memento Ink Toffee Crunch, Rich Cocoa, Espresso Truffle

Back Panel

– Delicata Ruby Red

– VersaFine Clair Nocturne

Snowflake Background

– Brilliance Inks

– Creative Medium-Shimmer

On Point Glue

Tear It! Tape

Multi-Purpose Squeegee

Other Products:

Spellbinders Poinsettia Die

Spellbinders Woodland Wreath with Feathered Friends Die

Spellbinders Blizzard Stencil

The Greetery Botanicuts Pine Bough Die

Simon Says Stamp The Magic of Christmas Stamp Set

Kat Scrappiness Holiday Village Slimline Border Die

Honey Bee Stamps Simple Alpha Stamp Set

Lawn Fawn Acetate