by Iris Rodriguez

Full steam ahead with this Steampunk box project! I enjoy using Walnut ink on wooden projects. The colors are rich and seep into the grain nicely, bringing out the beauty of the wood. Imagine has Walnut Inks in a variation of colors. For this project, I used the Terra Cotta ink, brown-reddish colors. To color the gears I used metallic Delicata Inks; Celestial Copper, Golden Glitz and Shimmery Silver.
Skill: Beginner
Time: 30 minutes to color box and gears, 1-2 hours of natural air dry
Directions

Step 1
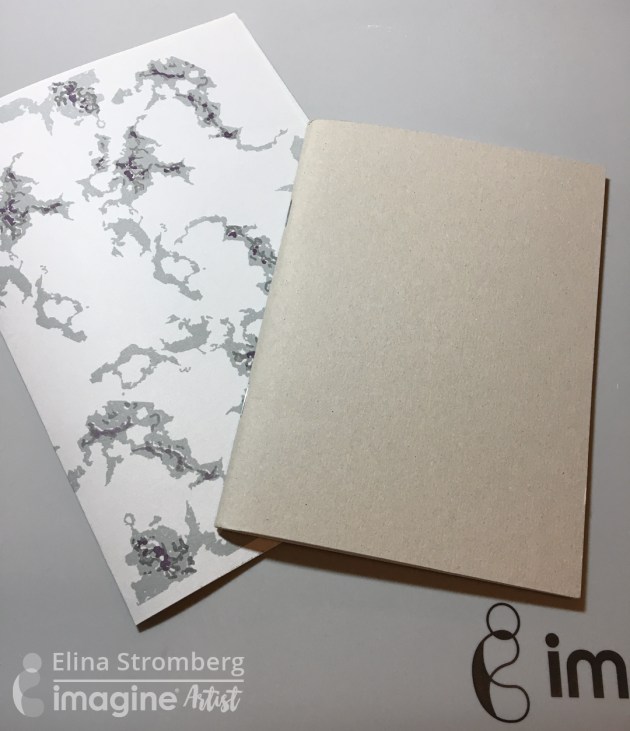
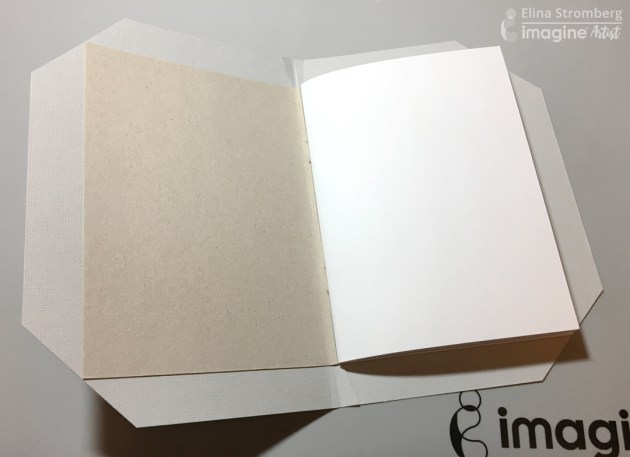
For this project, you will need a wooden box and wooden or chipboard gears. These materials are very porous and soak in the Walnut and Delicata pigment inks very nicely.

Step 2
Spray the box with the Terra Cotta Walnut Ink.

Step 3
Allow the box to naturally air dry; it takes about an hour, or speed up the process by drying with a heating tool. Seal the box. This protects the box and ink from liquids and humidity. Plus it looks nice and finished. Allow the box to completely dry.


Step 4
To color the gears, lightly pounce the gears on the Golden Glitz Delicata Inkpad. Repeat this step with the Shimmery Silver and Celestial Copper Delicata Inks. Allow the inks to completely dry or to speed up the process with a heating tool.

Step 6
Glue the gears with On Point Glue.

Step 7
The fine point needle helps to get in the narrow spaces of the gears. And just like that, you have a nice steampunk-industrial keepsake box to keep for yourself or give as a gift.
Supplies
Imagine
- Craft Mat
- Walnut Ink Spray – Terra Cotta
- Delicata Inkpad – Golden Glitz, Celestial Copper, Shimmery Silver
- On Point Glue
Other
- Unfinished Wooden Box
- Laser-cut wooden or chipboard gears
- Sealer; Spray (e.g. 3M, Krylon) or Water-based Polyurethane