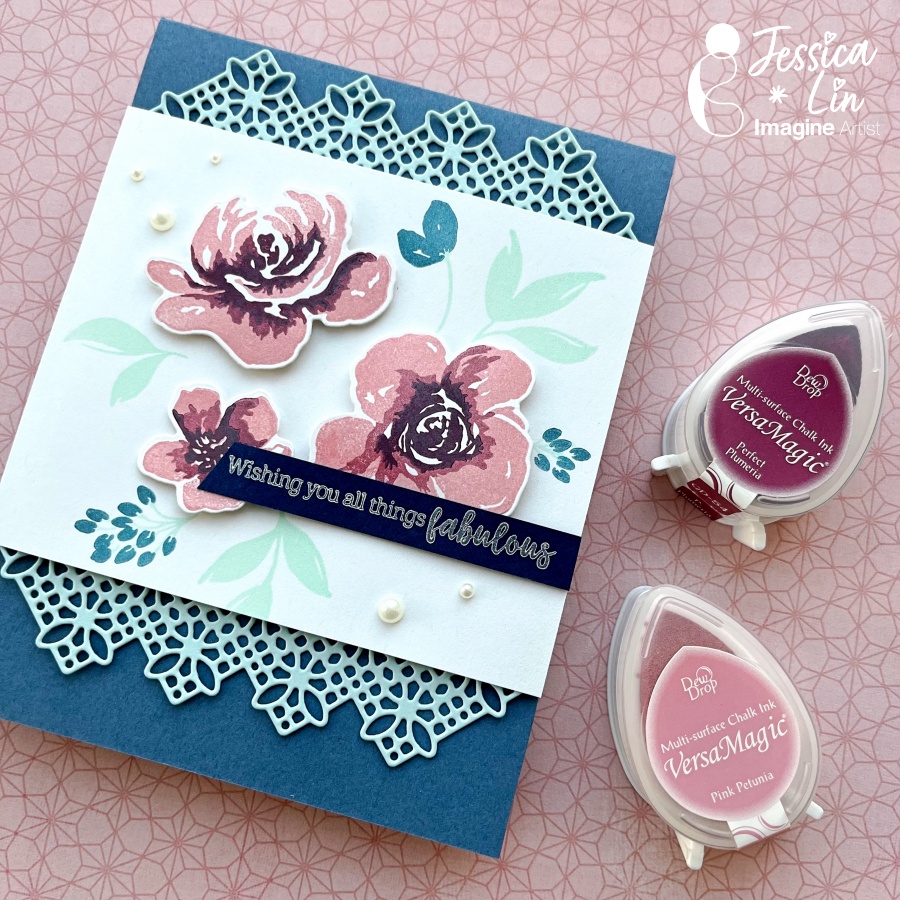
VersaMagic is one of my all time favorite ink pads. The pastel, muted tones create a nice range of colors, and some look great together for stamp layering. Today I’ll be sharing some ink combos I used for stamping the layered floral images from the All Things Fabulous set.
Skill Level: Intermediate
Time: 45 minutes
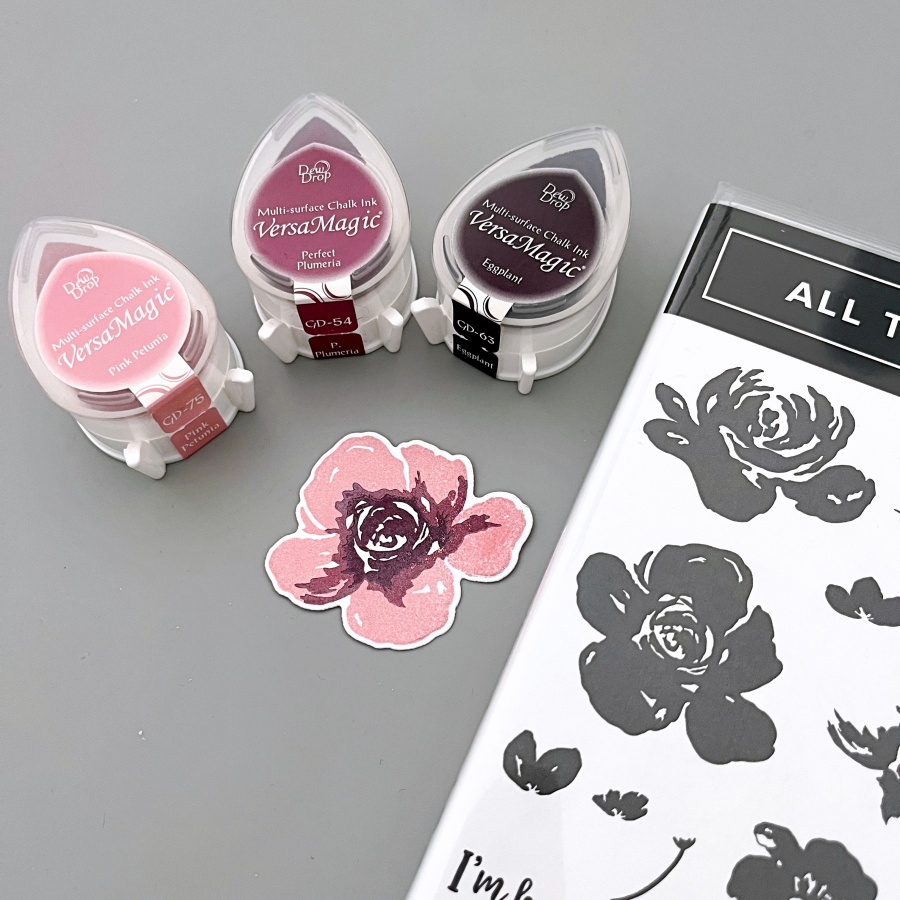
Step 1 Stamp the flower images with VersaMagic Pink Petunia, Perfect Plumeria, and Eggplant ink pads. I start with stamping the base layer with the lightest shade (Pink Petunia in this case), and work towards the darker tones. When layering the stamps, I find that aligning the center white spots is the easiest. After stamping, die cut the images with Fabulous Florals dies.
Step 2 Stamp leafy images onto the white card panel. I created 2 versions with different colored leaves. The version shown here is stamped with Aloe Vera (an all time favorite color of mine) but I decided to break out of my comfort zone and opted for the version using Aquatic Splash instead.
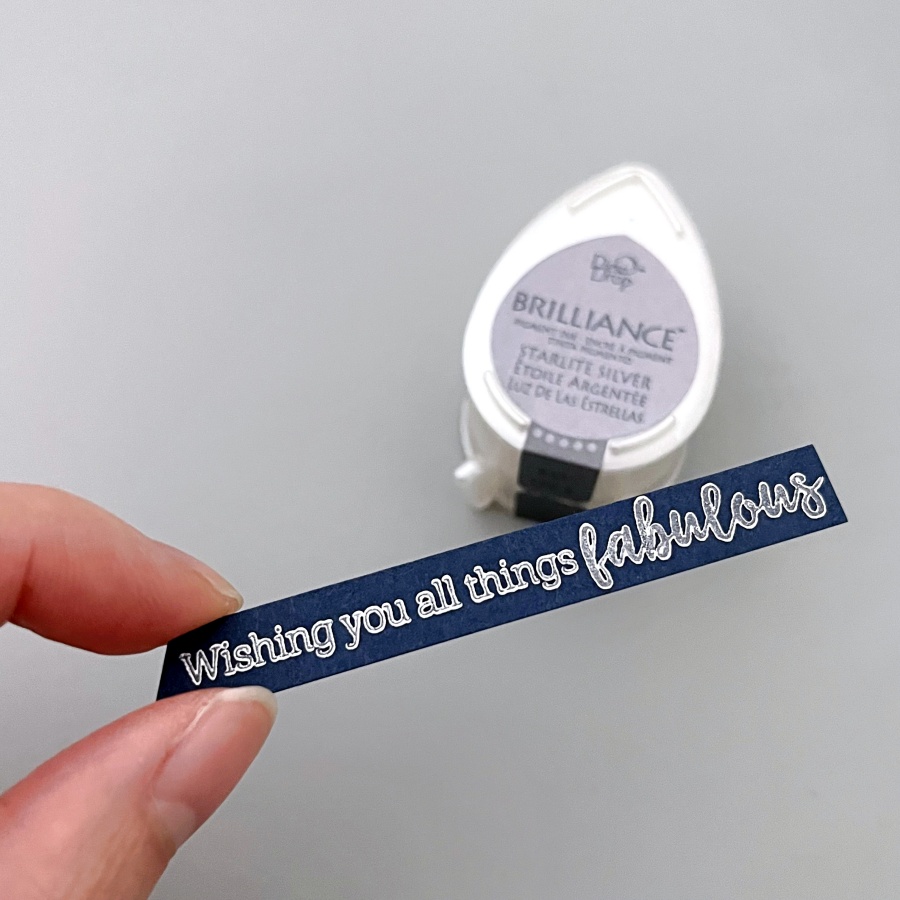
Step 3 Stamp the sentiment using Brilliance Starlite Silver ink pad. The shimmery effect is stunning against the dark cardstock! If you are looking for a silver ink pad, I highly recommend Starlite Silver.
Step 4 It’s time to embellish the card. This delicate lace die is to die for! It adds a feminine touch to the card and can be very versatile in my opinion. This die fits in the Mini Stampin’ Cut and Emboss machine as well! I’ve been enjoying the mini machine for die cutting flowers and smaller elements. Then I cut the lace die cut in half and adhere them on the top and bottom behind the white card panel.
I hope you like this floral card! The muted colors from the VersaMagic ink pads are just so pretty together. I hope you’ll try them out with layering stamps.
I wanted to create some backgrounds just to get my creative juices flowing. I am so glad I did because I was able to use many of the different cardstock scraps and designer paper scraps to make some really cute backgrounds.
I used different stencils from my stash, some blending brushes, and a few Imagine Crafts inks and daubers to create backgrounds that I turned into Birthday cards.
It’s Ceal, here. Today I am sharing my first post as an Imagine Artist In Residence. I am so excited to be a part of the Imagine team. I love all things snow related and with the groundhog not seeing his shadow and predicting an early spring, I had to make a couple more winter cards.
Here are the supplies I used:
Skill: Intermediate to Advanced. Time: 45 mins
Directions:
Step 1 Stamp the snowflake with VersaMark ink onto a piece of white cardstock cut to 4.25″ x 5.5″ . Emboss the snowflake with MBoss Sparkle embossing powder.
Step 2 Using a Sponge Dauber, Ink blend over it with Brilliance Pearlescent Purple Ink
Step 3 With a die cutting machine, run the snowflake cover plate through.
Step 4 Cut a piece of amethyst cardstock to 4.25” x 5.5” to back the snowflake cover plate.
Step 5 To make the snowflake more dimensional place foam adhesive dots in between the two snowflakes Tip: Apply a little On Point glue to each foam dot to allow you to move it as needed.
Step 6 Stamp and die cut the sentiment and add it to the card front.
Step 7 Using On Point Glue, layer and glue all the pieces together.
I made a second card using Mboss Hologram and silver foil paper with the same design.
Other Supplies: Misti 2.0 Neenah 110lb Solar White cardbase Neenah 80lb Solar White Lessebo Amethyst Cardstock Silver Foil Cardstock Pinkfresh Studio: Folk Snowflake Pinkfresh Studio: Folk Snowflake Coordinating Cuts Pinkfresh Studio: Snowflakes Coverplate die
– In today’s blog post, I will show you a couple of ways to incorporate stencils into your cards using VersaMagic Chalk Inks, Brilliance Pigment Ink, and Delicata Inks. This is a wonderful way to use those stencils you have in your stash for an encouragement card or any holiday.
Skill: Intermediate Time: 1 hour
Directions:
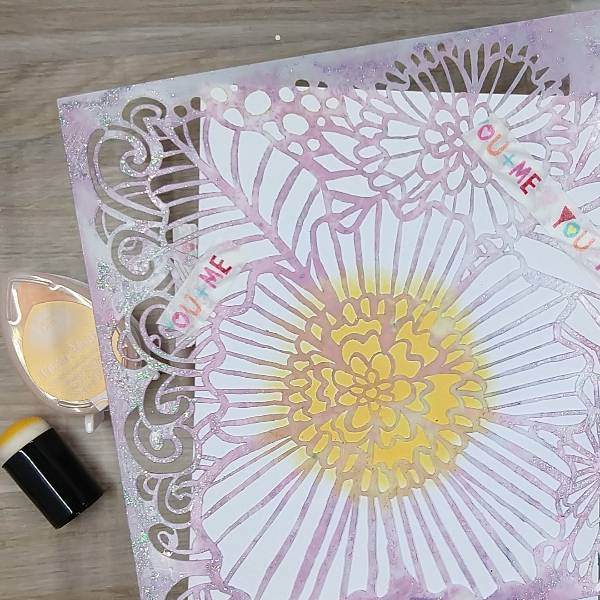
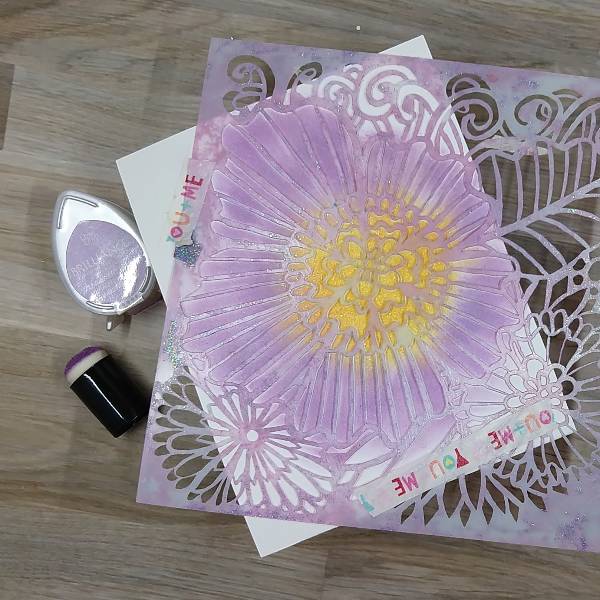
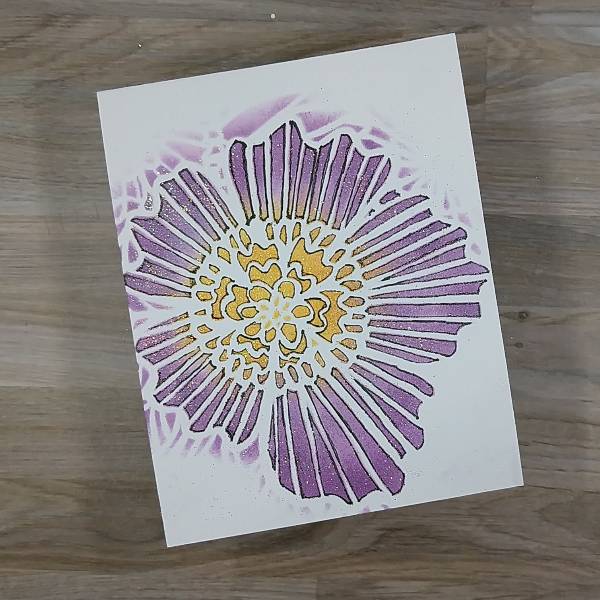
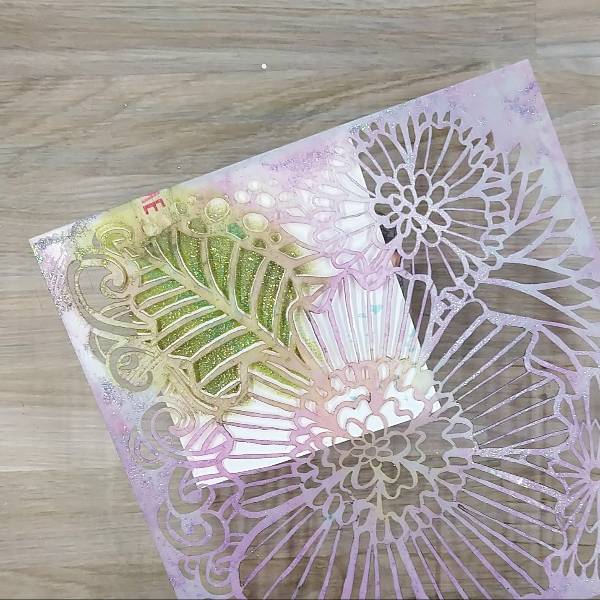
Step 1: Use washi tape to secure a large floral stencil to a piece of cardstock or watercolor paper, making sure that the cardstock is slightly larger than the stencil image you are going to use. Use a sponge dauber to apply Mango Madness VersaMagic Chalk Ink onto the center of the flower. Optional: Move the stencil away from the image and heat emboss the center of the flower with clear embossing powder before replacing the stencil and moving onto the next step.
Step 2: Using a second sponge dauber, apply Pearlescent Purple Brilliance Ink to color in all of the flower’s petals.
Step 3: Using the same dauber, apply Purple Hydrangea VersaMagic Chalk Ink to the outer edges of the flower’s petals. Optional step: Remove the stencil and add embossing powder to your flower petals to help with smudging. Then return the stencil onto your paper in the exact same place on your paper.
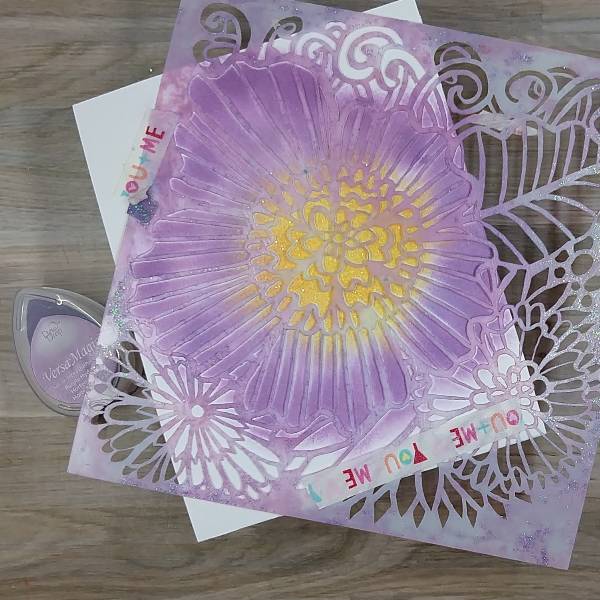
Step 4: Using a black artist pen, trace the edges of the stencil’s holes (to add a border around each ink blended area of the stencil). Then remove the stencil and set it aside. (I decided not to add the black outlines to the innermost circle of the flower’s center as I was planning something different there. Later, I realized that I had not outlined one tiny triangle that I should have in the center of the flower.)
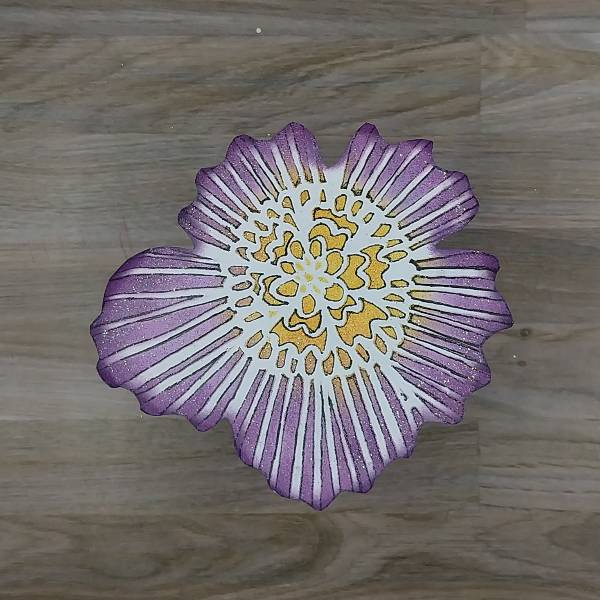
Step 5: Fussy cut the edges of the flower with a pair of scissors. Then use the sponge dauber to ink blend the edges of the flower with more of the Purple Hydrangea VersaMagic Chalk Ink.
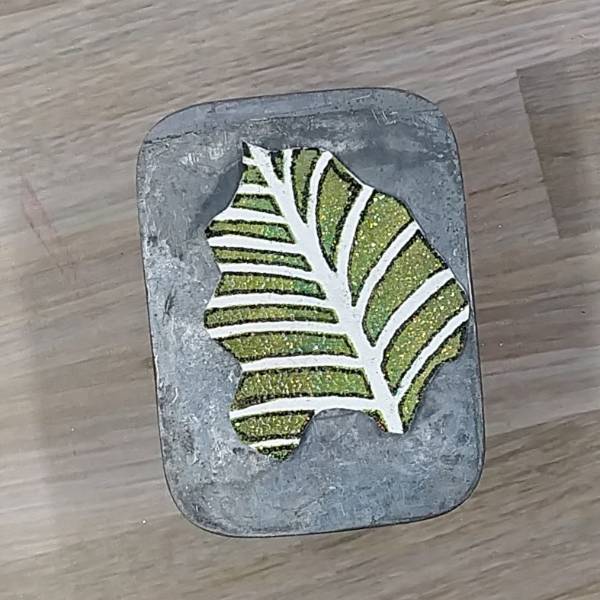
Step 6: Attach the leafy part of the stencil to another piece of watercolor paper or cardstock with more washi tape. Using another sponge dauber, blend the inner part of the leaf with Tea Leaves VersaMark Chalk Ink and the outer edges with Hint of Pesto VersaMark Ink. Mix a little Turquoise Gem VersaMagic Chalk Ink with water and watercolor the center parts of the leaves. Optional: Remove the stencil and heat emboss the ink with more clear embossing powder. Replace the stencil over the leaf.
Step 7: Using the black artist pen, trace the edges of the leafy part of the stencil’s openings (to add a border around each ink blended area of the stencil). Then remove the stencil and set it aside.
Step 8: Fussy cut the stenciled leaf using a pair of scissors. Using the same sponge dauber you used to blend the rest of the leaf, blend the Hint of Pesto VersaMagic Chalk Ink around the edges of the leaf. (Sorry, I forgot to take a picture of the leaf with the ink blended edges.)
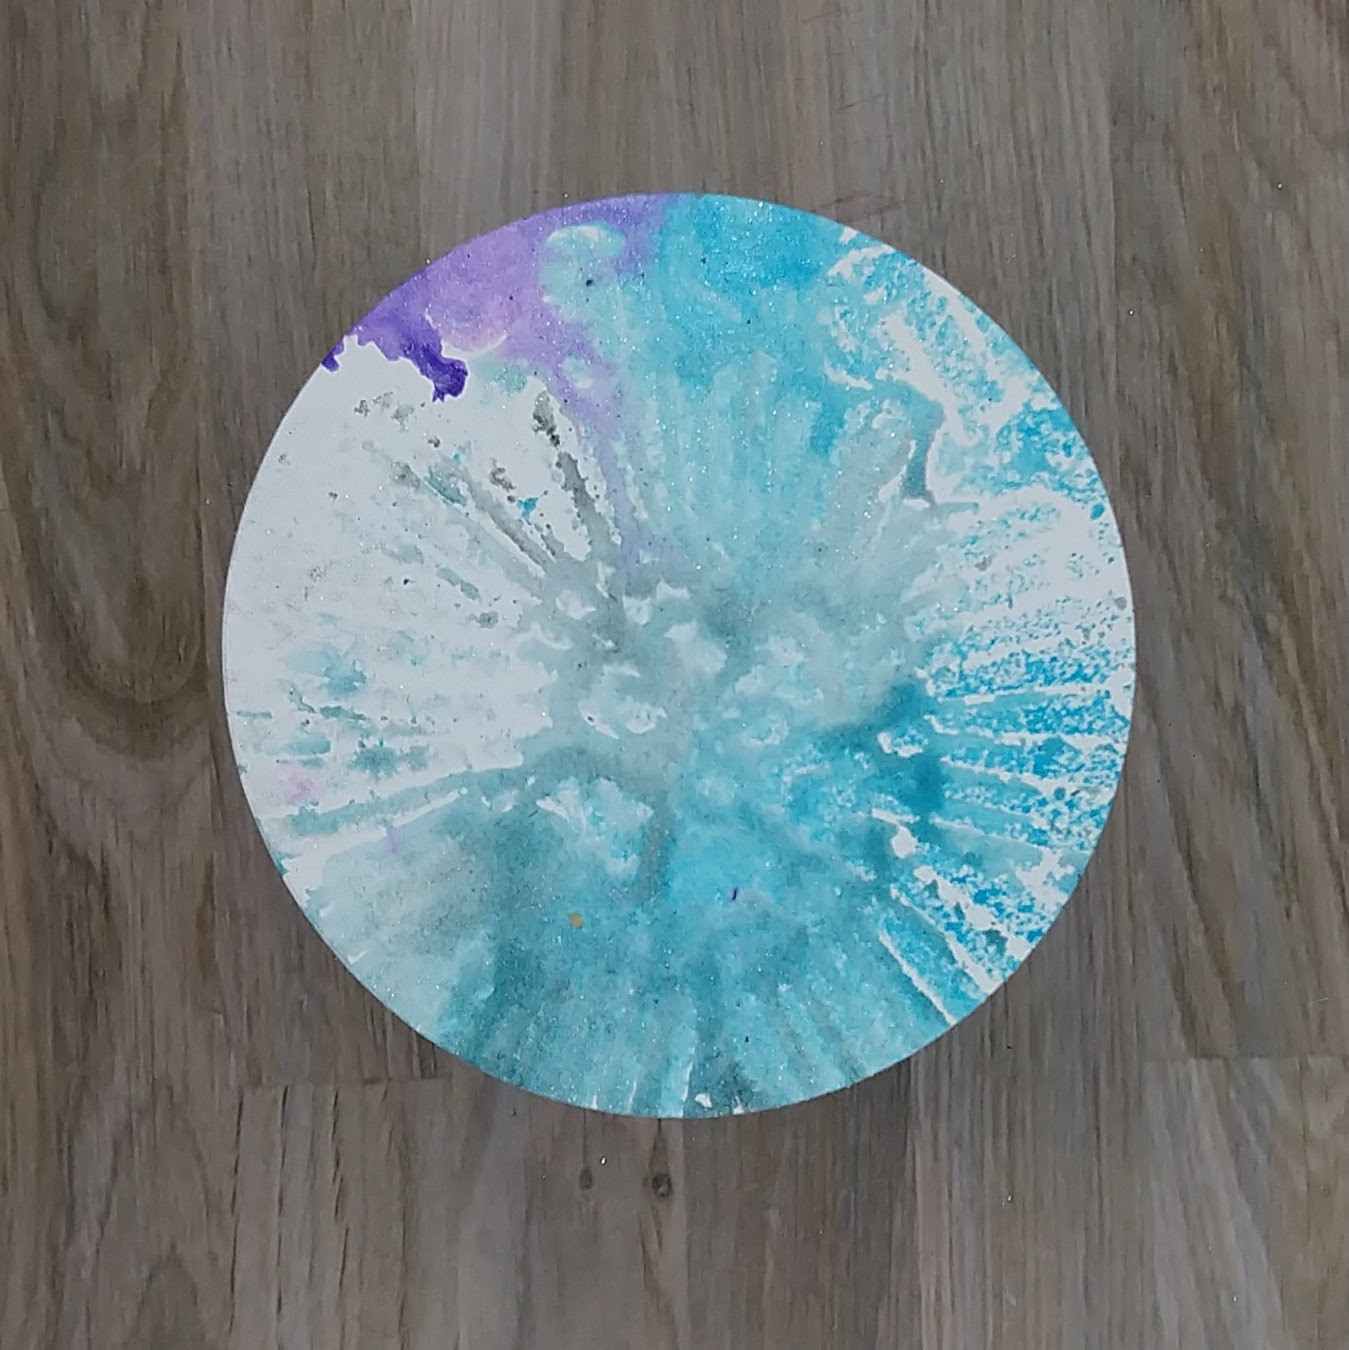
Step 9: Return the stencil to another piece of watercolor paper. Spray the paper through the stencil with Sparkle Sheer Shimmer Spray as well as Bahama Blue and Grape Jelly Fireworks! Shimmery Craft Spray. Allow the spray to dry or use your heat tool to dry the spray. After the spray dried, use a circular die to cut a piece of the watercolor paper that is slightly larger than the stenciled flower.
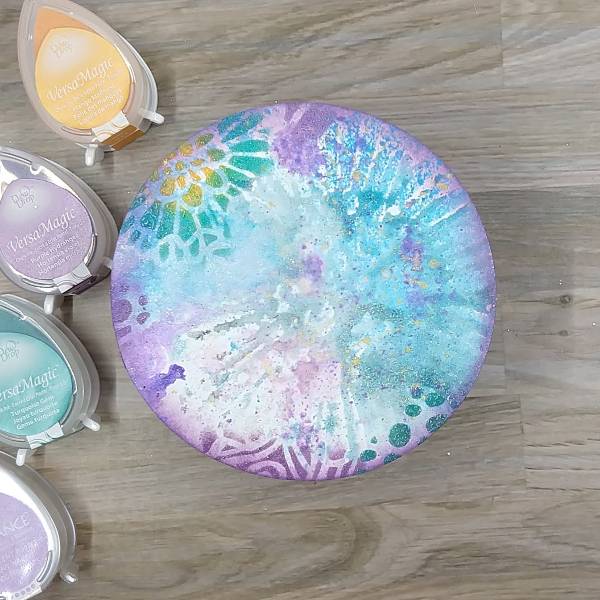
Step 10: Ink blend the whole edge of the circular die cut with more of the Brilliance Pearlescent Purple ink with a sponge dauber. Return the stencil to the circular die cut and use a variety of the same colors of ink to stencil the edges of the die cut using more sponge daubers. In blend the small flower with Mango Madness and Turquoise VersaMagic Chalk Inks, the dots with more of the Turquoise VersaMagic Chalk Inks, and the curved lines with Purple Hydrangea VersaMagic Chalk Ink. Optional: Heat embossed the ink with more clear embossing powder.
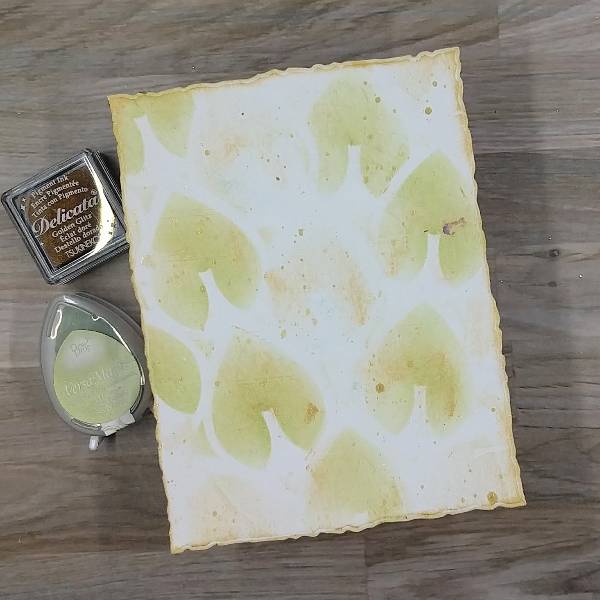
Step 11: Create the background panel by die cutting a piece of white cardstock or watercolor paper with an A2-sized die cut. Place a stencil with larger open leafy areas over the watercolor paper and then gently run Golden Glitz Delicata ink across the panel to add some soft gold accents. Ink blend several of the leaves with Tea Leaves VersaMagic Chalk Ink, making sure that there are some gold leaves and green leaves. Gently press the Golden Glitz Delicata Ink cube to the edges of the panel to leave a gold border around the edge of the panel. Splatter some gold watercolor across the panel and allow it to dry.
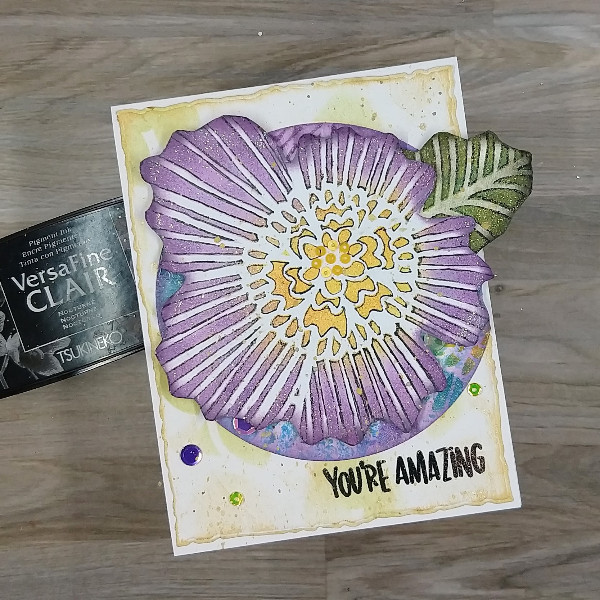
Step 12: Stamp a sentiment of your choice on the lower right part of the panel with Nocturne VersaFine Clair ink. Optional: Heat emboss the sentiment with clear embossing powder. Glue the circular die cut onto the center-right of the panel and trim the very edge of the circular die cut to match the background panel. Attach the leaf and flower to the card with foam tape. Glue small yellow sequins to the center of the flower and add purple and yellow sequins onto the card. Glue the whole panel onto an A2-sized white card base. Splatter a little more gold watercolor across the card.
Other TCW (The Crafter’s Workshop)-Stencil-Dahlia Blooms (6”x6”) Simon Says Stamp-Stencil-Mod Layering Leaves (1 of 2 stencils in the set) Simon Says Stamp-Stamp-Amazing Catherine Pooler-Sequins-Paisley Park and Saint Lucia sequin mixes Embossing powder in my stash Hero Arts-Die-Nesting Circle Infinity die set Honey Bee Stamps-Die-Deckle Edge A2 die set Altenew-Foam Tape-Instant Dimension Foam Tape Scissors Black artist pen Clear embossing powder Glue
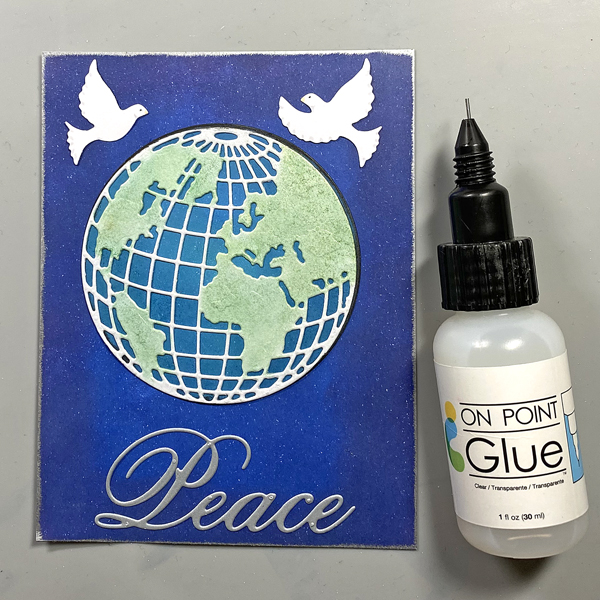
Here’s a dramatic, yet quick and easy Season’s Greeting’s Card
Skill Level: Beginner to Intermediate Time: 1 hour
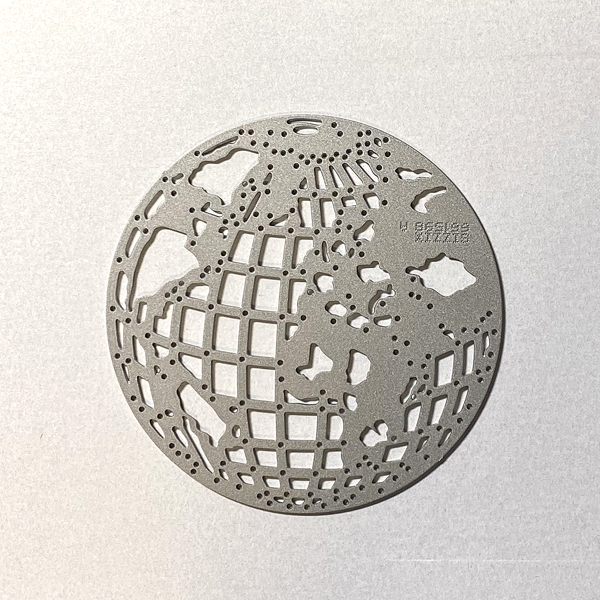
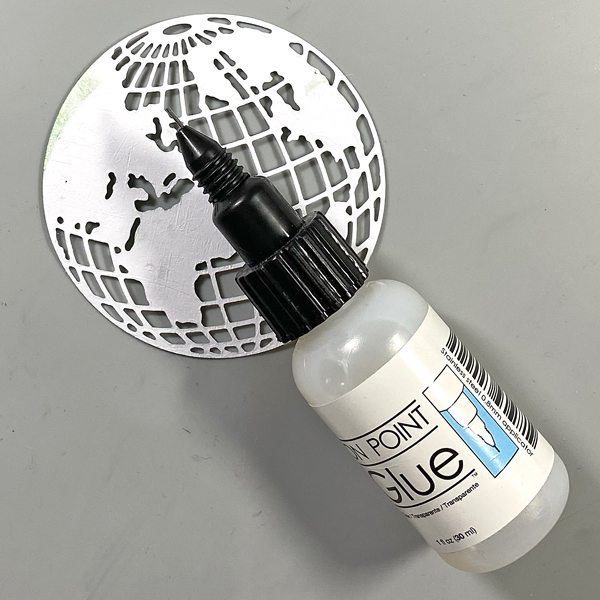
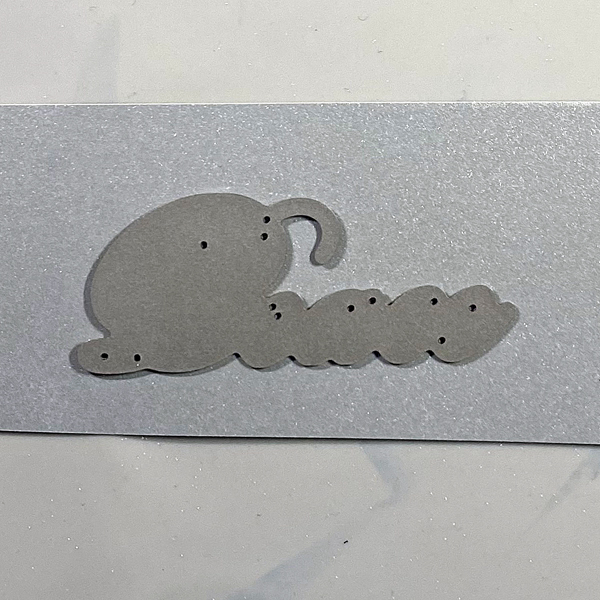
Step 1. Use the Mini Globe Thinlits cutting die to cut white metallic cardstock.
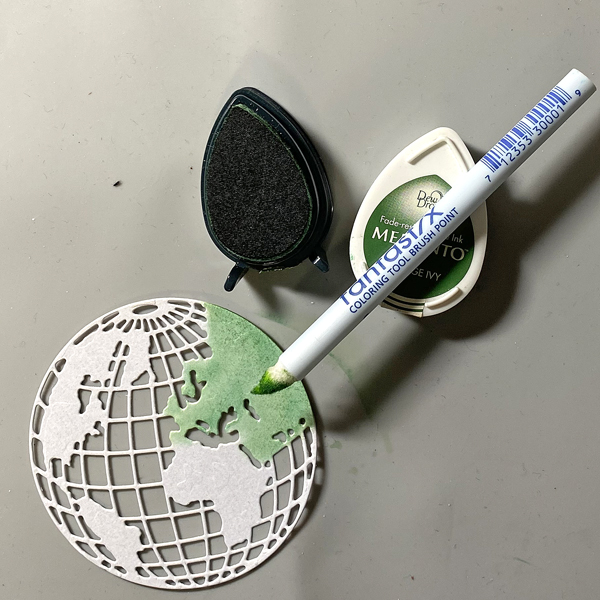
Step 2: Use a Fantastix to apply Cottage Ivy Memento ink to the land areas of the globe.
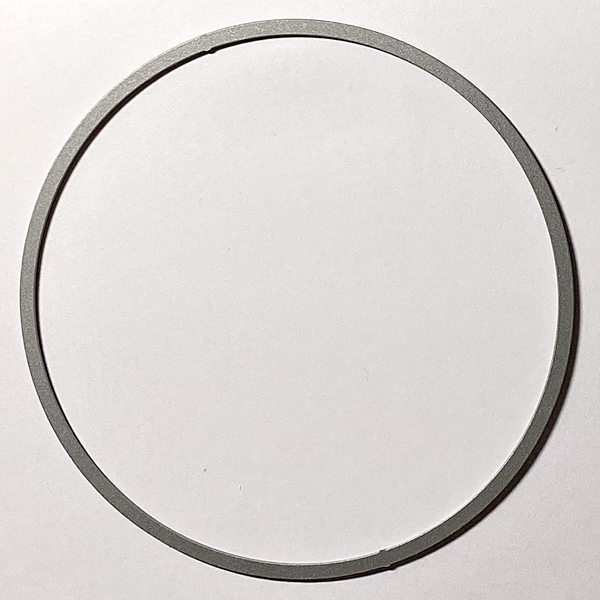
Step 3: Use a circle die to cut white cardstock.
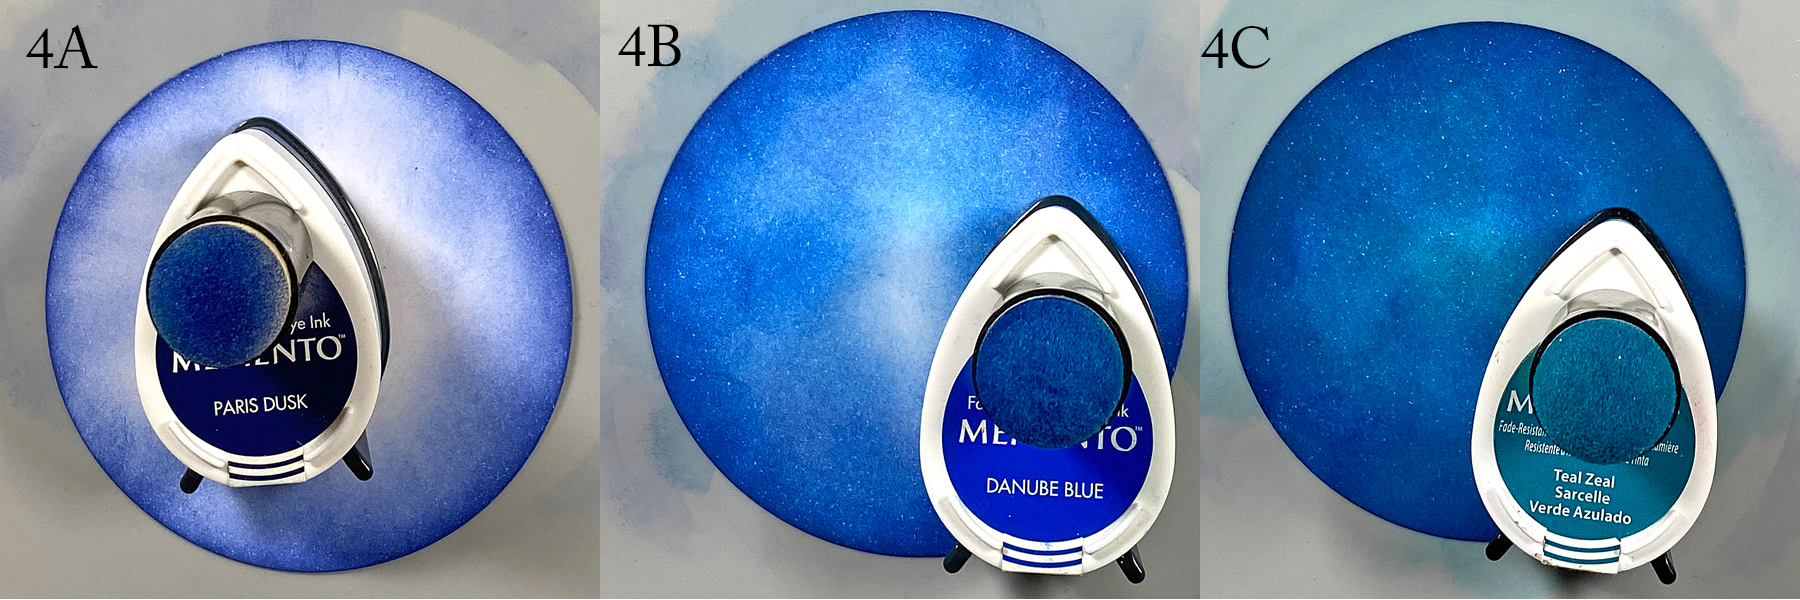
Step 4: Use a sponge dauber to apply Paris Dusk Memento Ink around the outside of the white circle die-cut. Use another sponge dauber to apply Danube Blue Memento Ink from the outside of the circle die-cut blending inwards. Use a third sponge dauber to apply Teal Zeal to the center of the die-cut, taking care to blend the inks together.
Step 5: Apply On Point Glue to the reverse of the glove, spread the glue with your finger, then adhere the globe to the inked circle. Set aside.
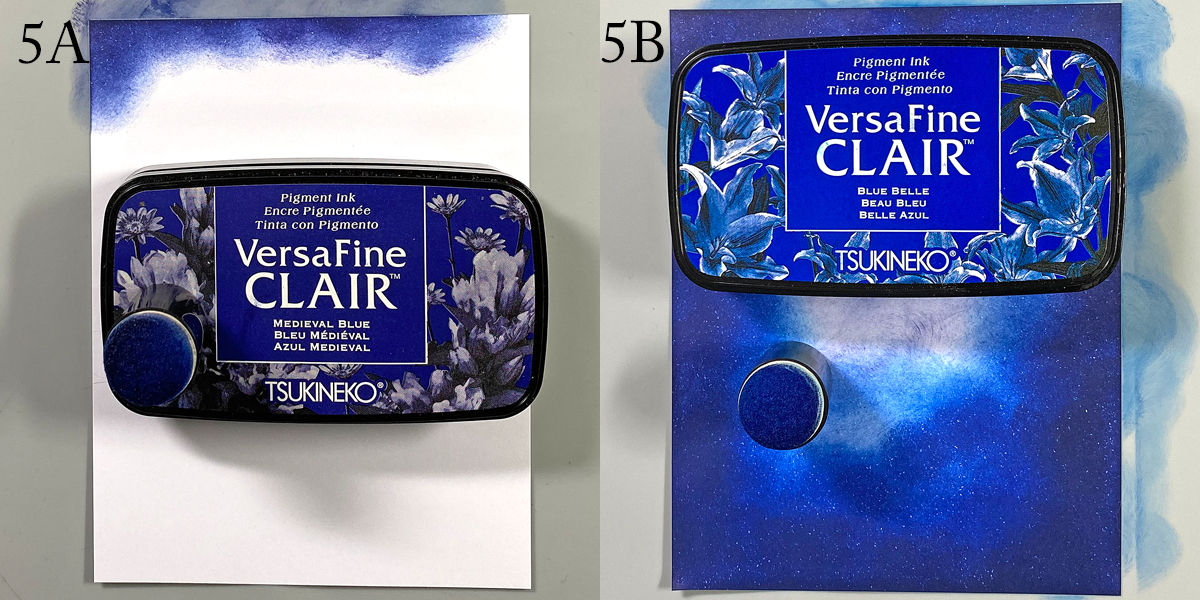
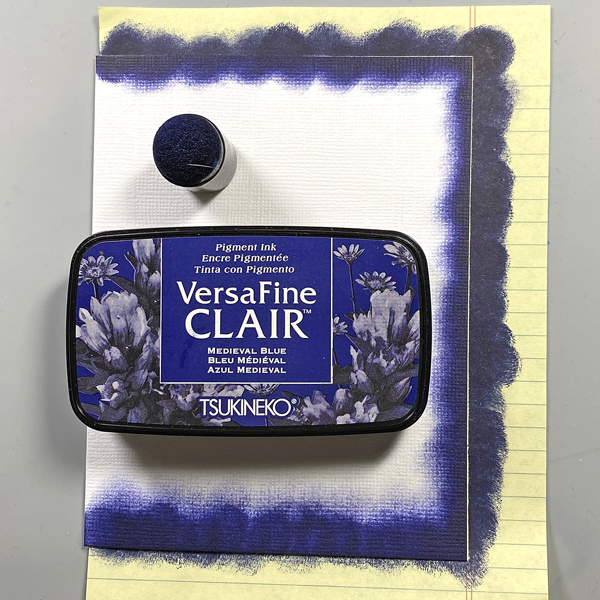
Step 6: Use a sponge dauber to apply Medieval Blue VersaFine Clair ink around the edges of a piece of 4” x 5.25” cardstock to create the image panel. Use a sponge dauber to apply Blue Belle VersaFine Clair ink from the center of the inked cardstock to the outside, taking care to blend the inks together. Heat set.
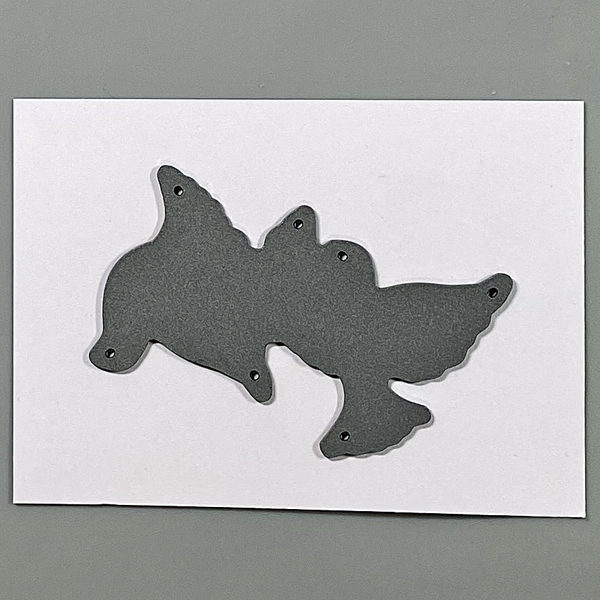
Step 7: Use the doves die to cut white cardstock. Use Copic markers to add details to the doves.
Step 8: Use the peace die to cut silver metallic cardstock and adhere to the base of the image panel.
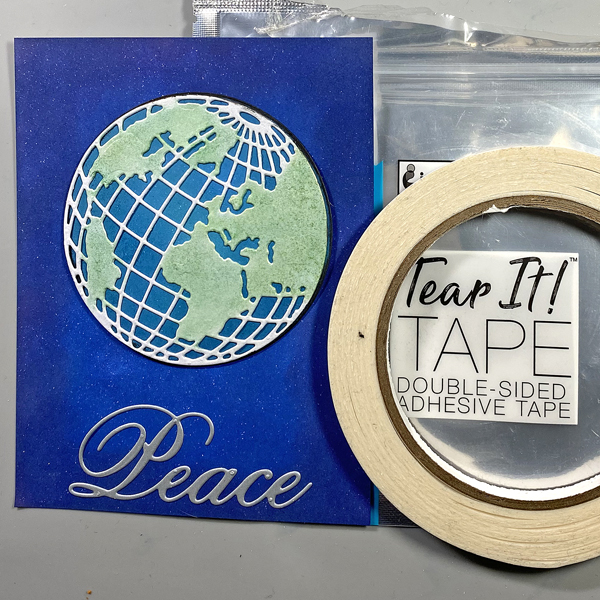
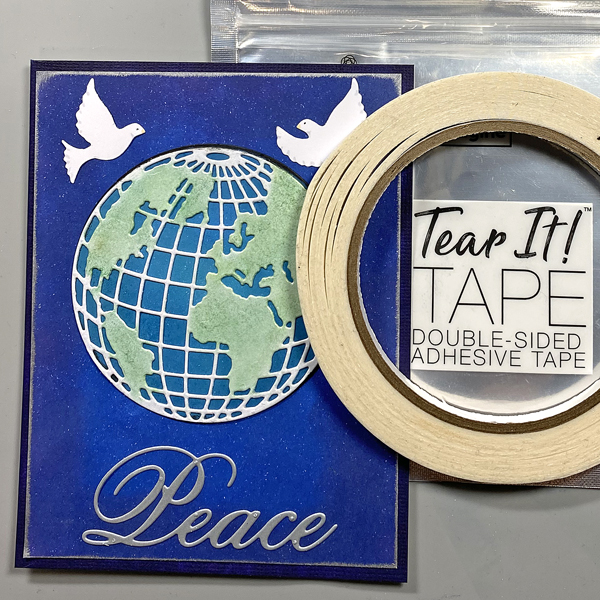
Step 9: Use Tear It! Tape to adhere the globe/circle combination to the card as shown.
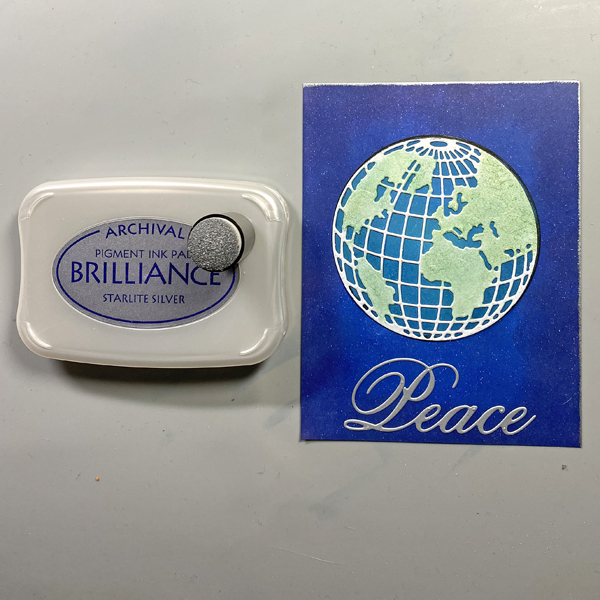
Step 10: Edge the image panel with Starlite Silver Brilliance ink and a sponge dauber. Heat set.
Step 11: Use On Point Glue to adhere the doves to the image panel.
Step 12: Use a sponge dauber to apply Medieval blue to the perimeter of a 4.25” x 5.5” white card. Heat set.
Step 13: Use Tear It! Tape to adhere the image panel to the inked white card.