LeeAnn here with my last video of 2020. This year sure did go by fast, however, I am so ready for 2021 to begin, what about you?
For my final cardmaking project, I am bringing you a fun and gorgeous Gold Thank You card on black paper.I love creating and crafting with embossing powders, so I did a lot of it with this one. Here you will see a silver and gold theme expressing, “Thanks for everything you do!”
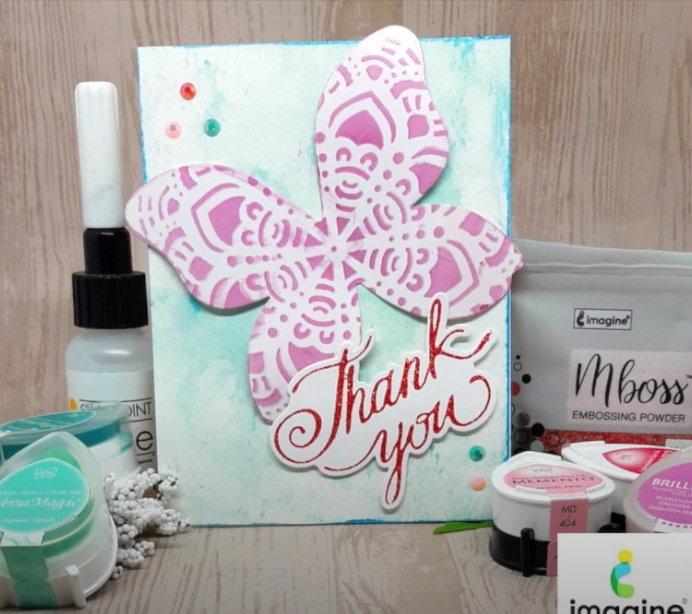
Hello Crafty Friends! Annie Collins here with a quick and easy stenciled butterfly thank you card. See how I make two different versions of the same card design by a simple color change from pink to blue.
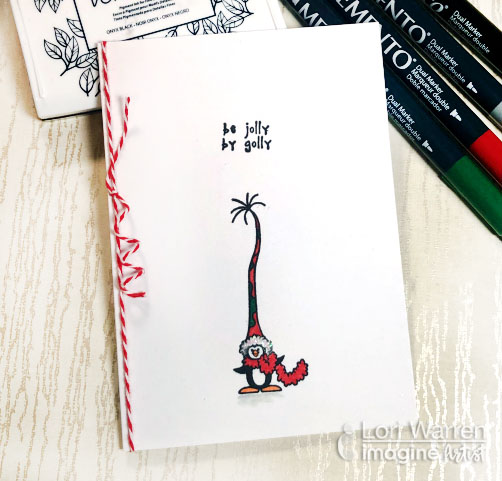
Need a quick and cute Christmas card idea? This “Be Jolly By Golly” Penguin card project was completed with Memento Markers and a few other supplies.It’s a great project if you need to make several Christmas Cards.
Happy Halloween! Today, I will create an ink blended backgrounds with a brayer and blue, brown, and teal colors of VersaColor pigment ink for a Night Sky Halloween Flying Witch Card. It’s a quick and easy way to transform a piece of white cardstock into a blended night sky. I stamp bare tree silhouettes in the foreground to give this design the look of a fall landscape. Another optional step is to flick some white acrylic
Finally, I add a flying witch to the sky section of this card panel and assemble the card! This is an easy Halloween greeting card for friends and family.
Hi everyone! Father’s Day is right around the corner and I’m here to share a simple, masculine card idea with you. It features a forest and lake scene that has a watercolor look, but it’s done completely through stamping! I’ve also shown how you can stretch your ink pads by using second generation stamping. It’s an easy technique that allows you to create different shades of the same color even if you’re just using one colored ink.
Did you know that, according to Wikipedia, there are 2.5 million weddings in the United States each year? Wow, who knew?! That means that there are a lot of individuals out there planning for their big day! It’s a good thing that this project is designed to inspire those planning for their special day to create quick, simple and elegant handmade wedding invitations.
Time: 30 minute Skill: Beginner/Intermediate
Directions
Step 1
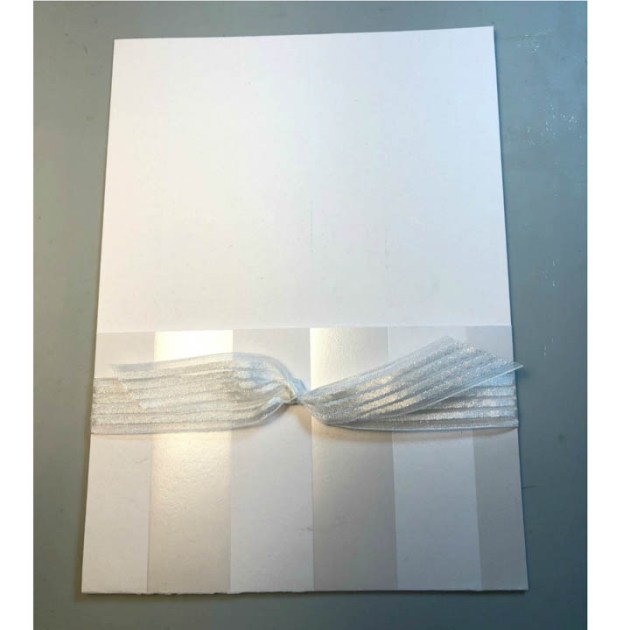
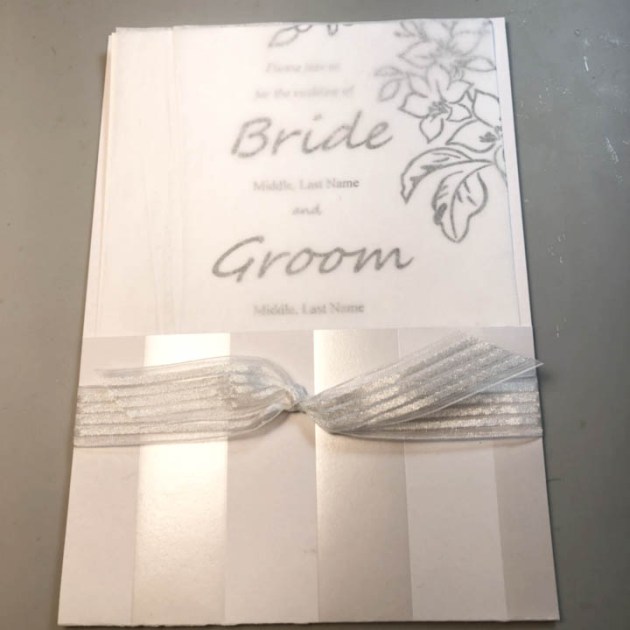
Cut a piece of decorative cardstock to size, 5 ¼” x 10”. Fold up at 3” from the bottom.
Step 2
Tie sheer ribbon around the bottom portion of the folder.
Step 3
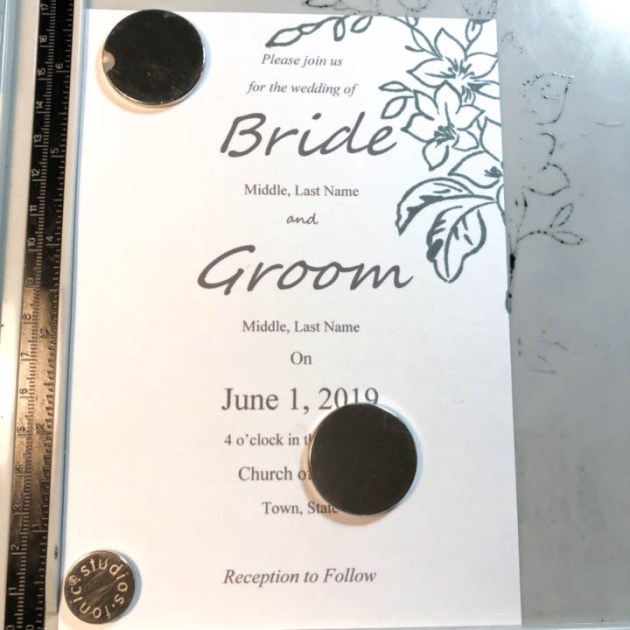
Print wedding announcement on a 5”x 7” piece of cardstock.
Step 4
Stamp floral image with Memento London Fog at top right and bottom left of invitation.
Step 5
Create a template to cover printed words and spray with Sheer Shimmer Craft Spray.
Step 6
Cut tissue paper to cover invitation.
Step 7
Slide invitation, with tissue cover, into the previously made folder.
Step 8
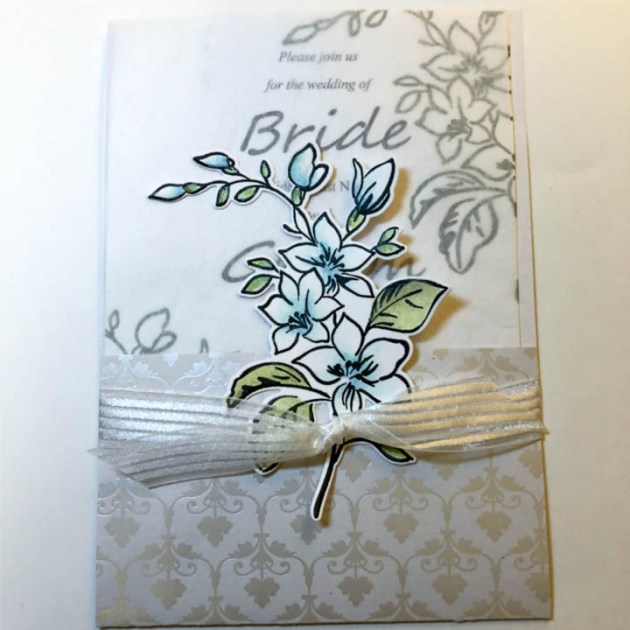
Stamp floral design on cardstock with StazOn Pigment ink in Piano Black.
Step 9
Using watercolor pen and VersaMagic ink, water-color floral image.
Step 10
With matching die, cut out floral image.
Step 11
Adhere to the bottom portion of folder front, see the example for placement. Try the same design in different color schemes.
Supplies
Imagine
VersaMagic Chalk Ink – Pink Grapefruit, Mango Madness, Tea Leaves, Hint of Pesto, Turquoise Gem, Ocean Depth, Cloud White