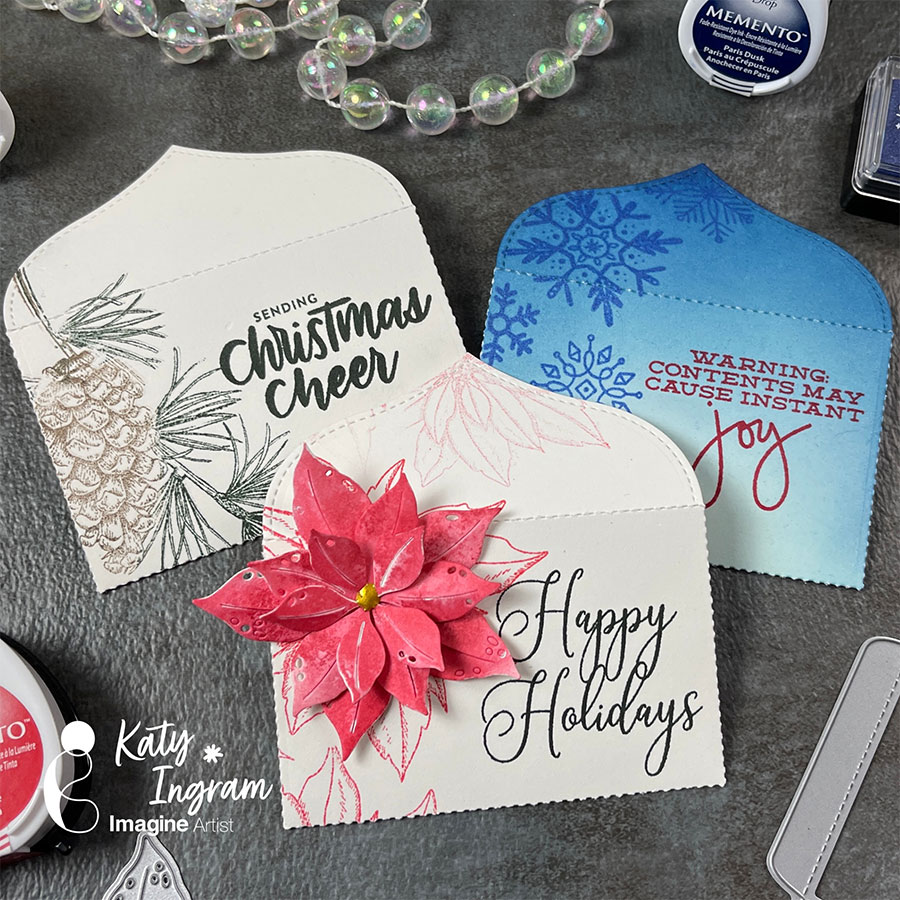
Hello Friends! Katy here and for todays project I am sharing a few simple gift card envelope holders, great for the holidays or really any gift giving occasion.
In todays video tutorial you will see how easily these envelopes came together using some Memento and Delicata Inks. Using an envelope die makes quick work of this project and will give you more time to enjoy the holiday season.
I hope you enjoy and are inspired to take those plain gift cards and create an envelope to dress them up.
Hello there! Today’s tutorial is to show you how easy is create texture with Memento Inks. This is a very simple process that you can create with a score lines and or embossing folders. On this card, I used Memento Ink Desert Sand, Peanut Brittle and Teal Zeal.
Hello there! Today’s tutorial is to show you how easy is create texture with Memento Inks. This is a very simple process that you can create with a score lines and or embossing folders. On this card, I used Memento Ink Desert Sand, Peanut Brittle and Teal Zeal.
Skill: Medium
Time: 45 minutes
Directions:
Step 1:
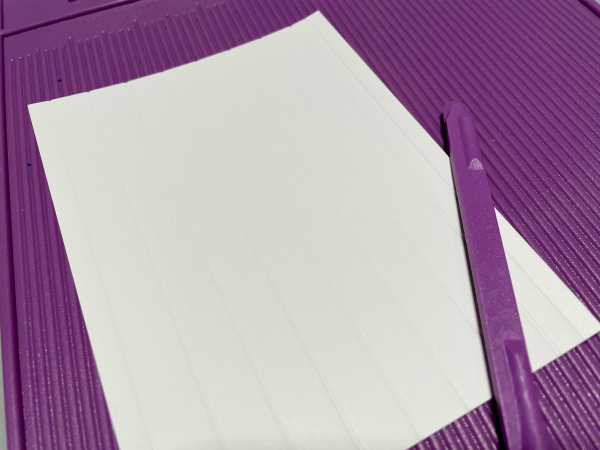
Create score lines over a piece of White Smooth Cardstock. This will be your top layer and you can decide the wide or directions of the lines accordingly with your design.
Step 2:
The lines of my sample card are 0.5” wide and I am using a regular size of cardstock for an A2 card, 5-1/2”x4-1/4”.
Step 3:
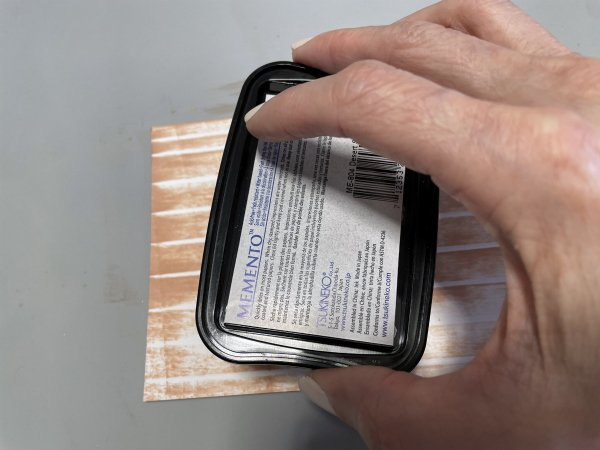
Pass the ink pad of Memento Ink Desert Sand directly over the scored panel following the vertical scored lines. Just keep in mind that you need to go border to border to obtain a uniform coverage.
Step 4:
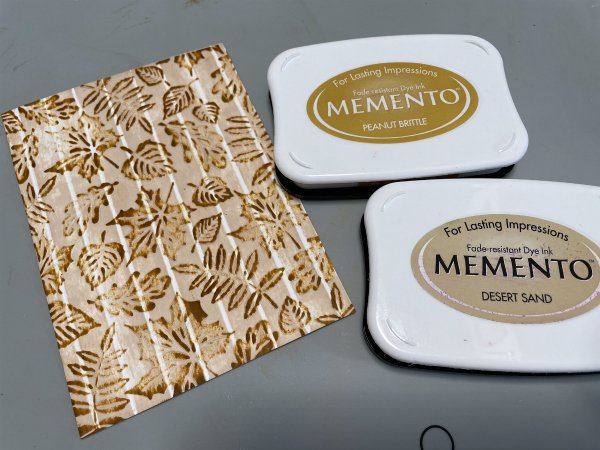
Before to introduce the inked layer inside of an embossing folder the type of image that you want to obtain. You can use the embossed raise or the debossing. In my sample, I used the emboss raise side. Pass your embossing sandwich through your die cut machine.
Step 5:
Using a different color of ink to cover the raised pattern of your embossing folder. On this card, I am using Memento Peanut Brittle
Step 6:
Let the ink dry naturally or speed the process with a heat tool. Now you can assemble the card and decorate it.
Step 7:
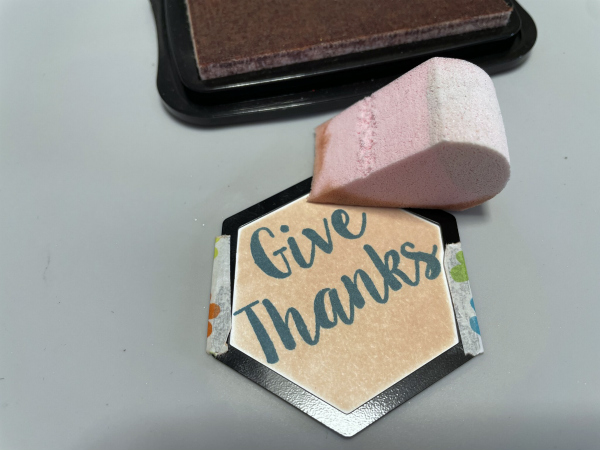
To make the message of the card, I used a clear stamp sentiment and an hexagon die cut. I stamped the sentiment with Memento Ink Teal Zeal.
Step 8:
I used the same die cut as frame to add some color to the message. I just applied the Memento Ink Desert Sand with a sponge after securing the die cut over it with washi tape.
Step 9:
To coordinate the colors of your card, you can pass an additional coat of ink to the top layer in a coordinating color with your card. In my sample, I used the Memento Ink Teal Zeal.
Just assemble your card and decorate with some embellishments. To paste the layers I used Tear It! Tape
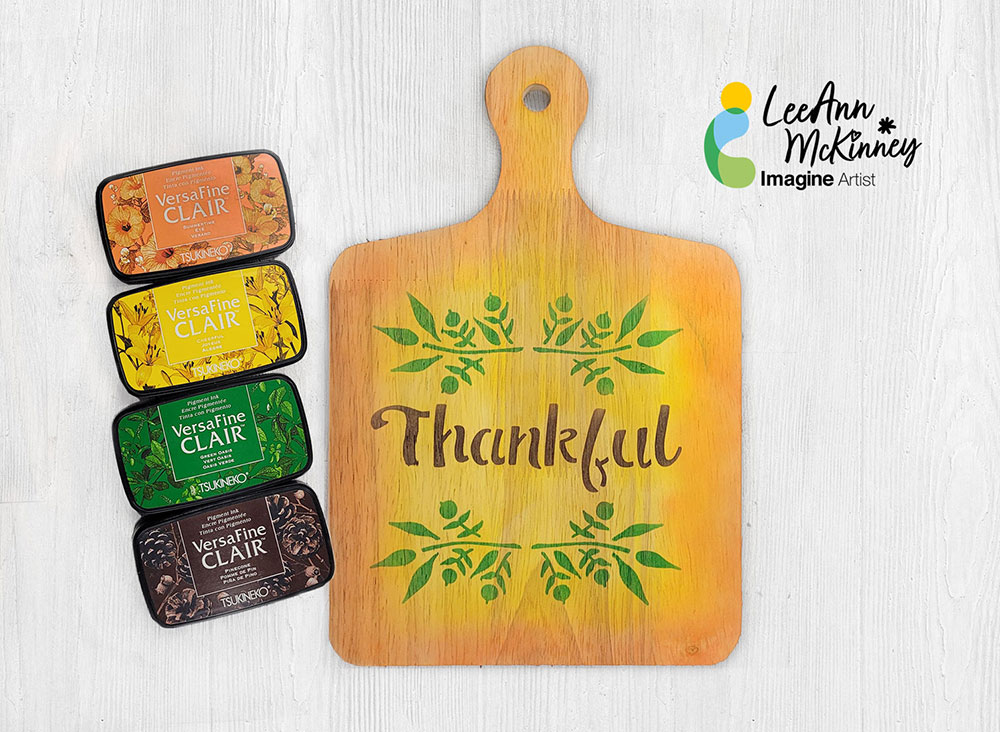
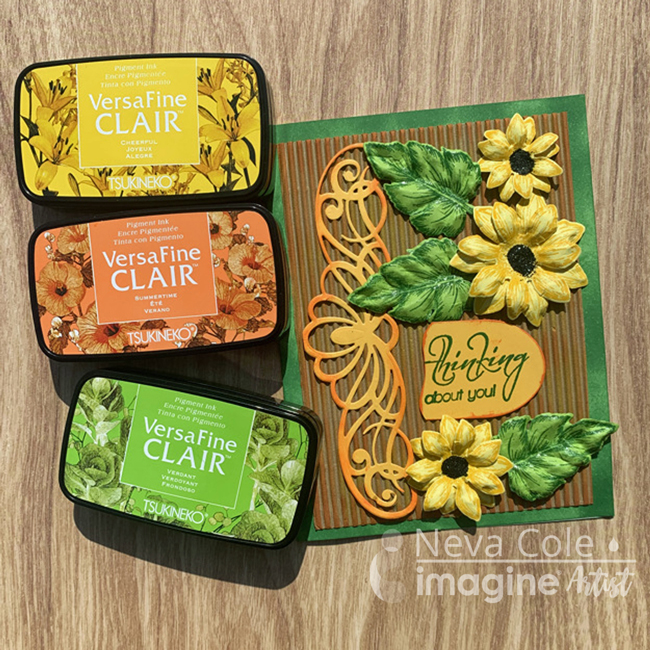
Versa Clair Fine is now my favorite pigment ink! So versatile and allowed me to create a beautifully colored card in just a few steps. This is one of the few cards that my husband has asked me to specifically make for a friend, it was easy to do with just a few inks, stamps, and dies!
Skill: Intermediate
Time: 2 hours
Directions:
Step 1:
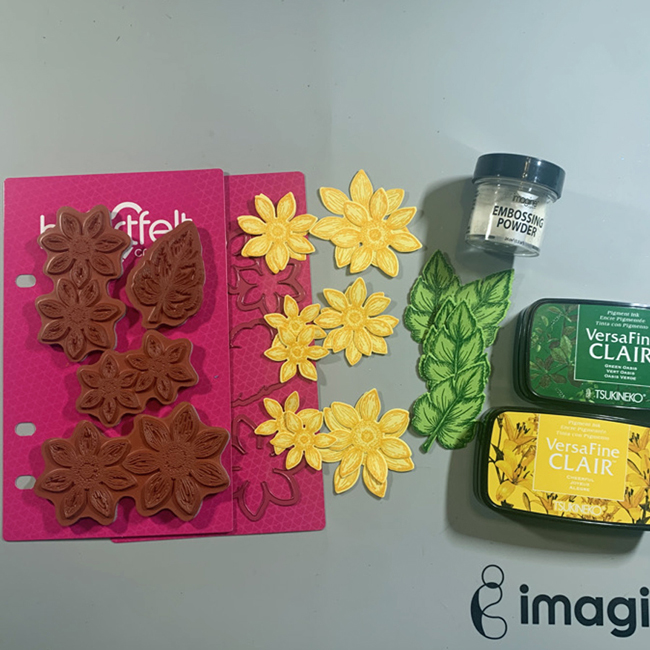
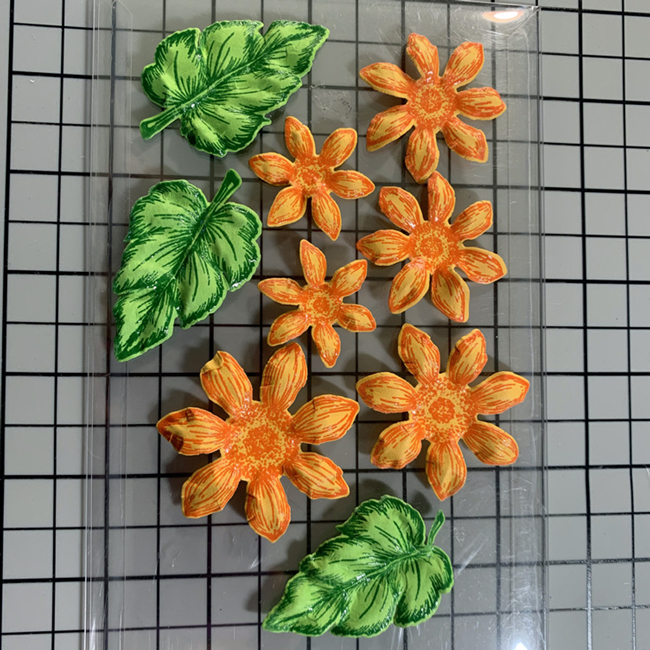
Stamp sunflower images on yellow cardstock with Versa Fine Clair Cheerful and heat emboss with clear embossing powder. Stamp leaf images on light green paper in Versa Fine Clair Green Oasis and heat emboss with clear embossing powder. Die cut with matching dies.
Step 2:
Place flowers and leaves face down in matching shaping mold and mist lightly with water. As the images are heat embossed, they will stay sharp and crisp. Close mold and pressure emboss.
Step 3:
Remove flowers and leaves from mold and set aside to dry. Once dry assemble flowers with On Point Glue, adding black glitter to centers. (Not shown) Set aside to dry.
Step 4:
Ink the edges of an A7 size card with and ink dauber and Versa Fine Clair Green Oasis. Set aside to dry, as the ink is very juicy.
Step 5:
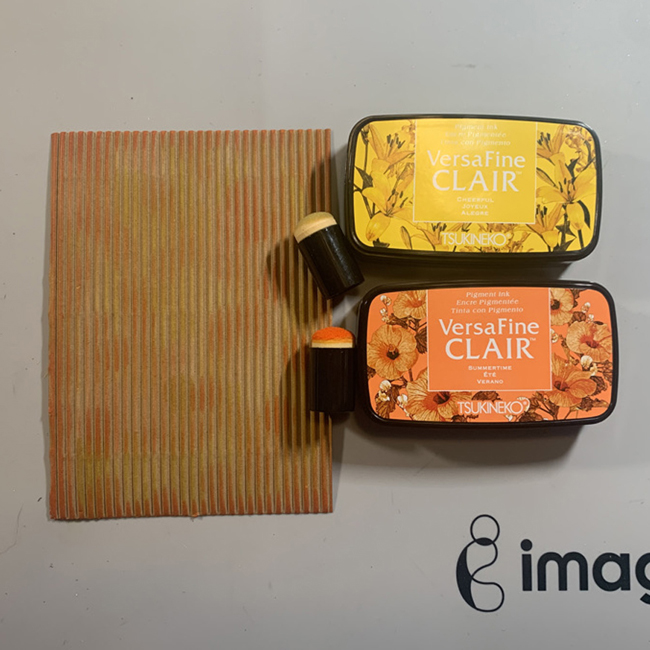
Sunflowers are a rustic flower, so corrugated cardstock seemed to be a good choice for a background. Versa Fine Clair in Cheerful and Summertime are inked randomly on the corrugated cardstock with ink daubers.
Step 6:
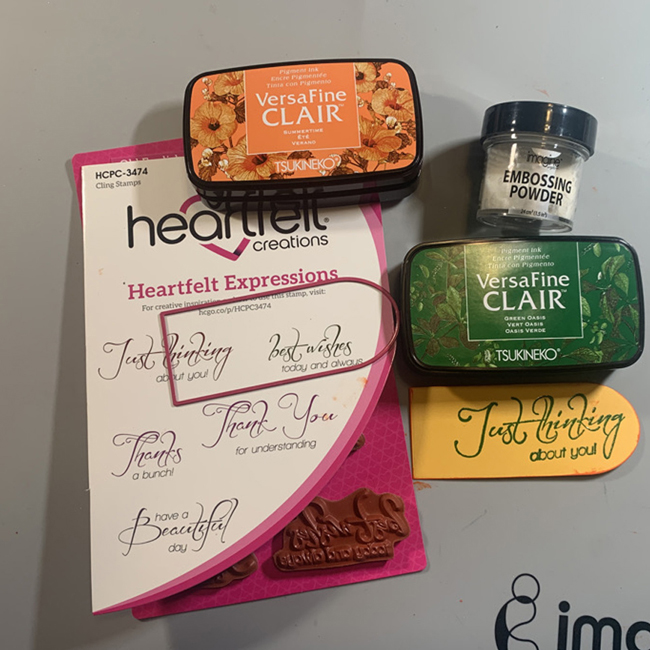
Ink the sentiment with Versa Fine Clair in Green Oasis and heat emboss with clear embossing powder. Die cut with die from the Eyelet Frame Gateway set. I trimmed off a portion of the sentiment, then edged the sentiment with Versa Fine Clair in Summertime.
Step 7:
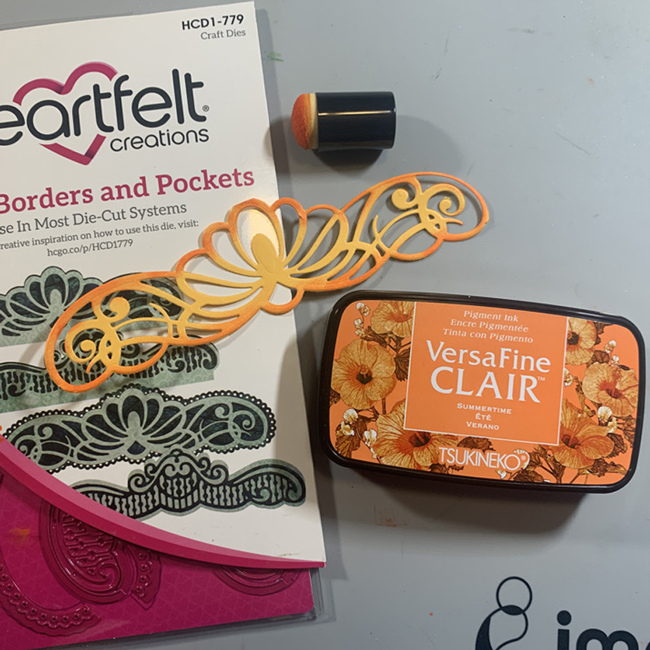
Die cut a Border from the Regal Boarder set using light orange paper. Gently shade the edges with Versa Fine Clair Summertime and an ink dauber.
Step 8:
Adhere corrugated cardstock to base card with Tear It Tape! Adhere border with On Point Glue Adhere flowers with Tear It Tape!
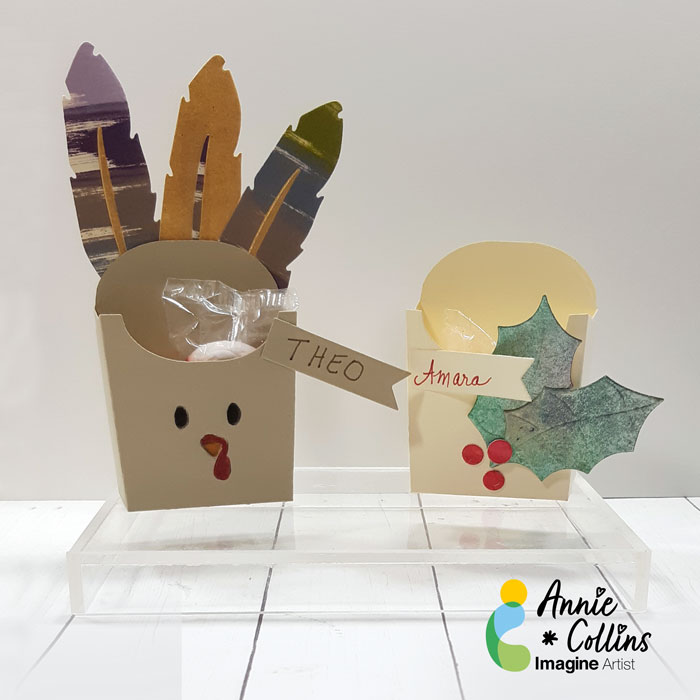
Hello Friends! Katy here and today I am creating place cards for my Thanksgiving table. Now I know some people may not do this, but I have added a bit of a twist to mine. On the inside I have included some encouraging and uplifting sentiments to let my loved ones know I appreciate and love them and that I am thankful and grateful to have them at my table for the holidays. Just a little something to make them smile this holiday season.
In today’s video tutorial you will see how easily these cards came together using some Memento Inks and I also share where my inspiration came from. I also mention these would be great tombstones for Halloween!
I cut a piece of heavyweight white card stock 2 3/4 inches wide by 8 inches long and scored at 4 inches and then used the number 8 arch die within the Spellbinders Essential Arches layering dies.
To create the card simply fold the card at the score line and place the arch of the die a bit above that folded line so the die is off the top of the card stock and then run it through your die cutting machine.
The video below has all the details. I hope you enjoy and are inspired to add some inspirational place cards at your table this holiday season.