Adorn your Christmas Packages with Lovely Handmade Tags

by Lori Warren

Adorn your Christmas Packages with Lovely Handmade Tags

Adorn your Christmas packages with lovely home-made tags. They are a breeze to create with VersaColor ink and few other products from Imagine.

Directions


Step 1

Spray 3 White Tags with Fireworks Spray – Rich Cocoa & Rhubarb Stock

Step 2

Sponge brick stencil pattern onto tags with VersaColor Brown and then repeat with Turquoise.

Step 3

Stamp snowflake image onto tag with VersaColor Charcoal, then stamp a dot pattern with Turquoise.

Step 4

Stamp reindeer with VersaColor Turquoise and emboss with Clear MBoss embossing powder.

Step 5

Use coordinating die to cut out reindeer images.

Step 6

Stamp saying in VersaColor Black.

Step 7

Adhere reindeer image onto tag and then spray with irRESISTible Spray – Wedding Dress.

Step 8

Attach ribbons to tag.

Supplies

Imagine
Other
  • Celebrate It Ribbon
  • Uniball Signo Pen – White
  • Recollections Clear Stamps – Christmas
  • Catherine Pooler Clear Stamps – Winterhaven Collections
  • Creative Embellishments – Stencil
  • Tim Holtz – Sidekick
  • Tags – white

Call for Art – Planner’s Unite for 2020

We are launching a new Call for Art program for 2020

Be published on the Imagine Blog! Submit a photo of a Planner Project for the New Year. Some of the themes can include:

Planning out the year, Life Goals, Inspiration, Planners, Journals, Papercrafts for the Home Office, Calendars, Shopping Lists, Budgeting, Exercise Plans, Inspirational Quotes as Art. #lifegoals #success

Submit a 600 x 600 pixel square or 900 x 900 pixel square photo of a planner project, a short description and a link to your Instagram profile to marketing@imaginecrafts.com.

Submissions due on December 30th

We are Excited to Announce our Design Team for 2020

We are Excited to Announce our Design Team for 2020

This year we hope to change things up a bit and offer two segments in our crafting tutorials. Beginner Tutorials will focus on quick and easy crafting projects that do not require extra crafting supplies and Intermediate and Advanced tutorials for those who have a little of an obsession.

Meet Our Designers!!

Beginner Designers

Jowilna Nolte 

I started my paper journey officially in about 2000 as a shop assistant in a specialty paper store in Sandton, Johannesburg, South Africa. Whilst I have been playing with paper and creating my own masterpieces at home for friends and family since the age of 10, the shop environment added the vast knowledge of handmade and imported paper as well as the common commercial types of paper. I also started teaching card making, stamping and altered art in-store at the time.

Follow Jowilna on Instagram >

Annie Collins 

Hello  Friends, my name is Annie Collins and I have been crafting all my life. I started at 4 years old sewing with my mother. My passion for crafting and sharing continued to grow over the years. I love paper crafting the most all forms of it. I live in sunny Florida with my fantastic family, my husband, our 3 children and pets. I can’t wait to share some projects and be inspired by all of you. 

Follow Annie on Instagram >

LeeAnn McKinney 

Hi there friends and fellow crafters, my name is LeeAnn McKinney and I am so excited to bring my clean and simple projects and tutorials to you throughout 2020. Let’s Get Crafty!!!

Follow LeeAnn on Instagram >

Intermediate + Advanced Designers

Lori Warren 

I am an explorer of all things mixed media, designer, and instructor who fell in love with rubber stamping about 20 years ago. I love the versatility of rubber stamps and feature their use in mixed media art, card making, art journaling as well as other papercrafts. I love to try new techniques and mediums and am always keeping an eye out for something different.

Follow Lori on Instagram >

Lisa Mensing

I live in the Fayettevile/Ft. Bragg area in NC with my husband, Aaron, of nearly 20 years. We are a retired Army family who has settled into a simple life together. I started making handmade cards back in 2010, and I’ve recently started creating YouTube tutorials; regularly, I love that I get to combine two things I’m passionate about, technology and crafting. I’m so excited to be joining the Imagine Crafts Design Team. I look forward to, hopefully, getting to know you all and building more crafty friendships.

Follow Lisa on Instagram >

Nicole Watt

Hello! I’m Nicole Watt (aka: The Pixel Maven) By day, I’m a website and graphic designer/business owner with my husband, and every other moment, I’m a papercraft blogger/vlogger. Though I love lots of different arts and crafts, stamps, paper, and ink have been my go-to for over 10 years. I love inspiring and sharing with you and helping you gain confidence in the art of paper crafting. YOU are an artist – So, what are you waiting for? Grab your favorite supplies, and create with me!

Follow Nicole on Instagram >

Double Emboss a set of Ornaments for a Unique Holiday Craft

by Roni Johnson

It’s that time of the year to kick making into full gear. It is easier to create when you narrow your focus and choose a color scheme to work with. This year I have chosen Berry, Blue and Silver. I knew I wanted to make some “Mail-able Ornaments” for my far away friends. MBoss embossing powders are just the ticket!

Skill: Intermediate
Time: 15 minutes per ornament

Directions


Step 1

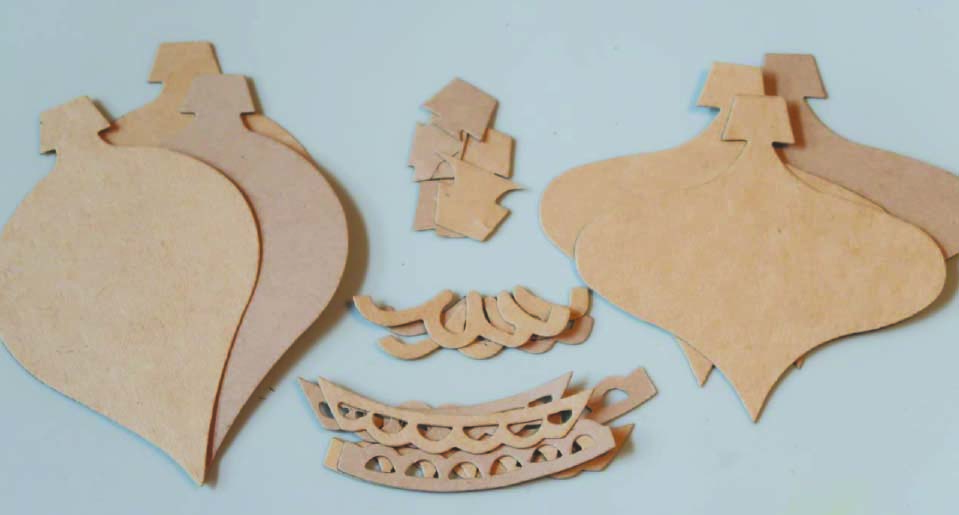
Die-cut or hand cut desired ornament shapes from a medium weight chipboard. I used the ornament die from Sizzix.


Step 2

Pounce the ornament on a VersaMark pad until the entire ornament has been covered with the ink.


Step 3

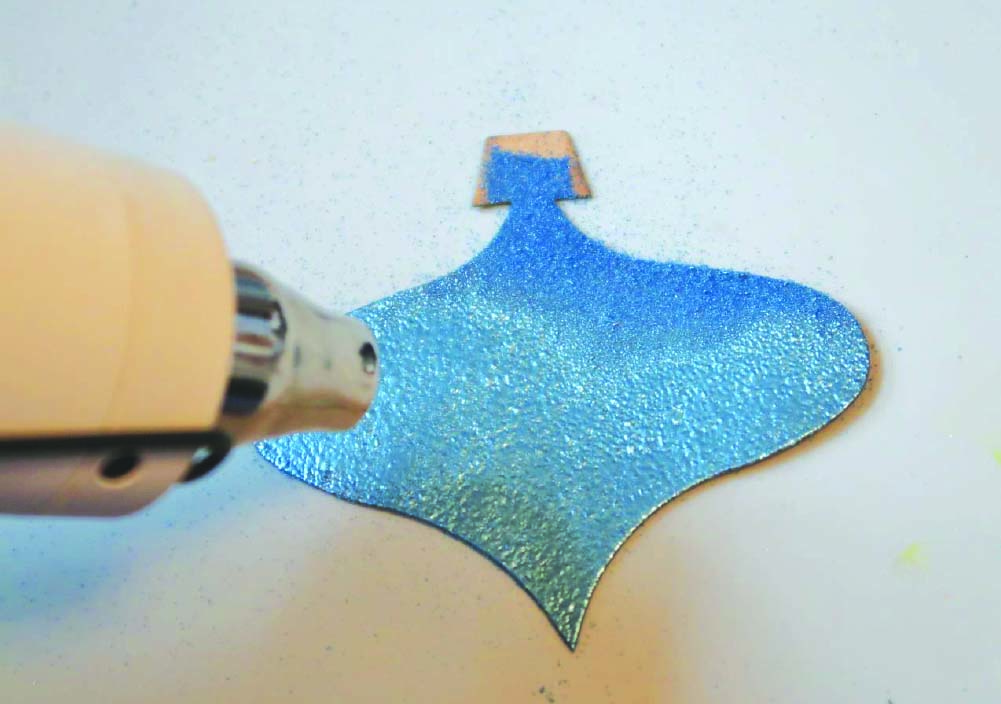
Pour desired color of Mboss embossing powder over the ornament, shake off and reserve excess powder for future use.


Step 4

Use a heat tool to melt the embossing powder and let cool.


Step 5

Repeat steps 2 – 4 one or two more times creating a thick molten layer of embossing powder over the ornament.


Step 6

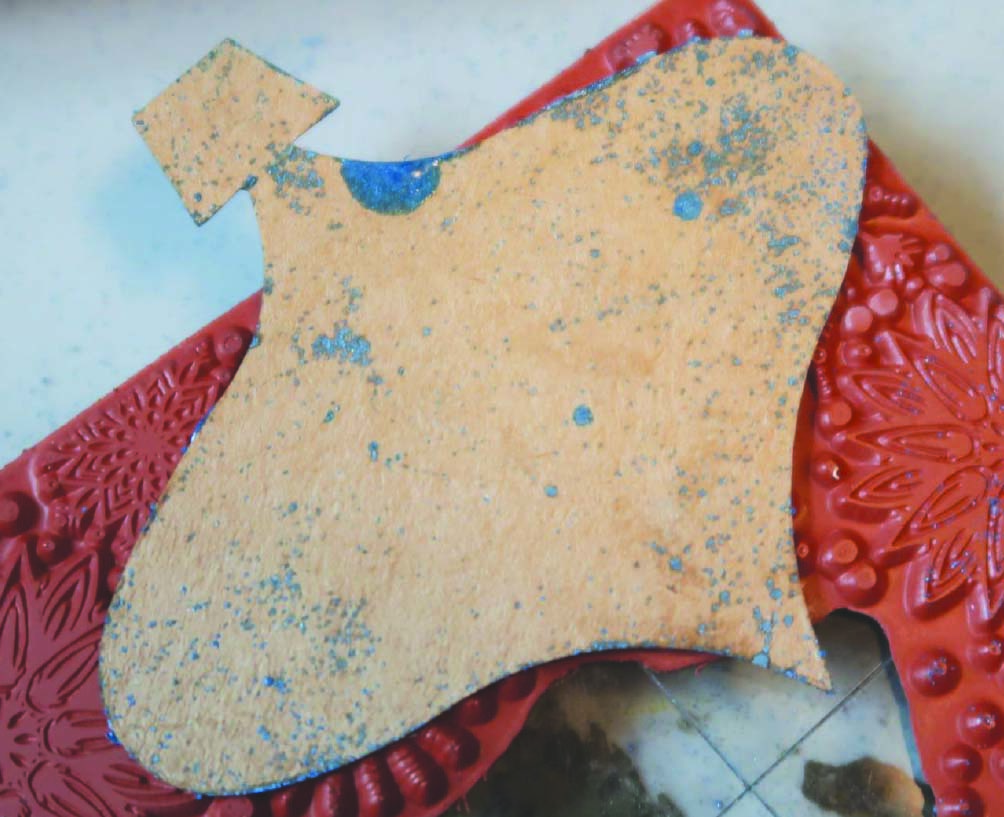
Immediately after the final melting cycle press a stamp into the molten embossing powder and let the embossing powder cool. Note: the molten embossing powder will not damage the stamp.


Step 7

After the embossing powder has cooled, peel the ornament from the stamp.


Step 8

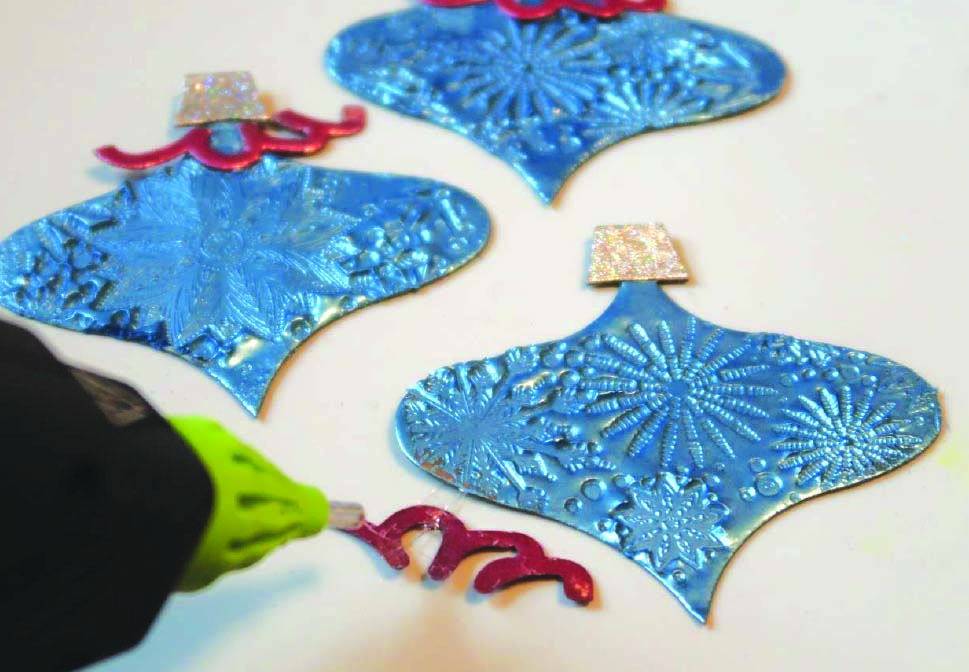
Embellish the ornaments as desired.


Step 9

Add a length of stretch cord for a hanger.

Supplies

Imagine
Other
  • Chipboard
  • Sizzix Ornament Die
  • Unity Stamp Co – Burst of Snowflakes, Trees
  • Silver Stretch Cord

Simple Candy Cane Backgrounds with Memento Ink

by Lindsay Adreon

Sometimes you just need a quick card or even a set of cards to give as a gift. This background is the perfect way to create those at this time of year! And all you need is cardstock, painter’s tape, and an ink pad!

Skill: Intermediate
Time: 15 minutes

Directions

Supplies

Imagine
Other
  • Painter’s Tape
  • Paper Trimmer
  • Waffle Flower Nesting Oval Die Set
  • Heffy Doodle Thanks Die

Happy Holidays! Get Ready with some classic projects!

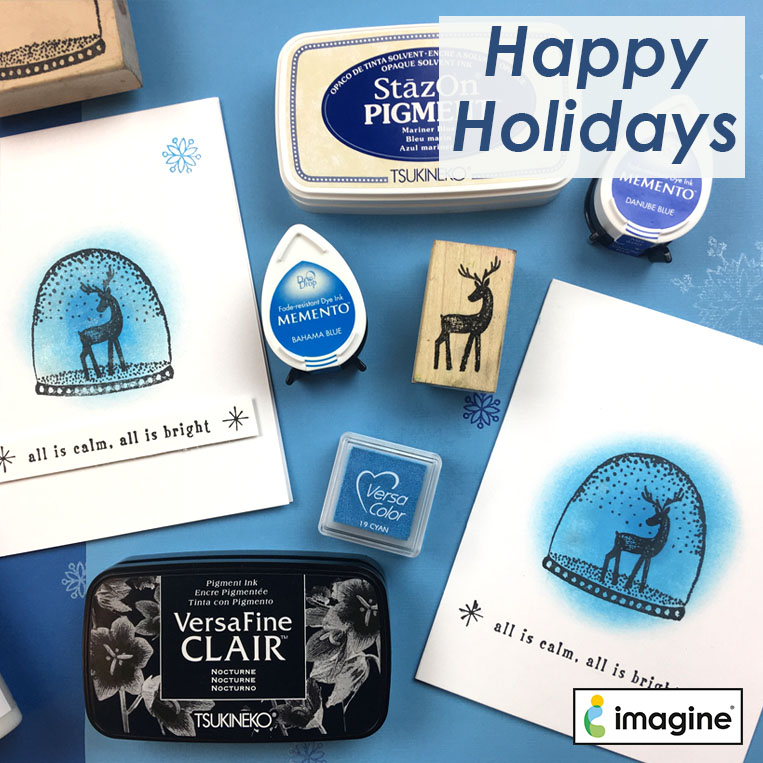
Happy Holidays everyone! We hope the Holiday and Christmas season is treating you all well. We are excited about what the holidays bring and all the crafting inspiration that comes with it. Be on the lookout for our tutorials featuring holiday cards, ornaments and wrapping paper as well as the announcement for our 2020 Design Team.

Some of the Must-Haves inks for the holidays include VersaFine Clair in Nocturne, Sheer Shimmer in Sparkle and Frost, and the color of your choice in VersaColor or Memento inks. Be sure to head over to these shop pages and check out our selection.

Since we cannot post all the cards for December right away and fast forward through the month to all the good stuff, we thought we would do a recap of some of our favorite cards and holiday crafts. See these projects on the Make section of our website. Click on Season and then on the Christmas link to browse through more!

warm winter wishes

This simple Mason Jar Holiday Card by Arjita Singh shows a lovely rustic winter effect. See more on the Make section >

Create light-up holiday houses with Jennifer Vanderbeek. See the full tutorial on Make Section >

Dress up a kraft cookie bag with a star stamp and embossing powder. See the full tutorial on the Make section >

And if you do not know where to begin then try a very easy Christmas card featuring VersaFine Clair. Beginner Guide on Make section >