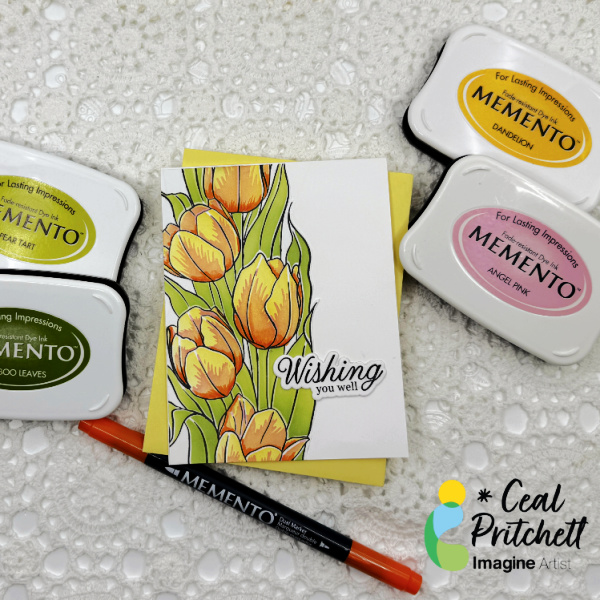
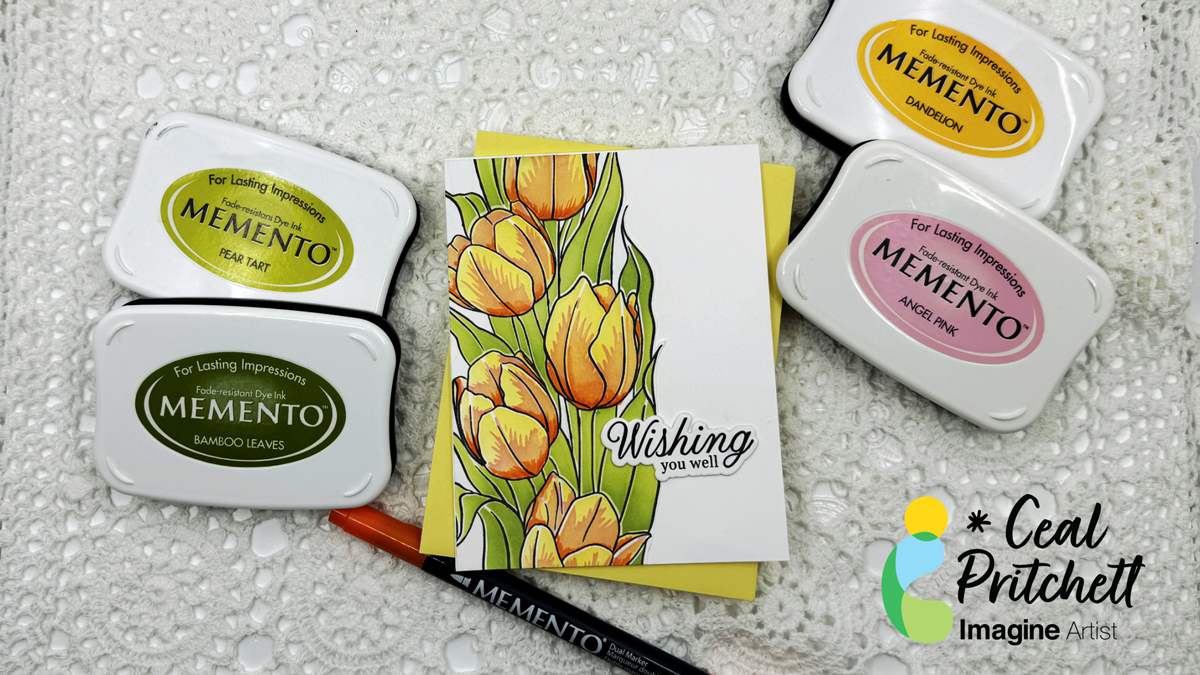
Hello everyone! It’s Ceal, here. Today I am sharing a spring get well card (you could make yours for any occasion) using a stamp and stencil combo. Stencils make it so easy to color.
Skill: Beginner to Intermediate Time: 30 Mins
Directions:
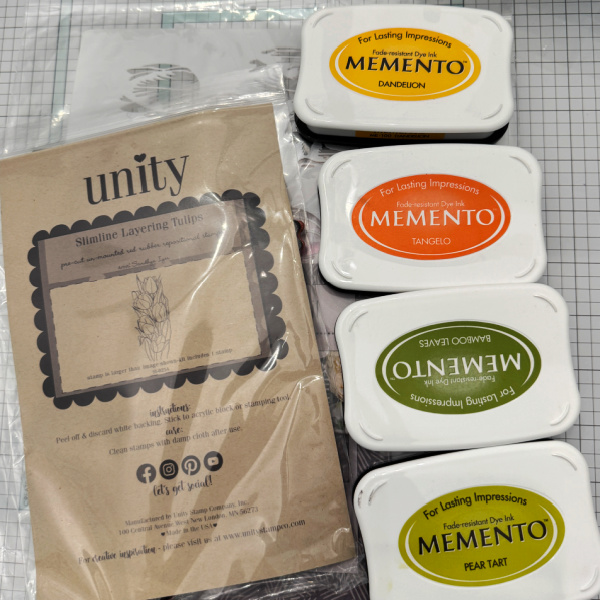
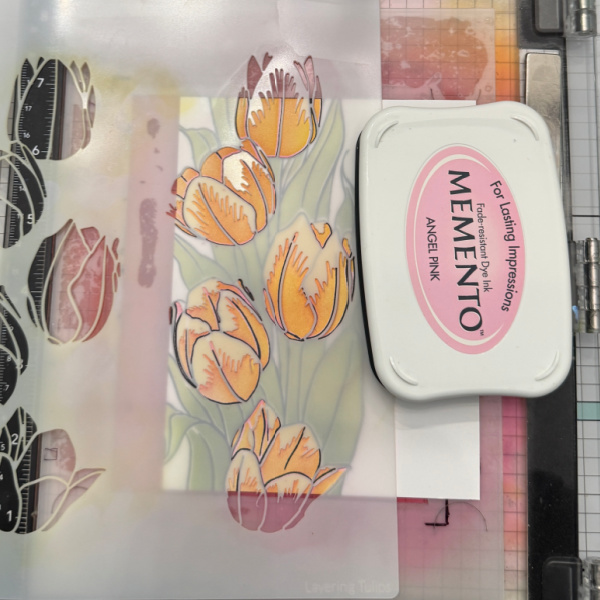
Gather your supplies. You will need a stamp/stencil combo, several colors of ink and a marker for details. In the photo I have an orange ink but I actually used a pink.
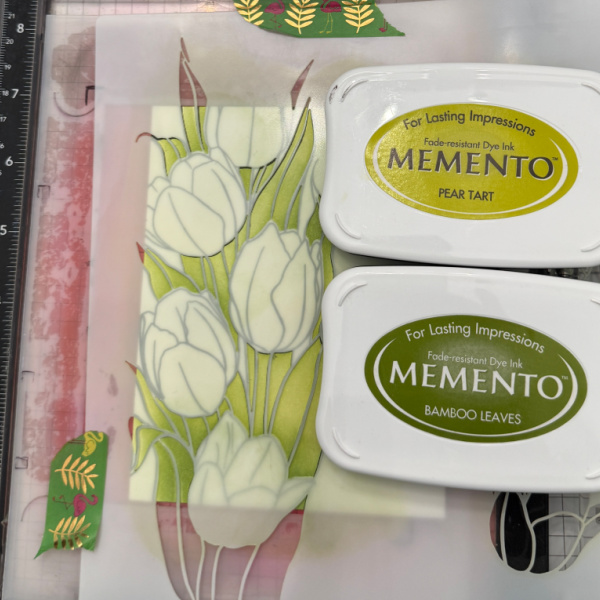
Step 1: Using a black ink stamp the floral image. I used Memento Tuxedo Black.
Step 2: Using the leaves portion of the stencil and two colors of green, color the leaves. I used Memento Pear Tart and Bamboo Leaves
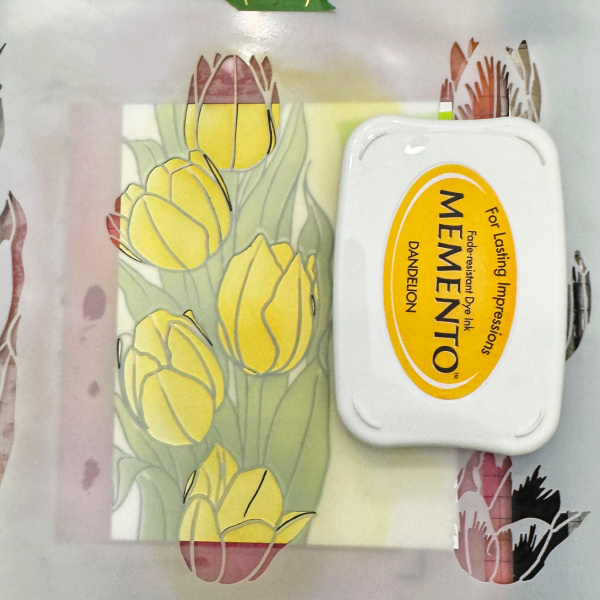
Step 3: Using the floral portion of the stencil, color the flowers yellow. I used Memento Dandelion.
Step 4: Using the detailed portion of the stencil color the area pink (which turns into a pretty peach) I used Memento Angel Pink.
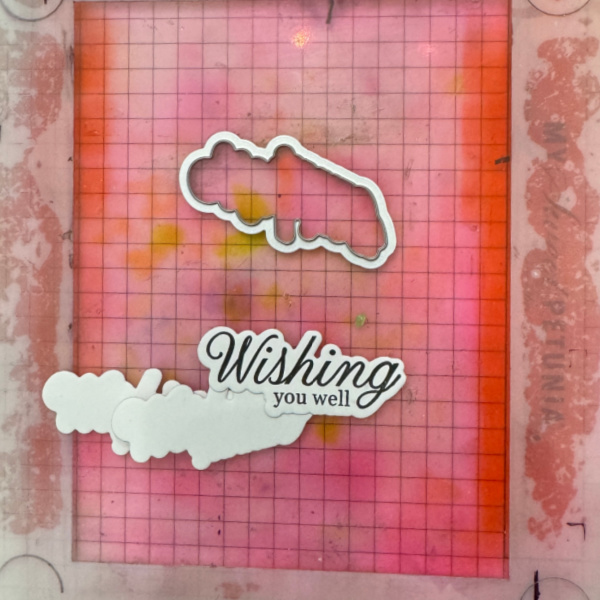
Step 5: Stamp and cut out the greeting and cut a couple extra pieces for dimension. Adhere the panel with the flowers to the card base and then adhere the greeting anywhere you’d like on the card front.
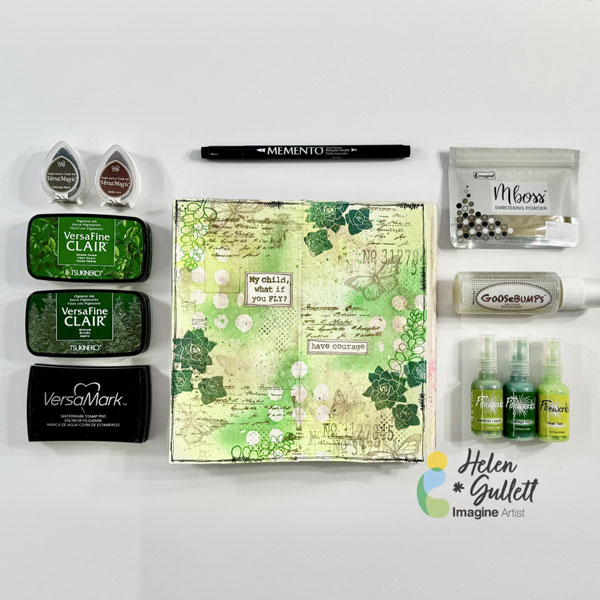
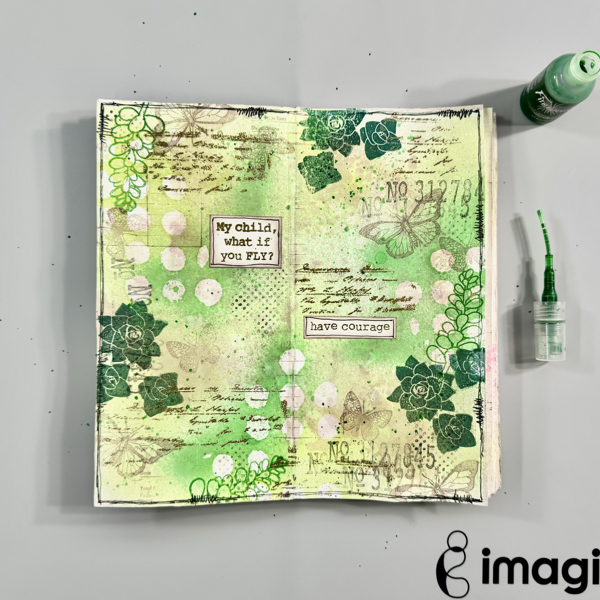
Hello crafty friends! Today, I would like to share how to make this mixed media art journal using some inks, craft sprays, embossing powder, and GooseBumps.Let’s get crafting!
Skill: Intermediate Time: 30-60 minutes
Direction:
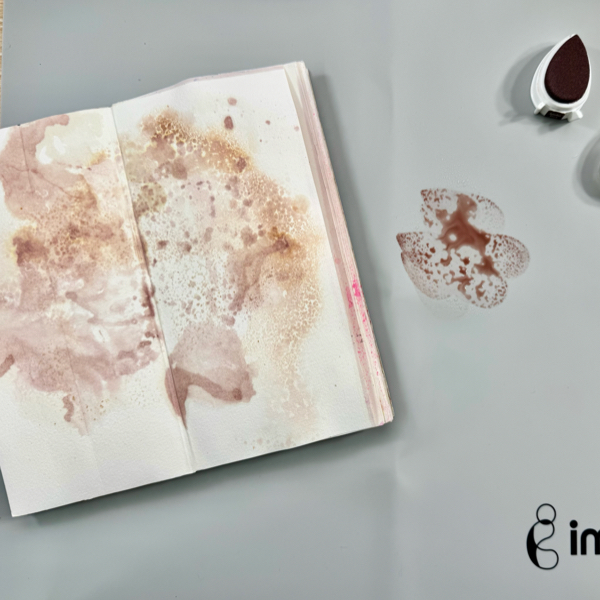
Step 1 I used my handmade traveler journal using watercolor papers and mixed media papers. You can use any mixed media journal you have.
Dab some of the VersaMagic Jumbo Java ink on the craft mat and spray with some water.
Smoosh the page (or paper) to the ink and dry it with a craft heat gun. Repeat this step to create the watercolor background.
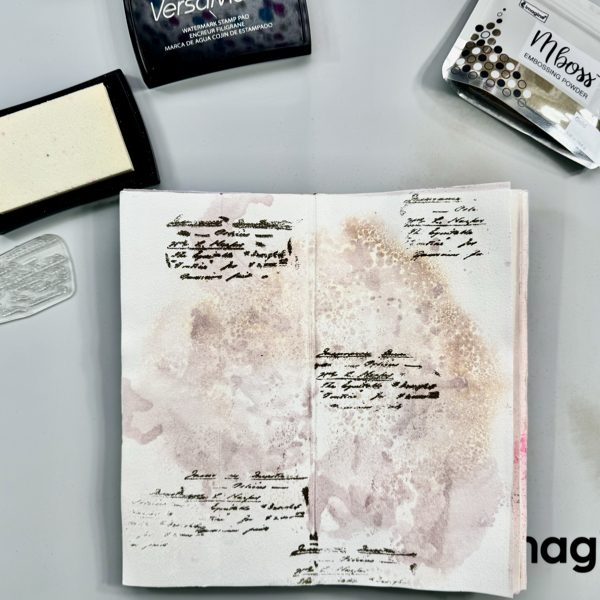
Step 2 Once the watercolored background dried well, add some of the anti-static powder to the page.
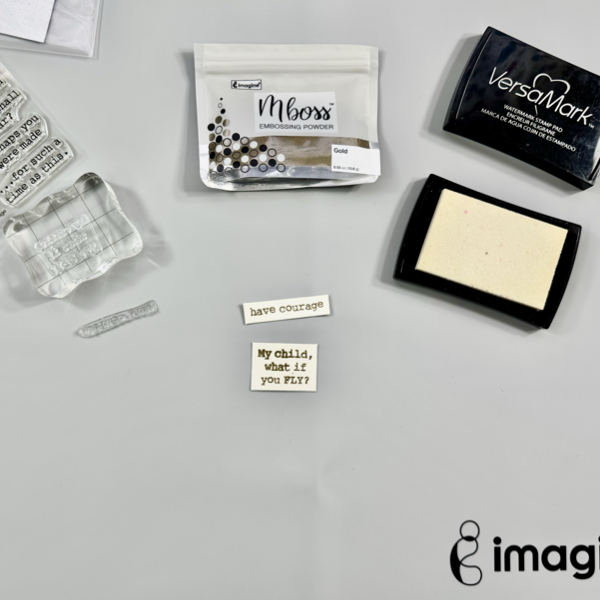
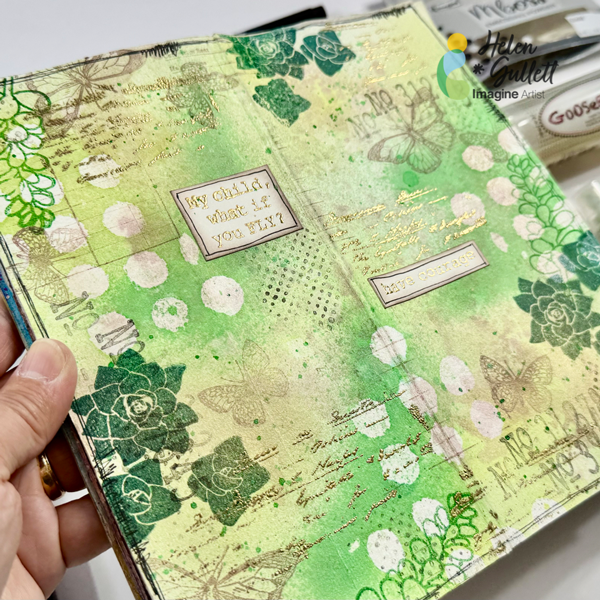
Stamp the script stamp on the page randomly with VersaMark ink and then add some of the Gold Mboss Embossing Powder to the page. Heat set the embossing powder with a craft heat gun.
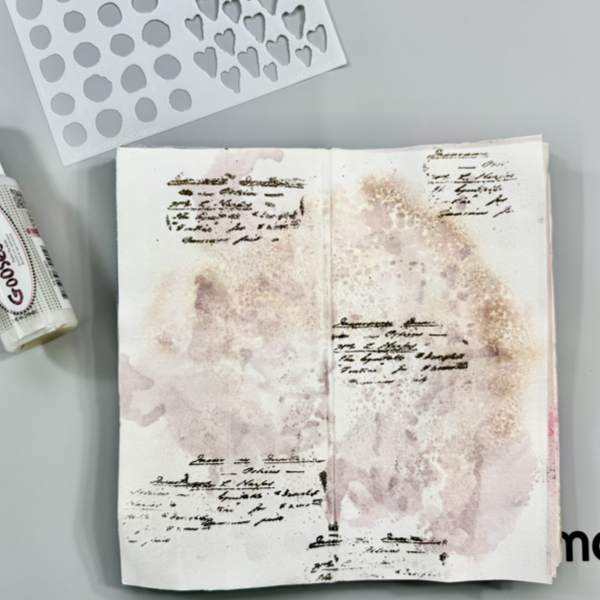
Step 3 Add the stencil to the page.
Add some of the GooseBumps Original (Dauber Top Bottle) to the page on the stencil randomly all over the page.
The best result is to let the GooseBumps texture spray dry naturally (about 2 hours) but I use a handheld fan to speed up the drying process to a few minutes. My suggestion is not to use a craft heat gun.
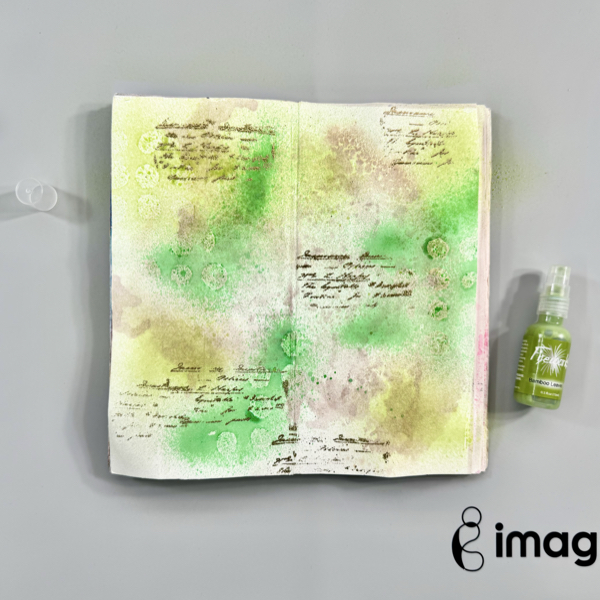
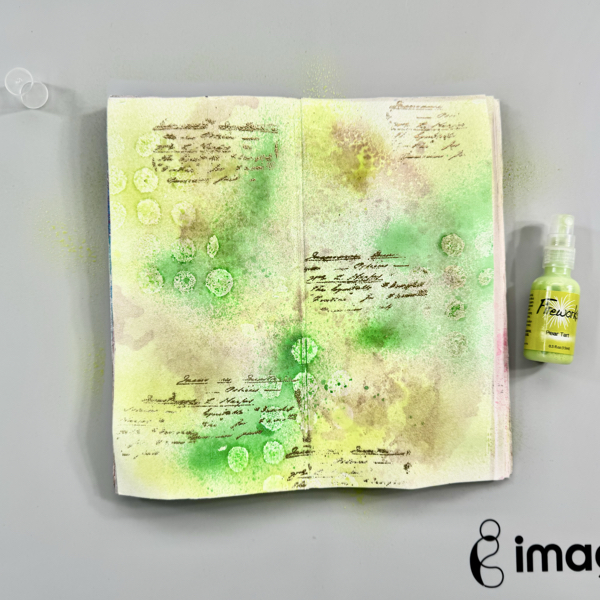
Step 4 Once the GooseBumps texture spray dry well, spray the Cottage Ivy Fireworks! Shimmery Craft Spray.
Dry the ink with a craft heat gun. Make sure to move the heat gun around, not stay too long at one spot to avoid melting the GooseBumps.
Dry the ink with a craft heat gun. Make sure to move the heat gun around, not stay too long at one spot to avoid melting the GooseBumps.
Step 6 And then, spray the Pear Tart Fireworks! Shimmery Craft Spray.
Dry the ink with a craft heat gun. Make sure to move the heat gun around, not stay too long at one spot to avoid melting the GooseBumps.
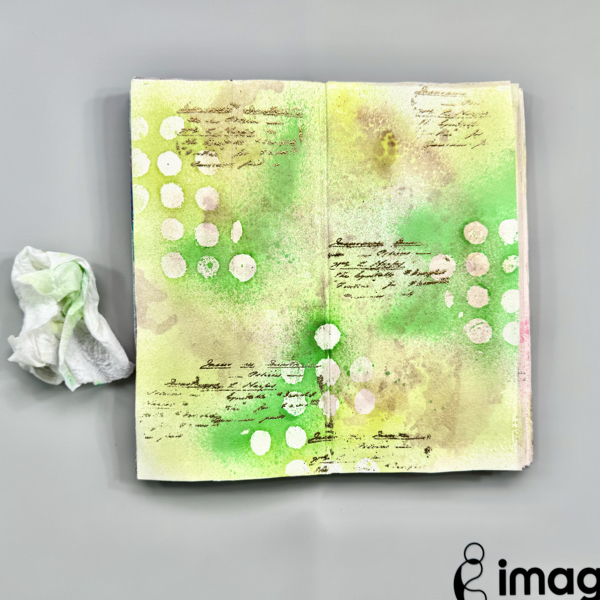
Step 7 Wipe the ink spray off using a clean slightly damp paper towel.
You can see the shapes start to pop out of the page adding fun texture to the background page.
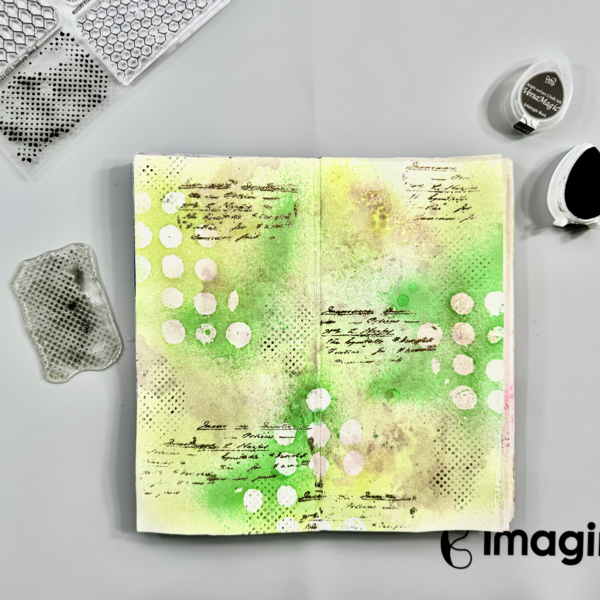
Step 8 Stamp the dots texture stamp randomly on the page with VersaMagic Midnight Black ink using first generation stamping technique.
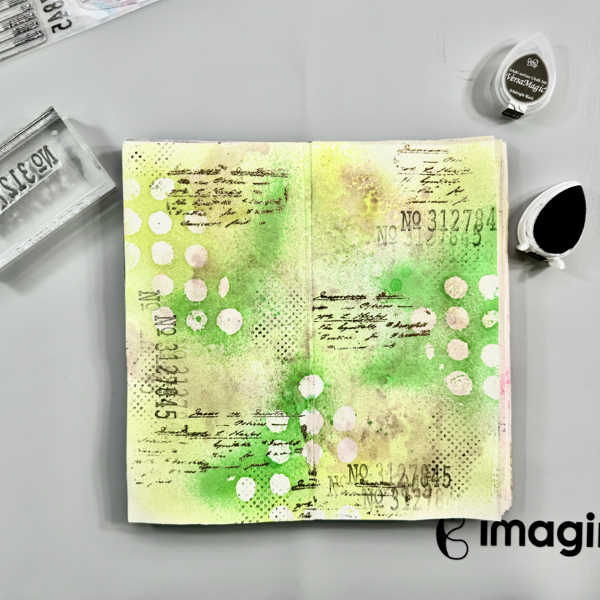
Step 9 Stamp the numbers texture stamp randomly on the page with VersaMagic Midnight Black ink using first and second generation stamping technique.
Step 10 Stamp the old ledger texture stamp randomly on the page with VersaMagic Jumbo Java ink using second and third generation stamping technique.
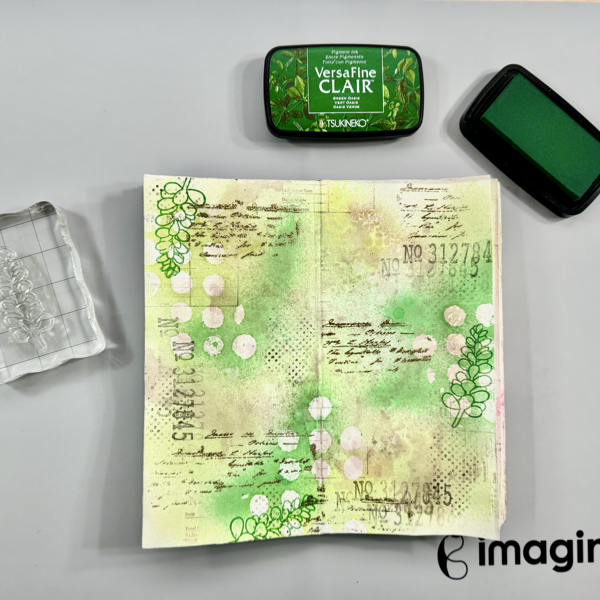
Step 11 Stamp the leaf branch stamp randomly on the page with VersaFine Clair Green Oasis.
Dry the stamped images with a craft heat gun.
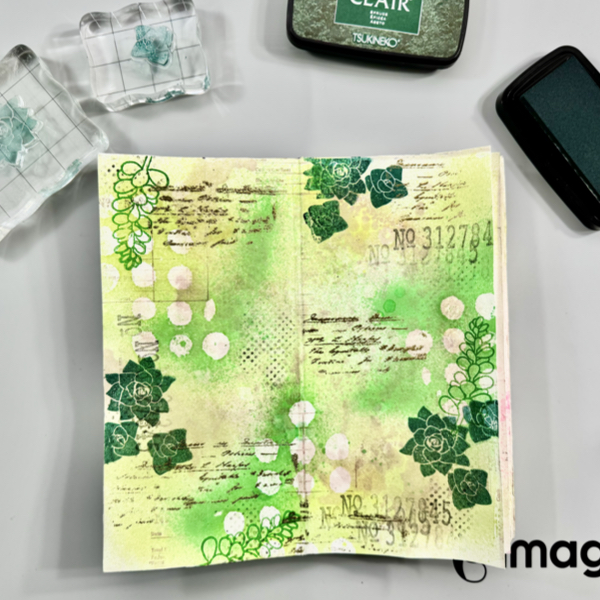
Step 12 Next stamp the cactus stamps randomly on the page with VersaFine Clair Spruce ink.
Dry the stamped images with a craft heat gun.
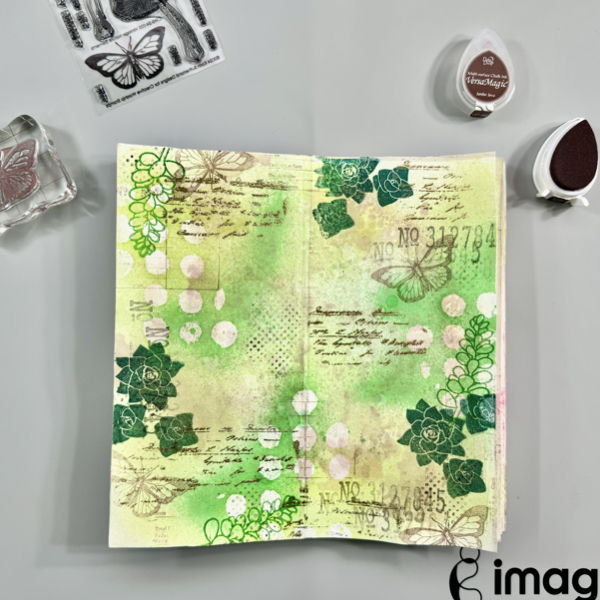
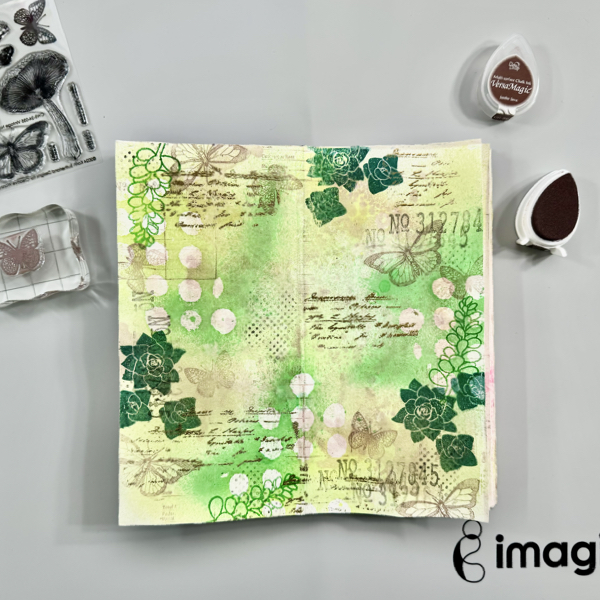
Step 13 Stamp the first butterfly stamp randomly on the page with VersaMagic Jumbo Java ink using second generation stamping technique.
Step 14 Stamp the second butterfly (smaller size) stamp randomly on the page with VersaMagic Jumbo Java ink using second generation stamping technique.
Step 15 On a white cardstock, stamp the sentiments with VersaMark Ink and then add some of the Gold Mboss Embossing Powder. Heat them with a craft heat gun.
Step 16 Trim the embossed sentiments into sentiment stripes with papercutter or scissors.
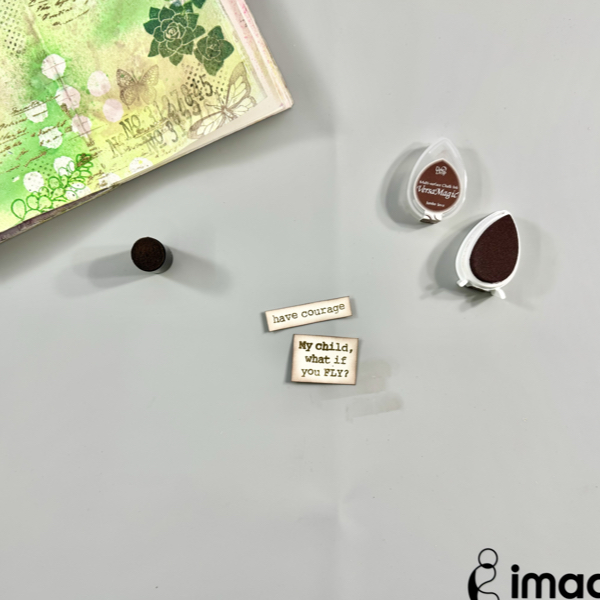
Add some of the VersaMagic Jumbo Java ink around the edges with finger sponge dauber to give them some shadow.
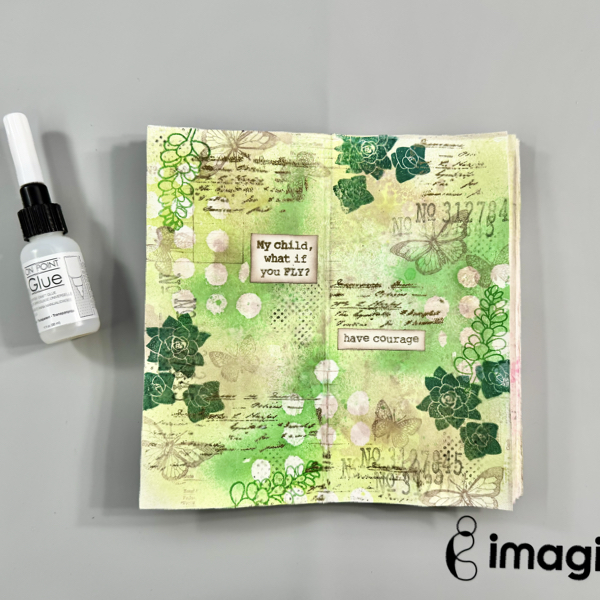
Step 17 Add the sentiments to the page with On Point Glue.
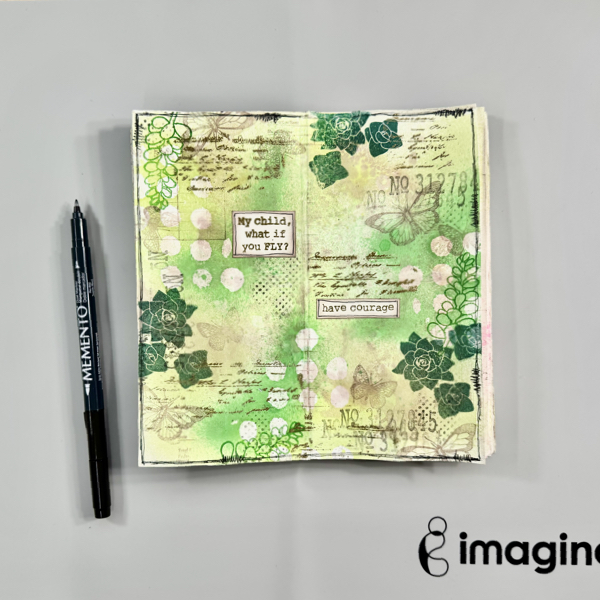
Step 18 Draw some border lines around the page and sentiment strips using the Memento Marker Tuxedo Black.
Step 19 For more texture, add some of the Cottage Ivy Fireworks! Shimmery Craft Spray to the page by tapping the sprayer tube.
Dry the whole page one more time with a craft heat gun.
I tried to capture the shiny and shimmery on the page in this picture but it looks even more in real life.
I hope you enjoy today’s mixed media project. Thank you for visiting our blog, have a fabulous day.
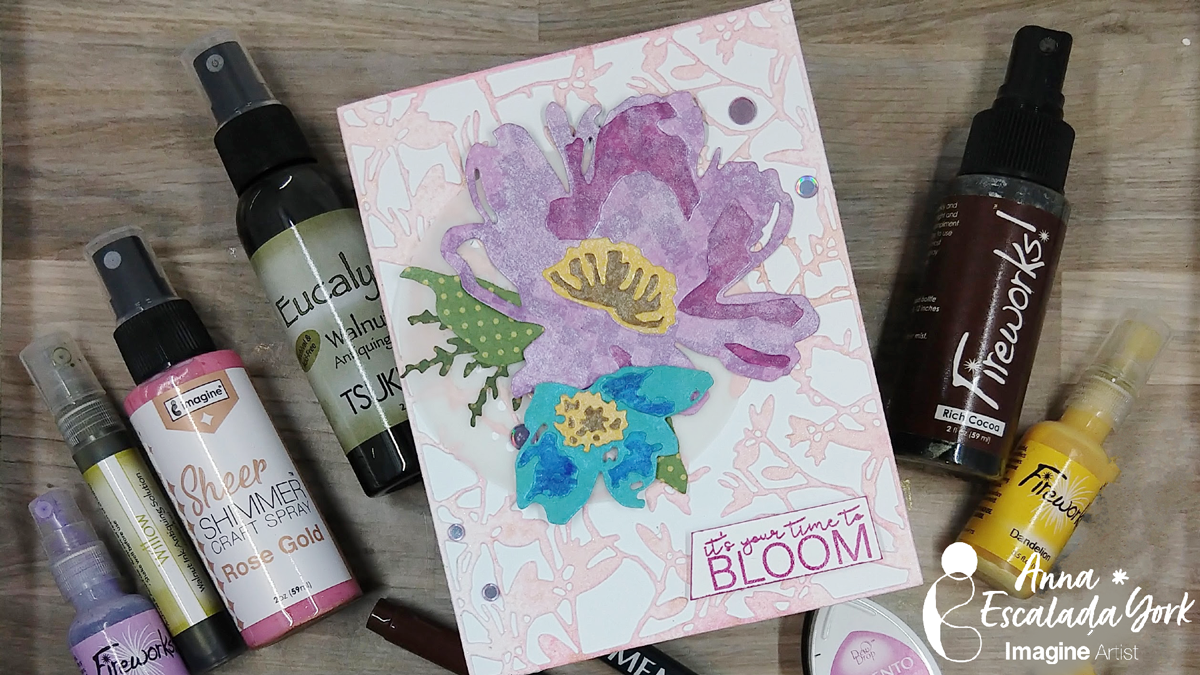
I don’t know about you, but I have so much patterned paper that I will probably never use it all. In an attempt to use at least some of it on a card, I turned to my Fireworks! Craft Sprays to enhance the paper to make a card celebrating the colors of spring.
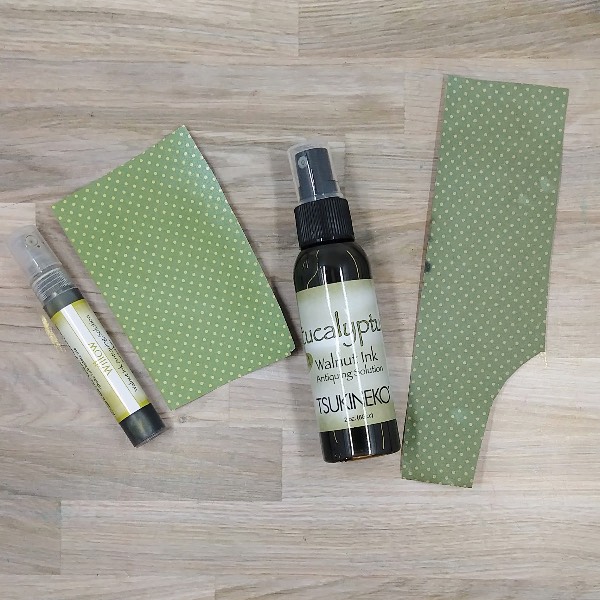
Step 1: Cut a piece of aqua patterned paper into two parts. Spray Spray one piece Eucalyptus Walnut Ink Antiquing Solution and the other with Willow Walnut Ink Antiquing Solution. After the spray dries, die cut the Willow-sprayed paper with leaf dies and the Eucalyptus-sprayed paper with the branch die and set aside.
Step 2: Spray a piece of purple patterned paper with Lulu Lavender Fireworks! Craft Spray. After the spray dries, die cut the paper with the larger flower in the die set.
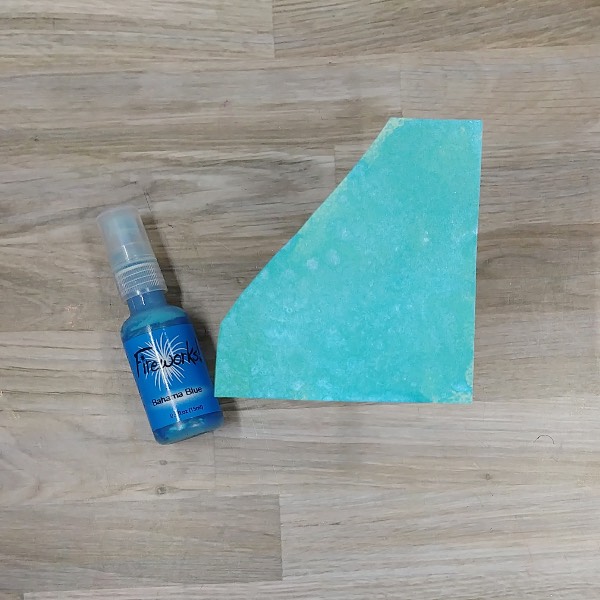
Step 3: Spray a piece of blue patterned paper with Bahama Blue Fireworks! Craft Spray. After the spray dries, die cut the paper with the smaller flower die cut.
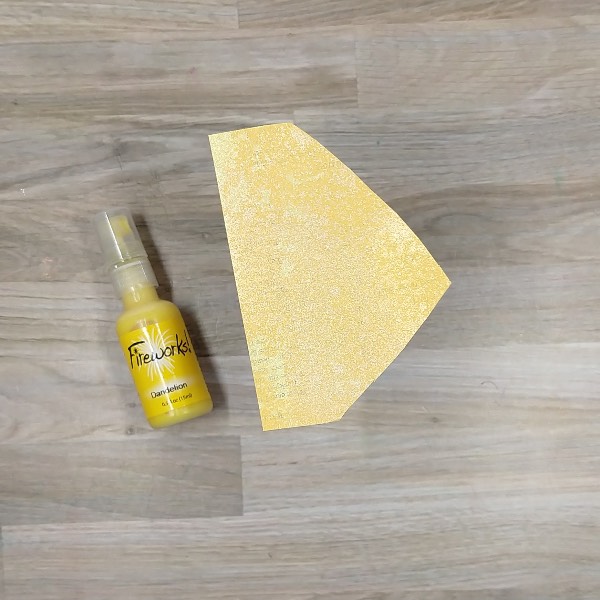
Step 4: Spray a yellow piece of patterned paper with Dandelion Fireworks! Craft Spray. After the spray dries, die cut the paper with both of the flowers’ central areas.
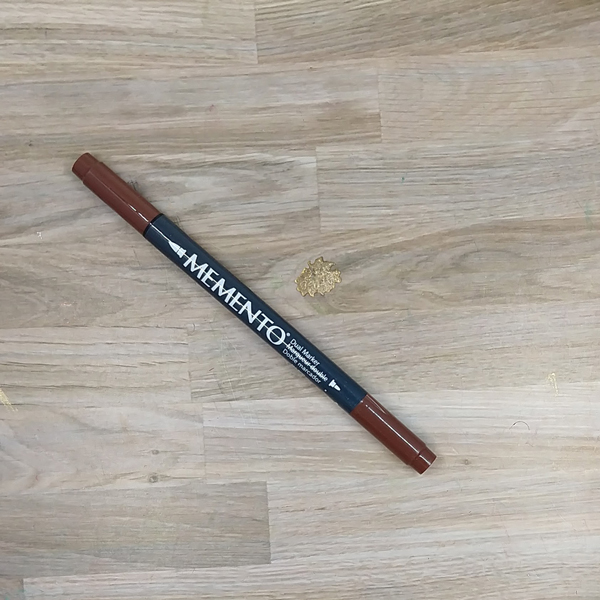
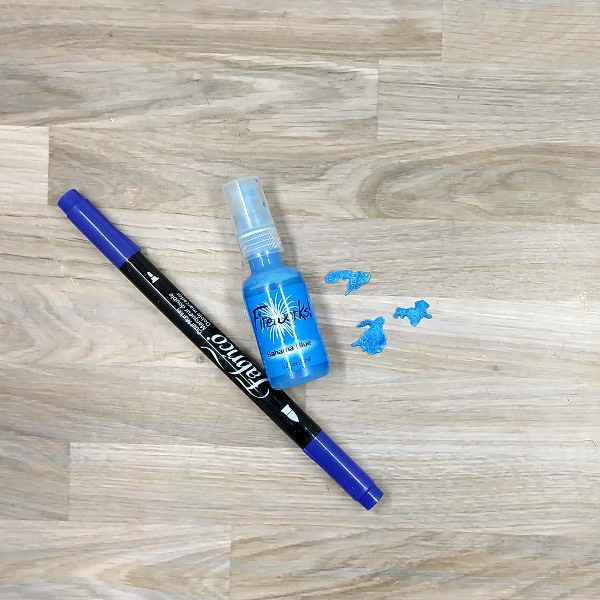
Step 5: Color the base layer of the smaller (blue) flower’s center with a Rich Cocoa Memento Dual Marker. Then repeat the process for the larger flower’s center (not pictured). Once the marker dried, glue each of these central parts of the flowers to the rest of flowers’ centers. Then glue both of the centers onto their respective flower’s centers.
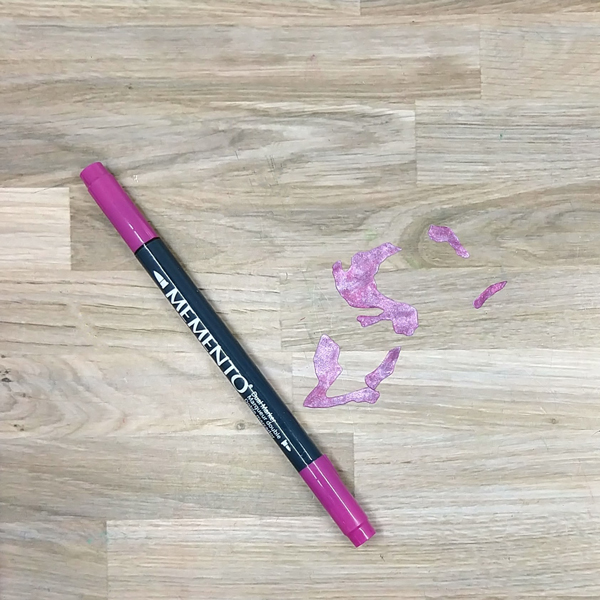
Step 6: Color the upper layers of the purple flower with Lilac Posies Memento Dual Marker to make them darker and stand out from the rest of the flower. After the marker dried, glue the small paper layers onto the rest of the flower.
Step 7: Color the small blue upper layers of the blue flower with Ultramarine Fabrico Dual Marker. Then spray them with more Bahama Blue Fireworks! Craft Spray. After the spray dries, glue these small blue die cut layers onto the rest of the blue flower.
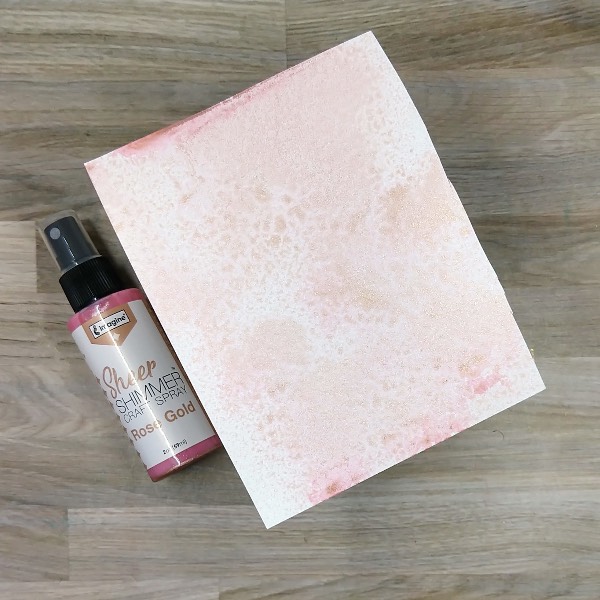
Step 8: Spray a piece of watercolor paper with Rose Gold Sheer Shimmer Craft Spray and allow to dry. Then die cut the watercolor paper with an A2-sized panel die to create a background for the card.
Not pictured: Die cut a piece of vellum with a mid-sized circular die.
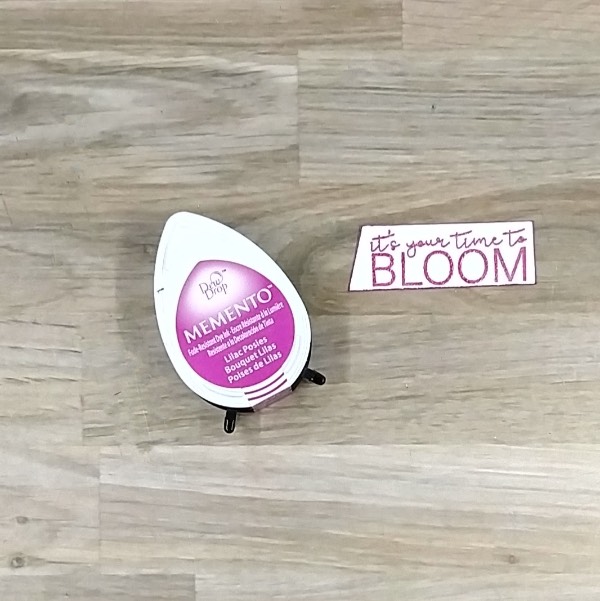
Step 9: Stamp the sentiment onto a scrap of watercolor paper with Lilac Posies Memento ink and heat emboss with clear embossing powder. Trim the sentiment into a thin strip and press the edges into the ink pad to color the edges. Set aside.
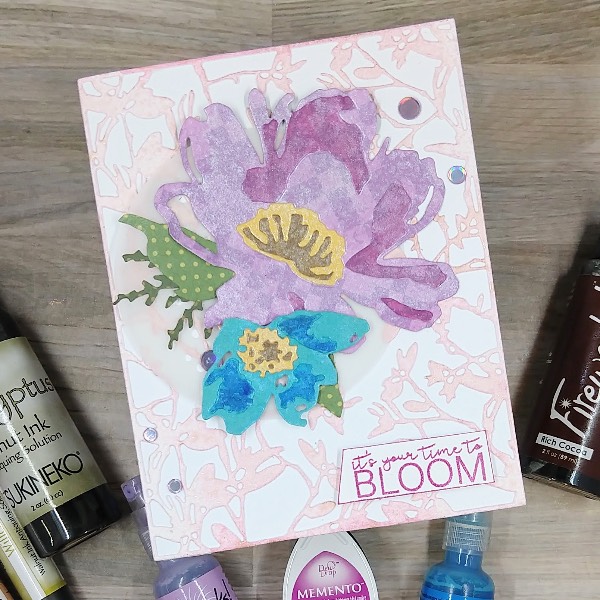
Step 10: Assemble the card. Glue the Rose Gold floral background onto an A2-sized white card base. Then glue down the circular die cut piece of vellum followed by the leaves and branch die cuts. Add foam tape behind the large upper central petal and the lower left petal on the purple flower as well as the whole blue flower. Then add glue behind the rest of the purple flower to attach it to the card base. Then attach the blue flower on top of the purple flower. Glue purple sequins around the card base. Finally, attach the sentiment with more foam tape to finish the card.
• Altenew – foam tape -Instant Dimension Foam Tape • Hero Arts – die set – Circle Infinity Dies • Pink and Main – stamp set – Spring Sayings • Simon Says Stamp – sequins – Lilac Embellishments • Sizzix and Tim Holtz – die set- Brushstroke Flowers • Sizzix and Tim Holtz – panel die – Leafy Twigs • Clear Embossing Powder • Heat tool • Scissors Glue • Watercolor paper • Vellum
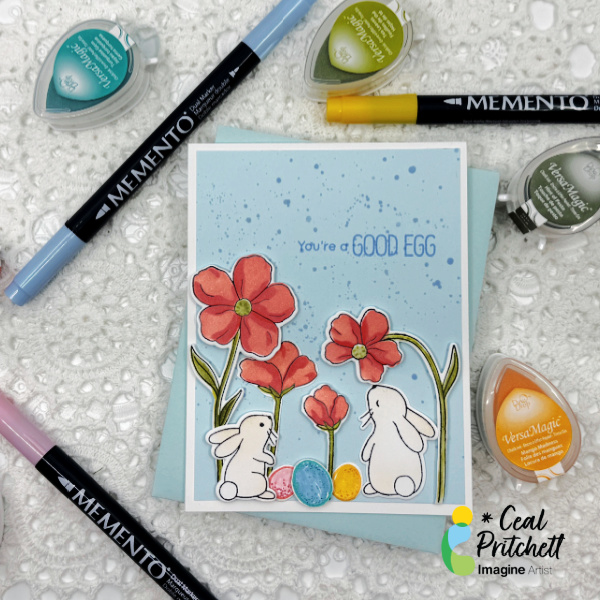
It’s Ceal, here. Today I am sharing how to make this cute Easter card. I love the elements to this card; the flowers are gorgeous, and the bunnies are super cute. You could leave off the eggs and easter sentiment and it becomes a spring card.
Skill: Intermediate to Advanced Time: 45 Minutes
Directions:
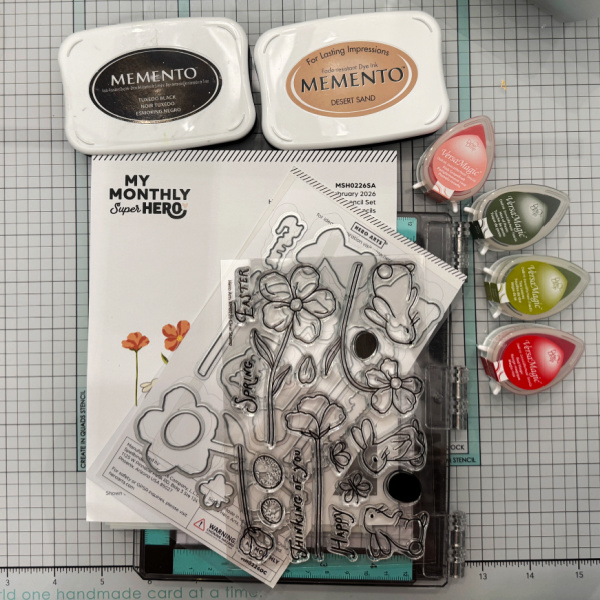
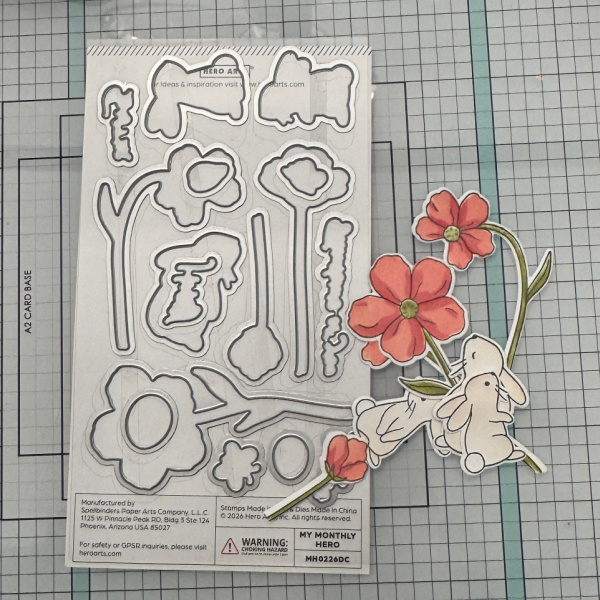
Gather your supplies. To make this card you will need a stamp set that has bunnies, eggs and flowers, along with coordinating dies. Several colors of inks, some markers and a re-inker.
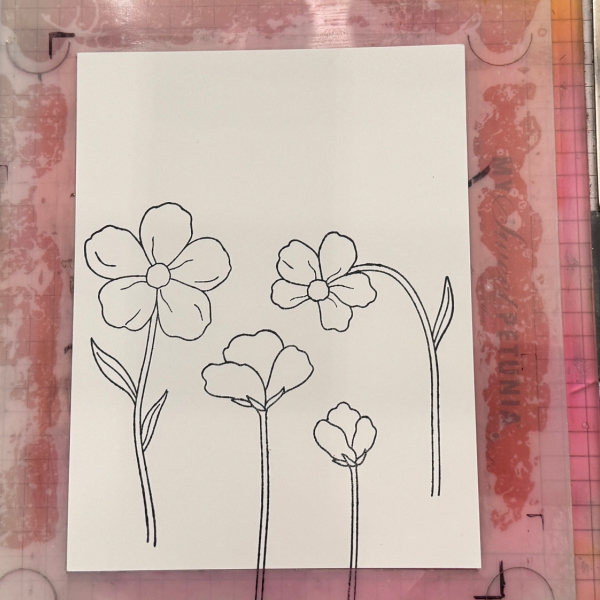
Step 1: Stamp the flowers in a black ink. I used Memento Tuxedo Black
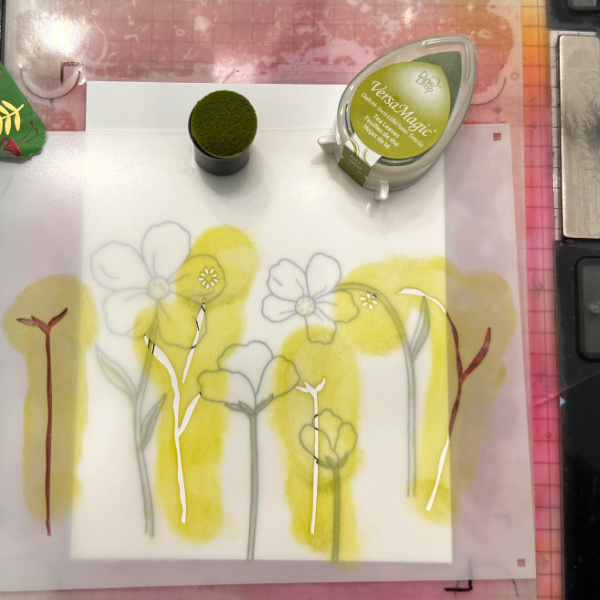
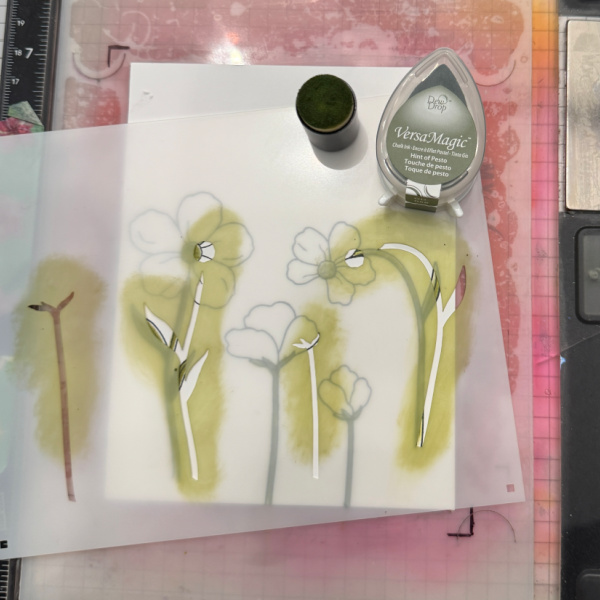
Step 2: Color the flowers using the coordinating stencils. Stencil one is a light green. I used VersaMagic Tea Leaves
Step 2a Stencil two is a darker green. I used VersaMagic Touch of Pesto
Step 2b:
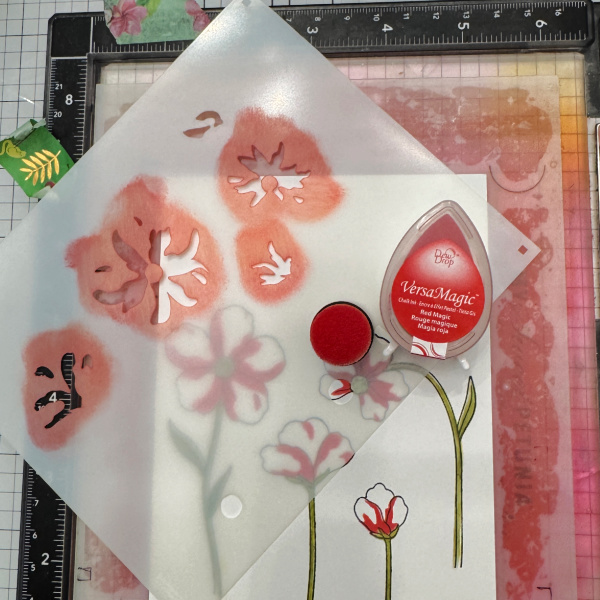
Stencil three is a dark red. I used VersaMagic Red Magic.
Step 2c: Stencil four is a peachy pink. I used VersaMagic Pink Grapfruit
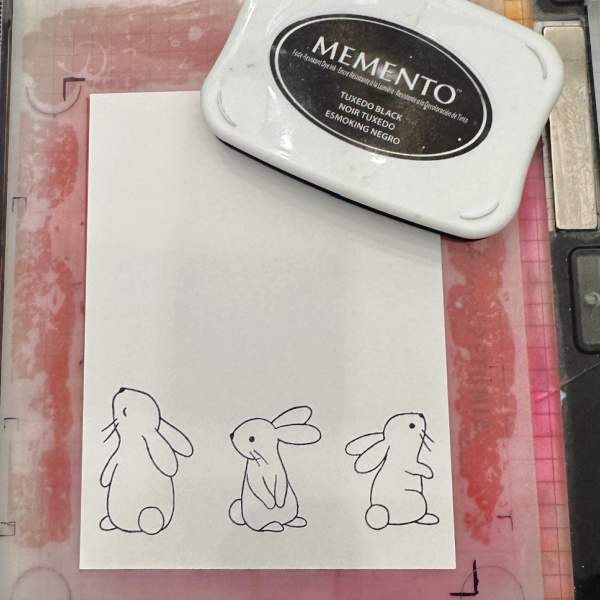
Step 3: Stamp the bunnies using a black ink. I used Memento Tuxedo Black.
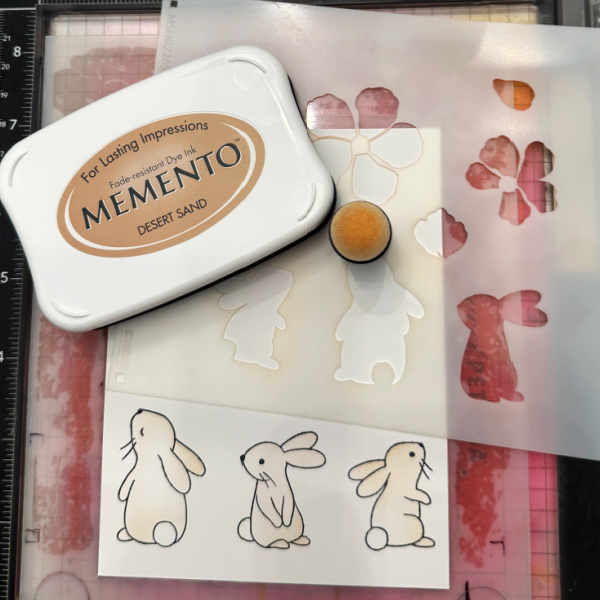
Step 4: Using the coordinating stencil color the bunnies a light brown. I used Memento Desert Sand.
Step 5: Cut a panel of light blue cardstock 5.25 x 4. Using a paint brush and a re-inker splatter the panel with a light blue ink. I used Memento Summer Sky.
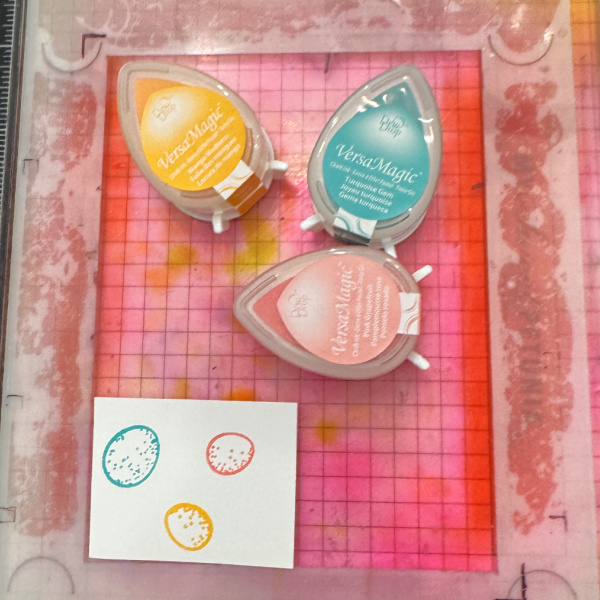
Step 6: Stamp the eggs in colored inks. I used VersaMagic Mango Madness, Turquoise Gem and Pink Grapefruit.
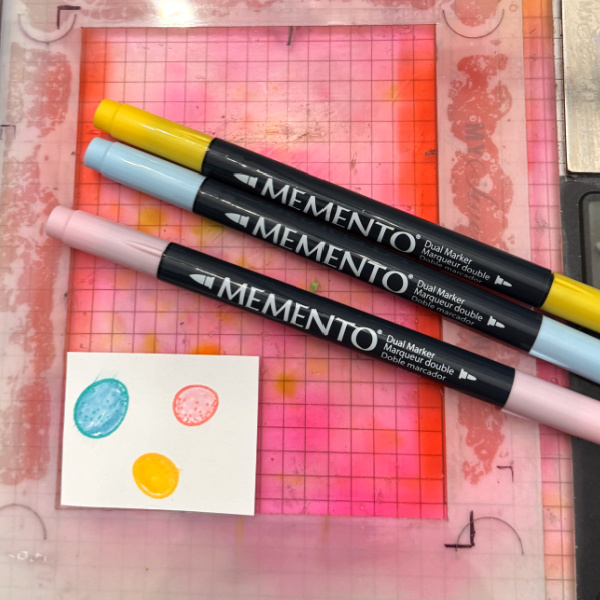
Step 7: Color in the eggs with markers. I used Memento markers in Dandelion, Summer Sky and Angel Pink
Step 8: Cut out all the elements and arrange them as you wish on the blue panel, stamp the greeting on the panel and then finish the card by adhering the panel to the base.
Craft Supplies:
Imagine Products:
• VersaMagic Dew Drops – Red Magic – Pink Grapefruit – Mango Madness – Turquoise Gem – Tea Leaves – Hint of Pesto
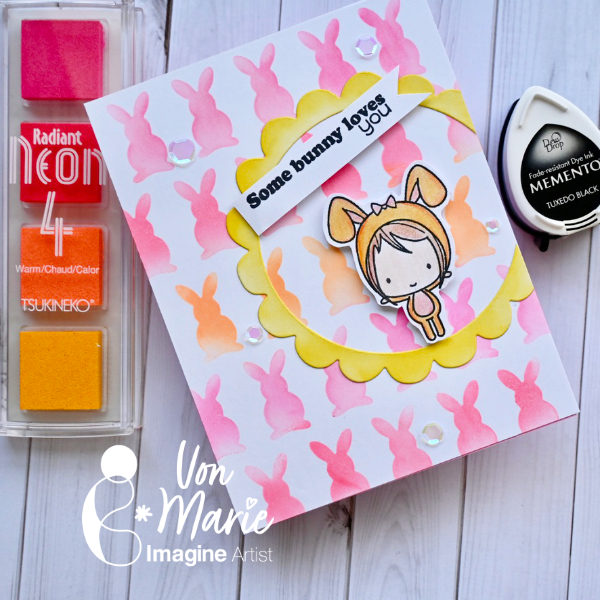
Hello everyone. Von Marie here and I have my latest video sharing an Easter card today. So much fun and we will use lots of fun TSUKINEKO inks to help us stencil and easily make this cute Easter Bunny Card. The video will have more details.
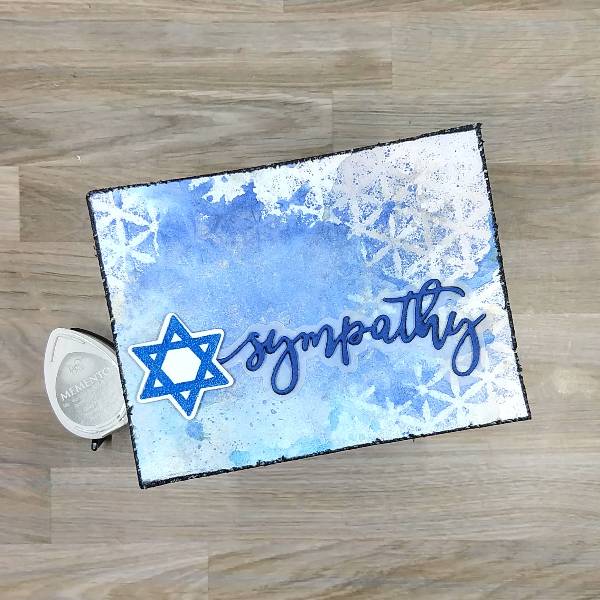
Step 1: Trim a piece of watercolor paper a little bit larger than an A2 sized cardbase (4.5” x 5.75”) and watercolor smoosh the panel with Gray Flannel Memento Ink mixed with water on acetate packaging. Allow the panel to dry. Then repeat the process with Pearlescent Lavender Brilliance Ink and then finally with Champagne Delicata Ink.
Step 2: Stamp stars on watercolor paper with Paradise VersaFine Clair ink. Repeat the process so make the blue of the ink darker. Then heat emboss with clear embossing powder. Then die cut with the corresponding die.
Step 3: Press Blue Belle VersaFine Clair Ink onto another piece of watercolor paper and then use this paper to die cut the sentiment. Die cut two pieces of scrap paper with the same sentiment die and glue the three layers together for dimension.
Use the corresponding shadow die to die cut a vellum shadow layer and glue behind the sentiment.
Step 4: Spray the background panel with Paris Dusk Fireworks! Craft Spray through a stencil. While the spray is still wet, remove the stencil and spray the panel with Summer Sky Fireworks! Craft Spray to move both colors of spray. Splatter some of the light blue areas of the panel with Paris Dusk Fireworks! Craft Spray. Allow panel to dry.
Step 5: Trim the background panel to about 4” by 5.25” and then distress the edges with a pair of scissors. Press the edges of the panel into the Gray Flannel Memento Ink pad and then heat emboss with more clear embossing powder. Next, glue the sentiment onto the center-right and the Star was attached with foam tape.
Step 6: Stamp a sub-sentiment on a small piece of watercolor paper with more of the Blue Belle VersaFine Clair ink and then heat embossed it with more of the clear embossing powder. Then distress the edges with scissors and then press the edges into the Blue Belle VersaFine Clair Ink.
Step 7: Attach the sub sentiment onto the panel with more of the foam tape. Then glue the whole panel onto an A2-sized white cardbase to finish the card.