Make a Beautiful Winter Wedding Card

By Helen Gullett

Hello crafty friends!

Today, I want to share with you this Winter theme wedding card that you can make to have it ready in your handmade card stash.

Skill: Intermediate
Time: 15-20 minutes

Direction:
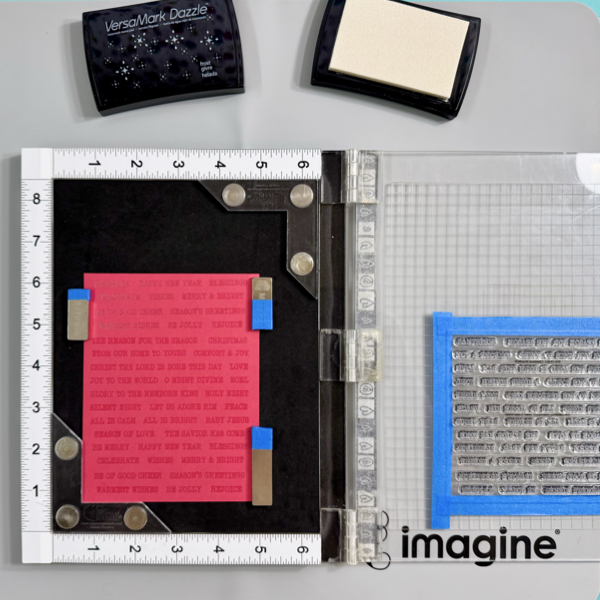
Step 1
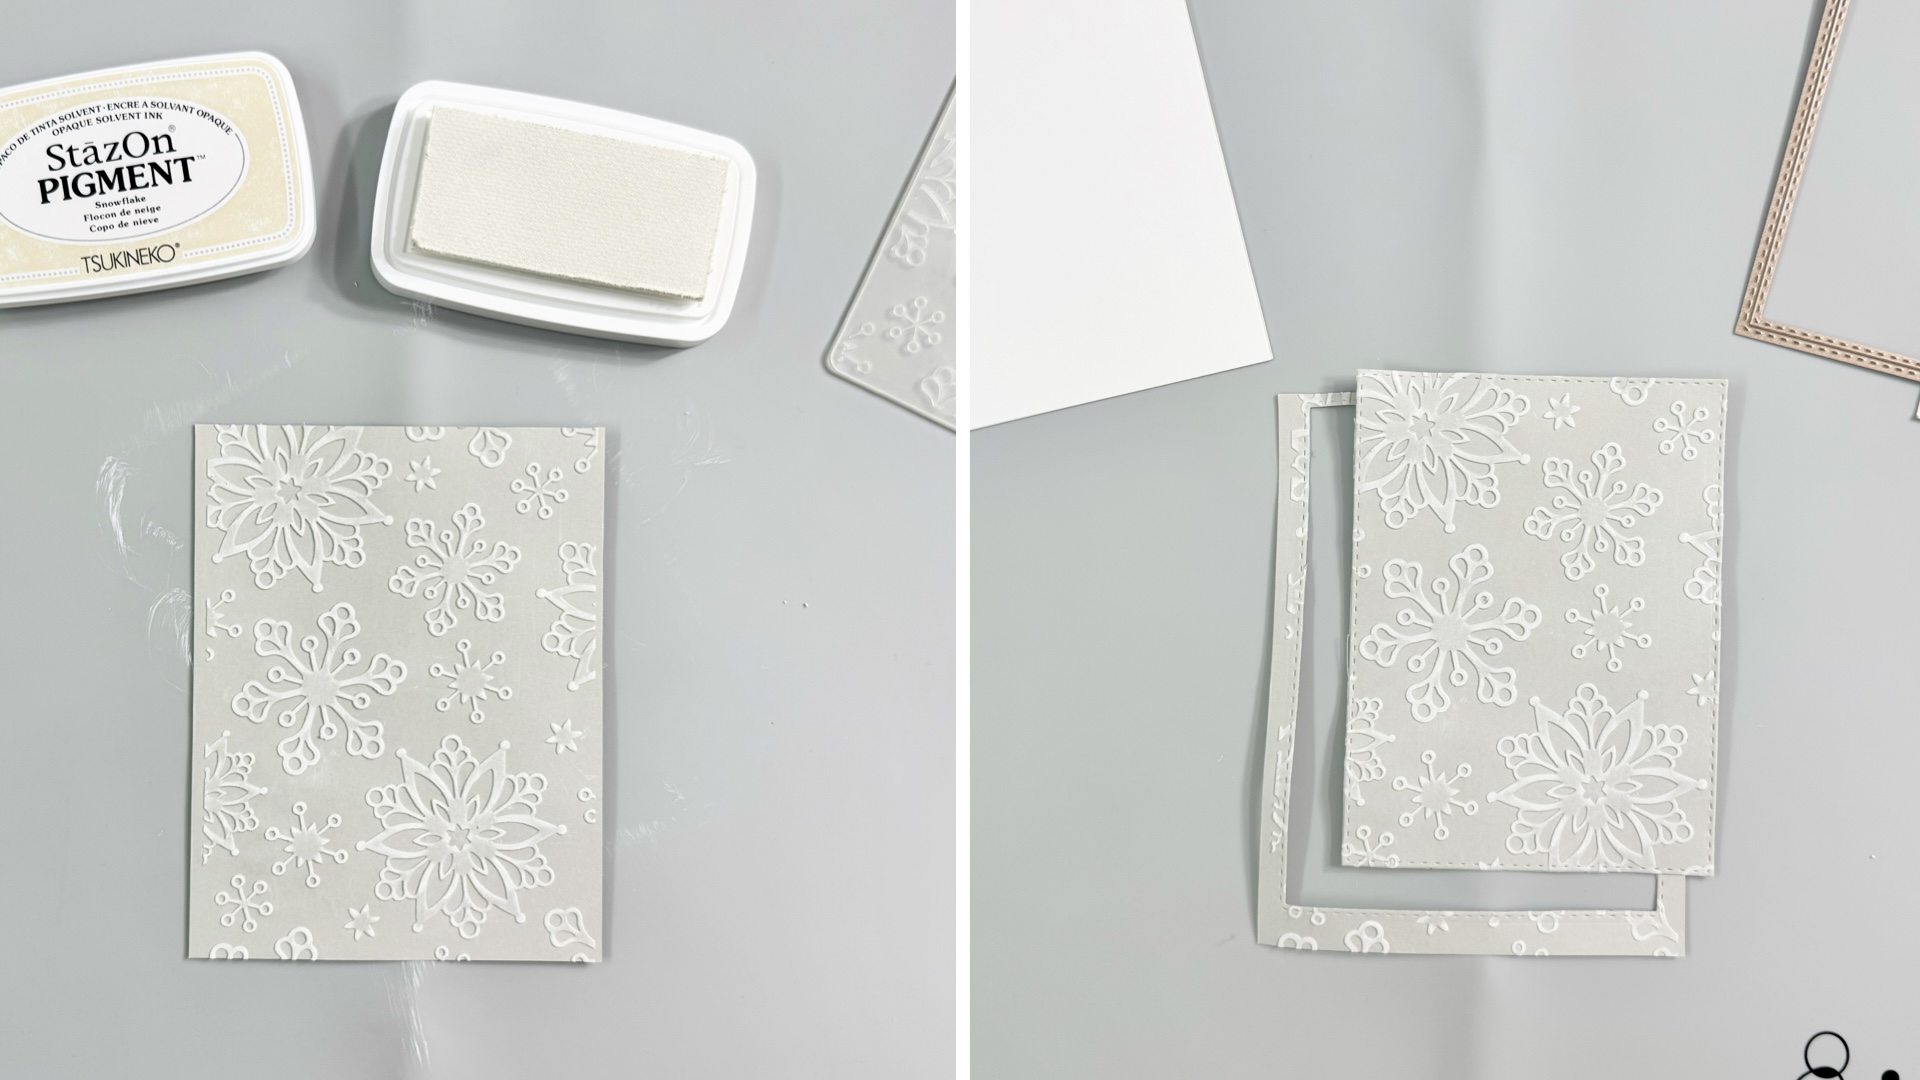
Cut out a piece of light gray cardstock into 4.25 inch x 5.5 inch.
Run it through your embossing machine with the snowflake embossing folder.
Lightly rub the StazOn Pigment ink up on top of the embossed cardstock to add the white color on the snowflake.
Since it is pigment ink, the ink will take a longer time to dry so you can use a craft heat gun to dry the ink.
Cut it with one of the Double Stitched Rectangle Dies.

Step 2
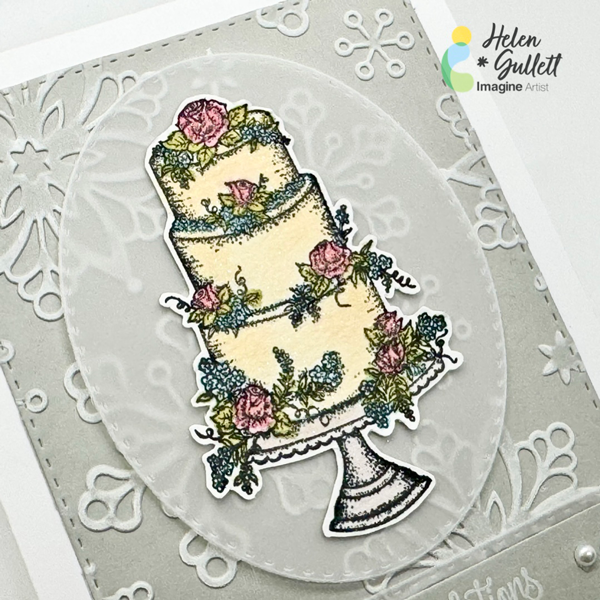
Stamp the wedding cake image on a piece of watercolor cardstock with VersaFine Clair Nocturne ink using a stamping tool. I stamped the image twice to get a bolder print on it.
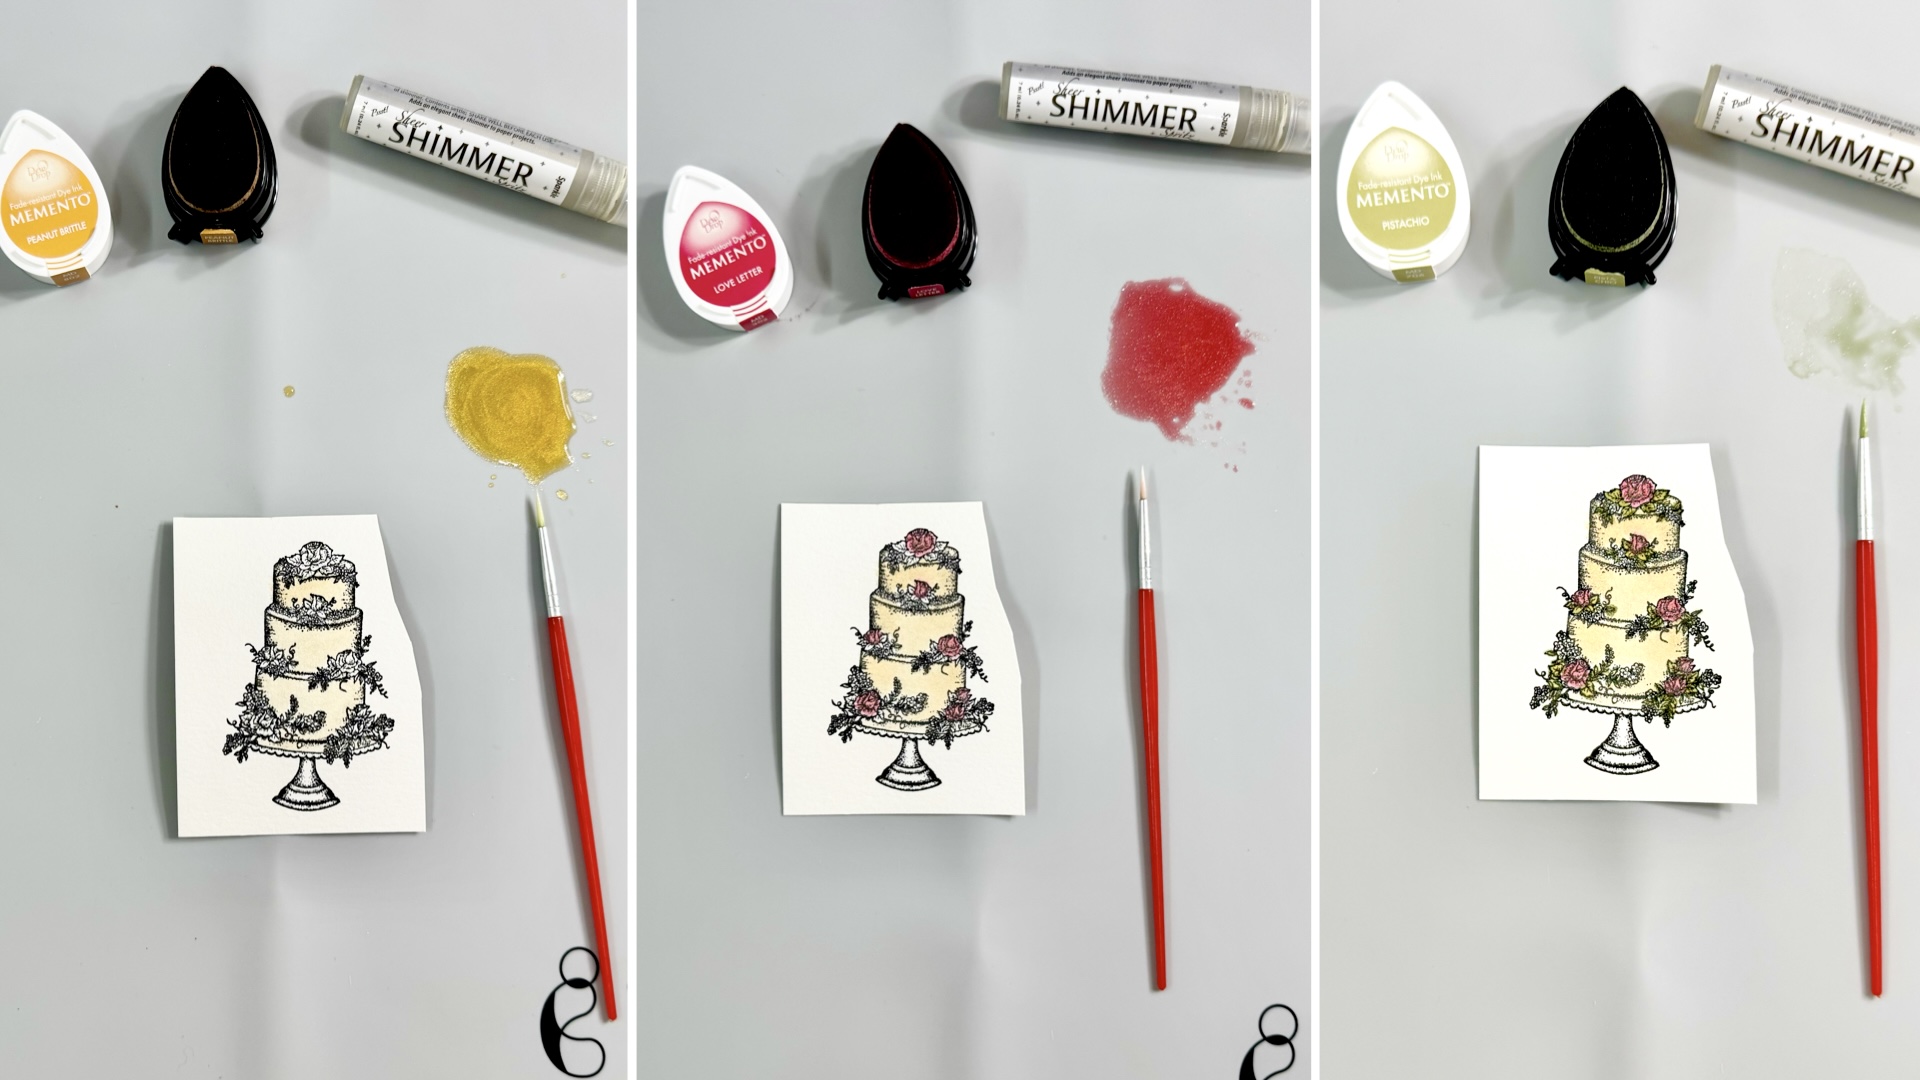
Memento Dew Drop and Sheer Shimmer Sparkle to create sparkle watercolor paint. Dab the ink on the craft mat and add some of the sheer shimmer, mix together.
First paint the cake with the Peanut Brittle ink. Dry the watercolor paint with a craft heat gun after painting.
Next, color the flowers with the Love Letter ink. Dry the watercolor paint with a craft heat gun after painting.
Then, color the leaves with the Pistachio ink. Dry the watercolor paint with a craft heat gun after painting.

Step 3
Then color the berries and other branches with the Teal Zeal ink. Dry the watercolor paint with a craft heat gun after painting.
Last, color the base stand with the Gray Flannel ink.  Dry the watercolor paint with a craft heat gun after painting.
Fussy cut the wedding cake with micro-tip scissors.

Step 4
Cut out a piece of vellum paper with one of the double stitched oval dies and one of the double stitched pennant flag dies.
Stamp the sentiment on a piece of gray cardstock with StazOn Pigment Snowflake ink pad using the stamping tool.
Cut the sentiment with the smaller size of the double stitched pennant flat dies that match with the vellum.

Step 5
Add the embossed background to the card base with Tear It! Tape.
Add the wedding cake on the oval vellum with some of the On Point Glue, then add them to the card with some of the Tear It! Tape.
Stack the vellum pennant and sentiment pennant together using some of the Tear It! Tape and add them at the bottom of the cake with the same tape.
Embellish the card with some of the white gems using the On Point Glue.

I wish I could capture the sparkle glitter watercolor paint on the cake with my camera. But I love how this Winter theme wedding card turned out, and hopefully you will like it too!

Thank you for stopping by our blog today. Have a fabulous day!

Craft Supplies

Imagine Crafts:

Others:

  • Long Lasting Love Stamp Set (Divinity Designs)
  • Double Stitched Rectangle Dies (Divinity Designs)
  • Double Stitched Oval Dies (Divinity Designs)
  • Double Stitched Pennant Flags Dies (Divinity Designs)
  • Snowflake Embossing Folder (Darice)
  • Neenah Solar White Cardstock
  • Neenah Grey Cardstock
  • Watercolor Cardstock
  • Bazzill Vellum Paper
  • White Gems
  • Small round water coloring brush
  • MISTI stamping tool
  • Micro-tip scissors
  • Paper trimmer
  • Die cutting Machine and plates
  • Craft heat gun

Quick and Easy Stenciled Pumpkin Thanksgiving Card

By Kathi Rerek

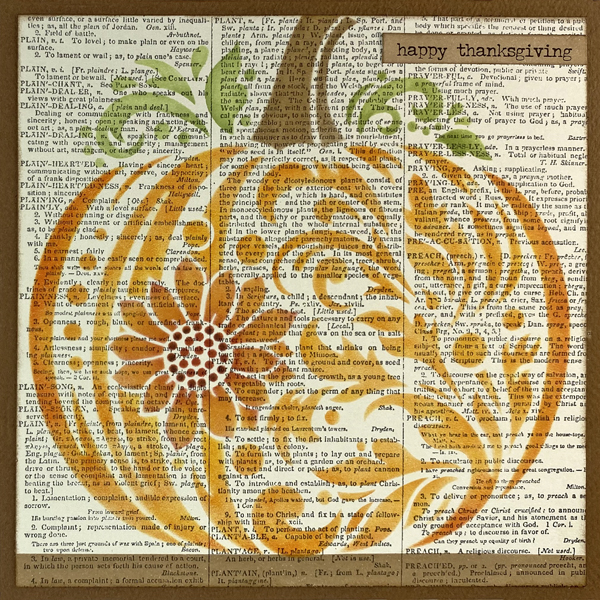
Here’s a quick and easy Thanksgiving card using a beautiful pumpkin stencil, Memento Dew Drop Inks, and a sticker!

Skill Level: Beginner
Time: 45 minutes

Instructions:

Step 1:
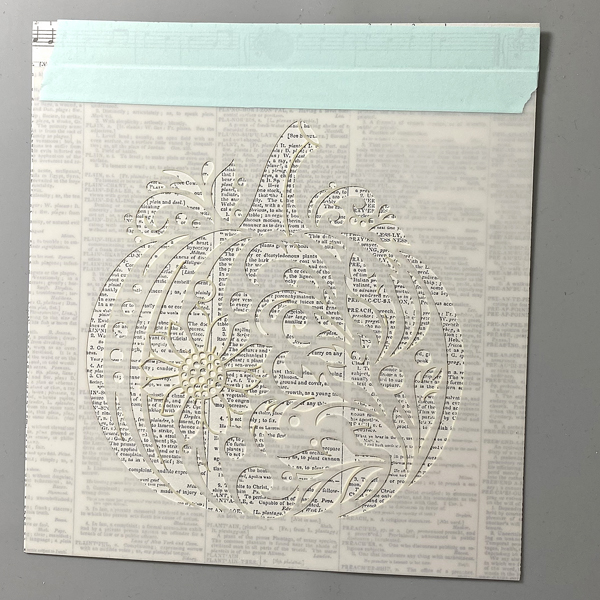
Use low-tack tape to adhere the Pumpkin Flourish stencil to the top of a piece of text cardstock and the craft mat. Run a stylus tool along the tape seam between the stencil and the cardstock to create a hinge so that you can pick up the stencil to check out ink coverage.

Step 2:
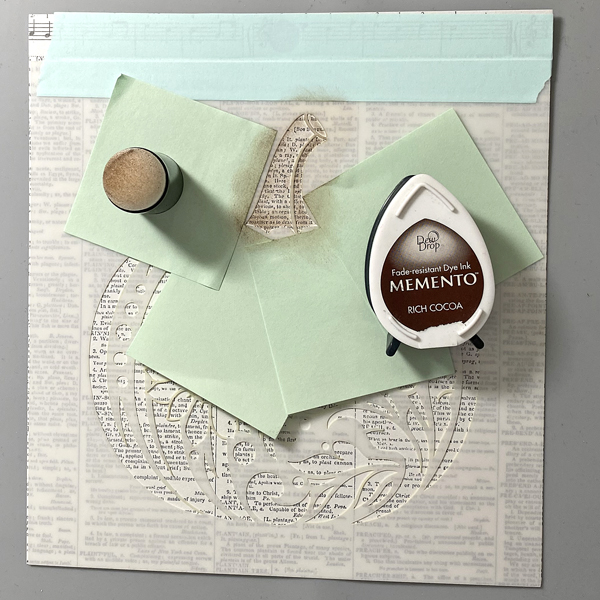
Use Post-It Notes to cover the leaves and the pumpkin on the Pumpkin Flourish stencil. Use a Sponge Dauber to apply Rich Cocoa Memento Ink along the edges of the pumpkin’s stem onto the text paper. Use another Sponge Dauber to apply Toffee Crunch Memento Ink over the Rich Cocoa Ink and onto the rest of the stem.

Step 3:
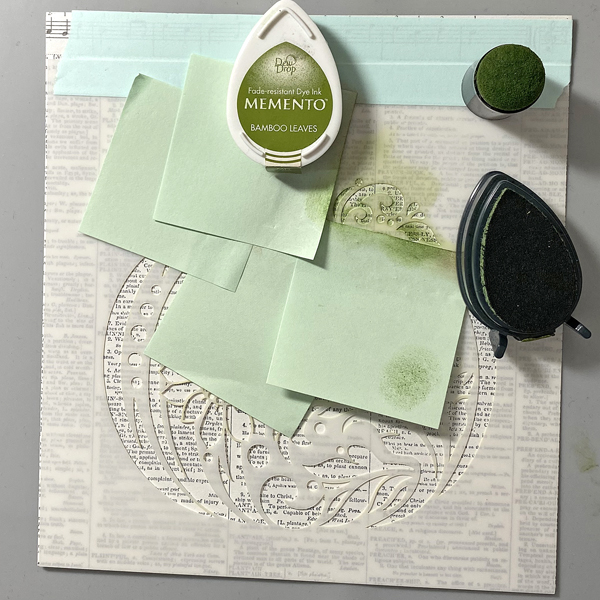
Use Post-It Notes to cover the stem and the pumpkin on the Pumpkin Flourish stencil. Use a Sponge Dauber to apply Bamboo Leaves Memento Ink around the outside of the leaf flourishes on the stencil onto the text paper. Use another Sponge Dauber to apply New Sprout Memento Ink fill in the open areas of the leaf flourishes on the stencil.

Step 4:
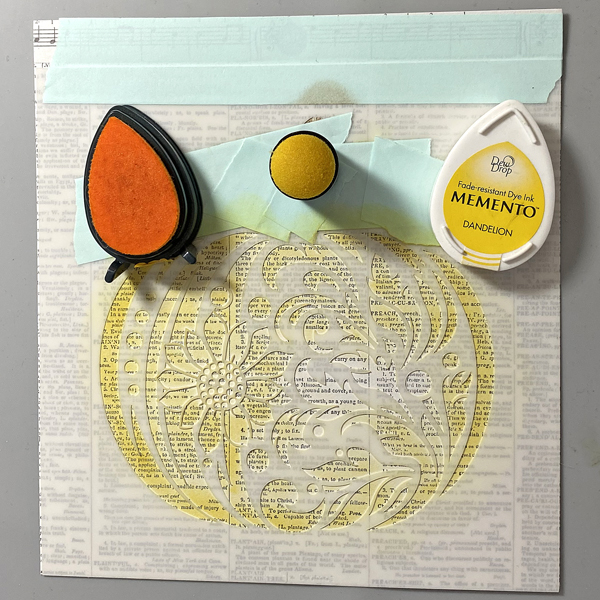
Use Post-It Notes to cover the stem and the stem on the Pumpkin Flourish stencil. Use a Sponge Dauber to apply Dandelion  Memento Ink over the pumpkin area of the stencil onto the text paper.

Step 5:
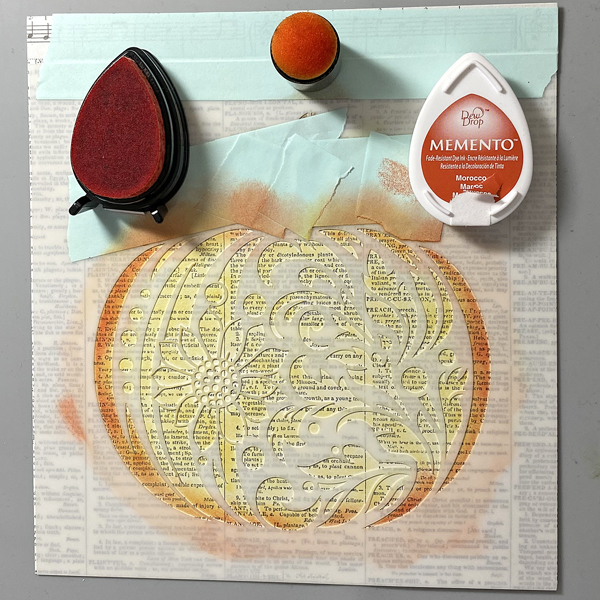
Use a Sponge Dauber to apply Morocco Memento Ink over the outside edges of the pumpkin stencil onto the text paper. Working from the outside of the pumpkin stencil towards the center of the pumpkin stencil, use separate Sponge Daubers to apply Tangelo Memento Ink, then Canteloupe Memento Ink over the stencil onto the text paper.

Step 6:
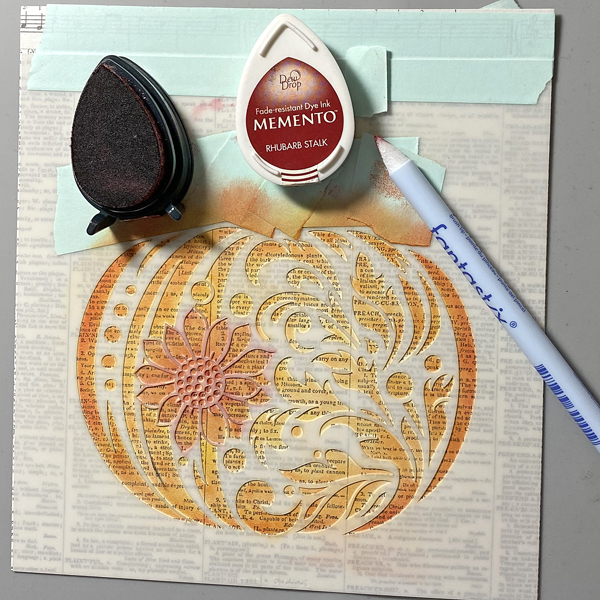
Use a Fantastix to apply Rhubarb Stalk Memento Ink over the flower on the stencil onto the text paper. Apply the ink more heavily on the outer and inner edges of the flower stencil.  Apply the Rhubarb Stalk Memento Ink very heavily on the center of the flower. Use a second Fantastix to apply Elderberry Memento Ink to the outer dot circle in the center of the flower stencil.

Step 7:
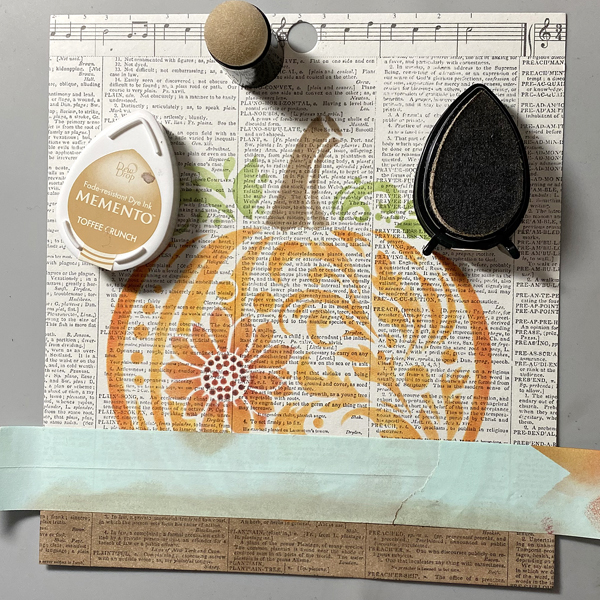
Remove the low-tack tape and the stencil from the panel. Position a piece of low-tack tape horizontally across the bottom of the image panel right below the stenciled pumpkin. Use Sponge Daubers to apply Rich Cocoa and Toffee Crunch Memento Inks  over the tape and onto the text paper.

Use the Rich Cocoa Memento Ink and its Sponge Dauber to tint a “Happy Thanksgiving” Idea-ology Small Talk-Occasion sticker. Trim the image panel to 4.75” square, edge with the Rich Cocoa Memento Ink, and adhere the sentiment sticker to the upper right of the image panel.

Step 8:
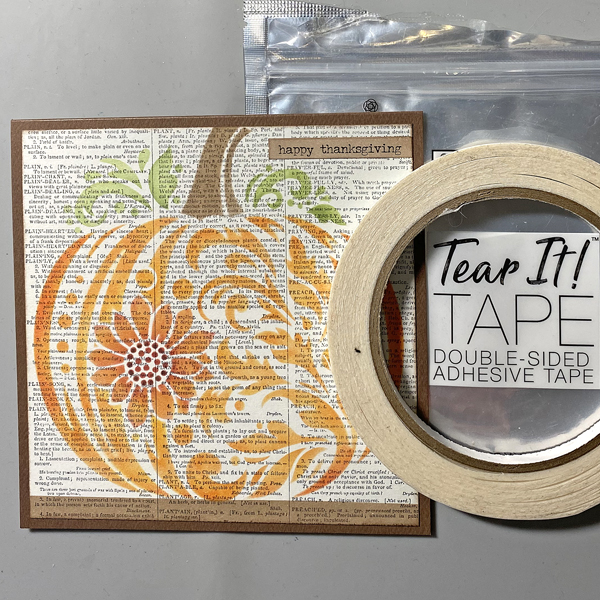
Use Tear It! Tape to adhere the layers of the card.

Finished Card

Imagine Supplies:

Other Supplies:

  • Brown Cardstock by Bazzill Basics
  • Pumpkin Flourish Stencil by Miss Ink Stamps
  • DIY Shop Patterned Paper Pad by American Crafts
  • Small Talk: Occasions Idea-ology Stickers by Tim Holtz for Advents
  • Low-Tack Tape
  • Post-It Notes

Floral Thank You Card

By Anna Escalada York

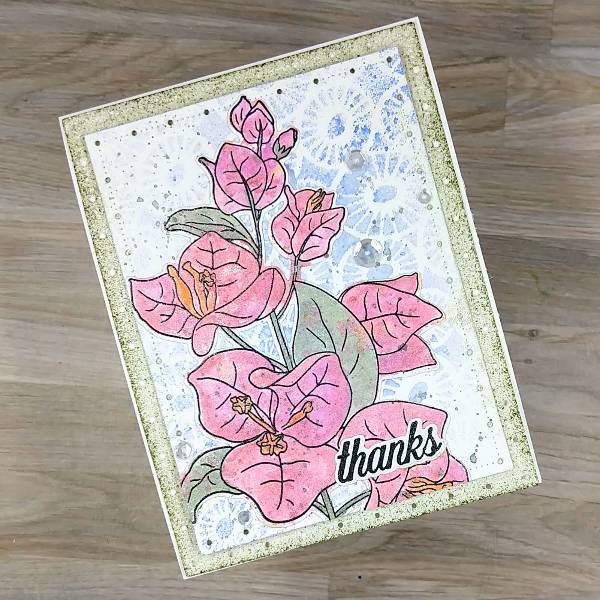
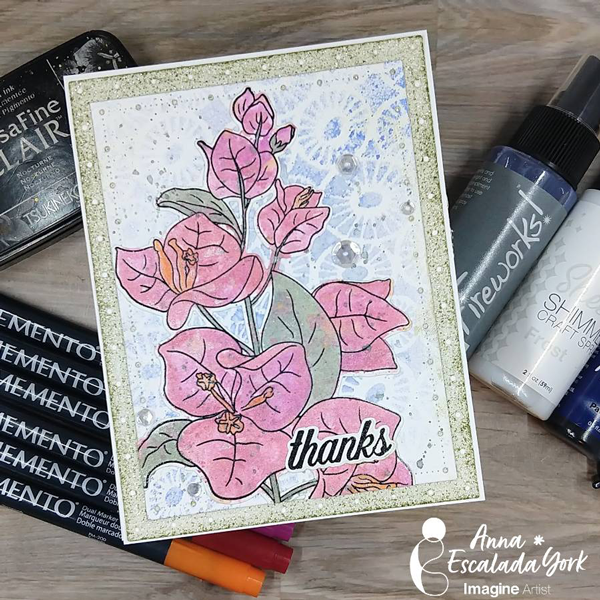
In today’s card, I made a thank you card with some new-to-me Memento markers and sprays.

Skill: Intermediate
Time: 1.5 hours

Directions:

Step 1:
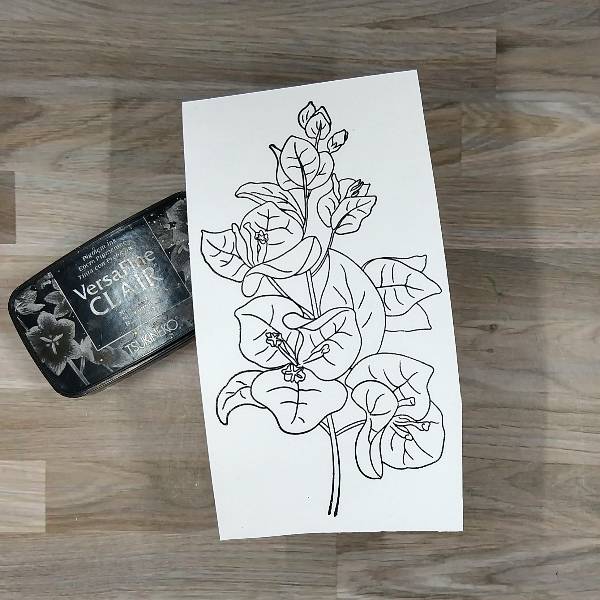
Stamp the large floral image with Nocturne VersaFine Clair Ink on watercolor paper and then heat emboss with clear Mboss embossing powder.

Step 2:
Die cut the large floral image with the corresponding die cut.

Step 3:
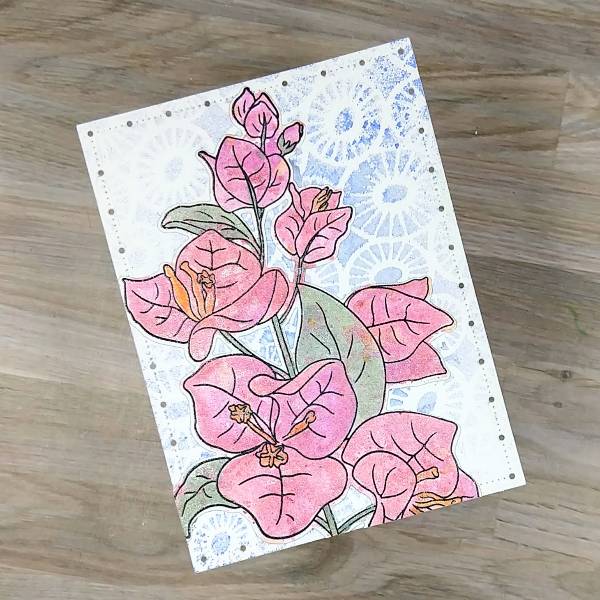
The large floral image was colored by watercolor smooshing a variety of Frost Sheer Shimmer Craft Spray mixed with a variety of colors of Memento Dual Markers–Love Letter and Lilac Posies. After the watercolor smooshing dried, the large floral image was watercolor painted with a Northern Pine and Pistachio Memento Dual Markers mixed with more of the Frost Sheer Shimmer Craft Spray on the greenery. The flowers were colored with a mix of Rhubarb Stalk, Love Letter and Lilac Posies mixed with more of the Frost Sheer Shimmer Craft Spray. Finally, Tangelo Memento Dual Marker was mixed with more of the Frost Sheer Shimmer Craft Spray and watercolor smooshed onto the image.

Step 4:
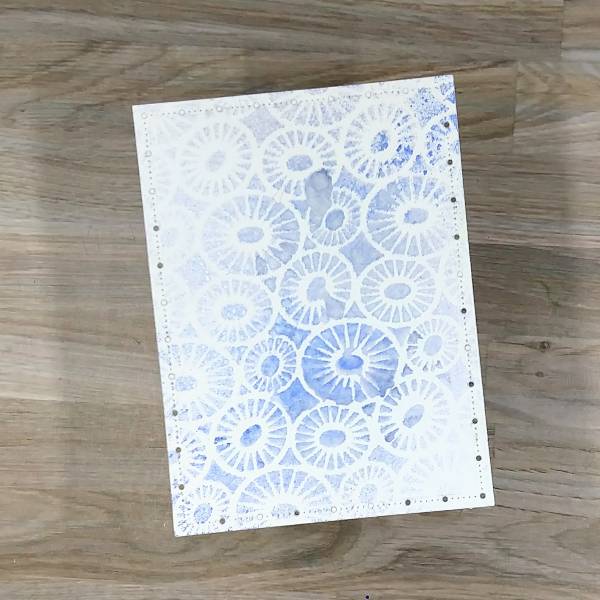
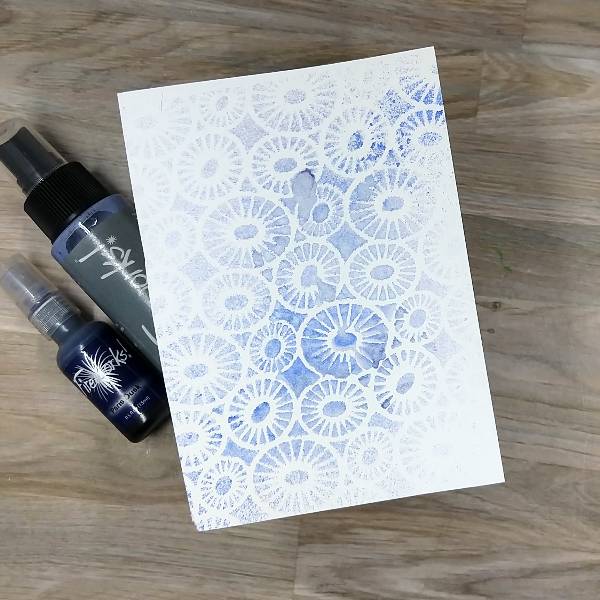
Spray London Fog Fireworks! Shimmery Craft Spray onto another piece of watercolor panel through a stencil. Then spray Paris Dusk Fireworks! Shimmery Craft Spray on a diagonal through the same stencil through the same stencil while the ink was still wet.

Step 5:
Stamp the thanks sentiment with more Nocturne VersaFine Clair Ink on watercolor paper and then heat emboss it with more of clear Mboss embossing powder. Then die cut the sentiment with the corresponding die.

Step 6:
Die cut the sprayed background panel with the second-largest die from a nested A2-sized panel die set.

Step 7:
Glue the large floral die cut image onto the sprayed panel and then trim the edges of the floral die.

Step 8:
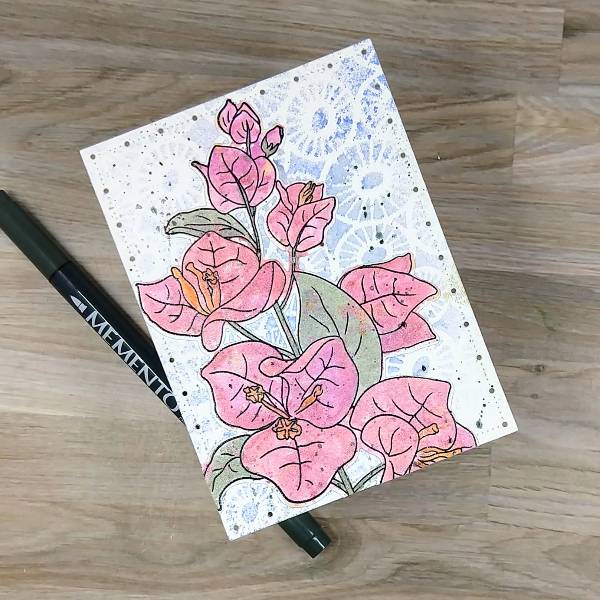
Mix Northern Pine Memento Dual Marker mixed with water and splatter onto the panel and floral die cut.

Step 9:
Die cut a piece of white glitter cardstock with the largest die from the same nesting die cut set.

Step 10:
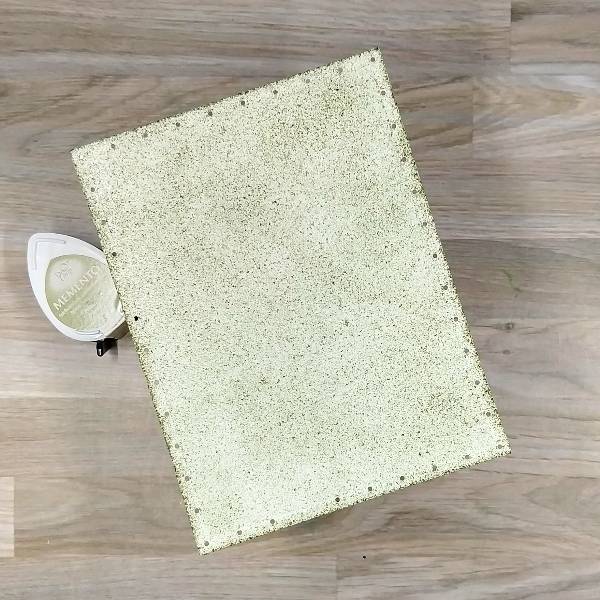
Swipe Pistachio Memento Ink across the glitter cardstock to color it green.

Step 11:
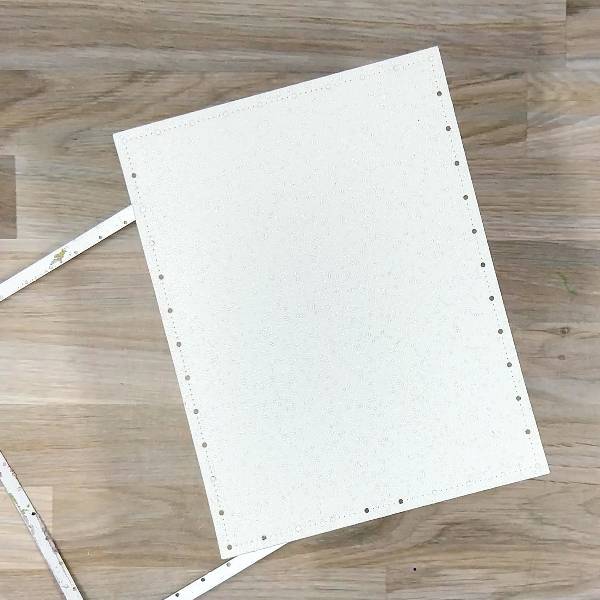
Glue clear sequins and the sentiment die cut onto the upper panel. Then glued the green glitter cardstock behind the focal panel. To finish the card, glue the whole thing onto an A2-sized white card base.

Craft Supplies:

Imagine:
Fireworks! Shimmery Craft Spray – London Fog and Paris Dusk
Mboss – Clear
Memento Dual Marker – Lilac Posies, Love Letter, Northern Pine, Pistachio, Rhubarb Stalk, and Tangelo
Memento – Pistachio
Sheer Shimmer Craft Spray – Frost
VersaFine Clair ink – Nocturne

Other Products
Altenew – die set – Bougainvillea
Altenew – stamp set – Bougainvillea
Catherine Pooler – sequins – Crater Lake
Gina Marie Designs – Die set – Big and Little Chain Rectangle die set
Ink On 3 – Stencil – Pondie 6×6 stencil
Watercolor paper
White glitter cardstock
Die cutting machine
Paper Trimmer
Scissors
Glue

Create a Halloween Themed Love Card

By Jessica Lin

Skill: Beginner
Time: 45 minutes

Hi everyone! It’s Jessica here and welcome back to another card tutorial. Have you sent Halloween cards to others before? Even though I have created some in the past, I found that I don’t usually send or hand deliver them. So this year, I decided to add a different twist and create a Halloween themed Valentine’s card!

Step 1:
Stamp the cute Vampire image from Mama Elephant’s Meowlloween stamp set. I want to watercolor the image today so I used VersaFine Clair ink with watercolor cardstock.

Step 2:
Color the image with Memento markers and a water brush. I scribbled the ink on an acrylic block and picked up colors with my water brush, but you could totally use the craft mat as the paint palette. The colors I used today are Angel Pink, Rose Bud, London Fog and Tuxedo Black. These four colors are actually sold in a set as well called Girls’ Night Out. For full color saturation, you can draw directly onto the paper. I used the fine tip end of the Rose Bud Memento marker to color in the cape. (You can see the fine lines beside the image when I was testing out the color). After coloring, I fussy cut the image with my scissors.

Step 3:
For a beginner’s project, I opted out using a die-cutting machine and used a heart punch instead. This punch from Stampin’ Up! is a decently large size and super versatile.
Step 4:
Since the background is plain and simple, I decided to ink blend the top right and bottom left corners of the card front. Versafine Clair Glamorous is the perfect shade and you can see the difference between the ink-blended and non ink-blended corners.

Step 5:
Ink splatters is the secret to elevate a card quickly. I splattered white acrylic paint across the card front to add more interest to the background.

Step 6:
Finally, I stamped the sentiment with StazOn Pigment Snowflake ink. I used words from several stamp sets and built my own using Lawn Fawn’s Milo’s ABCs as well.

Products Used:
Imagine:

Other Products:

  • Mama Elephant – Stamps – Meowlloween
  • Lawn Fawn – Stamps – Milo’s ABCs
  • Stampin’ Up! – Punch – Heart Punch Pack
  • We R – Tool – Precision Press
  • White Acrylic Paint
  • White and Watercolor cardstock

Double Stencil Technique Halloween Card

By Ceil Pritchett

Hello crafty friends!
It’s Ceal, here. Today I am sharing a fun technique using stencils. It’s called Double Stenciling or Double Trouble fitting for Halloween, right?

Skill Level: Beginner
Time: 30 Minutes

Directions:

Gather your supplies. You will need two stencils, a Halloween stamp set and a word die cut. You will also need two or three inks. I used one of the newest VersaFine Clair colors along with two of the original ones. A sticky mat, tape or something to hold your stencil in place would be useful as well.

Step 1:
Lay your panel on a sicky mat of tape it down to hold it in place. Lay your first stencil on top and ink it up with VersaFine Clair Monarch.
(As you can see, I don’t usually clean my stencils)

Step 2:
Remove the first stencil and replace it with the second stencil. Ink it up with VersaFine Clair Verdant.

Step 3:
Remove the second stencil and go over the entire panel with VersaFine Clair Lilac Bloom one of our gorgeous new colors.

Afterwards cut the panel down to 5 x 3 3/4

This background reminds me of that old wallpaper you would see in a haunted house.

Step 4:
Stamp, color and fussy cut out the image and word die.

Finish the card by adding the panel to an A2 sized card base and adding the elements placed where you would like them.

Products Used:

 Imagine:
VersaFine Clair: Verdant, Monarch, Lilac Bloom
Memento Markers: Cantaloupe, Grape Jelly, Tuxedo Black ,Gray Flannel and Tangelo
On Point Glue

Other Supplies:
Neenah Classic Crest Solar White 120lb CS – CutCardStock
Neenah Classic Crest Solar White 80lb – CutCardStock
Jack of All Faces Stamp Set – The Rabbit Hole Designs
Boo Word Die – Lil Inker
Stencils – A Colorful Life Designs
Misti 2.0 – My Sweet Petunia
Grip Mat – Waffle Flower

Create a Death-Head Moth Halloween Card Using Ink Blending Techniques

By Anna Escalada York

In today’s card, I used sprays and and ink-blending to make a Halloween card.

Skill: Intermediate
Time: 1.5 hours

Directions:

Step 1:
Stamp the Death’s-Head Moth stamp onto a piece of white watercolor paper with Nocturne
VersaFine Clair ink. Emboss with Clear Mboss powder.

Step 2:
Spray a pre-die cut panel of watercolor paper with Lilac Posies Fireworks! Shimmery Craft
Spray and Rose Gold Sheer Shimmer Craft Spray. Allow the panel to dry.

Step 3:
Color two corner filigree stamps–one at the top right corner and one at the lower left corner–with
the Sweet Plum Memento Marker directly and then stamp the sprayed panel. Flip the panel 180
degrees (so the top is now the bottom) and repeat the process to add a stamped image to each
corner.

Step 4:
Ink blend Perfect Plumeria VersaMagic Chalk Ink around the border of the card panel,
overlapping with the stamped decoration just added. Then ink blend the edge of the panel with
Midnight Black VersaMagic Chalk Ink.

Step 5:
Die cut a piece of black watercolor paper with a frame die. Then spray the die cut with Rose
Gold Sheer Shimmer Craft Spray and let dry. If desired, repeat this process to add more shine
and color.

Step 6:
Fussy cut the Death’s-Head Moth, then use a sponge dauber to ink blend the outer part of the
wings with Perfect Plumeria VersaMagic Chalk Ink.

Step 7:
Spray the moth with Angel Pink Fireworks! Shimmery Craft Spray and allow to dry.

Steps 8 and 9:
Stamp a border and a sentiment on a piece of watercolor paper with Nocturne VersaFine Clair
ink. Heat emboss with Clear Mboss embossing powder. Then fussy cut the border.
Then ink blend the edges of the sentiment with Perfect Plumeria VersaMagic Chalk ink with a
sponge dauber. Then lightly spray the sentiment with Rose Gold Sheer Shimmer Craft Spray.
Allow the spray to dry.

Step 10:
Glue the frame, Death’s-Head Moth and sentiment onto the background panel.

Step 11:
Die cut a piece of sparkly black cardstock with a larger panel die cut. Glue it behind the sprayed
panel as a matte layer.

Step 12:
Glue embellishments onto the panel and finish the card by gluing the whole thing onto an
A2-sized card base.

Art Supplies

Imagine

• Fireworks! Shimmery Craft Spray – Angel Pink and Lilac Posies
• Mboss – Clear
• Memento Marker – Sweet Plum
• Sheer Shimmer Craft Spray – Rose Gold
• VersaFine Clair ink – Nocturne
• VersaMagic Chalk Ink – Midnight Black and Perfect Plumeria
• Sponge Daubers

Other
• Crafty Meraki – Embellishments – Meraki Sparkle Gold
• Erin Lee Creative – Paper – Las Vegas Sparkly Cardstock
• Gina Marie Designs – Die set – Big and Little Chain Rectangle die set
• Whimsy Stamps – Stamp Set – Exquisite Beauty stamp set
• Whimsy Stamps – Die Set – Forever Cameo Frames die set
• Watercolor paper
• Paper Trimmer
• Scissors
• Glue